
To run our launcher and the Minecraft game itself, you must have Java installed. On this page, you will learn all the basic installation details. All this will not take long, and as a result, you will get one of the most popular games in history at your disposal. Additionally, find out which versions of Java use new and old versions of the game.
Contents:
Important information
Where to Download Java 8
Where to Download Java 16
Where to Download Java 17
Installing Java in Windows (XP, 7, 8, 10, 11)
Installing Java in macOS
Installing Java in Linux
— Installing Java in Ubuntu for TLauncher/Minecraft
— Installing Java in Debian/Mint for TLauncher/Minecraft
— Installing Java in Fedora/CentOS for TLauncher/Minecraft
Troubleshooting Java Installation
Important information
To run TLauncher requires Java 8!! However, on some Linux systems, they also work with Java 11.
Recommended Java version for Minecraft (1.16.5 and lower) on Windows: Java 8 Update 51 (most recommended) or Java 8 Update 45.
Recommended Java version for Minecraft (1.16.5 and lower) on MacOS/Linux:: the latest Java 8 Update.
Recommended Java version for Minecraft (1.17 and 1.17.1) on Windows: Java 16 (used by game developers).
Recommended Java version for Minecraft (1.17 and 1.17.1) on MacOS/Linux: Java 16 (used by game developers).
Recommended Java version for Minecraft (1.18 and higher) on Windows: Java 17 (used by game developers).
Recommended Java version for Minecraft (1.18 and higher) on MacOS/Linux: Java 17 (used by game developers).
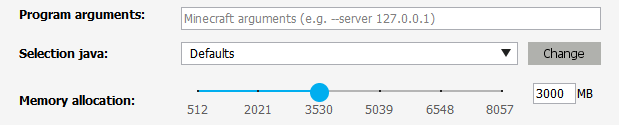
WARNING: TLauncher automatically* uses the right version of Java recommended by the game developers: for the game version 1.18 — Java 17, for the game 1.17 — Java 1.16, for the game 1.16.5 and below — Java 8 Update 51. Therefore, there is no need to manually install Java 16 or 17! If there is a error starting associated with Java, then check the settings in the Launcher (Icon «Gears» -> «Settings»), that it is «Selecting java» to «Defaults«. If it is a different version, the launcher will try to run every version from it and there may be an error! Change this if you know what it’s for.
* You need to use the current version of TLauncher 2.84 or higher.
Where to Download Java 8
OS auto-detection for Java (on an external site);
Windows*: Java Windows x64; Java Windows x32
MacOS*: Java MacOS x64 (macOS 10.7.3 and HIGHER!);
Linux*: Java Linux x64 RPM; Java Linux x32 RPM; Java Linux x64; Java Linux x32
Where to Download Java 16
Windows*: Java Windows x64
MacOS*: Java MacOS x64
Linux*: Java Linux x64 RPM; Java Linux ARM x64 RPM; Java Linux x64 Deb
Where to Download Java 17
Windows*: Java Windows x64
MacOS*: Java MacOS x64; Java MacOS ARM x64
Linux*: Java Linux x64 RPM; Java Linux ARM x64 RPM; Java Linux x64 Deb
* All versions were taken from the official Java website without modifications and are signed with the Oracle digital signature!
Installing Java in Windows (XP, 7, 8, 10, 11)
1) Determine the architecture of your OS — x32 или x64, If you already know it, proceed to the next steps. Otherwise, open «My Computer» -> in the top menu («Computer«) «), look for «System properties» and click on this button.

2) Look for the «System type» parameter — the architecture of your system is specified there
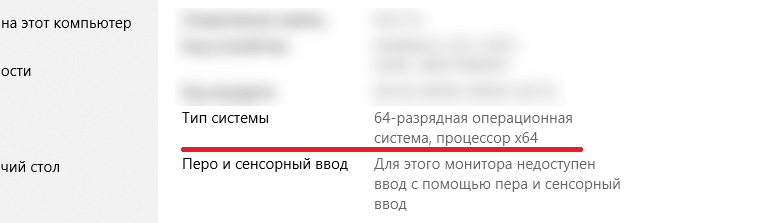
2.1) If you have «32-bit Operating System, x64-based processor«, it is recommended to install 64-bit Windows, as your CPU supports it. Otherwise, x32 will impose limitations on RAM allocation!
3) After determining the architecture, download the x32 or x 64 Java version from the links above.
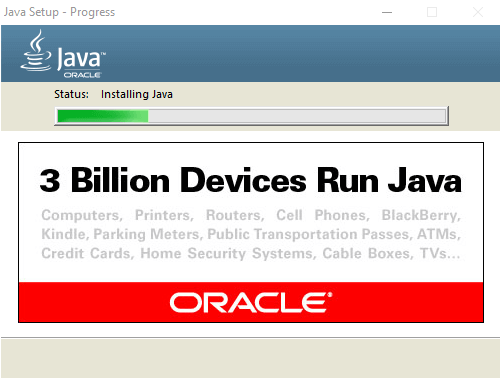
4) Launch the downloaded installer and click on the «Install» button. After the installation your PC is ready to work with Minecraft/TLauncher.
Installing Java in macOS
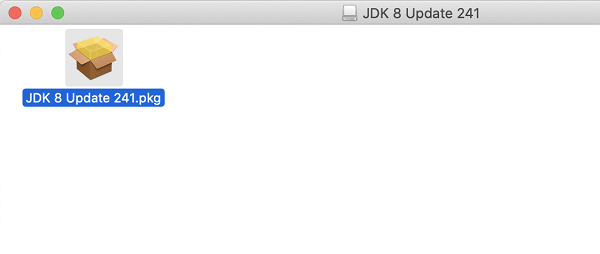
1) Download the Java version for macOS x64 from the link above.
2) Run the downloaded DMG image and launch the PKG installation package in it:
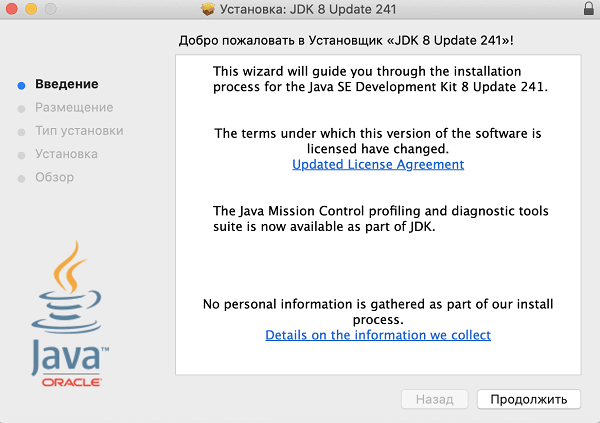
3) In the first two windows, just click «Continue«:
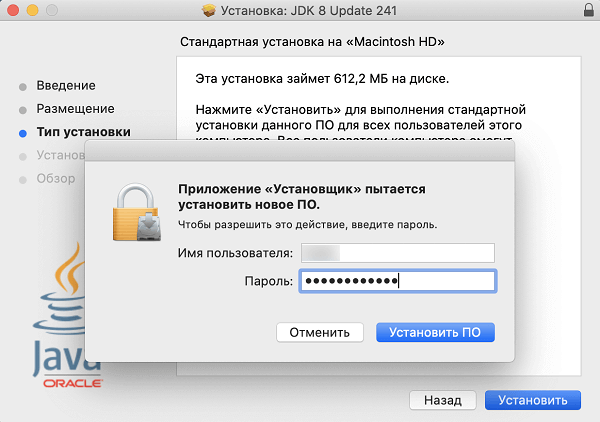
4) As usual when installing in macOS, enter the password:
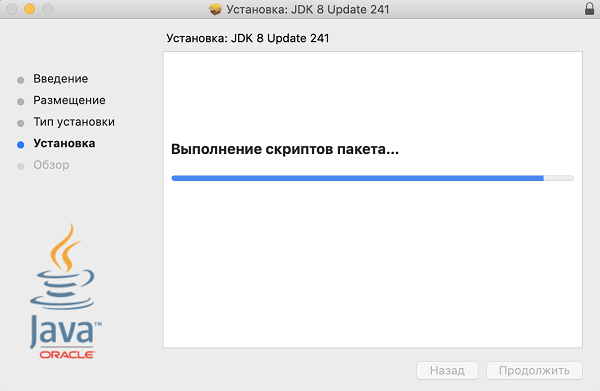
5) Done! You now have Java installed on OS X.
Installing Java in Linux
Installing Java in Ubuntu for TLauncher/Minecraft
1) Open the Terminal and execute the standard sudo apt-get update , and then sudo apt-get upgrade .
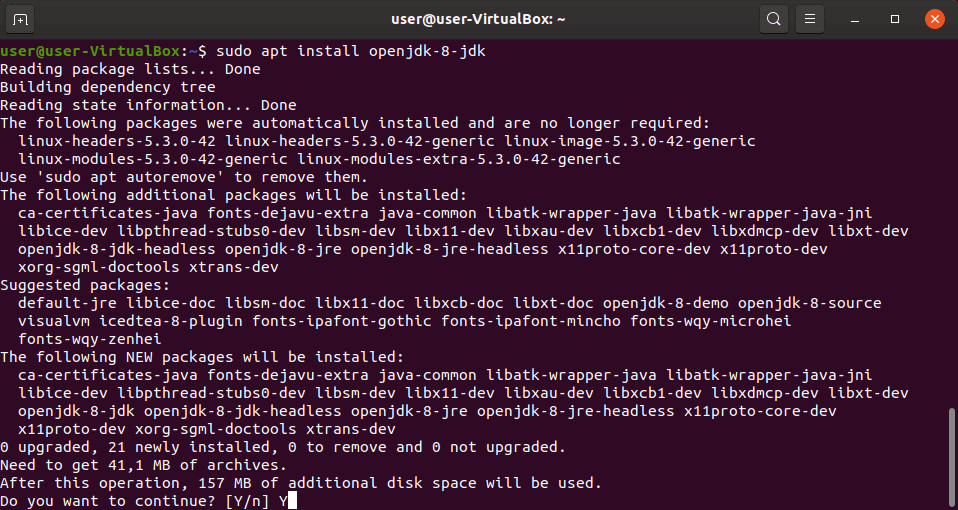
2) Install Java: sudo apt install openjdk-8-jdk and then Y.
3) Download the Linux version of the launcher and unpack the archive from the .jar file to any location (unpack just the .zip archive, not the .jar itself!).
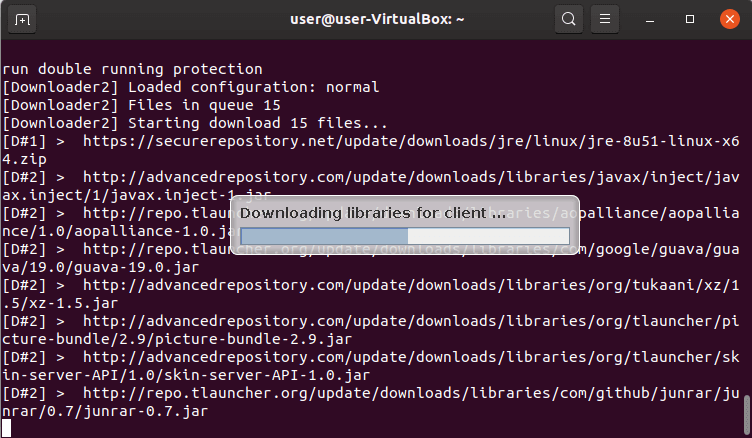
4) Run the launcher with the sudo java -jar /home/user/Downloads/TLauncher-2.83.jar command. You may have a different path, depending on where you put the file! The necessary files will be downloaded and the launcher run:
Installing Java in Debian/Mint for TLauncher/Minecraft
1) Open the Terminal and execute the standard sudo apt-get update , and then sudo apt-get upgrade .
2) Install Java: sudo apt install default-jdk and then Y.

3) Download the Linux version of the launcher and unpack the archive from the .jar file to any location (unpack just the .zip archive, not the .jar itself!).
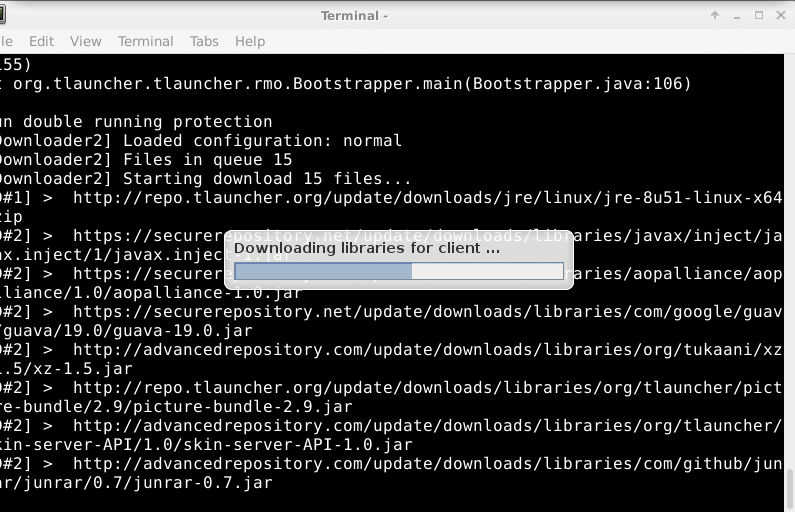
4) ЗRun the launcher with the sudo java -jar /root/Downloads/TLauncher-2.83.jar command. You may have a different path, depending on where you put the file! The necessary files will be downloaded and the launcher run:
Installing Java in Fedora/CentOS for TLauncher/Minecraft
1) Open the Terminal execute the standard sudo yum update and update.
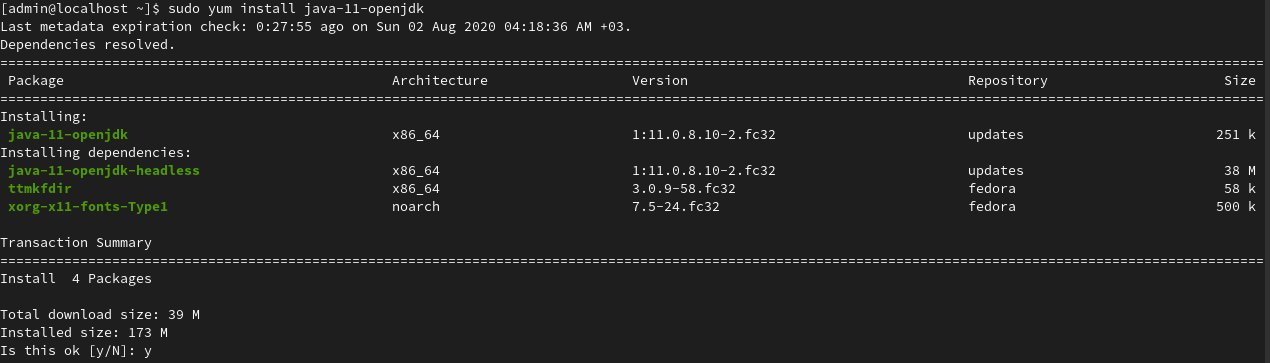
2) Install Java: sudo yum install java-11-openjdk and then Y
3) Execute the sudo update-alternatives —config java and specify the number of the relevant Java 11 version in the field to install it by default. Using java -version , check what Java 11 displays:

4) Download the Linux version of the launcher and unpack the archive from the .jar file to any location (unpack just the .zip archive, not the .jar itself!).
5) Run the launcher with the sudo java -jar /home/user/Downloads/TLauncher-2.84.jar command. You may have a different path, depending on where you put the file! The necessary files will be downloaded and the launcher run.
Troubleshooting Java Installation
1) The Java installer does not launch without error messages and pop-ups.
1.1) Try to completely reboot your PC and run the installer again.
1.2) If rebooting does not help, you should reinstall your OS (Windows, etc.), as it is broken.
Windows x32(x86):
(*Если не знаете какая у вас разрядность, качайте вот эту версию!)
Скачать jre-8u111-windows-i586.exe
[53.53 Mb] (cкачиваний: 1073486)
Windows x64:
Скачать jre-8u111-windows-x64.exe
[60.31 Mb] (cкачиваний: 793490)
MacOS X:
Скачать jre-8u111-macosx-x64.dmg
[64.33 Mb] (cкачиваний: 140366)
Скачивание Linux версий в конце новости!

Без программы под названием Java, замечательная игра Майнкрафт не будет работать, поэтому мы написали эту статью.. В которой описали зачем вообще она нужна и как скачать Java для Minecraft.
Для чего же нужна Джава? Во первых, существует язык программирования под таким названием, и чтобы программы написанные на нем работали, на компьютере должен стоять софт от разработчиков языка. И Майнкрафт, как раз подпадает под это, ведь он написан на этом языке и разрабатывается дальше на нём же. Из-за этого, вам обязательно нужно скачать и установить Джава, иначе насладиться прекрасными пейзажами и завораживающим геймплеем вам не удастся.
Так как системы Windows и другие имеют разрядность — x32 (x86) и x64. Поэтому и джаву имеет несколько версий, под разную разрядность. Тут встает вопрос какую ставить версию? В большинстве случаем, если вы не разбираетесь в этом всём, лучше ставить x32, будет всё работать. Если же, вы точно знаете что у вас 64-х разрядная, то можно установить специальную версию для неё, это даст вам немного производительности в игре.
Linux
Скачать jre-8u111-linux-i586.tar.gz
[70.65 Mb] (cкачиваний: 32898)
Linux x64
Скачать jre-8u111-linux-x64.tar.gz
[68.57 Mb] (cкачиваний: 15887)
Linux RPM
Скачать jre-8u111-linux-i586.rpm
[54.86 Mb] (cкачиваний: 8083)
Linux x64 RPM
Скачать jre-8u111-linux-x64.rpm
[52.75 Mb] (cкачиваний: 18062)
Твит
Поделиться
Поделиться
Класс
21-11-2016
Просмотров: 5 217 984
- 80
- 1
- 2
- 3
- 4
- 5
(606 голоса)

Для разработки Minecraft использовался язык программирования Java, как следствие наличие в системе библиотек этого языка обязательный пункт, необходимый для правильного функционирования игры. Вне зависимости от того, в какую версию вы хотите играть, 1.8, 1.7.10, 1.7.2, 1.6.4, 1.5.2 или какую-либо еще, программа является универсальной и зависит только от платформы, которую вы используете.
На этой странице можно скачать Java для Minecraft на Windows, а также rpm-пакеты на систему Linux 32 и 64 bit. Установить программу очень просто. Запускаете файл установки java, который вы скачали с нашего сайта, и следуете инструкциям на экране. Никаких проблем возникнуть не должно.
Скачать Жава для Майнкрафт на Windows
jre-7u67-windows-i586.exe [28.06 Mb] (21 сентября 2014, 🏋️ 40378)
Есть множество приложений и сайтов, которые не будут работать, если у вас не установлена
Java, и каждый
день создается все больше. Программа быстрая, безопасная и надежная в работе. От ноутбуков
до центров
обработки данных, от игровых консолей до научных суперкомпьютеров, от мобильных телефонов до
Интернета –
Джава повсюду!
Прежде чем переходить по ссылкам для скачивания в конце статьи, вам необходимо понять, что
вы, вероятно,
уже используете Джава? Поэтому лучше пред установкой сначала все проверить и уточнить. Перед
загрузкой
последней версии программы необходимо убедиться, что старая версия удалена.
Как установить Java 32 bit в Windows
Важно, чтобы у вас всегда была самая последняя стабильная версия Джавы (JRE). Для установки
программы
следуйте этим шагам:
- 1. Перейдите на страницу загрузки Джава 32 бит;
- 2. Выберите версию установщика;
- 3. Дождитесь завершения загрузки;
- 4. Дважды щелкните исполняемый файл установщика;
- 5. Следуйте инструкциям установщика на экране.
Установка несложна, так как все, что вам нужно сделать, это выбрать путь назначения на вашем
ПК. Однако
вы должны быть внимательны, чтобы выбрать правильный установщик с сайта.
В настоящее время существует инструмент для онлайн–установки и два автономных (один для
32–битных
браузеров, а другой для 64–битных).
Что вы получите при загрузке программного обеспечения?
Java Runtime Environment состоит из виртуальной машины (JVM), основных классов платформы Ява
и
поддерживающих библиотек платформы. JRE – это среда выполнения программного обеспечения. И
это все, что
вам нужно для ее запуска в веб-браузере.
Сама его конструкция гарантирует, что при развертывании этого языка будет использоваться мало
зависимостей реализации. Как программист, вы можете положиться на него при создании сложных
приложений для
отдельных ПК или распределительных сетей.
Примечание: если вы используете 32–битный и 64–битный браузеры на одном компьютере и хотите
использовать
Джава на каждом из них, вам необходимо установить как 32–битную, так и 64–битную версии
программы.
Для запуска лаунчера и игровых клиентов требуется Java 8-й версии. На иных версиях игра и лаунчер работать не будут.
Oracle Java (рекомендуется)
Скачать можно с официального сайта. Рекомендуется выбирать вариант «Автономный режим (64-разрядная)». – С версии Update 451 компонент JavaFX удалён. Лаунчер на этой и более новых версиях работать не будет.
Скачайте последнюю поддерживаемую версию Update 441: https://www.oracle.com/it/java/technologies/javase/javase8u211-later-archive-downloads.html – ищите на странице «Java SE Runtime Environment 8u441».
BellSoft Liberica JDK
Можно установить Java от другого производителя. Ранее это был вариант Java для ARM процессоров, когда Oracle ещё не выпускала версии под них.
Скачать с официального сайта (заблокирован для России )
Прокрутите страницу вниз и выберите вариант «Full JRE»

ИЛИ Скачать с официального GitHub.
-
Найдите по заголовку подходящий релиз Java 8. Они имеют примерно такое название: «8u123», где 123 – номер обновления. Чем выше номер, тем актуальнее версия.
-
Затем среди множества файлов найдите нужный, обращая внимание на ключевые слова:
-
jre – версия для пользователей (рекомендуется), jdk – версия для разработчиков, включает в себя дополнительные файлы.
-
Следующим идёт название операционной системы для которой предназначена сборка. С этим всё просто.
-
Следом идёт кодовое название архитектуры процессора:
amd64 – x86 (Intel/AMD) 64-bit
i586 – x86 (Intel/AMD) 32-bit (устарело)
aarch64 – ARM 64-bit -
Название архива должно иметь суффикс full.
-
См. также: