
This article will describe the iSCSI Target Failover Clustering in Server 2022 setup and configuration. The two-node failover cluster configuration setup in Windows Server 2022 using iSCSI shared disks mapped. All of these settings we will now use to configure the iSCSI Target cluster on Server 2022. This guide will cover the process of creating a two-node Active/Passive Failover Cluster in Windows Server 2022. Visit this site for more information.
I have the experience to create High Availability solutions for enterprise products, and based on that work, I worked a short time ago with failover clustering and network load balancing clustering in Windows Server 2022. I have built multi-node failover clusters for SQL Server, Hyper-V, network load balancing, and different application clusters.
Table of Contents
iSCSI target Failover clustering Deployment
The following steps are the high-level steps required for your Windows cluster deployment.
Install two Windows Server 2022
Install all Windows Updates
Join servers to the domain controller
Each Node must have two network interfaces
Primary Network
Cluster Network
Add DNS records
Primary Server
Secondary Server
Cluster Server Name (iSCSI Cluster)
Attach the same ISCSI disk (LUN) to primary node-01 and node-02.
Install Failover clustering role on both servers (node-01 and node-02)
Bring the disk online via computer management on the primary node.
Join nodes to a cluster
Virtual Machines Settings
| Name | Role | IP Address |
| DC2022 | Domain Controller | 192.168.121.200 |
| iSCSI | iSCSI Shared | 192.168.121.210 |
| SRV2022-01 | Node-01 | 192.168.121.212 |
| Cluster Network | 192.168.52.1 | |
| SRV2022-02` | Node-02 | 192.168.121.214 |
| Cluster Network | 192.168.52.2 | |
| iSCSI-Cluster | Cluster | 192.168.121.216 |
Nodes Network Connections
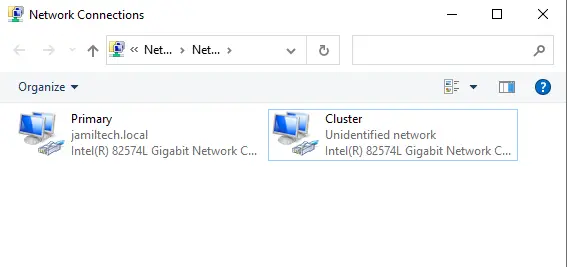
Add DNS Records for Cluster
Right-click on your local domain, and then click on New Host (A or AAA)..
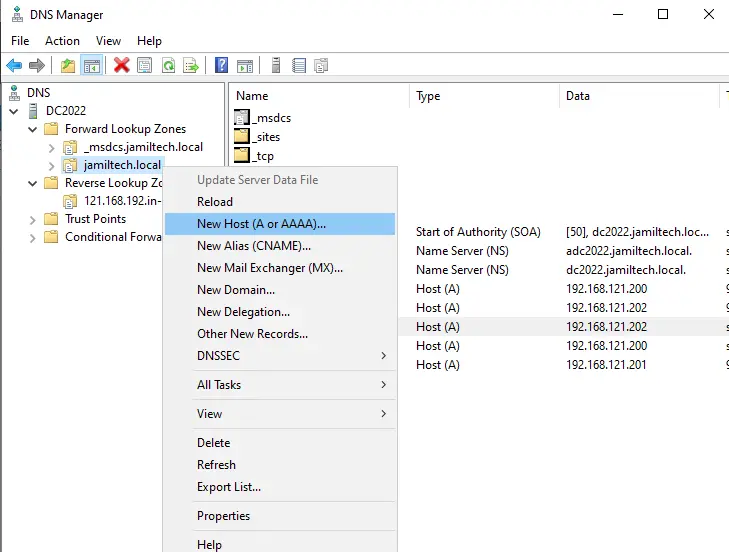
Fill in the details, and then click Add Host.
Click ok twice
You can view DNS records.

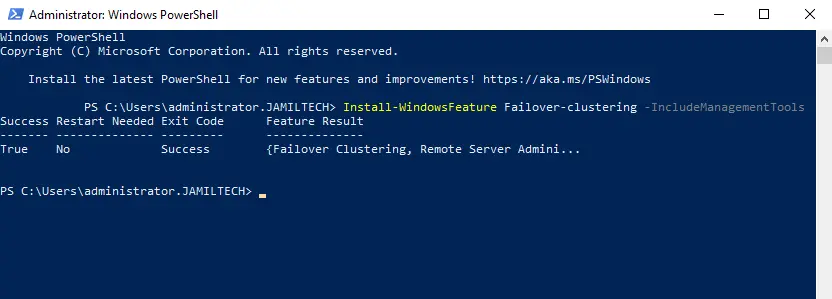
Install Failover Clustering Feature via the PowerShell
Run Windows PowerShell, enter the below command, and then hit enter.
Install-WindowsFeature Failover-Clustering –IncludeManagementTools
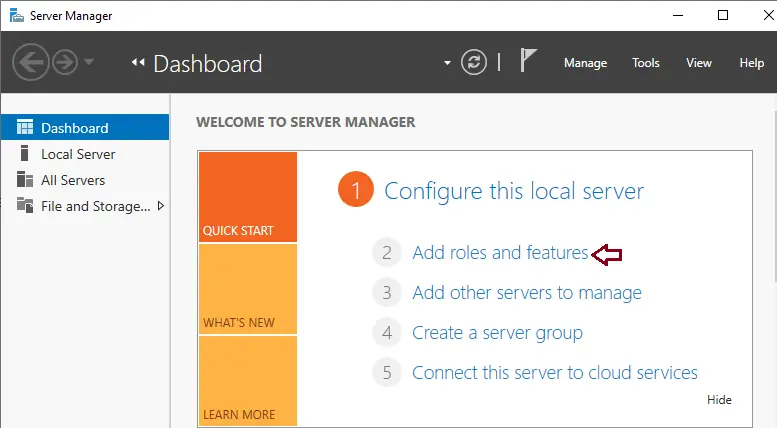
Install Failover Cluster Windows Server 2022
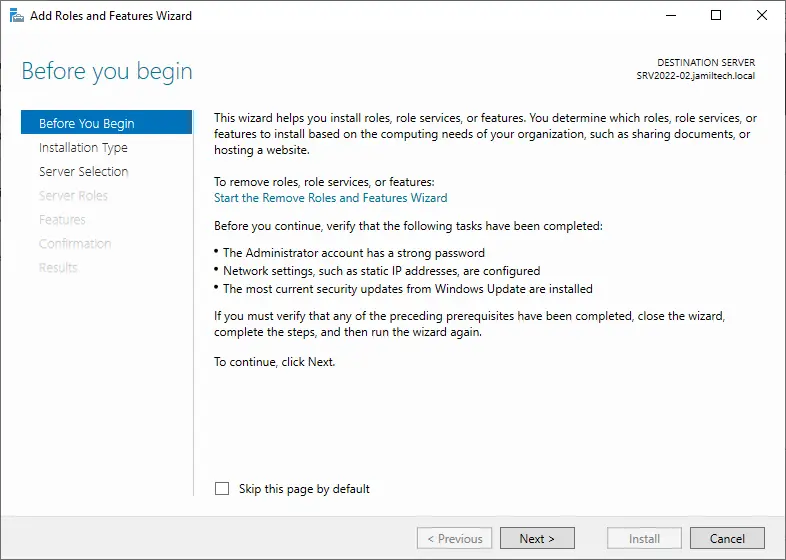
We can install the failover cluster feature with GUI in the server manager dashboard and select Add roles and features.
Click next to continue
Choose Role-Based installation, and then hit next.

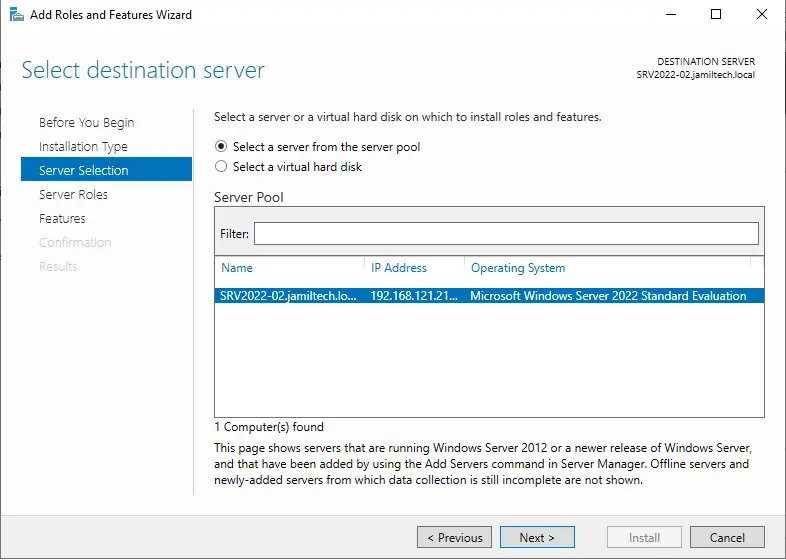
For server selection, choose the server and then click next.
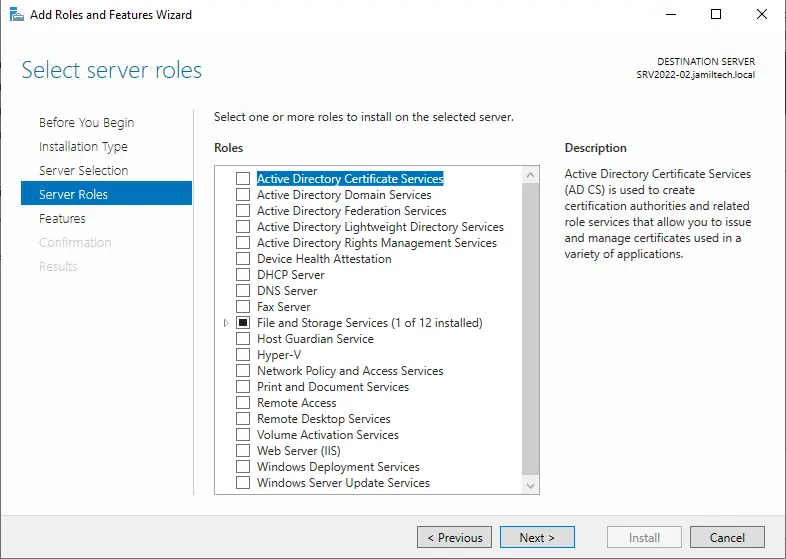
Server Roles, click next
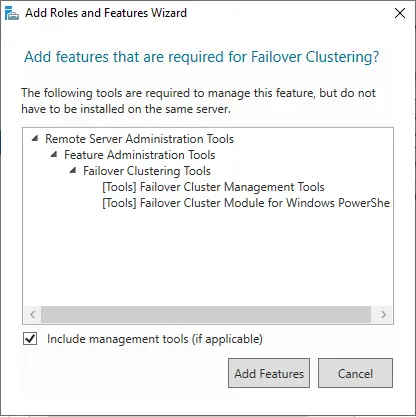
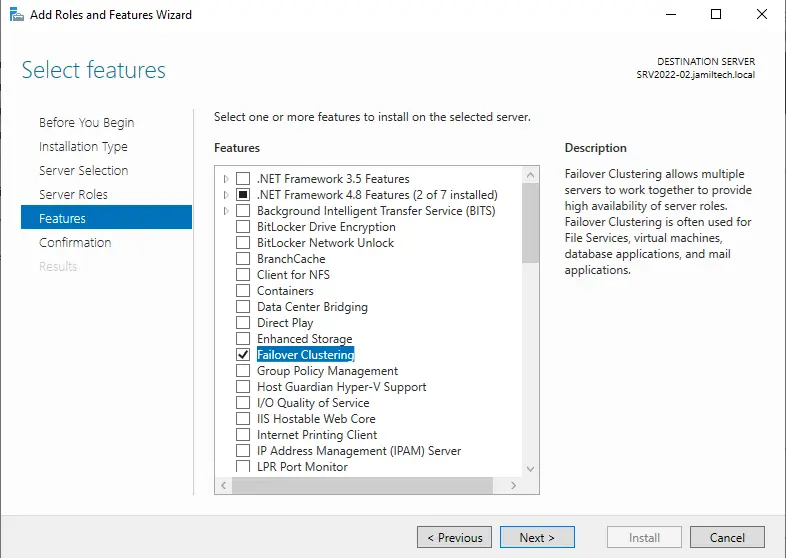
Tick the failover cluster box.
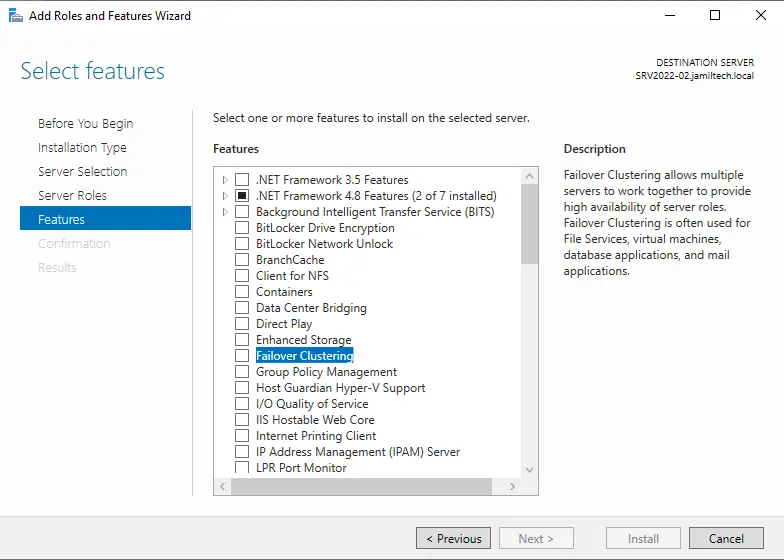
Click on add features
Select next.
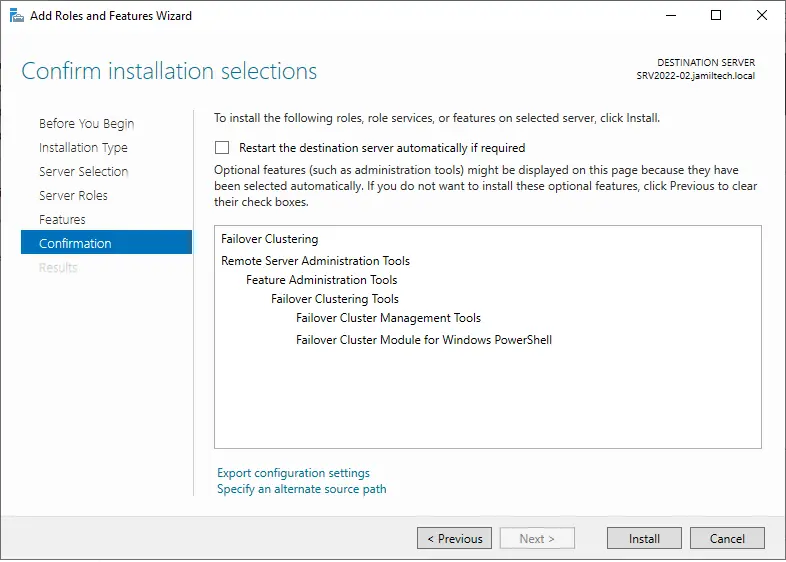
Click Install
Click close
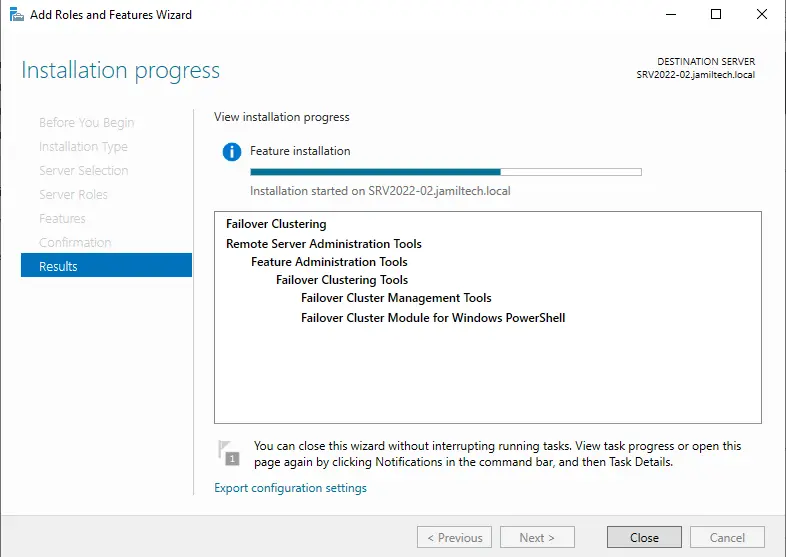
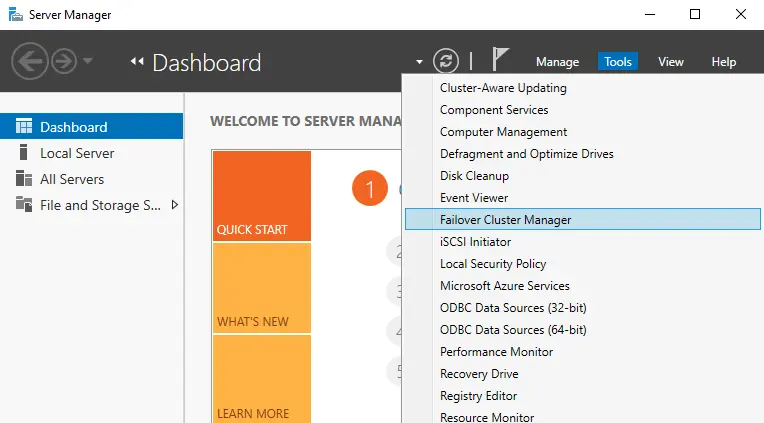
Once failover clustering installation is successfully done, it shows up in the Server Manager Tools, and then open Failover Cluster Manager.
iSCSI Target Failover Clustering: Configure iSCSI Initiator
Creating Windows Server cluster – iSCSI to connect to shared storage
Run the iSCSI Initiator from the first Node (SRV2022-01).
Click on the Tools tab and then the iSCSI initiator
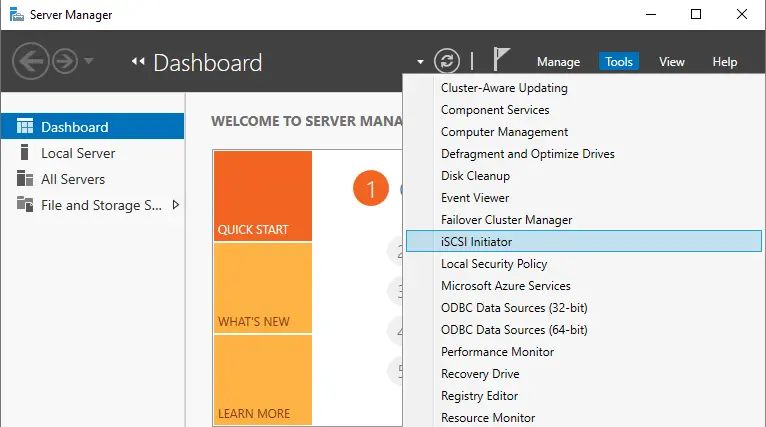
Choose the Yes button to enable the iSCSI initiator service and to start automatically each time when a server restarts.

The iSCSI Initiator properties will open, choose the Discovery tab and then click the Discover Portal button.
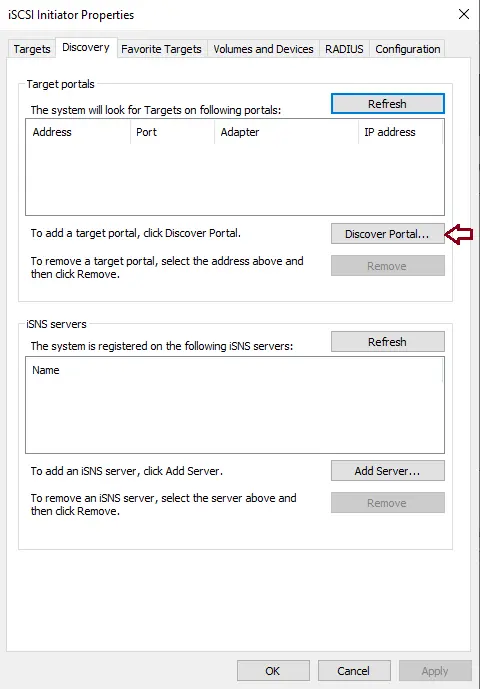
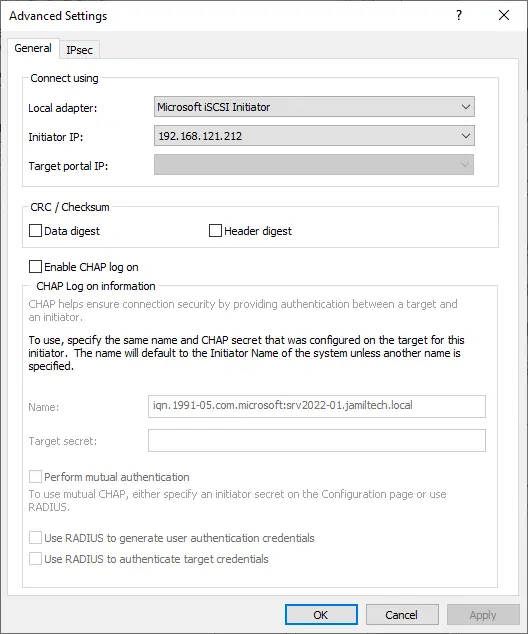
Enter the IP Address of the iSCSI shared disk and then click on the Advanced button.
Next to the Local Adapter choose the Microsoft iSCSI Initiator from the dropdown box. Next to the Initiator IP box select the IP Address of the NIC that is dedicated to the iSCSI connection. Click ok twice
Choose the LUN you want to connect to and then choose to connect button.
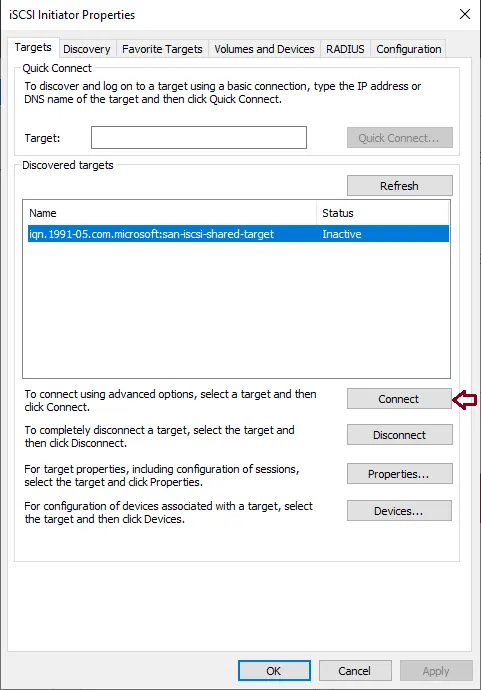
Click ok
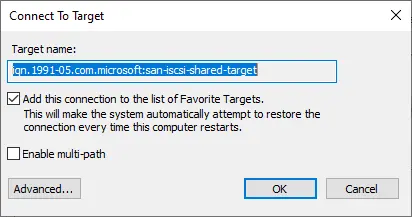
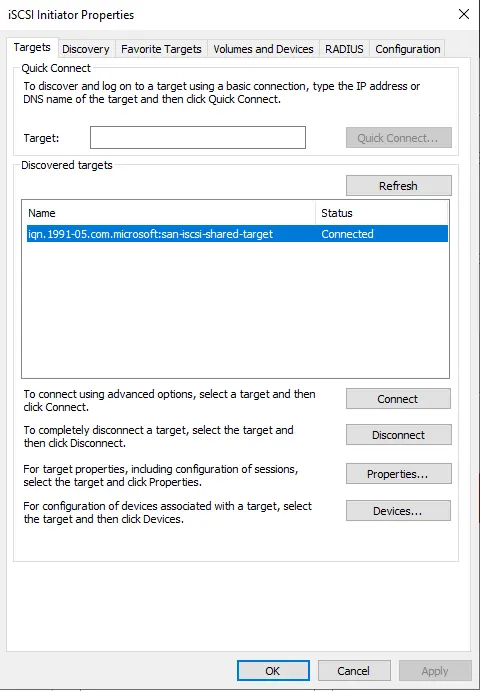
Now your iSCSI target is connected.
Follow the above steps for your secondary node (SRV2022-02)
We will have a look at configuring the volumes we have attached to your prospective cluster nodes.
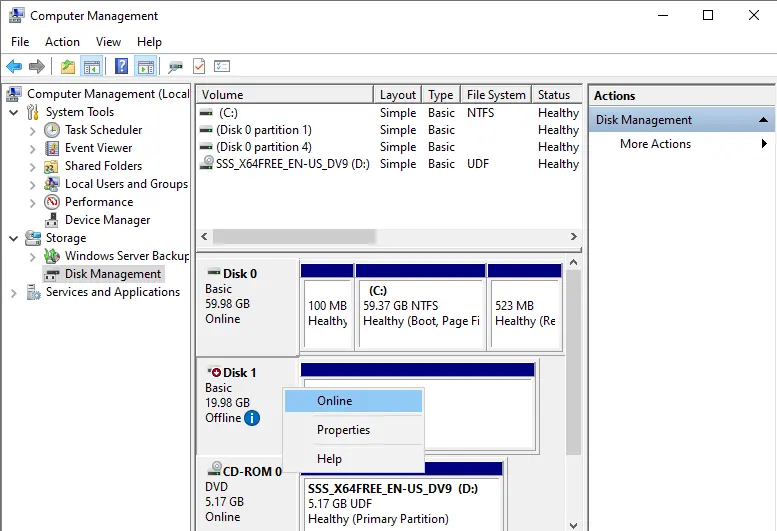
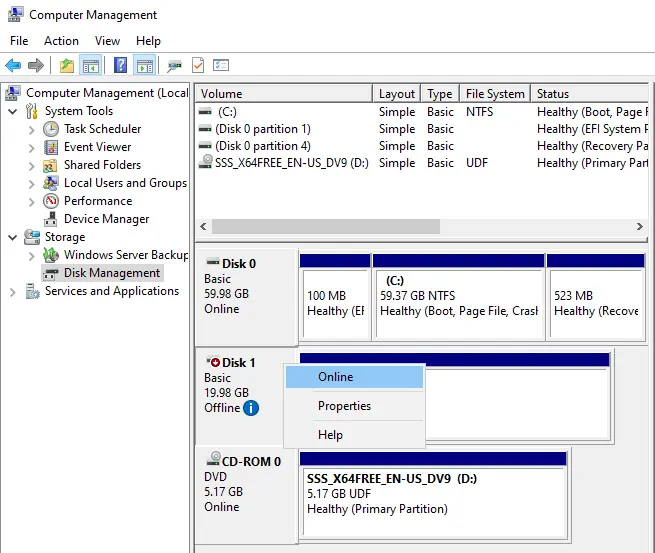
Click on the Tools tab and then choose computer management.
The shared disk (iSCSI) is displayed as offline, Unknown, and Unallocated.
Right-click on the offline disk and then choose Online.
Right-click on the disk, and then choose Initialize Disk.
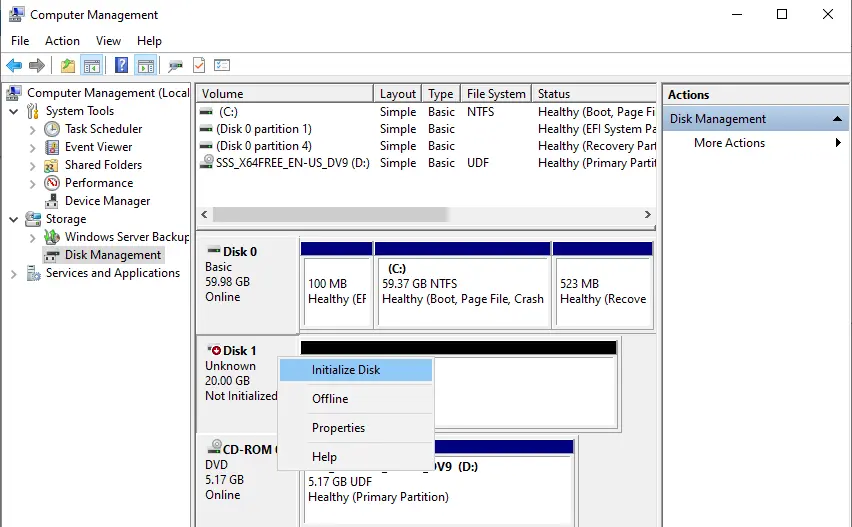
Click ok
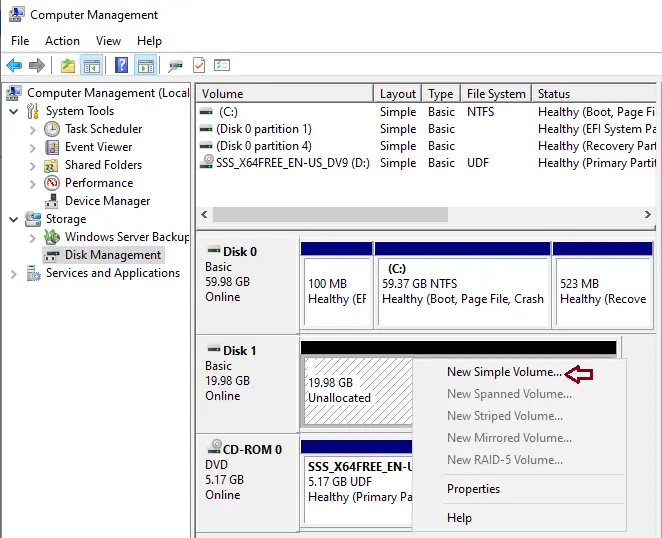
Right-click on the disk and then New Simple Volume.
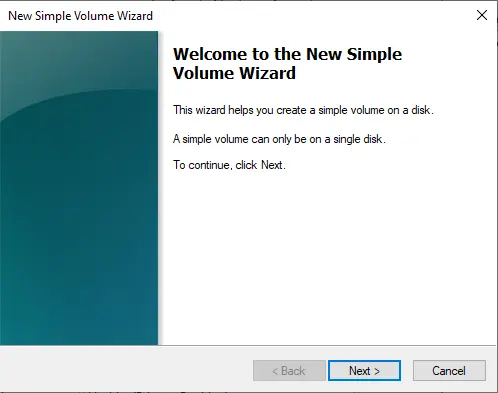
Click Next
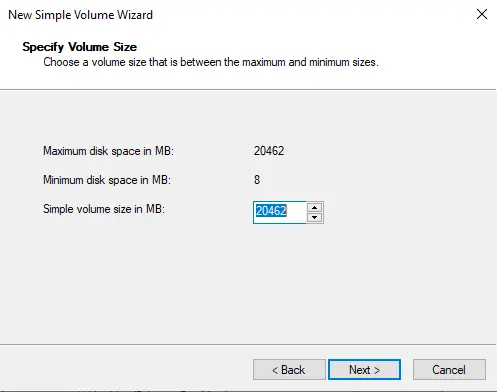
Click Next
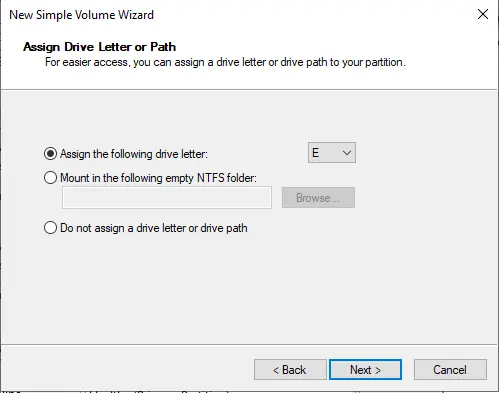
Assign the drive letter from the dropdown list. In this shared disk I am using E volume. Click Next
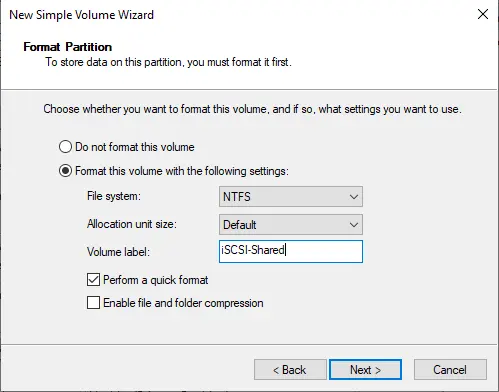
Enter a volume label name and then click next.
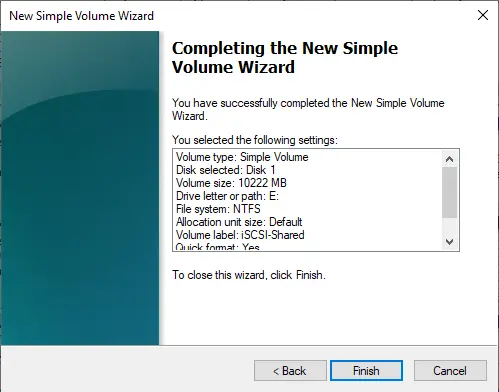
Choose the Finish button to complete the creation of the volume.
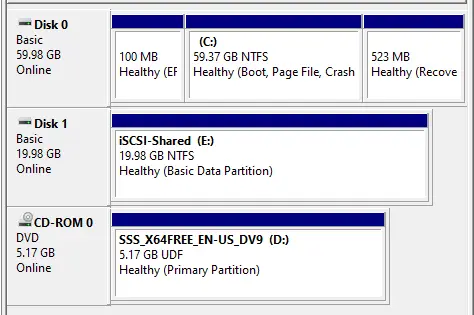
You can see the shared disk.
After configuring the disks on your first node (node-01), take them offline. Right-click on the disk and then Offline.
Now on your second cluster node-2 (SRV2022-02) launch computer management.
Right-click on the disk and then Online.
The disk appears and is formatted with the drive letter.
If the drive letter doesn’t show then choose Rescan Disks from the Action menu.

If the drive letter mismatch so you need to match them.
Failover Cluster Readiness check on Node-01 (SRV2022-01)
We have successfully mapped 2 nic’s to both servers, added the same ISCSI san on both servers, formatted, and have a volume up on one server.
Let’s verify if everything is ok.
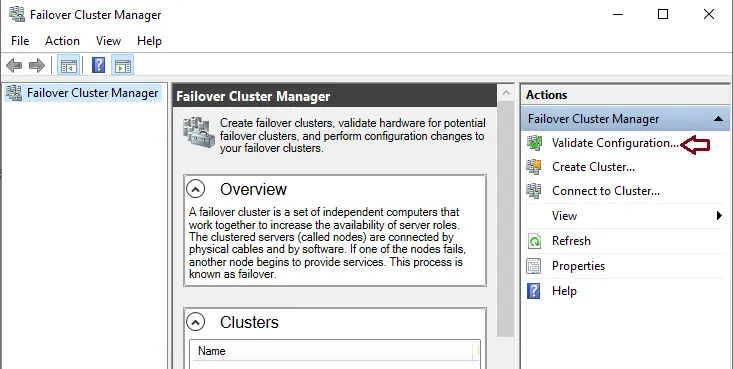
In Server Manager, choose the Tools tab and then select Failover Cluster Manager.
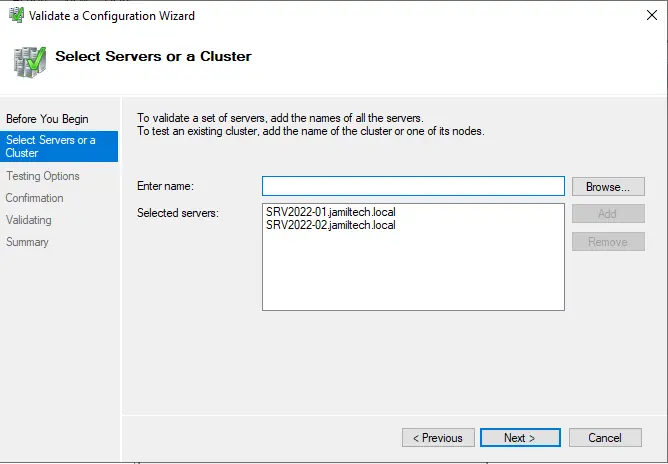
From the Action menu, choose Validate Configuration.
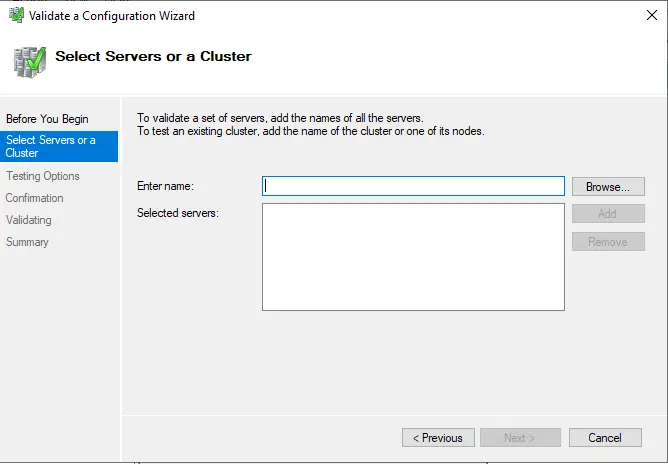
Click Next.

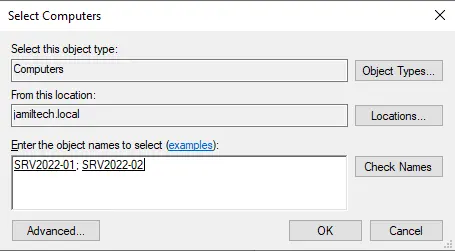
Click on the browse button.
Type node name and then click on check names.
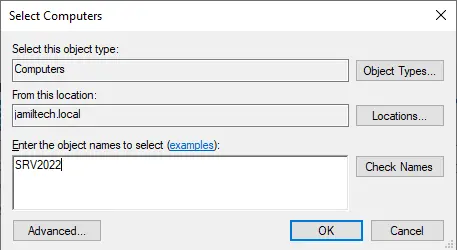
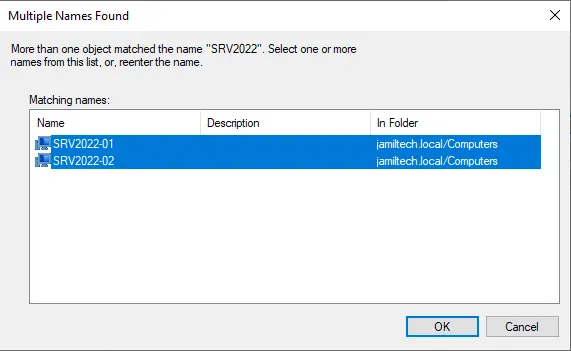
Select both nodes and then choose ok.
Click ok
Click next.
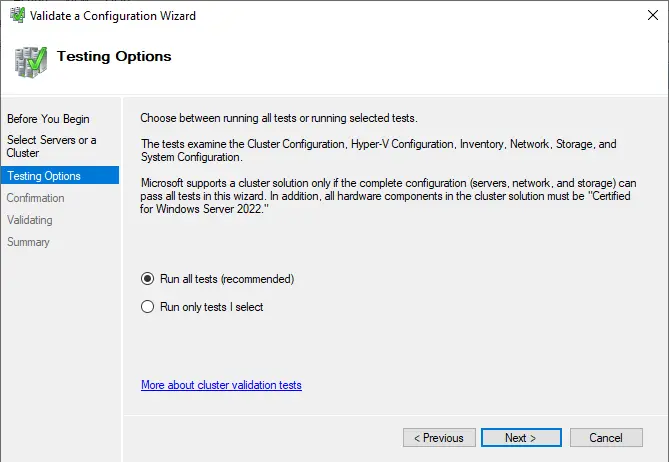
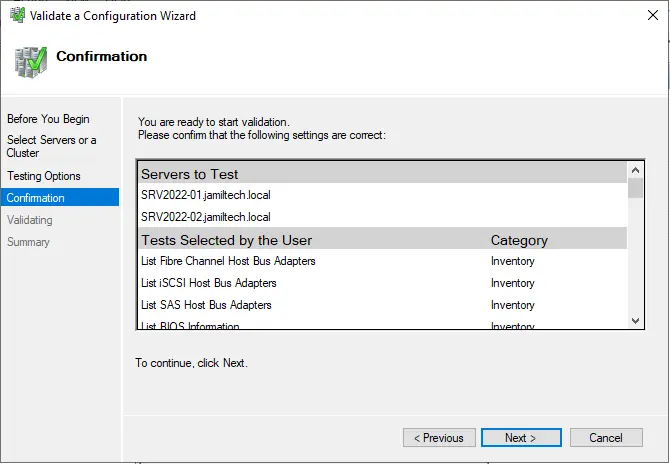
Select the Run all tests box and then click next
Review the configuration and then click next.
Cluster validation tests will take a while.
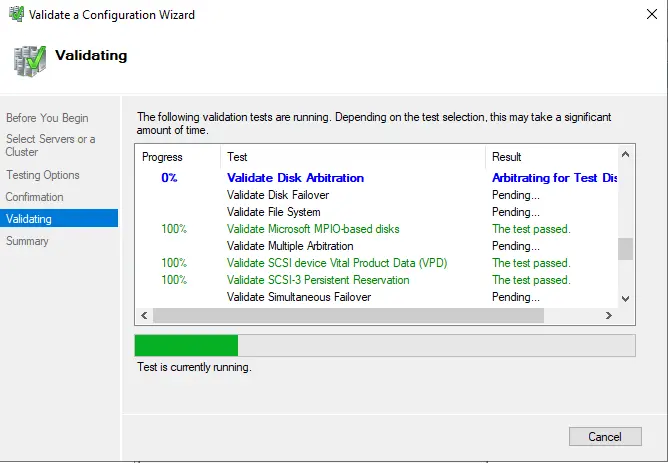
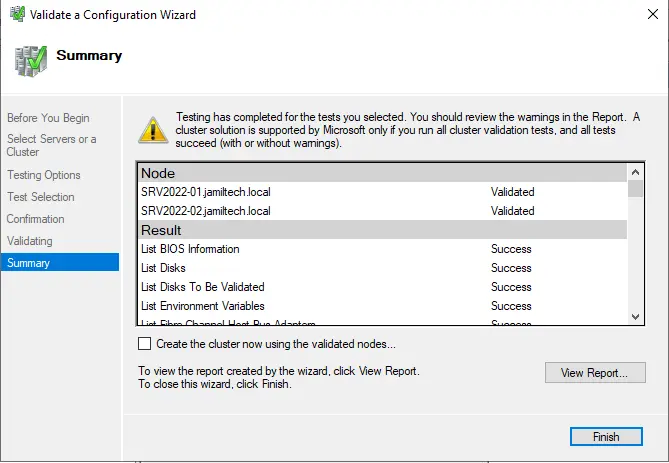
If you get an error, Validate Switch Enabled Teaming Configuration and correct them before you proceed. Once validation completes, then click Finish.
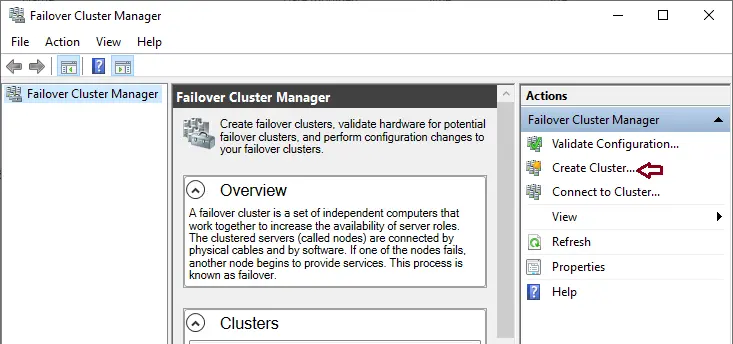
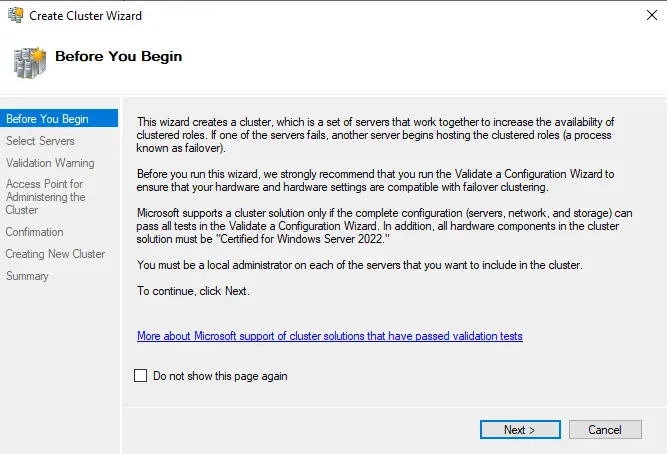
ISCSI Target Failover Clustering – Create Failover Cluster in Windows Server 2022
Click on Create Cluster.
Select Next.
Click on the browse button.
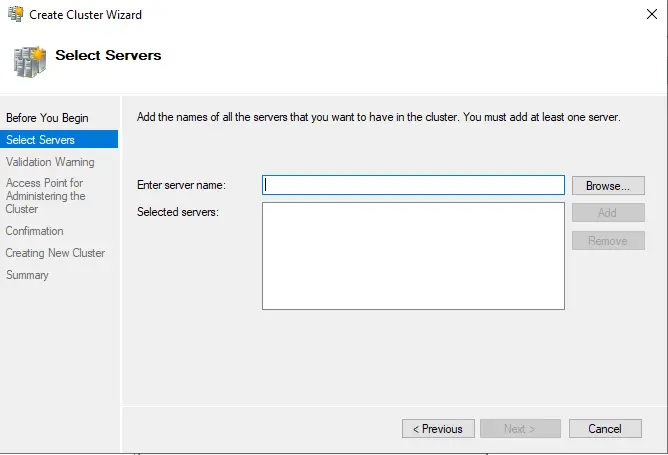
Enter both the node’s names, choose check name, and then hit ok.
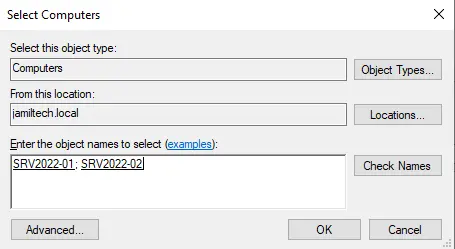
Click next
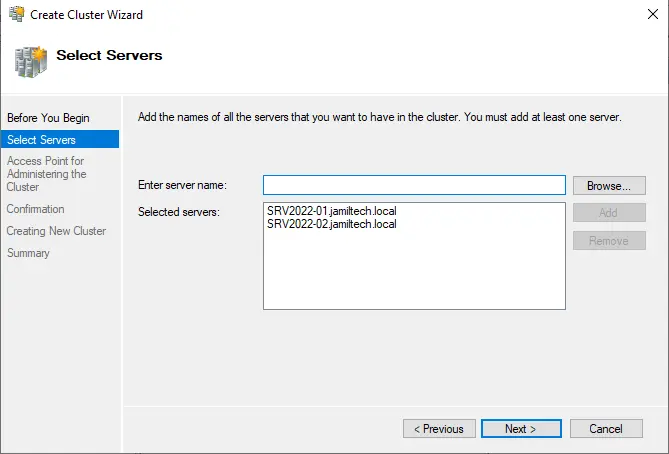
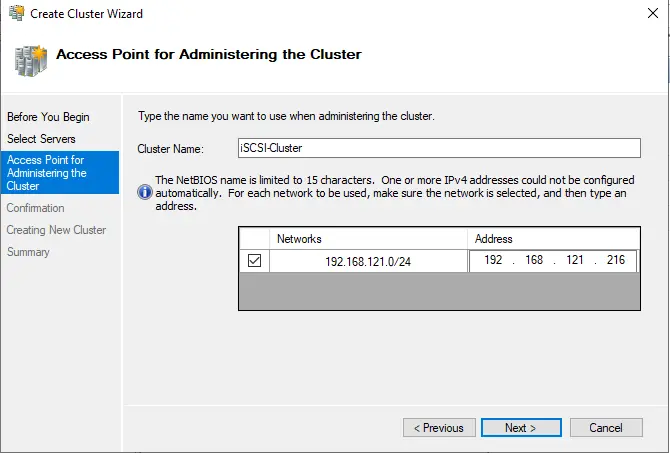
Type a unique cluster name, type your cluster IP address and then click next.
Tick add all eligible storage….. and then hit next.

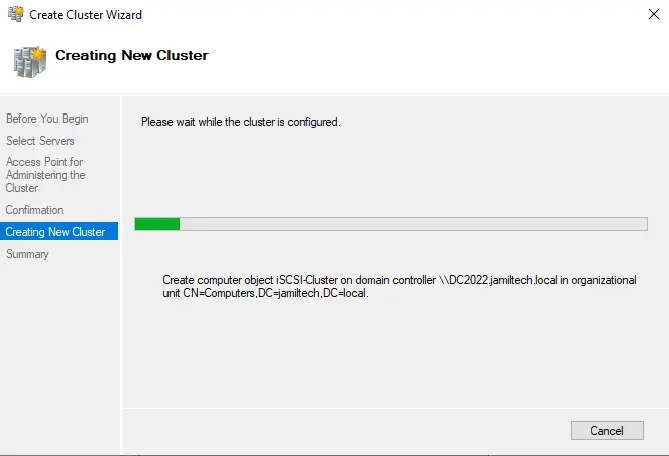
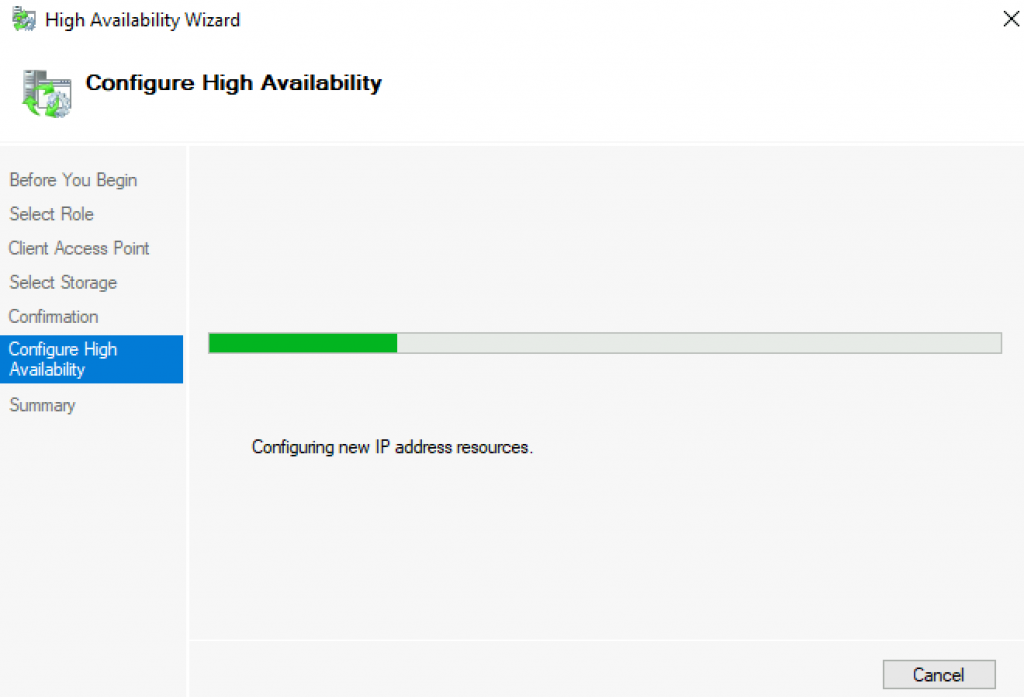
Creating a New cluster.
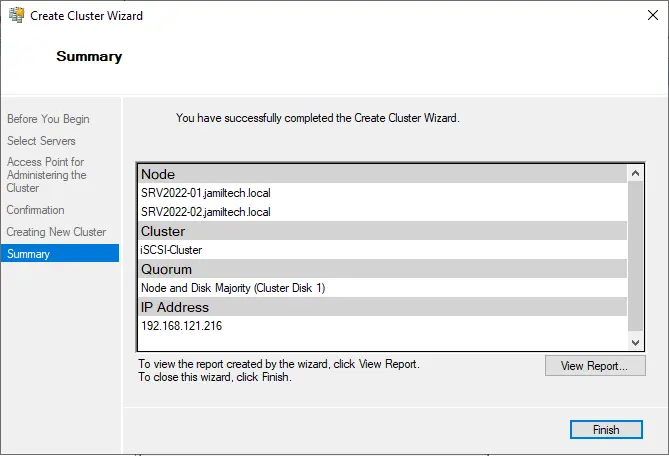
Once done, click Finish
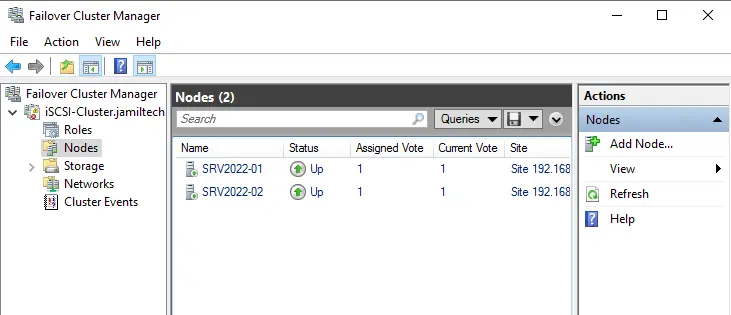
Failover cluster manager.
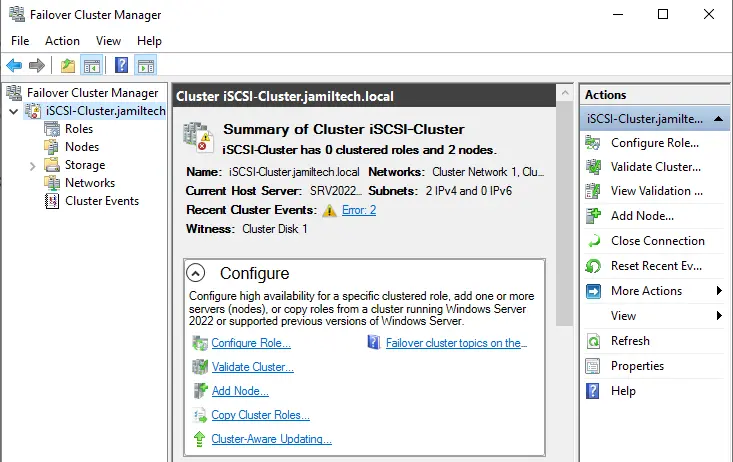
Select the nodes option and then see both the Nodes are up now.
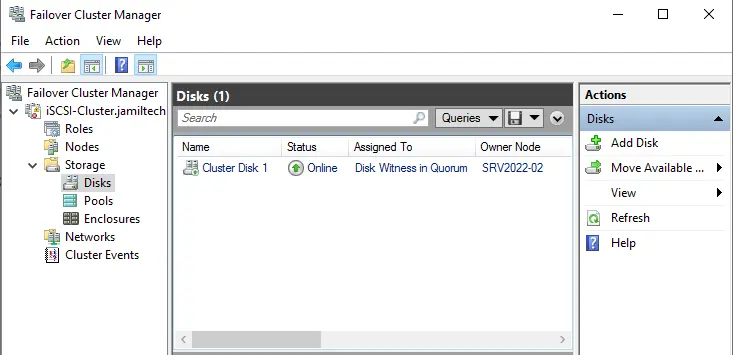
Choose the Storage option, we can see the disk being mapped.
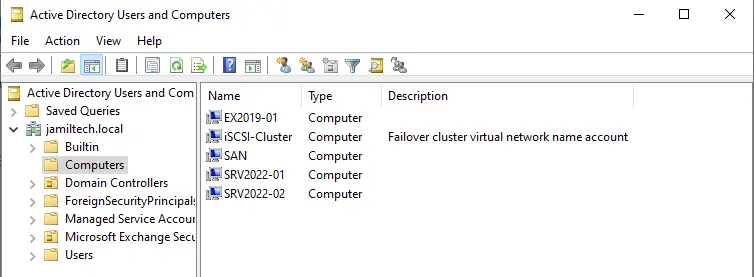
Verify the DNS Configuration.
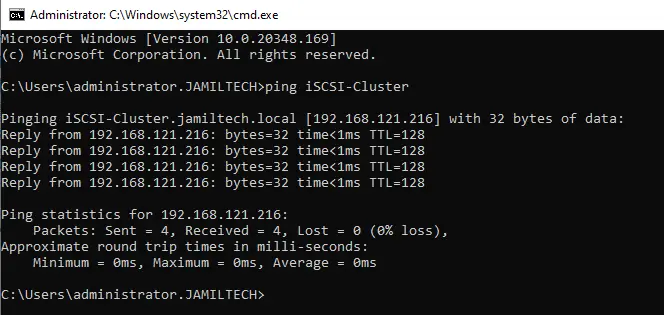
Verify if the iSCSI-Cluster address is pingable.
Jamilhttp://jamiltech.com
A Professional Technology Blog Writer | An energetic professional with more than 20+ years of rich experience in Technology, Planning, Designing, Installation, and Networking.
We already done ISCSI Target setup on the blog. We also done failover clustering guide and two node storage spaces direct guide.
All of these ingredients we will now use to configure ISCSI Target cluster on Windows Server 2019.
Before we begin
This will be a short tutorial which assumes you already have configured Windows Server Clustering component and two node Storage Spaces Direct configured (S2D) on that cluster.
Prerequisites
I will do this on top of two machines which are in domain.
Node1 – External IP 10.0.0.123 Private IP 192.168.5.2
Node2 – External IP 10.0.0.124 Private IP 192.168.5.3
Cluster Name TargetCluster1 with IP 10.0.0.128
I also set already two node S2D cluster on these machines with 40GB volume assigned to S2D cluster.
We will do ISCSI target cluster on top of that. You can “Create two node Storage Spaces Direct (S2D) inside VMs” already on my blog. I will build on top of that here.
On both Node1 and Node2 Add ISCSI Target Server Role.

Reboot servers after installation.
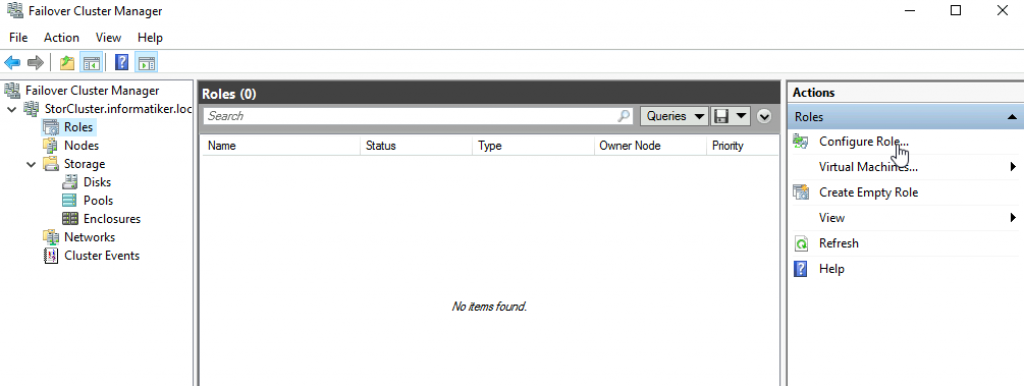
On Node1 I will open Failover Cluster Manager, extend already created StorCluster and select Roles. From the right part of the screen I will select Configure Role…
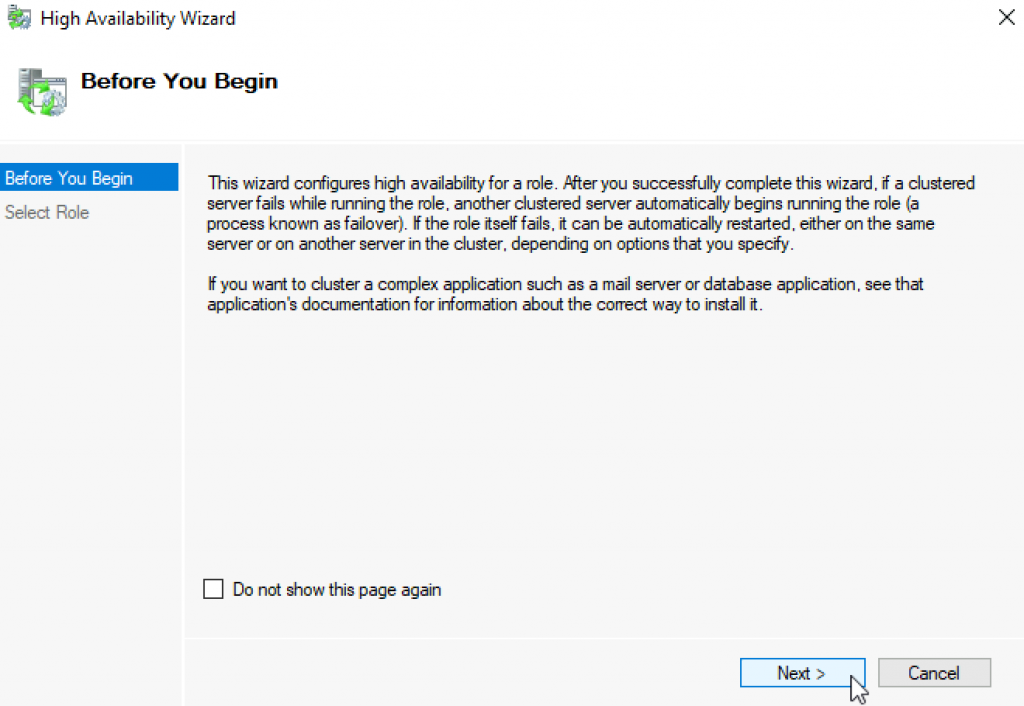
Next
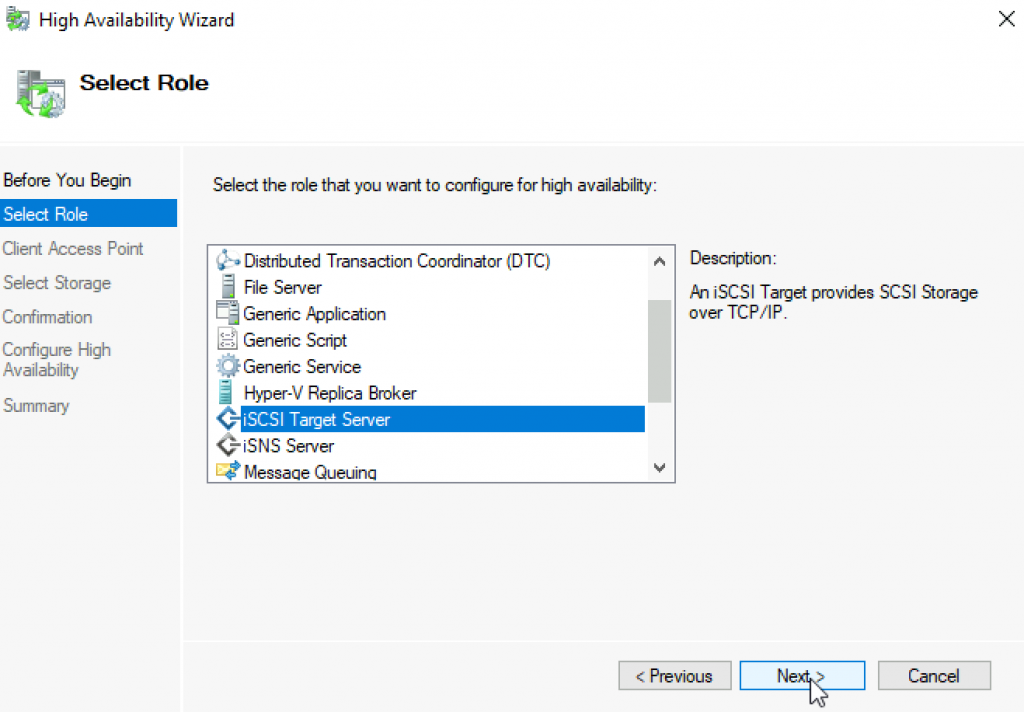
Select ISCSI Target Server | Next
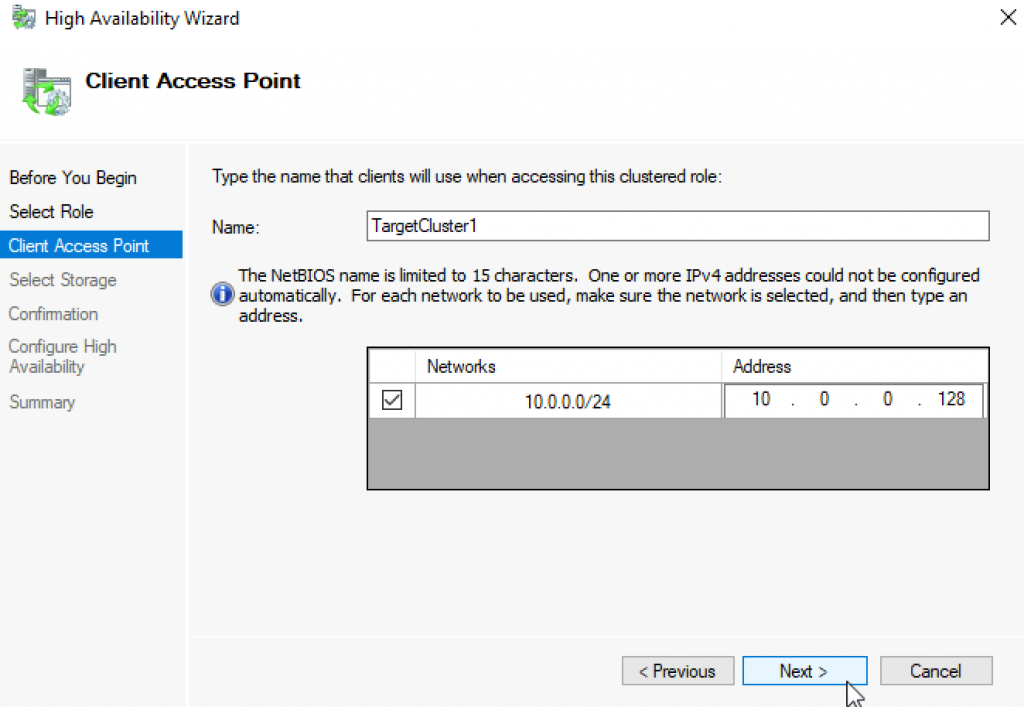
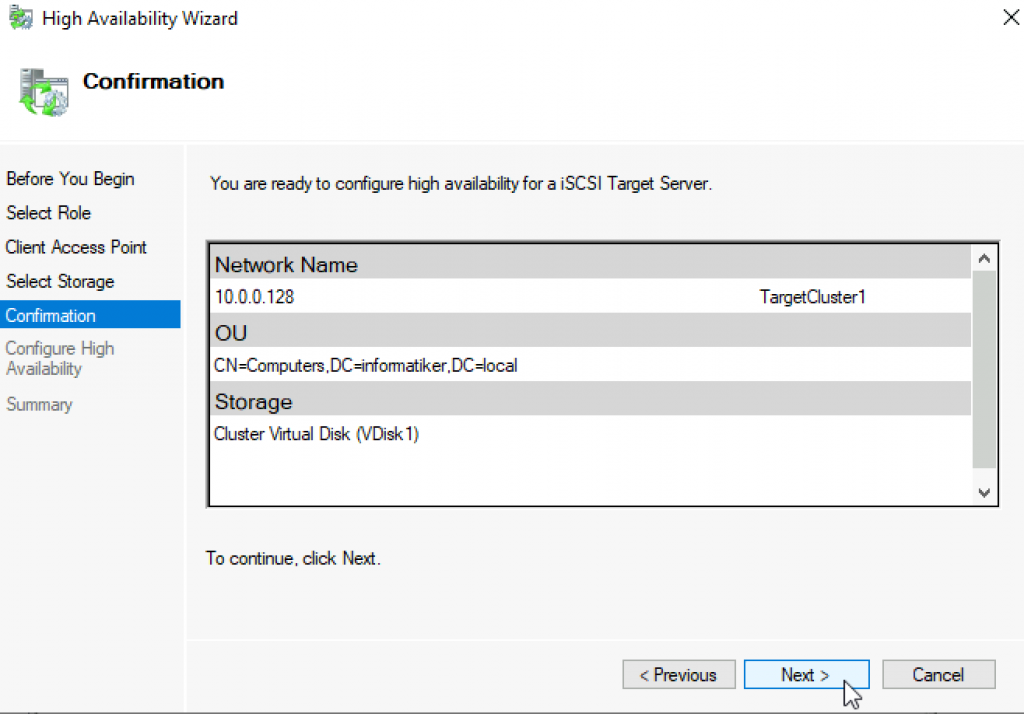
I will name my cluster and give it IP address. Next
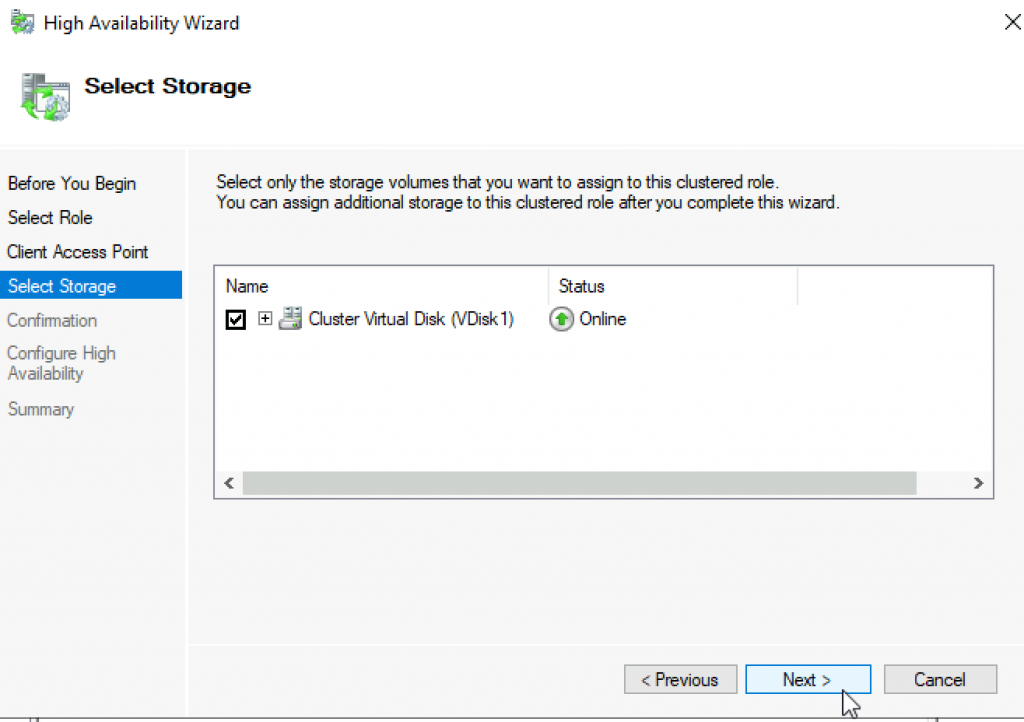
I will select create VDisk1 I already did in two node S2D guide earlier. Next
Next
…
We are done! Finish
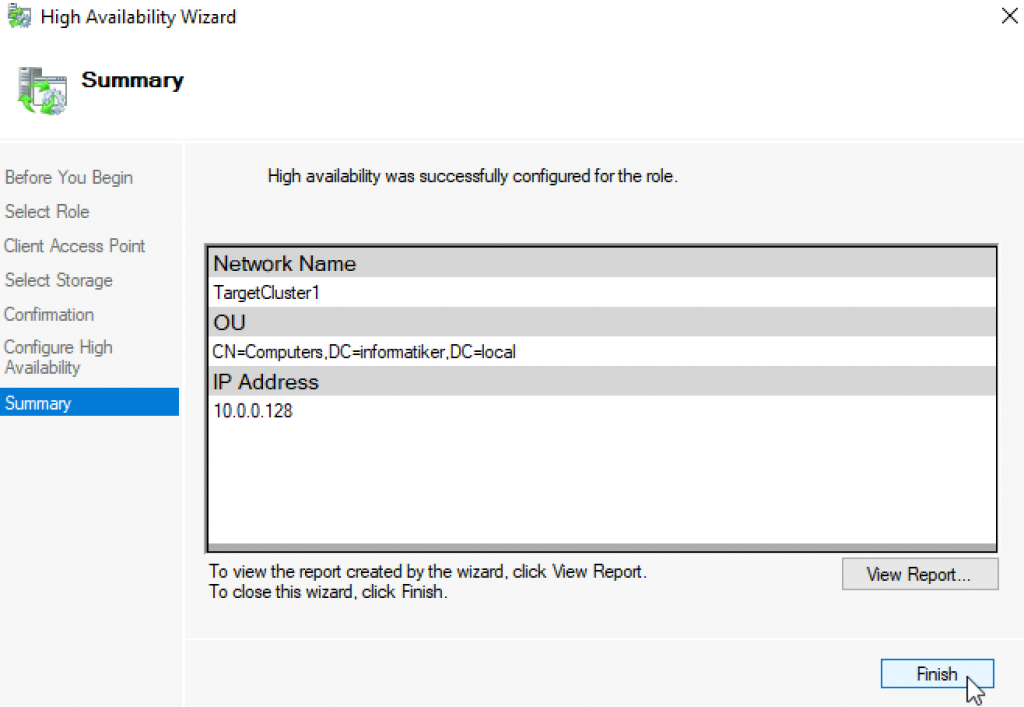
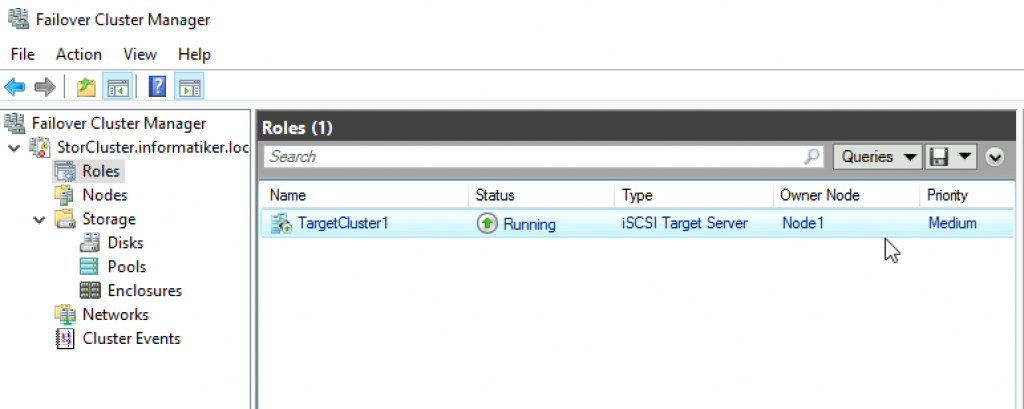
Role is created
Ok, we are done.
Create New ISCSI Target/ Testing
We will now create new ISCSI Target, the procedure is same as with normal ISCSI Target I already wrote about.
I will only write about this in short here, only to quickly show the process and to test availability.
We will attach clustered ISCSI Target to one initiator and see if the content of the ISCSI Target is available after one of the ISCSI Targets is down.
Let’s go
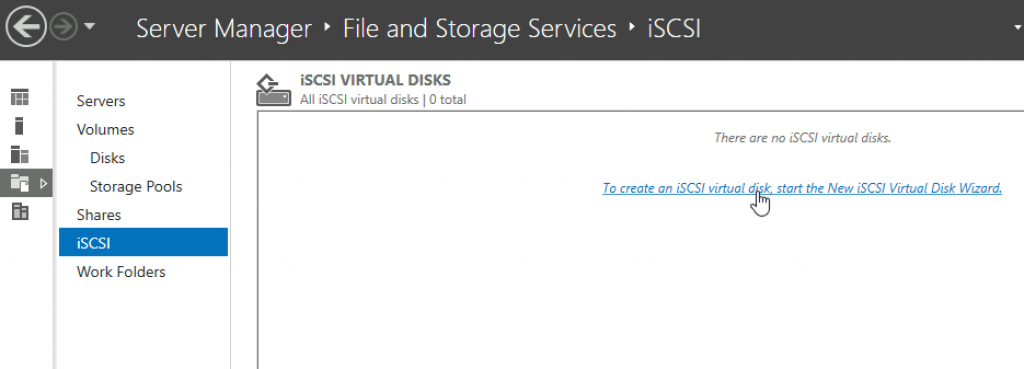
On Node1 I will start ISCSI Virtual Disk Wizard
We will be offered TargetCluster1 and volume we assigned to it. So far, so good. Next

Name your virtual disk and select Next

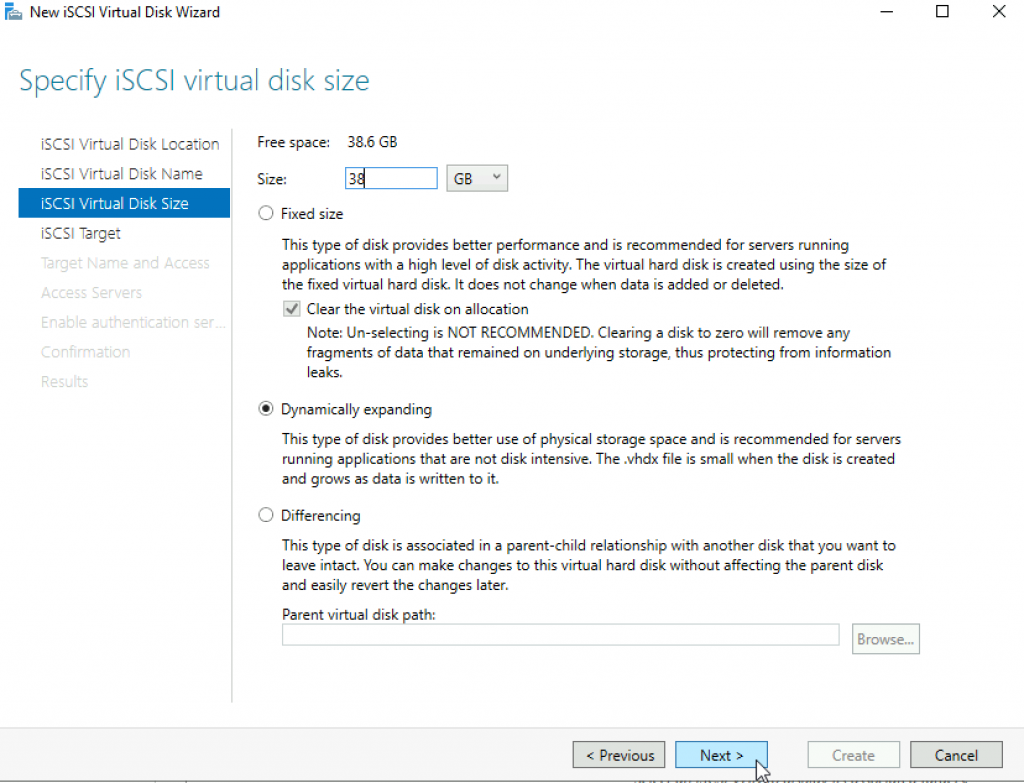
Select Size and type | Next
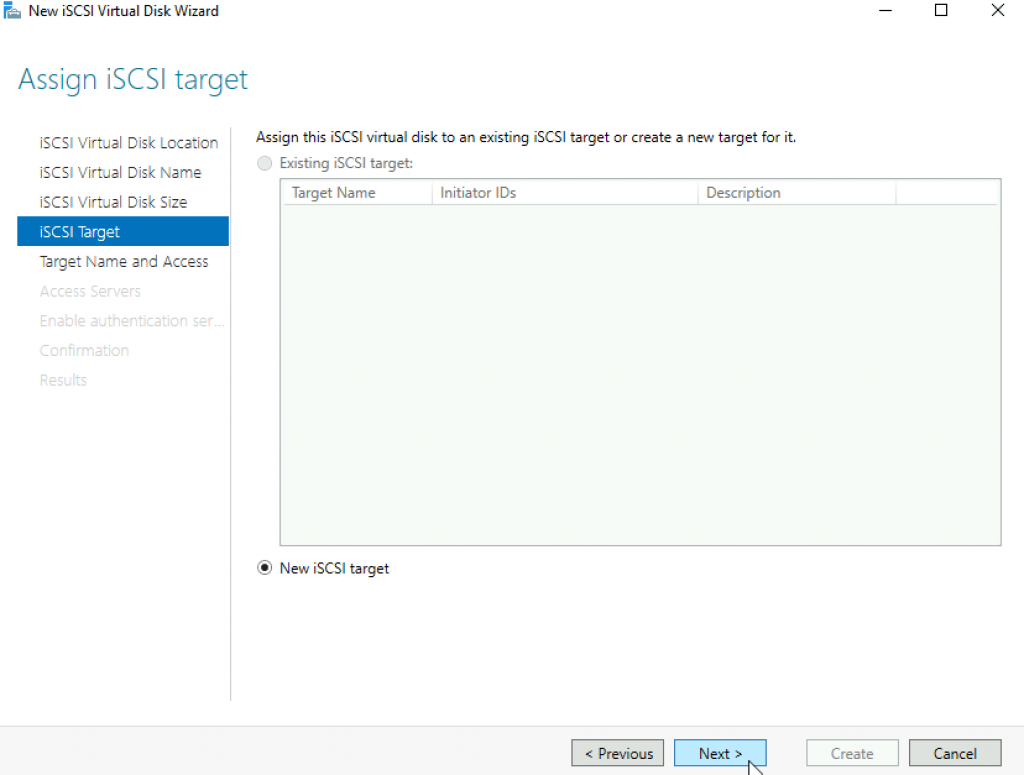
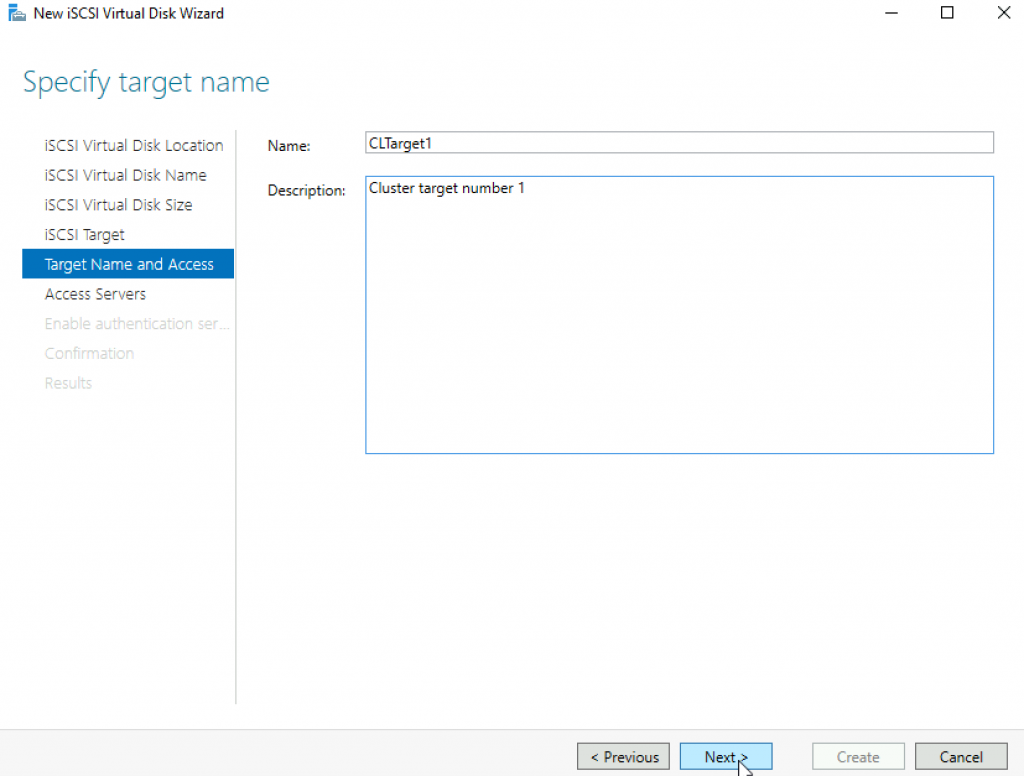
We will define new target | Next
Name your new target | Next
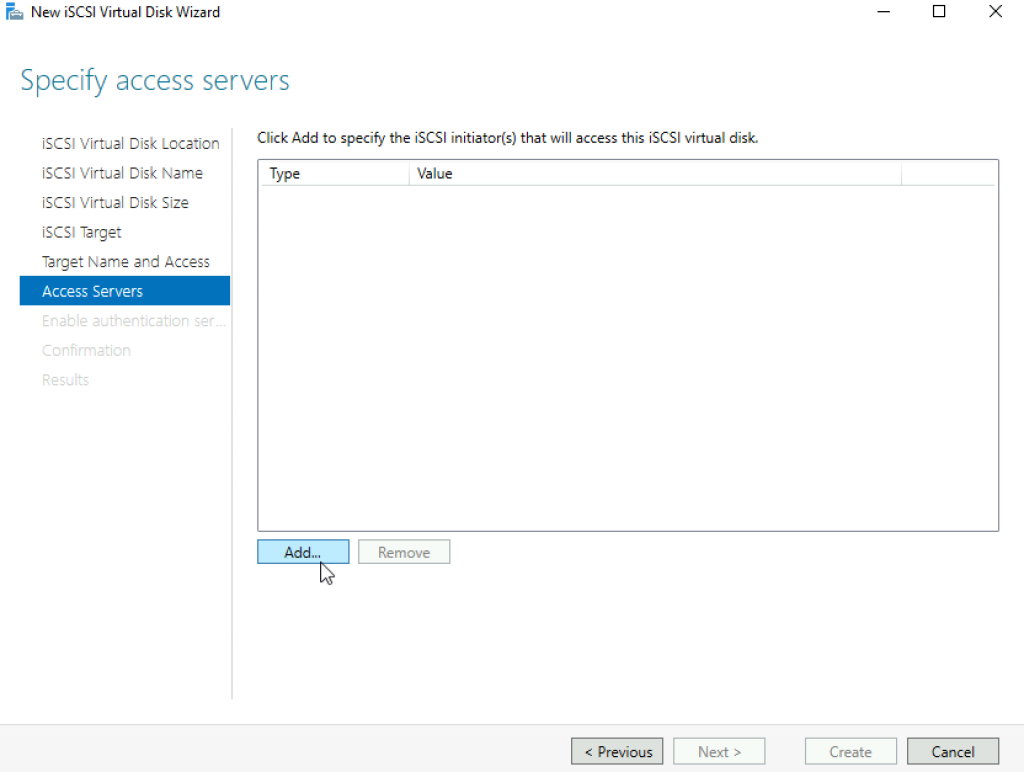
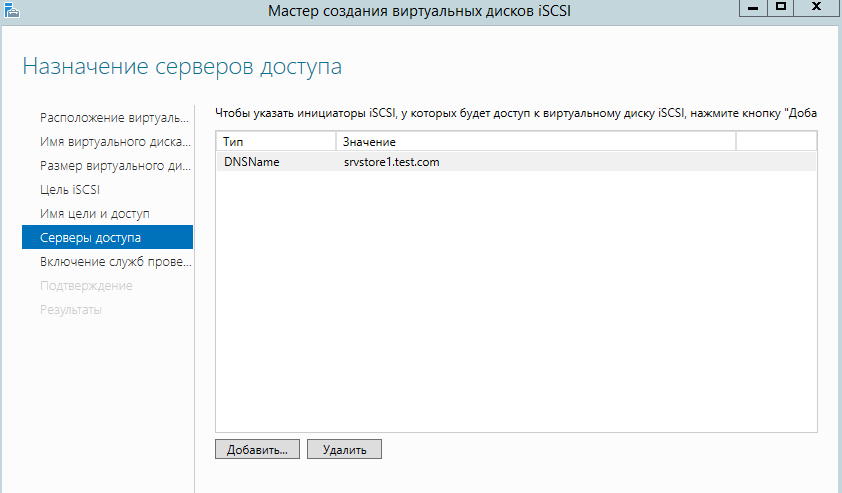
Add servers that will access this target storage | Add
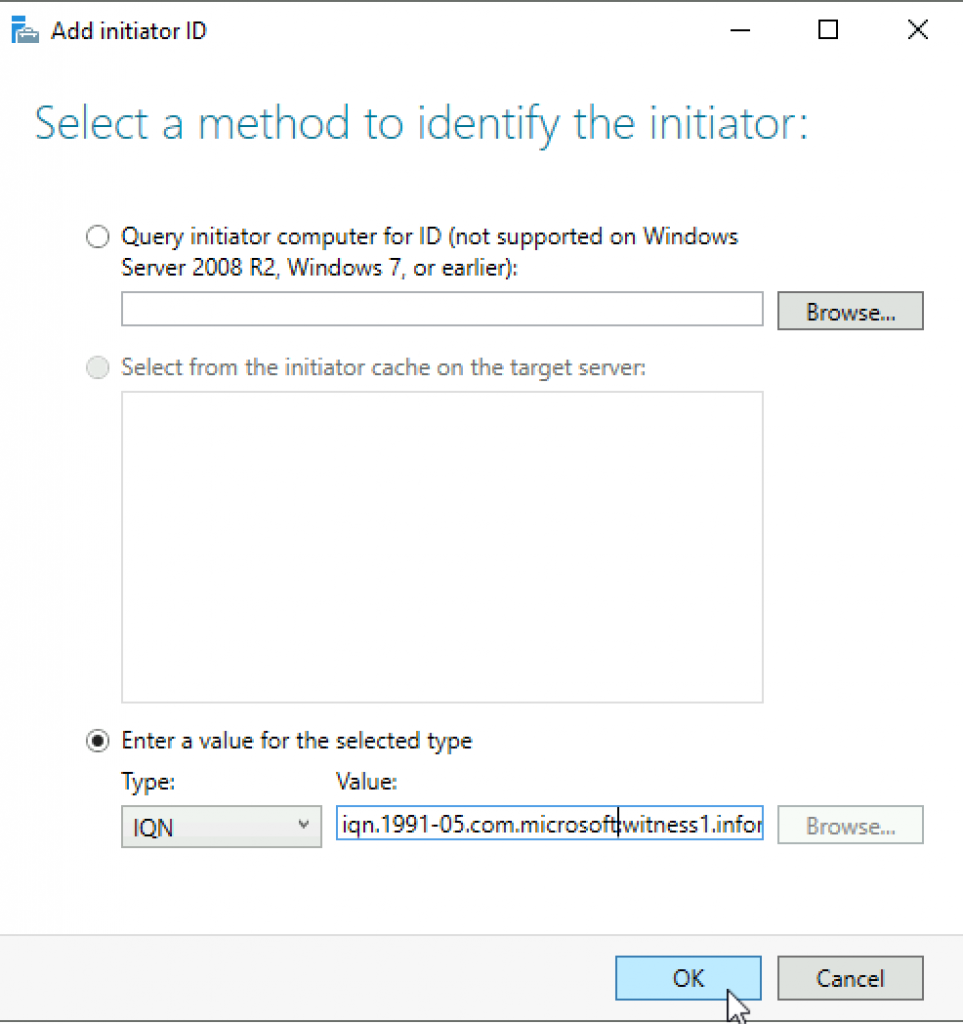
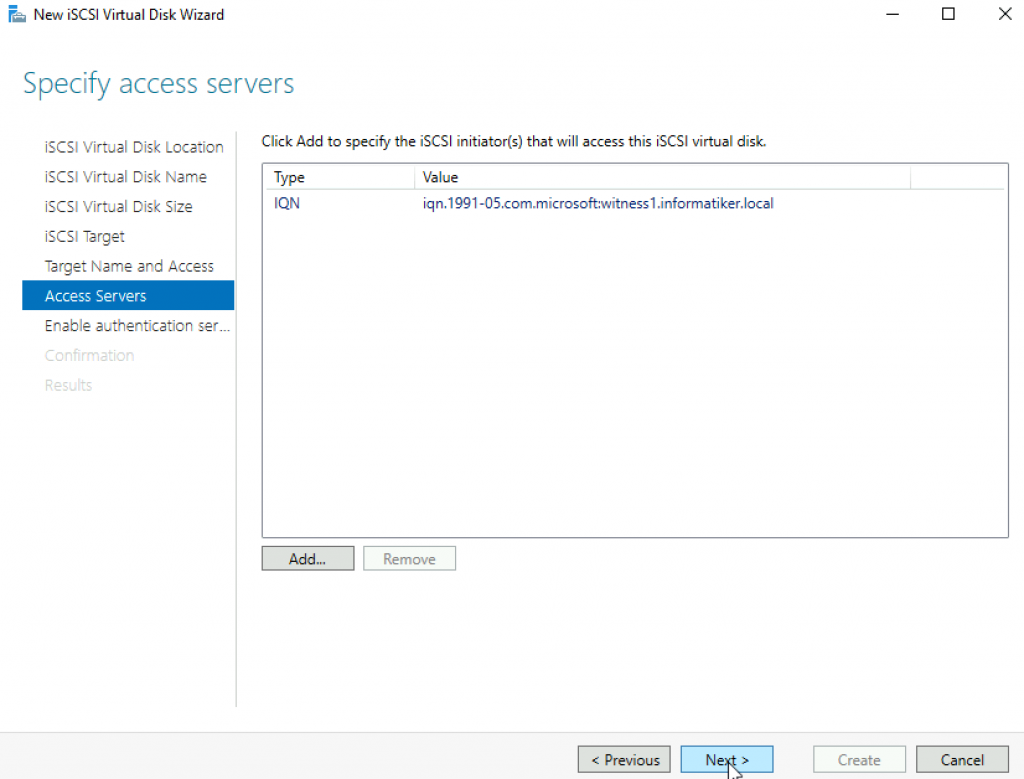
I entered value of ISCSI initiator I got from the machine that the target will be attached to. OK
Next
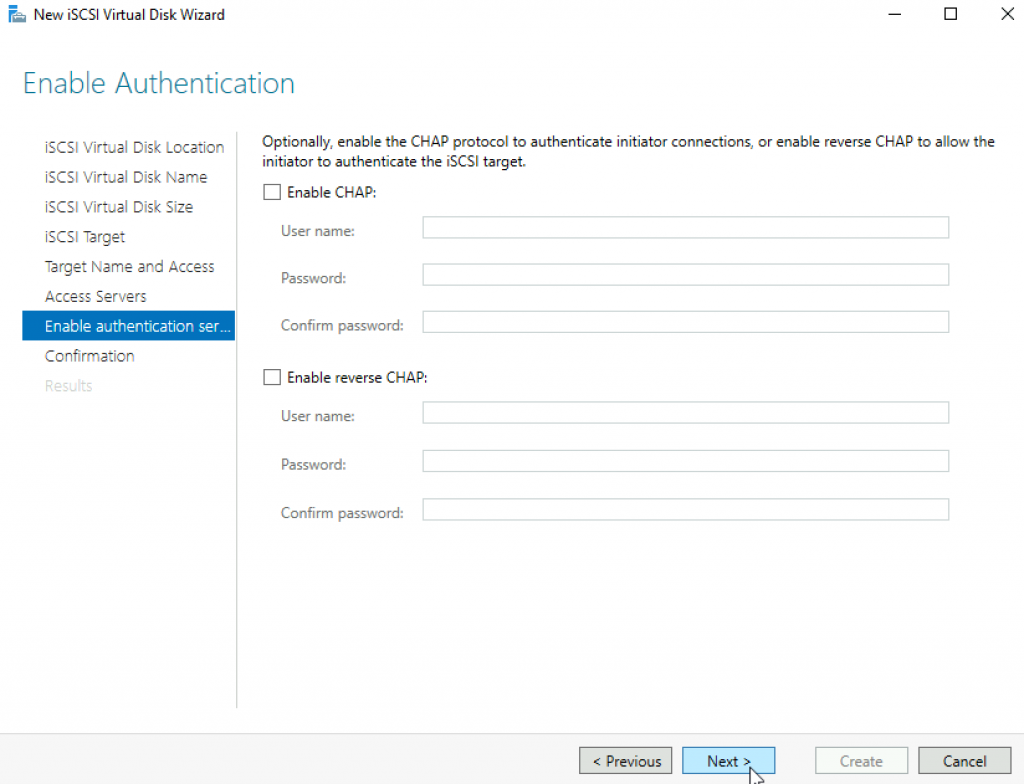
I will skip authentication | Next
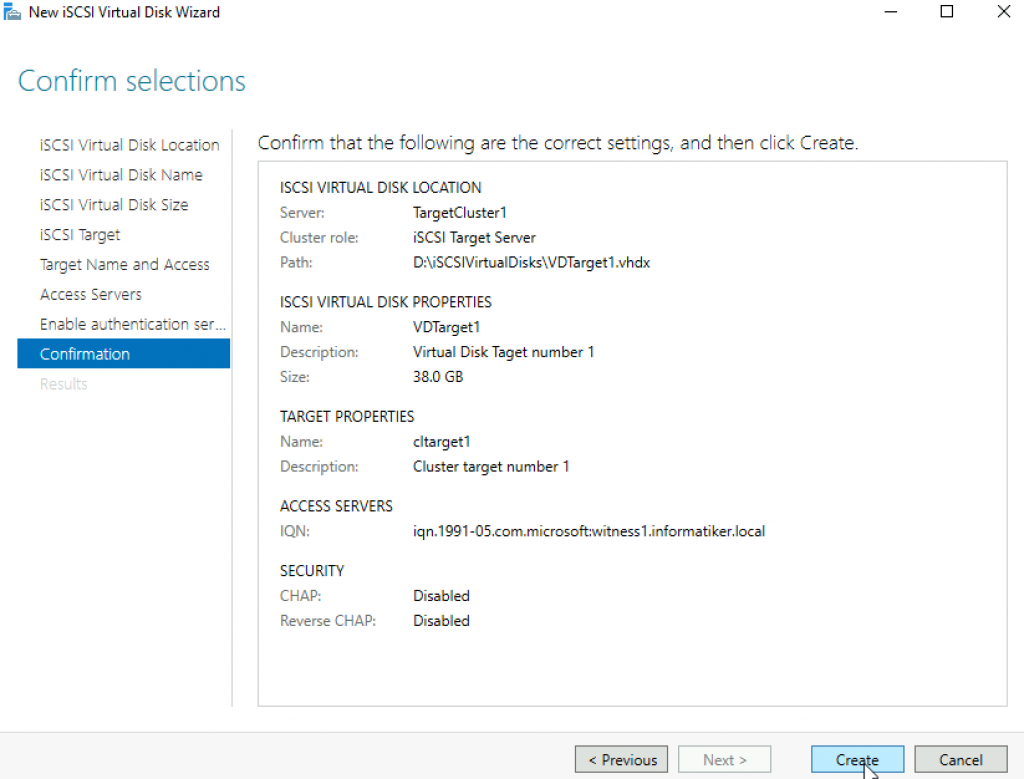
Confirm your settings and click on Create
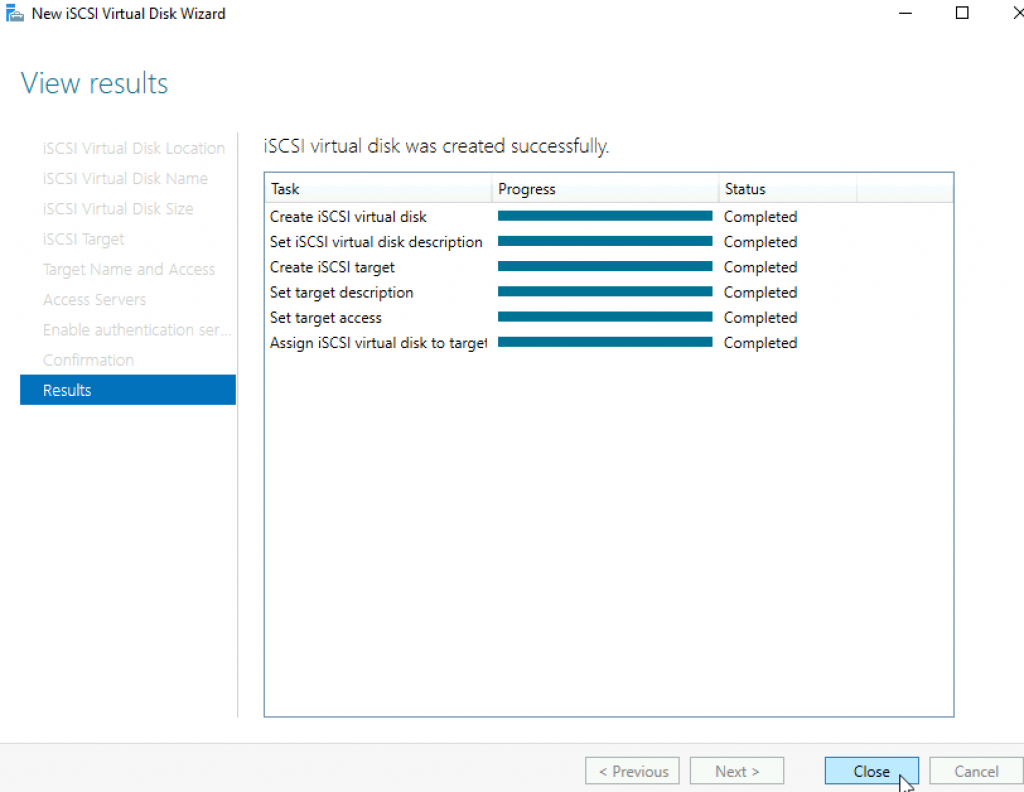
We did it! Everything is created. Close.
Now, to the machine we are going to connect our ISCSI target. In my case, initiator is on witness1 machine inside domain.
On witness1 machine I started ISCSI initiator and installed MPIO.
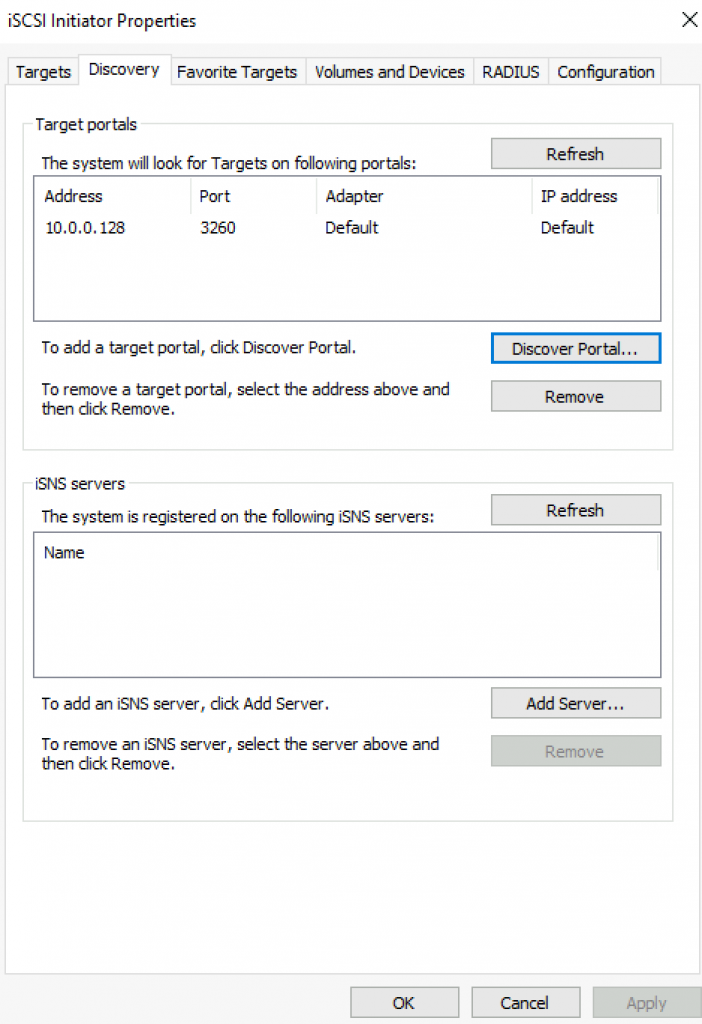
In ISCSI initiator inside Discovery tab I entered 10.0.0.128 as target portal. It is important you enter IP address of the ISCSI target cluster, not individual members of cluster (Node1 or Node2).
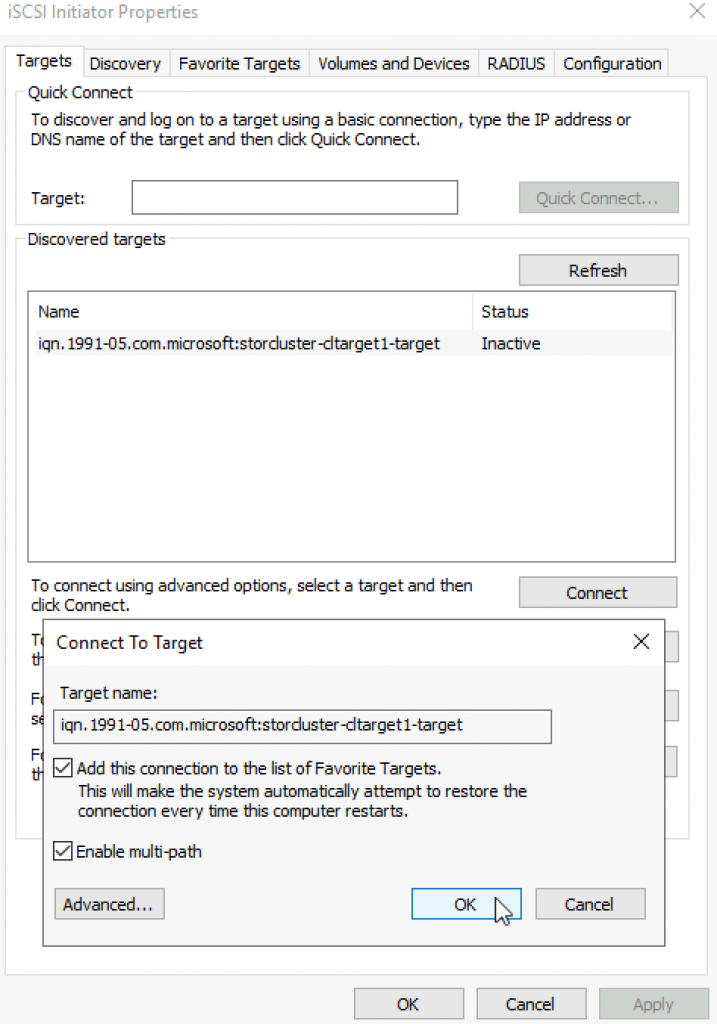
On targets tab I selected Connect to the offered cltarget1. In the window that appeared I selected MPIO.
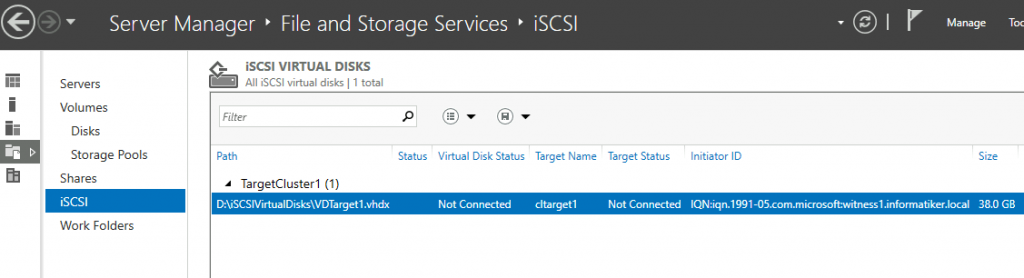
If we go back to the Server Manager of Node1 we can see that our TargetCluster is now connected to the ISCSI initiator.

All is good.
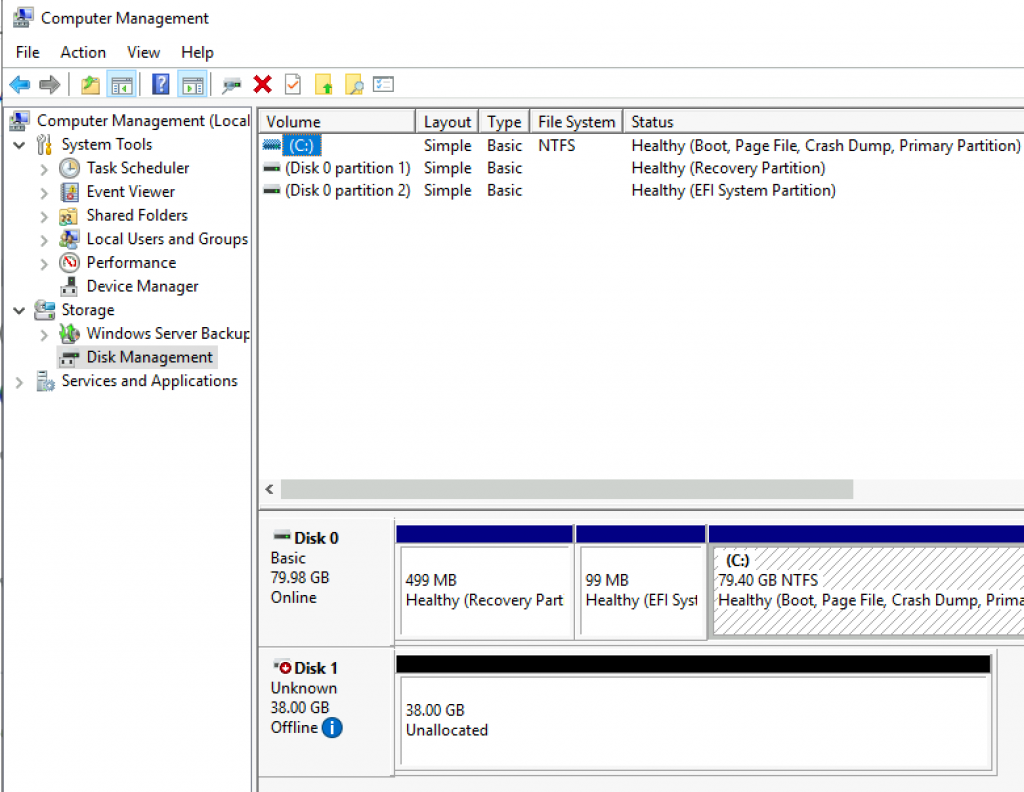
On the witness1 machine to which our ISCSI Target is now connected we can see a new unformatted disk inside Disk Management. I will format it and put simple file on it.
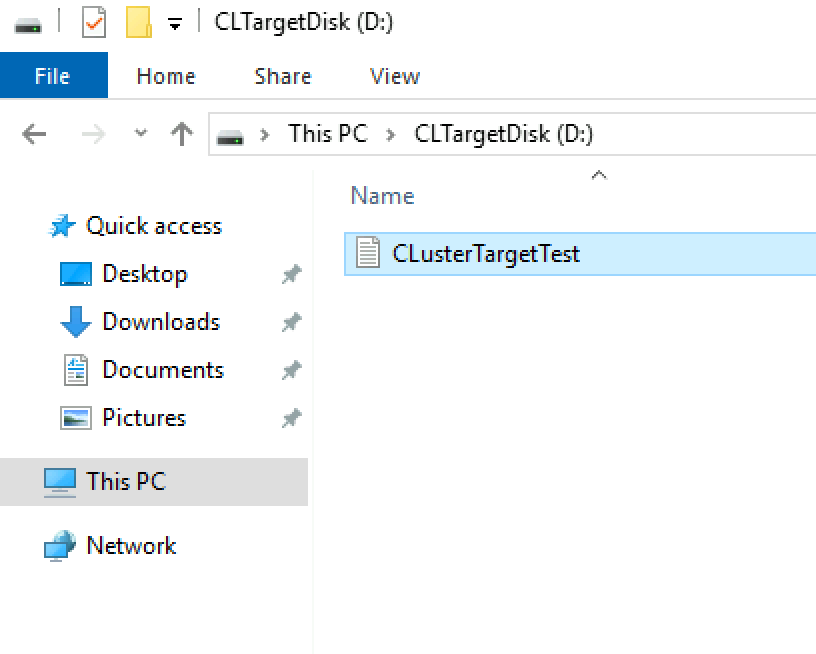
I created new drive and put simple txt file on it.
Testing
It is important you test these scenarios in detail, so you don’t end up with corrupted data.
I formatted attached ISCSI Target on witness1 machine. I created simple .txt file on it. I simply tested by turning off one of the ISCSI target nodes.
I tested by turning off Node1 and then after I powered it up, I downed Node2. Everything was fine, data was available.
Be sure to test this extensively before you put it in production. Test inside lab with production data and make sure everything works…
Conclusion
We have done Failover clustering, S2D on VMs and ISCSI Target in the mix. You will need to see if this fits your production needs, Microsoft recommends S2D only in physical hardware scenarios, but I found (for myself) I can use virtual version for some scenarios. You will need to test for yourself and decide if you want to “risk” this setup.
Disclaimer
Дата: 19.05.2015 Автор Admin
В данной статье мы рассмотрим как настроить Отказоустойчивый ISCSI кластер на Windows Server 2012 R2.Для настройки нам понадобятся 2 сервера.
Кластер в данной статье будет настраиваться по следующей схеме:
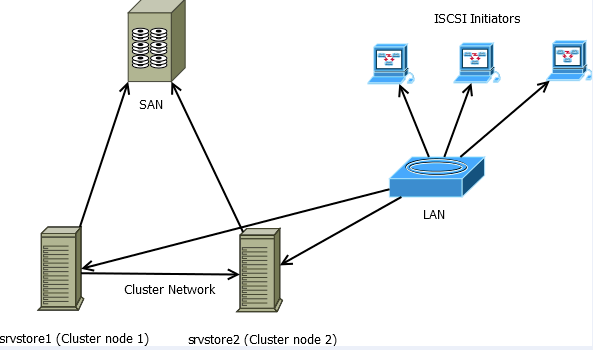
Соответственно у вас должна быть сеть хранения данных, подключенная по FC, SAS или ISCSI (необходим ISCSI протокол версии не ниже iSCSI-3)
Должна быть настроена LAN сеть на каждом узле кластера, и отдельная сеть между кластерами.
На первом сервере включаем компонент «отказоустойчивая кластеризация»
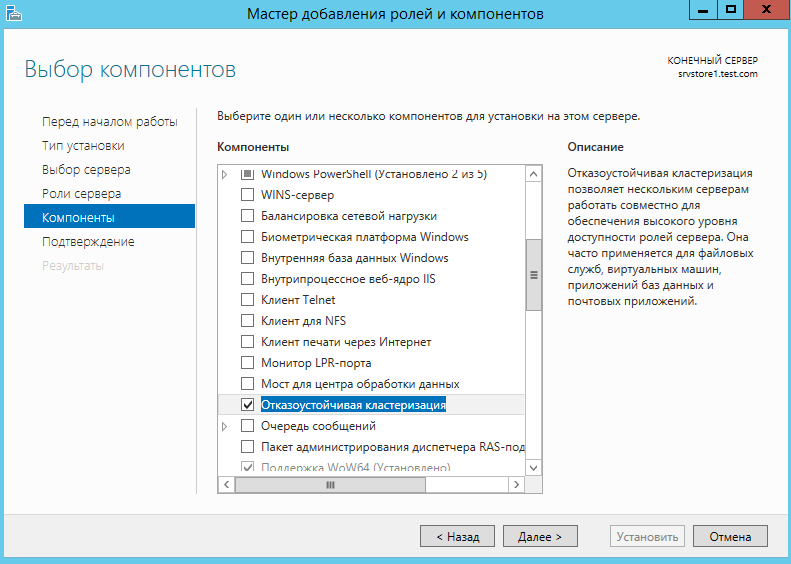
Нажимаем далее, и выбираем установить.
По аналогии устанавливаем компонент на втором сервере.
Перейдем на первый сервер и перейдем к созданию кластера.
Открываем Диспетчер отказоустойчивости кластеров.
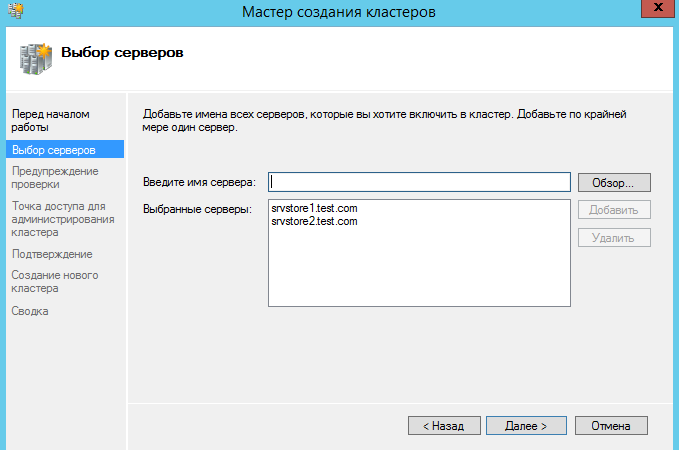
Выбираем создать кластер
Добавляем сервера (узлы кластера)
Далее по желанию запускаем проверочные тесты.
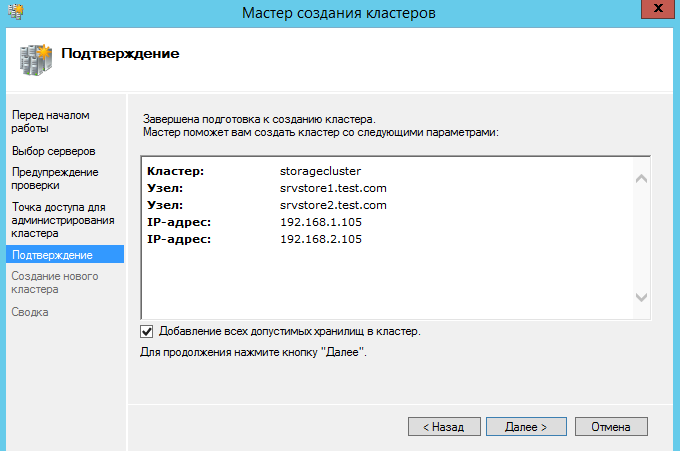
Вводим имя кластера и адреса.
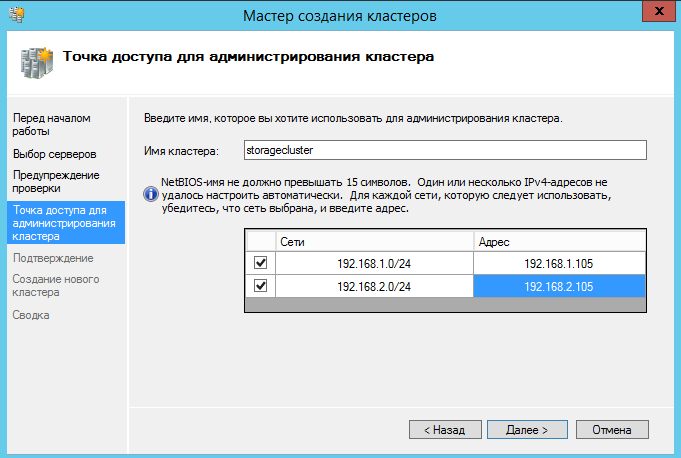
Создаем кластер. Обязательно добавляем все допустимые хранилища.
Дождитесь окончания работы мастера. Если мастер не находит узлы кластера, проверьте настройки брандмауэра или сети.
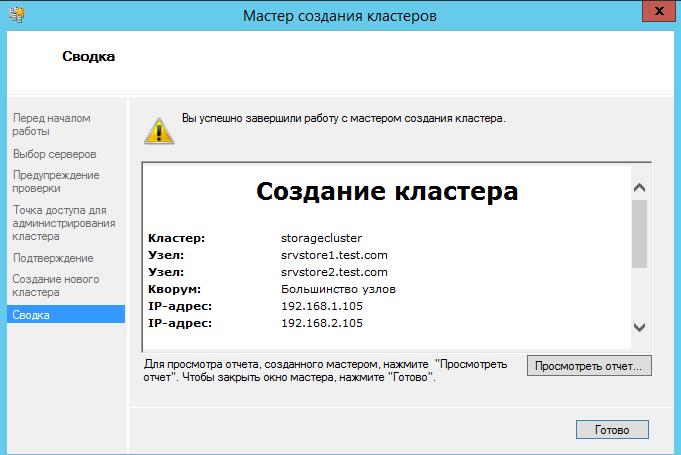
Далее в консоли должен появится созданный кластер.
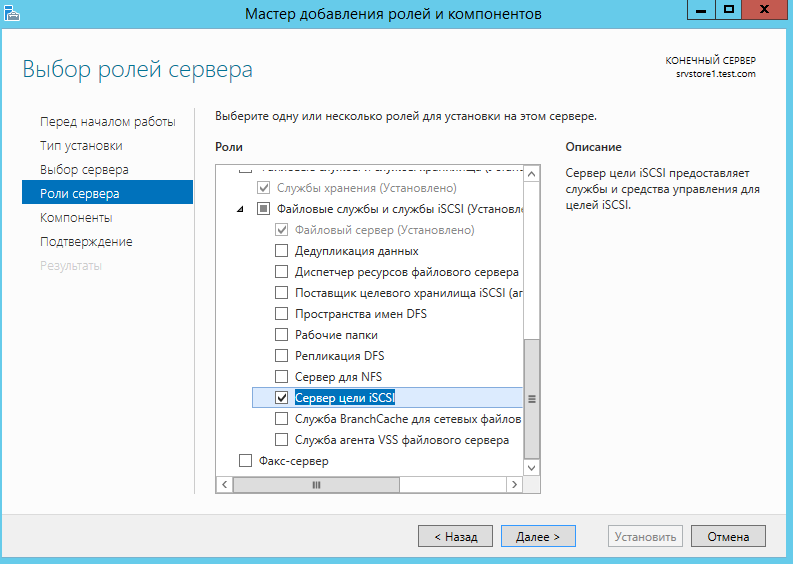
Добавляем роль ISCSI target на каждый узел кластера.
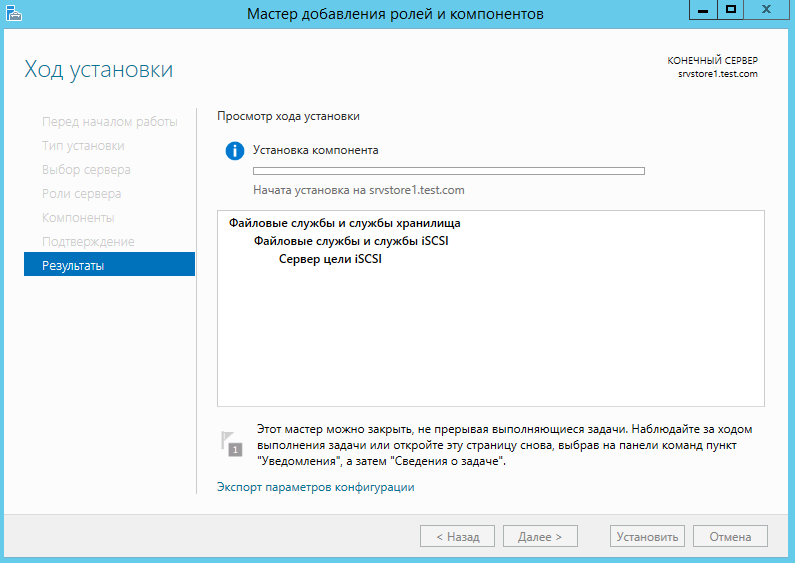
Дожидаемся установки компонента роли.
Возвращаемся в консоль управления кластером, и добавляем новую роль кластера.
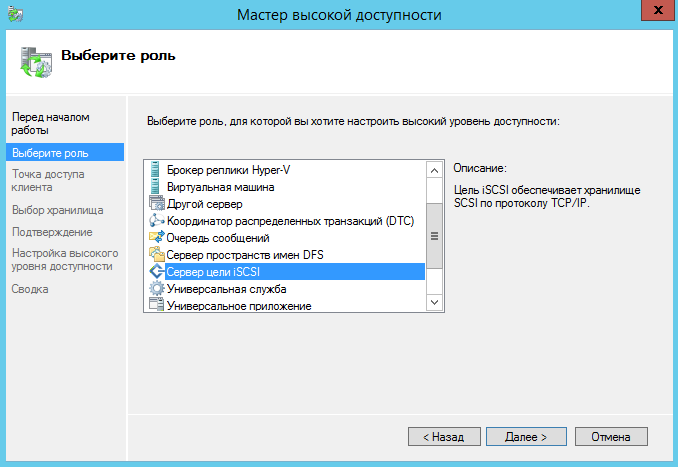
Выбираем «Настроить роль»
Выбираем роль ISCSI сервера
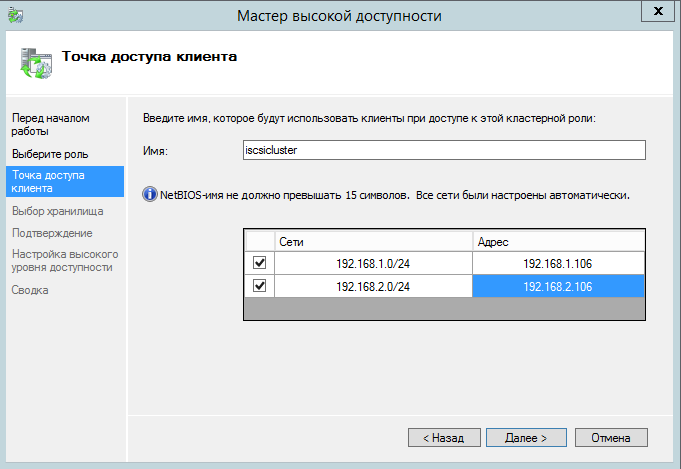
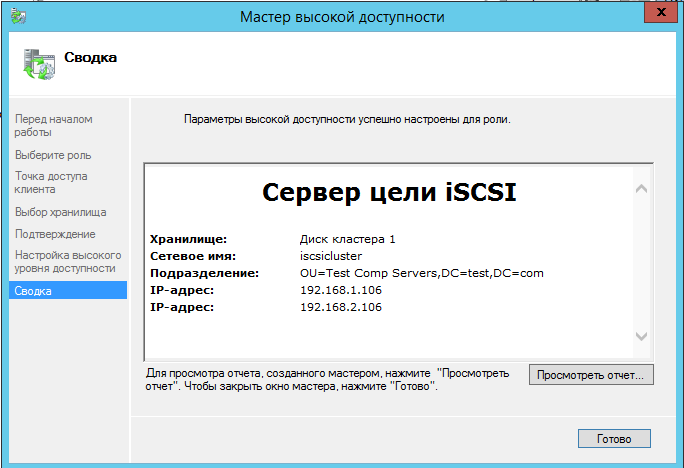
Указываем название кластера и сетевые адреса.
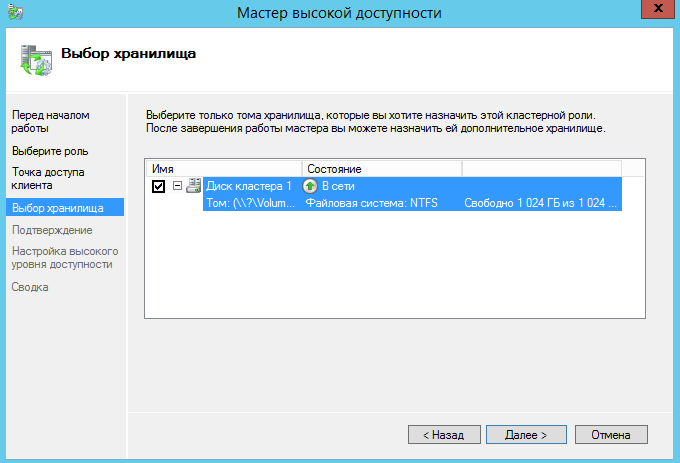
Выбираем диск кластера.
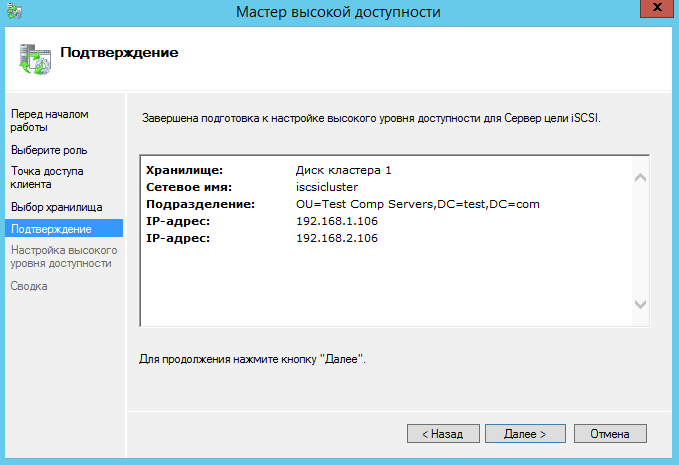
Подтверждаем создание роли.
Дожидаемся установки роли.
Теперь перейдем к настройке ISCSI сервера.
На одном из узлов кластера открываем диспетчер сервера, в нем открываем файловые службы и выбираем ISCSI.
Запускаем мастер создания ISCSI диска.
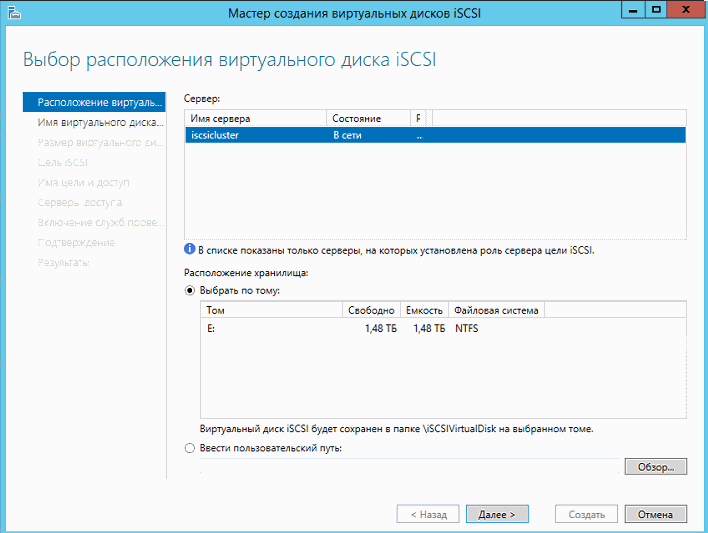
Выбираем кластер и общий кластерный диск.
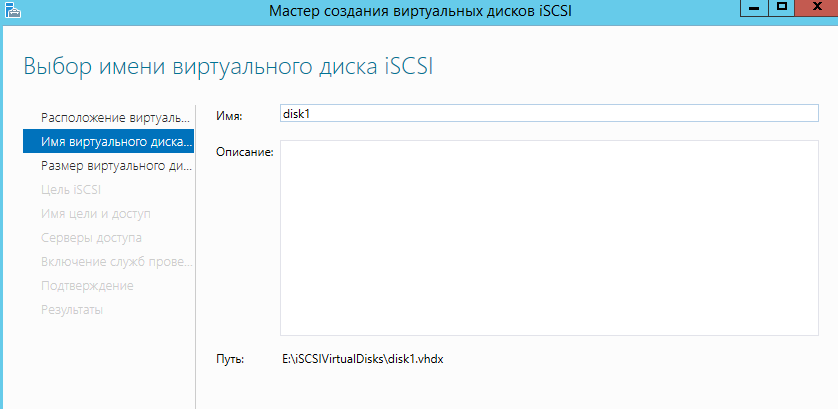
Вводим название диска.
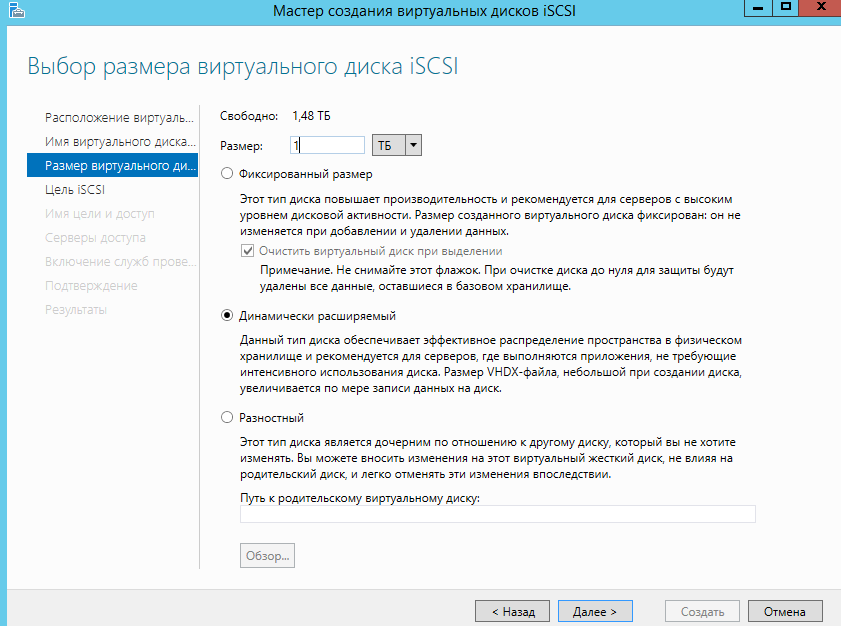
Указываем размер диска и его тип.
Далее выбираем пункт — «Новая цель ISCSI»
Далее вводим название цели ISCSI.
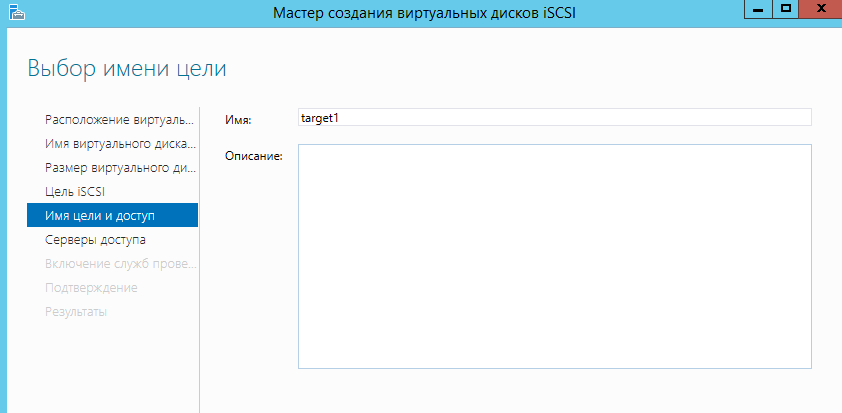
Указываем каким серверам можно подключаться к ISCSI цели.
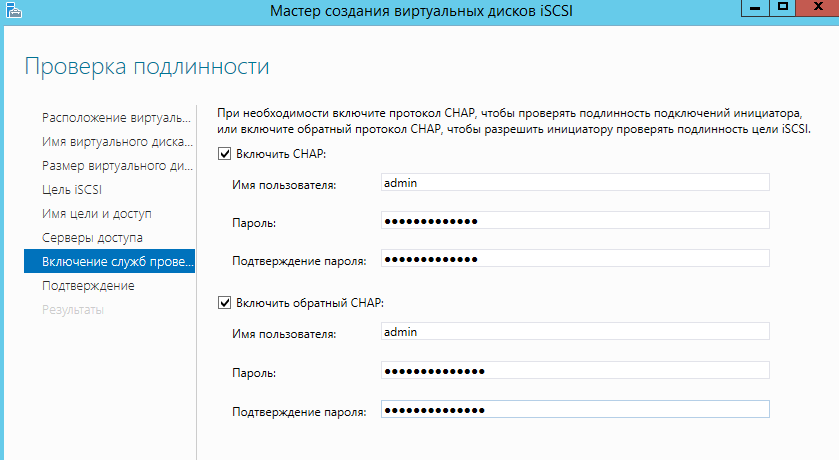
Указываем учетные данные для подключения.
Далее нажимаем «Создать» и ожидаем окончания работы мастера.
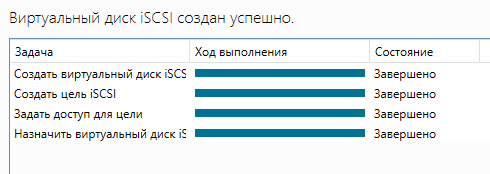
Готово! Теперь указанные клиенты могут подключаться к кластеру ISCSI. Для подключения нужно использовать DNS имя кластера.
Удачной установки!
Related posts:
Возникла необходимость настроить кластеризованный таргет iSCSI. Отказоустойчивый кластер с хранилищем у меня уже был, подробности его настройки опущу.
Для того, чтобы настроить роль iSCSI target server, надо:
- Продумать точку входа — нужен один или несколько ip-адресов, имя.
- Подготовить заранее кластерный диск
- Установить iSCSI-роли на всех нодах
- Поднять кластерную роль
- Настроить таргет(ы) и создать iSCSI-диск(и)
- Если имеется несколько интерфейсов, на стороне инициатора(ов) можно попробовать установить MPIO, это потребует перезагрузки.
Итак, у меня уже настроен Failover Cluster, две ноды Windows 2016 Server, подключенные к sas-jbod’у с несколькими дисками.
У каждой ноды 3 сетевых интерфейса — гигабитный интерфейс управления и 10Г для передачи данных.
Я подготовил диск и нашёл пару свободных адресов.
Роли можно добавлять из Server Manager’a, можно powershell’ом:
PS C:\> Add-WindowsFeature fs-iscsitarget-server
Проверяем:

Кластерную роль удобно добавлять из оснастки кластера:

Настраиваем точку входа (тут пригождаются заранее выбранные адреса):

Добавляем заранее созданный диск:

Готово. Созданы кластерные ресурсы.

Теперь настраиваем target. Это можно сделать powershell’ом, можно из Server Manager’а.

Создаем iSCSI-диск — фиксированный, динамические здесь принято избегать.
PS C:\>New-IscsiVirtualDisk -UseFixed -Path E:\iSCSIVirtualDisks\Disk0.vhdx -Size 200GB
Создаём таргет. Здесь опционально можно прописать инициаторы, через ключ -InitiatorIds. Указываем ранее настроенное имя роли и созданную кластерную группу:
PS C:\>New-IscsiServerTarget -TargetName "tgt1" -ComputerName "tgt.contoso.com" -ClusterGroupName "tgt"
Прикрепляем диск к таргету, можно указать номер луна. Да, к таргету можно прицепить несколько лунов.
PS C:\>Add-IscsiVirtualDiskTargetMapping -TargetName "tgt1" -DevicePath "E:\iSCSIVirtualDisks\Disk0.vhdx" -Lun 0
Теперь можно настраивать инициатор.
Здесь тоже есть помощь powershell’а — командлеты New-IscsiTargetPortal и Connect-IscsiTarget, но обычно я, в данном случае, использую GUI (Server Manager > Tools > iSCSI Initiator).
Указываем наш таргет, подключаемся, инициализируем лун, форматируем и так далее.
In Windows Server 2012 Microsoft introduced the new iSCSI Target which is now build in to Windows Server 2012 which allows you to connect to storage presented by your Windows Server.
There are a lot of new way how you can present storage to your servers especially for Hyper-V. With Windows Server 2012 Hyper-V you can use block storage like iSCSI or Fiber channel or the new introduced SMB 3.0 file storage as your shared storage for your Hyper-V Clusters. Now I am a huge fan of the new SMB 3.0 solutions which allows you to place Hyper-V virtual machines on a SMB file share, but there maybe other applications and scenarios where you need to present storage via iSCSI.
The new iSCSI Target which is build in to Windows Server 2012 is pretty cool. If you are interested to use the Windows Server 2012 iSCSI Target on a stand-alone host in your lab you should checkout my blog post: Create a Windows Server 2012 iSCSI Target Server
However if you need to run the iSCSI Target in a production environment you will have a single point of failure and in this case you should cluster your iSCSI Target. To build a iSCSI Target Cluster is pretty simple, first install all the roles on both cluster nodes. After this create a new Failover Cluster as you would with Hyper-V or other applications.
If your cluster is up and running you can now add the iSCSI Target Server role.
Setup the iSCSI Target with a IP address and a name.
Choose the Cluster Storage which should be used for your iSCSI Target. Later you will setup VHDs on this shared Cluster Disk.
After you have checked the summary the iSCSI Target Server role will be created.
The iSCSI Target Server role has been created the storage you have added to the iSCSI Target will be assigned to it.
The ISCSI Target Server resource will be online. It’s also highly recommended that you use multiple NICs for you hosts and also use MPIO on the machines which will connect to your iSCSI Target.
The iSCSI Targets have to be created back in Server Manager. Connect to the cluster node where the iSCSI Target Server is running on.
Select the new space where your Virtual Disk should be placed. The wizard will automatically detected the Cluster role in my case “ISCSI02” and the volume which is attached to this role in my case “Volume E:”
After this is done you have to enter the name of the this and if you don’t have one already you have to create a iSCSI Target.
You can connect multiple disks to a iSCSI Target and you can create multiple iSCSI Targets on your iSCSI Target Server, and maybe you will create even multiple iSCSI Target Server on your cluster so you can create a “static” load balancing where the Target Server 1 is running on the first host and the Target Server 2 on the second host.
Tags: Cluster, Hyper-V, iSCSI, iSCSI Target, iSCSI Target Cluster Windows Server, Microsoft, SMB, Windows Server, Windows Server 2012 Last modified: January 7, 2019
About the Author / Thomas Maurer
Thomas works as a Principal Program Manager & Chief Evangelist Azure Hybrid at Microsoft (Cloud + AI). He engages with the community and customers around the world to share his knowledge and collect feedback to improve the Azure hybrid cloud and edge platform. Prior to joining the Azure engineering team (Cloud + AI), Thomas was a Lead Architect and Microsoft MVP, to help architect, implement and promote Microsoft cloud technology.
If you want to know more about Thomas, check out his blog: www.thomasmaurer.ch and Twitter: www.twitter.com/thomasmaurer