
Windows 11 and 10 allow you to mount a drive or partition in a folder. Also, you can mount your favorite folder as Drive in Windows 11 or 10 to quickly access that in File Explorer.
Once you mount your folder as a virtual drive, the folder will appear and act like other drives or partitions such as “C,” “D” drive, etc., in the root of the File Explorer.
Windows 11 and 10 let you mount a folder as a physical drive using the built-in subst command. It associates a path with a drive letter. If you use the subst command without parameters, it displays the names of the existing virtual drives you have already created.
The drives you create using the subst command remain available during your user session or until you unmount them manually. Restarting, shutting down the PC, or signing out from your user account will unmount virtual drives, and you will need to re-create them to use them again. So, to quickly mount a virtual drive, you can create a desktop shortcut.
How to Mount Folder as a Drive in Windows 11 or 10?
To mount the folder as a drive in Windows 11 or 10, use these steps:-
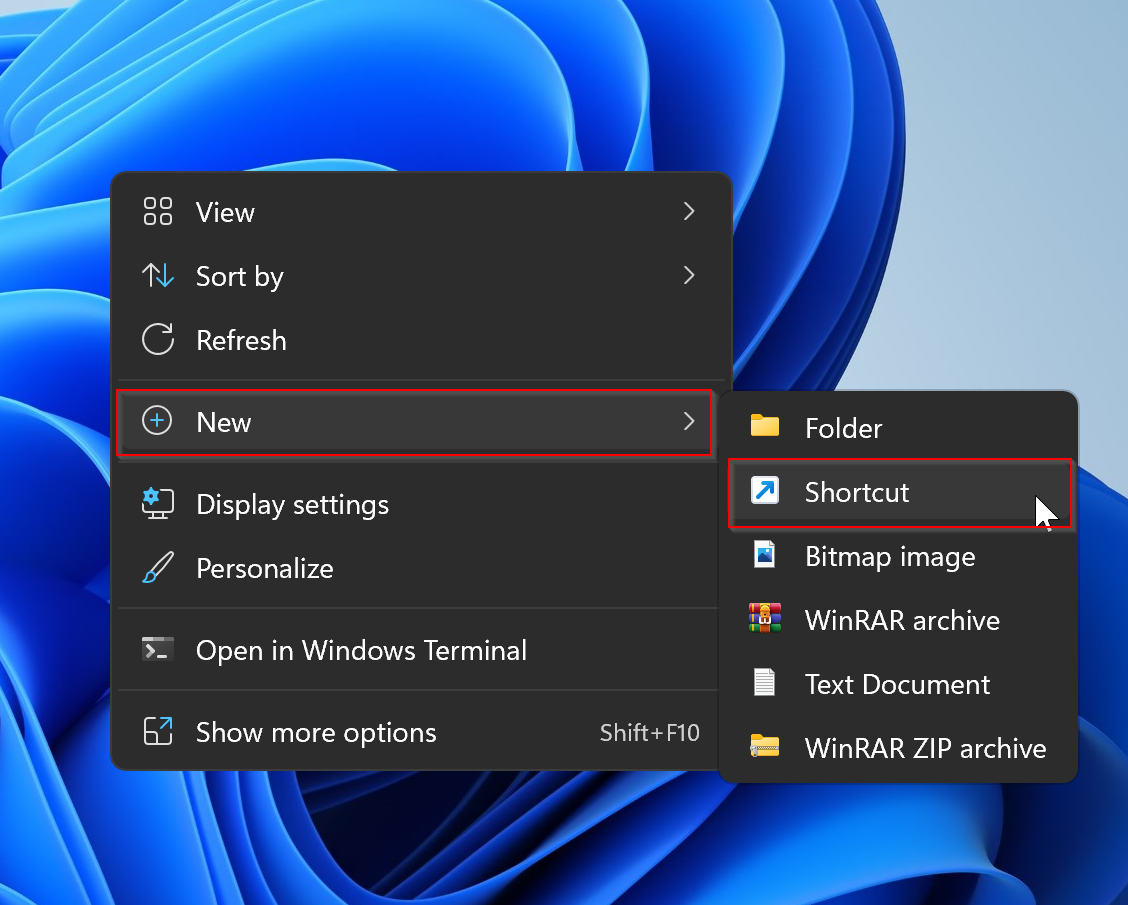
Step 1. Right-click on the free space on the desktop and select the New > Shortcut option.
Step 2. In the “Create Shortcut” wizard, type subst X: “C:\complete_path_of_folder” in the blank field.
Note: Replace the “X:” with an unassigned drive letter (that is not visible in the File Explorer) you want to assign and “C:\complete_path_of_folder” with the complete path of the folder you want to mount as a drive. For example, we will assign the drive letter “Z:” to the “G:\GUW” folder.
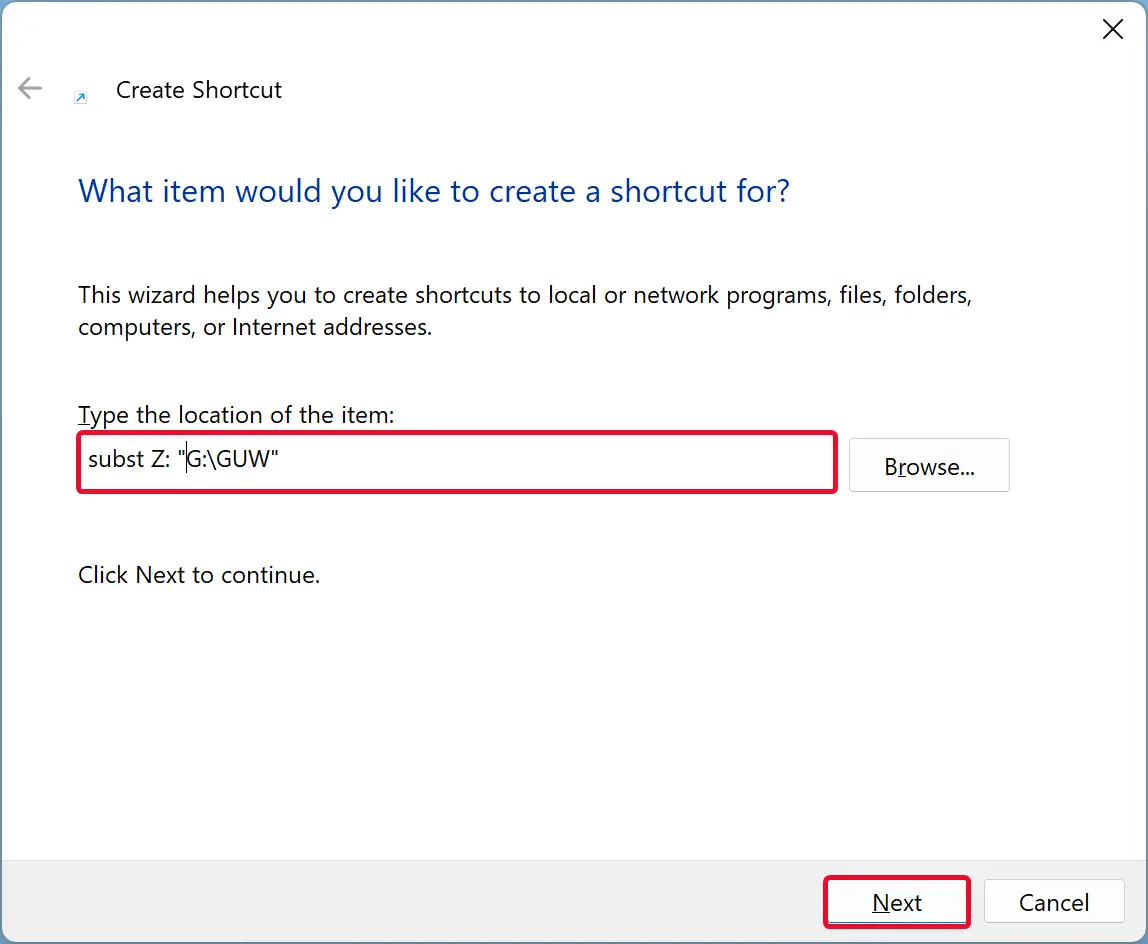
Step 3. After filling in the text field, click the Next button.
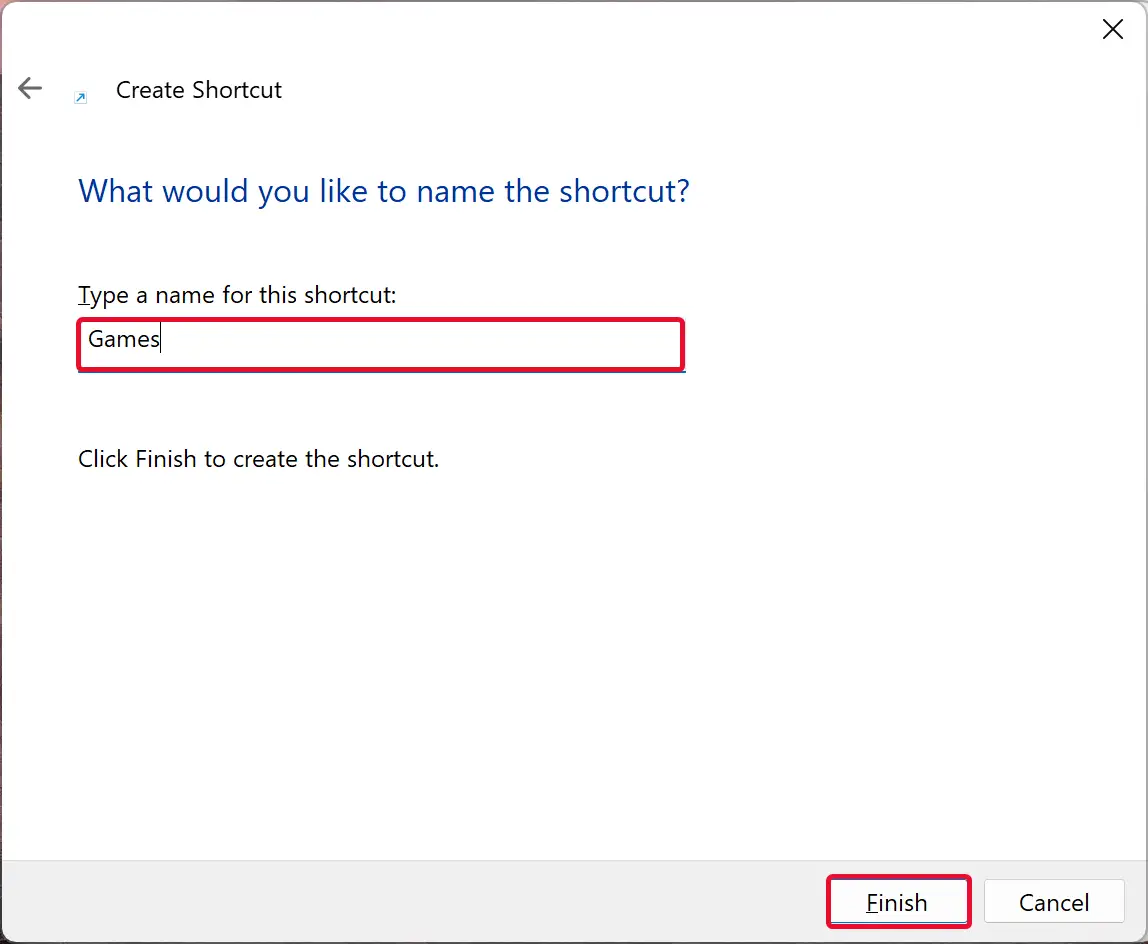
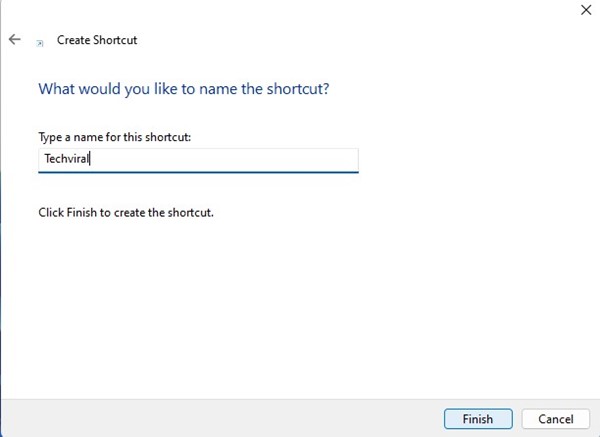
Step 4. In the following window, name the shortcut and click the Finish button.
Once you complete the above steps, a new shortcut icon will appear on the desktop. You can mount your folder as a virtual drive by double-clicking this shortcut icon. The changes made in the virtual drive will appear in your folder. If you delete or create a file or folder in the virtual drive, the same will appear in your actual folder.
How to Create and Mount Virtual Drive on Startup in Windows 11 or 10?
If you want to create and mount the virtual drive with the Startup of Windows 11 or 10, use these steps:-
Step 1. Open a Notepad file.
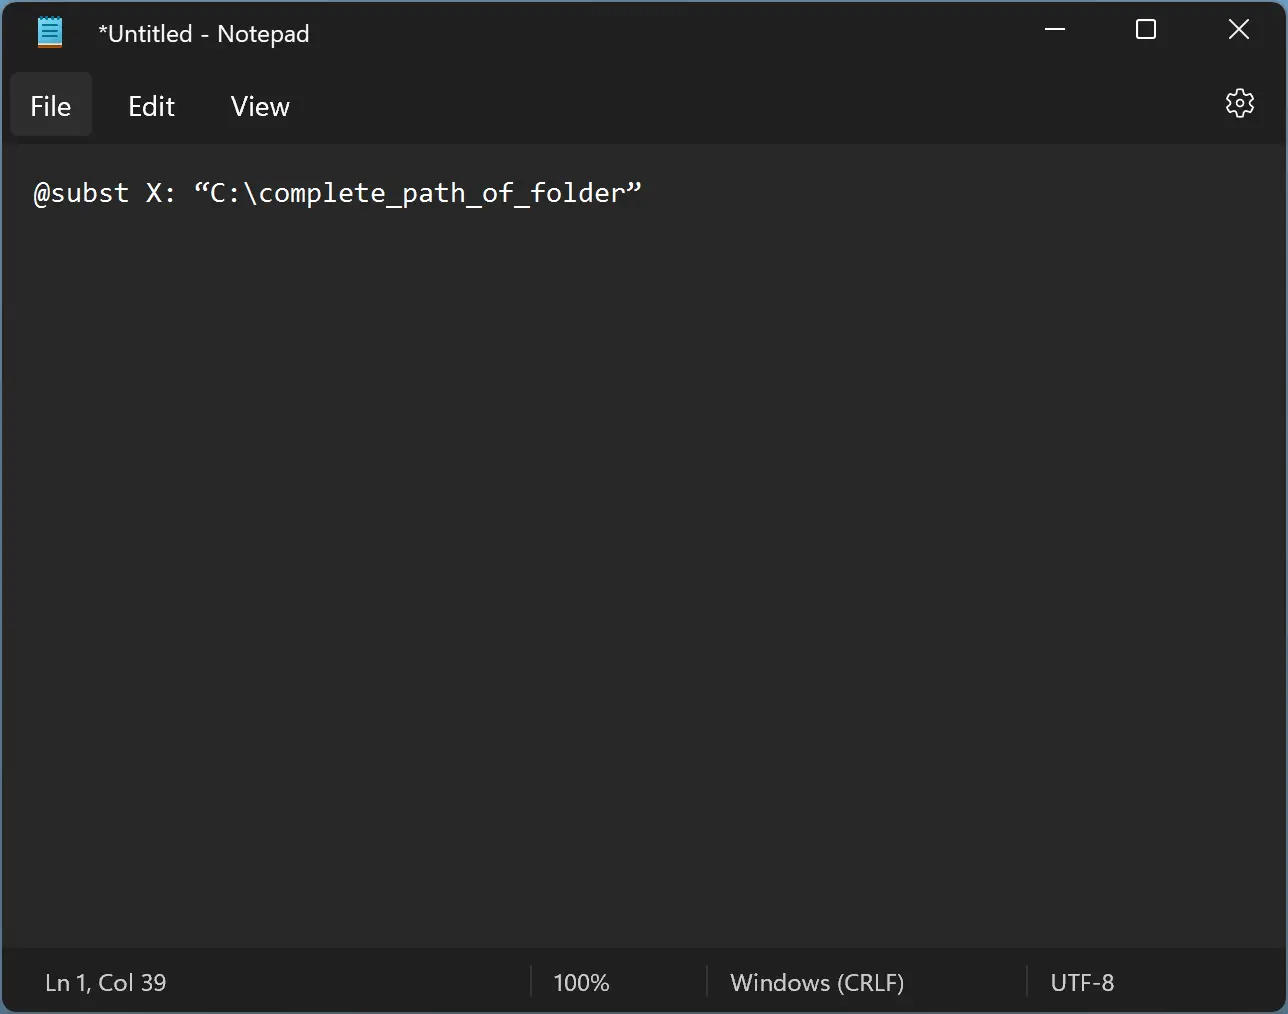
Step 2. Copy and paste the following into the notepad:-
@subst X: “C:\complete_path_of_folder”
Note: Replace the “X:” with an unassigned drive letter (that is not visible in the File Explorer) you want to assign and “C:\complete_path_of_folder” with the complete path of the folder you want to mount as a drive. For example, we will assign the drive letter “Z:” to the “G:\GUW” folder.
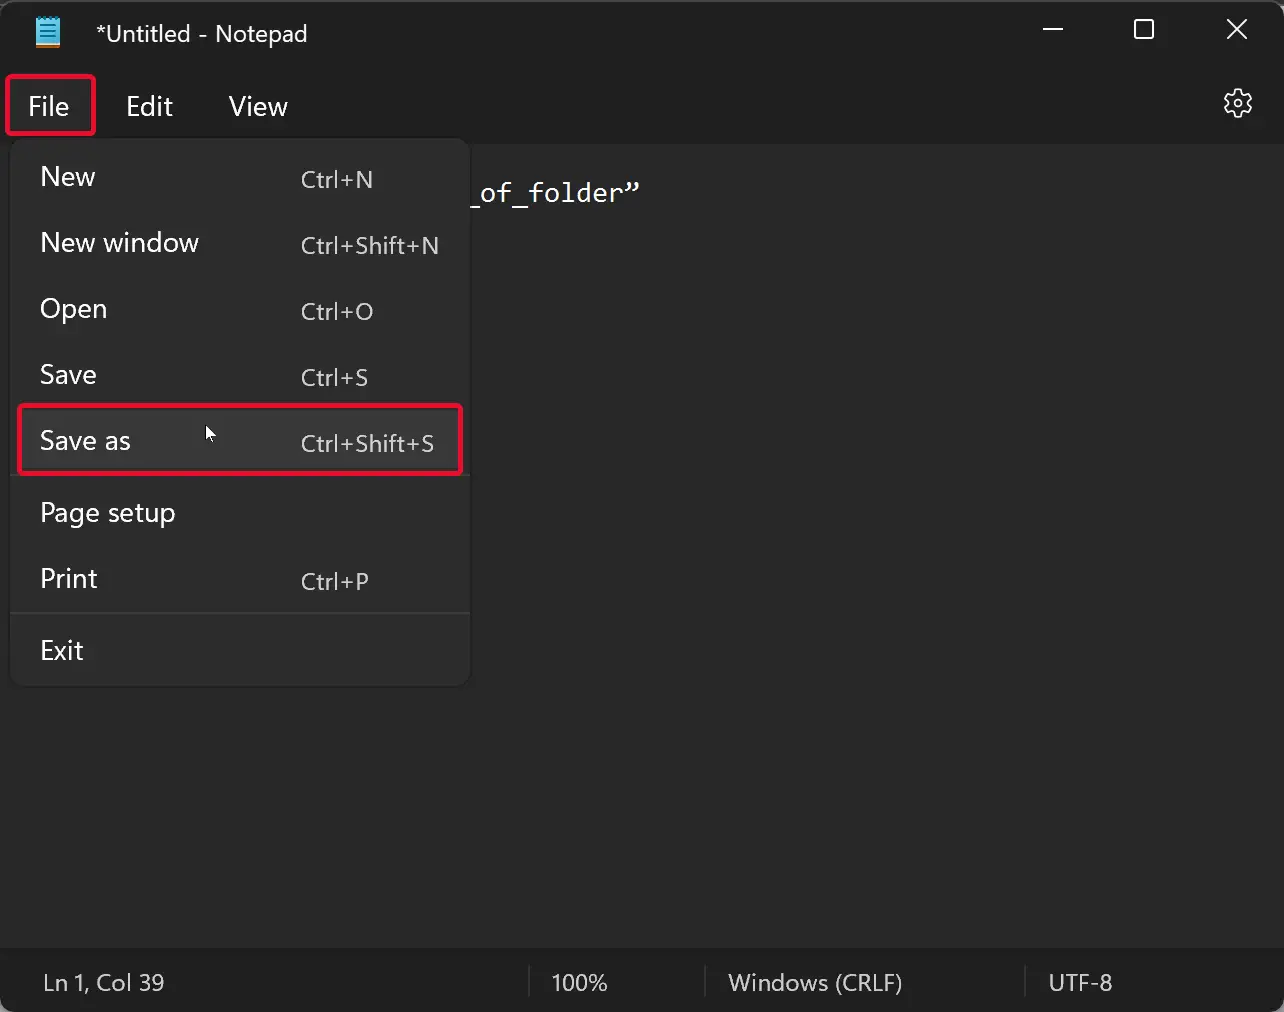
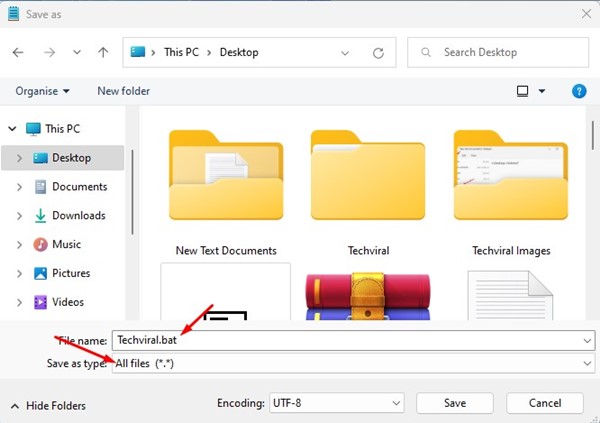
Step 3. Click on the File menu and select the Save as option.
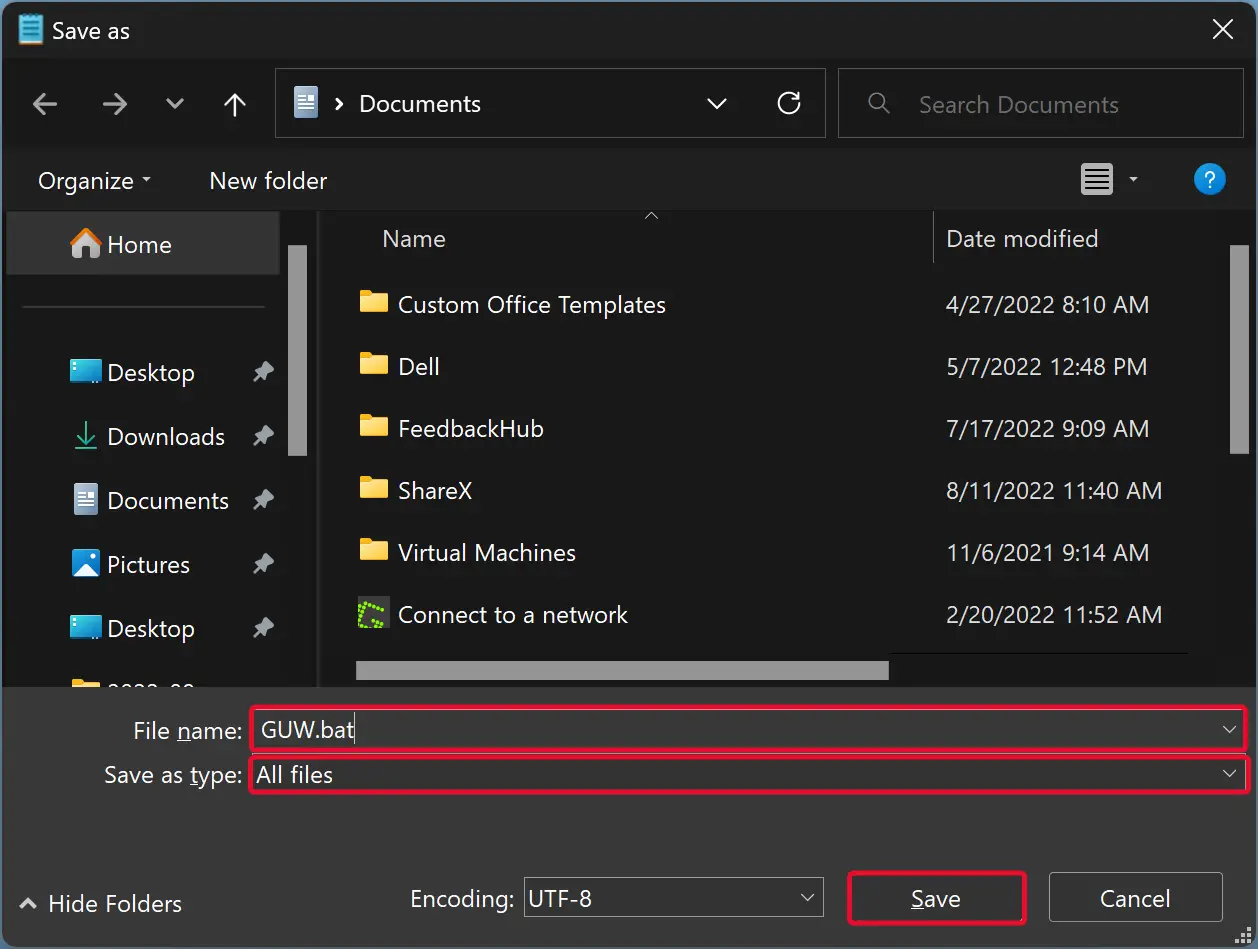
Step 4. When you’re done, the File Explorer window will open. In File Explorer, choose the desired location where you want to save the file. Name the file with the “.bat” extension. Select the All files option in the “Save as type” drop-down menu. Finally, click the Save button.
Once you complete the above steps, you will find a batch file in your chosen location.
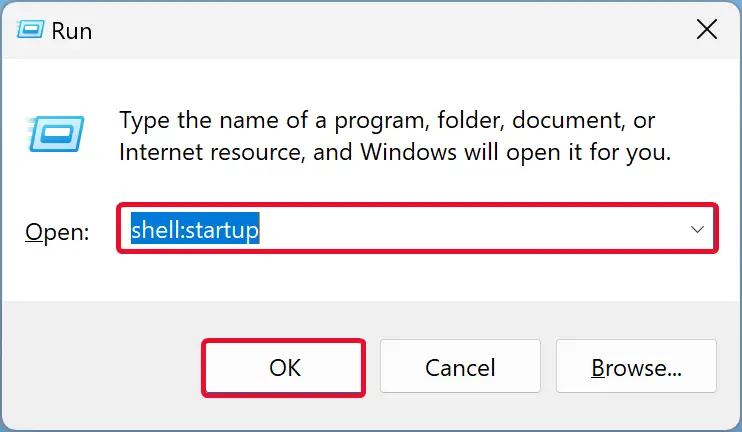
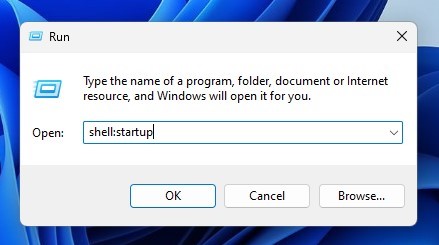
Step 5. Now, open the Run dialog box using Windows + R hotkey.
Step 6. Type, shell:startup in the Run box and click the OK button.
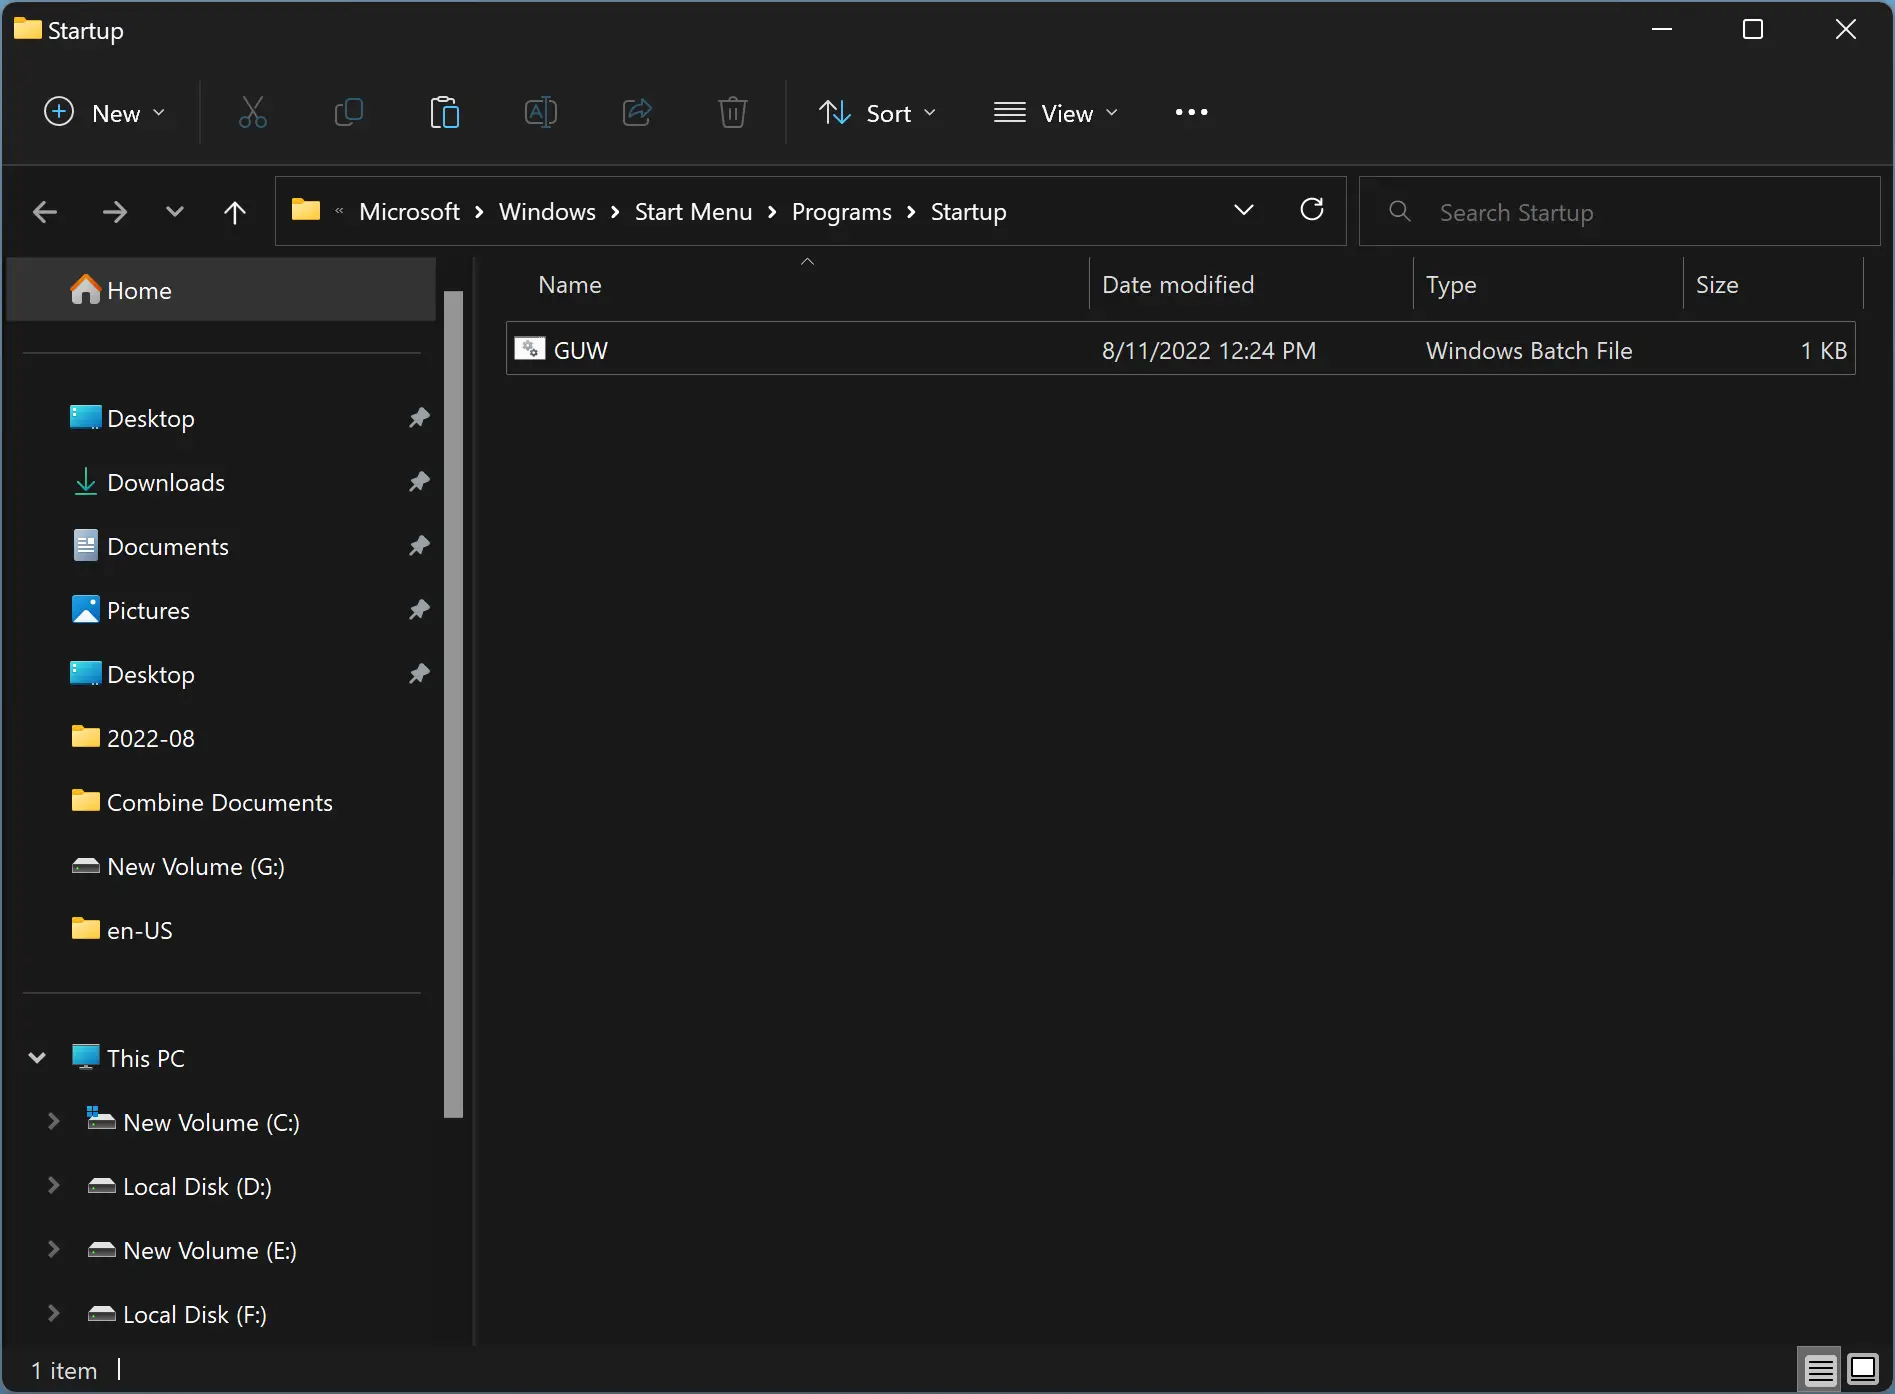
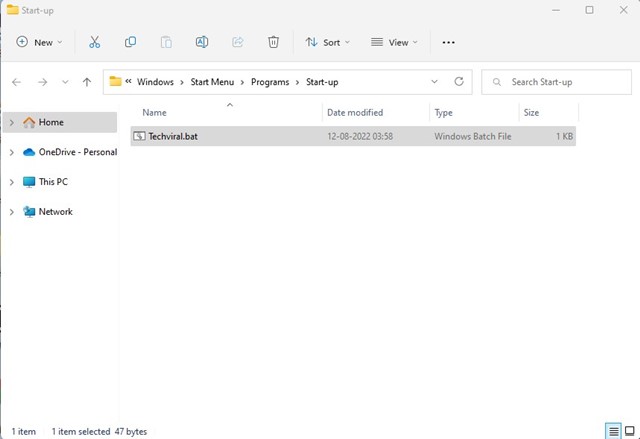
Step 7. Once done, the Startup folder will open. Copy and paste the newly created batch file here.
Once you complete the above steps, your chosen folder will automatically be mounted as a virtual drive and appear in File Explorer each time you restart your computer.
If you don’t want to mount your folder as a virtual drive, delete the batch file from the Startup folder.
Conclusion
In conclusion, Windows 11 and 10 offer a convenient way to mount a folder as a virtual drive using the built-in subst command. This allows the folder to appear and act like other drives or partitions, making it easy to access frequently used folders. By creating a desktop shortcut or a batch file in the Startup folder, users can quickly mount their favorite folders as virtual drives and have them automatically available each time they start their computer. With these simple steps, Windows 11 and 10 provide an efficient and customizable way to manage your files and folders.
Одной из особенностей Windows 10 является возможность создания виртуального диска из папки. Это добавляет новый жесткий диск в папку «Этот компьютер». При открытии диска в Проводнике будет показано содержимое исходной папки.
Создать диск из папки можно сделать с помощью встроенной команды subst. Она связывает путь с буквой диска. При использовании команды без параметров subst отображает буквы виртуальных дисков, которые вы уже создали с помощью инструмента.
Инструмент subst не является эксклюзивной функцией Windows 10. Он был впервые представлен в DOS и включен в каждую версию Windows. Диски, созданные с использованием subst, остаются доступными во время сеанса пользователя или до тех пор, пока вы не отключите виртуальный диск вручную. Перезапуск, выключение компьютера или выход из учетной записи пользователя приведет к полному отключению виртуальных дисков, и вам потребуется заново создать их, чтобы использовать их снова.
Чтобы создать виртуальный диск из папки в Windows 10,
Шаг 1: Откройте новый экземпляр командной строки или PowerShell от имени Администратора.
Шаг 2: Введите следующую команду: subst <диск:> path\путь\к папке
Шаг 3: Замените часть <диск:> буквой, которую вы хотите назначить виртуальному диску. Буква не должна использоваться никаким реальным или виртуальным диском, включая съемные устройства, подключенные к вашему ПК.
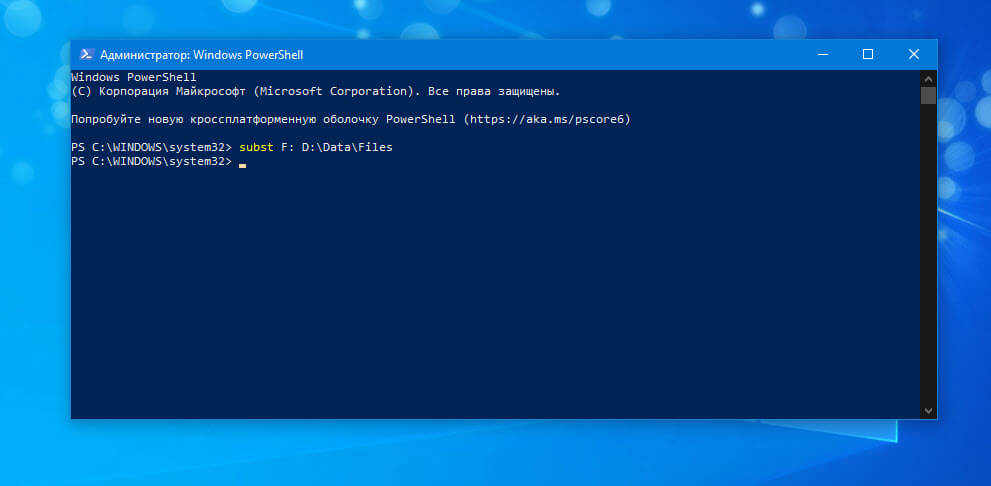
Шаг 4: Замените путь к папке \путь\к папке полным путем к исходной папке, которую вы хотите смонтировать как диск, я использую папку Files которая находится на диске D.
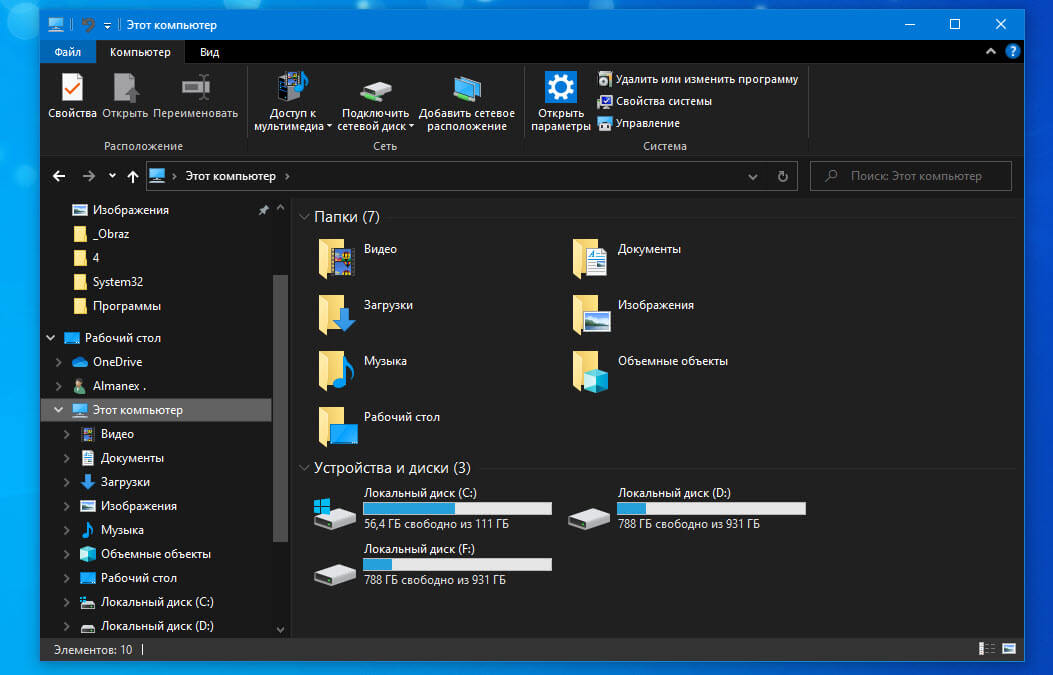
Шаг 5: Теперь откройте проводник и откройте папку «Этот компьютер». Вы увидите новый диск там.
С помощью subst вы можете быстро найти виртуальные диски, доступные в текущем сеансе пользователя.
Найти виртуальные диски, созданные с помощью Subst.
Шаг 1: Откройте новую командную строку.
Шаг 2: Введите subst без параметров и нажмите клавишу Enter.

В выводе вы увидите список виртуальных дисков, созданных с помощью subst.
Все!
Как удалить диск, созданный с помощью subst.
Шаг 1: Откройте новую командную строку.
Шаг 2: Введите следующую команду: subst <диск:> /D
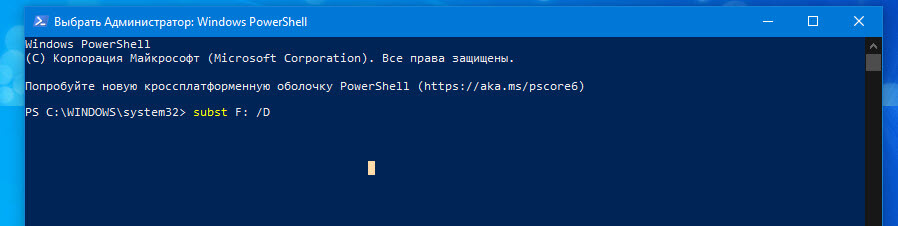
Замените часть <диск:> фактической буквой виртуального диска, который вы хотите удалить.
Шаг 3: Нажмите клавишу Enter. Диск удален.
Совет: Windows 10 можно подключить к виртуальному диску каждый раз, когда вы входите в свою учетную запись. Это может быть полезно, если у вас есть программное обеспечение, которое ищет файлы в некоем жестком месте, которое недоступно на вашем ПК. Вот как.
Создание виртуального диска с Subst при запуске Windows 10
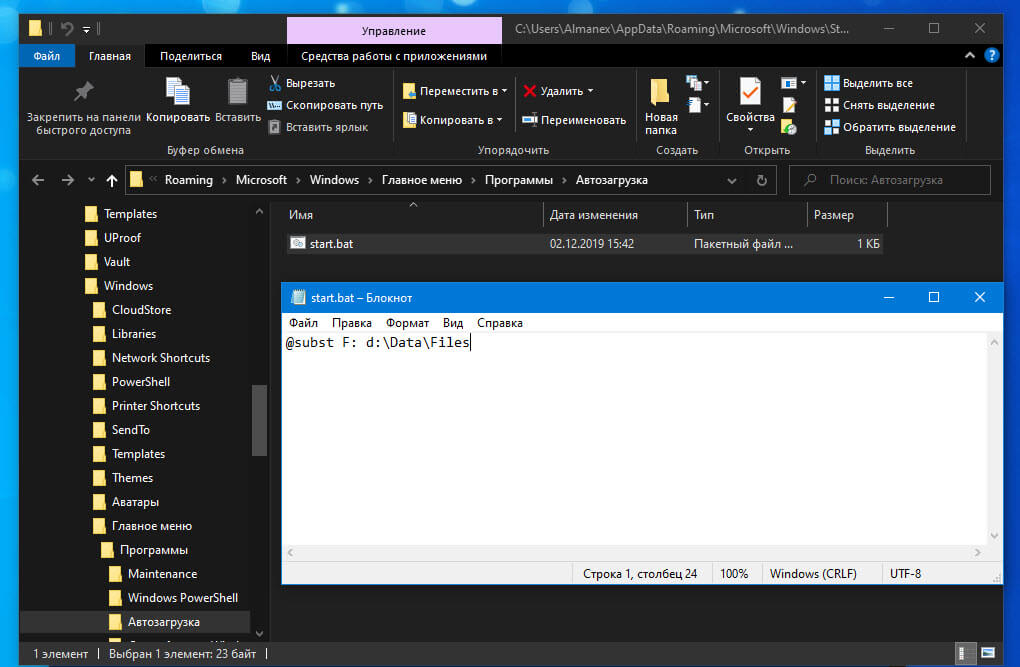
Шаг 1: Создайте новый .BAT файл со следующим содержимым: @subst F: d:\Data\Files
Шаг 2: Исправьте букву диска и путь к папке в соответствии с вашими требованиями.
Шаг 3: Нажмите Win + R, чтобы открыть диалоговое окно «Выполнить».
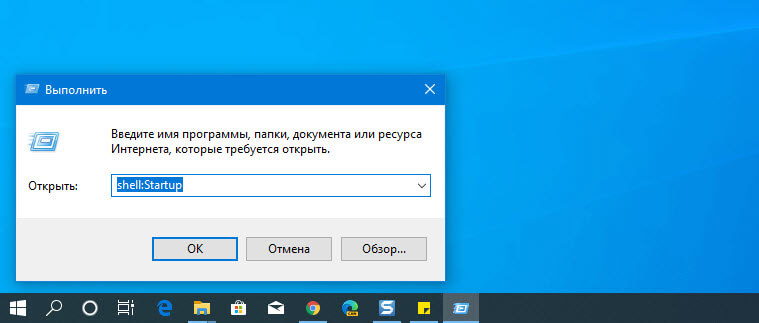
Шаг 4: Введите следующие командe: shell:Startup
Шаг 5: Это откроет папку автозагрузки. Переместите созданный пакетный файл туда.
Каждый раз, когда вы входите в Windows 10, Будет создан виртуальный диск из указанной папки и назначена ему соответствующая буква диска.
Как добавить команду «Создать диск из папки» в контекстное меню Проводника
Шаг 1: Откройте текстовый редактор «Блокнот»
Шаг 2: Скопируйте и вставьте в него следующие строки:
Windows Registry Editor Version 5.00
[HKEY_CLASSES_ROOT\Directory\shell\Mount R\command]
@=»subst r: \»%1\»»
Шаг 3: Сохраните его с расширением *.reg

Шаг 4: Запустите созданный файл выполнив слияние, подтвердите запрос системы на внесение изменений в реестр. Все, Теперь откройте проводник кликните правой кнопкой мыши на папку из которой будет создан виртуальный диск и выберите в контекстном меню «Mount R».
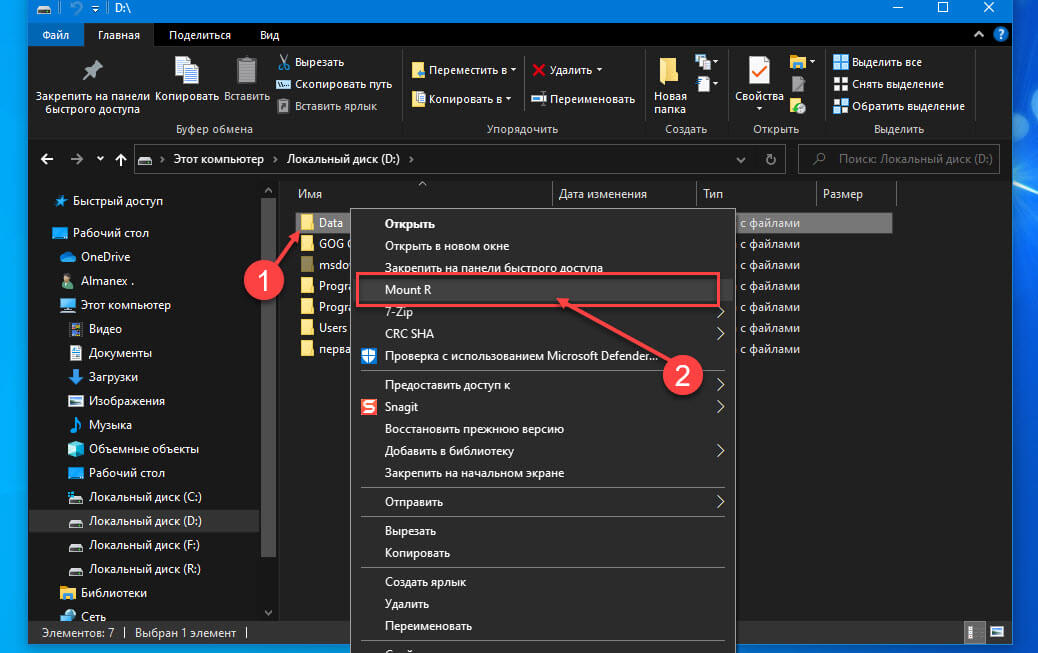
Перейдите в «Этот компьютер» Здесь вы найдете созданный диск. Все!
To mount a folder as a drive in Windows 11, you need to use the built-in subst command. The subst command is mostly used for mounting drives on a file explorer. However, you should note a few things: the drives you will create will automatically unmount when you restart, shut down, or sign out from your user account.
Once unmounted, you need to mount the folder as a drive again in Windows 11 manually. You can repeat the process to mount a virtual drive or create a batch file and store it in the Startup folder to automate the process.
Hence, if you want to mount a folder as a drive in Windows 11, here’s what you need to do.
Here, we will create a shortcut file to mount a folder as a drive in Windows 11. Follow the simple steps we have shared below.
1. Right-click on a blank space and select New > Shortcut.

2. On the Create Shortcut wizard, type:
subst X: "C:\full_path_of_folder)"
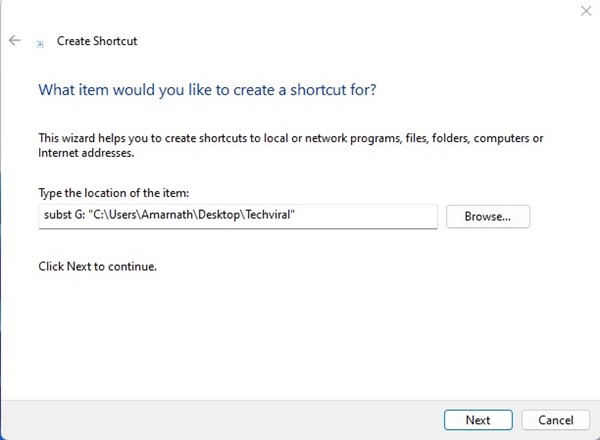
Important: Replace ‘X’ with the drive letter you want to assign (make sure the drive letter is not in use). Also, replace ‘C:\full_path_of_folder)’ with the path of the folder you want to mount as a drive.
3. Once done, click on the Next button. On the Name, the shortcut window, type a name for the shortcut and click the Finish button.
4. Now, you will see a new shortcut on your desktop screen. To mount your folder as a virtual drive, double-click on it. If the folder is not mounted, right-click on the shortcut and select Run as administrator.
5. If you want to unmount the virtual drive, restart your computer.
2. Automatically Mount folder as Drive in Windows 11 at Startup
As we mentioned, restarting the PC will unmount the drive from your computer. After the restart, you must rerun the shortcut file to mount your folder as a drive. If you want to automate that task, follow these steps.
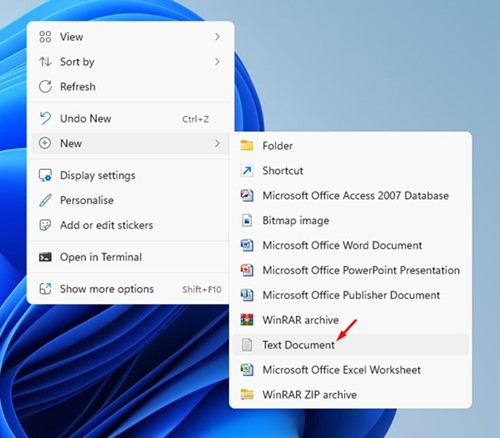
1. Right-click on your desktop and select New > Text Document.
2. On the Notepad, copy and paste the following code:
@subst X: “C:\complete_path_of_folder”
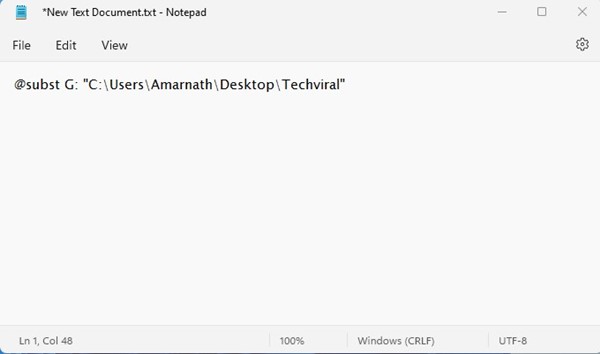
Important: Replace ‘X’ with the drive letter you want to assign (make sure the drive letter is not in use). Also, replace ‘C:\full_path_of_folder)’ with the path of the folder you want to mount as a drive.
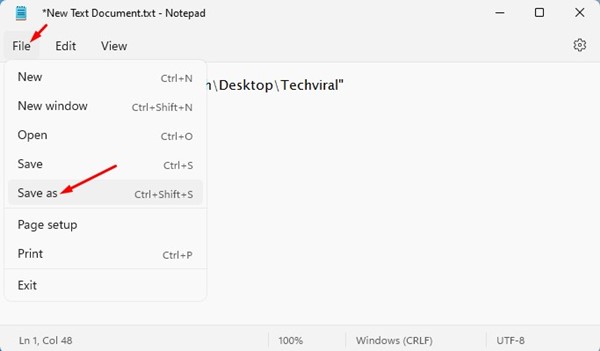
3. Once done, click on the File menu in the Notepad and select Save As.
4. On the Save as prompt, enter the file name with the .bat extension. Select All files and click on the Save button on the Save as type.
5. Now press the Windows Key + R button on your keyboard. On the Run dialog box, type shell:startup and press Enter.
6. This will open the Startup folder on your computer. You need to copy and paste the batch file into this folder.
3. Mount Folder as Drive using Windows Terminal
You can even use the Windows Terminal to mount a folder as a drive. Here’s what you need to do.
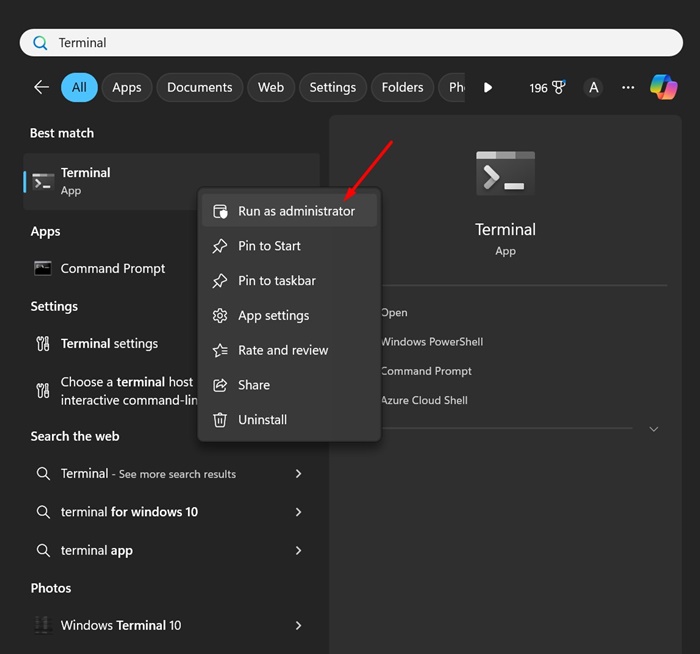
1. Type Terminal on Windows 11 Search. Next, right click on the Terminal and select Run as administrator.
2. When the Windows Terminal opens, execute this command:
subst <virtual drive letter>: "Full path of folder"
Note: Replace <virtual drive letter> with the drive letter you want to mount. Replace the Full path of the folder with the actual folder path.
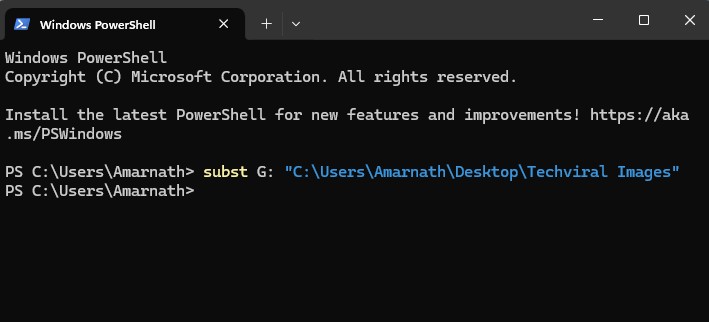
For example: subst G: “C:\Users\Amarnath\Desktop\Techviral Images”
3. Open File Explorer and you will find the folder mounted as a drive.
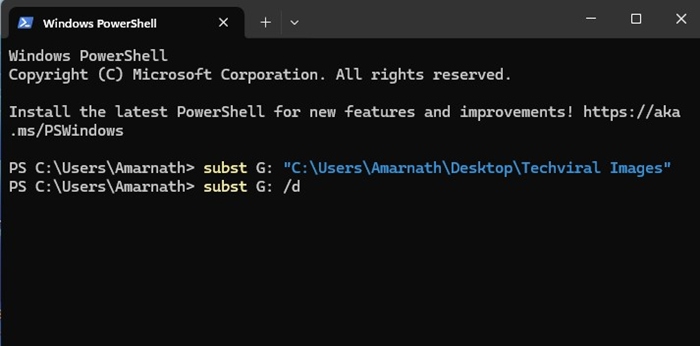
4. To unmount the drive, execute this command:
subst <virtual drive letter>: /d
Replace <virtual drive letter> with the mounted drive letter.
Also read: How to Format a Hard Drive or SSD in Windows 11
This guide is all about how to mount a folder as a drive on Windows 11 computer. If you frequently access a specific folder in Windows 11, you can mount it as a drive. If you need more help mounting a folder as a drive in Windows 11, let us know in the comments below.