
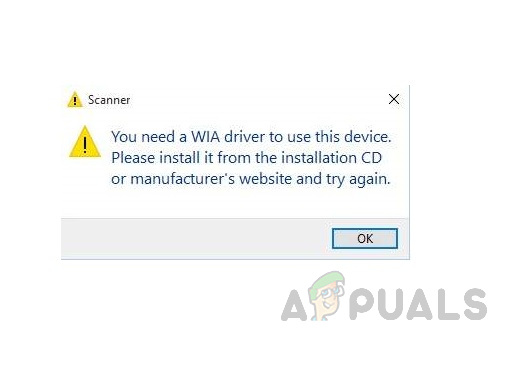
При подключении сканера или МФУ с функциями сканера, многие пользователи сталкиваются с сообщением об ошибке «Для использования этого устройства требуется драйвер WIA. Установите его с установочного компакт-диска или веб-сайта изготовителя и повторите попытку».
Драйвер WIA — это драйвер Windows Image Acquisition, который требуется для того, чтобы графические программы могли взаимодействовать с соответствующими устройствами. В этой инструкции подробно разберем возможные способы решить проблему и скачать драйвер WIA при необходимости.
Для использования этого устройства требуется драйвер WIA — первые действия

Прежде чем пробовать найти в Интернете, где скачать драйвер WIA для вашего принтера/сканера/МФУ, рекомендую выполнить следующие простые действия, которые часто могут решить проблему:
- Откройте службы Windows. В Windows 10 и Windows 11 нажмите клавиши Win+R на клавиатуре (Win — клавиша с эмблемой Windows), введите services.msc и нажмите Enter.
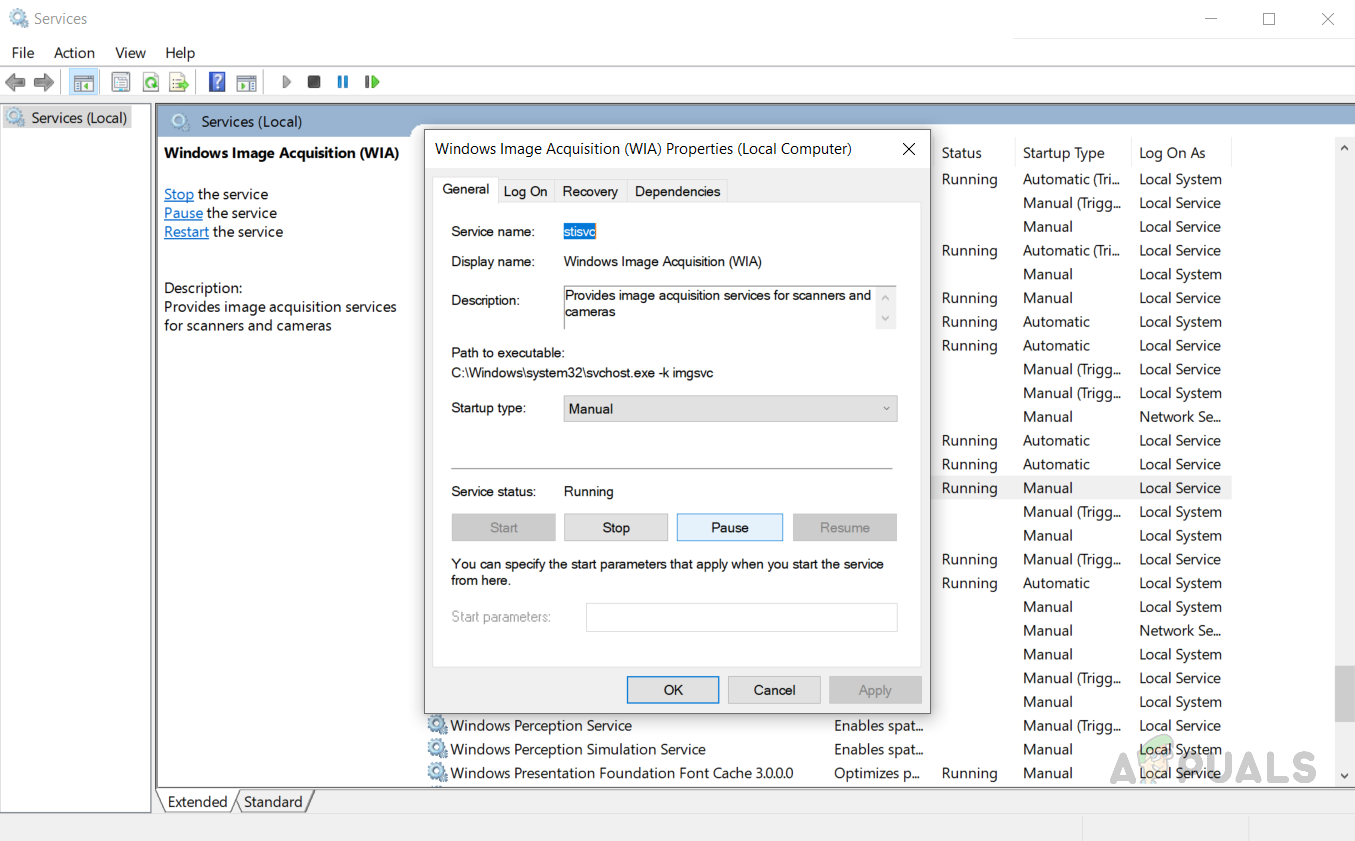
- В списке служб найдите «Служба загрузки изображений Windows (WIA)». Эта служба должна выполняться, а в поле «Тип запуска» установлено «Автоматически».

- Если это не так, дважды нажмите по имени службы, установите тип запуска «Автоматически», примените настройки, а затем нажмите «Запустить» — не исключено, что уже эти действия решат проблему.


Следующее простое действие, которое, если судить по многим отзывам, часто оказывается работоспособным — подключить устройство, которое требует драйвер WIA по USB 2.0 вместо USB 3.0 (как правило, разъемы USB 3.0 синего цвета, а 2.0 — чёрные), иногда может потребоваться последующая переустановка сканера (МФУ). Попробуйте использовать этот вариант — действительно многим помогает.
В случае, если предложенные методы не сработали, служба WIA уже была запущена, а подключение к USB 2.0 не возымело действия, переходим к следующим действиям.
Где скачать драйвер WIA для сканера
Если устройство при установке сообщает, что для его использования требуется драйвер WIA, почти гарантированно он есть на официальном сайте производителя устройства на странице поддержки вашей модели.
Учитывайте: на официальном сайте может отсутствовать драйвер для текущей версии системы. Например, рассматриваемый вопрос часто возникает по поводу МФУ HP LaserJet M1120. Если у вас установлена Windows 10 или Windows 11. Не обращайте внимания, что на официальном сайте есть драйвер только для Windows 8 — он вполне успешно может использоваться и на более новых операционных системах.
Если скачанный драйвер не устанавливается, сообщая о неподдерживаемой операционной системе, вы можете:
- Распаковать файл с установщиком драйвера. Например, для LaserJet M1120 с этим успешно справляется 7-Zip, иногда могут пригодиться утилиты наподобие Universal Extractor. На изображении ниже — скриншот открытого файла установщика драйвера, где мы наблюдаем, в том числе и файлы драйвера WIA (что следует из имени файлов драйверов).

- Установить драйвер вручную из INF-файла.

При возникновении проблем с установкой драйверов, предварительно удалите все имеющиеся драйверы вашего сканера или МФУ и само устройство с помощью диспетчера устройств (может потребоваться включить показ скрытых устройств в меню «Вид» и найти устройство в разделе «Устройства обработки изображений»), а также программы от производителя — HP, Canon, Epson или другого.
Windows Image Acquisition (WIA) is a service that allows applications to communicate with imaging devices such as scanners and cameras. The WIA service is essential for the proper functioning of these devices on a Windows 10 system. In this article, we will discuss how to start or stop the Windows Image Acquisition (WIA) service on Windows 10.
What is the Windows Image Acquisition (WIA) Service?
The Windows Image Acquisition (WIA) service is a built-in Windows service that allows applications to access image acquisition devices such as scanners and cameras. This service enables users to capture and manipulate images from these devices directly within Windows applications without the need for additional software or drivers.
When the WIA service is running, it listens for requests from applications to scan or acquire images from imaging devices. It then communicates with the device to retrieve the requested data and deliver it to the application. The WIA service also manages the connection and communication between the application and the imaging device, ensuring that the process is seamless and efficient.
Starting or Stopping the Windows Image Acquisition (WIA) Service
There may be situations where you need to start or stop the Windows Image Acquisition (WIA) service on your Windows 10 system. For example, if you are experiencing issues with your scanner or camera not being recognized by applications, restarting the WIA service could help resolve the problem. Similarly, if you are not using any imaging devices and want to conserve system resources, you may choose to stop the WIA service temporarily.
To start or stop the Windows Image Acquisition (WIA) service on Windows 10, follow the steps below:
Starting the WIA Service:
- Press the Windows key + R on your keyboard to open the Run dialog box.
- Type «services.msc» in the Run dialog box and press Enter. This will open the Services window.
- In the Services window, scroll down to locate the «Windows Image Acquisition (WIA)» service.
- Right-click on the «Windows Image Acquisition (WIA)» service and select «Start» from the context menu. This will start the WIA service on your system.
Stopping the WIA Service:
- Press the Windows key + R on your keyboard to open the Run dialog box.
- Type «services.msc» in the Run dialog box and press Enter. This will open the Services window.
- In the Services window, scroll down to locate the «Windows Image Acquisition (WIA)» service.
- Right-click on the «Windows Image Acquisition (WIA)» service and select «Stop» from the context menu. This will stop the WIA service on your system.
It is important to note that stopping the Windows Image Acquisition (WIA) service may prevent applications from accessing imaging devices on your system. Therefore, it is recommended to stop the service only when necessary and start it again once you are done with the task.
Configuring the Windows Image Acquisition (WIA) Service
In addition to starting or stopping the Windows Image Acquisition (WIA) service, you can also configure its properties to suit your requirements. To configure the WIA service on Windows 10, follow the steps below:
-
Press the Windows key + R on your keyboard to open the Run dialog box.
-
Type «services.msc» in the Run dialog box and press Enter. This will open the Services window.
-
In the Services window, scroll down to locate the «Windows Image Acquisition (WIA)» service.
-
Right-click on the «Windows Image Acquisition (WIA)» service and select «Properties» from the context menu. This will open the Properties window for the WIA service.
-
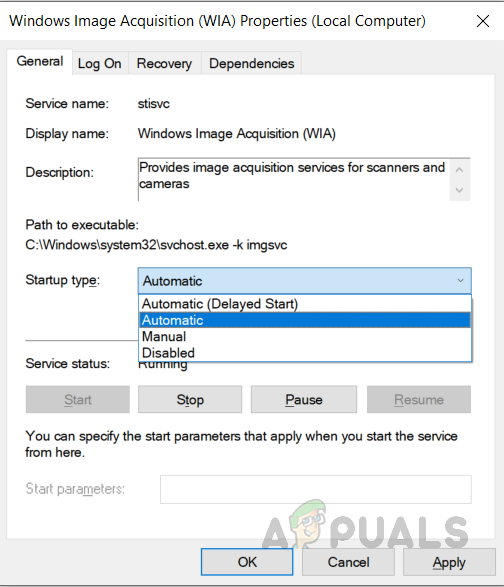
In the Properties window, you can configure the startup type of the WIA service. The startup type determines how the service should be started when the system boots up. You can choose from the following options:
- Automatic: The service will start automatically when the system boots up.
- Automatic (Delayed Start): The service will start shortly after the system boots up.
- Manual: The service will not start automatically and must be started manually by the user.
- Disabled: The service will be disabled and will not start at all.
-
Select the desired startup type for the Windows Image Acquisition (WIA) service and click on the «Apply» button to save the changes.
By configuring the startup type of the WIA service, you can ensure that it starts or stops automatically as per your requirements. This can help optimize the performance of your system and ensure that imaging devices are accessible when needed.
Conclusion
The Windows Image Acquisition (WIA) service is a crucial component of Windows 10 that enables applications to communicate with imaging devices such as scanners and cameras. By starting or stopping the WIA service, you can troubleshoot issues with imaging devices, conserve system resources, and optimize the performance of your system.
In this article, we discussed how to start or stop the Windows Image Acquisition (WIA) service on Windows 10 using the Services window. We also explored how to configure the properties of the WIA service to control its startup behavior. By following these steps, you can easily manage the WIA service on your Windows 10 system and ensure smooth operation of imaging devices.
If you wish to seek the methods to perform WIA driver download, install, and update on Windows 11 and 10, then you can check out the methods listed further in this article for the same.
Windows Image Acquisition or WIA is a type of driver from Microsoft. This driver allows the scanner connected with your Windows device to communicate with the system. If this driver is missing or outdated, you may face problems like lags, glitches, and other similar or connection errors when you use the scanner.
To get ahead of these problems and run your scanner perfectly, you need to execute WIA driver update, download, and install on Windows 11, 10, and other lower systems. If you don’t know how to do that, you can take the help of the methods explained in this article.
The coming sections of this article will present to you the best as well as safe methods to execute WIA driver download and install. You can use any of these as you like to install the drive and then use your scanner device smoothly. We recommend you take the help of the below method first for a quick resolution.
Highly Recommended Method to Perform WIA Driver Install on Windows PC
The internet is ridden with multiple methods that claim to help you with WIA driver download and update. But that is not true in every case. Hence, save yourself from falling for these methods and use the Win Riser to get updates for all kinds of drivers. Download the tool and see how it provides updates for the outdated drivers and allows you to run various devices smoothly.
How to Download, Install & Update WIA Driver on Windows
Now, let’s have a look at the solutions for how to execute WIA driver install through the download and update methods listed below. Read all of these methods first and then decide which one you want to use.
Method 1: Visit the Manufacturer’s Website for WIA Driver Install (Manual)
The official website of any product manufacturer has an online support page. This support page can be used to download the drivers for any kind of Windows PC. You can take the help of the same to perform a WIA driver download. All you need to do is follow the below steps:
Note: These steps are not for a particular manufacturer’s website but can be used for almost all to download the driver.
- Run the official website of the scanner manufacturer in the browser.
- Then look for the scanner device that you are using presently.
- You may need to select the operating system after this step.
- Now click on the WIA driver and download the same.
- Install the driver after the download is complete and then restart your PC.
Also Read: CanoScan LiDE 120 Scanner Driver Download and Update on Windows PC
Method 2: Use the Windows Integrated Device Manager for WIA Driver Update (Manual)
Device Manager is the best tool to perform the WIA driver download and update on any Windows PC. This method has only two drawbacks: it is manual and may not even work in some cases. However, follow the below steps to try it out:
- Run the Device Manager by pressing Win+X keys on your keyboard.
- Expand the device category named Imaging devices
- Right-click on all the devices in the list and Update the drivers one-by-one

- If the system asks you to, go ahead with the option to search for the driver automatically.

- Restart your system after your update the drivers of all the products under Imaging Devices.


Method 3: Use Windows Update Utility to Update WIA Scanner Driver (Manual)
You may not know this but the Windows Update feature can also help with the WIA driver install on Windows 11 or other lower OS. You can access the Windows update utility with the help of the below steps if you don’t know how to:
- Click on the search bar at the left side of the taskbar and search Check for updates

- Look for updates by clicking on the Check for updates button after the utility loads.

- If the update does not start automatically, Download and Install them manually


Method 4: Use the Bit Driver Updater for WIA Driver Updates (Automatically)
Maybe last but the method is the best. You should download and use the Bit Driver Updater to download and update the WIA scanner driver automatically. The problem of outdated drivers can never be resolved permanently. The device manufacturer releases respective device driver updates regularly and hence you need proper software to download these updates regularly.
The Bit Driver Updater is the perfect software to perform the same task. This tool allows you to get and install all driver updates with a single click. Apart from this, you can also avail the benefits of advanced features like driver backup and restoration. The software allows you to schedule the update or install them instantly with a single click.
Follow the procedure below to update the WIA driver with Bit driver Updater:
- Click on the Download button right below and get the software installer
- Install and then run the tool on your Windows PC
- Click on the Scan Drivers option on the main app window

- Click on the Update All or Update Now button as you want to download all drivers at once or the desired drivers individually

- Restart your PC to apply all the changes made.


Also Read: Best Free Driver Updater for Windows 10, 8, 7
Bonus Tip: How to Fix “You need a WIA driver to use this device” Error
If you see the message “You need a WIA driver to use this device”, the above-listed driver download and update methods will help you. Apart from these, you can try uninstalling the driver using the Device Manager. If this does not work then run the Services app using Windows search and Enable Windows Image Acquisition.
WIA Scanner Driver Download and Update: Successful
Here we conclude the methods to download and update the WIA driver for various Windows PCs. We hope that these methods were the precise solutions you were looking for. Now you can run your scanner very smoothly. However, if you still want to get your questions answered or suggestions conveyed, then the comments section is there for you. Subscribe to the Techpout Blog today and get more of such interesting problem-solving tutorials and other article updates.
This error occurs when the Windows Image Acquisition driver is missing from your computer or the driver is outdated and needs an update. This error is faced by the users who are using their scanners with the Windows OS. WIA driver enables the computer to send imaging information to the scanner and acts as an Application Programming Interface. This problem can easily be resolved by downloading and installing the WIA driver on your computer.
Method 1: Restart Windows Image Acquisition (WIA) Service
Windows Image Acquisition service is a driver software that allows the different imaging devices to interact with your computer and vice versa. Sometimes the service stops responding or it might be using too much memory so we need to restart it to recycle the processes and memory threads to keep the system healthy.
- In the Windows Search bar, type Services and press enter to open the utility.

type Services and press enter to open the utility - Find the Windows Image Acquisition (WIA) service. Right-click the service and open the Properties.

Right-click the service and click properties - Select Startup type as automatic and click start (If the service is already running then click stop and then Shell Hardware Detection and Remote Procedure Call (RPC).click start).

Select Startup type as automatic - After you press start, Windows will take some time to restart the service.
- Once the restart has been performed, click OK to close the dialog box. Now repeat the above steps to restart two more services, The Shell Hardware Detection and Remote Procedure Call (RPC).
- Once you have restarted all these services, test your scanner to see if it is working now.

Method 2: Update your WIA Driver
When you perform a system upgrade or update your Windows operating system, the driver becomes incompatible or corrupt and you need to update your drivers as well. Updating the scanner driver makes it compatible with the Windows version and helps to get rid of the corrupt files. You can update your drivers using the below steps:
- Go to your Scanner’s official website and download the firmware from there
- Run the .exe file and install the firmware. Make sure to restart your computer completely after updating.
Method 3: Reinstall Your Scanner Driver
It is common for Windows drivers to start malfunctioning over time as there might be bugs or the files might get corrupted by third-party applications on your computer. Reinstalling the driver can solve that problem. Please follow the below steps.
- Right-click your computer and click manage.

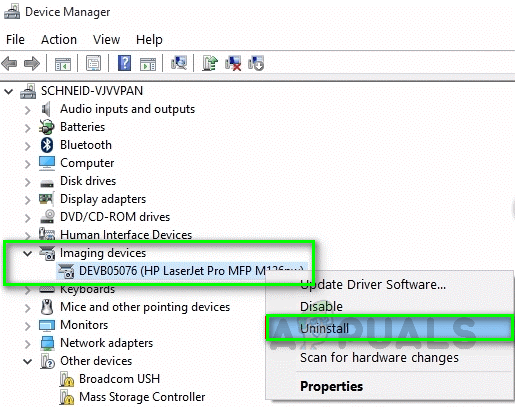
Right-click my computer and click Mange - In the new window select the Device Manager option. Search for the Imaging Devices and click to expand it.
- Right-click on your Scanner and click uninstall to remove the driver and restart your computer.

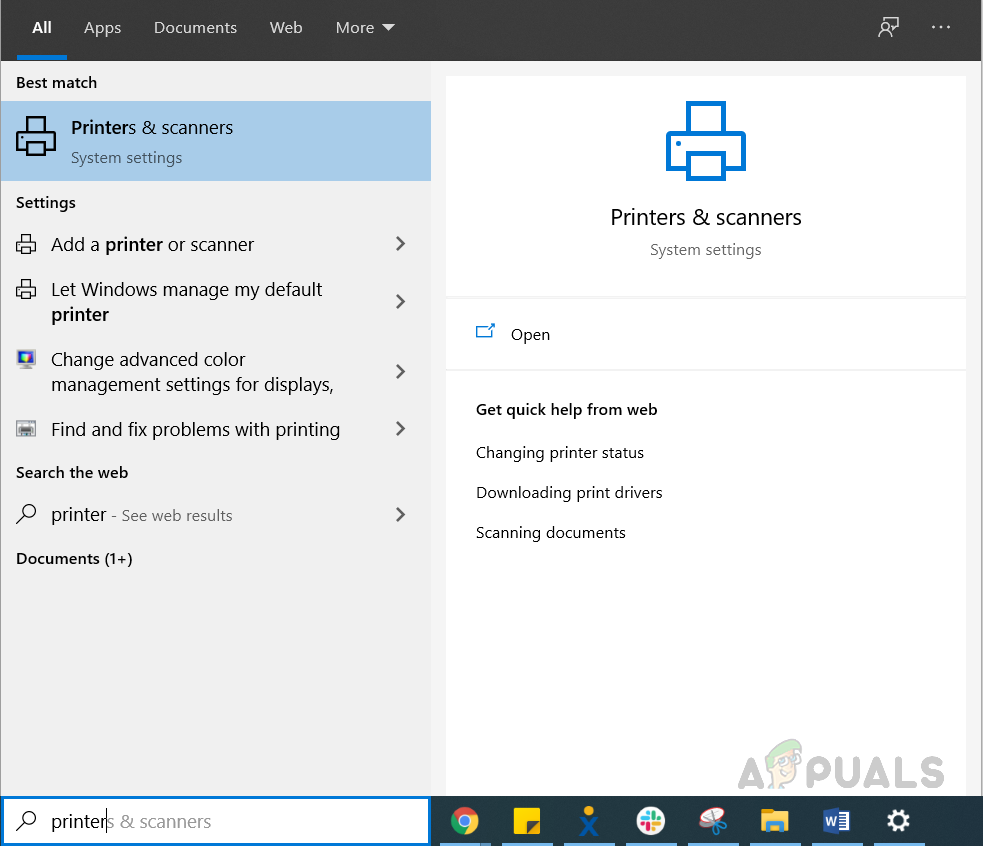
Right-click on your Scanner and click uninstall to remove the driver and restart your computer - In the Search, bar Enter Printers and Scanners and open it

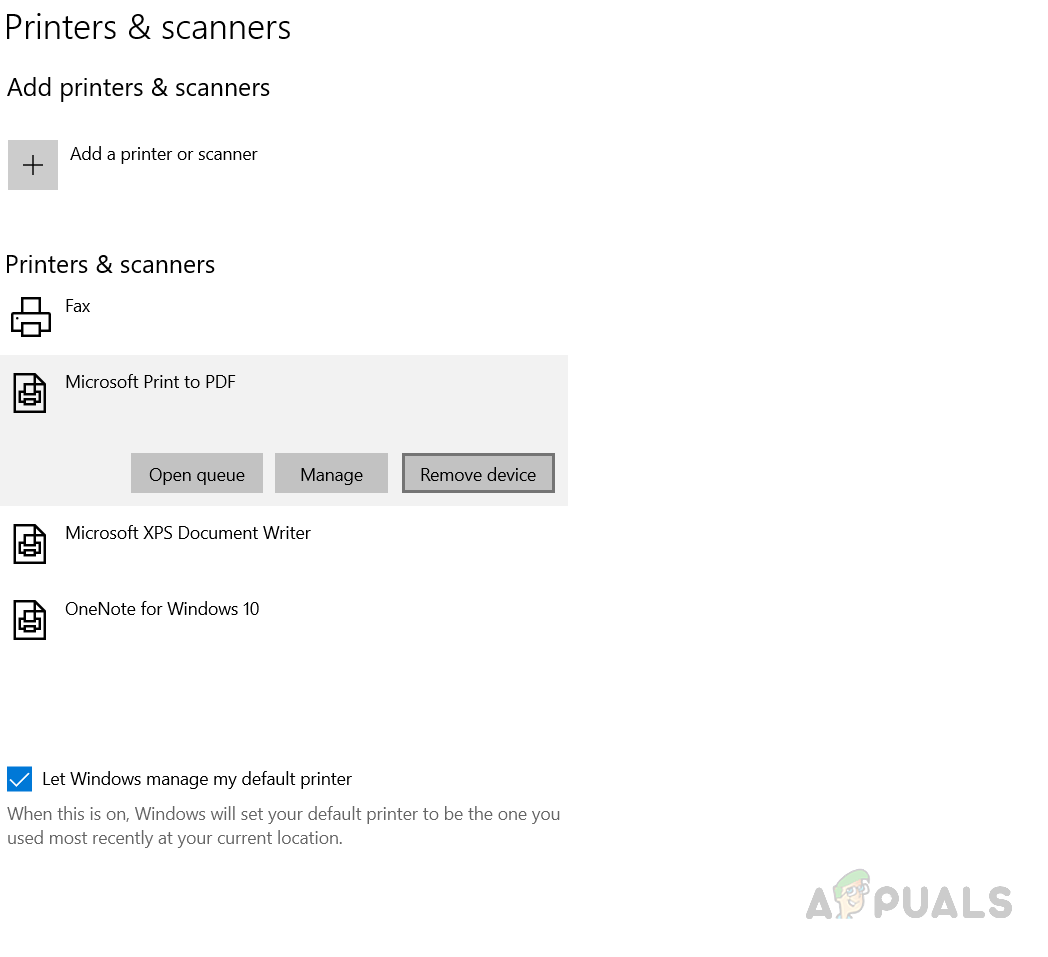
Search for Printers and Scanners - Search for your printers and click on it and choose Delete or Remove Device

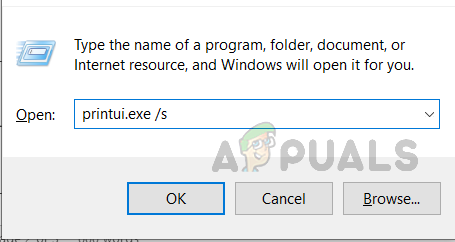
Select your Scanner and click Remove Device - Now Press Windows key + R and in the dialog box enter “printui.exe /s” (Notice there is space before the slash) and click Ok

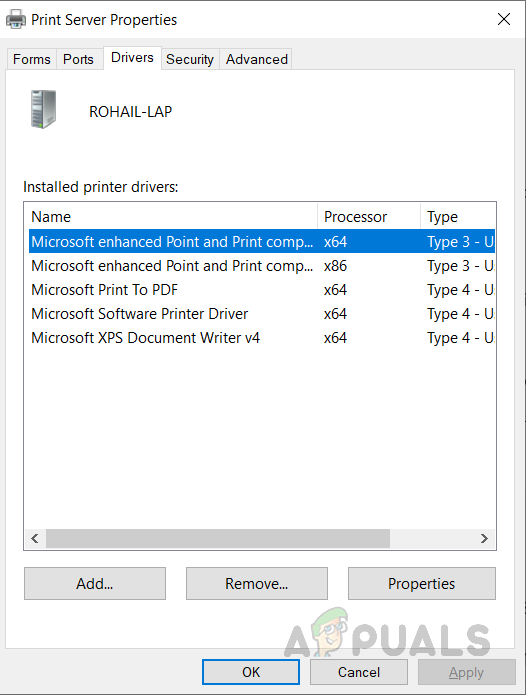
Type printui.exe /s in the Run menu - Click on the Drivers tab and search for your Printer/Scanner Driver and if you find it click on it and then click Remove at the bottom

Search for your Scanner Device and Click Remove on the bottom - Now click Ok and then click Apply on the Print Server Properties windows
- Once your computer restarts it will automatically reinstall the WIA driver on your system.
- If it does not install automatically then search for your scanner model driver and manually install it.

Solution 4: Troubleshoot for your Scanner
Windows has a built-in troubleshooting utility which you can use to fix the damaged firmware on your computer. It can help you fix your scanner firmware regardless if it is an HP, Canon, Dell, or any other brand. Please follow the below steps:
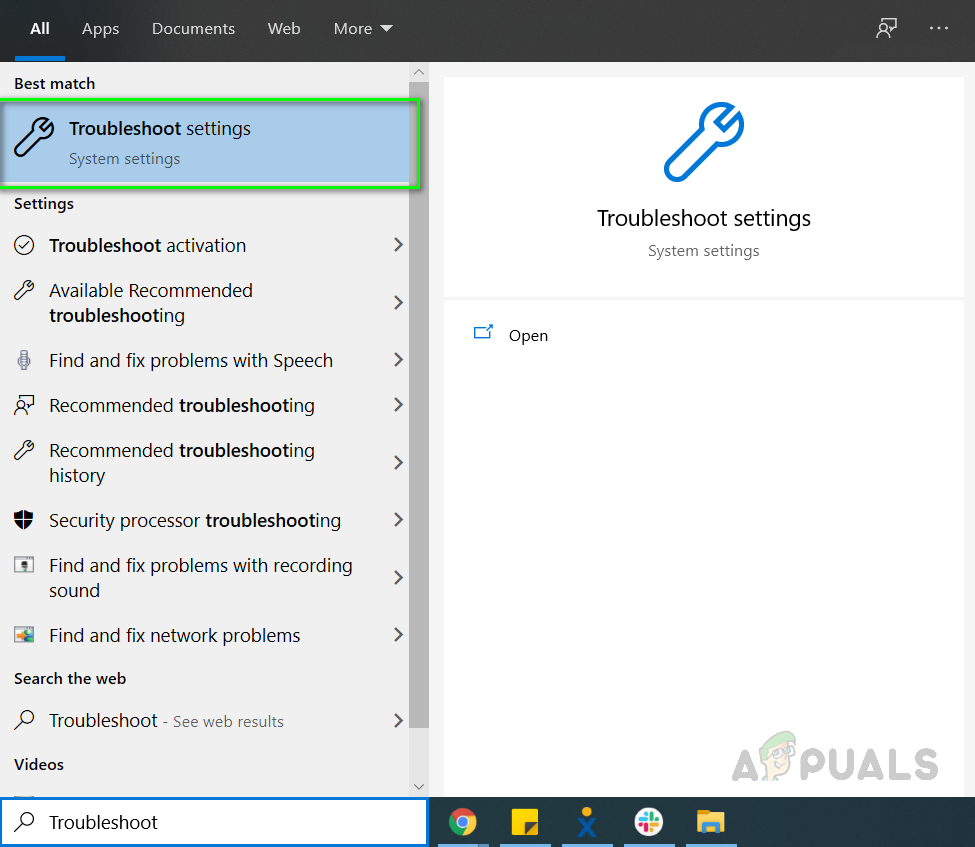
- In the Windows search bar type “Troubleshoot” and click on the “Troubleshoot Settings” to open it.

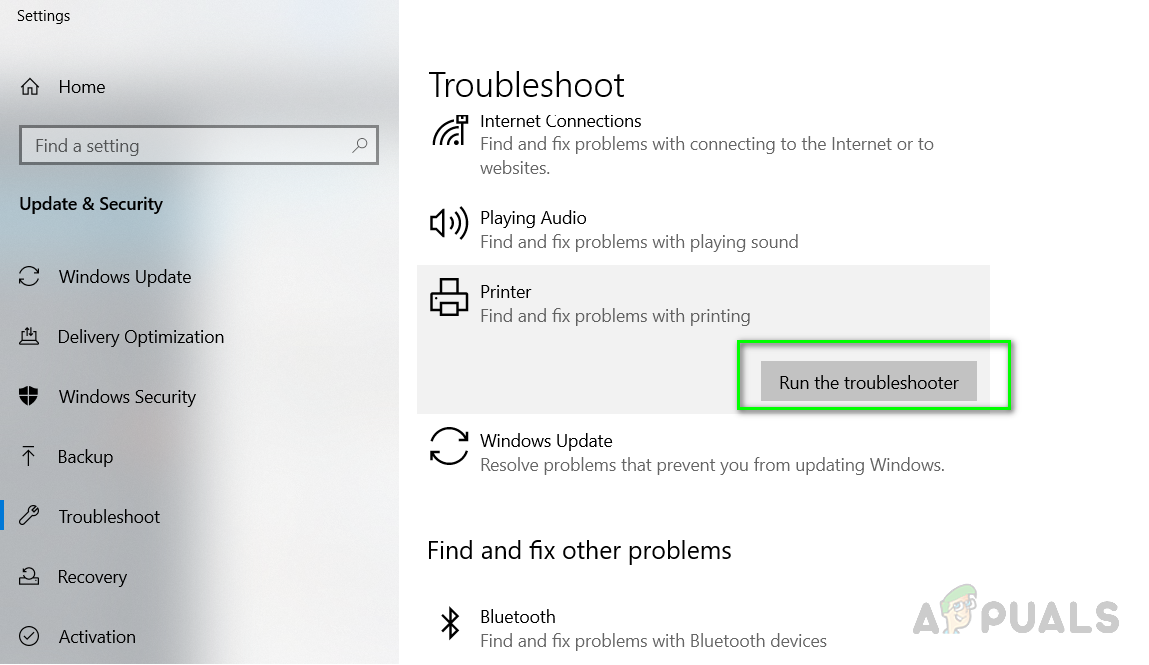
Search Troubleshoot in Windows Search bar - Find the printer option and click on “Run the troubleshooter”.

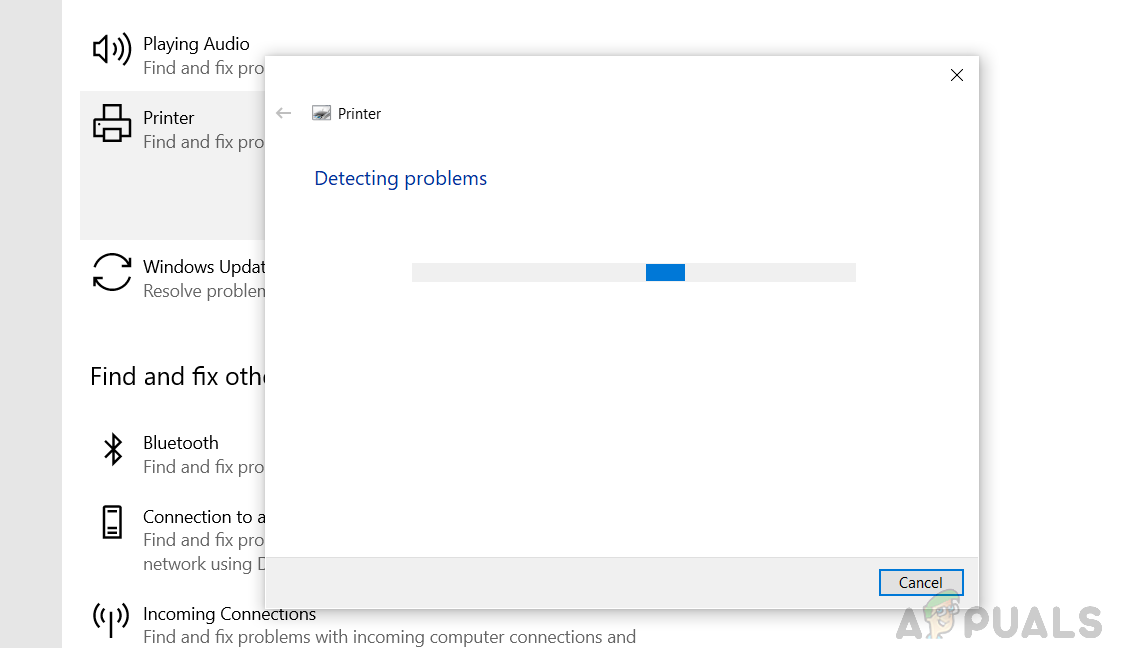
Search for Printer and Click Run the Troubleshooter - It will start checking for Scanner errors and will try to fix them automatically.

Windows Printer troubleshooter repairing and fixing issues
Kevin Arrows
Kevin Arrows is a highly experienced and knowledgeable technology specialist with over a decade of industry experience. He holds a Microsoft Certified Technology Specialist (MCTS) certification and has a deep passion for staying up-to-date on the latest tech developments. Kevin has written extensively on a wide range of tech-related topics, showcasing his expertise and knowledge in areas such as software development, cybersecurity, and cloud computing. His contributions to the tech field have been widely recognized and respected by his peers, and he is highly regarded for his ability to explain complex technical concepts in a clear and concise manner.
Provides image acquisition services for scanners and cameras.
Default Settings
| Startup type: | Manual |
| Display name: | Windows Image Acquisition (WIA) |
| Service name: | StiSvc |
| Service type: | own |
| Error control: | normal |
| Object: | NT Authority\LocalService |
| Path: | %SystemRoot%\system32\svchost.exe -k imgsvc |
| File: | %SystemRoot%\System32\wiaservc.dll |
| Registry key: | HKEY_LOCAL_MACHINE\SYSTEM\CurrentControlSet\Services\StiSvc |
| Privileges: |
|
Default Behavior
Windows Image Acquisition (WIA) is a Win32 service. In Windows 10 it is starting only if the user, an application or another service starts it. When the Windows Image Acquisition (WIA) service is started, it is running as NT Authority\LocalService in its own process of svchost.exe. If Windows Image Acquisition (WIA) fails to start, the failure details are being recorded into Event Log. Then Windows 10 will start up and notify the user that the StiSvc service has failed to start due to the error.
Dependencies
Windows Image Acquisition (WIA) cannot be started under any conditions, if the Remote Procedure Call (RPC) service is disabled.
Restore Default Startup Configuration of Windows Image Acquisition (WIA)
Before you begin doing this, make sure that all the services on which Windows Image Acquisition (WIA) depends are configured by default and function properly. See the list of dependencies above.
1. Run the Command Prompt as an administrator.
2. Copy the command below, paste it into the command window and press ENTER:
sc config StiSvc start= demand
3. Close the command window and restart the computer.
The StiSvc service is using the wiaservc.dll file that is located in the C:\Windows\System32 directory. If the file is removed or corrupted, read this article to restore its original version from Windows 10 installation media.