
Introduction:
In this post, we will learn the steps to Sysprep and Capture a Windows 10 Reference Image for WDS Server. Later you can use this captured image to deploy Windows 10 on multiple computers in your organization using WDS.
Windows Deployment Services (WDS) enables you to deploy Windows operating systems over the network, which means that you do not have to install each operating system directly from a CD or DVD.
A reference image is helpful when you want to deploy a similar OS with commonly needed software. It will save lots of administrative efforts and time required for large deployment.
So before capturing Windows 10 reference image, make sure you install all required software and update Windows with the latest updates.
Test Lab Setup:
Note: For this guide, we will use the virtual test lab created in VirtualBox.
- WS2K19-DC01: WDS Server (DC and DNS with DHCP)
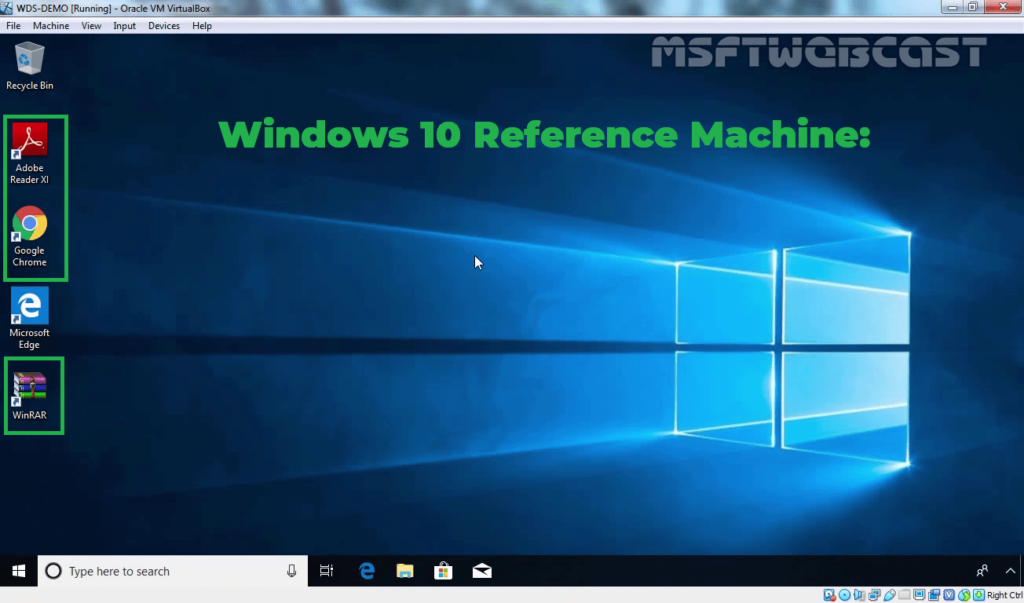
- WDS-DEMO: Windows 10 machine (Updated)
Already I have installed commonly required applications like Adobe Reader, Google Chrome and WinRAR, etc. Install the software as per your requirements.
Follow this guide: Install and Configure WDS on Windows Server 2019.
Steps to Create a Capture Image using the WDS console:
1. On WDS Server, open Server Manager Console.
2. Click on Tools and select Windows Deployment Services.
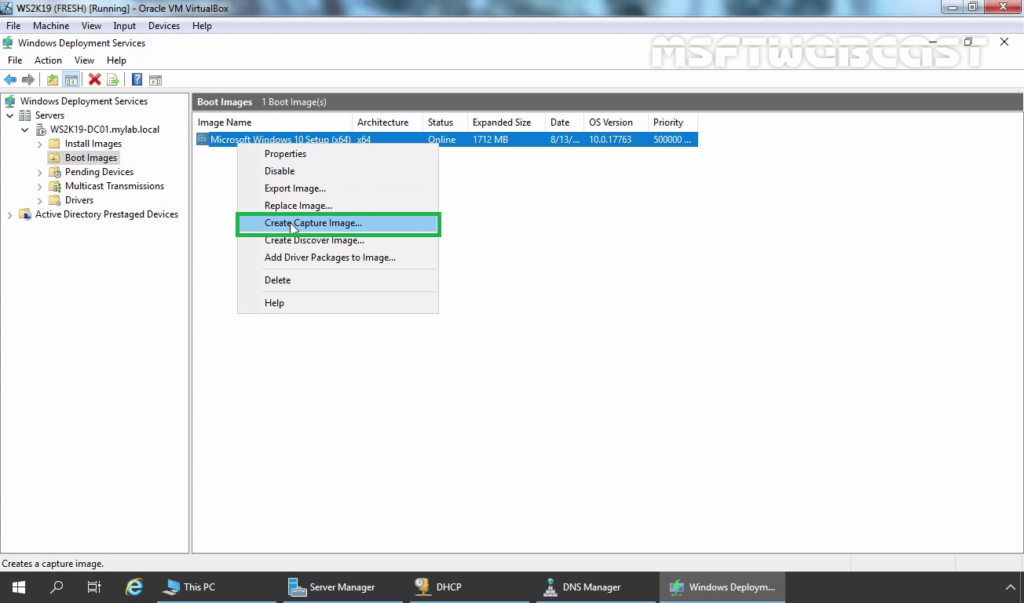
3. Expand the Server name. Expand and click on Boot Images.
4. Right-click on the existing boot image and select Create Capture Image.
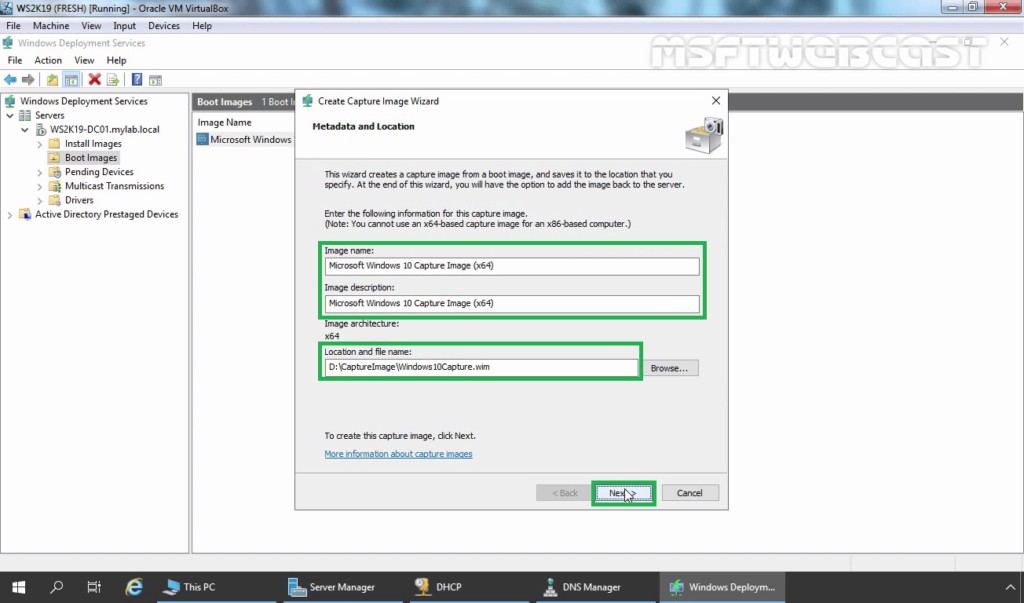
5. Specify the name and description of the image. Click on browse to specify the location to save the reference image. Click on Next.
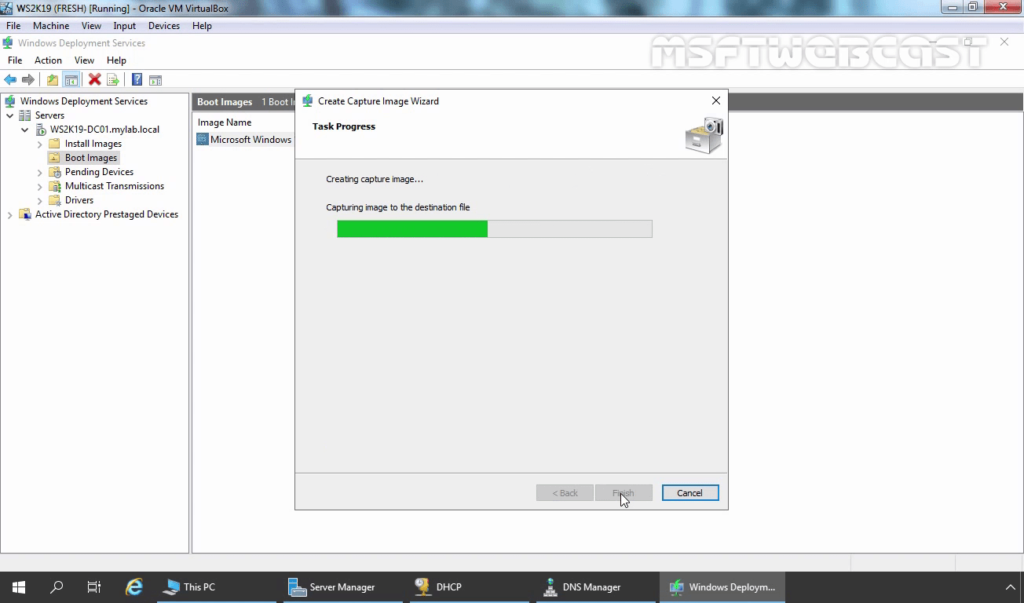
6. The Wizard will begin to capture a Windows 10 reference image.
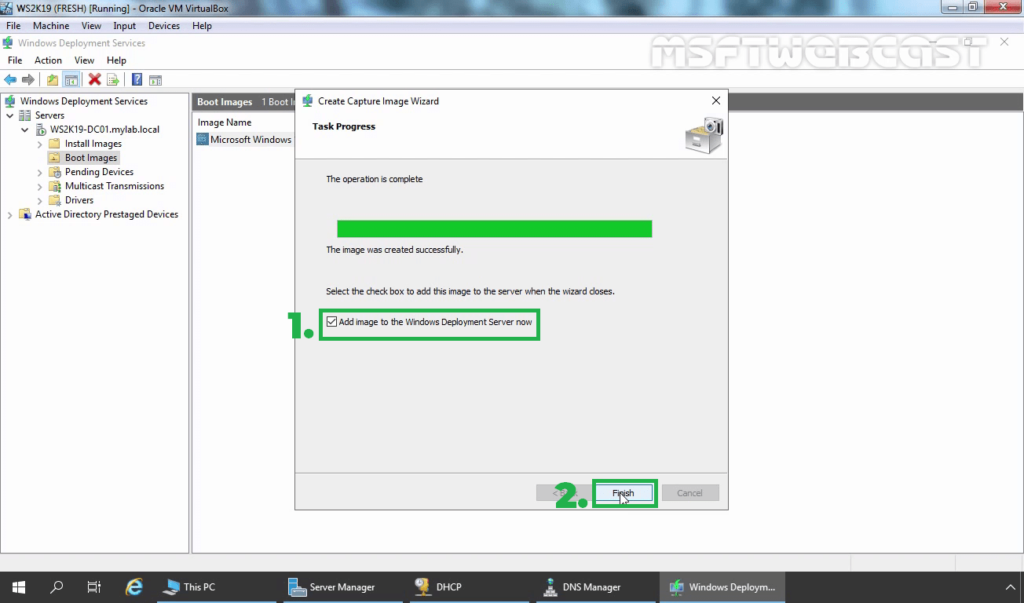
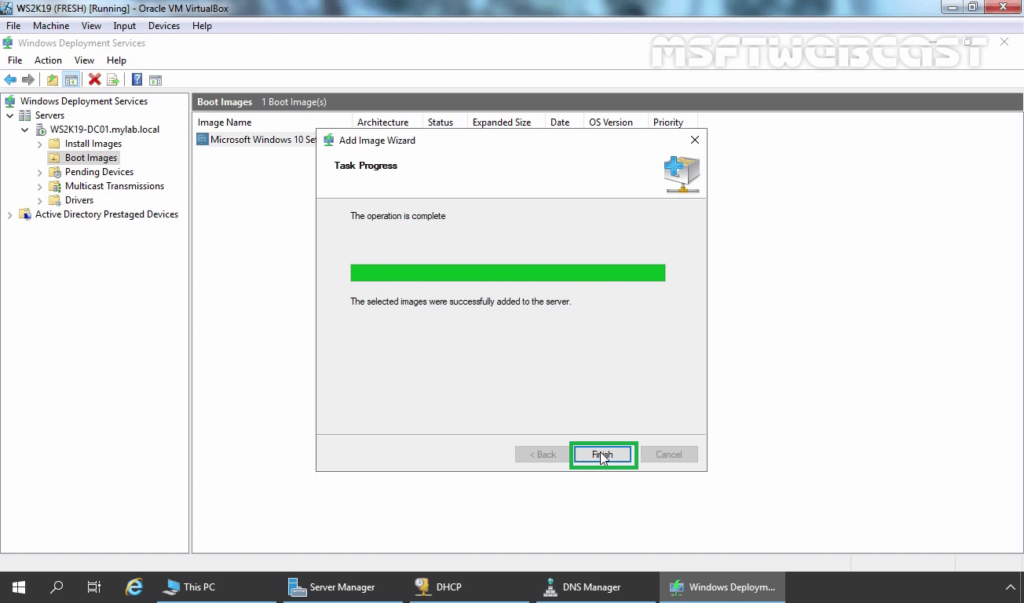
7. Select the Add image checkbox to add a captured image to the WDS server. Click Finish.
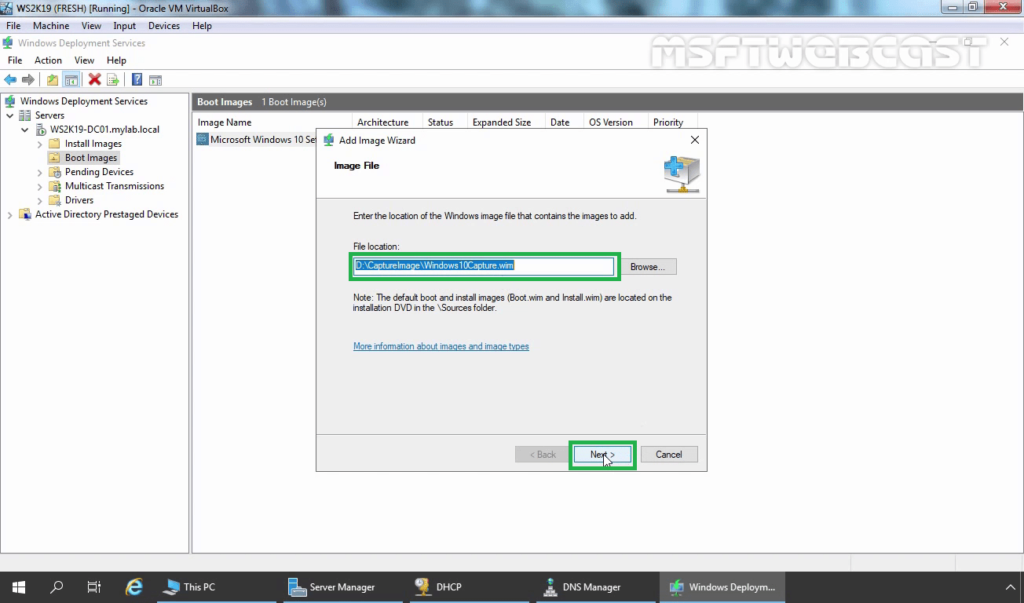
8. The Image file location is pre-filled out. Click Next.
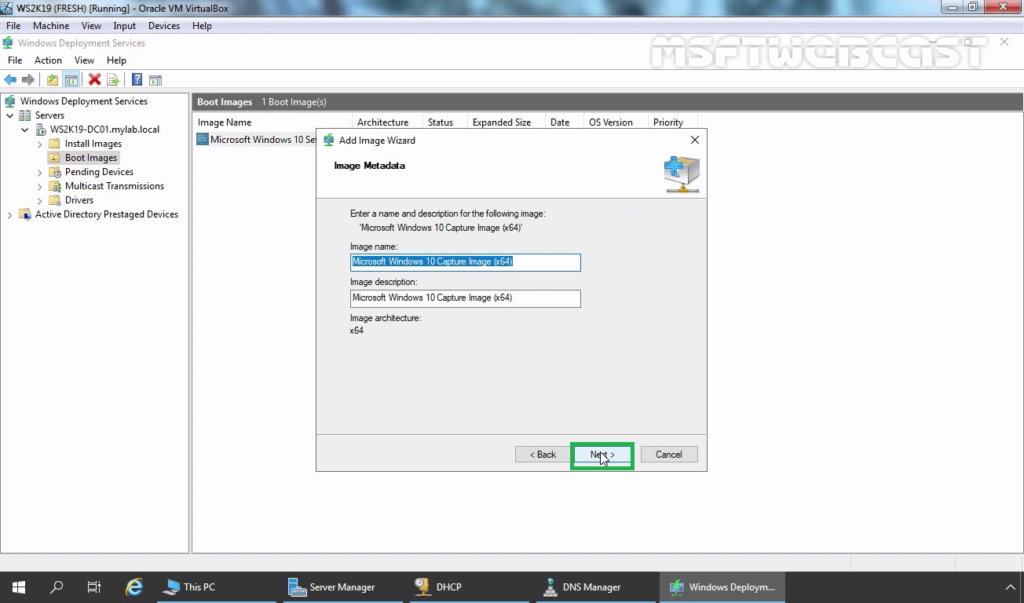
9. Click Next.
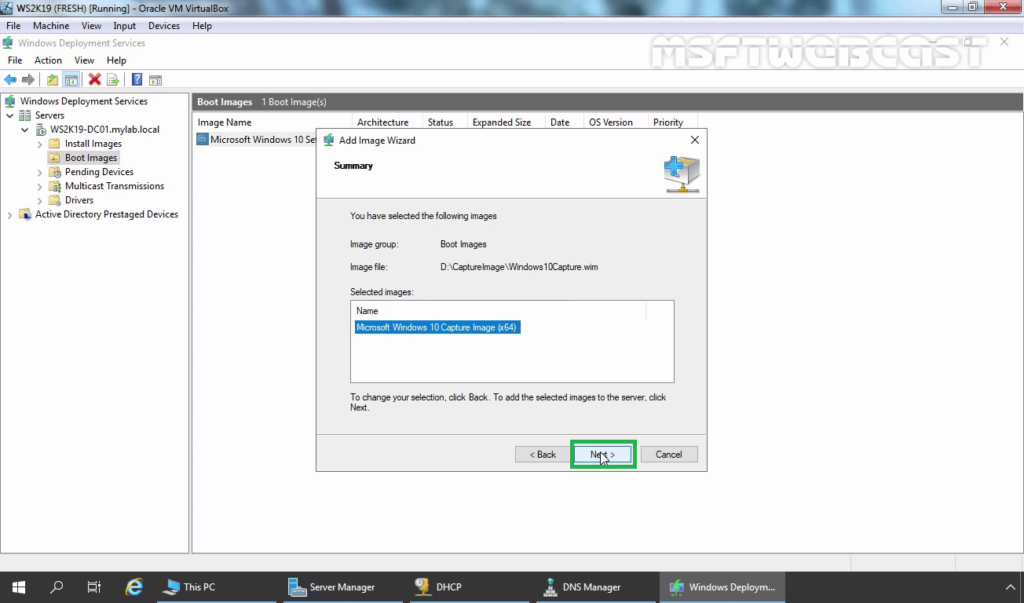
10. View the summary and click Next.
11. Wait for the process to finish. Click on Finish.
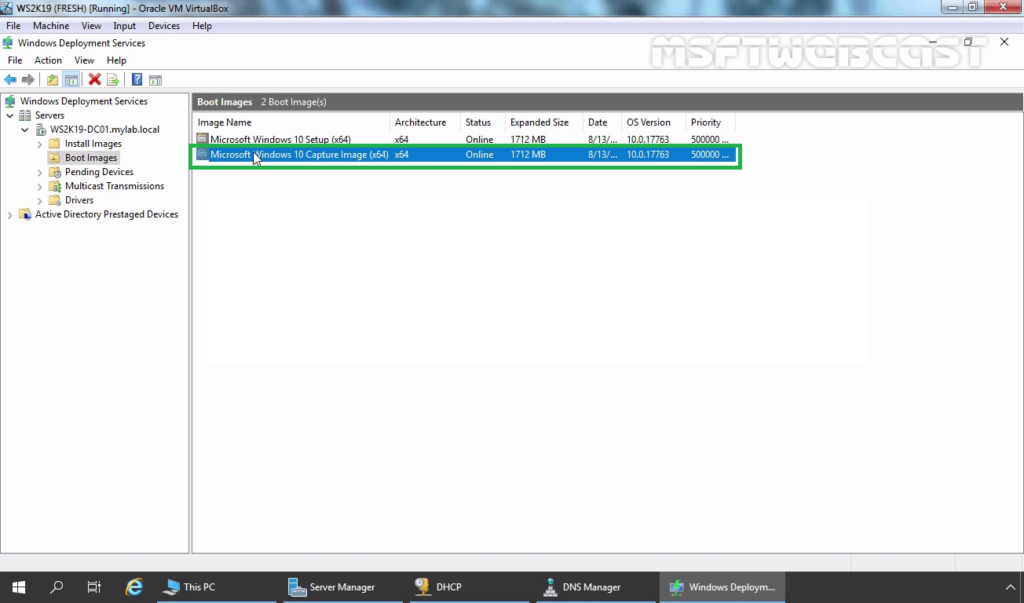
12. Verify the Capture Image under the Boot Images list.
Sysprep Windows 10 to capture a Reference Image:
Every Windows OS has uniquely generated and assigned security identifiers (SIDs). If there’s more than one computer with the same SID on the network, then this could cause problems.
Sysprep tool is used to remove computer-specific information such as installed drivers and the SID from the OS. After that, we can use it to capture the reference image.
We have performed a clean installation of Windows 10. We have also installed some third-party applications on it.
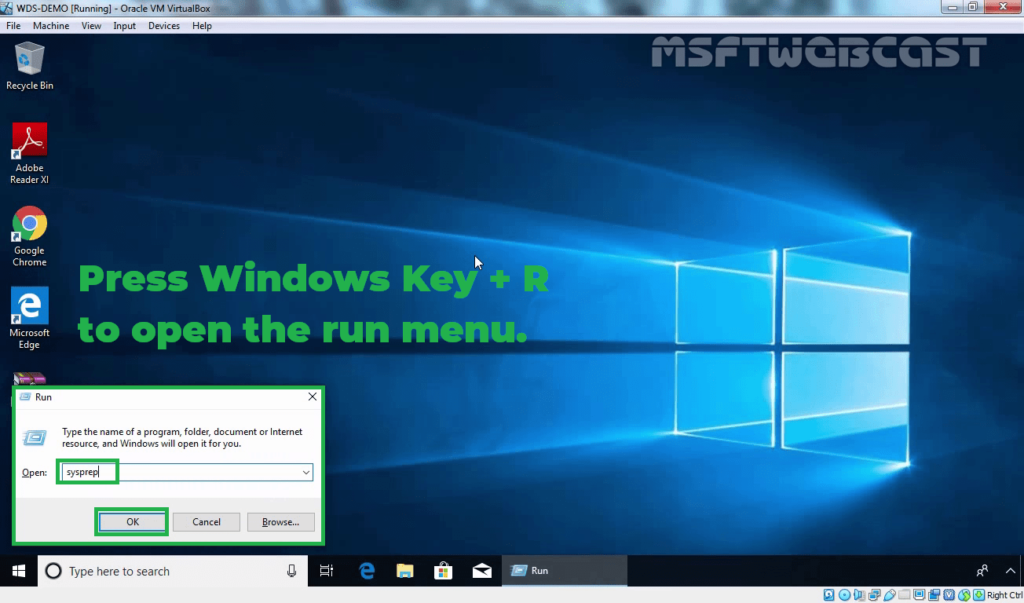
13. On Windows 10, press the Windows key + R to open the run menu.
14. Type sysprep and then press enter key.
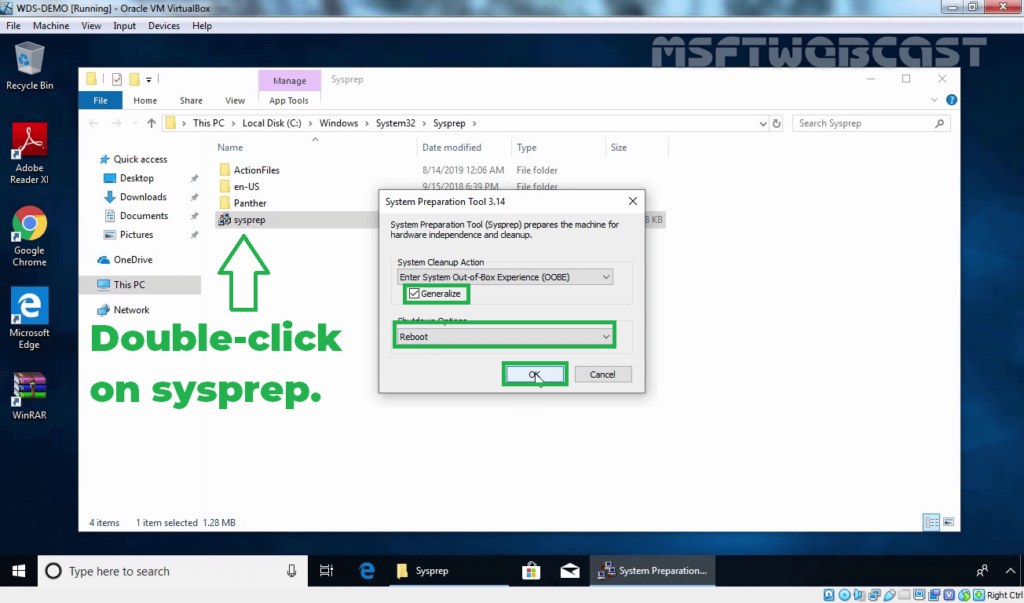
15. Double click on sysprep application.
16. Choose Enter System Out-of-Box Experience (OOBE) and select Generalize. Choose reboot and click OK.
17. Once the sysprep has complete, the system will restart.
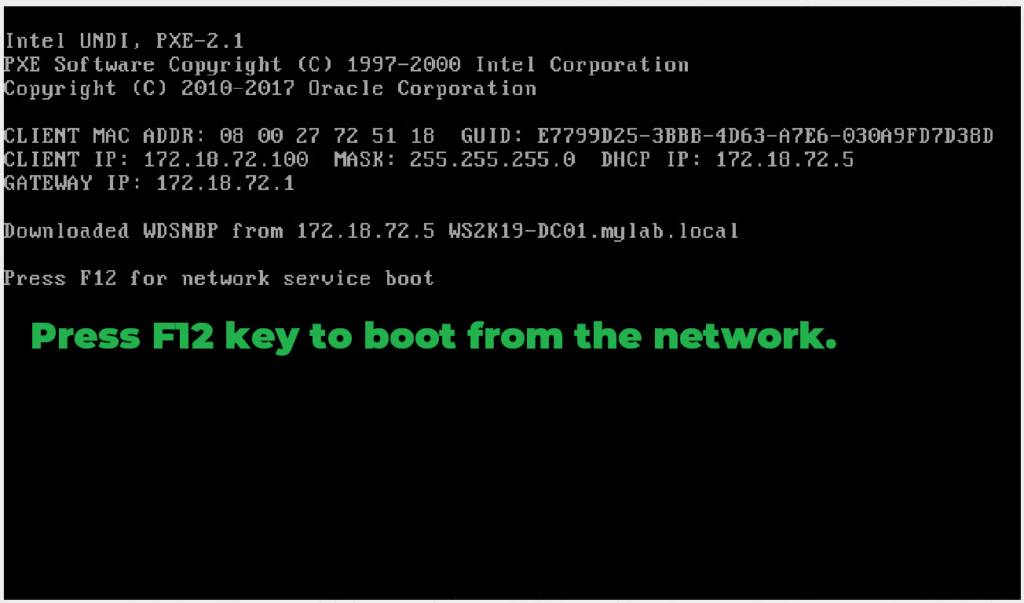
18. Configure your system to boot from the network, when prompted press F12 key to continue.
Capture Windows 10 Reference Image using WDS:
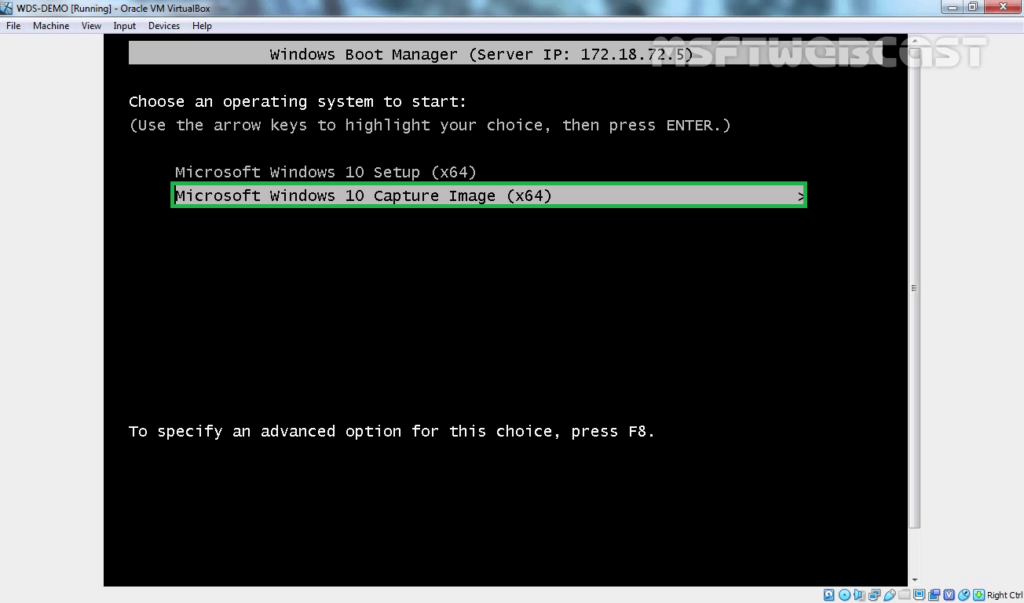
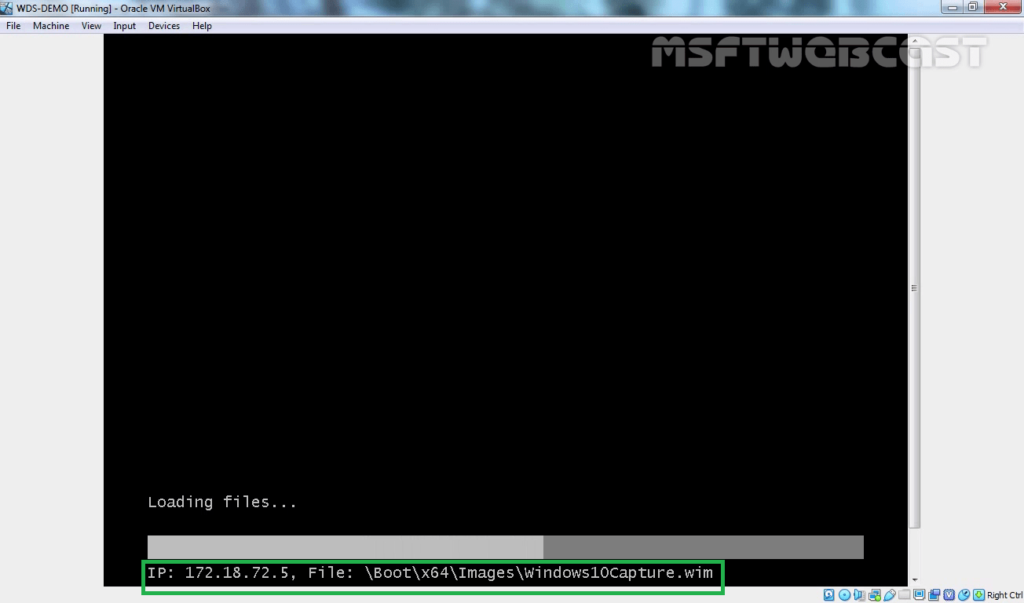
19. Now select Capture Image from the list to capture Windows 10 reference image. You can use arrow keys for navigation.
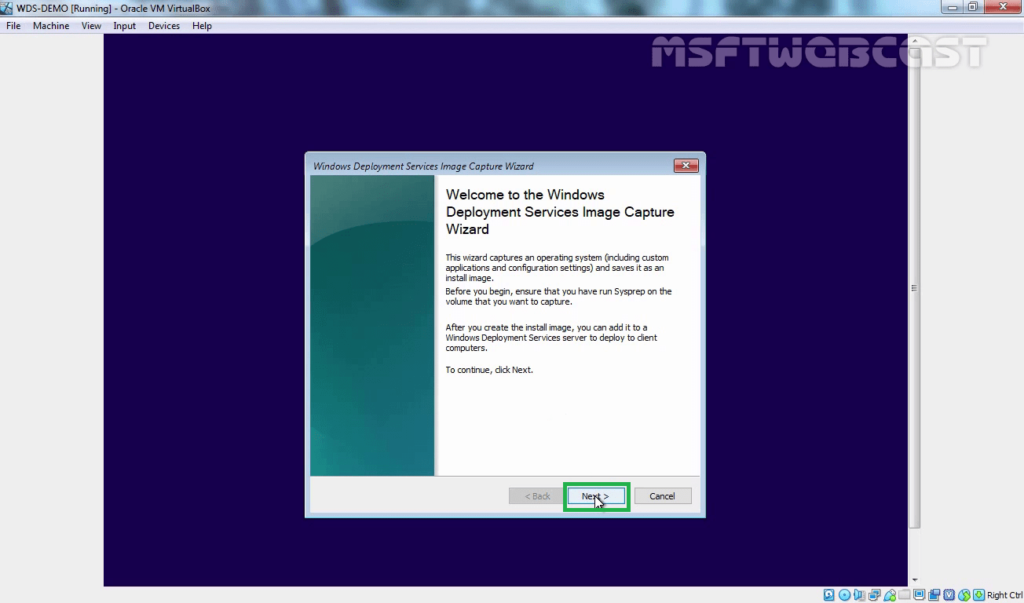
20. Click Next on the Welcome page.
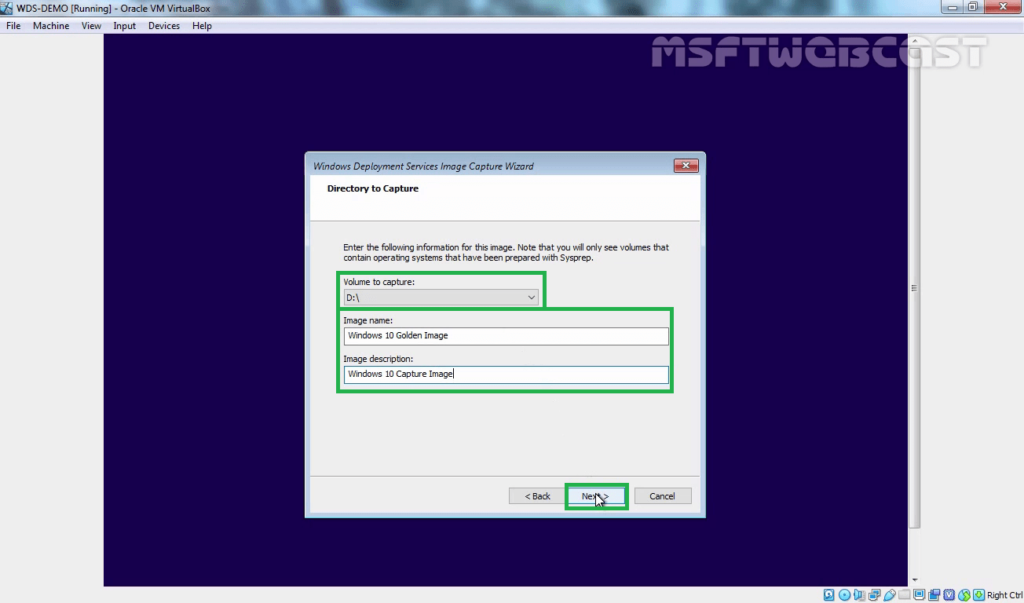
21. Specify the volume to capture. Specify the image name and description then click Next.
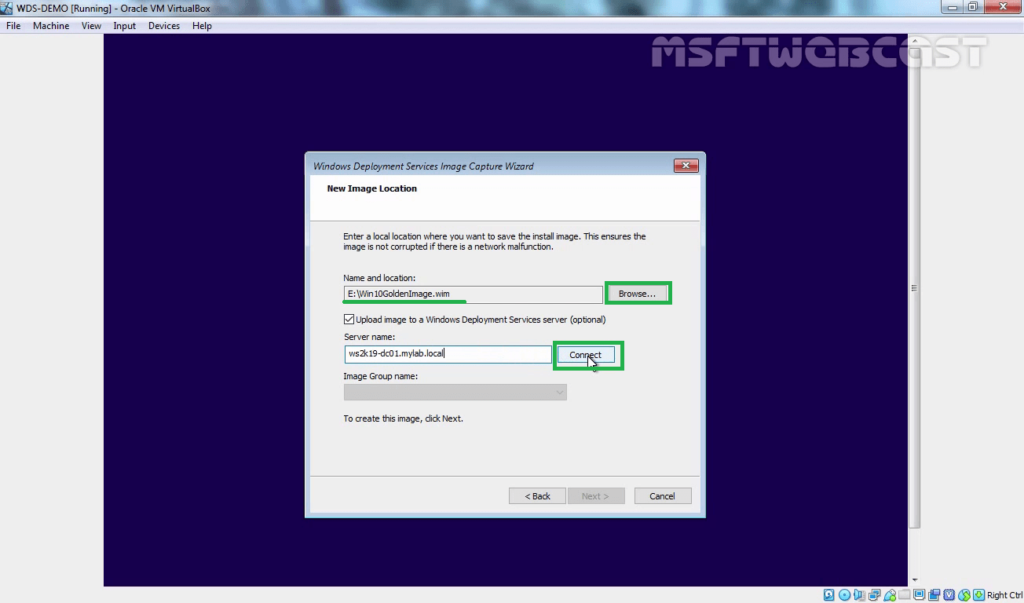
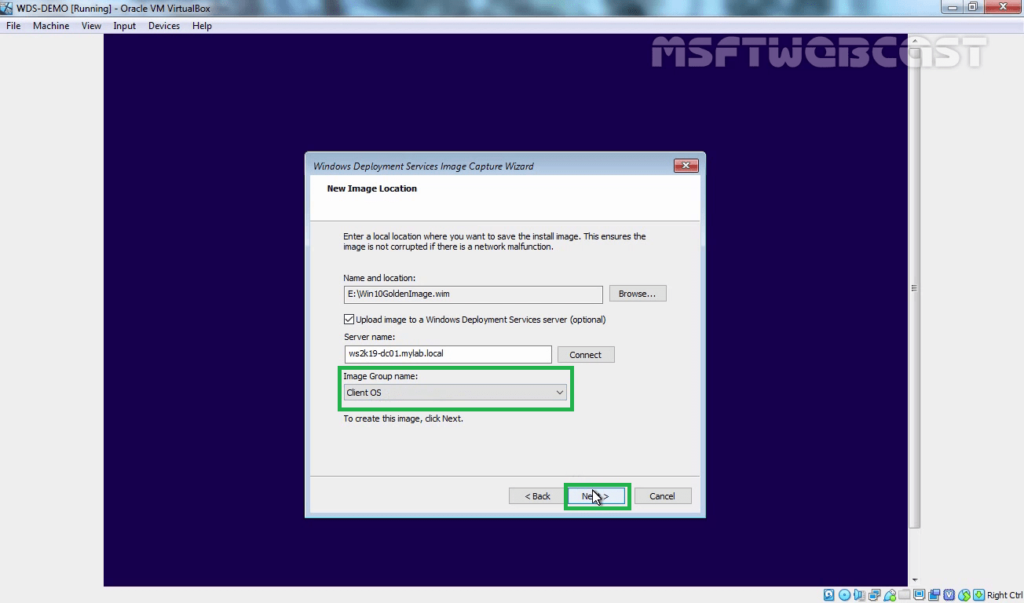
22. Click on browse to specify the location to save this reference image file locally.
Note: If you want to upload the image to the WDS server at the same time, then check on the “Upload image to a Windows Deployment Services Server”.
23. If you chose to upload the image to the WDS server, Enter the name of the WDS server in the Server Name field and click on connect.
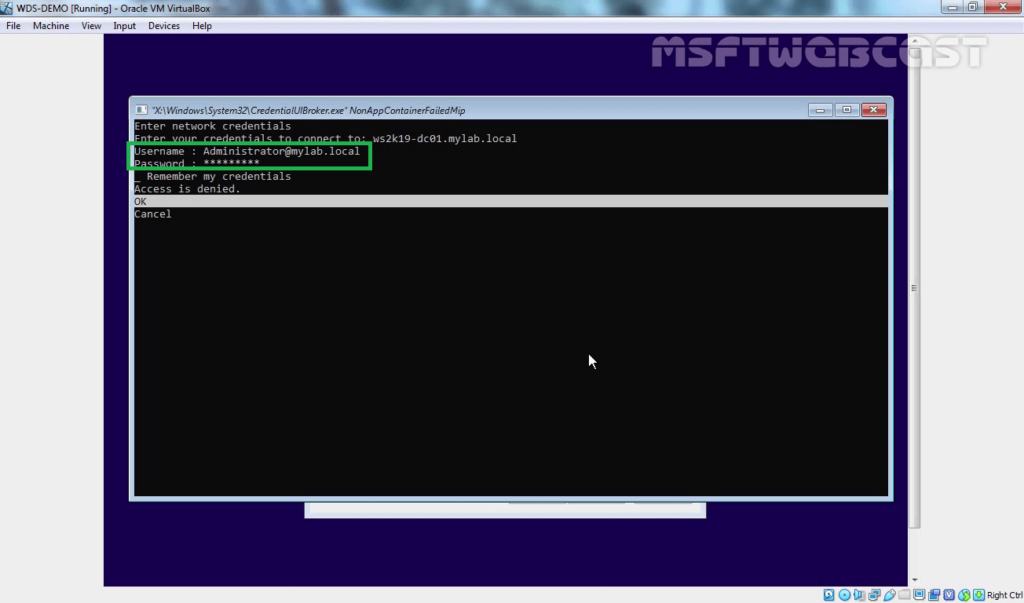
24. Enter the credentials and click on OK.
25. Select the group menu from the drop-down menu and click on Next to start capturing Windows 10 reference image.
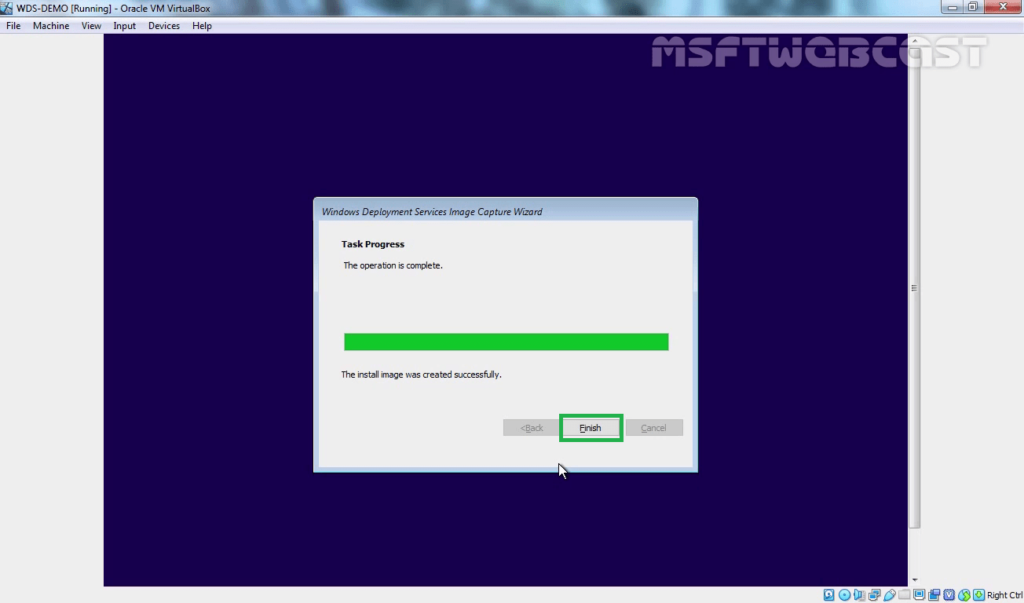
26. Click on Finish to close the wizard.
27. Go to the WDS server and check the result of Windows 10 capturing.
28. Expand Install Images, expand the image group, and verify the reference image is uploaded or not?
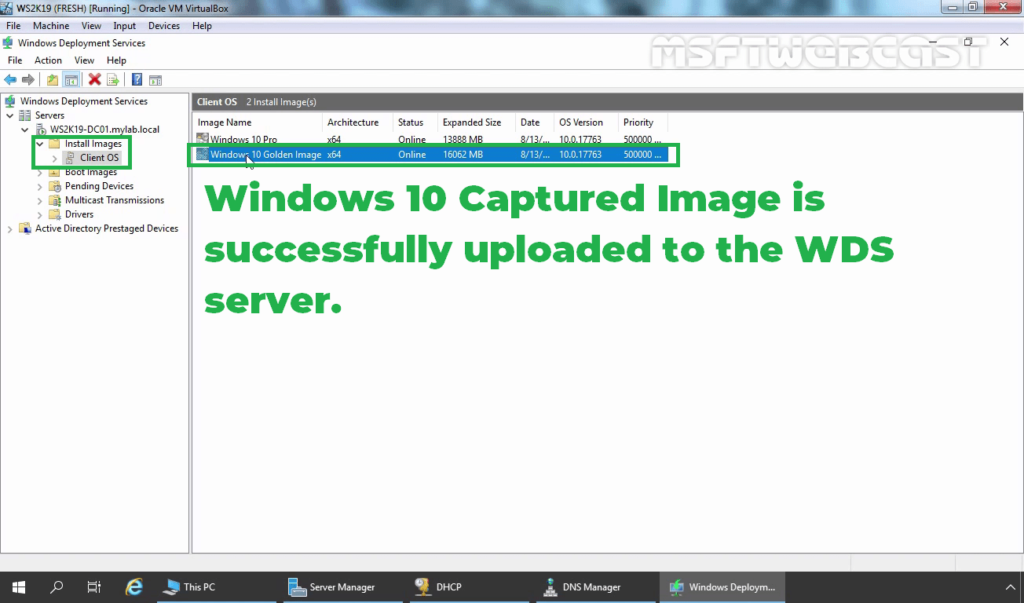
The Windows 10 reference image should be uploaded successfully to the WDS server.
That’s all for steps on how to Sysprep and capture a Windows 10 reference image using the WDS server 2019.
Thank you for reading this post.
Related Articles on WDS:
- How to Install WDS role in Windows Server 2019 Part-1
- How to Configure WDS server role on Windows Server 2019 Part-2
Post Views: 7,757
Windows Deployment Services (WDS) is used to capture image and deploy operating system(OS) images also know as WDS images remotely to other computers over a network. In earlier post we have learned the steps to install WDS Server 2012 and install OS using WDS Server 2012 R2. In this post we’ll capture image of OS by using Windows Deployment services image Capture wizard and then we would deploy it to other computers and servers in the environment.
Capture Image is required for an environment where you have to deploy similar Operating System and some common applications on multiple computers. It save lots of administrative efforts required for large deployment.
Before we start with the steps of capture image, install an OS on the Server and then install all the applications that are common for your environment also know as base applications for the Production environment.
In addition to that, ensure that DHCP Server is working in your environment. Change the booting sequence to “Boot from Network” and then follow the steps given below.
Steps to Capture Image using WDS (WDS Images)
1. Open Windows Deployment Services (WDS) console, expand Server name and select “Boot Images”. Right click on the boot image, select Create Capture Image to create the capture image. This capture image will help to boot the computer to capture computer’s OS for further deployment of Operating System to other computers either client or server.
2. On “Create Capture Image Wizard“, enter the name and description of the image. Click on browse to specify the location where this would can be saved. Click on Next, this will create the capture image and saves it to the location that we have specified.
3. On “Create Capture Image Wizard”, when the image is successfully created check on the “Add image to the Windows Deployment Server now” to add this captured boot image to the WDS server now, you can also add this image later from the WDS console. Click on finish to upload the OS file and close the console.
4. We can verify if Capture image is uploaded to WDS Server or not by selecting “Boot Images”.
5. Before we start with the steps of capture image using Windows Deployment Services, make some changes on the server. In this practical, we have created some folders in the C: drive and installed the role of Remote Desktop Services. In addition to that, you can install few additional software or make any other changes as per your organization’s requirement.
How to install Domain Controller
6. Open Run, type sysprep and click on OK. It is a system preparation tool and its default path is “C:\Windows\System32\sysprep”. It is used to define new computer name and unique SID to the newly build computer.
7. Double click on Sysprep. Sysprep will prepare our computer for the capturing.
8. On System Preparation Tool console, we can see the importance of sysprep. It will prepare the machine for hardware independence and cleanup. Check on Generalize and select “Shutdown” from the drop down menu of Shutdown Options. Click on OK. Sysprep will start working and then shutdown the computer.
9. Change the boot sequence to “Boot from Network” before powering on the Server. Power on your computer and press F12 to make your computer boot from network.
10. On “Windows Boot Manager” select the capture image and hit enter.
11. On “Windows Deployment Services Image Capture Wizard“, details about WDS and all the pre-requisites are mentioned. Click on Next to continue.
12. On the “Windows Deployment Services Image Capture Wizard” console, select the directory or volume to capture. Don’t get confused if you don’t see C:\ here and only see D:\ as C:\ would be used for booting and D:\ is the original drive that has all the information. Here, we have selected D: drive to capture an OS. Enter name and description and then click on Next to continue.
13. On the location console, click on browse to enter the location where this file would be saved locally. Check on “Upload image to a Windows Deployment Services Server” to directly upload this file to the WDS server. Enter the name of WDS server in Server Name field and click on connect.
How to promote Additional Domain Controller
14. A “Windows Security” console would ask for domain administrator credentials. Enter credentials and click on OK.
15. Select the group menu from drop down menu and click on Next to start capturing.
16. After the completion of capturing install image click on Finish to close the wizard.
17. On WDS Server, expand server name (how to rename Windows Server), expand Install option, expand group and verify if the captured Operating System is uploaded to the WDS console or not.
How to Deploy Captured Image using WDS
Before we start with the steps of deploying captured image, ensure that DHCP server is working in your environment and client is enable for boot from network.
18. On the client computer, press F2 and go to the BIOS option and change the boot option to “Network”.
19. When the client received IP address from DHCP (configure DHCP Server) it will be ready to boot from network. In this example client received an IP address that is 192.168.1.112. Press F12 for network boot.
20. Select the boot image and not the Capture Image to boot the computer from network. Client machine loads the boot.wim file from the WDS server.
21. It starts booting the client from the boot file on WDS server. The IP address of WDS server is 192.168.1.11 and path of boot image on WDS server is “\Boot\x64\Images\boot.wim”.
22. On Windows Setup console select location and keyboard or input setting and click on Next.
23. Enter the domain credentials to make this client install OS through WDS (Winodws Deployment Services).
24. On Select Operating System console, list of all the Operating Systems are listed which were added in the WDS server. Select “Install_Capture_Image” to install the captured Operating System on the client computer. Click on next to continue.
25. After the completion of Operating System installation, verify that the folders that we created and the roles that we installed exist on the client computer. It confirm that the OS that we captured is successfully installed on the client computer.
26. Similarly you can deploy the captured Operating System on all the client machines. It can be used for deploying Windows 7 image over network along with other WDS images e.g. Server 2012, Windows Server 2008, Windows 7, Windows 10, etc. Windows Deployment services for Windows 10 is a great tool used by System and IT Administrators to capture and to deploy OS images in most of the Organizations.
Greetings,
In the last two guides, I have demonstrated how to Install the WDS Role and Configure WDS, see below for previous guides:
Part 1
Installing and Configuring WDS for Windows Server 2016
Part 2
Configuring WDS for Windows Server 2016
Things you will need:
- Windows 10 ISO: For instructions on how to download the tool, check of the following guide by clicking here.
- A reference computer that is built, configured, and loaded with the desire applications.
In this guide, I will be walking through how to create a boot image and capture image. Some of you might be asking, what are these and what are they used for?
Boot Image:
A boot image is essentially a WindowsPE (Preinstallation Envorimenent) which is a stripped down OS that only includes the necessary tools to install, deploy, and repair Windows. This image is necessary so that the Windows Installation media has something to boot off of, thus why it’s called a boot image.
Capture Image:
A capture Image is required for an environment where you are deploying similar Operating Systems that contain the same basic applications. The image is used to create a capture image.
Install Image:
An install image is the image that was captured from the Capture Image and contains all the settings and applications that were installed and configured from a reference computer.
Lets start!
Creating a boot image:
1) On the WDS server, open the Windows Deployment Services Management Console by clicking tools in server manager then Windows Deployment Services:

2) Expand Servers > [Your Server] and right click on boot image, click Add boot Image:

3) Browse to the Windows ISO you have downloaded, right click the ISO and select mount:

4) Once the ISO is mounted, browse to the Sources folder and search for the boot.wim file:

5) Copy the boot.wim file and save it somewhere on your C drive. I have it saved under C:\common$:

6) In the add image wizard we were previously on, browse to the boot.wim file you copied over and click open:

7) Leave this as default and click Next:

 Specify the image name and give it a description, click Next:

9) On the «Summary» Window, click Next:

10) A task progress windows will appear, it will notify if it ran into any errors during the boot image creation process or if it completed successfully, click Finish:

Once completed, you should see the image under appear under Boot Images in the Windows Deployment Services Management Console:

Congratulations, you have just created a boot image! Now it’s time to create a capture image.
Creating a capture image:
1) Right click on the boot image and select Create Capture Image:

2) Give the image an name, add a description:

3) For location and file name, click browse and browse to where you have decided to store the remoteinstall folder we did in the last guide:

4) Right click anywhere in the directory and choose New > Folder and name it Capture:

5) Click on the folder and give your capture image a name, and click Open

6) Click Next:

7) After clicking next, the capture image creation progress will begin. When completed, it will notify you that the image has been successfully created, click Finish:

Congratulations, you have just created a capture image. In the next guide, I will demonstrate how to sysprep a reference computer and create an install image. Make sure to keep an eye out for my next guide!
If you have you any questions, comments, or concerns, please don’t hesitate to contact me.
Sincerely,
Mog
upload_2018-8-28_20-23-45.png
49.7 KB · Views: 1,722
upload_2018-8-28_21-4-26.png
65.7 KB · Views: 1,484
upload_2018-8-28_21-5-36.png
66.5 KB · Views: 1,375
upload_2018-8-28_21-6-26.png
53.7 KB · Views: 1,272
upload_2018-8-28_21-8-10.png
44.6 KB · Views: 1,517
upload_2018-8-29_18-31-30.png
33.2 KB · Views: 1,492
upload_2018-8-29_18-43-1.png
54.9 KB · Views: 1,461
Загрузить PDF
Загрузить PDF
Windows Deployment Services (WDS) представляет собой серверное программное обеспечение для обработки изображений, разработанное Microsoft. Windows Deployment Services (WDS) (Службы развертывания Windows) используются для развертывания установки Windows, как Windows 7, по сети. Учрежденные в Server 2008 и более поздних версиях как дополнительная установка в Server 2003 SP2, файлы образов Windows Deployment Services находятся в Windows Imaging Format (WIM). В этой статье мы покажем вам, как установить установочный образ и захватить изображение для развертывания по сети.
-

В Server manager щелкните правой кнопкой мыши Roles и выберите Add role. Мастер Add role должен появиться на экране приветствия, нажмите кнопку Next. Выберите Windows Deployment Services Role в в нижней части списка и нажмите кнопку Next. Примите значения по умолчанию и нажмите кнопку Next. Нажмите кнопку Install.
-
После установки перейдите в меню Start => Administrative tools => нажмите Windows Deployment Services.Щелкните правой кнопкой мыши по Srvers, выберите Add server. Выберите Local computer и нажмите кнопку OK. Щелкните правой кнопкой мыши по Server и нажмите кнопку Configure server. В экране приветствия нажмите кнопку Next. На этой странице вам нужно выбрать место для хранения изображений, нажмите кнопку Next. Поскольку сервер запускает DHCP, выберите «Do not listen to port 67» и «Configure DHCP option to 60 to PXE Client», нажмите Next. Выберите, как вы хотите, чтобы сервер отвечал клиентам. Если вы выбираете «respond only to known client computers», вам необходимо будет ввести компьютеры вручную. нажмите Next, а затем нажмите Finished.
-
При нажатии Finished после настройки сервера должно появиться окно Add image wizard (Мастер добавления изображения). Если нет в окне Windows Deployment Services, щелкните знак плюс рядом с серверами и щелкните знак плюс рядом с вашим сервером, который вы добавили. Щелкните правой кнопкой мыши на Add Install Images. Выберите Create a new Image Group и переименуйте группу образов. Нажмите Browse чтобы выбрать изображение Windows (.WIM-файл), который хотите использовать и нажмите кнопку Next. Если есть больше чем одно изображение в файле .WIM, на следующей странице вам нужно выбрать нужные вам изображения и нажать кнопку Next. Убедитесь, что все правильно на сводной странице и нажмите кнопку Next. Изображение или изображения будут установлены. Когда установка будет завершена, нажмите Finished.
-
Щелкните правой кнопкой мыши папку загрузочного образа под вашим сервером в окне Windows Deployment Services и выберите Add boot image. Найдите нужный вам загрузочный образ (boot.WIM) файл и нажмите кнопку Next. Дайте загрузочному образу имя и описание, нажмите кнопку Next. Подтвердите и нажмите кнопку Next. После установки нажмите Finished. Щелкните правой кнопкой мыши образ загрузки и выберите пункт «Create a Capture Boot Image», нажмите Next. назовите и дайте описание Image Capture, выберите загрузочный образ, который вы установили, и нажмите кнопку Next. Когда изображение захвачено, нажмите Finished.
-
Загрузите клиента. Нажмите кнопку Start => Computer => local drive C:\. Путь к файлу -C:\Windows\system32\Sysprep. Откройте Sysprep и запустите приложение Sysprep. Установите систему clean up action (очистки действия), чтобы ввести систему Out-of-Box Experience (oobe). Мы рекомендуем вам установить опцию Shutdown option в shutdown, включите флажок возле поля Generalize box и нажмите кнопку OK. Sysprep запустит процесс удаления уникальных идентификаторов безопасности IDs и другой уникальной информации.
-
Загрузите компьютер, введите комбинацию клавиш для входа в меню загрузки перед загрузкой Windows. Комбинация отобразится на экране, когда Bios загружается, как правило f12. Если вам нужно снова увидеть комбинацию или пропустить время, чтобы ввести команду, нажмите комбинацию клавиш Ctrl+Alt+Del для перезагрузки. При загрузке в меню загрузки выберите Boot into network. Выберите Capture image из диспетчера загрузки Windows (Boot Manager), чтобы загрузить Windows Deployment Services Image capture Wizard.
-
Начните с выбора громкости, чтобы захватить. Если вы ищете диск C:, iн был изменен из-за Sysprep, потому C:\ содержит файлы загрузки. После выбора громкости, чтобы захватить, назовите образ и дайте ему описание, нажмите кнопку Next. Установите Upload image to Windows Deployment services server. Вам будет предложено ввести полномочия. Затем выберите название изображения из выпадающего списка. Теперь нужно установить диск, удерживая клавиши Shift+F10, чтобы войти в Command Prompt. В Сommand Prompt введите: net use *\\Servername\Folder. Пример: net use *\\Hound\my images. То что в скобках «*» выбранная буква диска не используется, «Hound» — имя вашего сервера и»my images» — папка для сохранения образа. После ввода команды нажмите Enter. Выйдите из Сommand prompt. Выберите чтобы найти расположение, созданное в командной строке. Нажмите Next. Теперь жесткий диск cкопирован на сервер. Вы захватили изображение.
Реклама


Что вам понадобится
- DHCP-сервер, работающий на домене
- DNS-сервер, работающий на домене
- Компьютер, который является членом Active Directory Domain Service
- NTFS NTFS раздел на сервере Windows Deployment для хранения образов.
- WIM Image из инсталляционного диска ОС Windows( Windows Installation Disk)
Об этой статье
Эту страницу просматривали 10 755 раз.
Была ли эта статья полезной?
33
Create and capture Windows 10 reference image is important because that image serves as the foundation for the devices in your organization. In this topic, you will learn how to capture Windows 10 reference image using WDS.
This image is the core operating system you need on your network environment. The image require all needed software for your Windows 10 clients to be installed. So before capturing Windows 10 image, make sure you update Apps and Windows with latest updates.
Capture Windows 10 Reference Image with WDS
Capture a Windows 10 image with Windows Deployment Services is easy if you would be familiar with Windows Deployment. Before applying this article, you need to have installed WDS on Windows Server. If you lab is ready for deploying Windows follow the article, otherwise read and apply the below articles to create your Deployment Server first.
- How to Install and Configure WDS In Windows Server 2012 R2?
- Configure Windows Deployment Services on Server 2012 R2
- Deploying Windows 10 Using WDS Server 2012 R2
- Customizing Windows Image Using DISM for Windows Deployment
So let’s begin to capture Windows 10 reference image.
1. Press Windows+R to open run and type Sysprep and run Sysprep. On the Sysprep tool select Enter System Out-of-Box Experience (OOBE) and select Generalize the click OK.
2. Once the Sysprep has complete, system will restart and boot it from Network. You must configure you system to boot from network. Just press F12 to go to Pexe.
3. Now select Capture Image to capture Windows 10 reference image or PC.
4. On the Welcome to Windows Deployment Services Image Capture Wizard page click Next.
5. Now select the directory where you want to capture, type image name and image description then click Next.
6. Select Name and Location or tick the check box of Upload image to a Windows Deployment Services server. When done click Connect and type user credential. Select Image Group name also then click Next.
7. This will take a long time to complete the process of capturing Windows reference PC.
8. When it has complete click Finish and restart your Windows 10 reference PC. Configure and select the reference PC language, time, user and password, because it has been completely out of box by executing Sysprep.
9. Go to Windows Deployment server and check the result of Windows 10 capturing. The Windows 10 captured image should be transferred successfully to WDS server.
OK, that’s all about to capture Windows 10 reference image with WDS and Windows Server 2016 or Server 2012 R2.
Capture Windows 10 Reference Image video tutorial
If you have any question let us know and how can we help you to solve your OS and App deployment problems in your production environment.