Troubleshooting AirPods Connection Issues on Windows PCs
Published
4 min read
How to Fix AirPods When They Won’t Connect to a Windows 10 or 11 PC
Bluetooth technology has revolutionized the way we interact with our devices, allowing for seamless connections between various peripherals and computers. Apple’s AirPods, popular for their wireless convenience, can, however, sometimes pose connectivity challenges—particularly when pairing them with a Windows 10 or 11 PC. If you’re facing issues connecting your AirPods to your computer, worry not! This article provides a comprehensive guide on troubleshooting and fixing connectivity issues between AirPods and your Windows machine.
Initial Considerations
Before diving into troubleshooting methods, it’s essential to ensure that you understand the basic requirements. Here are some preliminary steps to consider:
-
Compatibility Check: Ensure that your Windows PC supports Bluetooth 4.0 or later. Most modern devices will support this, but it’s good to check, especially for older machines.
-
Battery Level: Ensure that your AirPods have enough battery life. Low battery levels can lead to connectivity issues. Charge them for a few minutes to rule out this concern.
-
Proximity: Keep your AirPods close to your PC during the pairing process. Any significant distance can affect the Bluetooth connection.
Step 1: Enable Bluetooth on Your Windows PC
Before attempting to connect your AirPods, ensure that Bluetooth is enabled on your PC:
-
Windows 10:
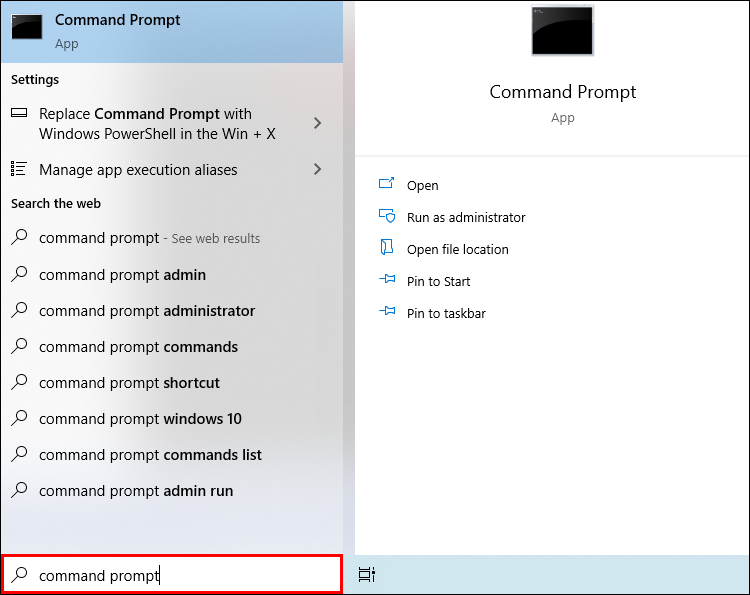
- Click on the Start menu and go to Settings (the gear icon).
- Select Devices.
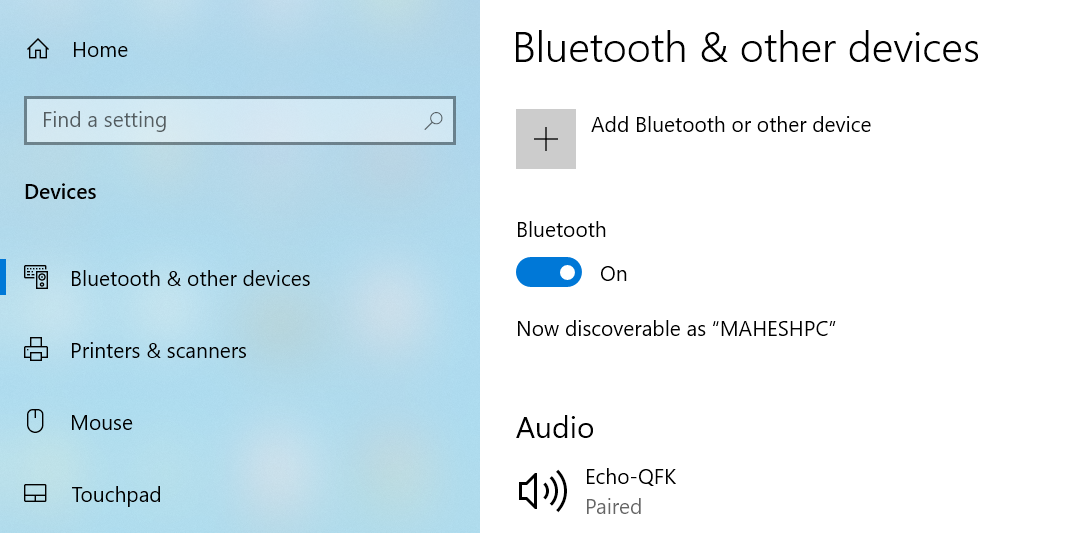
- Under the «Bluetooth & other devices» tab, toggle the Bluetooth switch to On.
-
Windows 11:
- Right-click on the Start button and select Settings.
- Go to Bluetooth & devices.
- Ensure that Bluetooth is toggled to On.
Step 2: Putting Your AirPods in Pairing Mode
To successfully connect your AirPods, you must ensure they are in pairing mode:
- Place both AirPods in their charging case and leave the lid open.
- Press and hold the setup button on the back of the case until the status light starts flashing white. This indicates that your AirPods are in pairing mode.
Step 3: Pairing AirPods with Windows PC
Once your AirPods are in pairing mode, proceed with these steps:
-
Windows 10:
- In the Bluetooth settings, click on Add Bluetooth or other device.
- Select Bluetooth from the new menu that appears.
- When you see your AirPods listed, click on them to connect.
-
Windows 11:
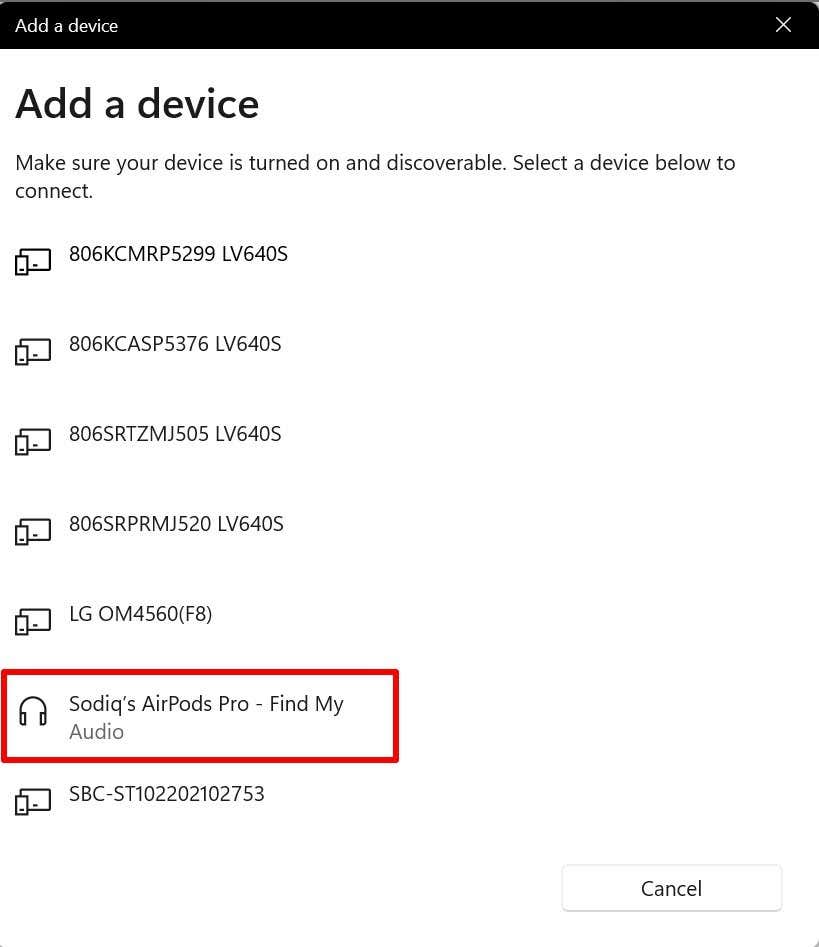
- Click on Add device.
- Choose Bluetooth from the options.
- Select your AirPods from the list and wait for them to connect.
Step 4: Troubleshooting Connectivity Issues
If your AirPods still won’t connect, try the following troubleshooting methods:
1. Restart Bluetooth Services
A common issue is the Bluetooth services on your computer being stuck or failing to initialize properly.
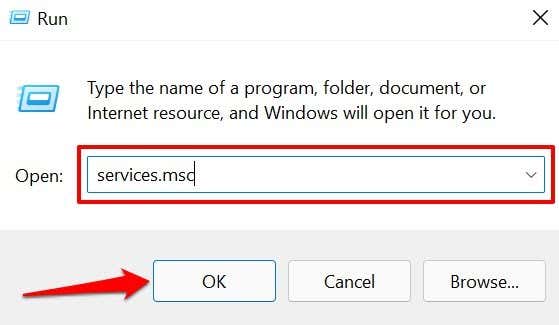
- Press
Windows + Rto open the Run dialog. - Type
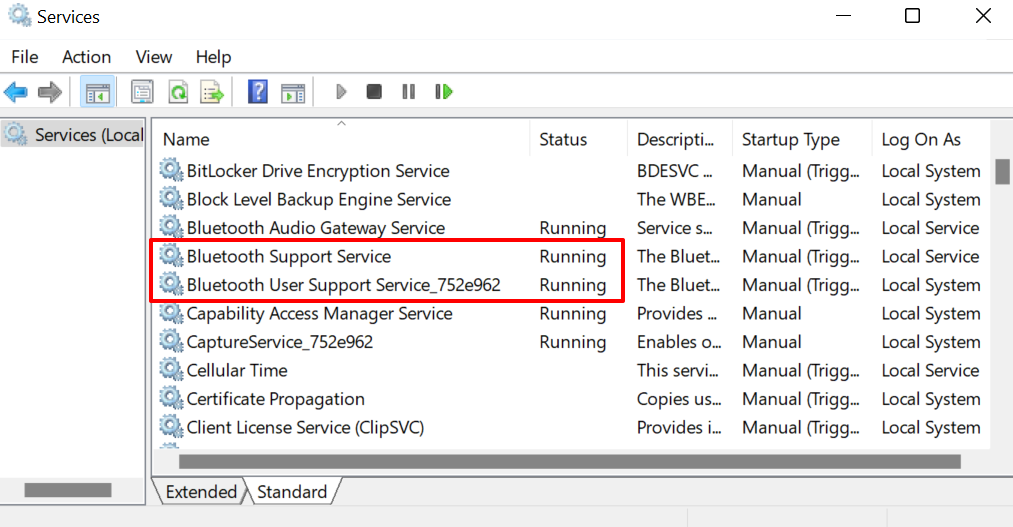
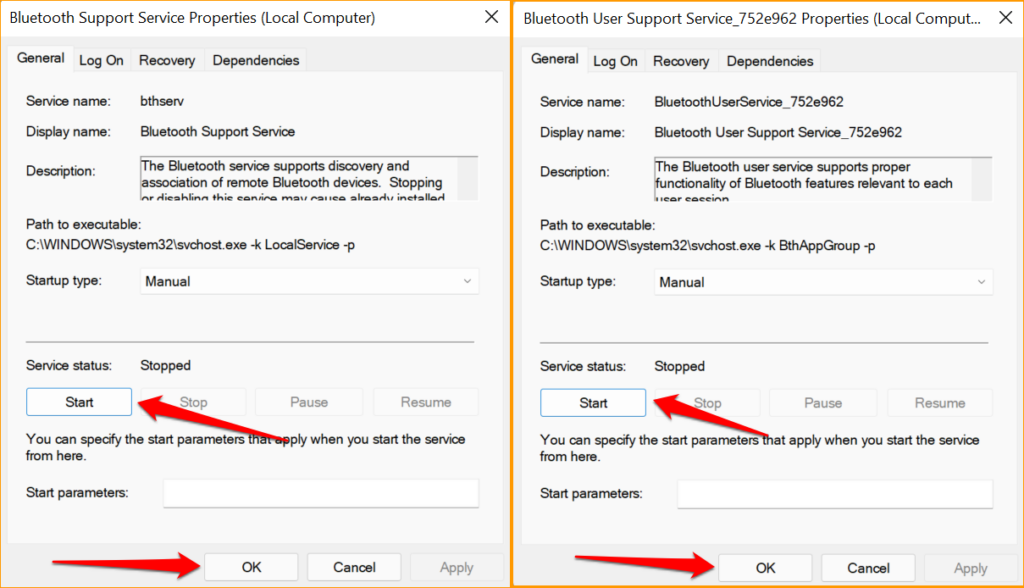
services.mscand hit Enter. - Locate Bluetooth Support Service, right-click it, and select Restart.
- Ensure that it is set to Automatic. You can change its startup type if needed.
2. Remove and Re-Pair the AirPods
Sometimes a fresh start can resolve connectivity issues:
- Go back to Settings > Devices > Bluetooth & other devices.
- Find your AirPods in the device list, click on them, and select Remove device.
- Follow the earlier steps to put your AirPods in pairing mode again and try to reconnect.
3. Update Bluetooth Drivers
Outdated or corrupt drivers can often hinder connectivity.
-
Update Drivers:
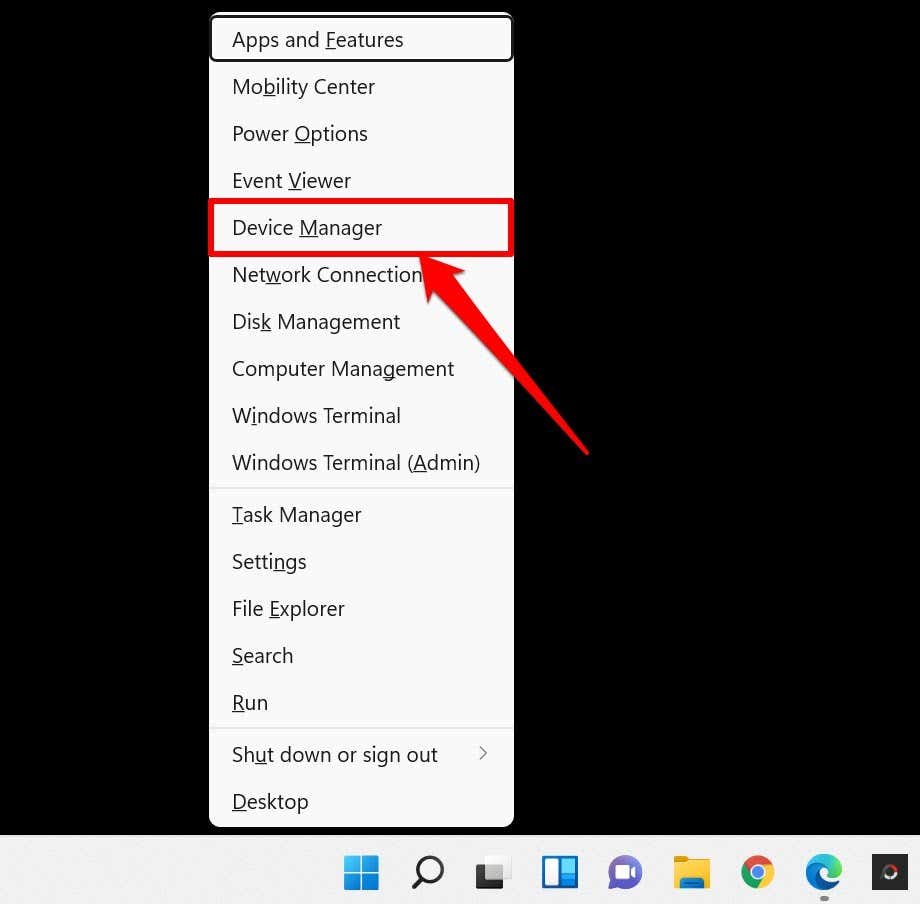
- Press
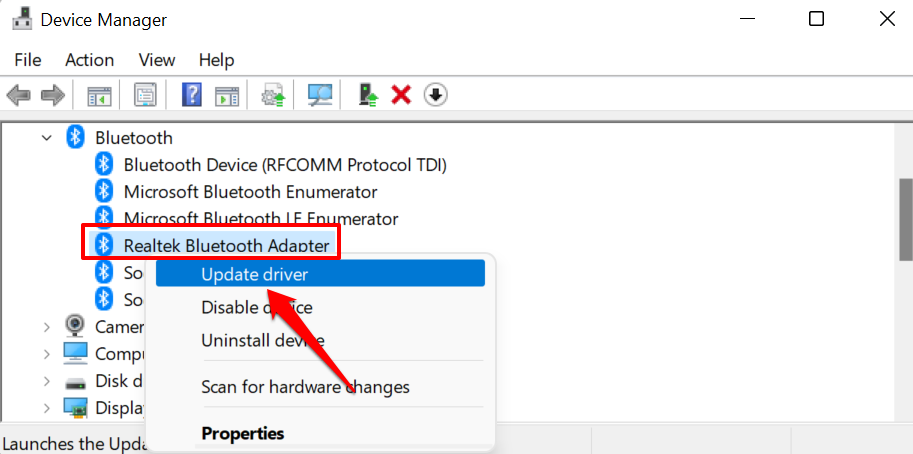
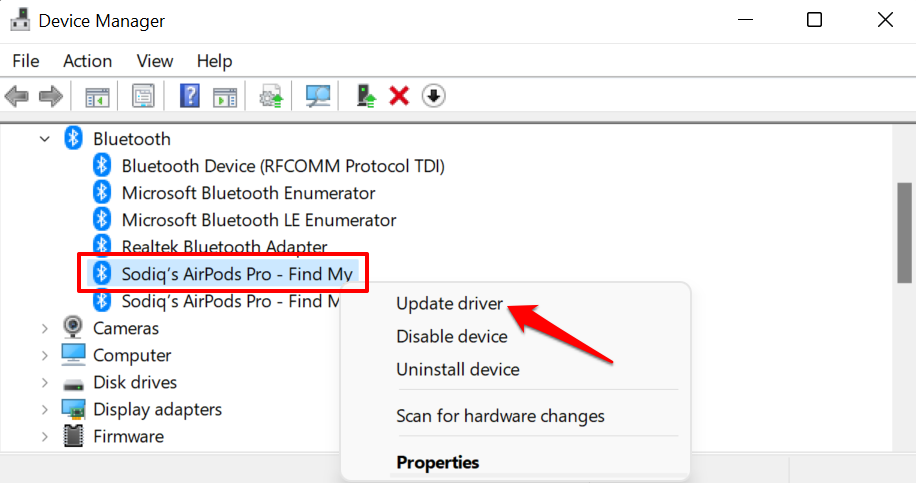
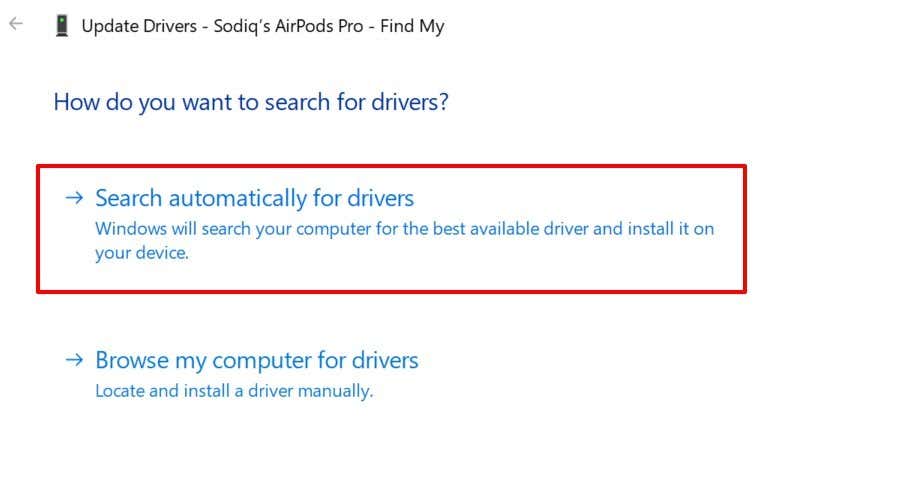
Windows + Xand select Device Manager. - Expand the Bluetooth section, right-click on your Bluetooth device, and choose Update driver.
- Select Search automatically for updated driver software and follow the prompts.
- Press
-
Reinstall Drivers:
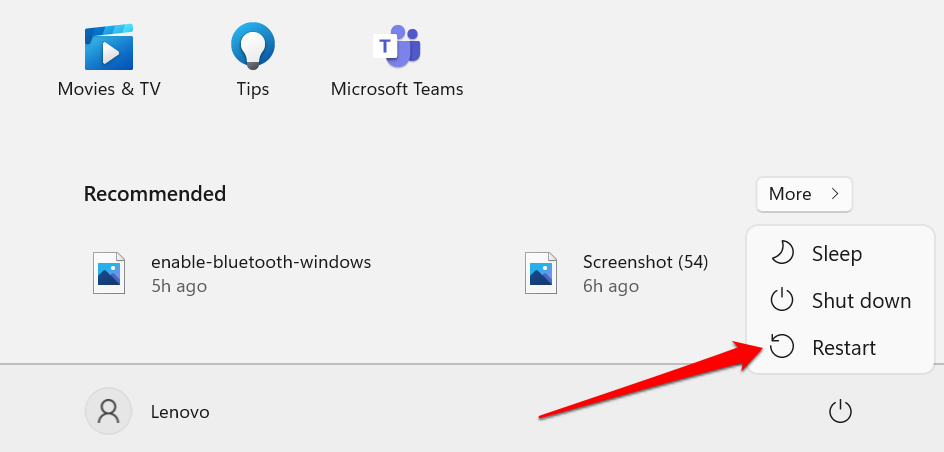
- Right-click on your Bluetooth device in the Device Manager and select Uninstall device.
- Restart your PC, and Windows should automatically reinstall the necessary drivers.
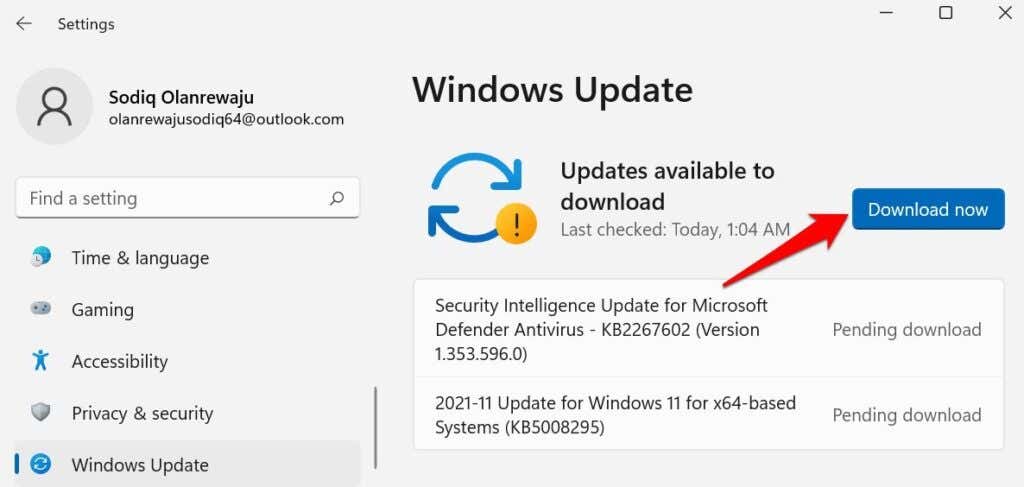
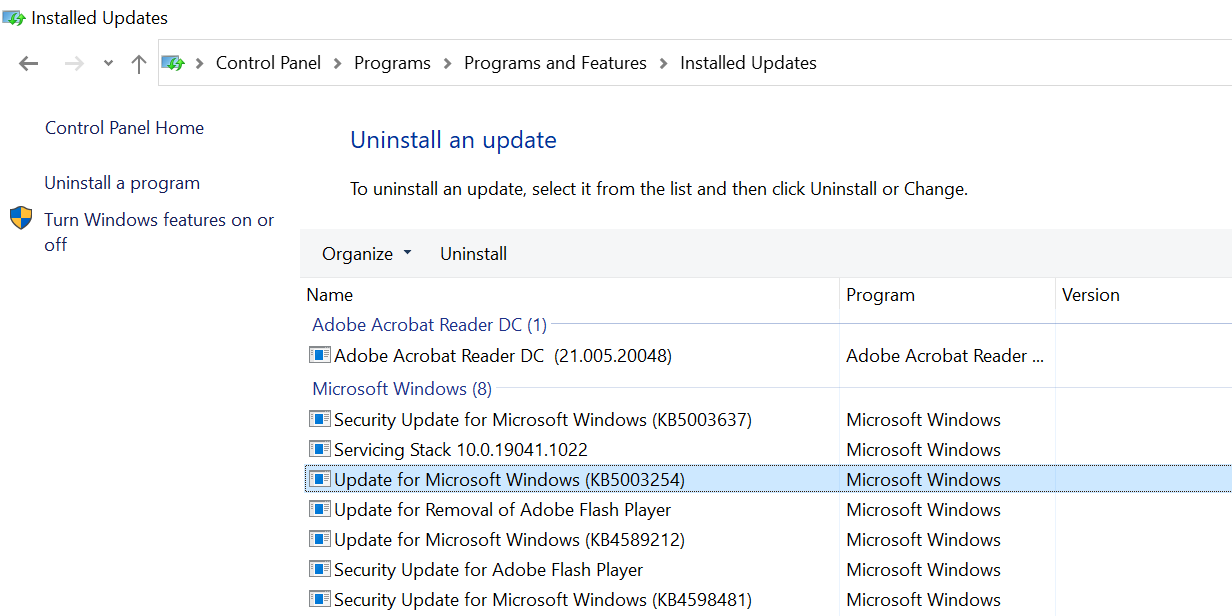
4. Check Windows Updates
Keeping your operating system current can prevent multiple issues, including those related to connectivity.
- Go to Settings > Update & Security.
- Click on Windows Update and then Check for updates.
- Install any pending updates and restart your computer.
5. Disable Audio Enhancements
Sometimes, audio enhancements can interfere with the connection:
- Right-click the audio icon in the system tray and select Sounds.
- Go to the Playback tab, find your AirPods, and right-click on them, then select Properties.
- Navigate to the Enhancements tab and check Disable all enhancements.
- Click Apply and then OK.
Step 5: Additional Steps for Frequent Connectivity Issues
If you experience ongoing issues, consider these additional solutions:
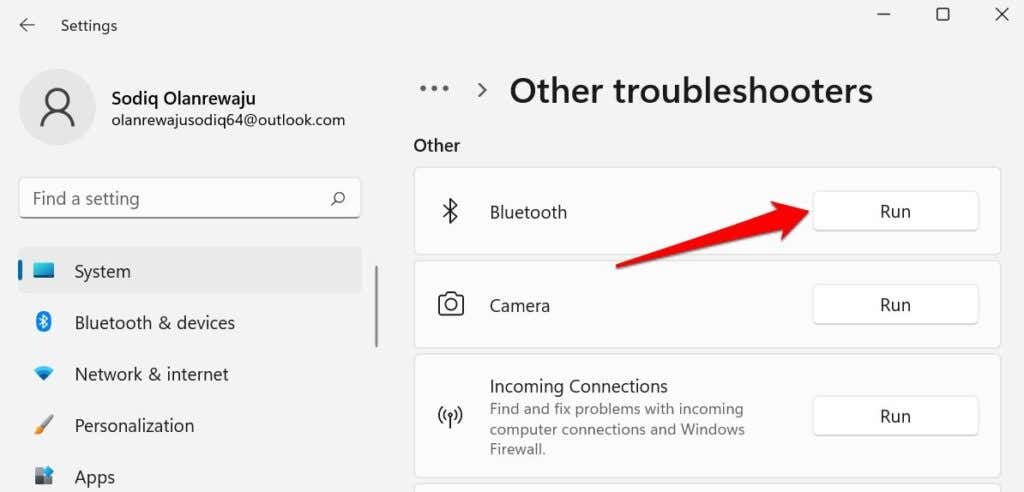
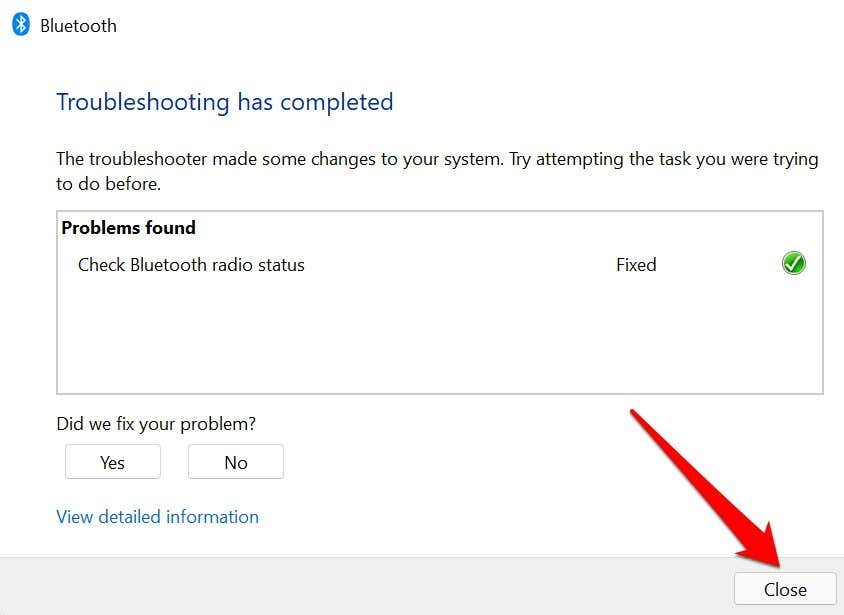
1. Use the Windows Troubleshooter
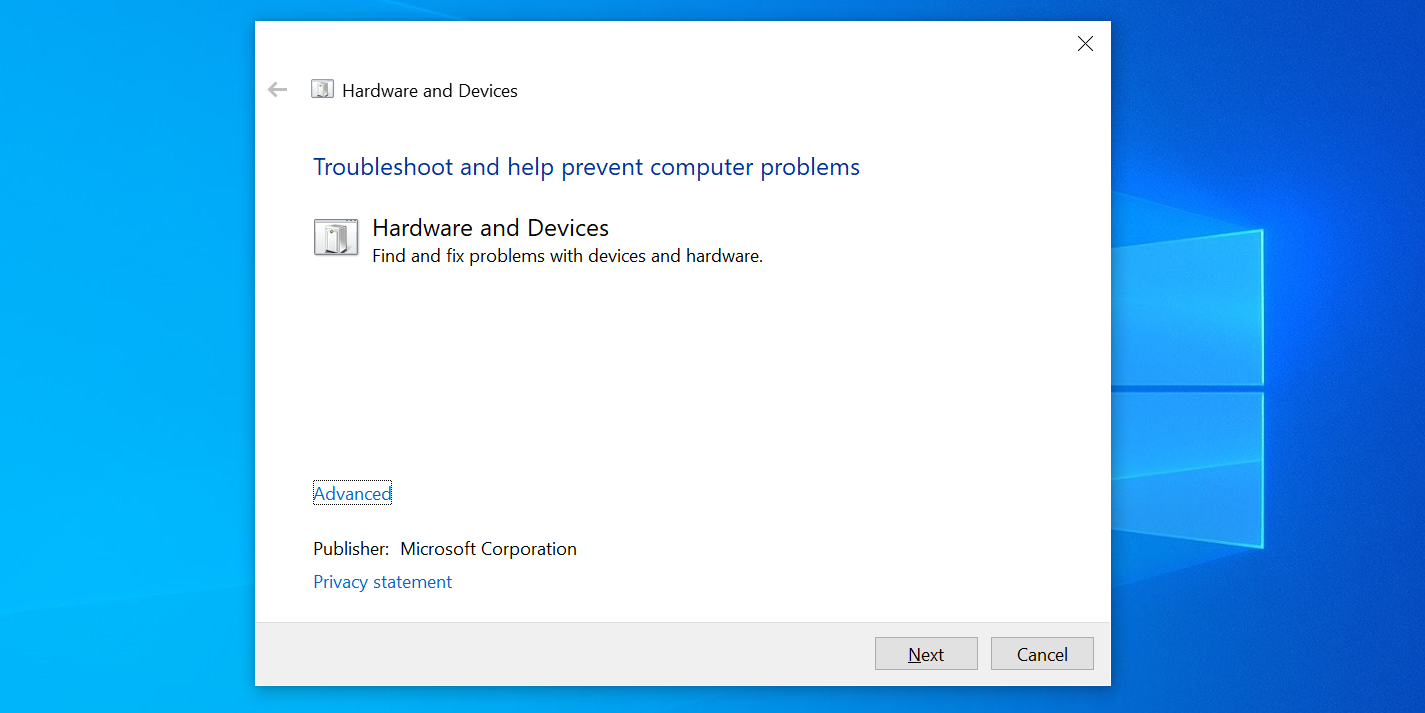
Windows has a built-in troubleshooter for Bluetooth connectivity:
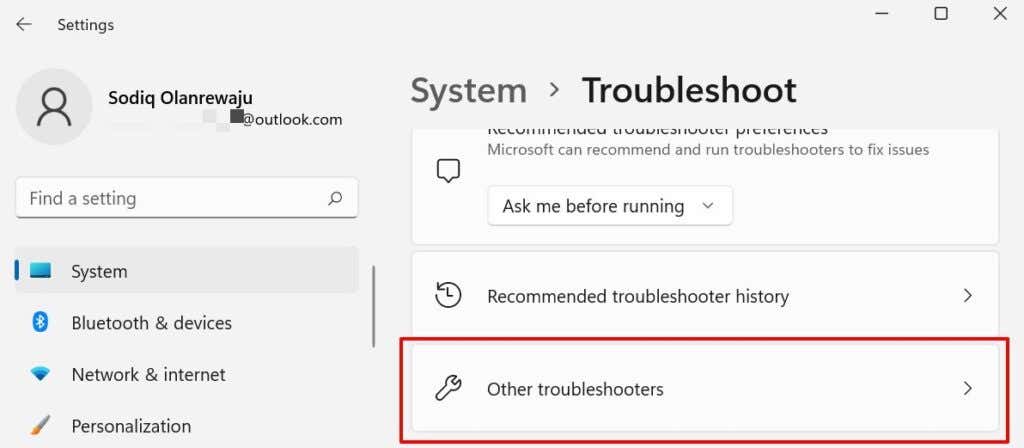
- Go to Settings > Update & Security > Troubleshoot.
- Select Additional troubleshooters.
- Find Bluetooth and run the troubleshooter to identify and fix issues.
2. Check for Interference
Other wireless devices can cause interference with Bluetooth connections. Try the following:
- Keep your AirPods and PC away from other wireless devices, like microwaves, Wi-Fi routers, and other Bluetooth devices.
- Disable other Bluetooth devices temporarily to see if that resolves the issue.
3. Factory Reset Your AirPods
If all else fails, consider resetting your AirPods:
- Place your AirPods in their box and keep the lid open.
- Press and hold the setup button on the back of the case for about 15 seconds until the light flashes amber, then white.
- Reattempt the pairing process.
Conclusion
Connecting your AirPods to a Windows 10 or 11 PC should be a simple process, but sometimes unforeseen issues can arise. By following the steps outlined above, you should be able to address most connection problems effectively. If the issue persists, consider reaching out to Apple Support or checking your computer’s specifications to ensure full compatibility.
Remember to keep your devices updated, both in terms of software and firmware, to avoid future connectivity problems. With a bit of troubleshooting, you can enjoy the wireless audio experience that AirPods offer, even when using a non-Apple device. Happy listening!
AirPods work as regular wireless headphones on devices outside the Apple ecosystem. While the audio quality is top-notch on any device, you might encounter some stumbling blocks while connecting AirPods to non-Apple devices.
This tutorial will cover 9 troubleshooting fixes to try if AirPods are not connecting to your PC. Before you proceed, we recommend connecting a different Bluetooth audio device to your PC. That’ll help diagnose the source of the problem.

If other Bluetooth devices connect to your PC without issues, there’s likely a problem with your AirPods. But if your computer fails to connect to all Bluetooth devices, focus your troubleshooting efforts on fixing your PC’s Bluetooth.
Note: Although the screenshots in this article are from a Windows 11 PC, the recommendations will work on older Windows versions, particularly Windows 10.
1. Turn On Bluetooth
AirPods (and other Bluetooth devices) won’t connect to your computer if Bluetooth is disabled. Check your PC’s settings and make sure Bluetooth is on.
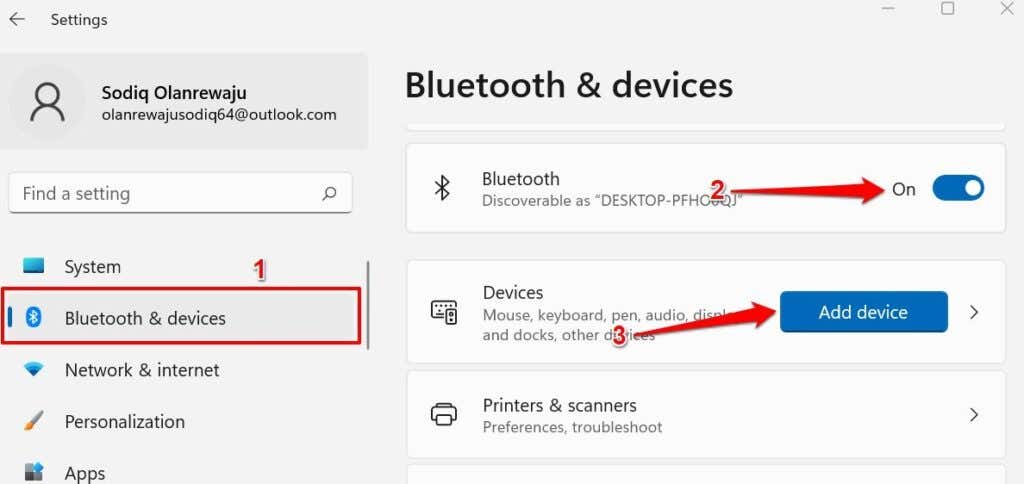
Go to Settings > Bluetooth & devices and toggle on Bluetooth.
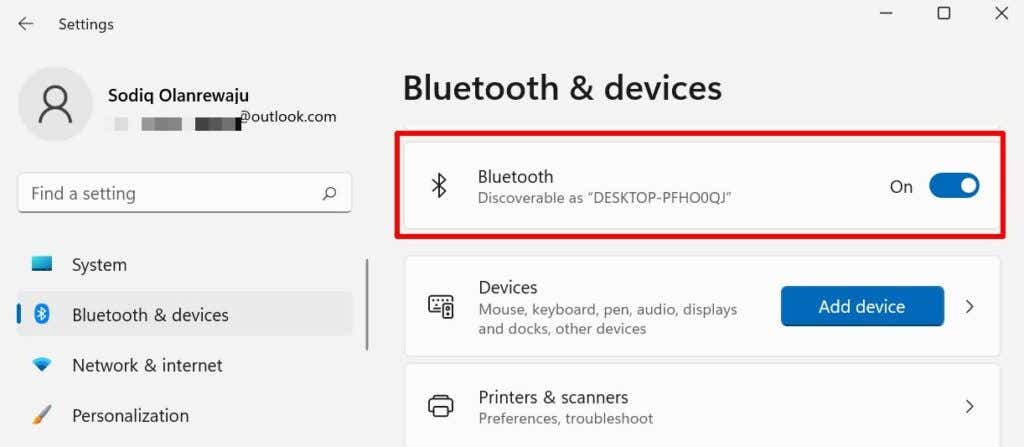
If your PC’s Bluetooth is already on, turn it off, wait a few seconds, turn it back on, and try connecting the AirPods again.
2. Check AirPods Battery Level
Your AirPods won’t pair or connect to your PC if the batteries of either earbud are low. Check your AirPods battery and make sure they hold at least 50% charge. You’ll need an Apple device (iPhone, iPad, or Mac) to check the AirPods battery level.
Connect the AirPods to your iPhone, place both AirPods in the charging case, and close the lid. Move the AirPods close to your iPhone, iPad, or iPod touch and open the lid. The AirPods battery status should show up on your device’s screen after some seconds.
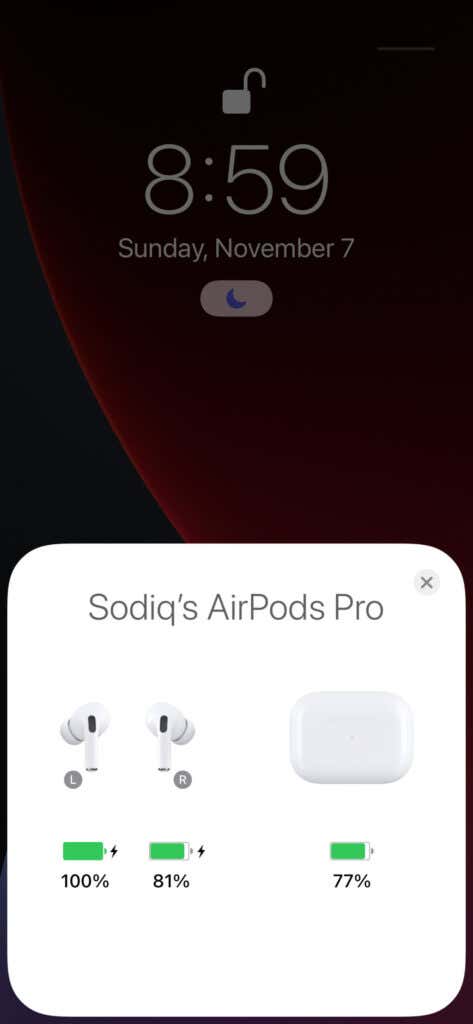
Charge your AirPods with Apple-certified charging accessories and try connecting them to your PC again.
3. Force Reboot Your AirPods (Max)
Restarting the AirPods Max will fix audio and connectivity-related problems. If the AirPods Max won’t connect to your computer, force-restart the AirPods and reconnect the headphones to your PC.
Press and hold the Noise Control button and Digital Crown until the status light flashes amber.
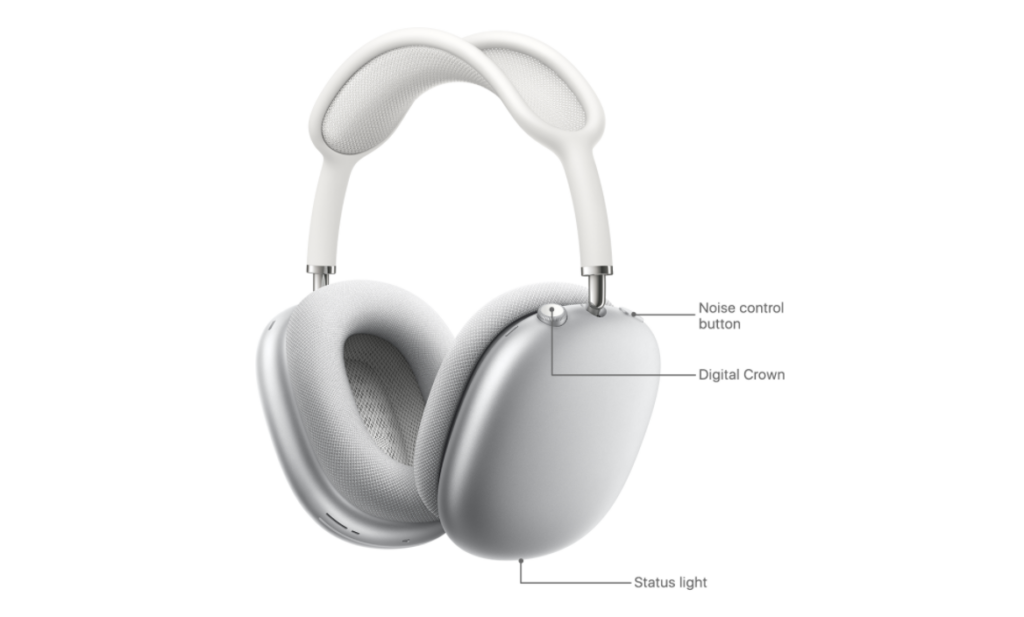
Reset your AirPods Max to factory settings (see next section for steps) if the problem persists.
4. Reset Your AirPods
This entails deleting the AirPods from your device’s memory and reconnecting it from scratch. If the AirPods are paired to your computer but fail to connect subsequently, forget the AirPods, and reconnect it from scratch.
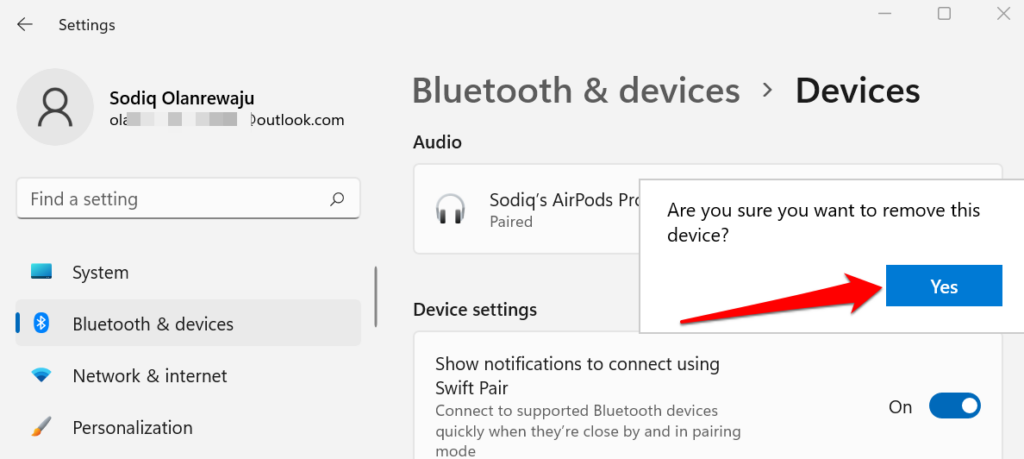
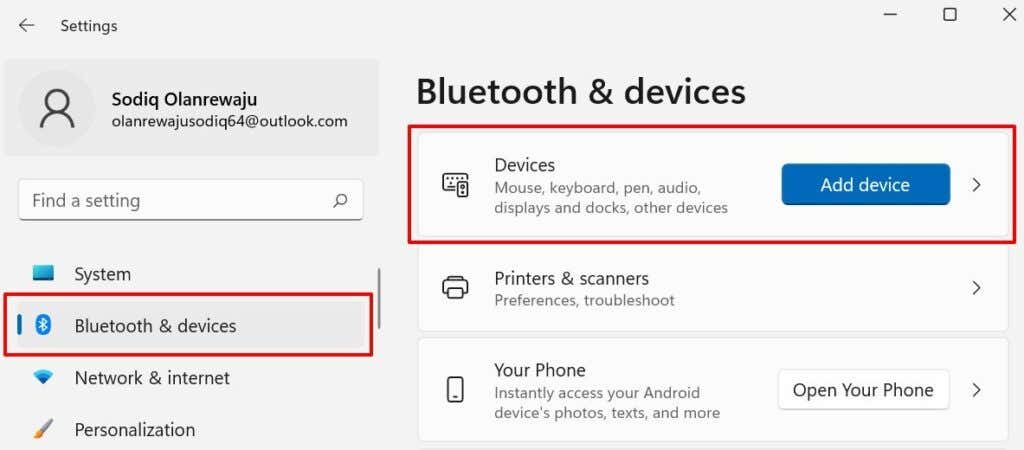
- Open the Windows Settings app, select Bluetooth & devices on the sidebar, and select Devices.
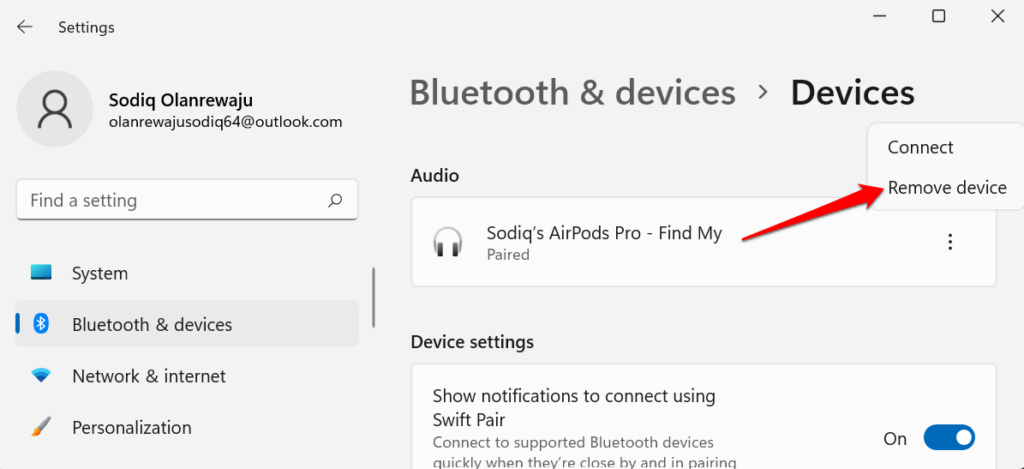
- Scroll to the “Audio” section, select the three-dot menu icon next to the AirPods, and select Remove device.
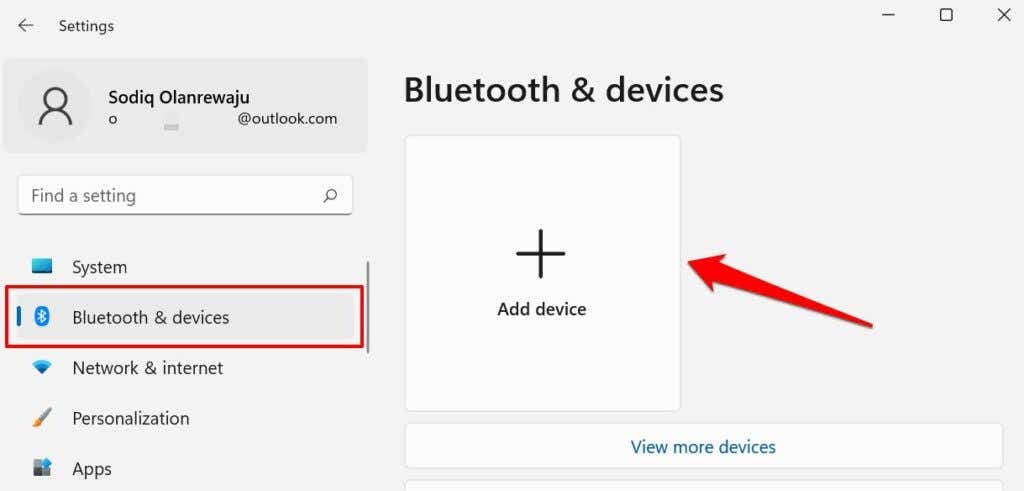
- Go to Settings, select Bluetooth & devices on the sidebar, turn on Bluetooth, and select the Add device button.