
Item Preview
There Is No Preview Available For This Item
This item does not appear to have any files that can be experienced on Archive.org.
Please download files in this item to interact with them on your computer.
Show all files
856
Views
DOWNLOAD OPTIONS
Uploaded by
VDI World
on
SIMILAR ITEMS (based on metadata)
-
Home
-
News
- How to Download Windows Server 2003 ISO for VMware or VirtualBox
By Vera | Follow |
Last Updated
What is Windows Server 2003? How to download Windows Server 2003 ISO image and use it to install the system on VMware or VirtualBox? Go to find some details from this post written by MiniTool and you know what you should do.
Windows Server 2003
Windows Server 2003 is the second server operating system from Microsoft, and it is the successor to the Server Edition of Windows 2000. Windows Server 2003 R2 is an updated version.
Server 2003 is more compatible with Windows NT 4.0 domain-based networking and brings many improvements including enhanced Active Directory compatibility, Group Policy operation & management, better deployment support, providing a backup system to restore lost files, improved disk management, etc.
Although Microsoft has ended the support for Windows Server 2003, you can still install this system for use. Sometimes you install it on a virtual machine like VMware or VirtualBox. In the following part, we will talk about Windows Server 2003 ISO download & install.
Download Windows Server 2003 ISO for VirtualBox/VMware
To install Windows Server 2003, you need to first get its ISO file for the installation. So, how to download Windows Server 2003 ISO image? When searching “Windows Server 2003 ISO download” or “Windows Server 2003 R2 ISO download” in Google Chrome, you can find some direct download links.
And here we recommend the website of archive.org. To download ISO files of Windows Server 2003, you can type the corresponding words in the search box and press Enter. Then, choose the one you want to download.
After getting the Windows Server ISO file, now it’s time to install this server operating system on a virtual machine with the ISO image.
Install windows server 2003 on VMware/VirtualBox
On VirtualBox
Step 1: Launch this app on your PC and click New to customize the settings of this new virtual machine.
Step 2: Click Settings > Storage > Empty.
Step 3: Browse for the Windows Server 2003 ISO download file you have got and choose it.
Step 4: Run this virtual machine and start the installation process by following the on-screen instructions.
On VMware
Step 1: Launch this program and click File > New Virtual Machine. Then, follow the on-screen wizards to configure the new virtual machine. To know much information, refer to our previous post – Step-by-Step Guide: How to Setup a Virtual Machine.
Step 2: Press CD/DVD > Use ISO image file and choose the Windows Server 2003 ISO image.
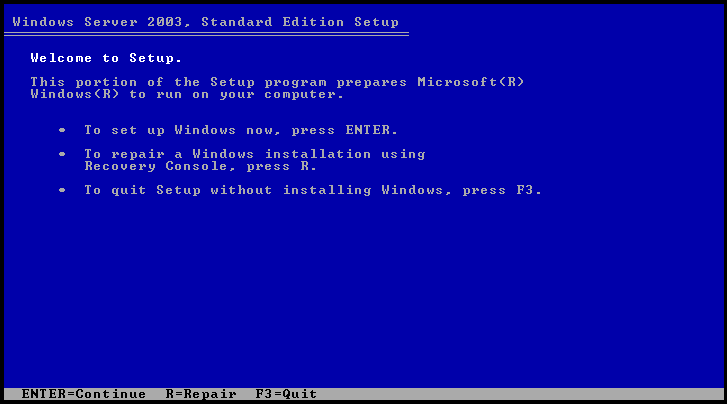
Step 3: Power on this virtual machine. Then, the setup window appears and press Enter to start the installation.
Step 4: Agree Windows Licensing agreement.
Step 5: Create a partition on the drive where you install Windows Server 2003 by pressing C and then type in the partition size.
Step 6: Format the partition using NTFS file system.
Step 7: After preparing something, the installing process starts. Follow the on-screen instructions to finish all the operations.
Final Words
This post focuses on Windows Server 2003 ISO download for VMware/VirtualBox & install. If you want to use it on a virtual machine, download the ISO image file using the given download link and follow the steps to finish the installation.
About The Author
Position: Columnist
Vera is an editor of the MiniTool Team since 2016 who has more than 7 years’ writing experiences in the field of technical articles. Her articles mainly focus on disk & partition management, PC data recovery, video conversion, as well as PC backup & restore, helping users to solve some errors and issues when using their computers. In her spare times, she likes shopping, playing games and reading some articles.
In this post, we are going to discuss on How to Download Windows Server 2003 ISO for Virtualbox, Download Windows Server 2003 ISO for VMware. You will be guided with easy steps/methods to do so. Let’s starts the discussion.
What is Windows Server 2003?
Windows Server 2003 is second version of Windows server operating system designed & developed by Microsoft. It is part of Windows NT family operating systems and it is successor to Server Editions of Windows 2000 and predecessor to Windows Server 2008. It is based on customer operating system, Windows XP. Windows Server 2003 includes compatibility modes to allow older applications to run with greater stability.
What is Virtualbox?
Virtualbox or Oracle VM Virtualbox is type-2 hypervisor for x86 virtualization developed by Oracle Corporation. Virtualbox may be installed on Microsoft Windows OS, macOS, Linux, Solaris, and OpenSolaris anad also ports to FreeBSD and Genode. It supports the creation and management of guest virtual machines running Windows, Linux, BSD, OS/2, Solaris, Haiku, and OSx86. For the guest operating system, a ‘Guest Additions’ package of device drivers and system applications is available, which typically improves performance, especially that of graphics.
What is VMware?
VMware is cloud computing and virtualization Technology Company which was the first commercially successful company to virtualized x86 architecture. VMware’s desktop software runs on Microsoft Windows, Linux, and MacOS while its enterprise software hypervisor for servers, VMware ESXi, is bare-metal hypervisor that runs directly on server hardware without requiring an additional underlying operating system.
Windows Server 2003 ISO for Virtualbox/VMware:
Windows Server 2003 is more compatible with Windows NT 4.0 domain-based networking and brings many improvements including enhanced Active Directory compatibility, Group Policy operation and management and etc. If you are not aware, Microsoft has end the support for Windows Server 2003, but you can still download and install this system for use.
You can also download and install Windows Server 2003 on Virtual Machine like VMware or VirtualBox. If you are looking for ways to download and install Windows Server 2003 ISO for VirualBox or VMware on the web, then you are in right-place for this. Here, you are provided with easy ways to do so. Let’s go for the steps.
How to Download Windows Server 2003 ISO for Virtualbox/VMware?
Method 1: How to Download Windows Server 2003 ISO for VMware and install?
To download and install Windows Server 2003 on VMware, follow the steps below.
Step 1: Open your browser and visit the following pages or open the following links on browser to download Windows Server 2003 ISO or Windows Server 2003 R2 ISO with product key in your device.
Windows Server 2003 R2 Standard x64: https://archive.org/download/Windows_Server_2003_R2_Standard_x64/Windows_Server_2003_R2_Standard_x64_CD1.iso
Windows Server 2003 ISO with Product Key: https://archive.org/download/WindowsServer2003/Windows%20Server%202003.zip
Step 2: Now, open ‘VMware’ software in computer and click ‘File > New Virtual Machine’, follow on-screen instructions to configure the new virtual machine.
Step 3: Press ‘CD/DVD > Use ISO Image File’ and choose the Windows Server 2003 ISO image.
Step 4: Power on this virtual machine, then Windows appears and press ‘Enter’ to start the installation.
Step 5: Agree Windows Licensing Agreement, create a partition on the drive where you install Windows Server 2003 by pressing ‘C’ and then type in the partition size.
Step 6: Format the partition using NTFS file system, after preparing something, the installing process starts. Follow on-screen instructions to finish the process.
Method 2: How to Download Windows Server 2003 ISO for Virtualbox and install?

To download and install Windows Server 2003 on Virtualbox, follow the steps below.
Step 1: Open your browser and visit the following pages or open the following links on browser to download Windows Server 2003 ISO or Windows Server 2003 R2 ISO with product key in your device.
Windows Server 2003 R2 Standard x64: https://archive.org/download/Windows_Server_2003_R2_Standard_x64/Windows_Server_2003_R2_Standard_x64_CD1.iso
Windows Server 2003 ISO with Product Key: https://archive.org/download/WindowsServer2003/Windows%20Server%202003.zip
Step 2: Open ‘Virtualbox’ software in computer and click ‘New’ to customise the settings of this new virtual machine
Step 3: Click ‘Settings > Storage > Empty’, browser for Windows Server 2003 ISO download file you have got and choose it.
Step 4: Run this virtual machine and start installation process by following on-screen instructions.
Fix Windows PC Issues with ‘PC Repair Tool’:
‘PC Repair Tool’ is easy & quick way to find and fix BSOD errors, DLL errors, EXE errors, problems with programs/applications, malware or viruses infections in computer, system files or registry issues, and other system issues with just few clicks.
Conclusion
I am sure this post helped you on How to Download Windows Server 2003 ISO for Virtualbox, Download Windows Server 2003 ISO for VMware with easy ways. You can get this tool through button/link below.
- Locate a Windows Server 2003 iso
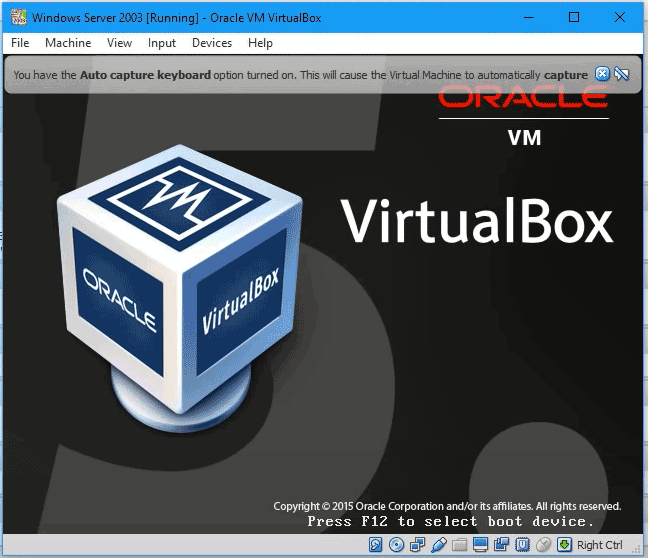
- Launch Virtualbox
- Create a New VM by selecting Machine > New
Name: Windows Server 2003
Machine Folder: C:\VMs
Type: Microsoft Windows
Version: Windows 2003 (32-bit)
Memory Size: 2048 MB
Hard disk: Create a virtual hard disk now - Click Create
- On the Create Virtual Hard Disk dialog
Name the virtual disk image Windows Server 2003.vdi
File size: 10.00 GB
Hard disk file type: VDI
Storage on physical hard disk: Dynamically Allocated - Click Create
- Select the VM and Click Settings
- Select Storage
- Click on the CD-ROM drive
- Select the disc dropdown to the right > Choose a virtual optical disc file…
- Browse to and select the Server 2003 .iso file
- Click OK
- Make sure the Windows Server 2003 VM is selected and click Start > Normal
- Windows Setup will start automatically
- Press Enter to Continue with Setup
- Press F8 to Agree to the Licensing Agreement
- Press Enter to Install to the Unpartitioned space
- Select the top option to Format the partition using the NTFS file system (Quick) > Press Enter
- Wait for Windows to reboot the VM
- Do not press anything to boot the CD-ROM
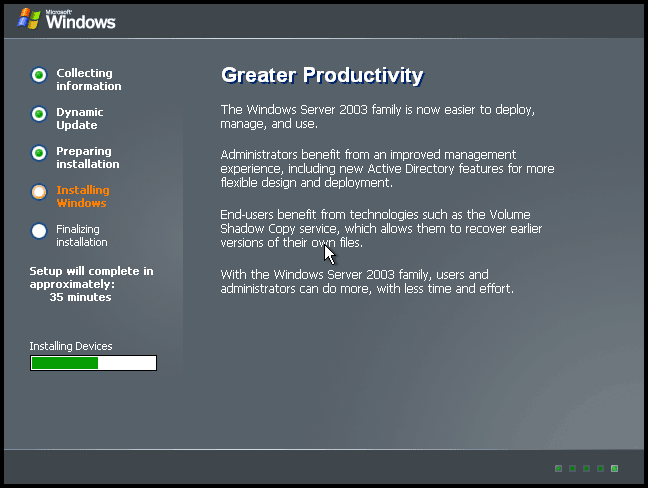
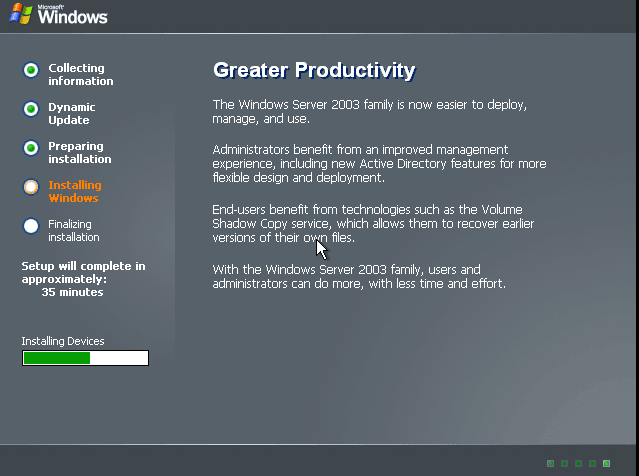
- Wait for Windows to install and configure drivers and devices
- Click Next
- Enter a name and organization, click Next
- Enter a valid Windows Server 2003 product key (VRXXR-VJC3H-YVWYT-HCPDD-HFMQ3), click Next
- Click Next on the Licensing Modes dialog
- Give the Computer a name
- Set an administrator password and re-type to confirm > Click Next
- Set the date/time and select a timezone > Click Next
- Continue Clicking the Next button to accept defaults and continue installing Server 2003
- Wait for Windows to finish copying files, the VM will reboot
- Do not press anything to boot the CD-ROM
- Select Input > Keyboard > Ctrl-Alt-Delete
- Enter the administrator password > Click OK
- Click Finish > Yes
- Close Server Manager
- Welcome back to Server 2003
- Revel in the nostalgia
Optional Steps
- Select Devices > Insert Guest Additions CD image…
- If VirtualBox Guest Additions doesn’t autorun, open My Computer > CD Drive > Double click VBoxWindowsAdditions-x86.exe
- Install Guest Additions accepting the defaults
- Accept any driver popups from the Guest Additions installer by clicking the Continue Anyway button
- After the installation completes select Reboot now > Click Finish
- Upon rebooting, you can now full screen the VM and the interal resolution will automatically change to match the window size
- Download i12bretro Windows SP.iso Download
- Select Devices > Optical Drives > Select disk image…
- Navigate to and select i12bretro_Windows_SP.iso
- If the VM doesn’t autorun, open My Computer > CD Drive
- Open the Serve 2003 folder > Double click Server 2003 SP2 x86.exe
- Follow the dialogs to install Service Pack 2
- Once complete, Select Devices > Optical Drives > Remove disk from virtual drive
- Click Finish to reboot and complete the SP2 install
- Подробности
- Родительская категория: Операционные системы
Добрый день. Сегодня мы рассмотрим установку Windows Server 2003. Как и в прошлой статье «Настройка связки APACHE+PHP+MySQL на FreeBSD» все действия будут производится на виртуальной машине Oracle VM VirtualBox. Для тех кто в танке — это бесплатное программное обеспечение, которое отличается своей удобностью. Так же нам понадобится образ операционной системы Windows Server 2003. В интернете куча пиратских версий, хоть это и незаконно. Читаем дальше…
Про Windows Server 2003
Итак, Windows server — это операционная система всем известной компании Microsoft, которую можно назвать вариантом Windows XP, но только для серверов, с помощью которой можно легко администрировать рабочие группы, учётные записи, сети и многое многое другое.
Есть несколько разновидностей данной операционной системы:
- Web Edition — вариант предназначенный для web-серверов, однако он не поддерживает одну из главных функций — контроллер домена.
- Standard Edition — используется в основном в малом бизнесе.
- Enterprise Edition — изначальное предназначение для средних предприятий. Поддержка оперативной памяти до 32 Гб. А так же возможно работа с 8 процессорами.
- Datacenter Edition — Данный вариант предназначен для огромных компаний. Максимальное количество процессоров — 64, оперативная память -128 Гб.
Установка Windows Server 2003
Как я уже писал выше для установки Windows Server 2003 нам потребуется Oracle VM VirtualBox. Скачать данное ПО можно с официального сайта. Если у вас уже есть опыт установки Windows XP, то можете дальше не читать, так как установка серверной и настольной ОС очень схожи.
Подготовка VirtualBox к установке Windows Server 2003
- Открываем VirtualBox и нажимаем на кнопочку «создать».

- Следующим шагом будет присвоение имени нашей ОС для отображения в списке операционных систем в окне VirtualBox. Я написал «Windows Server 2003». Можно выбрать тип и версию устанавливаемой системы, но это непринципиально важно. Жмём кнопку «далее(next)».
- Нужно выделить оперативную память под устанавливаемую операционную систему. Для установки Windows Server 2003 минимальное количество памяти — 256 Мб. Если ваше аппаратное обеспечение позволяет вам выделить больше, тогда выделяйте. Я остановлюсь на 512 Мб. Жмём далее.
- Следующим шагом будет определение жёсткого диска. В принципе, все 3 пункта описаны. Если требуется более детальная настройка — вы можете не подключать жёсткий диск. Если же у вас уже есть готовая установленная ОС, то его можно подключить, выбрав третий пункт. Так как мы устанавливаем и настраиваем всё с нуля, то остановимся на втором пункте — «Создать новый виртуальный жёсткий диск». Создать.
- Далее нам нужно определить формат образа, нашей будущей виртуальной операционной системы. Скажу одно — разницы между ними практически нет. Единственное, в первых трёх видах можно фиксировать размер жёсткого диска. Пусть будет «VDI».
- Выбор формата хранения. Оба типа описаны в окошке. Я выбираю обычно динамический, на всякий случай. Мало ли.
- Выбора размера виртуального жёсткого диска. Я выделю 15 Гб. Сама система занимает мало места. Однако, в будущем мы будем устанавливать различные оснастки. Так что не жалейте гигабайтов. Жмём кнопку «создать».


Подготовку VirtualBox к установке Windows Server 2003 мы завершили. Следующим шагом будет, собственно, сама установка операционной системы.
Установка Windows Server 2003 в среде VirtualBox
- Выделяем нашу, только что, созданную метку «Windows server 2003» и нажимаем наверху кнопку «запустить».
- Следующим шагом нужно указать путь к дистрибутиву устанавливаемой операционной системы. Жмём на маленькую папочку с зелёной стрелкой и задаём путь. Жмём «продолжить».
- Немного ждём, идёт загрузка драйверов. Далее необходимо создать раздел, жмём клавишу «c». Далее нужно указать размер раздела. оставляем всё как есть. У нас будет один раздел. Жмём «enter».
- Вариант форматирования — «NTFS быстрое». После этого шага начнётся установка операционной системы.
- Делаем базовые настройки. Присвоение имени(home) и организации(home-pc).
- Затем, задаём имя компьютера и пароль администратора.
- Определяем часовой пояс. Пошла установка Windows Server 2003
- Сетевые параметры и рабочую группу оставляем по умолчанию.
- Вбиваем пароль Администратора. Это был последний шаг.


Вот и всё. Установка Windows Server 2003 завершена. В принципе, ничего сложного. Если вы всё сделали так как, то у вас тоже должно получиться.
В следующем уроке будем разбираться с сетевыми настройками. Так же, помимо серверной ОС, вам необходимо установить Windows XP, для наглядного демонстрирования работоспособности Widnows Server 2003.