
Среди замеченных проблем после обновления до Windows 11 или чистой установки — невозможность открыть Терминал Windows 11, например, через контекстное меню кнопки «Пуск». Вторая возможная ситуация — при попытке открыть параметры терминала появляется запрос об открытии файла .json, но не окна настроек.
В этой простой инструкции о том, что делать, если не открывается терминал Windows 11 и при проблемах с открытием его настроек.
Решение проблем с Терминалом Windows 11
Для того, чтобы решить проблемы с запуском или открытием параметров терминала Windows 11, рекомендую использовать следующие шаги:
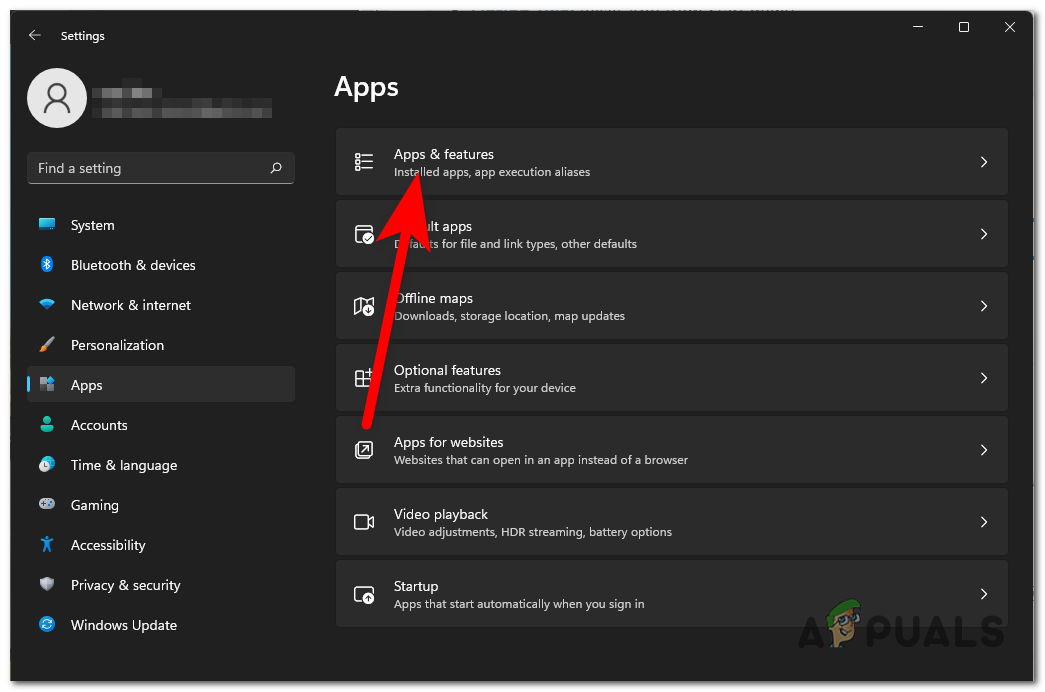
- Зайдите в Параметры (можно нажать клавиши Win+I на клавиатуре) — Приложения — Приложения и возможности.
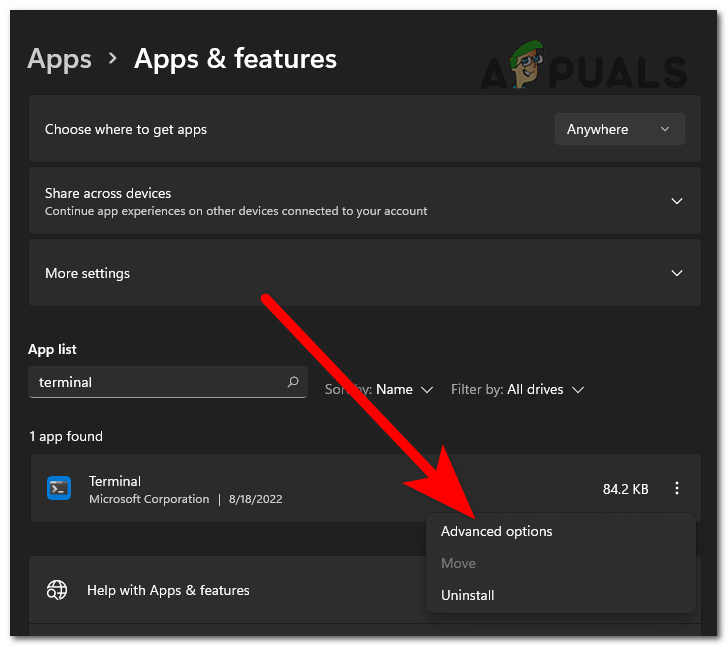
- В списке приложений найдите «Windows Terminal» (Не исключено, что в будущих обновлениях может называться «Терминал Windows»). При отсутствии такого пункта перейдите к шагу 6.
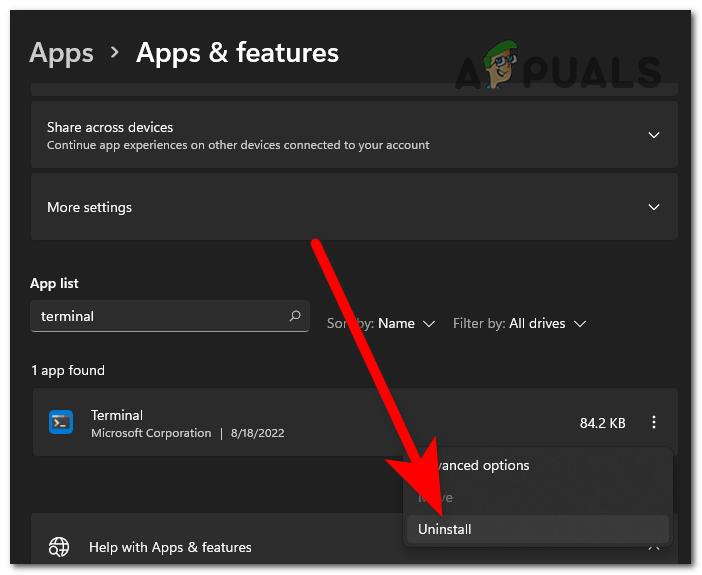
- Нажмите по трем точкам справа от имени приложения и откройте «Дополнительные параметры».

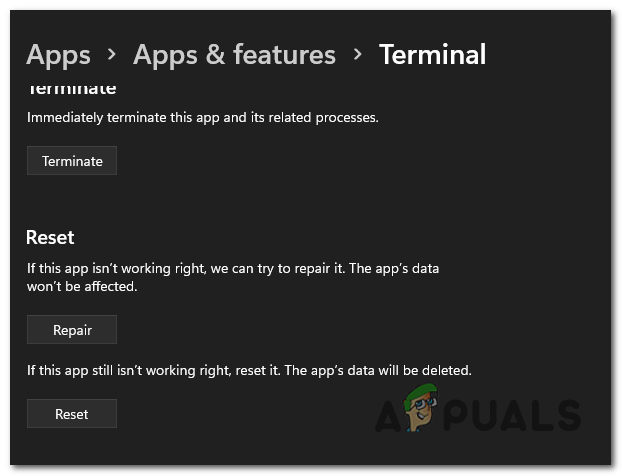
- В разделе «Сбросить» попробуйте использовать кнопки «Исправить» и «Сброс», проверяя после каждого действия, восстановилась ли правильная работа терминала.

- Если это не помогло, удалите Windows Terminal, используя кнопку внизу окна.
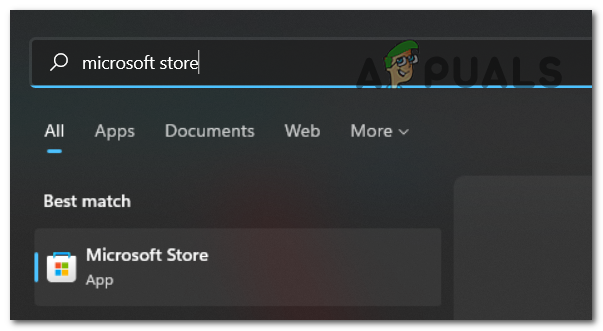
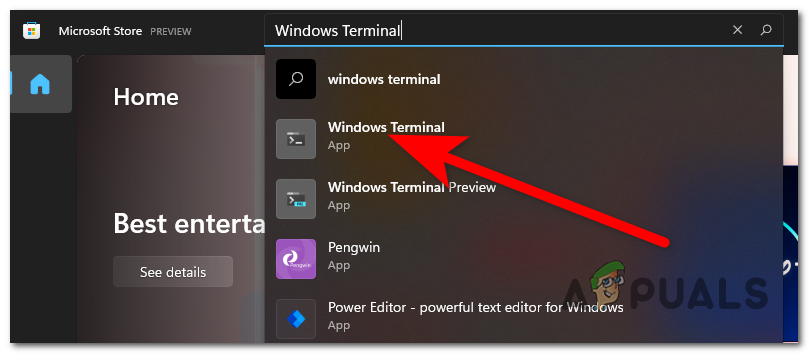
- Зайдите в магазин приложений Microsoft Store и используйте поиск в магазине для поиска приложения Windows Terminal. Найдите приложение и установите его.


Обычно, на 4-м или после 6-го шага все проблемы с открытием Терминала Windows 11 и его параметров бывают решены.
Если этого не произошло, опишите в комментариях вашу ситуацию: что именно не работает в Терминале (не запускается, не получается что-то сделать), какие действия уже были выполнены и насколько успешно. Возможно, мне удастся предложить способ исправления.
Windows Terminal is a modern terminal multi-tabbed command-line application, that is developed by Microsoft for Windows 10/11. Windows Terminal is a modern, fast, efficient, Powerful, and productive terminal application. The terminal app combines many command-line tools and shells such as Command Prompt, PowerShell, and WSL (Windows Subsystem for Linux). So, in one application users can use many command-line tools. The key features of the Windows Terminal include multiple tabs, panes, Unicode and UTF-8 Character support, GPU accelerated text rendering engine, and customize the app with your own themes, colors, backgrounds, and shortcuts. Windows 11 comes with the Windows Terminal app by default, you can search for the Terminal app from the Start menu search. Clicking on the Terminal app will open the Windows Terminal. But sometimes while clicking on the Terminal app, you won’t see any reaction. This article will guide you to fix Windows Terminal not Opening issue in Windows 11.
Mostly this issue occurs due to the Uninstallation of the Terminal app automatically. Sometimes you can see the app while searching, but if you try to open it won’t respond. Follow the below-mentioned resolution methods to fix this issue.
Solution 1: Check the Terminal App is Installed:
Open Microsoft Store, Click on the Magnifying glass and search for Microsoft Store and open it.
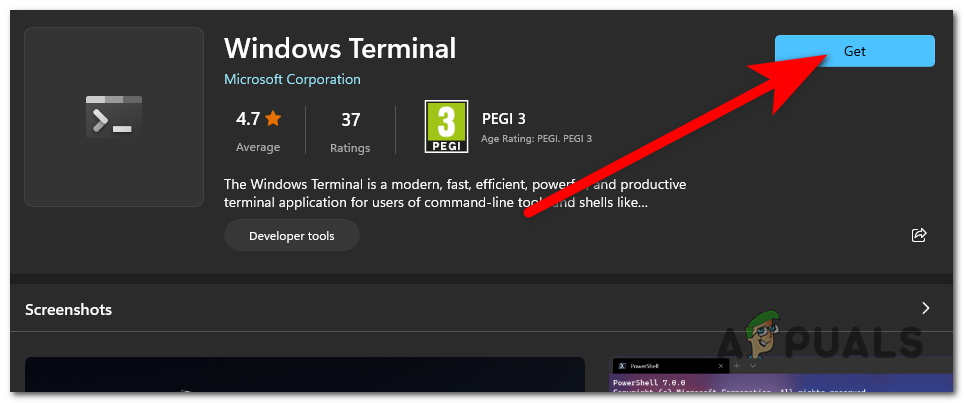
Next Search for Windows Terminal and open it, If you see Get, then the app is not installed, Click on Get and install it.
After the installation, Open the app and check.
Solution 2: Enable the Windows Terminal app:
Windows Terminal is available from Search but if Windows 11 can’t open it, then it could be the app is Disabled.
Follow the below-mentioned steps to Enable the Terminal app:
Open Windows Settings by pressing Windows + I and from the left-hand side click on Apps and from the right-hand side click on Apps & features.
Under Apps & features click on More settings > App execution aliases.


Under App execution aliases, look for Terminal app and enable it.

Solution 3: Reset Windows Terminal:
Open Command Prompt in elevated mode and execute the following command.
del /f /s /q /a "%LocalAppData%\Packages\Microsoft.WindowsTerminal_8wekyb3d8bbwe\LocalState\settings.json"This command will Reset the Windows terminal app. After the reset open the terminal app and check.
Post Views: 3,148
Many users have been reporting that they are encountering the ‘Windows Terminal not working‘ error on Windows 11. Since the appearance of Windows 11, people have constantly been saying that they cannot use the Windows Terminal because the app won’t start regardless of how they try to open it. The Windows Terminal simply doesn’t start, while nothing happens. This issue has been typically encountered on Windows 11.
After many people have discussed online of this issue, we have decided to do an in-depth investigation to see what can cause it.
The principal cause for this issue could be some system errors that have appeared as well as corrupted files that are harming your computer. The reason for this appearing is not known, it could happen after some computer issues that weren’t caused by you and that happened randomly.
The computer is being affected by this because it prevents it from functioning correctly and, at times, even causes it to behave in similar ways. In this case, you can repair and reset the Windows Terminal, reinstall it, and perform an SFC and DISM scan.
The causes for the ‘Windows Terminal not working‘ error on Windows 11, here is a list that contains all the possible methods that users have used in order to fix this issue:
1. Repair and reset Windows Terminal from the Windows Settings
The first thing you should try to do in this situation is to repair the Windows Terminal from the Settings of your computer. After repairing, they are saying that you should also reset the app to try to open it. This method has turned out to be efficient for many users that have tried it.
This method will repair the harmed files of the Windows Terminal that are causing it to not start. Besides that, resetting it will replace the corrupted files with healthy equivalents.
To do this method, go to the Windows Settings and access the Apps & features section. There you will be able to see the Windows Terminal through the list of apps. Access the Advanced Options of it, where you will be able to repair and reset the app.
In case you don’t know how to do this, here are the steps you need to follow:
- The first step you need to do is to open the Windows Settings. There are many ways that you could do to open it, one of which is to press the Windows key + R to open a Run dialog box in which you need to type ‘ms-settings:‘. After that, press Enter to open Settings.

Using a Run dialog box to open the Windows Settings - Once you are inside the Windows Settings, look on the left side of the window and search for the Apps section. When you see it, make sure to access it.
- Now you need to search for the Apps & features button, then click on it.

Accessing the Apps & features section inside the Windows Settings - After you are inside Apps & features and you are able to see the list of apps, search for the Terminal app manually or use the search option.
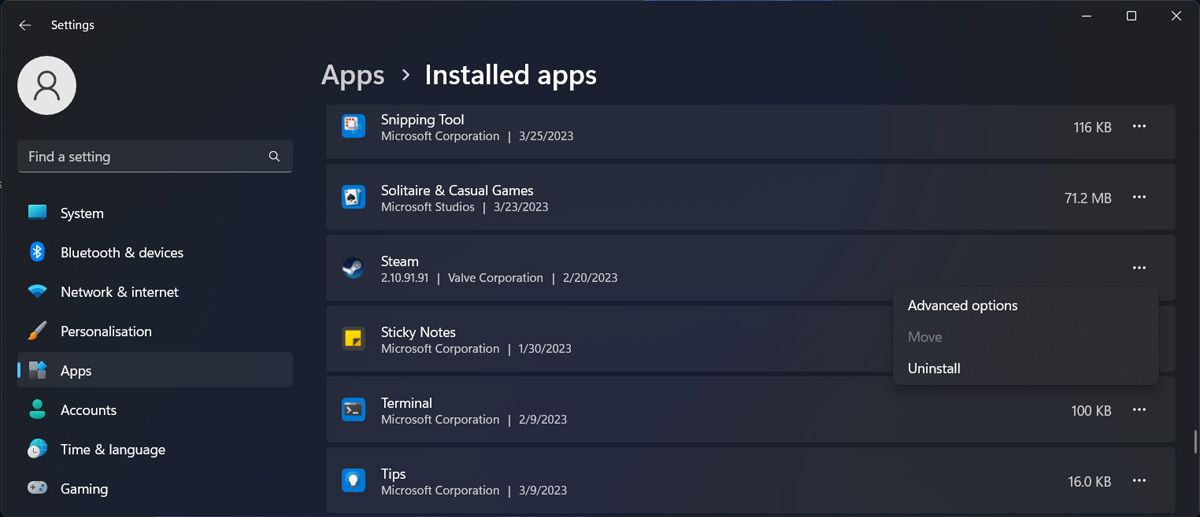
- When you find it, click on the three dots associated with it and then click on Advanced options.

Accessing the Advanced options of the Windows Terminal - Now all that is left to do is to scroll down to find the Repair and Reset buttons.
- After that, click on the Repair button first and wait until it’s complete. Then click on the Reset button to complete the process.

Repairing then resetting the Windows Terminal - Once you’ve done that, try to open the Windows Terminal to see if the problem was fixed.

In case the error still appears after doing this, check the next method below.
2. Uninstall and reinstall it from the Microsoft Store
The second thing you can do is to uninstall the Windows Terminal, then reinstall it from the Microsoft Store. This method is recommended by many users that have managed to make the Windows Terminal work by uninstalling the app that was used by default. Then they reinstalled it directly from the Microsoft Store.
All you have to do is to access the Windows Settings of your computer and go to the Apps & features section. There you will be able to uninstall the Windows Terminal. After that, you need to go to the Microsoft Store and make sure to reinstall it.
Here are the steps you need to follow in case you don’t know how to do this:
- You need to start by opening the Windows Settings. Open a Run dialog box by pressing the Windows key + R and type inside the search bar ‘ms-settings:‘, then press Enter to open the Settings right away.
Using a Run dialog box to open the Windows Settings - Once you are inside the Windows Settings, locate the Apps section on the left side of the screen. When you find it, make sure to access it.
- Now you need to click on the Apps & features to get to the list where all the apps are.
Inside the Windows Settings accessing the Apps & features section - Now that you are able to see all the apps that are installed on your computer, locate the Terminal application using the search option or manually.
- Once you find it, click on the three dots associated with it and click on Uninstall.

Uninstalling the Windows Terminal - After the app has been fully uninstalled, you can close the Windows Settings.
- Now you need to open the Microsoft Store. There are many ways to do this, one of them is to use the taskbar search option. When you find it, click on it.

Opening the Microsoft Store using the taskbar search option - After the Microsoft Store appears on your screen, click on the search bar located on the upper side of the screen and search for Windows Terminal.
- Once you have found it, click on it to open the page.

Accessing the Windows Terminal page inside the Microsoft Store - When you are inside the Windows Terminal page, click on the Get button located in the top left corner to install the app.

Installing the Windows Terminal - Once the process will be complete, the app will be installed. Test it to see if it works now.


In case you are still unable to use the Windows Terminal, go to the next method.
3. Reset Windows Terminal using Command Prompt
Another method that you can try in order to fix the Windows Terminal not working issue on Windows 11 is to use the Command Prompt to reset it. This is another way that you can use to reset the Windows Terminal, but the difference is that this time you will use the Command Prompt and not the Settings.
All you have to do is to open the Command Prompt and insert a command that will automatically reset the Windows Terminal. But you have to make sure that you open the Command Prompt with administrator privileges because you won’t be able to complete the method otherwise.
Here is a guide that contains all the step-by-step instructions on how to do this:
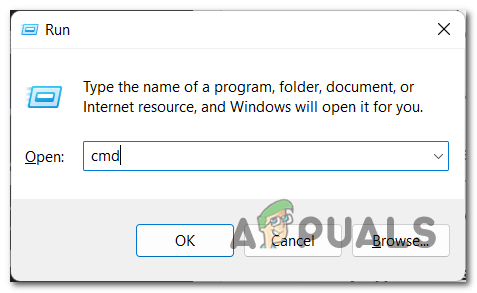
- Firstly you have to open the Command Prompt with admin privileges. Press the Windows key + R to open a Run dialog box and type inside the search bar ‘cmd‘, then you need to press CTRL + Shift + Enter to open it with administrator privileges.
Opening the Command Prompt using a Run dialog box - After you’ve done that, you will be prompted by the User Account Control (UAC) to confirm that you want to give the Command Prompt permission to do changes to your computer. Click on Yes to confirm and move forward.
- Once you have done that, the Command Prompt should appear on your screen. All you have to do is to copy the following command and paste it inside the CMD:
del /f /s /q /a "%LocalAppData%\Packages\Microsoft.WindowsTerminal_8wekyb3d8bbwe\LocalState\settings.json"
- After the command has been pasted inside the Command Prompt, press Enter to reset the Windows Terminal.
- Now you can close the Command Prompt and try to open the Windows Terminal to see if you still encounter the same problem.

In case the Windows Terminal still does not work on your Windows 11 computer, go to the next possible fix below.
4. Perform an SFC and DISM scan
Additionally, corrupted files and system faults that are impacting your Windows 11 could be the source of this error. Unknown factors, such as basic bugs that can occur occasionally to anyone, could be the cause of these issues.
If this case is applicable, start by using the two tools included in Windows 11 if this applies to you: System File Checker (SFC) and Deployment Image Servicing and Management (DISM). All of your system files will be scanned by these programs, and if any are corrupted, they will be replaced with their healthy counterparts. It will take a while, but you must be patient in order for the process to be finished.
All you need to do is launch the Command Prompt with administrator rights, then type a few commands to check for and fix system issues and damaged files. After that, your issue ought to be resolved.
Here is a guide that will demonstrate how to do an SFC scan and a DISM scan in case you are unfamiliar with doing so:
- The Command Prompt needs to be opened with administrator rights as the initial step. There are various ways to open it, one of which is to hit Windows key + R to bring up the Run dialog box, where you must input “cmd,” after which you must simultaneously press CTRL + Shift + Enter to launch it as an administrator.
Opening the Command Prompt using a Run dialog box - The User Account Control (UAC) will ask you to confirm that you want to give the Command Prompt administrator rights. Select Yes to proceed.
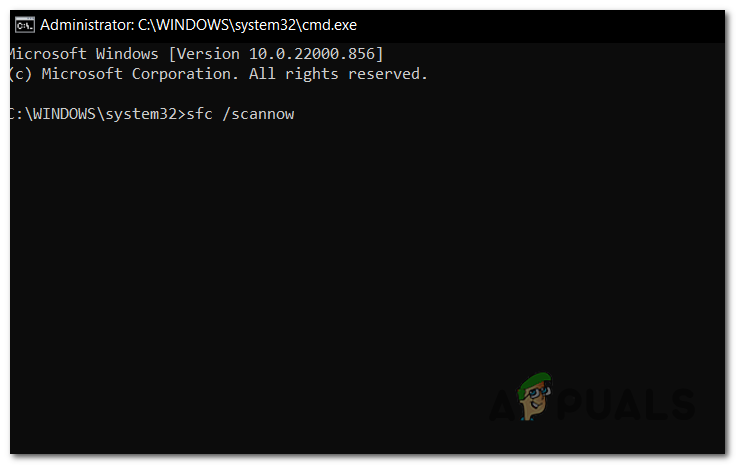
- You must copy and paste the following command to launch the System File Checker once you are in the Command Prompt:
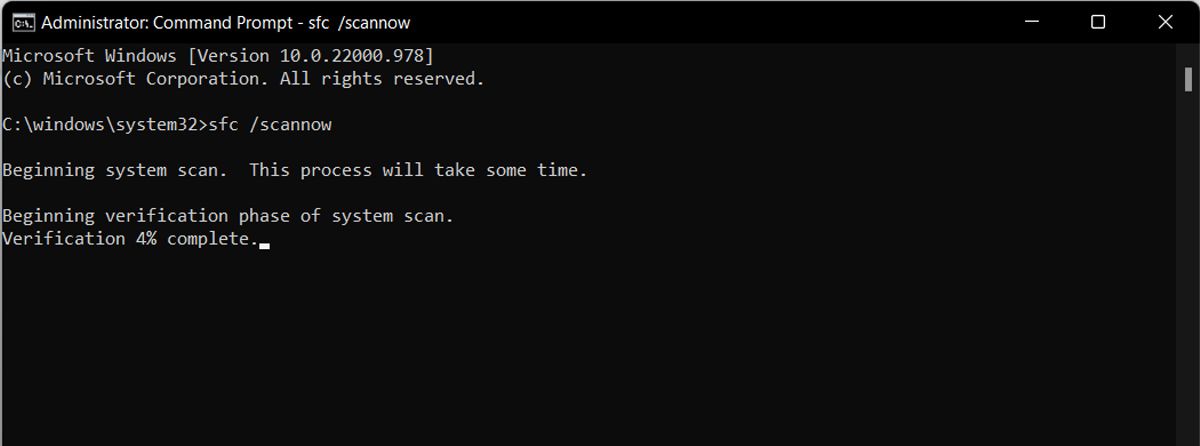
sfc /scannow

Starting the System File Checker scan inside the Command Prompt - Wait until the scan is finished; it could take up to a few minutes.
- After starting this procedure, the CMD window must definitely not be closed, even if the utility appears to have stopped working. Please wait for the process to finish before interfering, as doing so could result in logical issues with your HDD or SSD.
- Once the SFC scan has been completed successfully, restart your computer and wait until it boots up again.
- Repeat step 1’s instructions to launch the Command Prompt with administrator rights after the computer is turned back on.
- You should now copy and paste the commands that follow in the sequence that you are seeing them. To apply each one, paste it one at a time and hit Enter:
DISM /Online /Cleanup-Image /CheckHealth

DISM /Online /Cleanup-Image /ScanHealth

DISM /Online /Cleanup-Image /RestoreHealth
- It will take a few minutes for this scan as well, so keep the Command Prompt open and don’t disturb the procedure.
- The only thing left to do is to see if the Windows Terminal program is still not functioning after you have entered each of these instructions and the scan is complete.
If the issue persists and the Windows Terminal won’t launch, try the next and final approach listed below.
5. Run an in-place upgrade
Repair installing Windows 11 is the very last option you have when you run into problems with the Windows Terminal not functioning properly. This is the final method that will be discussed in this post because it is the one that requires the most effort and the longest amount of time. Nevertheless, despite this, many customers who have been through this have found that this strategy is effective for solving their problems.
In the event that you choose to perform a repair installation of Windows 11, this process will essentially reset your personal computer and will reinstall Windows in an accurate manner without corrupted files or problems in the system. When you do this, you will be prompted with the choice to either keep or erase your data. We strongly suggest that you back up the vital information to a safe location and then reset all of your computer’s settings to ensure that you delete all of the corrupt files.
In the event that you aren’t entirely sure how to repair and install Windows 11, here is an article that will walk you through all of the steps involved in this process and provide you with all of the information that you require. In addition to that, you will be able to see clearly just what it is that you have to do and how you can get it done.
The only thing left to do now that you have finished this step and the process has been concluded is to test the Windows Terminal program to check whether it is still not working at all.
Sign in to your MUO account

The Windows Terminal is quite an efficient tool as it allows you to enter into multiple command line tools both for Windows 10 and 11. This sounds good as long as you can open it.
If you can no longer access Windows Terminal, there’s no need to worry. We’ve compiled a quick guide to help you fix the problem.
1. Try a Different Method to Open the Windows Terminal
One of the most common methods to open Windows Terminal is to right-click the Start button and select Windows Terminal (Admin). But if the option is missing or nothing happens when you click it, you should try a different method to open Windows Terminal.
2. Check if Windows Terminal Is Enabled
If you’ve tried multiple ways to open Windows Terminal and had no success, you should check if it’s not disabled on your computer. Here’s how you can do it:
- Press Win + I to bring up the Settings menu.
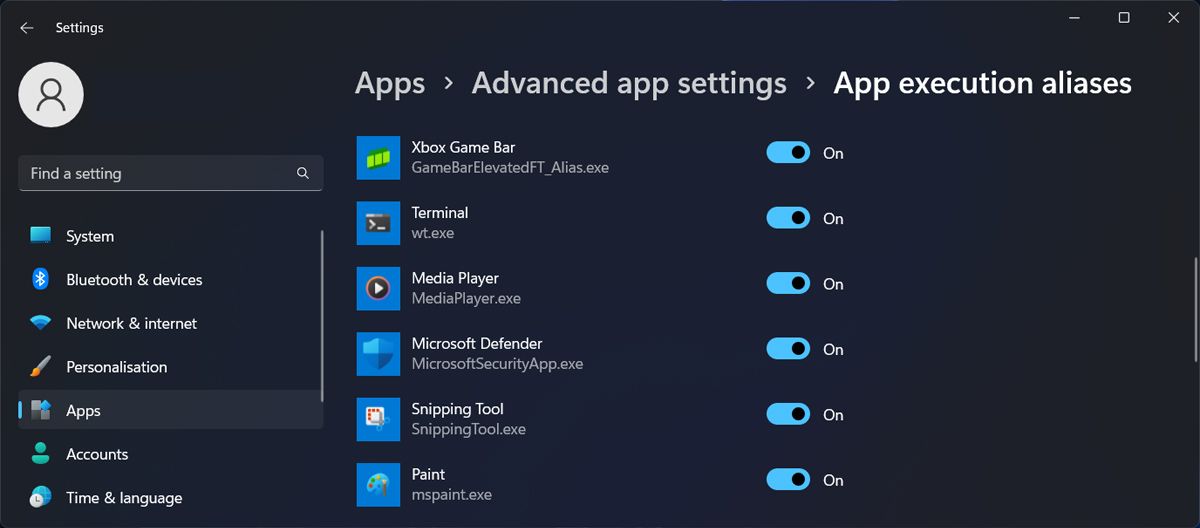
- Head to Apps > Advanced app settings.
- Select App execution aliases.
- From the apps list, locate Terminal and enable the toggle next to it. If it’s already enabled, turn it off and on again.
3. Repair Windows Terminal
Fortunately, Windows has plenty of built-in tools that are capable of fixing most of the issues for you. The same goes when you can’t get Windows Terminal to open. Instead of trying to pinpoint the problem manually, you can have Windows repair the app. Here’s how you can do it:
- Right-click the Start button and go to Settings.
- Go to Apps > Installed Apps.
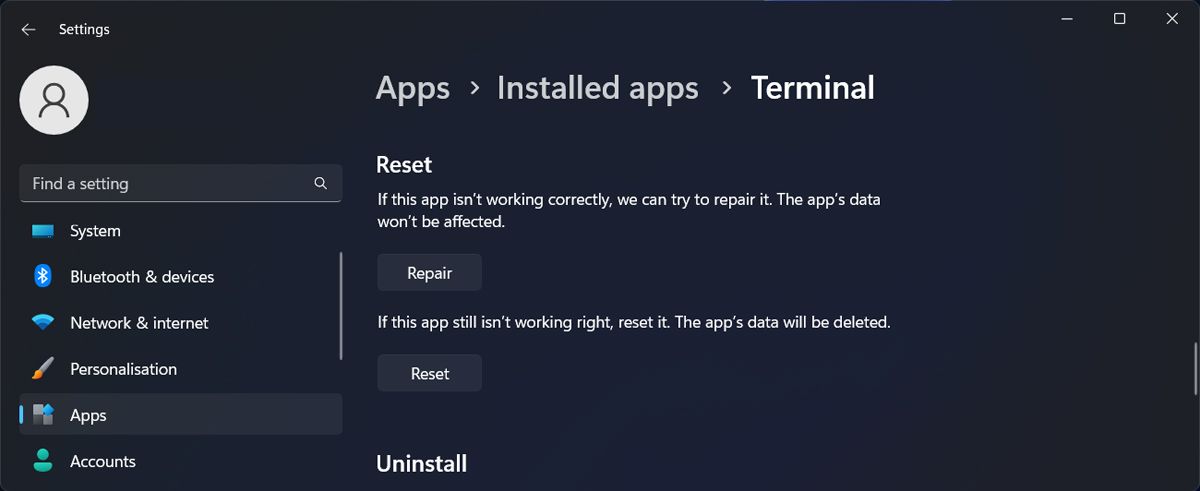
- Click the three-dot icon next to Terminal and select Advanced options.
- Click the Repair button.
4. Reset Windows Terminal
If you still can’t get Windows Terminal to work, you should try reverting it to its default settings. Check out how to reset Windows Terminal for steps.
5. Run an SFC Scan
Missing or corrupted system files might cause the inability to open Windows Terminal. In this case, you should run an SFC scan. This will search for any broken system files and replace them automatically.
6. Reinstall Windows Terminal
If nothing worked until now, it’s time to reinstall Windows Terminal. Go to Settings > Apps > Installed apps and locate Terminal. Then, click the three-dot icon next to it and select Uninstall.
Once Windows uninstall the app, launch Microsoft Store and reinstall Windows Terminal.
Launch Windows Terminal Any Time Again
Hopefully, one or more of the above solutions helped you fix Windows Terminal. Sometimes, you have to enable it on your computer or have Windows repair the app. But if you’re still struggling to make it work, you should go nuclear and reinstall the app.
Once you get it working again, you should learn about Windows Terminal tips and tricks to make the most out of it.
В Windows 11 интегрирован терминал PowerShell. С него удобно запускать консольные программы, изменять настройки системы, открывать файлы и выполнять прочие операции без «путешествий» по дереву каталогов или поиска нужного пункта в меню. Но иногда это средство не желает запускаться, Как решить проблему? Давайте посмотрим.
Запуск терминала из командной строки
Терминал системы может открываться альтернативными методами. Наиболее подходящим из них является утилита cmd.exe. Ведь она поможет быстро запустить исполняемый файл без нажатия по ярлыкам или обхода псевдонима. Открыв окно командной строки из приложения «Выполнить» (Win+R, cmd), после чего наберите строку wt.exe и активируйте щелчком кнопки ввода на клавиатуре. Если дисплей показал окно терминала, операция прошла успешно.
Проверка псевдонима выполнения программы
Все штатные приложения Windows 11 имеют имена, которые ссылаются на их файлы исполняемого типа. Они появляются во время поиска через меню «Пуск», могут располагаться в контекстных меню или выглядеть как ярлыки. Если псевдоним терминала не работает, запуск может сопровождаться ошибкой.
Для ее исправления:
— Откройте «Параметры», воспользовавшись быстрой комбинацией (Win+I).
— Из этого окна обязательно перейдите в раздел управления приложениями.
— Кликните ЛКМ по пункту, называемом «Приложениями и возможностями».
— Открыть список, который показывает дополнительные параметры.
— Щелкнув в этом перечне ЛКМ по «Псевдонимам выполнения приложения», вызовите следующий список.
— Отыскав в нем программу «Терминал», переведите тумблер в положение «Работает».
Для применения выполненных настроек перезапустите свой персональный компьютер и проверьте функционирование улучшенной консоли.
Исправление или сброс PowerShell
Еще терминал может не открываться из-за сбоев, которые произошли в его файлах под влиянием вирусов или ваших действий. Иногда ошибку устраняет стандартная функция, но зачастую приходится чистить данные и сбрасывать приложение. Выполняя последнее действие:
— В «Параметрах» (Win+I) откройте пункт с заголовком «Приложения».
— Оказавшись там, щелкните по «Приложениям и возможностям».
— В списке отсортированных в алфавитном порядке программ отыщите «Терминал».
— Нажмите кнопку с тремя точками, которая есть напротив названия, для захода в дополнительные настройки.
— Щелкните кнопку исправления, подтвердите начало операции.
После этой операции проверьте работоспособность консольного терминала либо снова сбросьте данные приложения при необходимости.
Проверка обновлений в центре
Терминал является главным компонентом Windows, существуя в системе по умолчанию. Поэтому он может автоматически обновляться. Если действие программы сопровождается неполадками, лучше убедиться в наличии системных и необязательных апдейтов. Ведь такая ситуация может пропасть после установки исправленных «заплаток»:
— Откройте центр, который позволяет инсталлировать обновления для ОС Windows 11 из окна «Параметров» (Win+I).
— Щелкните кнопку, которая проверяет присутствие новых патчей на серверах Майкрософта.
— Дождитесь конца процесса, чтобы инсталлировать обнаруженные апдейты. И проверьте возможность добавления в ОС необязательных исправлений.
— Перейдя к этому пункту из «Дополнительных параметров», разверните перечень упомянутых выше объектов.
— Проверьте там существование элементов, которые связаны с PowerShell. И если они отсутствуют, выполните процедуру установки.
Переустановка «Терминала»
Является радикальным способом устранения ошибок при его открытии. В процессе реализации:
— В перечне программ из пункта «Приложения и компоненты» параметров Windows 11 отыщите терминал отобразите меню и выберите команду удаления.
— Когда PowerShell пропадет из системы, через меню «Пуск» вызовите интернет-магазин MS Store.
— Наберите в поле поиска наименование консоли, а потом зайдите на страницу ее приобретения из списка результатов.
— Если у вас получилось деинсталлировать консоль, надпись на кнопке «Открыть» сменится словом «Получить».
— Нажмите ее, чтобы операционная система загрузила дистрибутив на компьютер.
Дождавшись завершения установки, откройте терминал для проверки.