Applies ToWindows 11
Если голосовой ввод не работает в Windows, ниже приведены некоторые действия по устранению неполадок, которые можно выполнить на компьютере.
Подготовка
Ниже приведены некоторые моменты, которые следует сначала проверка, если голосовая ввод не работает:
-
Убедитесь, что нужный микрофон выбран в разделе Параметры. Чтобы проверка, выберите Пуск > Параметры > Система > Звук > Вход> Выберите устройство для речи или записи.
-
Если вы используете внешний микрофон, убедитесь, что он правильно подключен к компьютеру.
Сообщения об ошибках
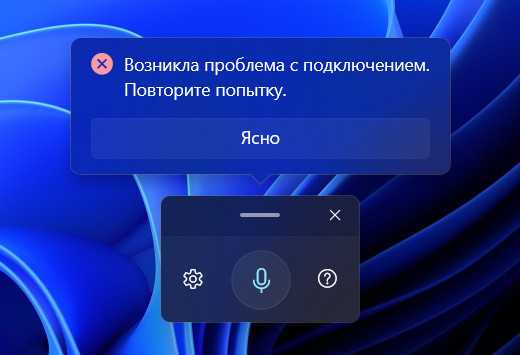
При использовании голосового ввода могут возникать различные ошибки.
|
Сообщение об ошибке |
Что вы можете сделать |
|---|---|
|
Для ввода голоса требуется доступ к микрофону. Это необходимо включить в параметрах, чтобы использовать речь в тексте. |
Выберите Пуск > Параметры > Конфиденциальность & безопасность > Микрофон и убедитесь, что доступ к микрофону включен. |
|
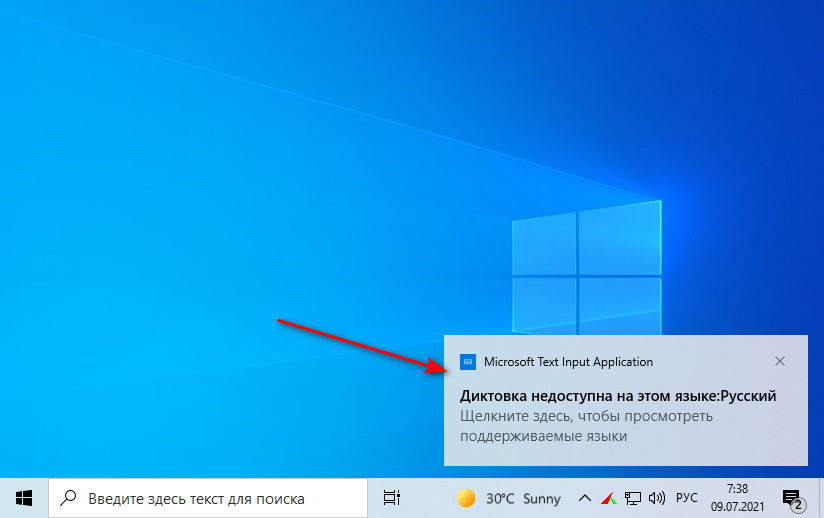
Голосовой ввод недоступен на текущем языке. |
Проверьте список поддерживаемых языков и установите нужный. См. список |
Текст не отображается после речи
Если после выступления в текстовом поле ничего не отображается, проверка следующие моменты:
-
Отрегулируйте уровень входного сигнала вашего микрофона. Дополнительные сведения см. в статье Настройка и тестирование микрофонов в Windows.
-
Если вы используете встроенный микрофон, попробуйте еще раз с гарнитурой или внешним микрофоном.
Слова введены неправильно
Если слова, которые вы произносите, неправильно введены, ниже приведены некоторые проверка.
-
Переместитесь в более тихое место.
-
Убедитесь, что выбран правильный язык для голосового ввода. Для этого нажмите клавишу с логотипом Windows + ПРОБЕЛ и выберите один из доступных языков. Дополнительные сведения об установке других языков см. в статье Использование голосового ввода для разговора вместо ввода текста на компьютере.
-
Если вы используете встроенный микрофон, попробуйте еще раз с гарнитурой или внешним микрофоном.
Статьи по теме
-
Использование голосового ввода для общения вместо ввода текста на компьютере
Нужна дополнительная помощь?
Нужны дополнительные параметры?
Изучите преимущества подписки, просмотрите учебные курсы, узнайте, как защитить свое устройство и т. д.
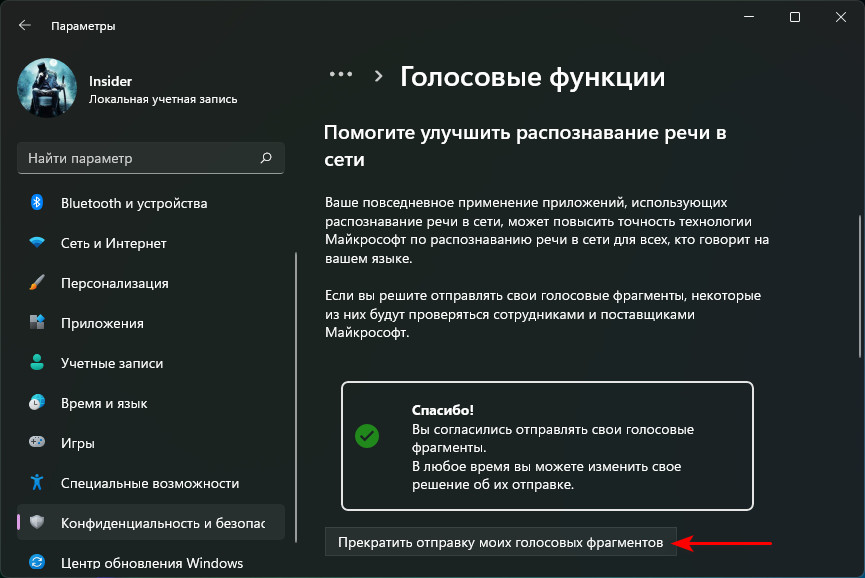
Voice typing is one of the most useful accessibility features on Windows. So, yes, rather than typing lengthy emails and paragraphs, you can simply use the voice typing feature to dictate the content. This feature comes in handy when you are on the go or simply when you are too lazy or stressed out to type.

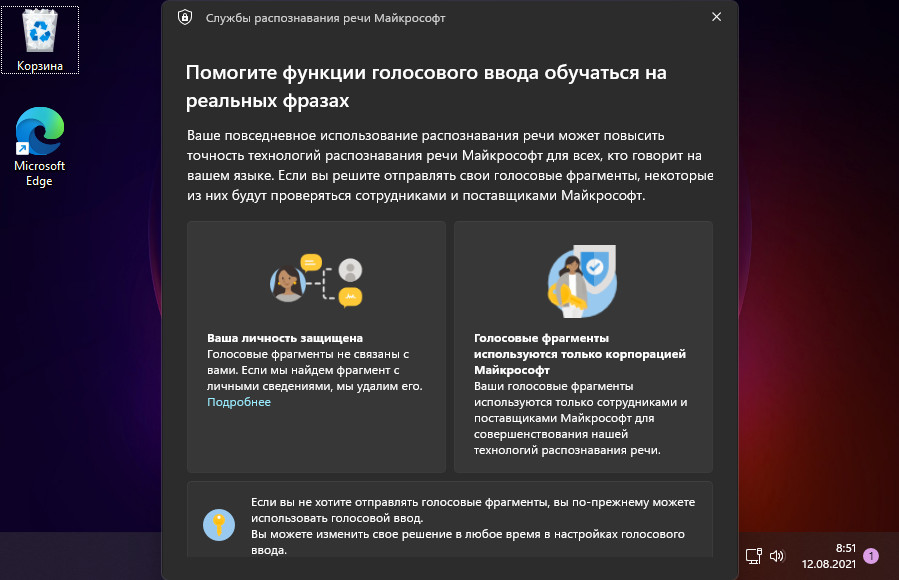
The voice typing feature allows you to dictate the content using your voice as if you were simply talking to your PC. This feature on Windows is powered by Azure Speech Services and uses speech recognition technology to identify your commands and translate your speech to digital text. You must go through a few steps to enable this feature on Windows 11.
But if you cannot use the voice typing feature on Windows 11 even after activating it, here are a few workarounds that might help you!
Let’s get started.
Also read: 10 Best Voice Recognition Software in 2022
How to Enable Voice Typing on Windows 11?
To enable speech recognition on Windows 11, here’s what you need to do:
Tap on the Windows icon and select “Settings.”

Switch to the “Accessibility” section from the left menu pane. Scroll down and select “Speech.”

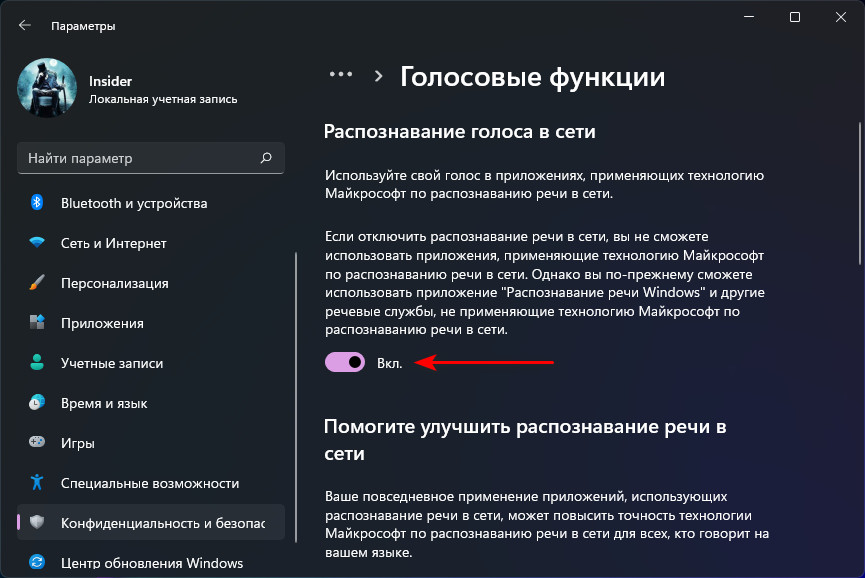
Now, enable the “Windows Speech Recognition” option so that you can simply dictate your text rather than typing it.

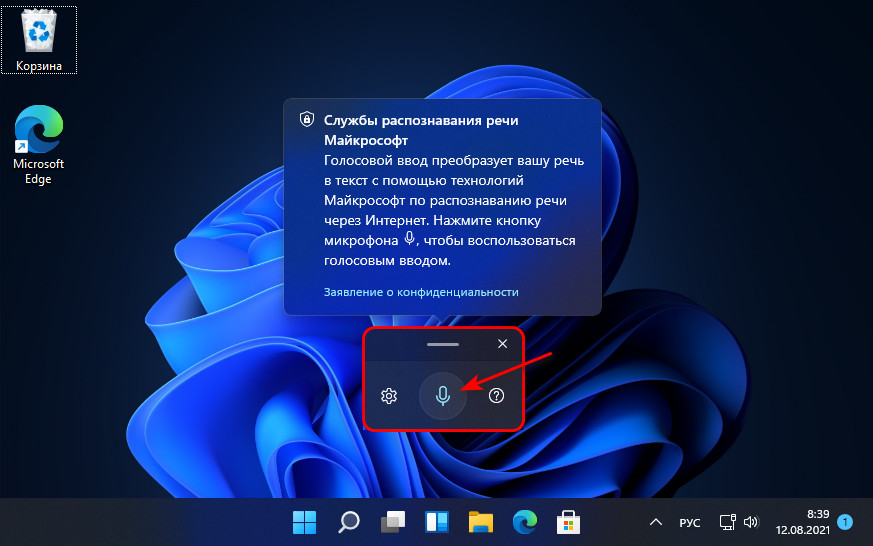
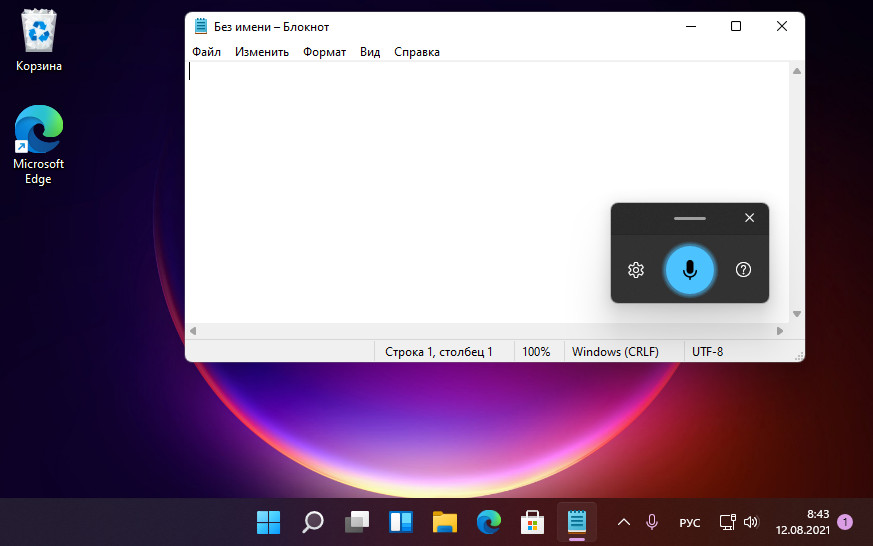
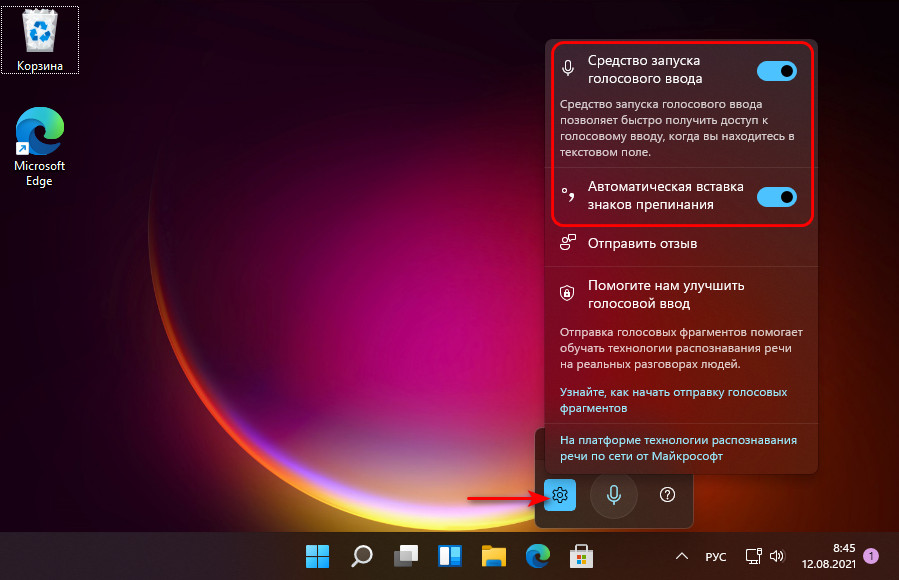
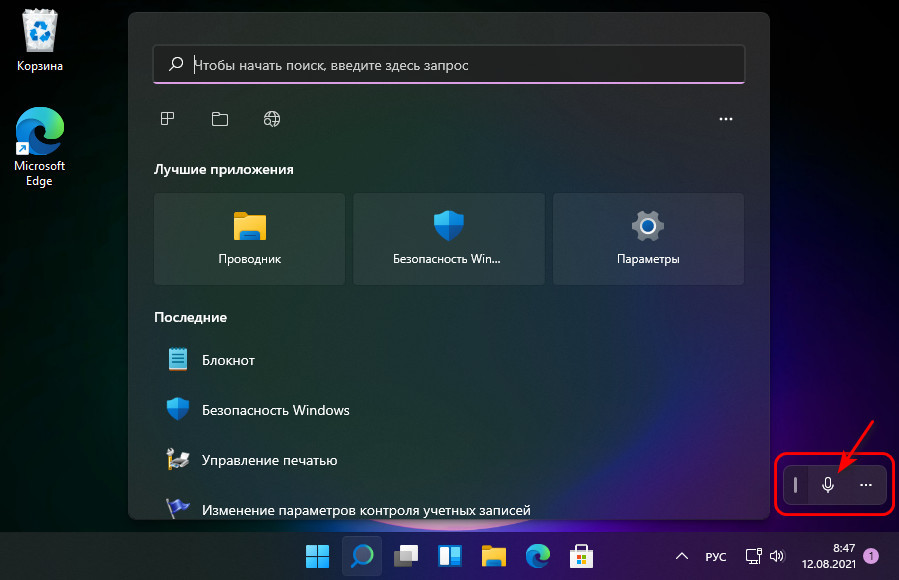
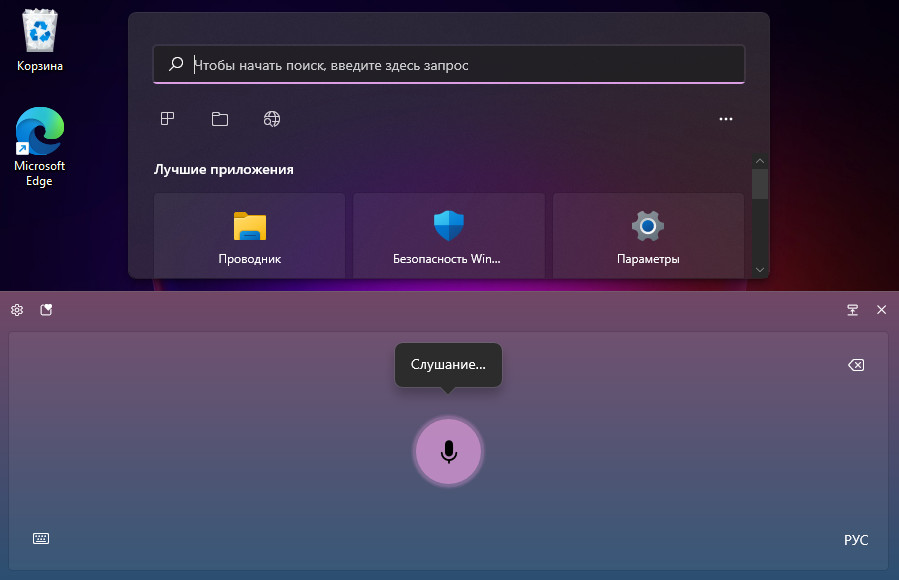
Follow the on-screen instructions on the wizard to set up Windows Speech Recognition on your device. Once the setup process is completed, the speech recognition toolbar will appear on the screen. You can simply tap on the “Microphone” icon to begin dictating.
Voice Typing not Working On Windows 11? Here’s the Fix!
Unable to use the speech recognition feature on Windows 11? Voice typing not working? Here are a few simple methods that you help you fix the issue within no time.
Solution 1: Check the Physical Connections

Image source: Lifewire
Before you proceed toward complex troubleshooting, make sure that you check whether all the physical connections are in place. If using an external microphone device, ensure it is properly connected to your Windows PC.
Solution 2: Configure the Sound Settings
Here comes the next workaround to fix the “voice typing not working on Windows 11” issue.
Tap on the search icon placed on the Taskbar and type “Sound Settings.” Hit Enter.

Select the “Choose a device for speaking for recording” option. Select your preferred audio device from the list to configure the sound settings.

Also, drag the volume bar to the highest capacity to make sure that the volume isn’t too low.
Also read: 4 Best Voicemail Apps For Android
Solution 3: Manually Enable Microphone Access
Launch the Settings app on your Windows 11 PC.
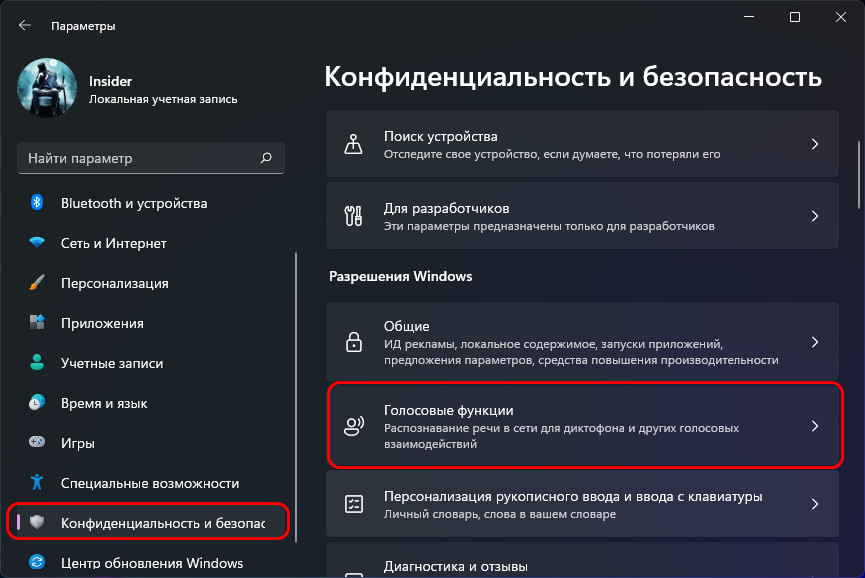
Switch to the “Privacy and Security” section from the left menu pane. Tap on “Microphone.”

Now, enable the “Microphone access” option to turn it ON.

Also, enable the “Let apps access your microphone” option.
Reboot your device and check if the issue persists.
Solution 4: Check the Language Settings
Tap on the Windows icon and select “Settings.” Switch to the “Time and Language” section from the left menu pane. Select “Speech.”
Under the “Speech Language” section, choose the preferred language from the list using the drop-down menu.

After configuring the language settings, reboot your device and check if the speech recognition is working properly.
Also read: How To Choose the Best Screen Recording Software.
Solution 5: Use the Recording Audio Troubleshooter
As we are all aware, Windows offers a variety of built-in troubleshooters that help you resolve common errors, bugs, and glitches. Hence, you can use the recording audio troubleshooter to fix the “Voice typing not working” issue on Windows.
Launch the Settings app, switch to the “System” tab and then select “Troubleshoot.”

Tap on “Other Troubleshooters.”
Scroll through the list of troubleshooters and look for “Recording Audio Troubleshooter.” Hit the “Run” button placed next to it.
Follow the on-screen instructions to run the troubleshooter.
Solution 6: Update the Microphone Driver
Press the Windows + R key combination to open the Run dialog box. Type “Devmgmt.msc” in the textbox and hit Enter.

In the Device Manager window, select “Audio, inputs, and outputs.” Right-click on the microphone driver and select “Update Driver.”

After updating the microphone drivers, reboot your device and check if the issue was resolved.
Also read: Which Is The Best Speech To Text Software So Far? {2022}
Conclusion
Here are a few simple solutions to fix the “Voice typing not working on Windows 11” issue. If you spend most of your time typing long documents or emails, the voice typing feature can prove to be super useful. You can use any of the above-listed solutions to resolve this glitch.
Do let us know which method did the trick for you. Feel free to share your thoughts in the comments section! Follow us on social media – Facebook, Instagram and YouTube.
Windows 11 Voice Access is a valuable tool designed to enhance accessibility by enabling users to control their computers through voice commands. However, there are instances where users may encounter challenges with Voice Access, preventing it from working seamlessly. In this article, we will provide a step-by-step guide to address and fix Windows 11 Voice Access not working as expected.
Page Contents
Multiple factors can contribute to Voice Access not functioning as expected. Some are as below:
- Incorrect microphone settings or a malfunctioning microphone can hinder Voice Access from accurately capturing voice commands.
- Outdated or corrupted audio drivers can lead to compatibility issues, impacting the performance of Voice Access.
- Voice Access may require a stable internet connection for certain features. Connectivity issues can result in Voice Access not working correctly.
- Other software, such as antivirus programs or third-party applications, might conflict with Voice Access, causing operational disruptions.
- If Voice Access is not installed or configured correctly, it may not initiate or respond to voice commands.
Let’s have a look at some of the solutions that can help you to solve the issue.
Before proceeding with the solution, make sure you have enabled Voice Access on your Windows system.
Refer to this article for detailed instructions: How to enable Voice access in Windows 11
Fix 1: Check your Internet Connection
If your Windows 11 Voice Access isn’t talking to you, it might be because of your internet.
First, check your internet speed to make sure it’s fast enough for smooth voice commands. Good voice control like a strong internet signal!
Also, try turning off any VPNs or proxies temporarily – their encryption can confuse your voice commands.
If you have another Wi-Fi network, test Voice Access there to see if the problem is just with your current connection.
Fix 2: Ensure that your Microphone is working correctly
Checking your microphone is like making sure your voice gets heard on your device. If things aren’t working right, it can mess up meetings, voice commands, or recordings.
To check whether you have picked the right microphone or not:
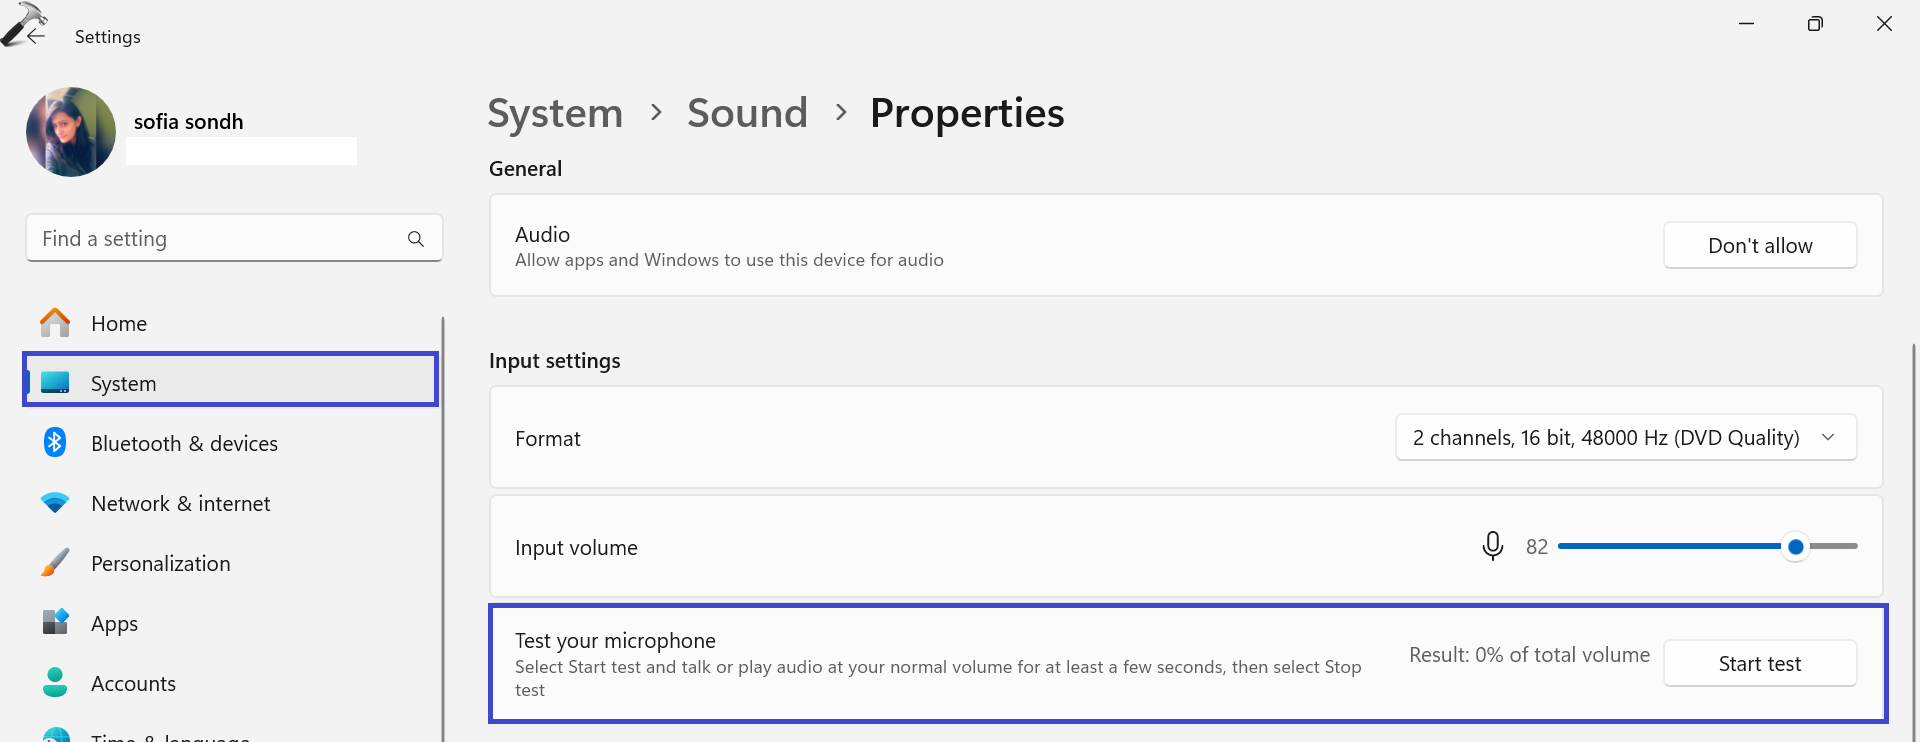
1. Go to your Settings => System => Sound.
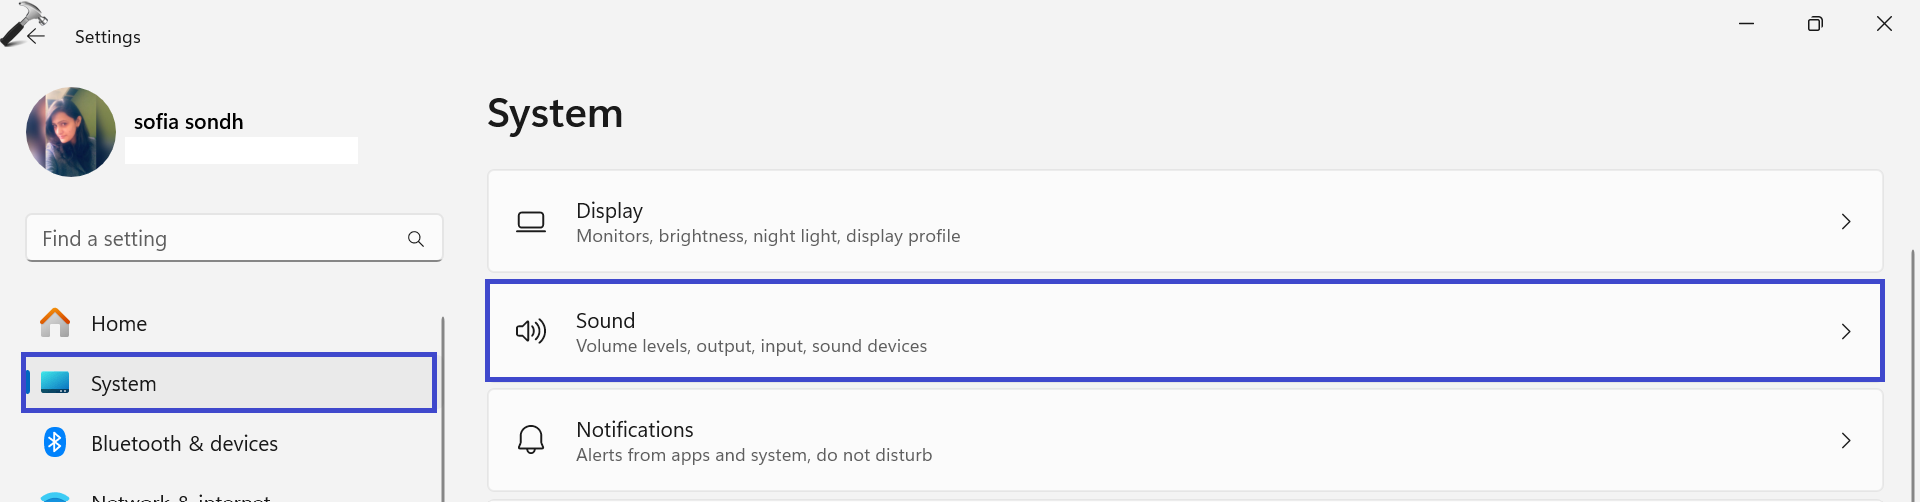
2. Under the Input section, click on “Microphone“.
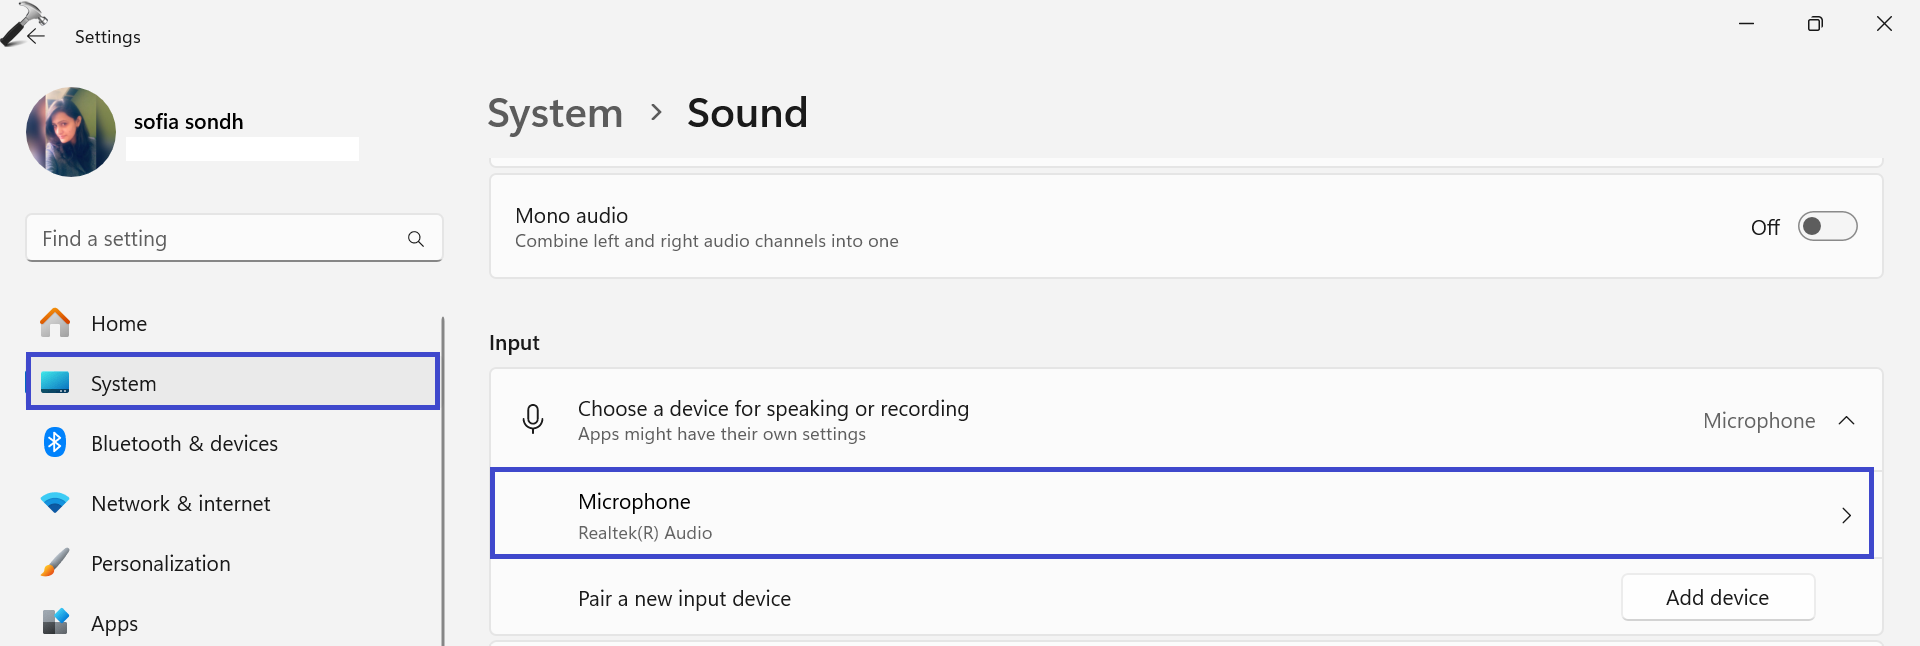
3. Click on “Start test” to test it to see if it’s picking up sound.
If there’s a problem, use the troubleshooter.
1. Go to your Settings => Troubleshoot => Other Troubleshooter.
2. Click on “Run” next to the Audio.
Don’t forget to keep your audio drivers updated by going to the device maker’s website.
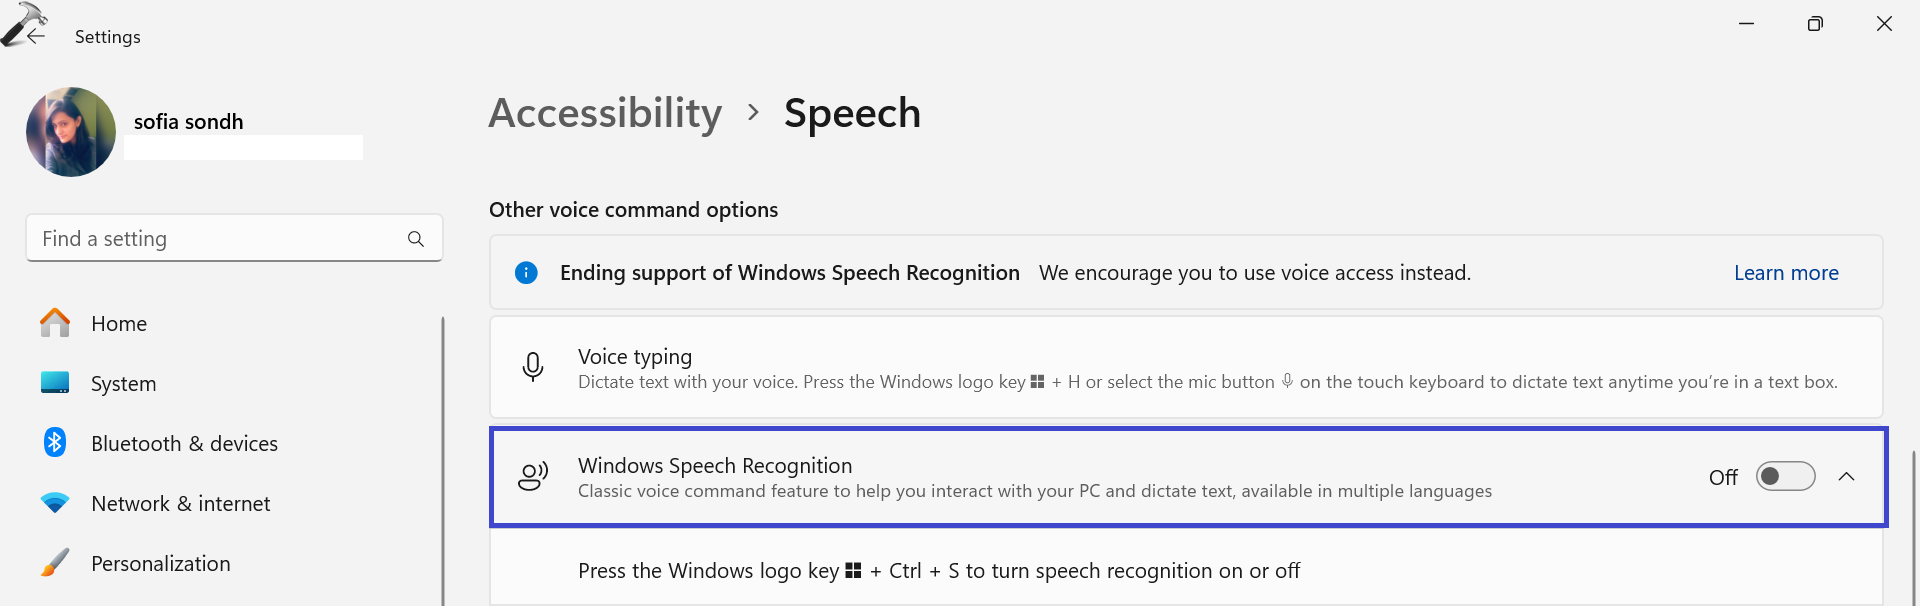
Fix 3: Disable Windows Speech Recognition
1. Open the Settings App and go to “Accessibility“.
2. Now, click on “Speech“.
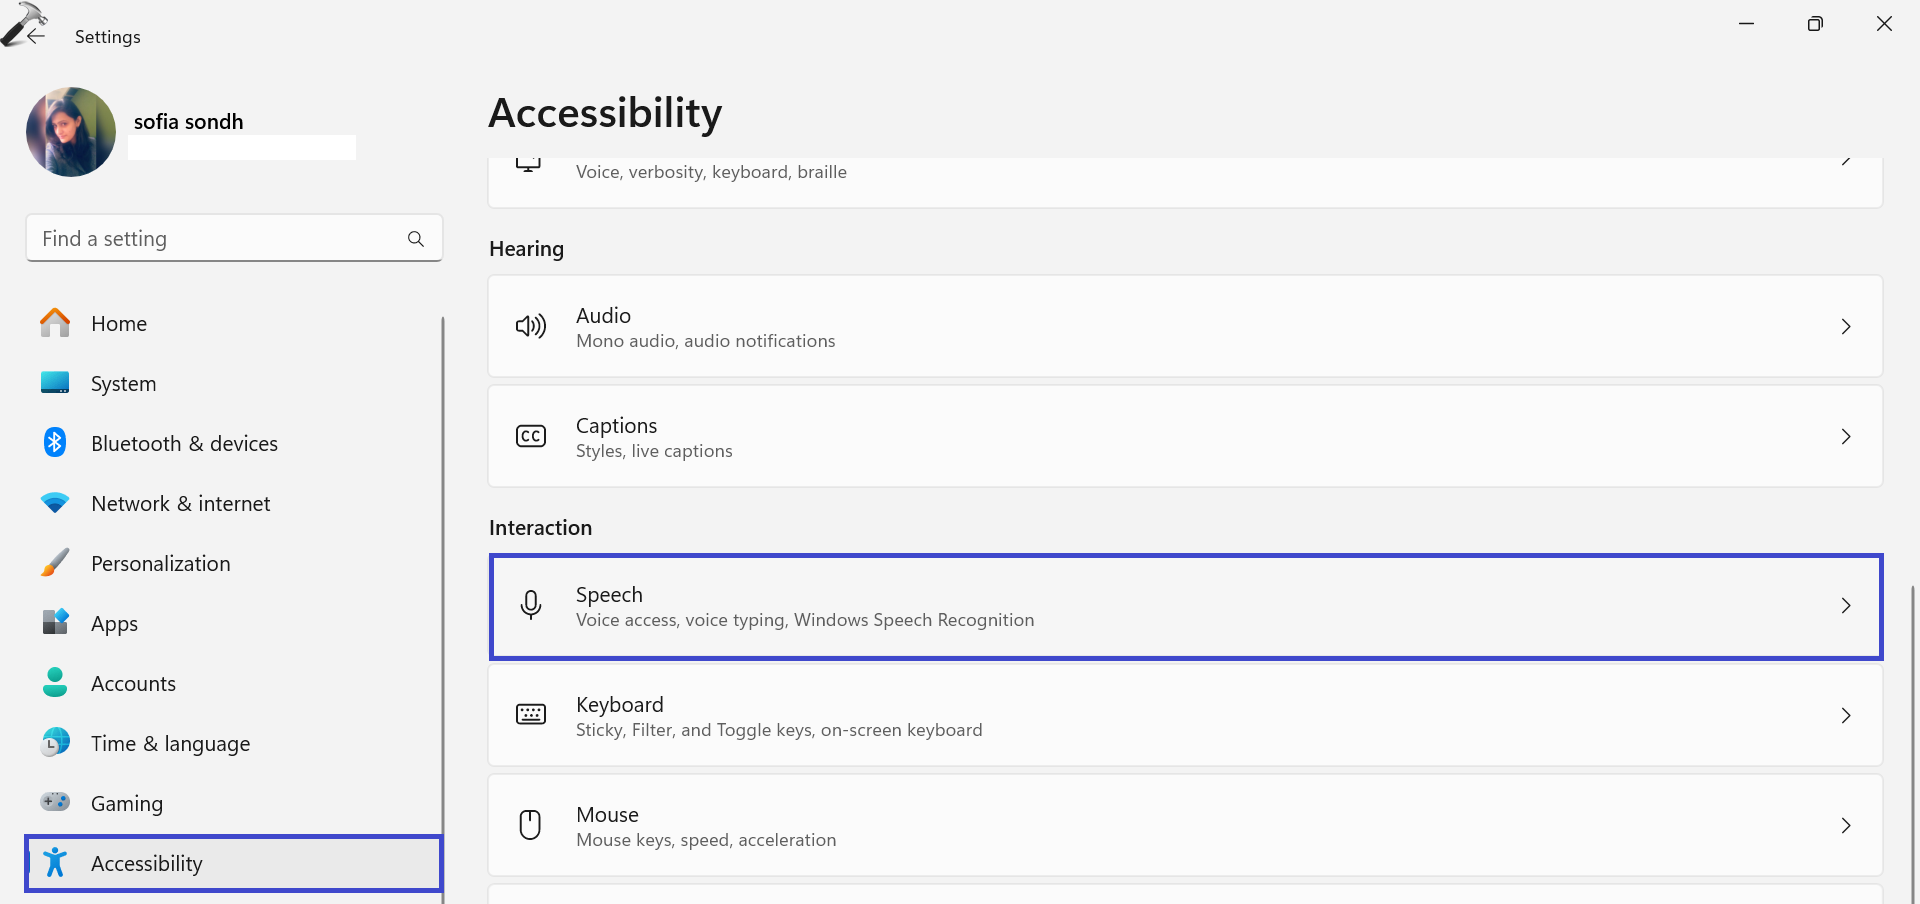
3. Toggle off the “Windows Speech Recognition” option.
Fix 4: Check the Services
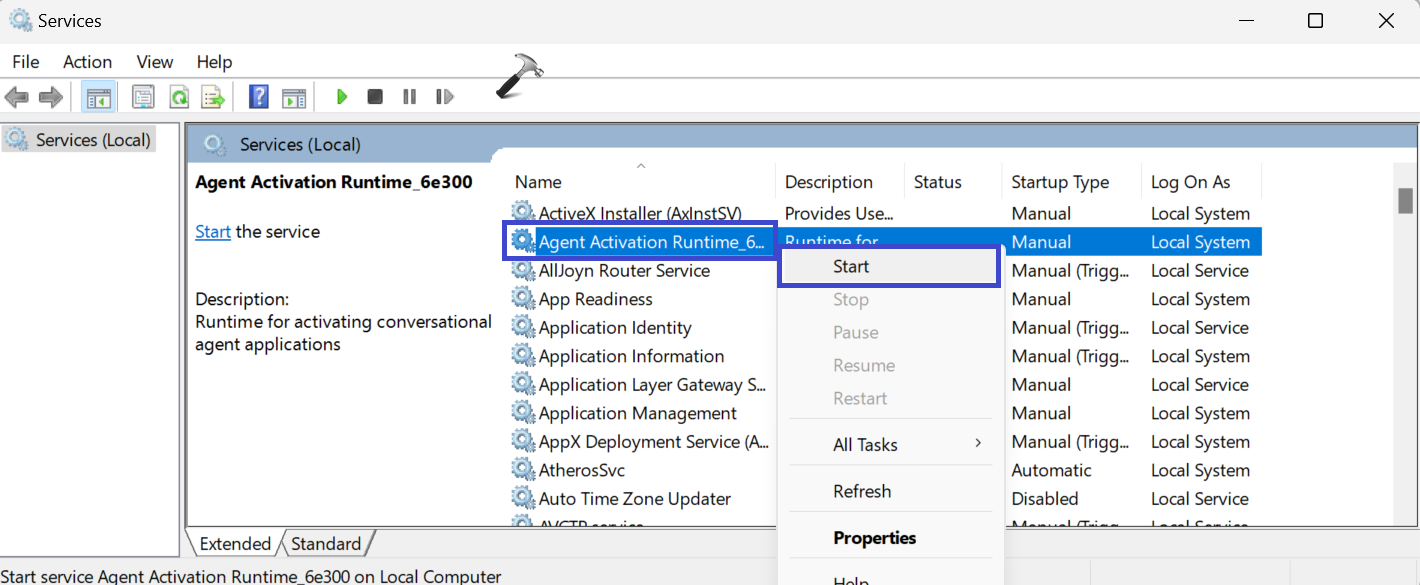
1. Press the Windows Key + R. Type “Services.msc” and click OK.
2. Locate the “Agent Activation Runtime” service.
3. Right-click on the “Agent Activation Runtime” service and click “Restart“.
If the service is not running, right-click on it and click “Start“.
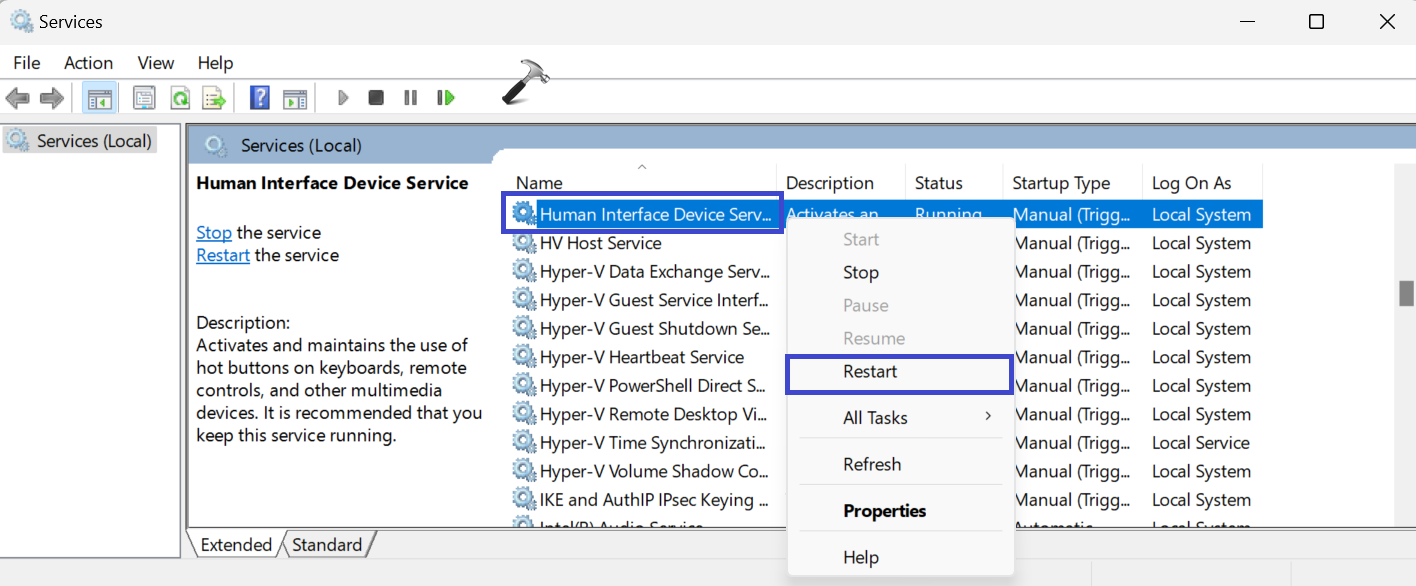
4. Now, right-click on “Human Interface Device Service” and click “Restart“.
5. Again, right-click on the “Windows Audio Endpoint Builder” service and click “Restart“.
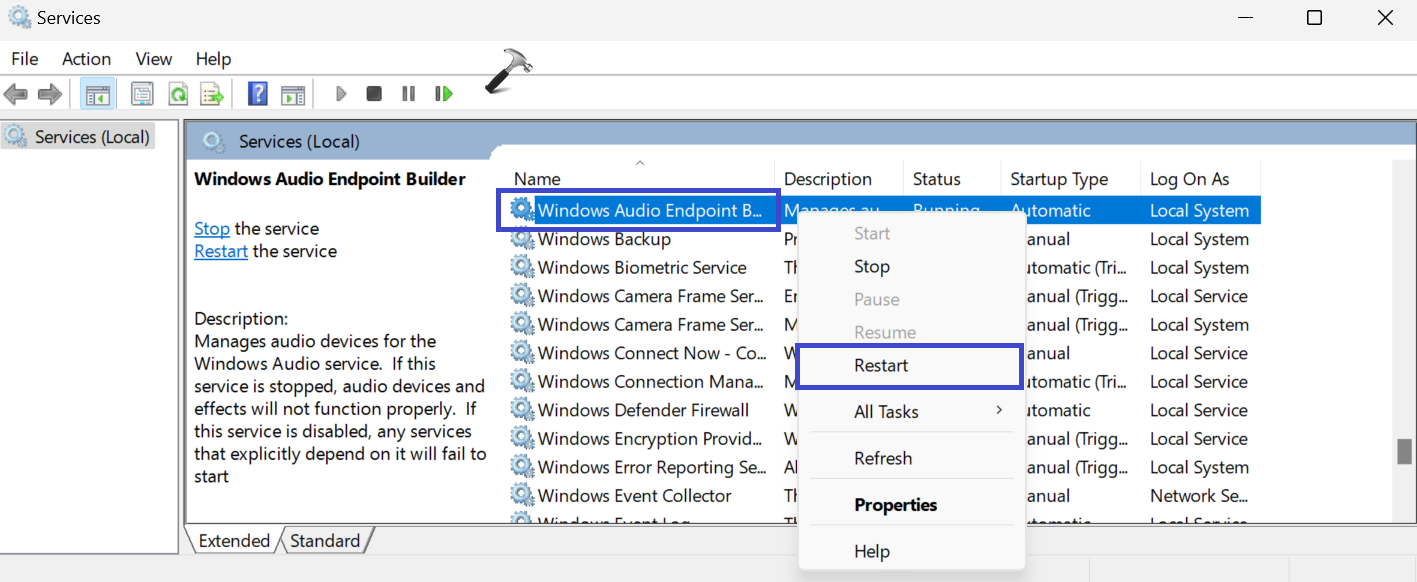
Make sure all the above three services are running.
6. At the end, restart the PC and check whether the issue is resolved or not.
Fix 5: Enable Microphone Access
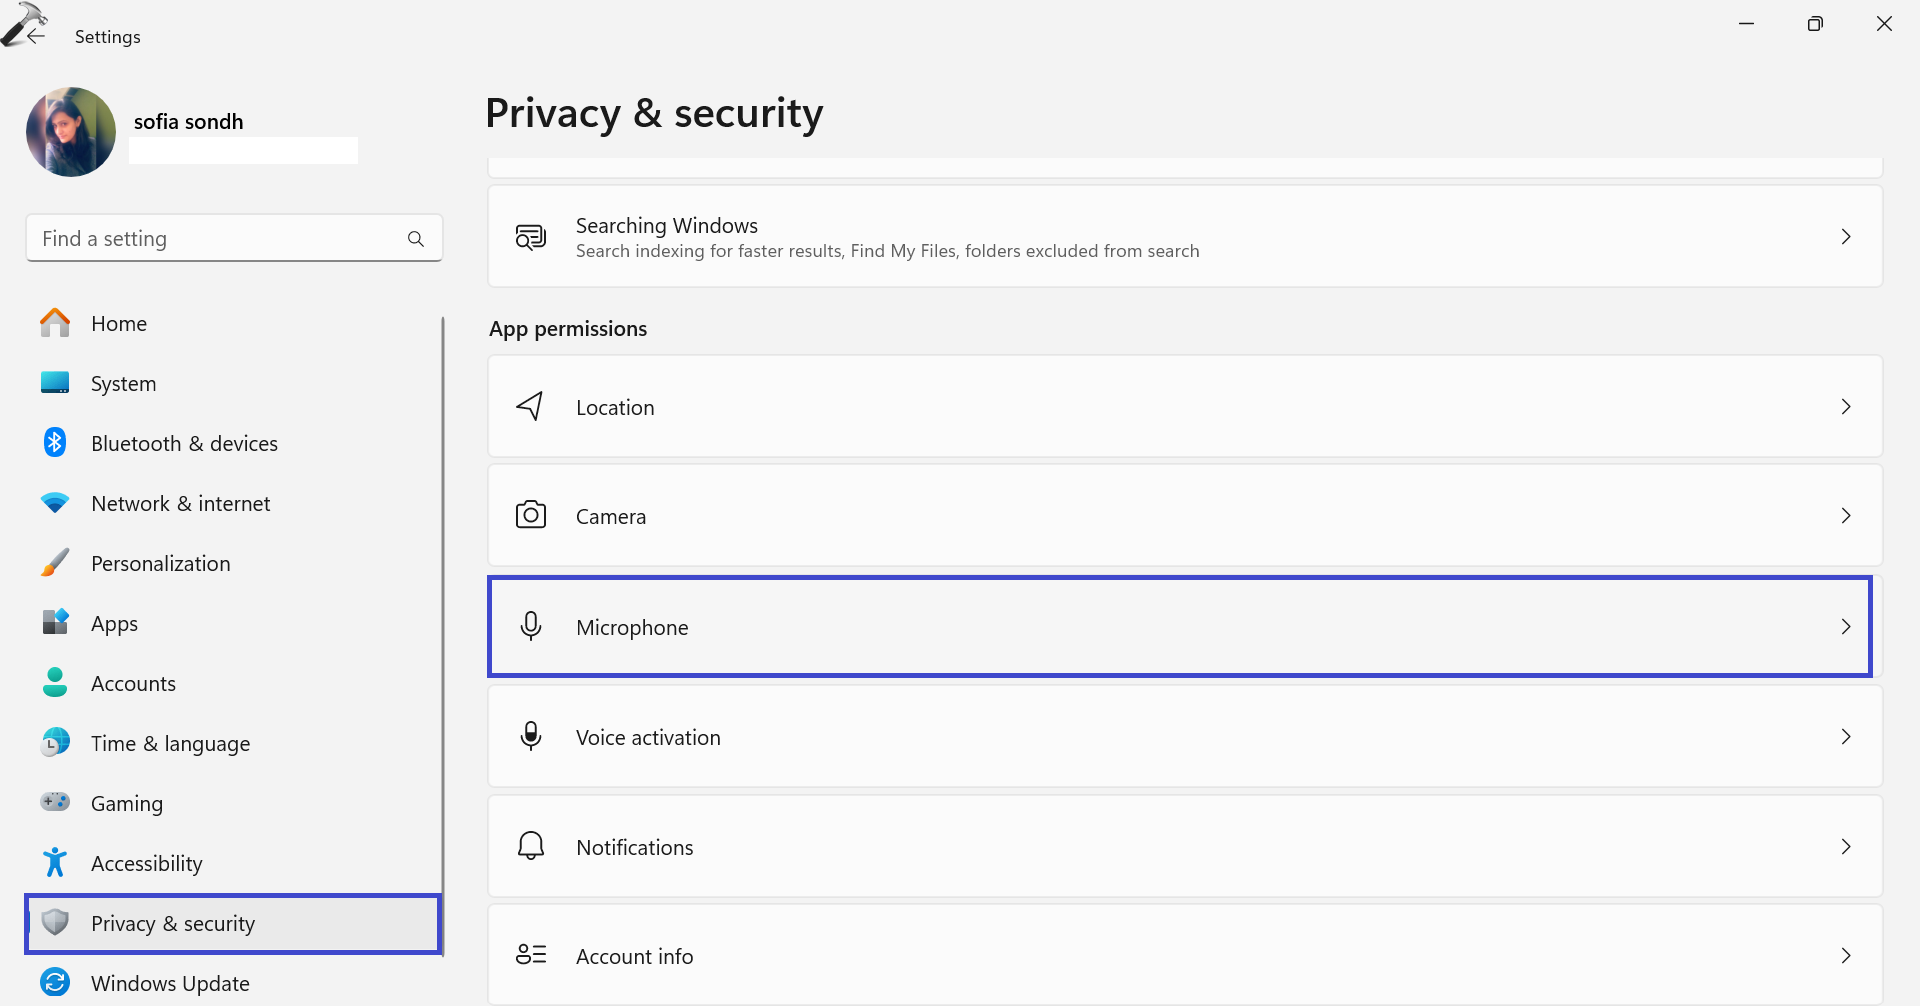
1. Open the Settings App and go to “Privacy & security“.
2. Now, under the App permissions, click on “Microphone“.
3. Check whether the toggle is ON for “Microphone access” or not.
4. Now, toggle on the “Let apps access your microphone” option.
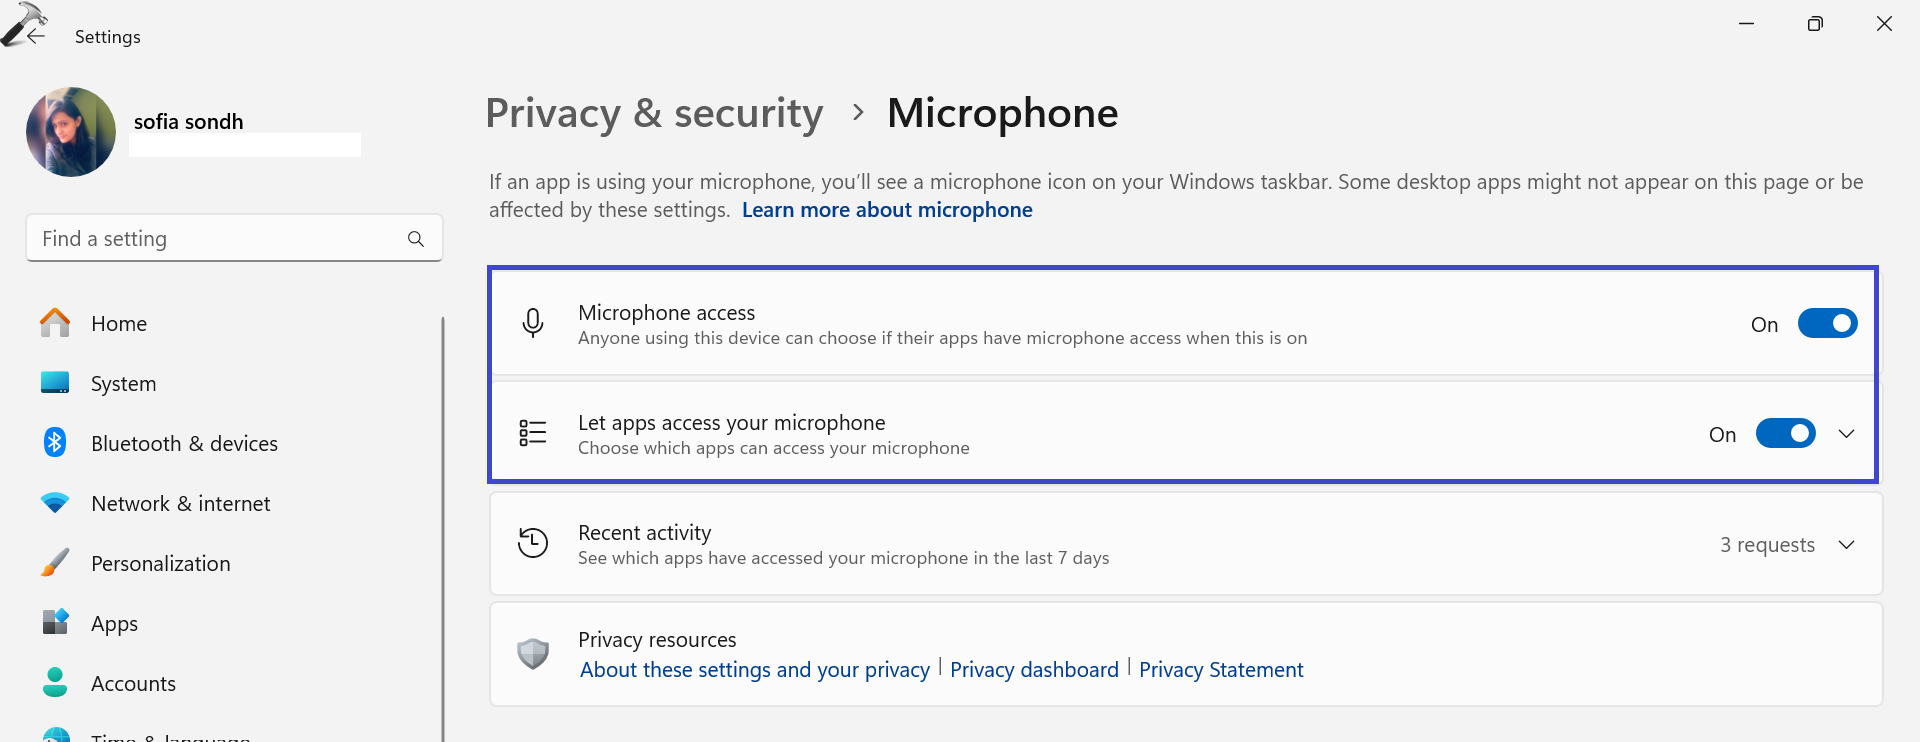
5. Restart the PC and check whether the issue is resolved.
Fix 6: Download the supported language for Voice Access
To make Voice Access work on your computer, you should have the right language pack installed. If it’s not working, it might be because the necessary language is missing.
Microsoft tends to provide a variety of language packs for Windows operating systems, including:
- English (United Kingdom):
Speech.en-GB.1.cab - English (United States):
Speech.en-US.1.cab - Spanish (Spain):
Speech.es-ES.1.cab - French (France):
Speech.fr-FR.1.cab - German (Germany):
Speech.de-DE.1.cab - Chinese (Simplified, China):
Speech.zh-CN.1.cab - Japanese (Japan):
Speech.ja-JP.1.cab - Russian (Russia):
Speech.ru-RU.1.cab - Arabic (Saudi Arabia):
Speech.ar-SA.1.cab - Hindi (India):
Speech.hi-IN.1.cab
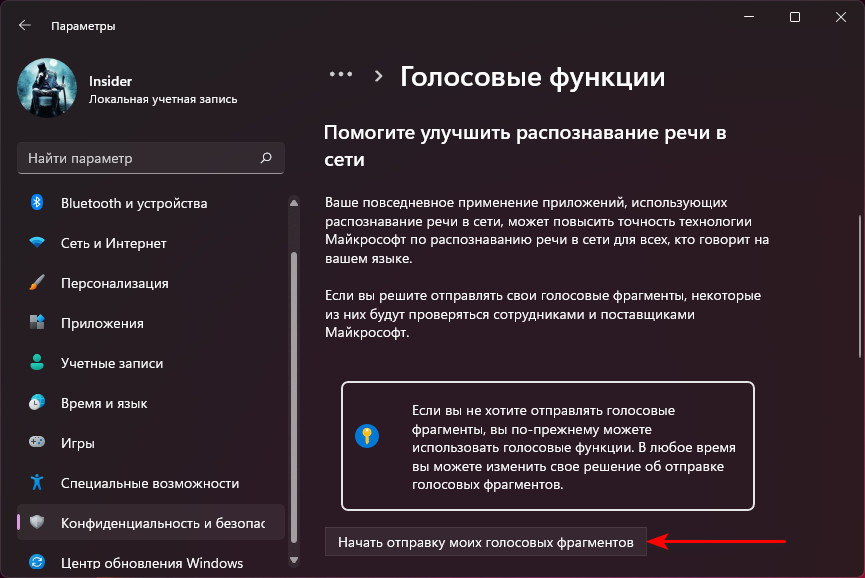
You can install your preferred language using PowerShell. Once the installation is done, close the PowerShell window and check if Voice Access is working properly or not.
That’s It!