
Modern days laptop and PC comes with a built-in face or fingerprint scanner. Windows Biometric Service or WbioSrvc is used to manage this feature and allow client applications to capture, compare, manipulate, as well as store biometric data. The service doesn’t need to gain direct access to any biometric hardware or samples for this. The service is hosted in a privileged SVCHOST process and Enabling this will allow the system to run this data.
Though the service is often useful, some people don’t use it much so they want to keep it disabled. Also, the service sometimes found to cause high CPU along with disk usage. Path to this executable is C:\WINDOWS\system32\svchost.exe -k WbioSvcGroup.
Enable/disable Windows Biometric Service in Windows 10 or 11
Here is how to How to Enable / disable Windows Biometric Service in Windows 11 or 10 –
- Press – Windows + S.
- Type in – services.
- Hit – Enter.
- From the available list, find – Windows Biometric Service.
- Double-click the same.
Enable
- Click the drop-down for – Startup type.
- Choose – Automatic.
- Hit – Start.
Disable
- Again, click the dropdown beside – Startup type.
- Select – Disabled.
- Click – Stop.
- Lastly, hit Apply followed by OK.
That’s all!!
The Windows biometric service gives client applications the ability to capture, compare, manipulate, and store biometric data without gaining direct access to any biometric hardware or samples. The service is hosted in a privileged SVCHOST process.
Default Settings
| Startup type: | Manual |
| Display name: | Windows Biometric Service |
| Service name: | WbioSrvc |
| Service type: | share |
| Error control: | normal |
| Group: | SmartCardGroup |
| Object: | LocalSystem |
| Path: | %SystemRoot%\system32\svchost.exe -k WbioSvcGroup |
| File: | %SystemRoot%\System32\wbiosrvc.dll |
| Registry key: | HKEY_LOCAL_MACHINE\SYSTEM\CurrentControlSet\Services\WbioSrvc |
| Privileges: |
|
Default Behavior
Windows Biometric Service is a Win32 service. In Windows 10 it is starting only if the user, an application or another service starts it. When the Windows Biometric Service is started, it is running as LocalSystem in a shared process of svchost.exe along with other services. If Windows Biometric Service fails to start, the failure details are being recorded into Event Log. Then Windows 10 will start up and notify the user that the WbioSrvc service has failed to start due to the error.
Dependencies
Windows Biometric Service cannot be started under any conditions, if the following services are disabled, deleted or working improperly:
- Credential Manager
- Remote Procedure Call (RPC)
- Windows Driver Foundation — User-mode Driver Framework
Restore Default Startup Configuration of Windows Biometric Service
Before you begin doing this, make sure that all the services on which Windows Biometric Service depends are configured by default and function properly. See the list of dependencies above.
1. Run the Command Prompt as an administrator.
2. Copy the command below, paste it into the command window and press ENTER:
sc config WbioSrvc start= demand
3. Close the command window and restart the computer.
The WbioSrvc service is using the wbiosrvc.dll file that is located in the C:\Windows\System32 directory. If the file is removed or corrupted, read this article to restore its original version from Windows 10 installation media.
The Windows biometric service gives client applications the ability to capture, compare, manipulate, and store biometric data without gaining direct access to any biometric hardware or samples. The service is hosted in a privileged SVCHOST process.
This service also exists in Windows 11 and 8.
Startup Type
| Windows 10 version | Home | Pro | Education | Enterprise |
|---|---|---|---|---|
| 1507 | Manual | Manual | Manual | Manual |
| 1511 | Manual | Manual | Manual | Manual |
| 1607 | Manual | Manual | Manual | Manual |
| 1703 | Manual | Manual | Manual | Manual |
| 1709 | Manual | Manual | Manual | Manual |
| 1803 | Manual | Manual | Manual | Manual |
| 1809 | Manual | Manual | Manual | Manual |
| 1903 | Manual | Manual | Manual | Manual |
| 1909 | Manual | Manual | Manual | Manual |
| 2004 | Manual | Manual | Manual | Manual |
| 20H2 | Manual | Manual | Manual | Manual |
| 21H1 | Manual | Manual | Manual | Manual |
| 21H2 | Manual | Manual | Manual | Manual |
| 22H2 | Manual | Manual | Manual | Manual |
Default Properties
| Display name: | Windows Biometric Service |
| Service name: | WbioSrvc |
| Type: | share |
| Path: | %WinDir%\system32\svchost.exe -k WbioSvcGroup |
| File: | %WinDir%\System32\wbiosrvc.dll |
| Error control: | normal |
| Group: | SmartCardGroup |
| Object: | LocalSystem |
| Privileges: |
|
Default Behavior
The Windows Biometric Service is running as LocalSystem in a shared process of svchost.exe. Other services might run in the same process. If Windows Biometric Service fails to start, the error is logged. Windows 10 startup proceeds, but a message box is displayed informing you that the WbioSrvc service has failed to start.
Dependencies
Windows Biometric Service is unable to start, if at least one of the following services is stopped or disabled:
- Credential Manager
- Remote Procedure Call (RPC)
- Windows Driver Foundation — User-mode Driver Framework
Restore Default Startup Type of Windows Biometric Service
Automated Restore
1. Select your Windows 10 edition and release, and then click on the Download button below.
2. Save the RestoreWindowsBiometricServiceWindows10.bat file to any folder on your hard drive.
3. Right-click the downloaded batch file and select Run as administrator.
4. Restart the computer to save changes.
Note. Make sure that the wbiosrvc.dll file exists in the %WinDir%\System32 folder. If this file is missing you can try to restore it from your Windows 10 installation media.
Yea, though I walk through the valley of the shadow of death, I will fear no evil: for thou art with me; thy rod and thy staff they comfort me.
The Windows Biometric Service (WbioSrvc) gives client applications the ability to capture, compare, manipulate, and store biometric data without gaining direct access to any biometric hardware or samples. The service is hosted in a privileged SVCHOST process.
The service is installed by default and its startup type is Manual.
When the Windows Biometric Service is started in its default configuration, it logs on by using the Local System account.
The Windows Biometric Service is dependent upon the following system components:
- Credential Manager
- Remote Procedure Call (RPC)
- DCOM Server Process Launcher
- RPC Endpoint Mapper
- Windows Driver Foundation–User-Mode Driver Framework
- Plug and Play
- User-Mode Driver Frameworks Platform Driver
Related content
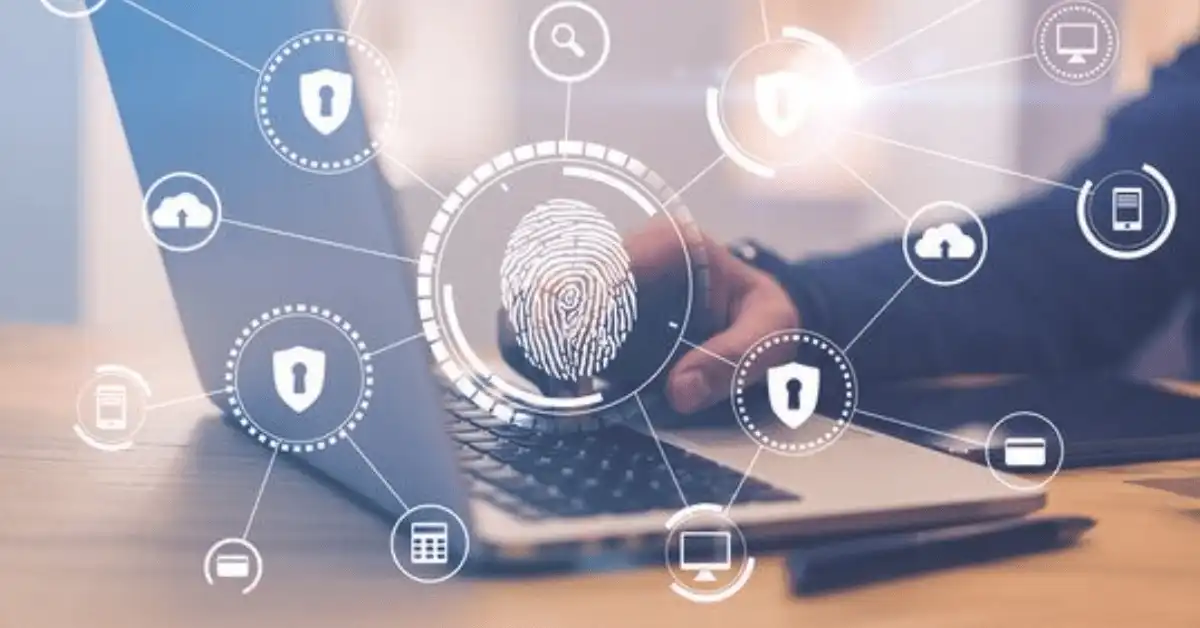
Windows 10 is the latest version of the Operating System series by Microsoft. Windows Hello or Windows biometric service was introduced by Microfiber to provide windows 10 users an alternative way to log in to any of their devices by using fingerprints, Iris Scanners (eye scanner), or facial recognition.
To use those services, one requires to have some hardware equipment like A fingerprint scanner or an Iris Scanner. Here’s what this technology does and what facilities it provides.
Windows Biometric service is called Windows Hello which was introduced by Microsoft to facilitate their users with a more secure way to log in to their various devices, different accounts, online services, applications, and networks with just a scan of a fingerprint, facial recognition, and iris scan.
Other than passwords, fingerprints are considered to be a more user-friendly and more secure, and reliable way to access critical data, private information, or premium services than traditional ways to log in.
Whenever there is a concern regarding breach of Security and compromising the private information of users, an iris scanner or fingerprint scanner provides a more secure way and convenient way to safeguard the data.
Windows Hello provides features that are hard to breach into due to the only way of logging in would be the fingerprint or eye scan of the user.
Windows Hello provides services that let any user authenticate whether it is a non-MS service or MS account that helps Fast Identity Online or FIDO which lets users set a gesture like Iris Scan and Fingerprint Scan which is unique and almost impossible to replicate.
In facial recognition technology, Windows Hello utilizes 3D structured lights to make a model of someone’s face. ‘Hello’ also utilizes anti-spoofing technology that controls people’s success in trying to breach the system by using a fake mask or head to log in.
Default Behaviour
Windows Hello or Biometric service is a Win32 service. Windows Hello runs as a LocalSystem in a shared process of svchost.exe along with other services.
If there is a failure in Starting of Windows Biometric System then all the details regarding the failure are recorded into the Event Log.
After recording the failure report, Windows Hello will let the user aware that the WbioSrvc service has been failed to start due to the error. Windows Biometric Service cannot start under every circumstance, it requires certain specific functions to be enabled, if those are disabled then Biometric Service would not start.
Credential Manager, Remote Procedure Call (RPC), and Windows Driver Foundation – User-Mode Driver Framework, if any of the three are disabled or deleted or not working properly then Windows Hello would not work or start.
Registration to Windows Hello: Windows 10 users can easily set up Windows Hello or Windows Biometric System by going in the Sign In option under the Settings. At the time of the registration, the user has to set up or establish a Facial Scan, a Fingerprint Scan, or an Iris Scan to get started.
Once they have successfully registered in the Windows Hello, users can update, temporarily re-register any of the fingerprint scans or iris scans. After registration, users will be able to access their Microsoft account or core applications or any third-party application that uses API (Application Programming Interface).
Why One should use Windows Hello: Using passwords as a way of login is too traditional and contains a high risk of being compromised, Iris scan or Fingerprint Scan however can never be faked as every user or person has a unique fingerprint.
On the other hand, users all around the world forget passwords too often, in any of the scans, one does not have to remember anything, they just have to scan and they get access to their accounts or files encrypted.
A user wonders, what PC specifications Windows Hello would require or How expensive the setup has to be for them to be able to use the Biometric Service on their Windows 10. Here are the Hardware requirements for the Window Hello services.
It pretty much has no barrier to entry, a user with a Microsoft’s Surface Pro, Microsoft Surface Book, or any other Desktop or Laptop that is equipped with Windows 10 along with a Fingerprint Scanner and Camera can easily take 2D Infrared spectroscopy to have an access to get services provided by the Windows Hello or Windows Biometric Service.
Other compatible devices that can run Windows Hello are HP’s Spectre 13, Dell XPS 9360, and ASUS Transformer Mini version T102HA. Microsoft constantly works on the service they want to provide and develop in Windows Hello by keeping improving by being in touch with device manufacturers.
Microsoft has achieved such excellence in their Windows Hello that it has a false scan accept rate of 0.002 percent meanwhile for facial scans, it goes as low as 0.001 percent for false accept scans. Moreover, Windows Hello introduced and provided another authentication method to their users which is Palm Vein Scanning.
In case a user wants to disable the Windows Biometric Service due to the service using a huge amount of computer RAM and memory, then they can easily do so following these steps.
One can stop the Window Biometric Service by going into Control Panel. After that, the user has to go to All Control Panel Items, after which go to Administrative Tools and then click on the Services.
A new window will pop up when you click on the Services, user has to now find Windows Biometric Service, after finding so, highlight it in the left column, then click the ‘Stop the Service’.
Final Words
This is all the details regarding the Windows Hello or Windows Biometric Service that can provide an extra level of security to your files and devices. It is better than traditional password methods and/is almost impossible to breach into.
Users may need to have Windows 10 on their devices and Windows Hello would take up more computer RAM than any other programs but it is worth using Service due to its protection facilities.
Learn more
Patrick Johnson is a tech enthusiast & blogger; currently living in Florida, United States. He loves to write about Laptop Tips, Guides, configurations, features, and Accessories. Quora is where you will also find him. No matter what questions you have in your mind regarding the laptop, he may already have the answer.