
Well, Microsoft products including Windows 11 need a valid product key or a digital license to activate the product to get regular Windows updates and enjoy the full features. That means If you have downloaded Windows 11 ISO and installed it on your computer, you have 30 days to activate the product. And if you fail to do so some features may be restricted with activate Windows watermark on the desktop. Well if you have a genuine Windows 11 product key or digital license use the same to activate Windows 11. But if you don’t have one, don’t worry here we have a few tricks to remove the evaluation copy watermark on Windows 11 permanently.
Contents
- 1 How to Remove Activate Windows 11 Watermark?
- 1.1 Tweak windows Registry
- 1.2 Notepad Tweak (Running Batch File)
- 1.3 Universal watermark disabler
- 1.4 Disable Windows 11 Tips
- 1.5 Remove Windows 11 Unsupported Hardware Watermark
How to Remove Activate Windows 11 Watermark?
The simple and easy way to remove the active Windows 11 watermark is to buy a legitimate Windows 11 license copy and use the product key to activate Windows 11. If you have a Free upgrade to Windows 11 from Windows 10 enter the Windows 10 product probably active the Windows 11 copy and remove the active Windows watermark.
- Press Windows key + x then select settings,
- Go to the system then activation and click on change, next to the change product key section,
- In the enter product key window, insert the product key and click next.
- Select the active option and reboot your system, That’s all your Windows 11 is activated.
Remove the active windows watermark without the product key
Well if you don’t have a Genuine product key or digital license then you can apply the following tips to remove the active Windows 11 watermark permanently.
Tweak windows Registry
You can tweak the Windows registry to hide or remove the active Windows watermark on Windows 11, here is
- Press the Windows key + R, type regedit, and click ok to open the Windows registry editor,
- Now expand and navigate to Computer\HKEY_LOCAL_MACHINE\SOFTWARE\Microsoft\WindowsNT\CurrentVersion\SoftwareProtectionPlatform\Activation
- Next, double-click on the Manual then changes the value data from 0 to 1 after that click on Ok.
- Finally, click ok to save changes.
One more registry tweak:
- Open the registry editor and navigate to Computer\HKEY_CURRENT_USER\Control Panel\Desktop
- Double-click on PaintDesktopVersion, then Change the value data to 0 and click on Ok.
Now restart your PC and check if the active Windows watermark is gone.
Notepad Tweak (Running Batch File)
Also, you can run a batch file to Remove Active Windows 11 Watermark permanently.
- Press the Windows key + S type notepad.exe and hit enter key to open Notepad,
- Copy and paste the following code on the notepad and press the ctrl key + S to save the same.
@echo off
taskkill /F /IM explorer.exe
explorer.exe
exit
- Name the new file activation.bat (make sure to give .bat extension) and choose All Files from the Save as type drop-down menu.
- Now locate the file (activation.bat) right-click on it select run as administrator,
- A command prompt window prompt and close automatically, restart your PC and check if the active Windows watermark is gone.
Universal watermark disabler
Universal watermark disabler is a popular third-party utility help remove active Windows watermark on Windows 11 and 10. It’s simple and easy to use, with a few clicks you can remove the active Windows 11 watermark permanently.
- First, download the Universal Watermark Disabler | Download Link
- Extract the .zip file to your desired location, right-click on the UWD.exe file and choose Run as administrator.
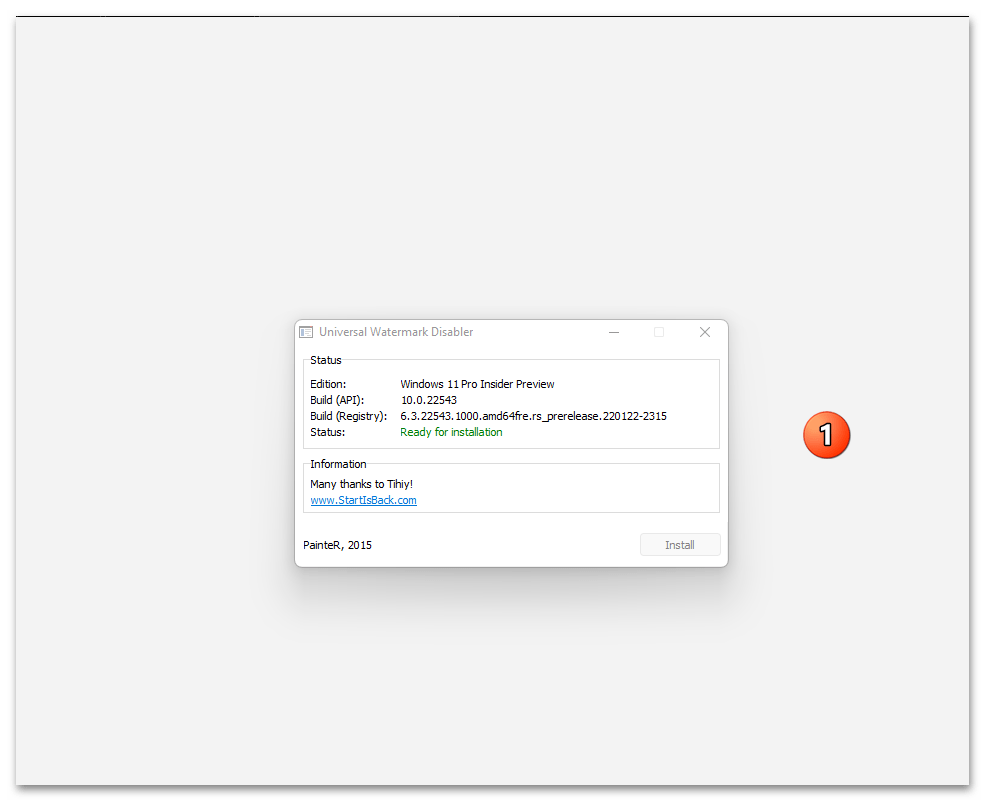
- Click yes if the UAC dialog box prompts, and click on Install to continue with the installation process.
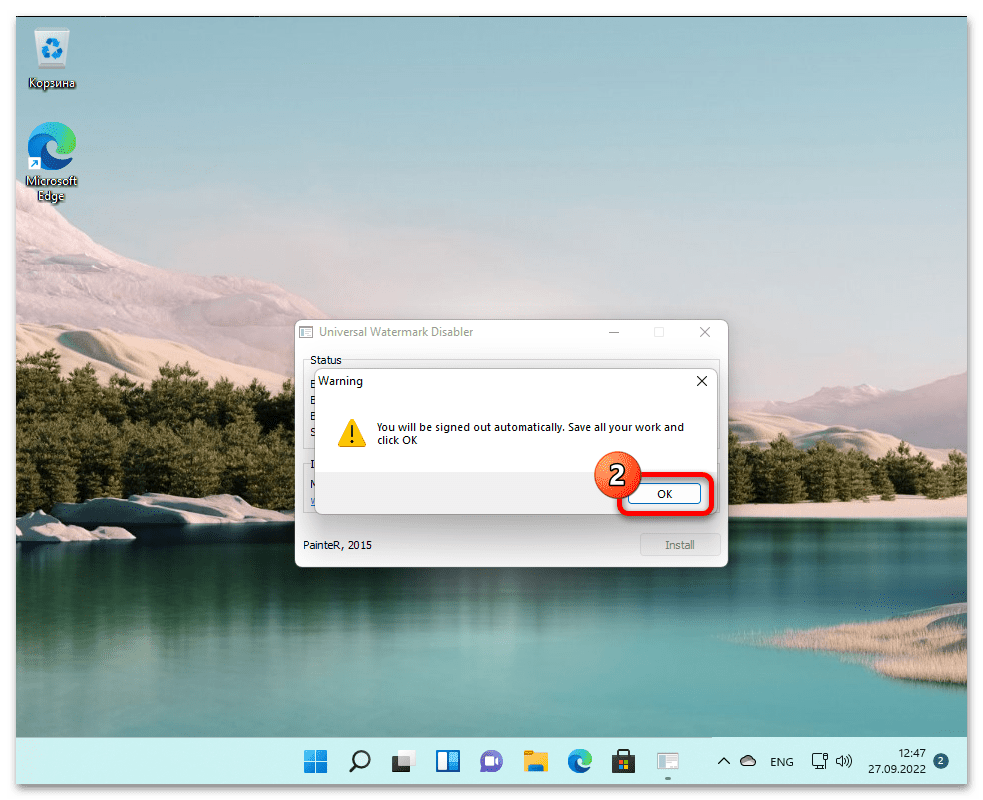
- You will receive a warning prompt, click Ok. and you are done, universal watermark disabler for Windows 11 should remove the watermark from your Windows computer.
- Restart your computer and check you should no longer have the evaluation copy watermark on your system.
Disable Windows 11 Tips
Here is another quick hack that doesn’t guarantee the removal of the watermark, but is certainly worth a try.
- Open settings using the Windows key + I
- Go to System then Notifications and scroll down to toggle OFF, Offer suggestions on how I can set up my device and Get tips and suggestions when I use Windows
Remove Windows 11 Unsupported Hardware Watermark
The above tips help remove the Active Windows 11 watermark, but if you are getting Windows 11 unsupported hardware watermark you can remove the same following registry tweak.
- Access the Registry Editor by typing ‘Regedit’ in the Windows 11 search box and hitting OK to open it.
- Here expand and navigate to HKEY_CURRENT_USER then Control Panel
- Find and select the entry called UnsupportedHardwareNotificationCache.
- On the right-hand side look SV2 DWORD key, double-click on it and Change the SV2 DWORD value from 1 to 0.
Save, exit, and then restart your PC.
Also read:
- Remove Activate Windows 10 watermark Permanently [Updated]
- What is Active hours on Windows 10 and how to configure Active hours
- Solved: Slow Internet connection problem on Windows 11
- Best Free Data Recovery Software for Windows 11
- Fix Error One or More Network Protocols are Missing on This Computer
Способ 1: Переход на стабильную сборку Win 11
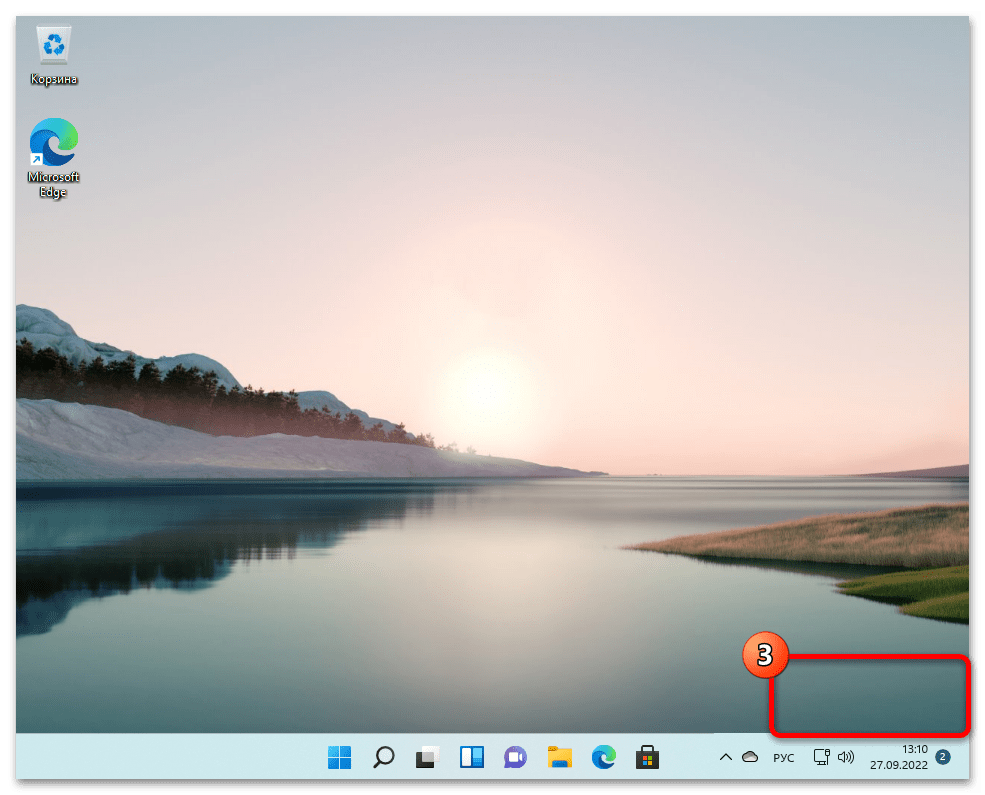
Водяной знак «Пробная версия. Build…», который отображается в правом нижнем углу Рабочего стола Виндовс 11, в действительности не является признаком какой-либо программной неисправности или проблемы, а лишь свидетельствует о том, что на ПК/ноутбуке установлена предварительная (тестовая) сборка операционной системы, предоставляемая всем участникам программы Windows Insider Preview (Программа предварительной оценки Виндовс) через канал «Dev» (а также некоторых ранних сборок из канала «Beta»).
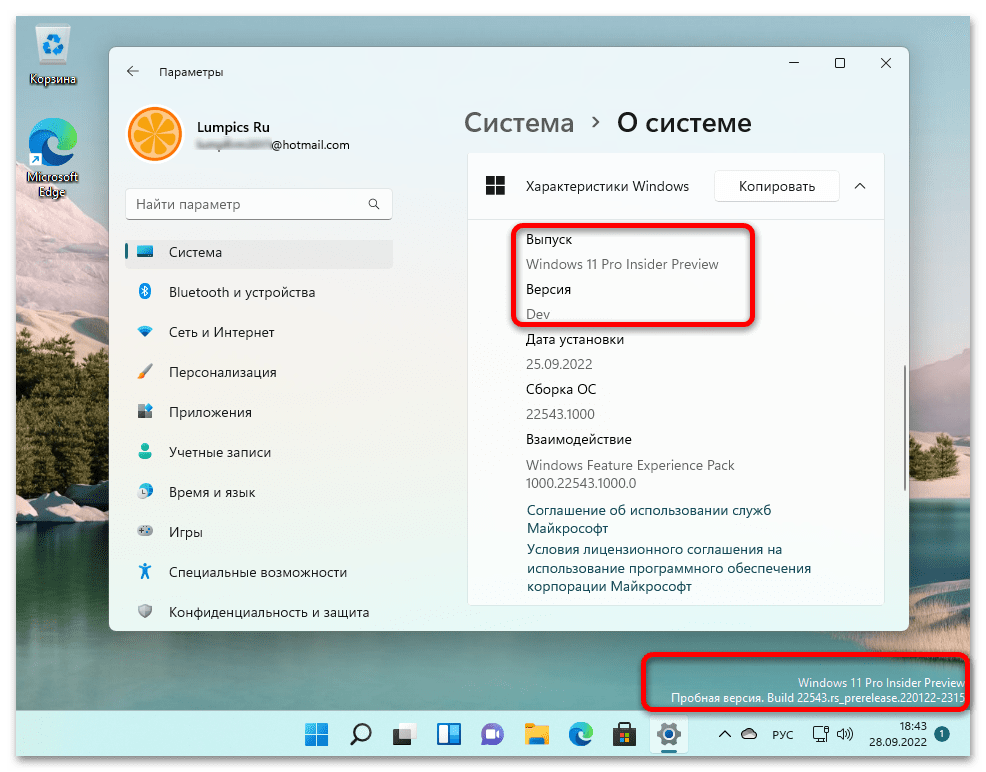
Таким образом, чтобы убрать рассматриваемую надпись-особенность инсайдерских сборок Windows 11 вместе с её, если можно так выразиться, первопричиной, следует выйти из программы предварительной оценки ОС Microsoft и перейти на использование стабильных сборок операционки:
Подробнее: Как выйти из программы Windows Insider Preview и перейти на стабильную версию Win 11
Способ 2: Universal Watermark Disabler
Очистка Рабочего стола Виндовс 11 от обязательного для тестовых сборок ОС водяного знака «Пробная версия…» без перехода на её стабильную версию возможна единственным (во всяком случае из известных на момент написания этой статьи) методом – при помощи софта-твикера Universal Watermark Disabler (UWD). Это очень компактное, доступное и простое в применении, но при этом весьма эффективное в деле удаления рассматриваемого вотемарка решение.
Скачать Universal Watermark Disabler с официального сайта
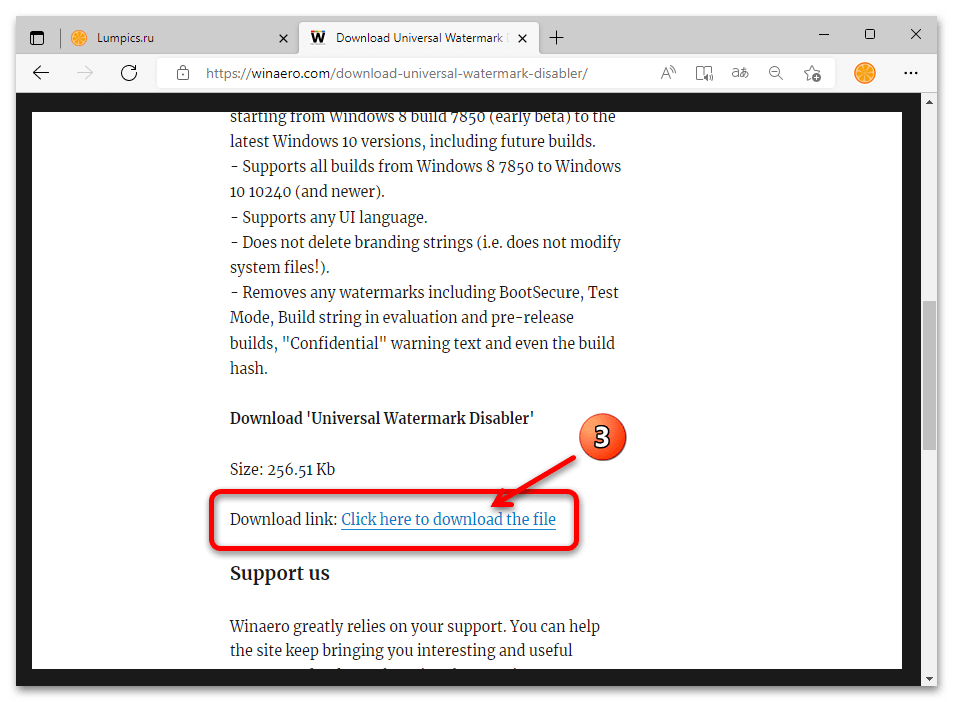
- По ссылке выше переходим на страницу загрузки Universal Watermark Disabler на официальном сайте разработчика утилиты. Пролистываем веб-страницу,

кликаем по расположенной под описанием UWD и обозначенной «Download link:» ссылке,

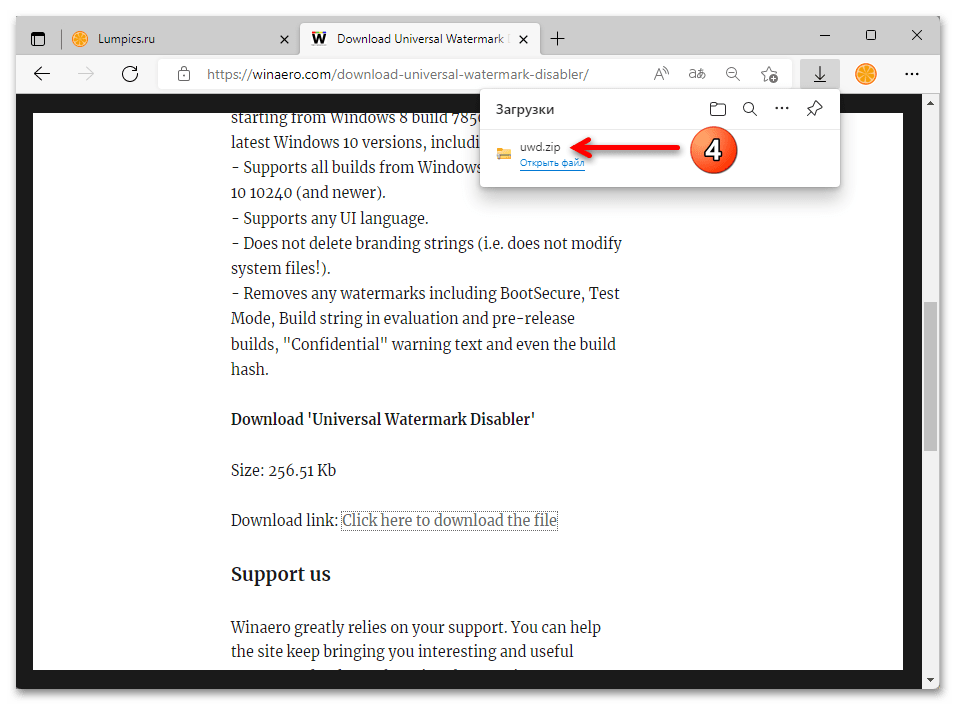
скачиваем zip-файл софта на диск компьютера.
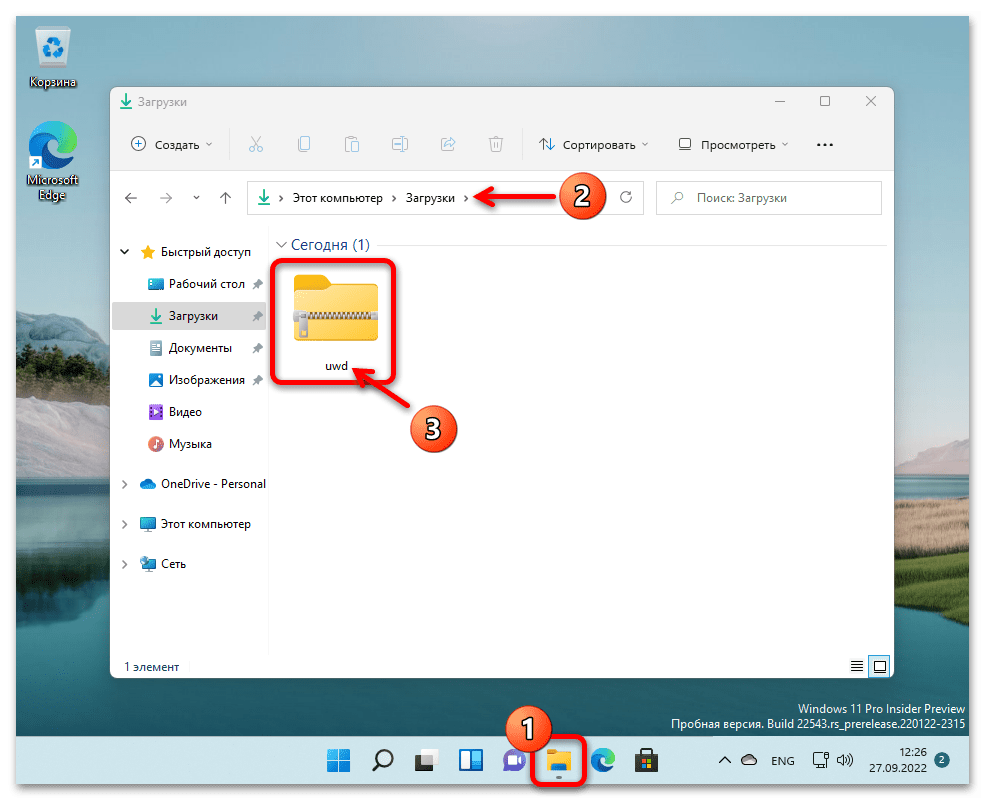
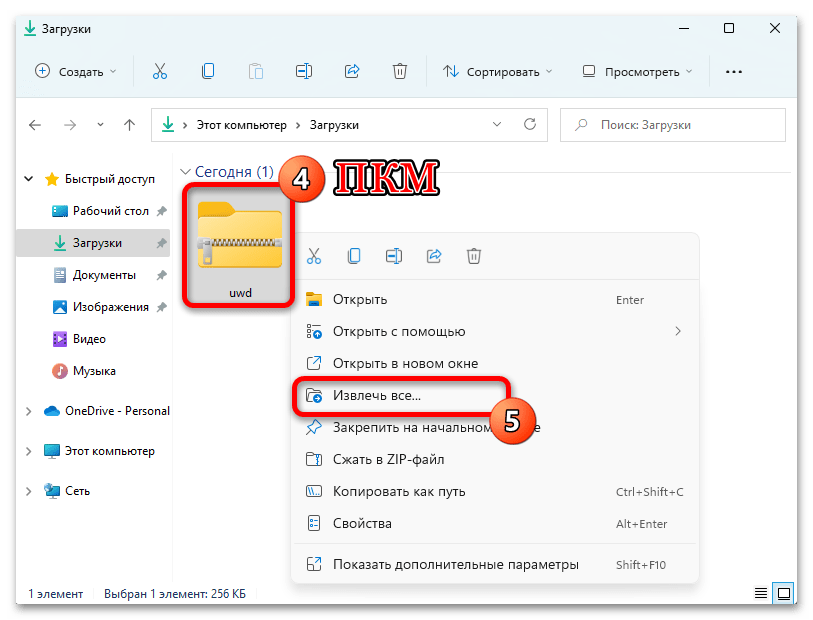
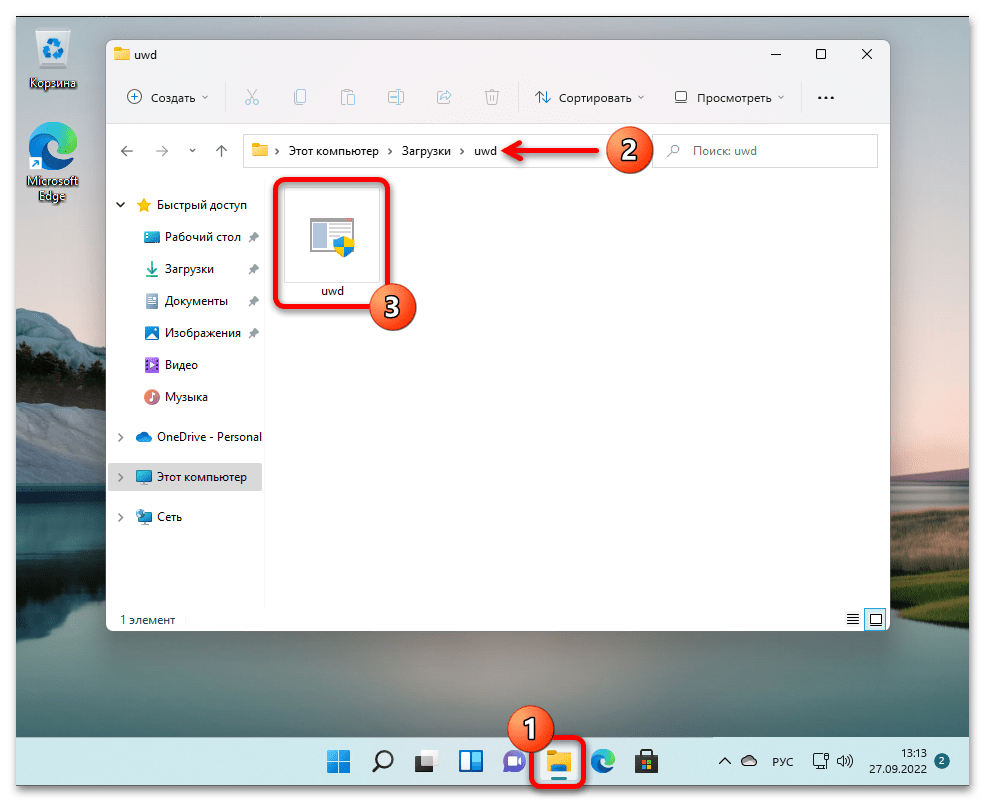
- Открываем содержащий скачанный архив uwd.zip каталог в Проводнике Win 11,

извлекаем данные из пакета (ПКМ по значку файла – «Извлечь всё…» в открывшемся меню – «Извлечь»).
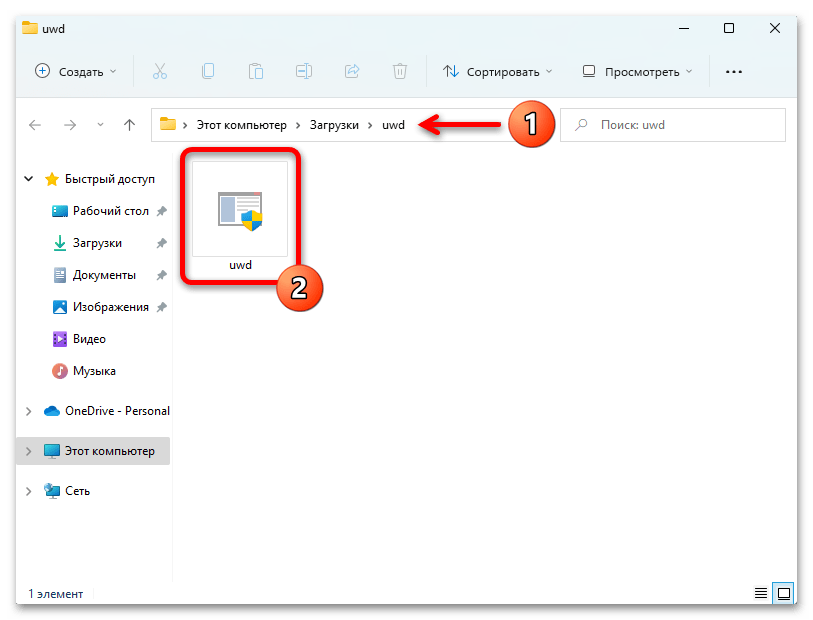
- Перемещаемся в полученную по результату разархивирования папку, запускаем из неё исполняемый файл uwd.exe,

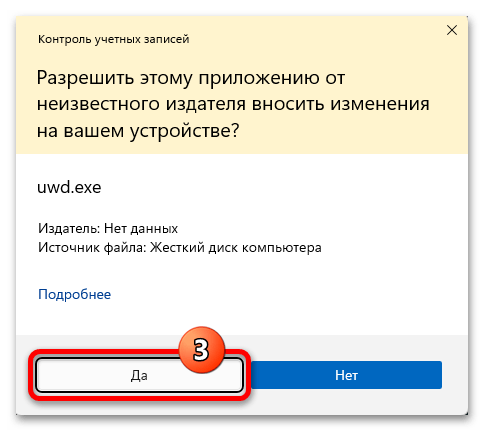
щёлкаем «Да» в появившемся окне с запросом от системного модуля «Контроль учётных записей».
- Кликаем «Install» в первом открывшемся и, по сути, единственном окошке Universal Watermark Disabler.
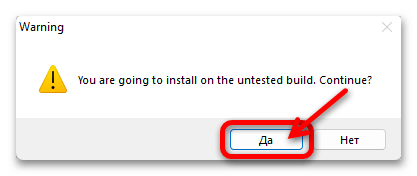
- Если появится запрос «You are going to install on untested build. Continue?», щёлкаем под ним «Да».
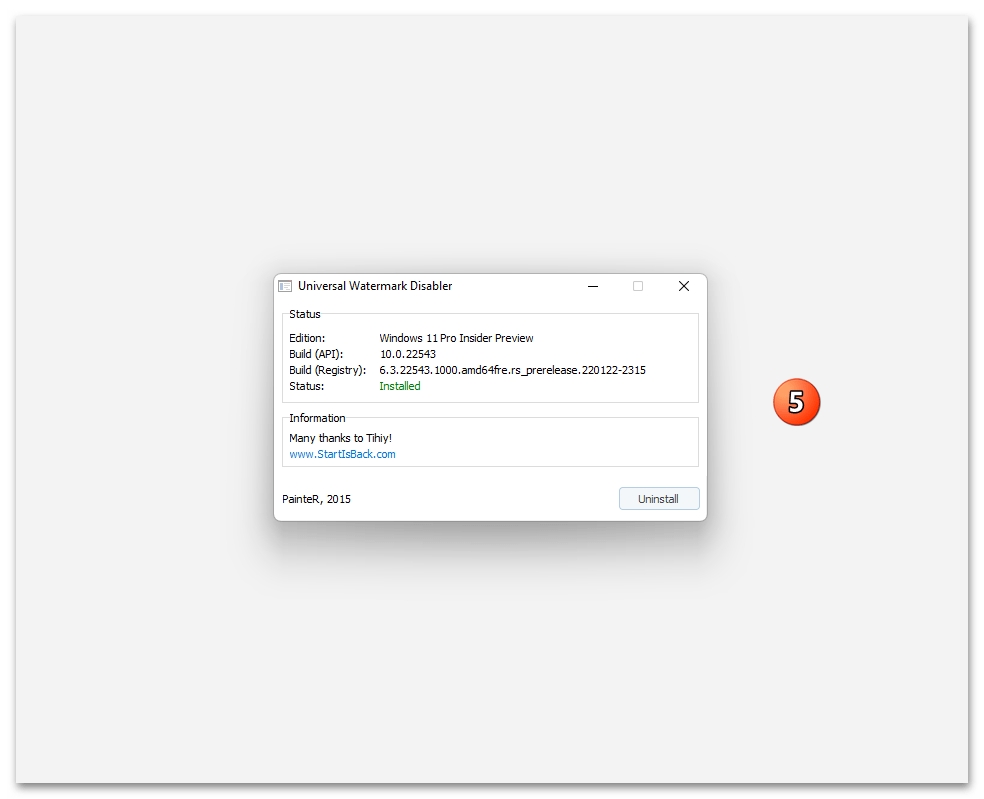
- В результате инициации установки твика ОС на шаге выше интерфейс Windоws 11 на пару секунд станет недоступным,

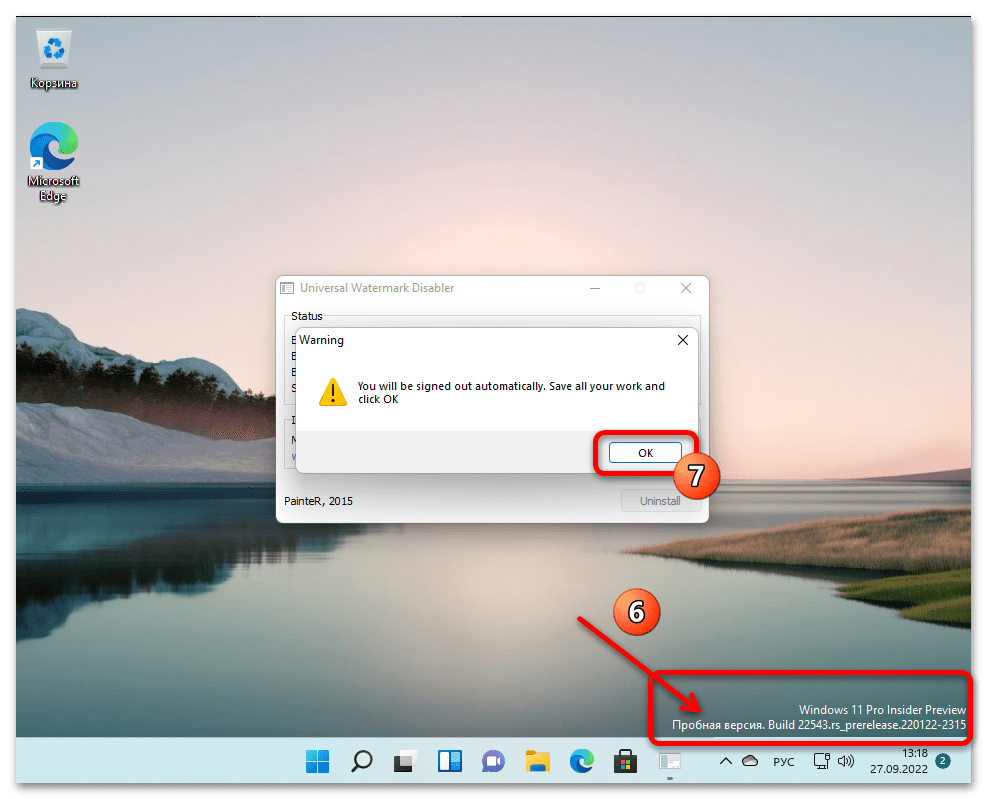
затем появится окошко UWD с констатацией необходимости выйти из системы – щёлкаем в нём «ОК». (К слову, эффект от работы утилиты на этом этапе уже есть – вотемарка «Пробная версия…» на Рабочем столе не наблюдается).
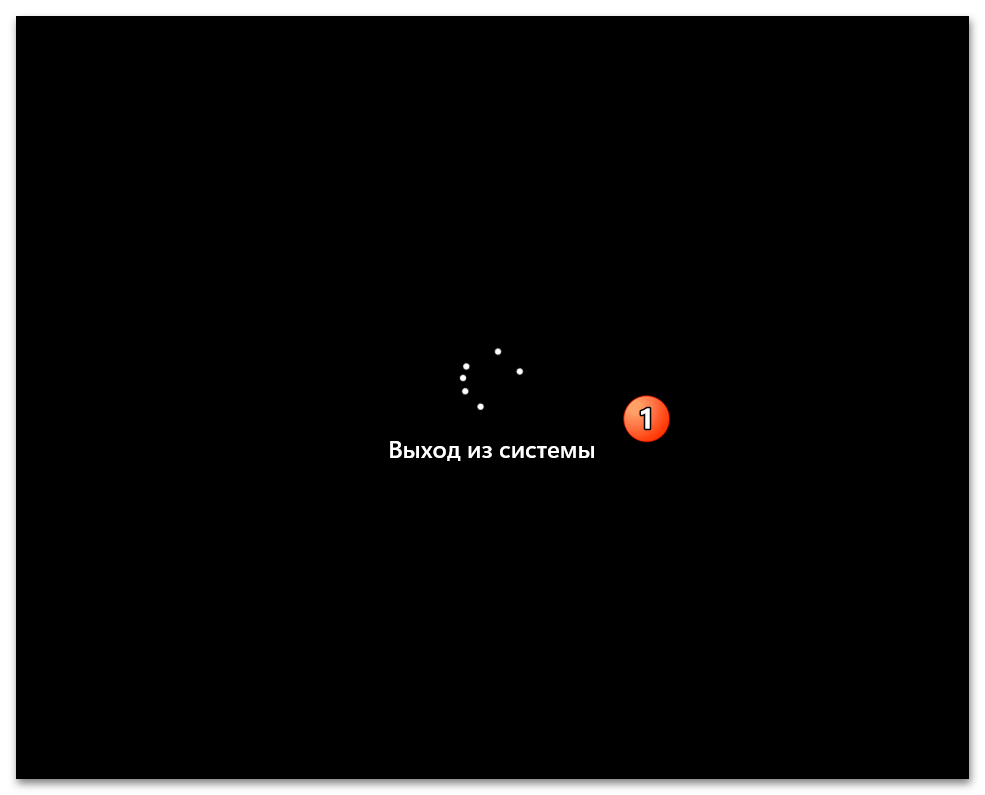
- По завершении осуществляемого далее автоматического выхода из операционной системы

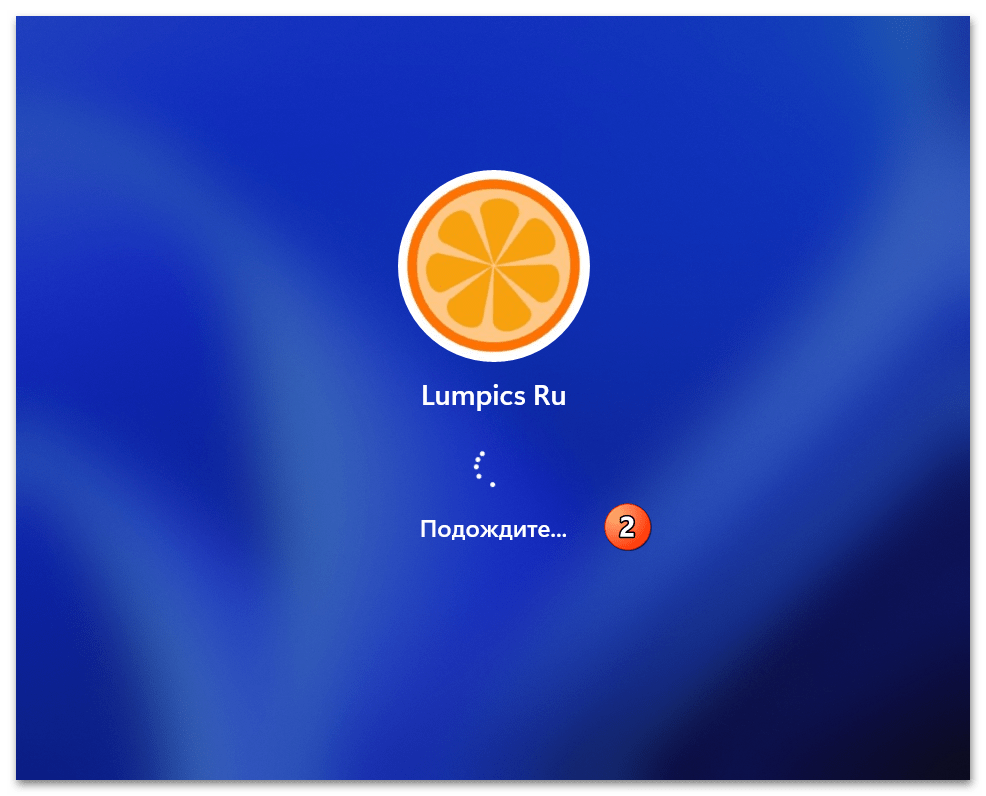
и последующей авторизации в ней

решение задачи отключения надписи «Пробная версия…» на Рабочем столе Виндовс 11 через Universal Watermark Disabler считается полностью завершённым.
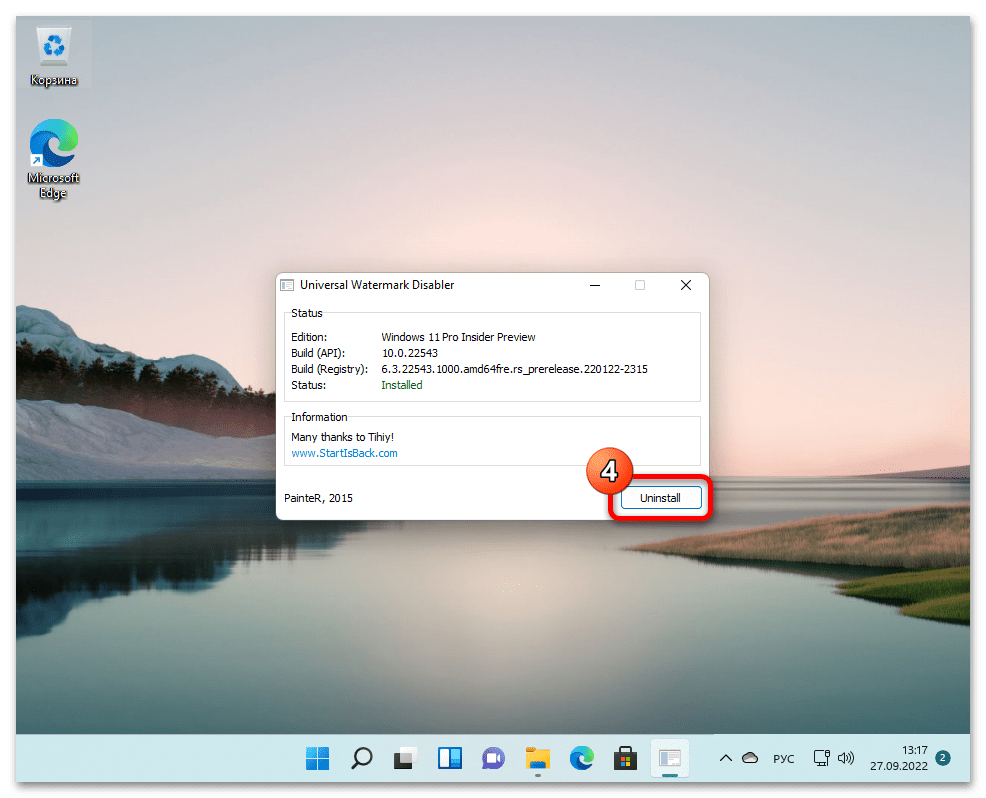
- С целью отмены внесённых UWD в интерфейс Win 11 изменений, если такая необходимость возникнет, повторно запускаем исполняемый файл утилиты,

щёлкаем «Uninstall» в её окошке,

немного ожидаем

и затем выполняем выход/вход в операционную систему.


Наша группа в TelegramПолезные советы и помощь
Readers help support Windows Report. We may get a commission if you buy through our links.
Read our disclosure page to find out how can you help Windows Report sustain the editorial team. Read more
Are you having trouble with the annoying watermark on the bottom right side of your Windows 11 screen? And you don’t know how to remove it? The Universal Watermark Disabler tool comes to your rescue.
The Universal Watermark Disabler for Windows 11 is a tool that can assist in removing the annoying watermark on the bottom-right side of the Windows screen that is interfering with your wallpaper and overall experience.
Without any further ado, let’s get started.
How do I remove the watermark from Windows 11?
1. Remove the watermark using Universal Watermark Disabler
- Download the Universal Watermark Remover.
- After it’s downloaded, right-click on the folder and select Extract all.

- Choose the desired location, and click on Extract.

- Open the extracted folder, then right-click on the UWD.exe file and choose Run as administrator.

- In the UAC dialog box, click on Yes.

- The Universal Watermark Disabler will launch. Click on Install to continue with the installation process.

- Click Yes in the confirmation prompt.

- After the software is installed, click OK to sign out of the user account.

- When you sign back in, the Activate Windows watermark will be removed.


The simplest way to remove the Evaluation Copy watermark in Windows 11 is to use the Universal Watermark Disabler, a third-party freeware application that removes all kinds of watermarks.
But before you begin, we would request that you create a backup of all the data as you will be replacing the system files basebrd.dll.mui and shell32.dll.mui, and the process can sometimes cause instability.
Also, keep in mind that replacing system files regularly can cause your PC to break, so don’t make it a habit.
2. Remove watermark using the registry editor
- Press Windows + R to open Run, type regedit, and hit Enter.
- Click Yes in the UAC prompt.
- In the address bar, paste the following path and hit Enter:
Computer\HKEY_CURRENT_USER\Control Panel\Desktop - Locate and double-click on PaintDesktopVersion from the entries on the right.

- Change the Value data to 0 and click on OK.

In case you don’t prefer using a third-party app like Universal Watermark Disabler in Windows 11, modifying the Registry will help. But make sure not to change any values other than what’s listed here.
- Windows 11 Shutdown After Inactivity: 4 Ways to Stop it
- Windows Shuts Down Instead of Restarting: 4 Ways to Fix it
3. Remove the watermark using Ease Of Access Settings
- Press Windows + S to open the Search menu, enter Control Panel in the text field, and click on the relevant search result.

- Click on Ease of Access here.

- Click Ease of Access Center.

- Select the Make the computer easier to see option.
- Tick the checkbox for Remove background images (where applicable), and click on OK to save the changes.


After this step, you shouldn’t find the watermark on your desktop, and the entire desktop will turn black.
That’s all! You now know all the ways to remove watermarks in Windows 11, along with using the Universal Watermark Disabler tool.
Also, find out how to remove watermarks in Microsoft Word. If you know of any other methods or have a query, do drop a comment below.
Abdul Moiz
Abdul Moiz loves technology, fashion, photography, and business.
His first love is technology and he loves talking about it. How does he chill? You are most likely to catch him traveling or watching tech videos.
If you have installed and used Windows 11, then you have probably experienced the “This copy of Windows is not genuine” and “Evaluation copy” on your screen. These are notifications that are harmless, however, can be annoying.

To remove the notification, there are two ways to remove it.
- There is the option to activate your Windows 11
- Or you are going to fix the error by changing the system files.
Table of Contents

Like there are numerous ways to activate Windows 10 as active Windows 10 without a product key, using Activation Key TXT, using Generic Product keys, or other activators; the same goes with Windows 11. Numerous ways are there to activate the OS, and here are some of them.
- Use batch file for Windows 11
- Activate Windows 11 with Registry editor
- Remove with third party application
So, without further wasting time, let’s start the operations.
Related Topic: How to fix Windows 10 Activation Error 0x803f7001?
1- Use a Batch file to remove the watermark
Start the operation by opening your Notepad from the Start menu. Once opened, you are going to paste all the commands below to your Notepad. This command is going to remove the watermark of your Windows 11. But you will need to save it first.
To save it, you are going to click on File at the top and click on Save as. Make sure you are going to save it with the .bat extension. The name of the file can be anything that you want but the extension should be only .bat.
@echo off
taskkill /F /IM explorer.exe
explorer.exe
exitNow that you have created your new notepad file to a file with a .bat extension, you are going to exit the file. Right-click on the file and run the file as administrator. And this is one of the methods to remove the watermark from Windows 11.
2- Remove the watermark on Windows 11 with the registry editor
Begin the operation by opening RUN from the Start menu. Inside the RUN, you are going to type “Regedit” and press Enter.
Here you are going to navigate and find “Computer\HKEY_CURRENT_USER\Control Panel\Desktop”. Once found, you are going to select it and change the value from 1 to 0.
There are no further steps, as this is enough. Exit the registry editor and you will find the watermark removed. If you find both methods above challenging then you can use third-party applications for the purpose too. We have provided the method to use third-party applications for this purpose.
3- Try Universal Watermark Disabler
Users have tried KMSpico for activating earlier versions of Windows OS (like Windows 10, Windows 8, and Windows 7), and can be also used on Windows 11. However; only for removing the watermark, you can use the Universal watermark disabler.
The Universal watermark disabler won’t activate your Windows, as it is only for removing the watermark. So, start the procedure by downloading the tool.
Click here to download the Universal watermark disabler.
Once downloaded then you are going to use a third-party application such as WinRAR to extract all the files inside it. Then you are going to double click on the setup files and run it.

In the first window, you will click on the Install button.

Here you are going to experience the warning window that will be something like “You are going to install on the untested build. Continue?” and you are going to click on Yes.

You will be asked “you will be signed out automatically. Save all your work and click on OK”, and click on OK. Now you are going to restart your Windows 11, on the start you will notice that the watermark is removed.
Related Topic: Download KMSpico Windows Activator for Free
System requirement watermark removed on Windows 11
While you download windows 11 for your system, you will notice something specific in the system requirement. You will need Secure boot and TPM features to run Windows 11. If you don’t know either your system has the feature or not then you can use the Windows Compatibility tool for checking.
If you have the tool then you can need to enable (TPM & Secure boot) it, else there are ways to bypass it. Here is one of the ways to bypass TPM and Secure boot while installing Windows 11.
As you can see, you will find a way to bypass the phase; however, you won’t be able to remove the “system requirement not met”, if you don’t follow this method.

For this purpose, you are going to run the registry editor. Inside the registry editor, you are going to find “HKEY_CURRENT_USER”. Select it and you will find ControlPanel, inside which Unsupported Hardware Notification Cache is present.
Select the registry, right-click on it, and select the Modify option.
Now select SV2DWORD and change the value from 1 to 0.
Give your system a restart and you have removed the “system requirement not met” watermark from Windows 11.
NOTE: Users who can’t find the Unsupported Hardware Notification Cache inside the Control Panel folder will need to right-click and select NEW > Keypath. Once created, you are going to name it “Unsupported Hardware Notification Cache” and then change its value to 0.
These were the methods to remove Windows 11 watermarks that includes both activation and system requirement. If you find any kind of issue, during or after the installation then comment down. We will get to you as soon as possible.
How to Remove Windows 11 Watermark: A Comprehensive Guide
Windows 11 has brought a refreshing wave of design and functionality to the traditional Windows experience. However, many users encounter a persistent watermark on their desktop that reads «Activate Windows» or «Windows is not activated» when they’re using a non-activated version of the operating system. This watermark can be a distraction, particularly for users who may not want the annoying visual reminder of an unactivated version. While the best long-term solution is indeed to purchase a legitimate license, there are methods that people explore to temporarily hide or remove this watermark. In this article, we’ll thoroughly discuss how to remove the Windows 11 watermark, considering alternatives, the implications of each method, and the importance of adhering to software licensing agreements.
Understanding the Watermark
The Windows watermark typically appears in the lower right corner of the screen, indicating that the operating system has not been activated with a valid product key. This is a common occurrence in beta versions or when users install an unofficial copy of Windows. The watermark serves as a reminder and safeguard against piracy, encouraging users to purchase a legitimate license to enjoy the full range of features and functionality.
Risks of Using Non-Activated Windows
Before diving into methods to remove the watermark, it is essential to understand the risks associated with using a non-activated version of Windows 11:
-
Limited Features: Some features are restricted or limited until the operating system is activated. Users may miss out on useful network and personalization options that enhance the overall experience.
-
Security Risks: Non-activated versions may be more susceptible to security vulnerabilities. They may not receive crucial security updates promptly, putting your system at risk.
-
Legal Implications: Using a non-activated version of Windows is a violation of Microsoft’s software licensing terms. This can lead to legal repercussions, fines, or other actions taken by Microsoft against users.
Temporary Methods to Hide or Remove the Watermark
If you are unable or unwilling to activate Windows 11 for any reason, there are methods that you can use to temporarily hide the watermark. However, keep in mind that these solutions can involve risks, as they may violate Microsoft’s terms of service.
Method 1: Change the Registry Editor Settings
One way to hide the watermark without activating Windows 11 involves editing the Windows Registry. Here’s how to do it:
-
Open the Registry Editor:
- Press
Windows + Rto open the Run dialog. - Type
regeditand press Enter. - If prompted, click
Yesto allow Registry Editor to make changes.
- Press
-
Navigate to the Correct Key:
- Go to
HKEY_CURRENT_USERControl PanelDesktop.
- Go to
-
Modify the Image Setting:
- In the right pane, look for a string value named
PaintDesktopVersion. - Double-click it and change its value from
1to0.
- In the right pane, look for a string value named
-
Close the Registry Editor:
- Close the Registry Editor and restart your computer to apply the changes.
This should temporarily hide the watermark. However, it’s crucial to remember that changes in the Registry can have unforeseen consequences; always proceed with caution and ensure that you have backups if necessary.
Method 2: Use Display Settings
In some cases, changing screen resolution or display settings can also obscure or minimize the watermark. Here’s how to adjust those settings:
-
Right-Click on the Desktop:
- Choose
Display settingsfrom the context menu.
- Choose
-
Adjust Resolution:
- Experiment with different display resolutions. Keep in mind that lowering the resolution may make the watermark less noticeable.
-
Change Scaling Settings:
- You can also experiment with display scaling options in the same settings menu. Depending on your display, increased scaling may push the watermark out of the noticeable view.
Method 3: Use Third-Party Software
Various third-party tools claim to hide or remove the watermark. These tools vary in effectiveness and reliability. Some popular options include:
-
Windows 11 Watermark Remover: This tool is designed to specifically target watermarks in Windows 11. However, it’s imperative to use such software cautiously because they can inadvertently compromise the system’s security or stability.
-
Customization Tools: Some customization software also allows for the modification of elements within the operating system, including the watermark. Examples include StartIsBack or Classic Shell, but user discretion is advised, as utilizing third-party tools can violate licensing agreements.
The Best Long-Term Solution: Activating Windows 11
The best way to permanently remove the watermark and gain access to all Windows 11 features is to purchase a legitimate license. Microsoft’s operating system offers several avenues for activation:
Purchasing a Product Key
Users can buy a legitimate product key directly from the Microsoft website or from authorized retailers. When you receive the key, follow these steps to activate Windows 11:
- Open Settings: Press
Windows + Ito open Settings. - Select ‘Update & Security’: Navigate to this option.
- Choose ‘Activation’: Find the activation section on the left pane.
- Enter the Product Key: Click on ‘Change product key’ and enter your genuine key.
Following these steps correctly will remove the watermark permanently, unlocking all features and ensuring your operating system runs securely and efficiently.
Why You Should Avoid Unauthorized Methods
While it may be tempting to use unauthorized methods to remove the watermark, consider the following reasons:
-
Malware Risks: Some third-party tools claiming to remove watermarks may contain malware or adware. This could severely compromise the integrity and security of your system.
-
Violation of Terms: Using hacks or “cracks” is against Microsoft’s terms of service and could lead to consequences, including software bans or legal actions.
-
Compromised Functionality: Often, methods used to modify software can significantly impact system stability. This includes issues with updates, performance glitches, and more.
Conclusion
In conclusion, while it’s possible to remove the Windows 11 watermark temporarily using various methods, it’s crucial to recognize the potential implications and vulnerabilities associated with using unauthenticated or non-activated versions of the operating system. The most prudent course of action is to invest in a legitimate Windows 11 license, which not only removes the watermark but also secures a stable and safe computing environment. Always prioritize the integrity of your system and comply with licensing agreements for a seamless user experience. Don’t compromise on your operating system’s security; finding the right path forward through an authorized activation will serve you better in the long run.
By understanding both the risks and solutions surrounding the Windows 11 watermark, users can make informed decisions regarding their operating systems. If you’re still considering the unauthorized routes, think twice about the potential impacts — in the end, the investment in genuine software will almost always be worth it for both performance and peace of mind.