
Quick Start
Try Vue Online
-
To quickly get a taste of Vue, you can try it directly in our Playground.
-
If you prefer a plain HTML setup without any build steps, you can use this JSFiddle as your starting point.
-
If you are already familiar with Node.js and the concept of build tools, you can also try a complete build setup right within your browser on StackBlitz.
Creating a Vue Application
Prerequisites
- Familiarity with the command line
- Install Node.js version 18.3 or higher
In this section we will introduce how to scaffold a Vue Single Page Application on your local machine. The created project will be using a build setup based on Vite and allow us to use Vue Single-File Components (SFCs).
Make sure you have an up-to-date version of Node.js installed and your current working directory is the one where you intend to create a project. Run the following command in your command line (without the $ sign):
sh
$ npm create vue@latestThis command will install and execute create-vue, the official Vue project scaffolding tool. You will be presented with prompts for several optional features such as TypeScript and testing support:
✔ Project name: … <your-project-name>
✔ Add TypeScript? … No / Yes
✔ Add JSX Support? … No / Yes
✔ Add Vue Router for Single Page Application development? … No / Yes
✔ Add Pinia for state management? … No / Yes
✔ Add Vitest for Unit testing? … No / Yes
✔ Add an End-to-End Testing Solution? … No / Cypress / Nightwatch / Playwright
✔ Add ESLint for code quality? … No / Yes
✔ Add Prettier for code formatting? … No / Yes
✔ Add Vue DevTools 7 extension for debugging? (experimental) … No / Yes

Scaffolding project in ./<your-project-name>...
Done.
If you are unsure about an option, simply choose No by hitting enter for now. Once the project is created, follow the instructions to install dependencies and start the dev server:
sh
$ cd <your-project-name>
$ npm install
$ npm run dev
You should now have your first Vue project running! Note that the example components in the generated project are written using the Composition API and <script setup>, rather than the Options API. Here are some additional tips:
- The recommended IDE setup is Visual Studio Code + Vue — Official extension. If you use other editors, check out the IDE support section.
- More tooling details, including integration with backend frameworks, are discussed in the Tooling Guide.
- To learn more about the underlying build tool Vite, check out the Vite docs.
- If you choose to use TypeScript, check out the TypeScript Usage Guide.
When you are ready to ship your app to production, run the following:
This will create a production-ready build of your app in the project’s ./dist directory. Check out the Production Deployment Guide to learn more about shipping your app to production.
Next Steps >
Using Vue from CDN
You can use Vue directly from a CDN via a script tag:
html
<script src="https://unpkg.com/vue@3/dist/vue.global.js"></script>Here we are using unpkg, but you can also use any CDN that serves npm packages, for example jsdelivr or cdnjs. Of course, you can also download this file and serve it yourself.
When using Vue from a CDN, there is no «build step» involved. This makes the setup a lot simpler, and is suitable for enhancing static HTML or integrating with a backend framework. However, you won’t be able to use the Single-File Component (SFC) syntax.
Using the Global Build
The above link loads the global build of Vue, where all top-level APIs are exposed as properties on the global Vue object. Here is a full example using the global build:
html
<script src="https://unpkg.com/vue@3/dist/vue.global.js"></script>

<div id="app">{{ message }}</div>

<script>
  const { createApp } = Vue

  createApp({
    data() {
      return {
        message: 'Hello Vue!'
      }
    }
  }).mount('#app')
</script>
CodePen Demo >
html
<script src="https://unpkg.com/vue@3/dist/vue.global.js"></script>

<div id="app">{{ message }}</div>

<script>
  const { createApp, ref } = Vue

  createApp({
    setup() {
      const message = ref('Hello vue!')
      return {
        message
      }
    }
  }).mount('#app')
</script>
CodePen Demo >
TIP
Many of the examples for Composition API throughout the guide will be using the <script setup> syntax, which requires build tools. If you intend to use Composition API without a build step, consult the usage of the setup() option.
Using the ES Module Build
Throughout the rest of the documentation, we will be primarily using ES modules syntax. Most modern browsers now support ES modules natively, so we can use Vue from a CDN via native ES modules like this:
html
<div id="app">{{ message }}</div>

<script type="module">
  import { createApp } from 'https://unpkg.com/vue@3/dist/vue.esm-browser.js'

  createApp({
    data() {
      return {
        message: 'Hello Vue!'
      }
    }
  }).mount('#app')
</script>
html
<div id="app">{{ message }}</div>

<script type="module">
  import { createApp, ref } from 'https://unpkg.com/vue@3/dist/vue.esm-browser.js'

  createApp({
    setup() {
      const message = ref('Hello Vue!')
      return {
        message
      }
    }
  }).mount('#app')
</script>
Notice that we are using <script type="module">, and the imported CDN URL is pointing to the ES modules build of Vue instead.
Enabling Import maps
In the above example, we are importing from the full CDN URL, but in the rest of the documentation you will see code like this:
js
import { createApp } from 'vue'We can teach the browser where to locate the vue import by using Import Maps:
html
<script type="importmap">
  {
    "imports": {
      "vue": "https://unpkg.com/vue@3/dist/vue.esm-browser.js"
    }
  }
</script>

<div id="app">{{ message }}</div>

<script type="module">
  import { createApp } from 'vue'

  createApp({
    data() {
      return {
        message: 'Hello Vue!'
      }
    }
  }).mount('#app')
</script>
CodePen Demo >
html
<script type="importmap">
  {
    "imports": {
      "vue": "https://unpkg.com/vue@3/dist/vue.esm-browser.js"
    }
  }
</script>

<div id="app">{{ message }}</div>

<script type="module">
  import { createApp, ref } from 'vue'

  createApp({
    setup() {
      const message = ref('Hello Vue!')
      return {
        message
      }
    }
  }).mount('#app')
</script>
CodePen Demo >
You can also add entries for other dependencies to the import map — but make sure they point to the ES modules version of the library you intend to use.
Import Maps Browser Support
Import Maps is a relatively new browser feature. Make sure to use a browser within its support range. In particular, it is only supported in Safari 16.4+.
Notes on Production Use
The examples so far are using the development build of Vue — if you intend to use Vue from a CDN in production, make sure to check out the Production Deployment Guide.
While it is possible to use Vue without a build system, an alternative approach to consider is using vuejs/petite-vue that could better suit the context where jquery/jquery (in the past) or alpinejs/alpine (in the present) might be used instead.
Splitting Up the Modules
As we dive deeper into the guide, we may need to split our code into separate JavaScript files so that they are easier to manage. For example:
html
<!-- index.html -->
<div id="app"></div>

<script type="module">
  import { createApp } from 'vue'
  import MyComponent from './my-component.js'

  createApp(MyComponent).mount('#app')
</script>
js
// my-component.js
export default {
  data() {
    return { count: 0 }
  },
  template: `<div>Count is: {{ count }}</div>`
}
js
// my-component.js
import { ref } from 'vue'
export default {
  setup() {
    const count = ref(0)
    return { count }
  },
  template: `<div>Count is: {{ count }}</div>`
}
If you directly open the above index.html in your browser, you will find that it throws an error because ES modules cannot work over the file:// protocol, which is the protocol the browser uses when you open a local file.
Due to security reasons, ES modules can only work over the http:// protocol, which is what the browsers use when opening pages on the web. In order for ES modules to work on our local machine, we need to serve the index.html over the http:// protocol, with a local HTTP server.
To start a local HTTP server, first make sure you have Node.js installed, then run npx serve from the command line in the same directory where your HTML file is. You can also use any other HTTP server that can serve static files with the correct MIME types.
You may have noticed that the imported component’s template is inlined as a JavaScript string. If you are using VS Code, you can install the es6-string-html extension and prefix the strings with a /*html*/ comment to get syntax highlighting for them.
Next Steps
If you skipped the Introduction, we strongly recommend reading it before moving on to the rest of the documentation.
Provide feedback
Saved searches
Use saved searches to filter your results more quickly
Sign up
Appearance settings
Last Updated :
20 Mar, 2024
Vue JS is a JavaScript framework used to design and build user interfaces. It is one of the best frameworks for Single Page Web Applications. It is compatible with other libraries and extensions as well.
In the development field, there may be so many issues that can not be solved by using a single library, so the VueJS is compatible with other libraries so you can easily go for it. The VueJS is supported by all popular browsers like Chrome, Firefox, IE, Safari, etc. You can easily compare this library with your favorite libraries.
- Difference between ReactJS and Vue.js
- Difference between VueJS and AngularJS
Approaches to Install Vue JS
The VueJs can be used in three different ways listed below:
- Directly included CDN file.
- Install through the npm.
- By CLI use VueJS
Directly include CDN file:
You need to download the VueJS Development Version and Production Version then include it in the script tag. CDN:
- For learning purpose, you can use below script(with the specific version):
<script src=”https://cdn.jsdelivr.net/npm/vue/dist/vue.js”></script>
- For production purpose, you can use below script:
<script src=”https://cdn.jsdelivr.net/npm/vue@2.6.11″></script>
- For ES modules compatible, use below script:
<script type=”module”>
import Vue from ‘https://cdn.jsdelivr.net/npm/vue@2.6.11/dist/vue.esm.browser.js’
</script>
Install through the NPM:
Before applying this procedure you must have installed npm, to check npm installed or not run the below command:
npm -v
If not, you can install that through node.js installation procedure for:
- Installation of Node.js on Windows
- Installation of Node.js on Linux
Now you are ready to install the VueJS, to do so run the below command. It will install the most updated stable version of VueJS.
npm install vue

Using CLI:
Open your terminal or command prompt and run the below command.
npm install -g @vue/cli;

Create First Vue Project
Step 1: Run the below command to create the project.
vue create myproject

Step 2: Now get into the myproject folder by using below command.
cd myproject
Step 3: Run the below command to run locally your project.
npm run dev

Vue.js предоставляет несколько способов для установки и создания приложения и быстрого запуска приложения.
Для этого должен быть установлен Node.js. Вы можете загрузить его с официального сайта https://nodejs.org/en/.
Теперь откроем терминал и выполним команду:
npm init vue@latest
По окончанию установки переходим в папку Vue.js приложения, устанавливаем зависимости и запускаем сборку в режиме разработки.
cd <your-project-name>
npm install
npm run dev
Если вы хотите быстро загрузить фреймворк CDN и начать пользоваться, или узнать детали установки, подробную и свежую информацию можно найти на официальном сайте vuejs.org
Home »
VueJS Tutorial
Learn how to install VueJS on Windows (with NodeJS and Visual Studio) and Mac operating system?
Submitted by Venkatesan C, on February 18, 2022
There are some prerequisites to create the VueJs project. First, we need to set up a development environment. Below mentioned tools need to be installed on our machine.
- NodeJS (to run JS apps locally in the machine)
- Visual studio code (preferred code editor)
The installation steps can be different, depending on the type of OS you are running in. In this tutorial, let’s look at Windows and Mac OS installations, and have a look at how a Vue application is created.
Install VueJS on Windows
Since we have to have NodeJs and VsCode installed on our machine, to develop and run the VueJS application. Let’s install NodeJs and Visual studio code first in our machine.
NodeJS Installation
Download the NodeJS from https://nodejs.org/en/. Download the LTS version.
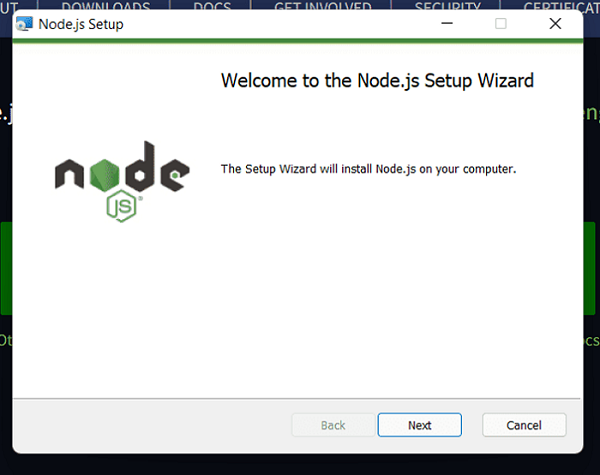
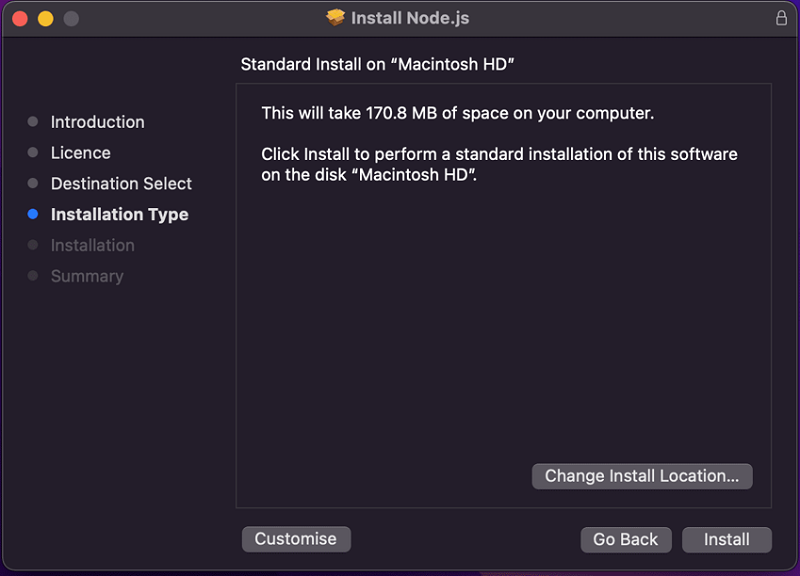
Double click the NodeJS package, then follow the steps as below,
1) Click next
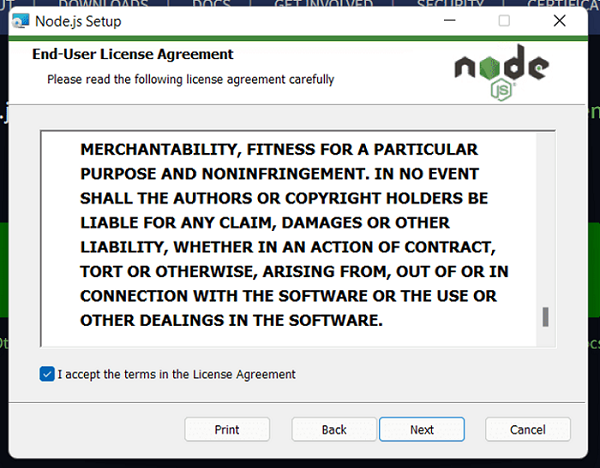
2) Accept the agreements and click next.
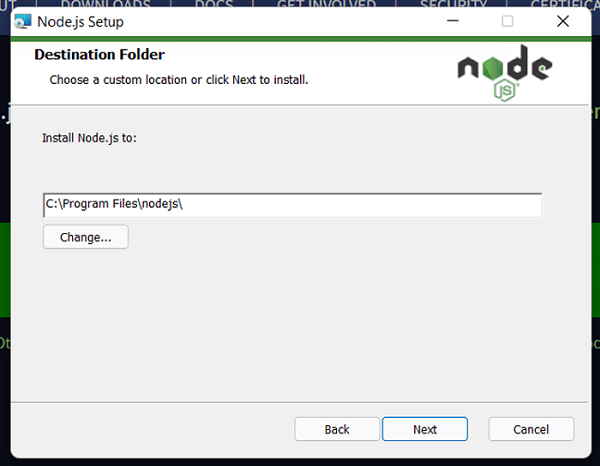
3) Click next.
4) Click next.
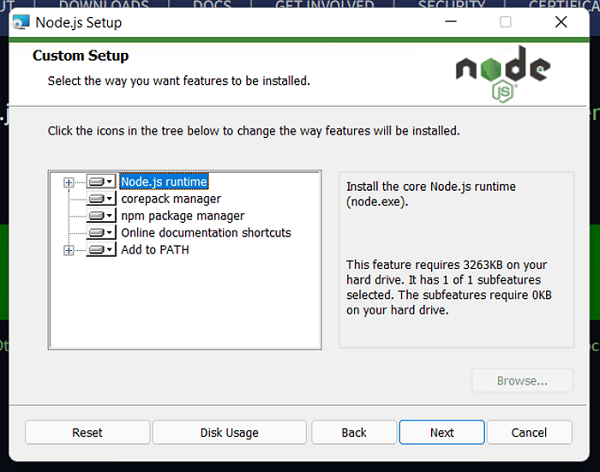
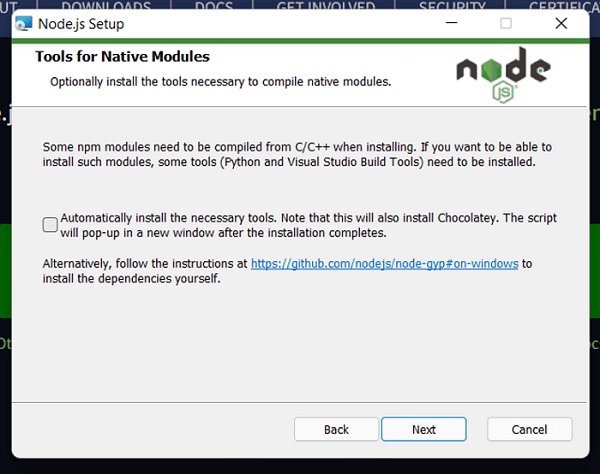
5) Make sure the checkbox isn’t checked, since it will install chocolatey package if it’s left checked. Then click next
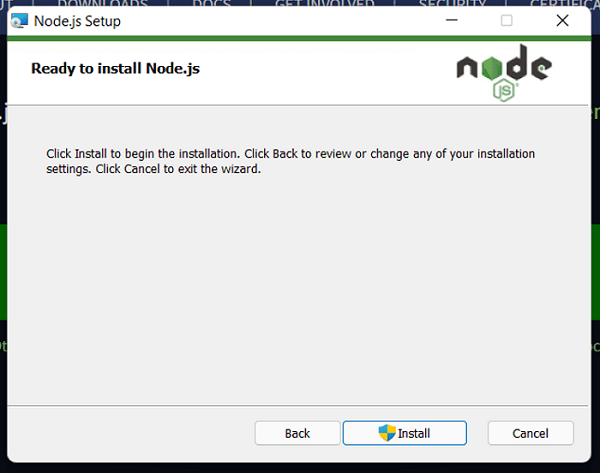
6) Click install.
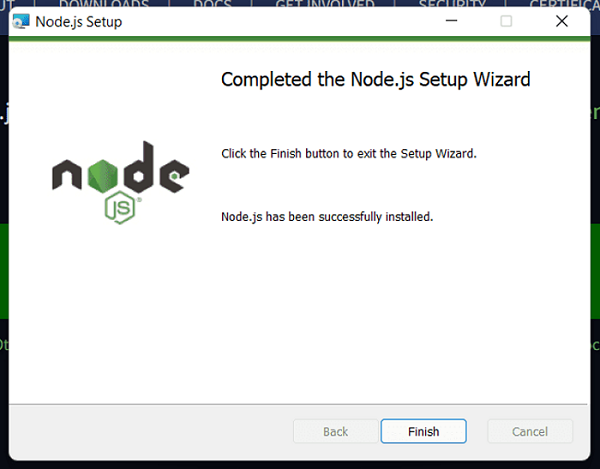
7) Click finish.
Now the node js will be installed on your machine, to check whether it’s installed or not, run the following command, checking the versions of node and npm.
The versions need not be exactly the same as above, as long as it outputs some version, everything is fine.
VS Code installation
Download Visual studio code from https://code.visualstudio.com/ . Double click the downloaded package and follow the steps given below,
1) Accept the agreement and click next.

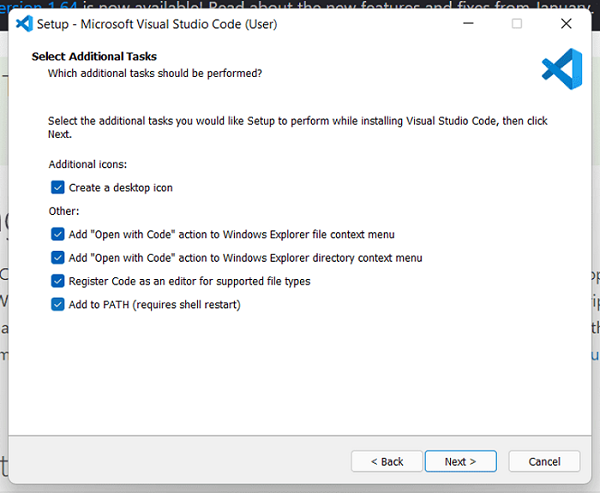
2) Make sure these checkboxes are checked, since it will become handy in some cases.
3) Click install.
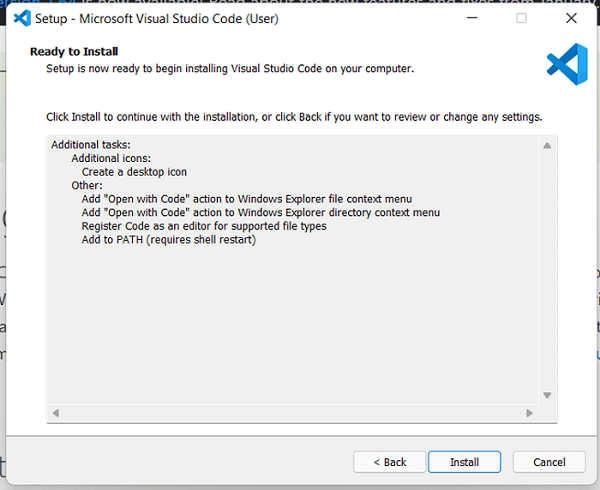
4) Click finish.

Install VueJS on Mac OS
NodeJS Installation
Download the NodeJS from https://nodejs.org/en/. Download the LTS version.
Double click the NodeJS package, the follow the steps as below,
1) Click continue.
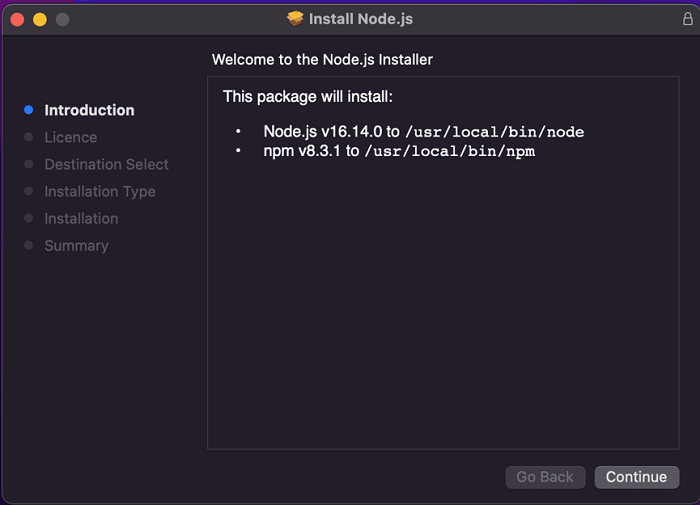
2) Click continue.
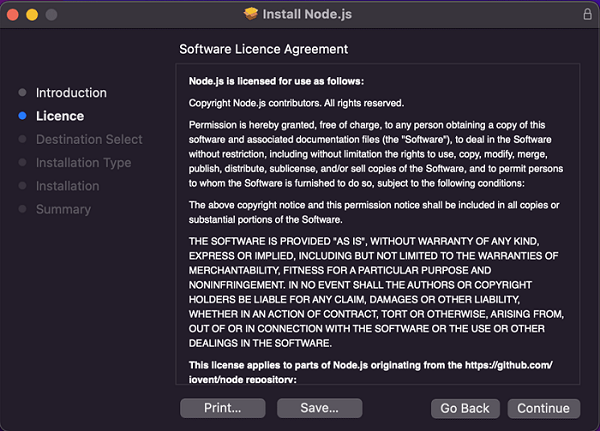
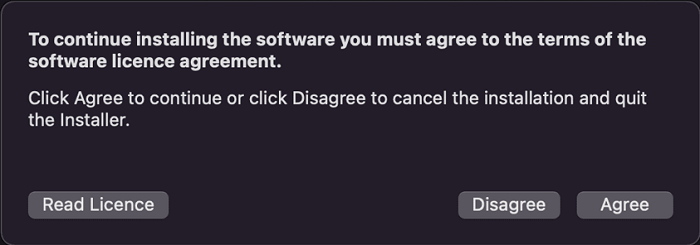
3) Agree to the agreement.
4) If you want to change the install location, click change install location and click install.
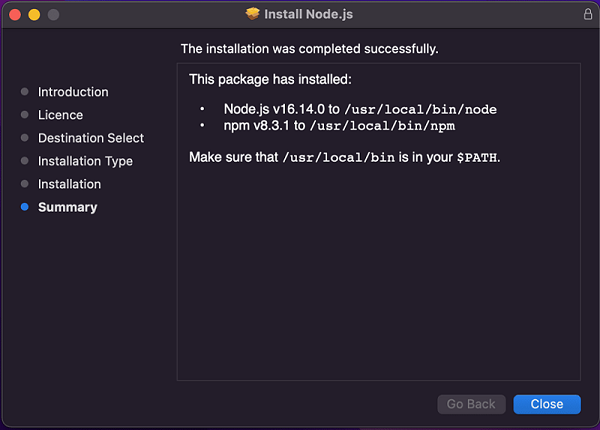
5) Once the installation is complete, click close.
VS Code Installation
Download Visual studio code from https://code.visualstudio.com/. Double click the downloaded package, the visual studio will open.
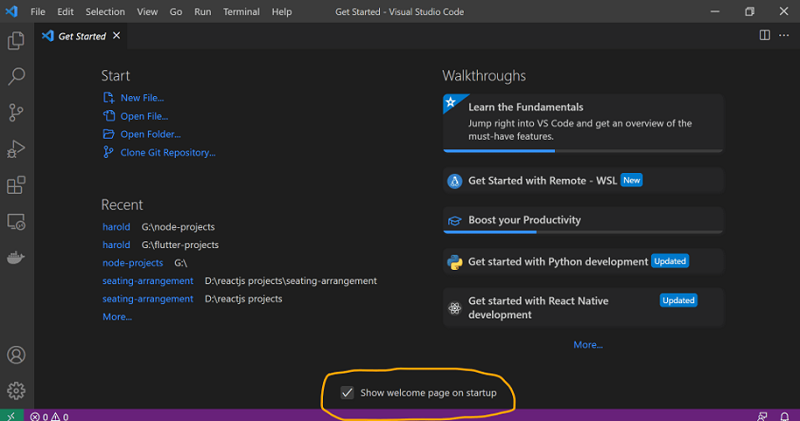
VS Code Setup
Once you open the Visual studio code, the screen might look something like this.If you want the get started window not to appear anymore, make sure to uncheck the «show the welcome page on startup».
Let’s look at a couple of plugins that help to code Vue better. Plugins are available in the sidebar which look like 4 square grids, they are,
1) Volar
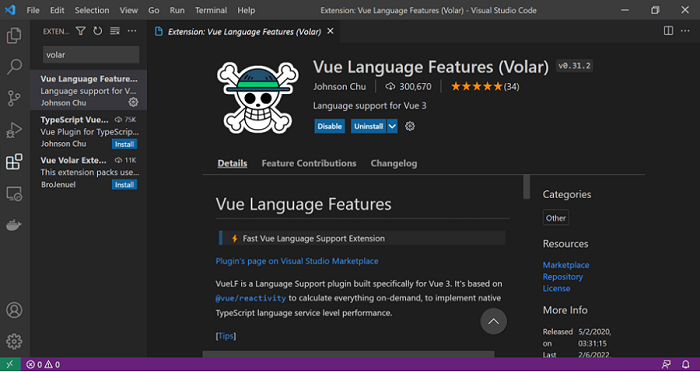
2) Vetur

These plugins provide code snippets that can help to code faster, boosting productivity.
Since we have set out a code editor, let’s take a look at how we can add Vue to our project.
There are four ways to create a Vue project, they are,
- CDN package
- Npm
- Vue-cli
- Vite
1) CDN
By simply adding the CDN link to a script tag, you can have a Vue set up, up, and running. However, it’s not recommended to use this approach to build large applications and for a real-time development.
<script src="https://unpkg.com/Vue@3"></script>
This approach is recommended only to add Vue to an existing legacy project or for prototyping purposes.
2) NPM
In the project folder, you can add the Vue by simply running this command.
npm install Vue@next
This will install Vue 3 into the project, this is a preferred approach over CDN for building large scale applications.
3) Vue-cli
Vue-cli is a command line build tool that helps us to rapidly develop VueJs applications with preconfigured settings that are common when developing a Vue application.
You can install Vue-cli globally in your system by running the following command.

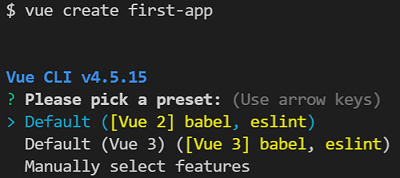
Once the Vue-cli is added globally, now you can create Vue applications using Vue-cli by running the following command.
As you can see it provides us some options like whether to install presets like Vue 2 or Vue 3 based projects with babel and eslint options. You can also manually select the features that you might need.
Once everything is done, you will be prompted to run the below commands, to run the application.
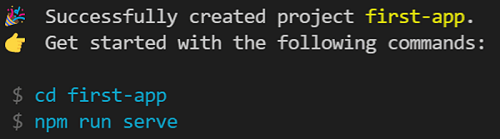
Let’s run these commands and look at the output.
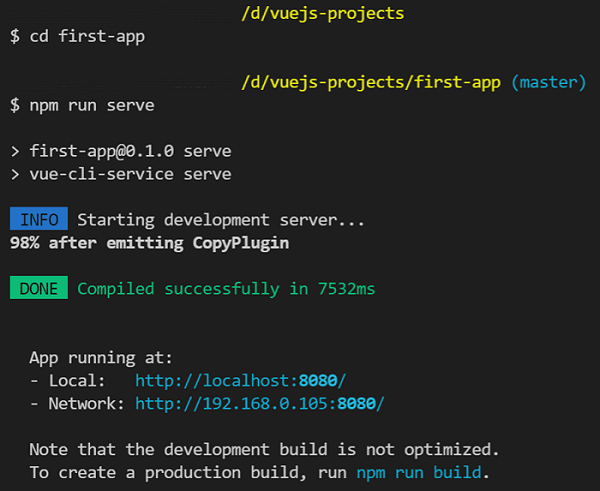
The application is running at http://localhost:8080/, you can view the application in browser with this URL. The output will be like the one given below.
4) Vite
Vite is also a build tool like Vue-cli but this is much faster providing an amazing development experience, with HMR (hot module replacement) and much more optimized features.
This is the recommended way to create not just Vue applications, but also other applications of other frameworks like react, svelte, lit, preact etc.
Let’s look at the steps to create a Vite based Vue application.
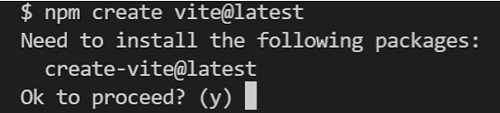
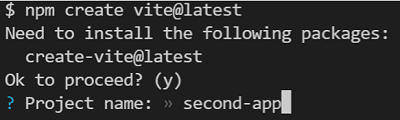
Run the following command, since we run Vite for the first time it prompts us for permission to install create-vite@latest package which comes with the Vite.
1) Just Enter since (y) is the default option.
2) Enter the project name.
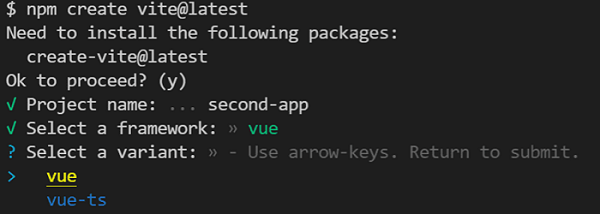
3) Select the framework, in our case, it’s Vue.

4) Select a variant which means whether we want to code in js or ts, choose Vue for JS.
5) Once the project creation is complete. It asks us to run the following three commands,
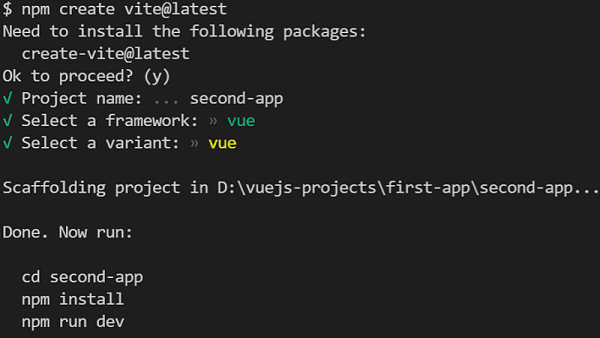
6) Let’s run these commands and look at the output.
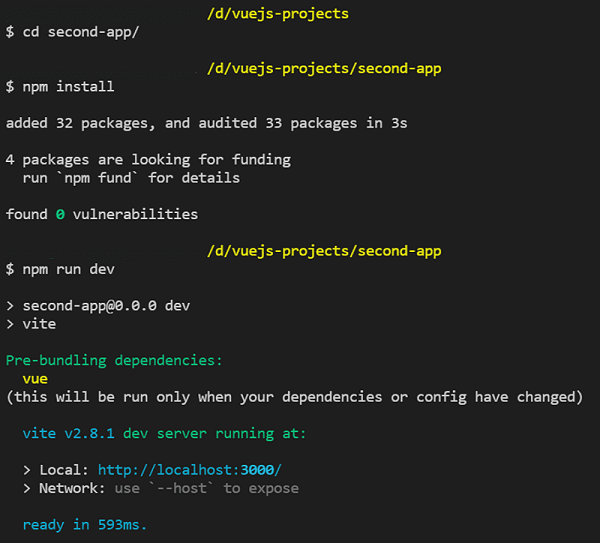
- Note the difference in speeds when creating applications with Vue-cli and Vite. Vite is far superior in this case. It quickly provides the structure, ready to code and performant development experience.
- It’s not just that Vite spins a dev server faster, a few of the very good things about Vite are HMR and it’s bundle size. It quickly updates the application in case of changes, which is better than the Vue-cli’s hot reloading. The bundle size is dramatically reduced when using Vite.
Vite’s output
With Vite’s output we have reached the end of this article. In the next article, let’s discuss the folder structure of VueJs application. Hope you had a great reading.
Advertisement
Advertisement