
10/01/2023
Reading Time: 1–2 minutes

Since Windows Server Core is a stripped down version that doesn’t provide the graphical interface, the installation of VMware Tools can be tricky.
In VMware vSphere, each Windows Server requires the installation of VMware Tools, especially if you have configured the VMXNET 3 adapter type as network adapter.
Install VMware Tools in Windows Server Core
From the vSphere Client click the Install VMware Tools link. As you may notice, VMware Tools are not installed in the selected server.

Click Mount to mount the installation CD in the Windows Server Core.

From the Windows Core Server, run the following commands to identify the letter of the installation CD. In the example the CD is identified with the letter D.
C:\> diskpart
DISKPART> list vol

Once the drive letter has been identified, exit from diskpart.
DISKPART> exit

Type the CD drive letter to access the drive. Use the dir command to display available files.
C:\> D:
C:\> dir

Run the setup.exe file to install VMware Tools. This will launch the VMware Tools Setup wizard.
D:\> setup.exe

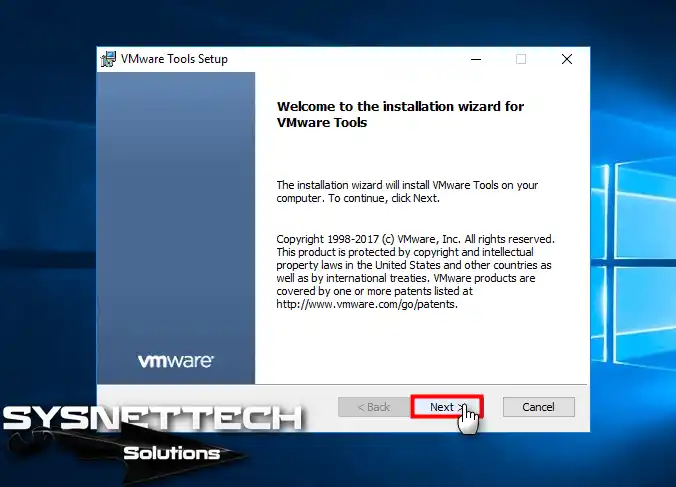
The graphic VMware Tools Setup wizard is displayed. If you can’t see the wizard just minimize the Command Prompt window. Click Next to continue.

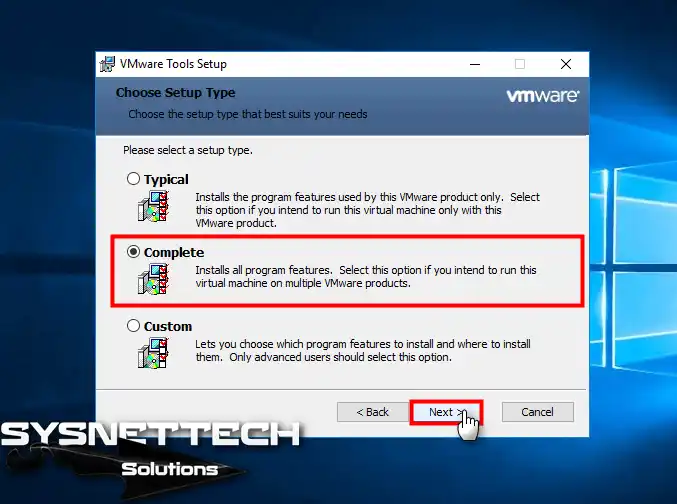
Select the desired setup type then click Next.

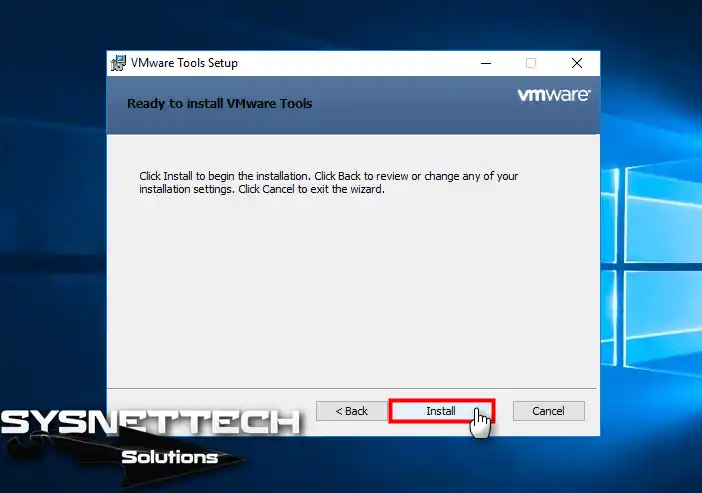
Click Install.

VMware Tools are being installed to the Windows Server Core.

When the installation has been completed, click Finish to exit the wizard.

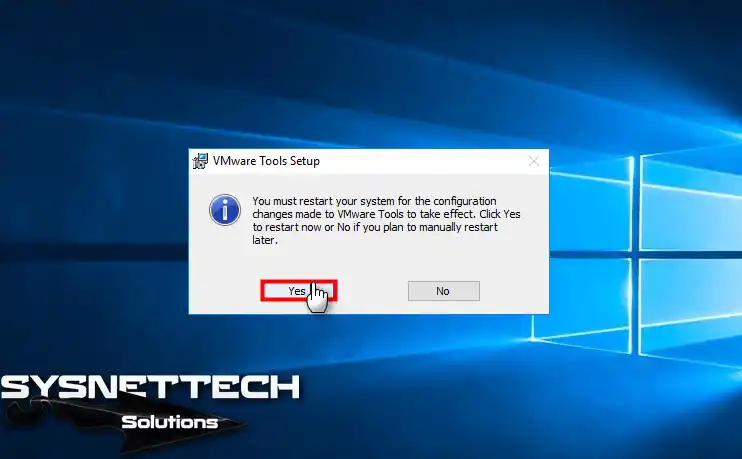
Click Yes to reboot the server.
VMware Tools are now properly running in the Windows Server.

With this simple procedure, VMware Tools can be easily installed to Windows Server Core versions. This procedure works for both 2016 and 2019 Windows Server Core versions.

About The Author
Paolo Valsecchi
System Engineer, VCP-DCV, VCP-DM, vExpert, VMCE, VMCA, Veeam Vanguard. Working experience focused on VMware vSphere, Microsoft Active Directory, and backup/DR solutions.
This guide gives you clear steps on installing Windows Server 2019 on a Windows 11 or 10 computer using VMware Workstation. Whether you have versions 15, 14, 12, or 17, this guide is here to help you set up your virtual environment.
How to Install Windows Server 2019 in a VM on VMware Workstation
Microsoft recently released the Windows Server 2019 Preview version in the Windows Insider Program.
Although Windows Server 2019 is very similar to version 2016, it has many new features. If you are wondering what’s new in it, visit this webpage.
As you know, in the world of IT, high-quality virtualization programs are used. Examples of these virtualization programs are VMware Workstation, Oracle VM VirtualBox, and Hyper-V.
In this article, we will use the Workstation 14 Pro virtualization program developed by VMware to install its Technical Preview.
As you all know, creating a virtual machine with VMware software is simple. If you have not made a virtual machine before, you can check this article. Before proceeding with the installation steps, download the Server 2019 ISO file here.
How to Run Windows Server 2019 in Virtual Machine
Follow the steps below to install it step by step using the VMware virtualization program.
You can download VMware Workstation 14/15 Pro or newer from here.
Step 1
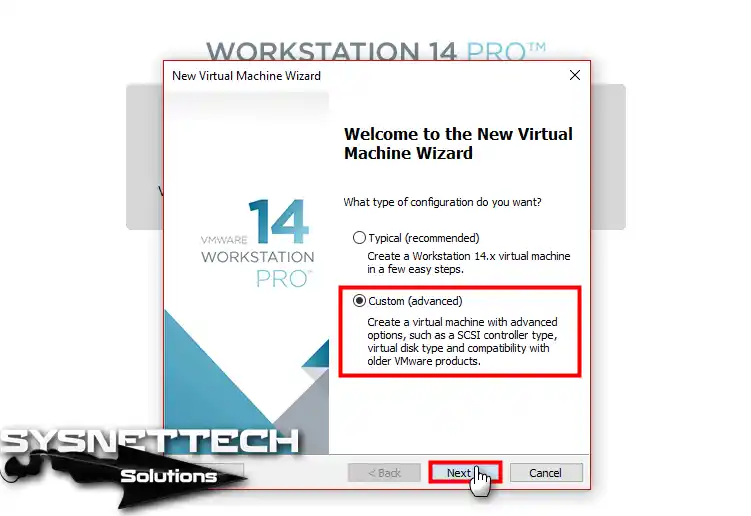
After you have opened VMware Workstation, click Create a New Virtual Machine to install a new virtual machine.
In the virtual machine creation window, select Custom (Advanced) and click on the Next button.
Step 2
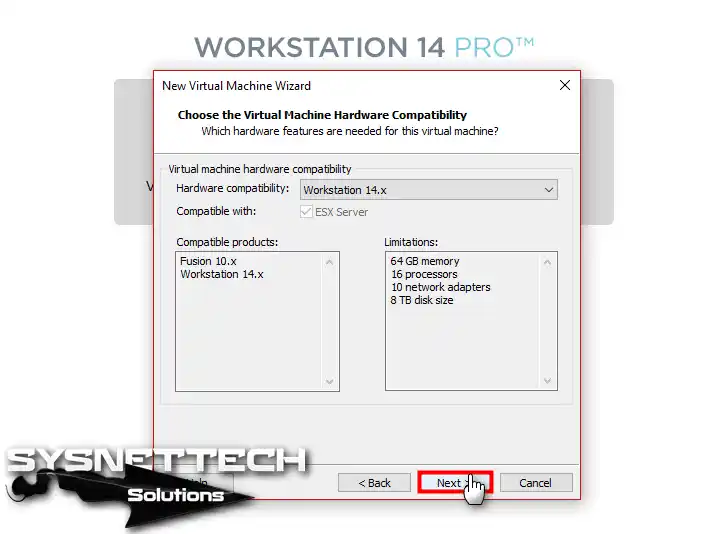
In the Virtual Machine Hardware Compatibility window, make sure that Workstation 14.x/15.x is selected and click Next.
Step 3
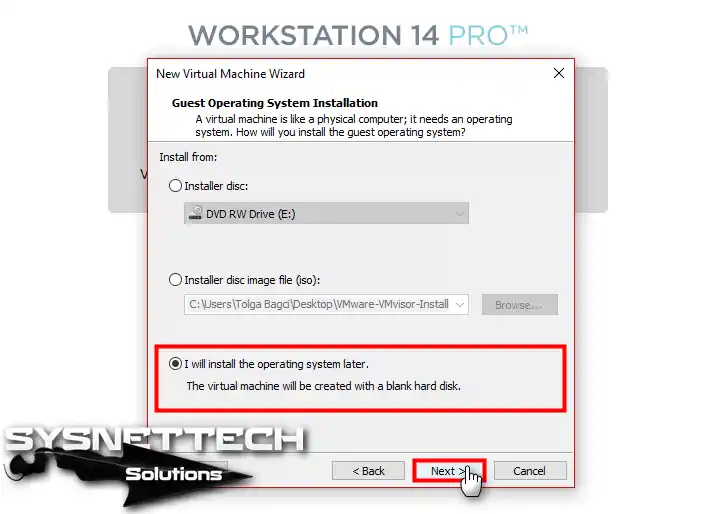
To add the Server ISO file to the virtual machine later, select I will install the operating system later and click Next.
Step 4
In the operating system selection window, select Microsoft Windows and click Next when you have chosen the Server 2016 version.

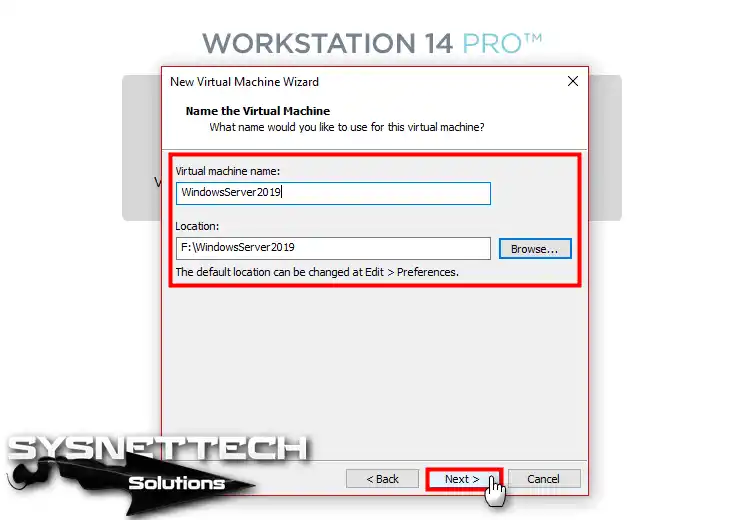
Step 5
Storing the virtual machine you created for installation on an external disk is essential for performance. Save the location on a portable HDD and click Next.
Step 6
In the Firmware Type window, UEFI is selected by default. If you want, you can enable Secure Boot.

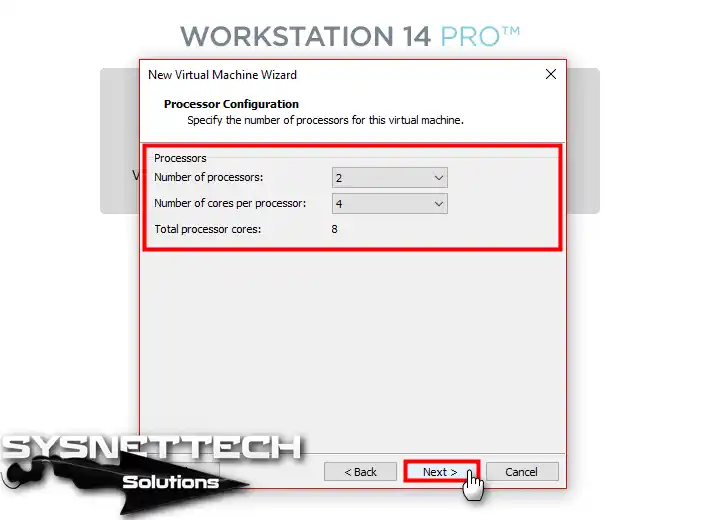
Step 7
In the Processor Configuration window, configure the processor according to the hardware specifications of your computer and click Next.
Step 8
Likewise, you can configure the virtual machine’s memory configuration to 4 GB (4096 MB). You can specify a higher RAM value as well. Click the Next button to continue the Windows Server 2019 virtual machine configuration.

Step 9
In the VMware network configuration window, you can select the NAT network.

Step 10
Choose LSI Logic SAS (Recommended), which is already selected by default, and keep going.

Step 11
Please choose “SCSI” as the disk type and then proceed by clicking the “Next” button.

Step 12
To create a new device for the virtual machine, select Create a new virtual disk and click Next.

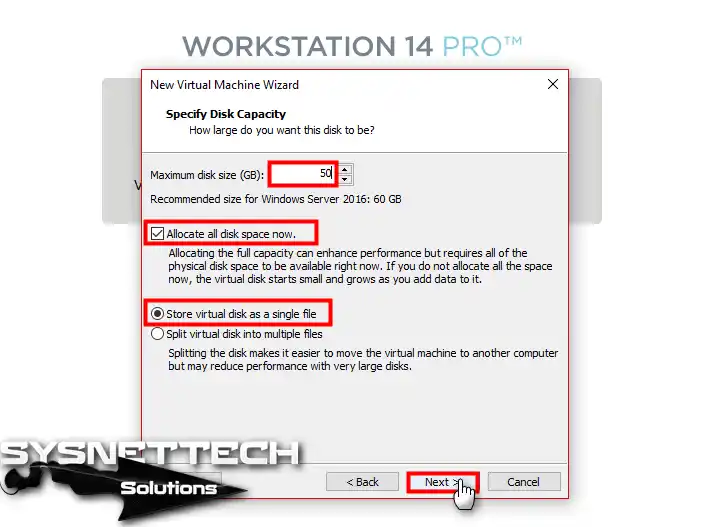
Step 13
It is recommended that you use all the free space on the disk. After, configure the VMware virtual machine disk configuration as shown in the following illustration.
Step 14
Continue by clicking the Next button in the disk file specification window.

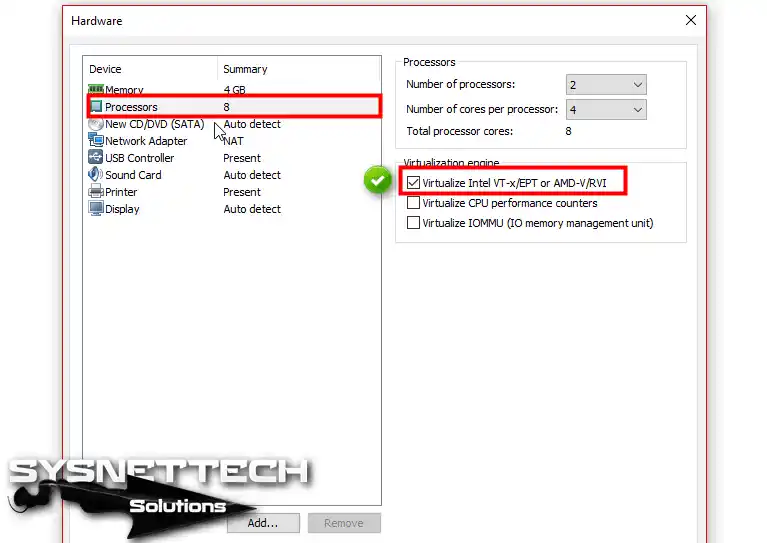
Step 15
You should activate the virtualization feature before completing the virtual computer. Open the Hardware settings, enable the Virtualize Intel VT-x/EPT or AMD-V/RVI option as shown below, and close the window.
Step 16
Click the “Finish” button in the window that’s ready to create a virtual PC.
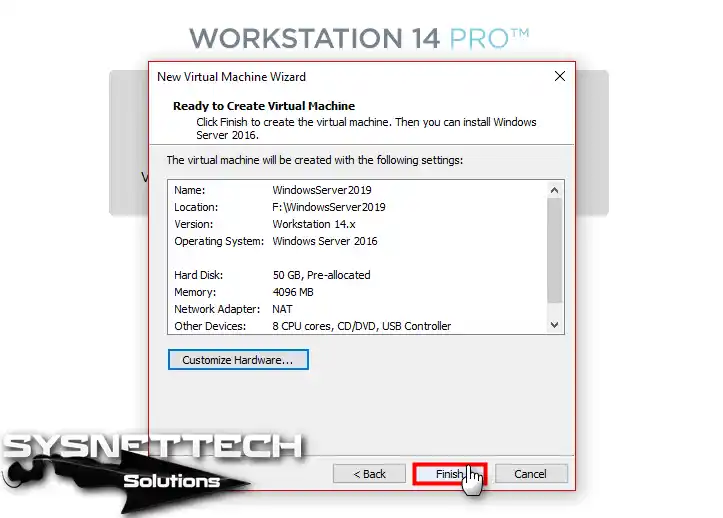
Step 17
Once you click Finish, the virtual disk creation process will begin. Please note that this process may take some time.
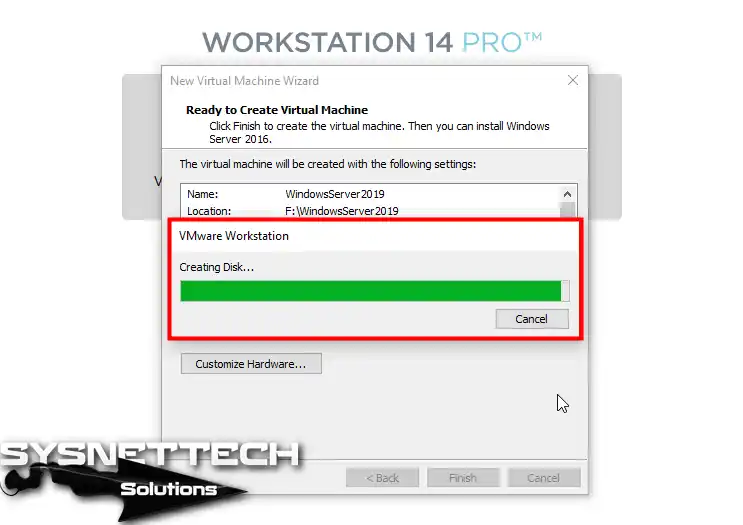
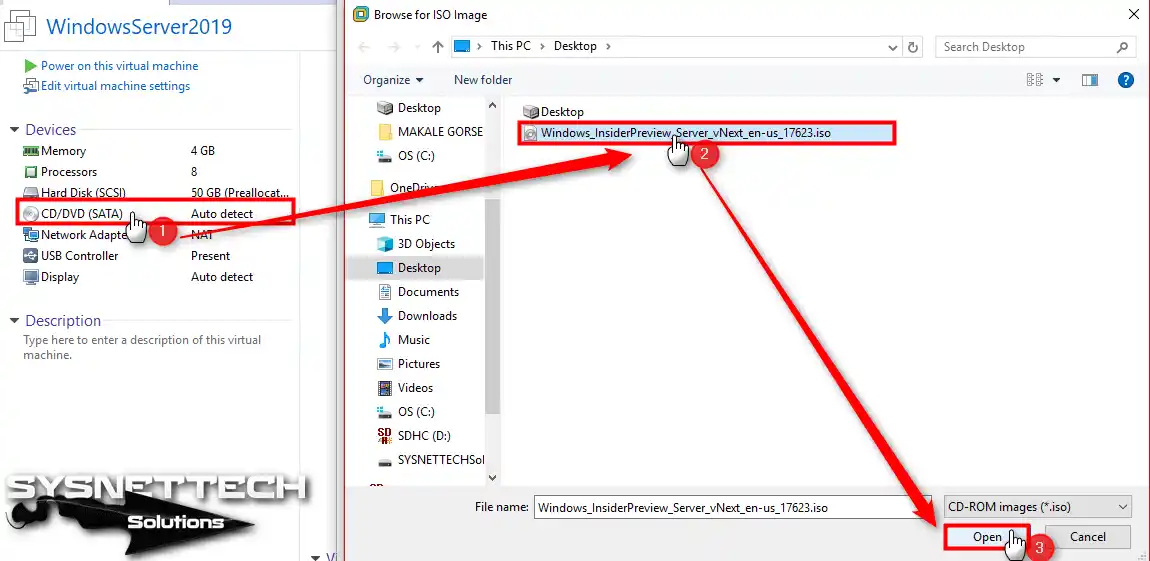
Step 18
After you create the virtual machine, attach the ISO file that you downloaded to the virtual machine.
Step 19
Start the virtual machine and start the WS 2019 installation.

How to Install Windows Server 2019 Step-by-Step
After you run the virtual machine, follow these steps to install Windows Server on VMware software step by step.
Step 1
When you run the virtual machine on VMware 14/15, press any key when you see the “Press any key to boot from CD” message.
Once the setup window opens, set your language, time, and keyboard preferences, then click Next.

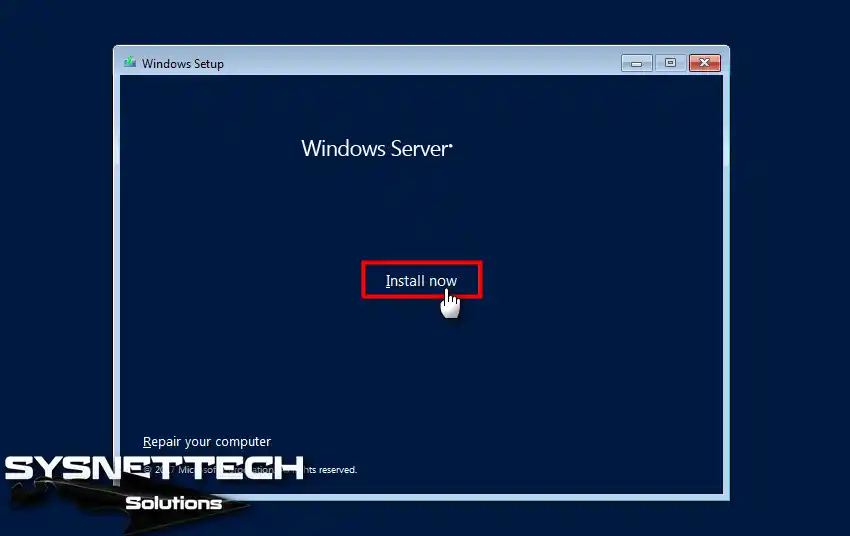
Step 2
Click the Install Now button to start the VMware Windows Server installation.
Step 3
To activate Windows, go to the “Activate Windows” window and then click on the option that says I do not have a product key.

Step 4
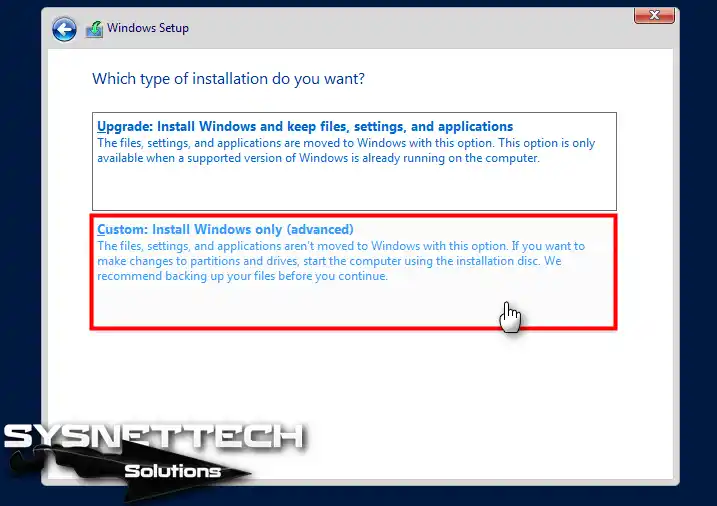
You must select the type of operating system you want to install. If you want a GUI, that is, desktop experience, continue with the option in the image below.

Step 5
Accept the Server 2019 license agreement and click Next.

Step 6
Select the “Custom: Install Windows only” option from the server installation types.
Step 7
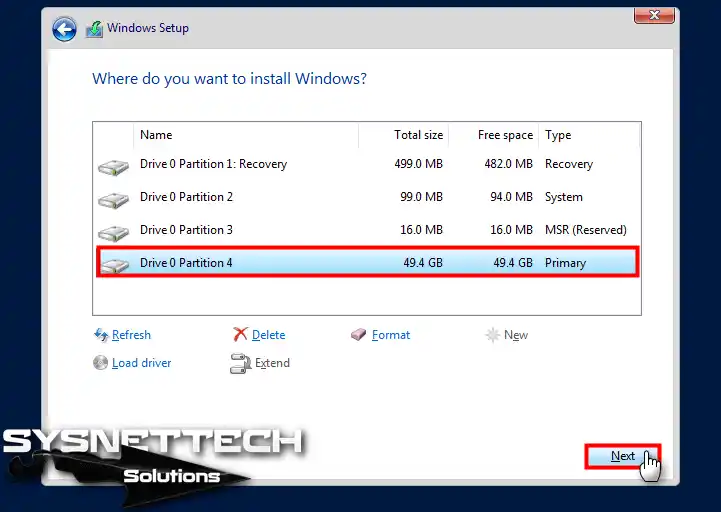
Partition the disk of the virtual machine, select the partition you want to install, and click Next.
Step 8
Wait as the wizard copies the system files for the server.
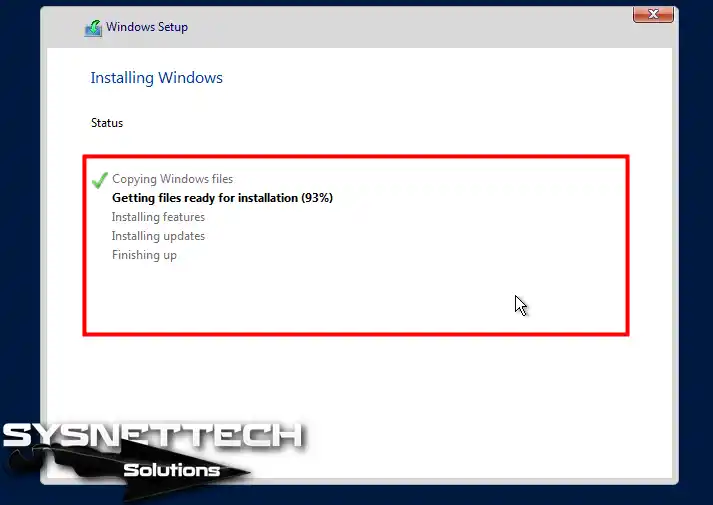
Step 9Servere waits for a moment as the devices go through the required preparations to ensure they work at their best.

Step 10
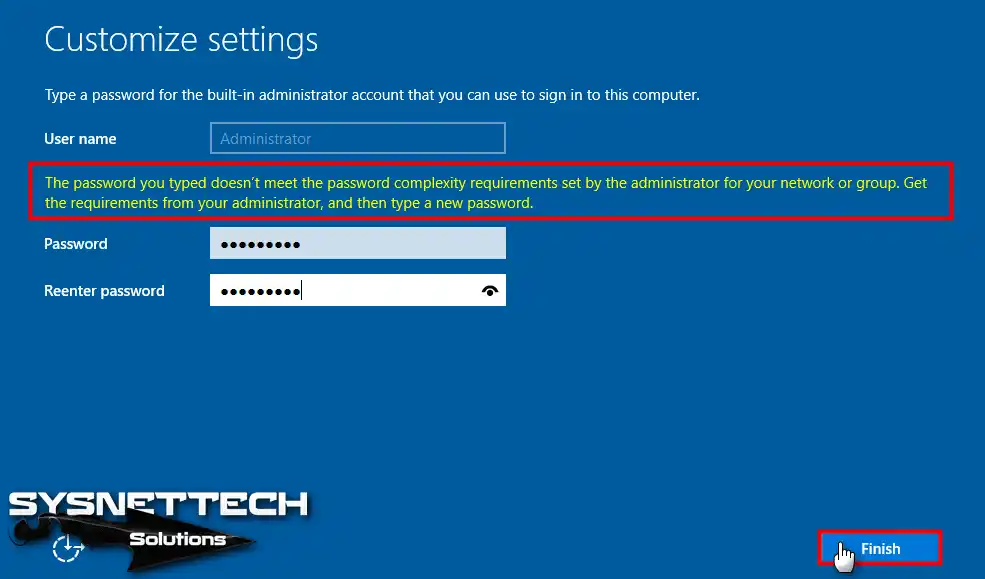
Set a complex password for the Admin user and click the Finish button.
Step 11
Once WS 2019 is open, press Ctrl + Insert at the same time to switch to the user interface. Type the password you have specified and press ENTER.
Step 12
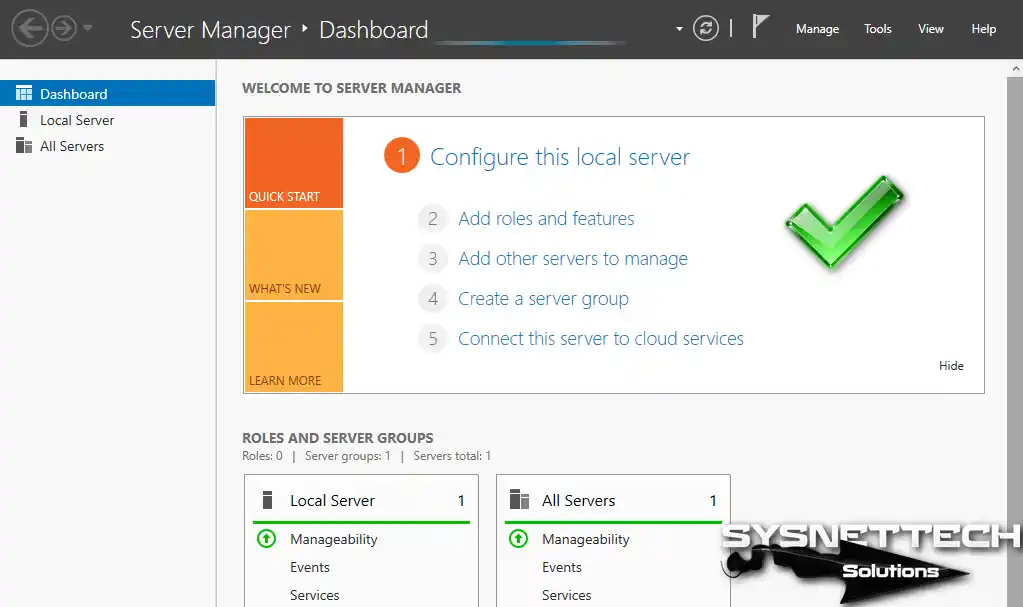
After completing the setup, proceed to the next step, which is to install VMware Tools.
How to Install VMware Tools in Windows Server 2019
When you’re using VMware Workstation, make sure to install VMware Tools. It helps your virtual systems work better.
To install the VMware Tools in the virtual Server, follow tServerps below.
Step 1
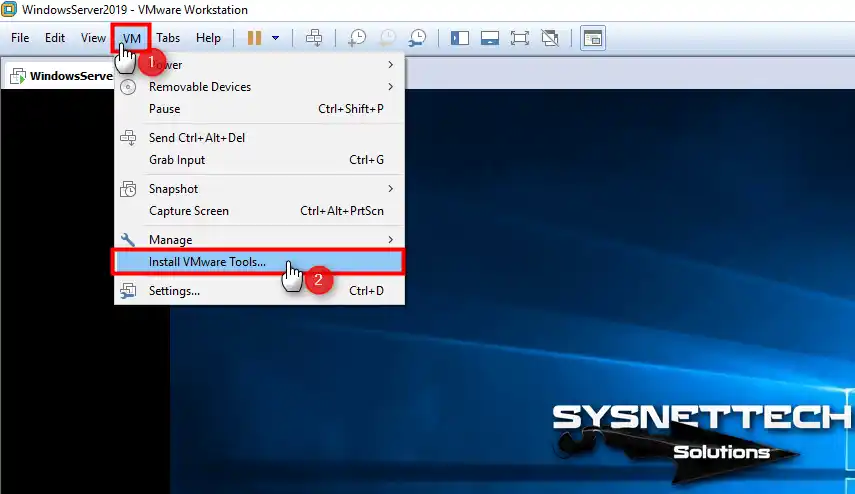
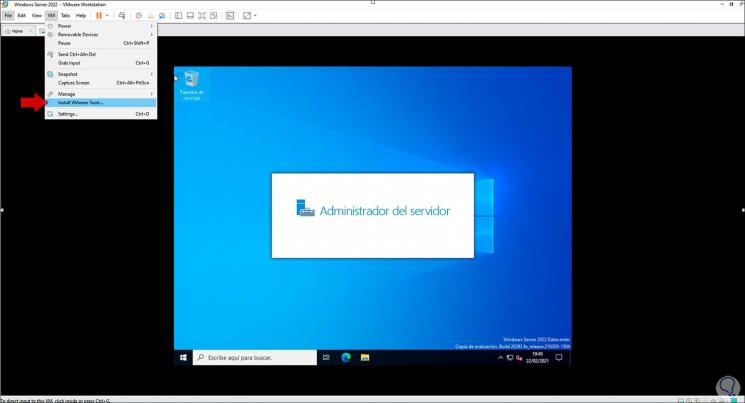
On VMware Windows Server, click on the VM option and then on the Install VMware Tools option.
Step 2
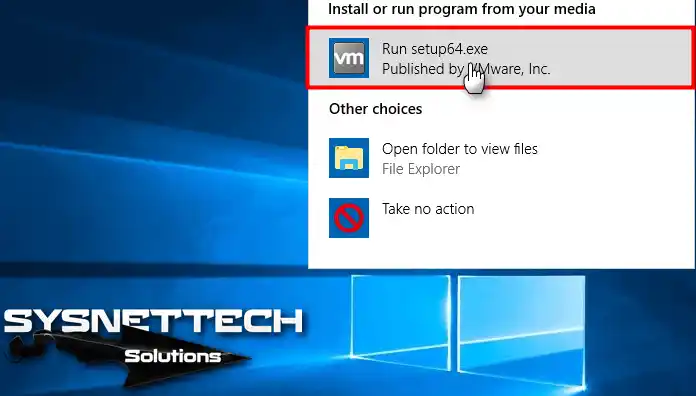
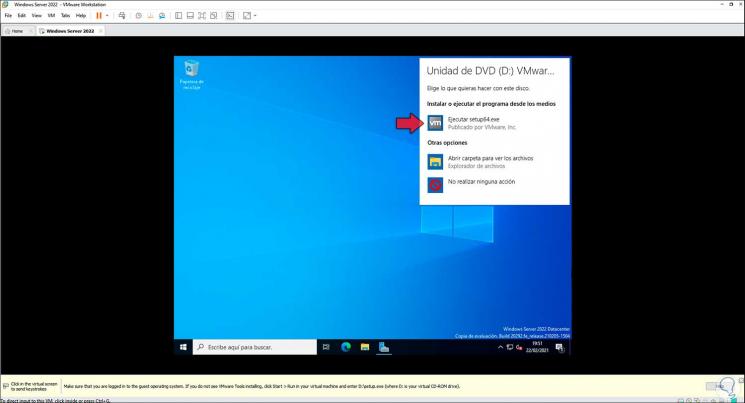
After the VMware Tools image file is added to the system, click Run setup64.exe.
Step 3
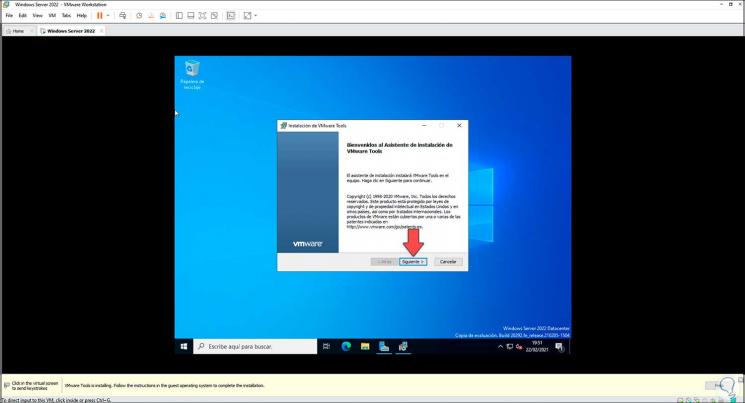
In the VMware Tools installation wizard window, click Next.
Step 4
Select Complete for the type of installation and click Next.
Step 5
And finally, click the Install button to start the VMware Tools installation.
Step 6
Restart your system so the changes take effect.
Step 7
Configure the resolution setting of the virtual machine by clicking View / Fix Guest Now. After installing VMware Tools, you can now exchange files between your virtual machine and your physical computer.
Video 1
Video 2
Final Word
In conclusion, by installing Windows Server 2019 with VMware software, you will create many opportunities. That is, you will be able to manage and deploy applications in a virtualized environment. By following the steps I have explained, you can quickly create a virtual machine, that is, a server.
In addition, you can discover the new features of Windows Server 2019. Thus, you can test configurations or develop applications. In short, benefit from the flexibility of virtual environments and start your journey with confidence!
Windows Server (2016/2019) is a stripped down version of server operating system. Since its a stripped down version, There is no graphical interface for this servers. So installing any software on this servers might be bit tricky.
Windows server core in ESXi/Vsphere virtual machine with VMware tools. But its recommended to have up-to date VMware tools installed to utilise advanced features.
Let see how to install tools without graphical window.
I have a Windows server 2019 core VM, No VMware tools installed.
1. Login to ESXi or Vcenter web console, Mount Vmware tools CD ISO image by selecting Gues OS > Install VMware Tools.
2. Launch VM console or access Server using RDP. Run DISKPART command in command prompt.
Execute » List Vol» Command in DISKPART prompt to identify VMware tools CD driver letter.
In my case its Volume 0 and Drive «D».
3. Exit from DISKPART and change directory to E drive.
4. Run Setup.exe from command prompt.
5. This will start » VMware Product Installation» graphic window.
Note : Sometimes setup window might be hidden behind command prompt window. In that case minimise command prompt windows, Now you should be able to see setup window.
6. Now proceed with vmware tools setup as-usual and reboot VM.
7. Successfully installed VMware Tools.
How to install VMware Tools on Windows Server
VMware is one of the leading platforms for virtualizing various types of operating systems and thus being able to know in advance the news and new functions of systems and applications without using them in productive environments. Hence the importance of using virtualized environments, when we use VMware, there is a set of tools to expand the functions of the virtual platform and these are the VMware Tools..
The VMware Tools have been developed as a set of utilities focused on improving the performance of the guest operating system (virtual machine) and incidentally improving the management of the virtual machine itself.
VMware Tools
When installing these VMware Tools we have:
- Synchronizing the virtual machine clock with the host or client desktop clock
- Shared folders between both operating systems
- Graphics performance
- Enable copy and paste of text, graphics, and files between the virtual machine and the host desktop
- Improved keyboard and mouse performance
- Using scripts for automation tasks
VMware Tools options
These VMware Tools integrate:
- VMware Device Drivers
- VMware user process
- VMware Tools service
- VMware Tools Control Panel
Now we are going to see how to install these VMware Tools in a Windows Server 2019 and 2022 virtual machine..
To stay up to date, remember to subscribe to our YouTube channel! SUBSCRIBE
How to install VMware Tools on Windows Server
Step 1
We open VMware, then we go to the «VM — Install VMware Tools» menu:
Step 2
In the virtual machine we click on the CD option to run the wizard:
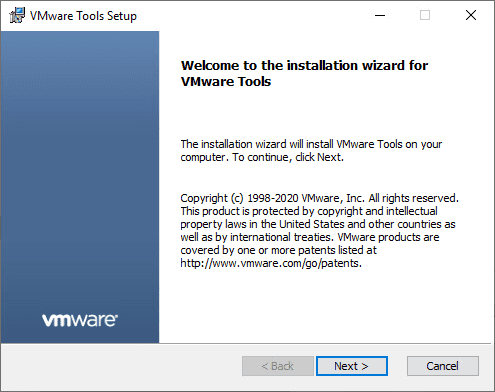
Step 3
Click on «Run setup64.exe» and the following wizard will be displayed:
Step 4
We click Next to select the type of installation to use:

Step 5
In the next window we will see the following:
Step 6
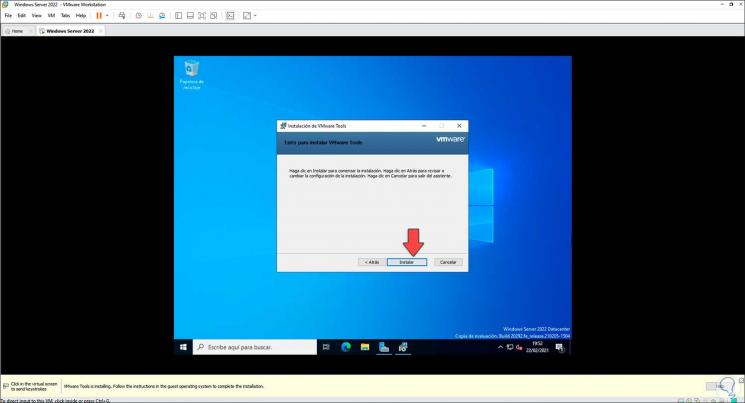
We click «Install» to start the installation process of VMware Tools in Windows Server 2019/2022:
Step 7
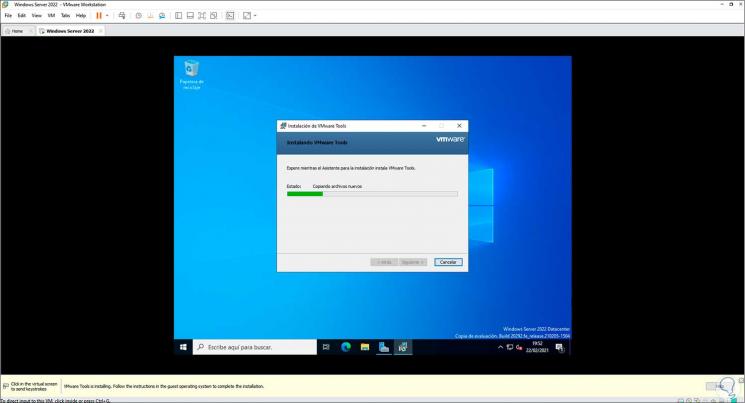
At the end we will see the following:
Step 8
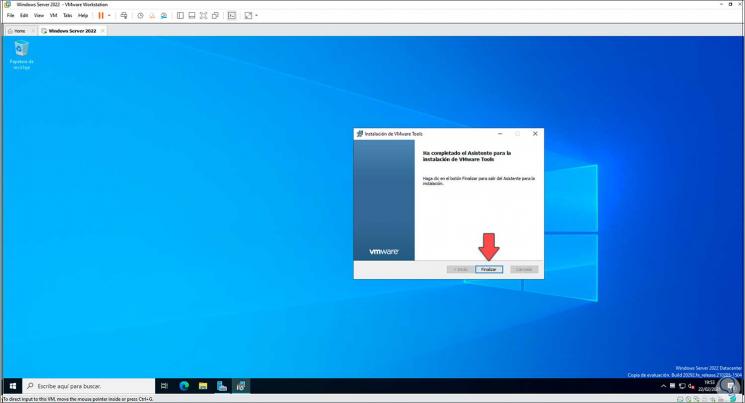
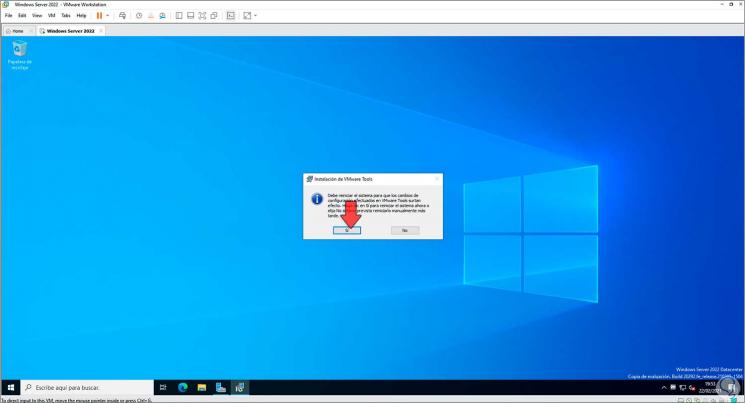
We click on “Finish and we will see the following message:
Step 9
Restart the Windows Server 2022 virtual machine:
Step 10
Log in and thanks to the VMware Tools it is now possible to access full screen mode:
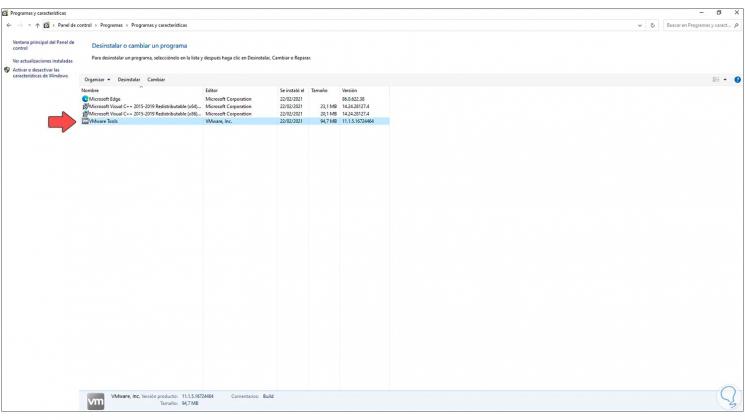
Step 11
We access the Control Panel and in the option «Uninstall a program» we can see the VMware Tools installation performed:
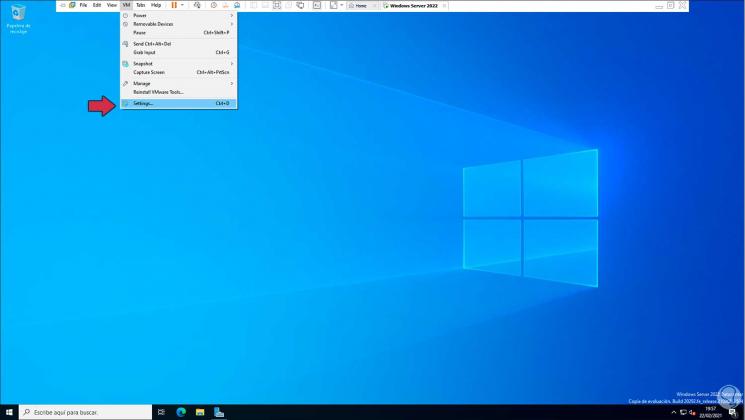
Step 12
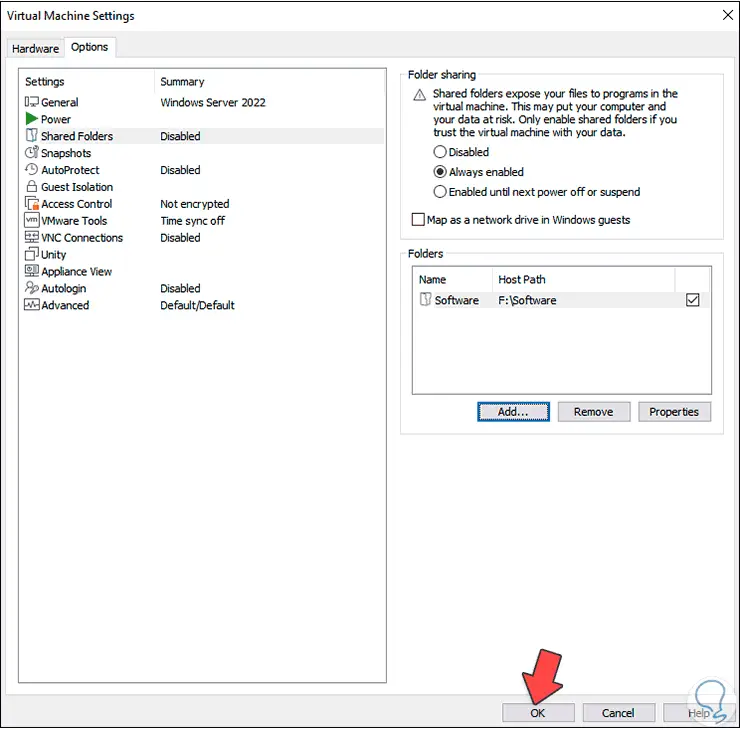
Go to the virtual machine settings from the VMware menu:
Step 13
We go to the Options tab and there we go to the «Shared folders» section:
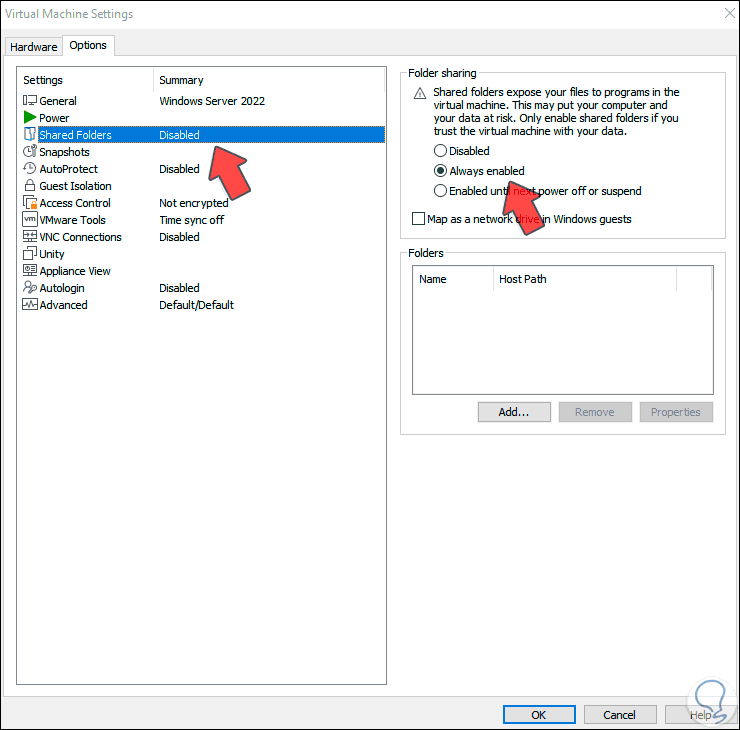
Step 14
By default it is disabled, we activate the «Always Enabled» box and then click on «Add» to add the folder to share with the physical equipment, we will see the following wizard:
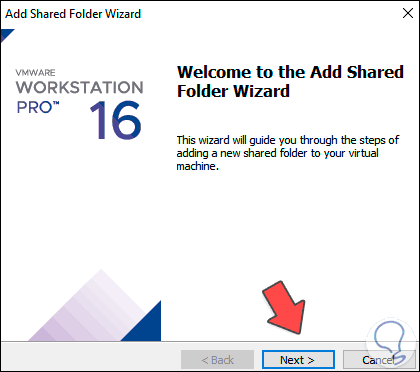
Step 15
Click Next to see this:
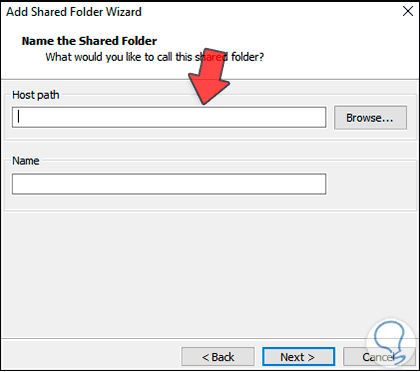
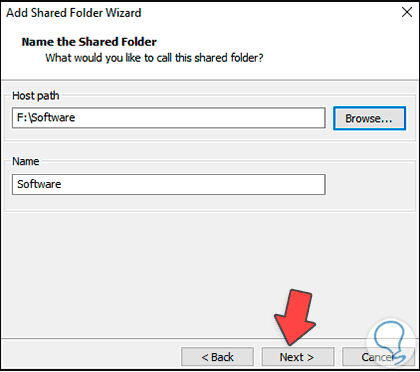
Step 16
We click on «Browse» and select the shared folder:
Step 17
In the next window we define whether it will be read-only or will have access and editing permissions (Enable this share):
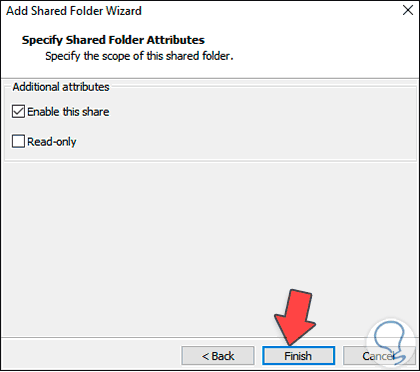
Step 18
Click Finish to see the shared folder:
Step 19
Click OK to apply the changes and we check the shared folder from Windows Server Explorer:
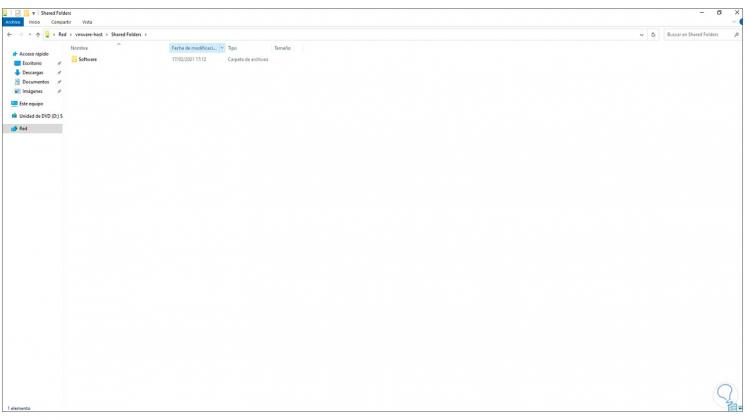
So we have installed the VMware Tools on Windows Server 2019/2022 to enjoy the full potential of VMware.
Deploying Windows Server 2019 virtual machines from template is a great way to streamline the process of getting up and running with a new instance of Windows Server in your vSphere infrastructure quickly and easily. Templates help to take much of the heavy lifting out of the process for deploying Windows Server 2019, Windows Server 2016, and other Windows Server versions. However, there are a few things you want to consider when you look at VMware Windows Server 2019 template best practices. Let’s take a look at a few things that need to be considered when deploying your Windows Server 2019 virtual machine from a template in VMware vSphere.
Why Use a VMware Template?
In case you are not currently a user of VMware templates, what is their benefit? Some are right on the cusp of not really deploying enough virtual machines in their minds to really warrant using a template. However, if you are not using VMware templates today, what are some reasons that you might start doing so?
Why use a VMware template? Templates provide a “cookie cutter” approach to having a Windows Server 2016 or Windows Server 2019 virtual machine “look” the way you want it to look as soon as it is deployed.
Using a template is similar to the old days of using an “image” so to speak of a server. We used to get a server or workstation the way we wanted it to look and then we created an image. The image was then used to deploy additional servers or workstations from.
In a similar vein, VMware templates provide the means and ability to create exact representations of all the software, configuration, and other applications that may need to be loaded for a particular environment or use case and then deploy that image into the environment.
Additional benefits include the ability to use templates with further automation in your environment. Many of the DevOps and scripting tools can take a VMware template and use this as the source of cloning for quick and automated deployments.
Using VMware templates to deploy also allows you to use customization specifications which allow you to do things like join Windows Active Directory domains, run one-off commands and scripts, set network configuration automatically, name the computer, and many tasks.
Since using VMware templates is a great way to deploy Windows Server in a powerful way, let’s take a look at VMware Windows Server 2019 Template Best practices to follow when using VMware templates:
- Keep your VMware templates updated
- Install all software and security applications in the template
- Include VMware Tools in the template
- Include tweaks for automation tools you may use
- Install all Windows updates that are current
- Make the decision on how you will sysprep
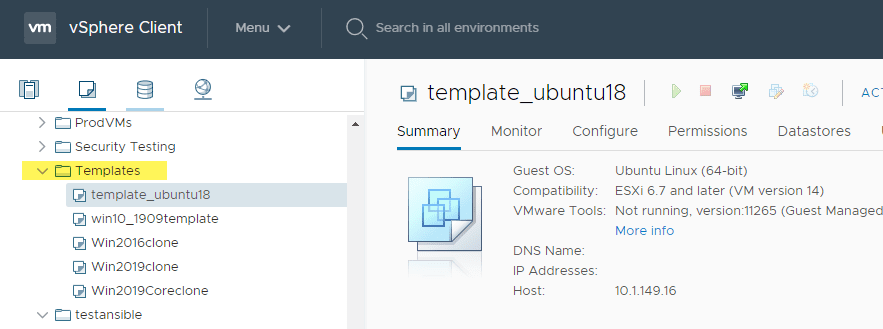
- Use folders to organize your templates
- Use the notes field to provide relevant version information
- Decide what configuration will be included in your customization specification
1. Keep your VMware templates updated
This is an extremely important point to consider. What adds to the value of using VMware templates is that you are saved from many manual processes and provisioning steps.
If the Windows Server 2019 VMware template becomes stale and is quite old, you will no doubt find yourself having to perform update steps and other software configuration updates to align with what is current. Having a process to automatically update your Windows Server 2019 templates is a great way to stay current with the build of Windows Server 2019 you are using.
A great tool to use is Hashicorp’s Packer. With Packer you can fully automate the installation and build of your Windows Server 2019 template, including Windows Updates, etc.
I have written on this topic a number of times. Be sure to check out my post here:
- Automate Windows Server 2019 Core Installation and Deployment
With Packer, you can literally schedule to rebuild your Windows Server 2019 template on a specified frequency of your choosing. In this way, you can automatically have an up-to-date Windows Server 2019 template.
2. Install all software and security applications in the template
One of the main reasons that you use a Windows Server 2019 template is to have a source of your clone operation that already has the applications and software needed already installed.
A best practice with your VMware Windows Server 2019 template is to include not only all your applications and software that are business-critical and support those processes, but to also include all security software that is needed.
This may include antivirus or other cybersecurity agents. This helps to ensure that these components are not missed in a manual installation of software when provisioning your Windows Server 2019 servers manually.
3. Include VMware Tools in the template
In a VMware vSphere environment, it is important to make sure that you install VMware Tools in your Windows Server 2019 template. VMware Tools is the guest operating system tools that allows VMware to interact effectively and efficiently when running your virtual machines in a vSphere environment.
VMware Tools allows the hypervisor to interact with VMs in such a way to perform operations such as graceful shutdowns, restarts, resets, and other power management.
In addition VMware Tools is generally required for effective backups that are “application aware” as these generally use VMware Tools for properly quiescing applications and file activity for an application aware snapshot.
Be sure to include VMware Tools as part of the software you install in the Windows Server 2019 virtual machine.
Again, this can easily be accomplished automatically by using Packer to build your Windows Server 2019 template. See again my article describing how to automate this process in a Windows Server 2019 Core installation.
4. Include tweaks for automation tools you may use
If you intend to use other automation tools in your environment with the Windows Server 2019 template that you create, it is a good idea to think about what needs to be done for these automation tools to interact with your Windows Server 2019 template.
I use Ansible quite extensively in my environment, so making sure that Ansible can properly speak to your Windows Server 2019 installation is an example of this.
Ansible includes a ConfigureRemotingForAnsible.ps1 script that makes it easy to ensure your Windows Server host is ready for Ansible to be able interact with. This script is found here:
- https://github.com/ansible/ansible/tree/devel
5. Install all Windows updates that are current
Another great advantage of using a Windows Server 2019 template is to have a template to clone and deploy from that is current with the latest Windows updates. It is certainly a best practice to keep your Windows Server 2019 templates updated with the latest and greatest Windows updates.
Again, you can do this as part of your automated Windows Server 2019 template build with Packer. Packer can simply take advantage of the PowerShell module PSWindowsUpdate.
Read about how to do this as part of your automated installation using Packer here:
- Windows Server 2019 Unattended Install Windows Updates
6. Make the decision on how you will Sysprep
One of the things that you need to consider when creating a Windows Server or any other Windows templates is how you will handle Sysprep. The Sysprep tool from Microsoft is the supported way to generalize a Windows Server operating system.
This ensures there are no duplicates on the network or domain with SIDs, etc. There has been some discussion and controversy about how needed Sysprep is, however, it is still generally considered best practice to use it currently.
The reason I bring up “make the decision on how you will Sysprep” is that you will need to decide if you are Sysprepping your Windows Server 2019 server before you convert to template, or after.
Generally, what I see is that you don’t Sysprep as part of the template. This is especially the case if you are using tools like VMware’s customization specification or using something like Terraform.
These tools have the sysprep step as part of their deployment mechanisms and will bomb if you already have sysprepped the box before converting to template.
However, you may not be using customization specs or another automation tool and just want to be able to clone and be done using the already Sysprepped template.
7. Use folders to organize your templates
It is a good idea to use folders to organize your VMware templates. This allows you to be able to find your templates all in one place very easily. Folders not resource pools are the way to organize your virtual resources in this way.
8. Use the notes field to provide relevant version information
The Notes field in your vSphere inventory is a great way to provide helpful metadata to your templates. You could include information such as the following:
- Date the template was created
- Operating system it contains
- Any relevant software version information
- Relevant security agent information
- Customized information related to your business
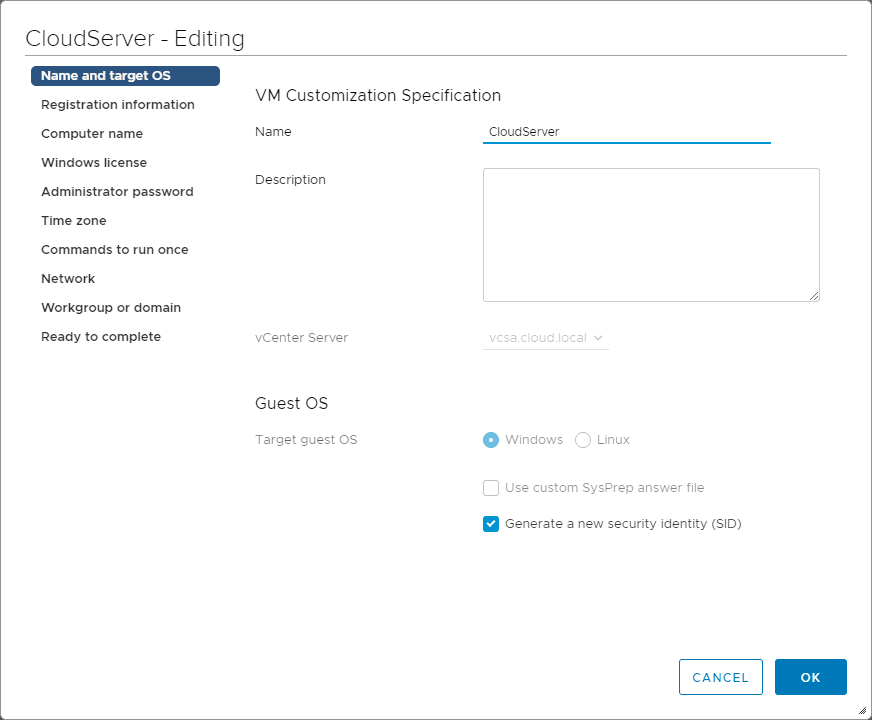
9. Decide what configuration will be included in your customization specification
As mentioned early on, generally in most VMware vSphere environments, you will want to take advantage of using customization specifications. Below are notes from VMware on customization specifications:
“Using customization specs helps prevent conflicts that can result if you deploy virtual machines with identical settings, such as duplicate computer names.
When you clone an existing virtual machine, or deploy a virtual machine from a VM template in a folder, you can customize the guest operating system of the resulting virtual machine during the clone or the deployment tasks.
When you deploy a virtual machine from a template in a content library, you can customize the guest operating system only after the deployment task is complete
When you build your Windows Server 2019 template, you want to think about commands that you may run in the customization specification and those that need to be included as part of the tempate.
The customization spec helps to take care of the computer name, domain joins, network configuration, and one off, ad-hoc commands you may want to run.
Wrapping Up
As you can tell, there are many VMware Windows Server 2019 Template Best Practices to consider when building out your Windows Server 2019 template.
Leveraging VMware templates in your infrastructure helps to ensure that you can efficiently deploy new Windows Server 2019 servers as needed in a way that is streamlined and consistent.
Using other tools such as Packer, Ansible, and Terraform in conjunction with VMware vSphere templates is a great way to further extend the power of your VMware templates in your environment.