
В данной статье мы рассмотрим процесс установки (как установить) Windows Server 2016 с нуля от самого начала до конца, и немного затронем первичную подготовку к непосредственной настройке Windows Server 2016. А саму настройку, уже после установки Windows Server 2016 мы рассмотрим в следующей статье.
1) Первое, что нужно сделать — это скачать сам дистрибутив. Скачать его можете на нашем сайте по этой ссылке. Дистрибутив содержит в себе две редакции Standard и Datacenter на русском и английском языке. При установке у Вас будет выбор что именно нужно Вам установить.
2) Второе, что нужно сделать — это записать дистрибутив на флешку, сделав ее загрузочной. Это нужно для того, что бы Вы смогли загрузиться на флешку из под биоса для инсталляции системы. Подробная инструкция как записать дистрибутив на флешку по следующей ссылке.
3) Соответственно следующий шаг — это нужно загрузиться с загрузочной флешки из под биоса. Если Вы не знаете как это сделать, ознакомиться с инструкцией можете так же в нашем блоге на следующей странице.
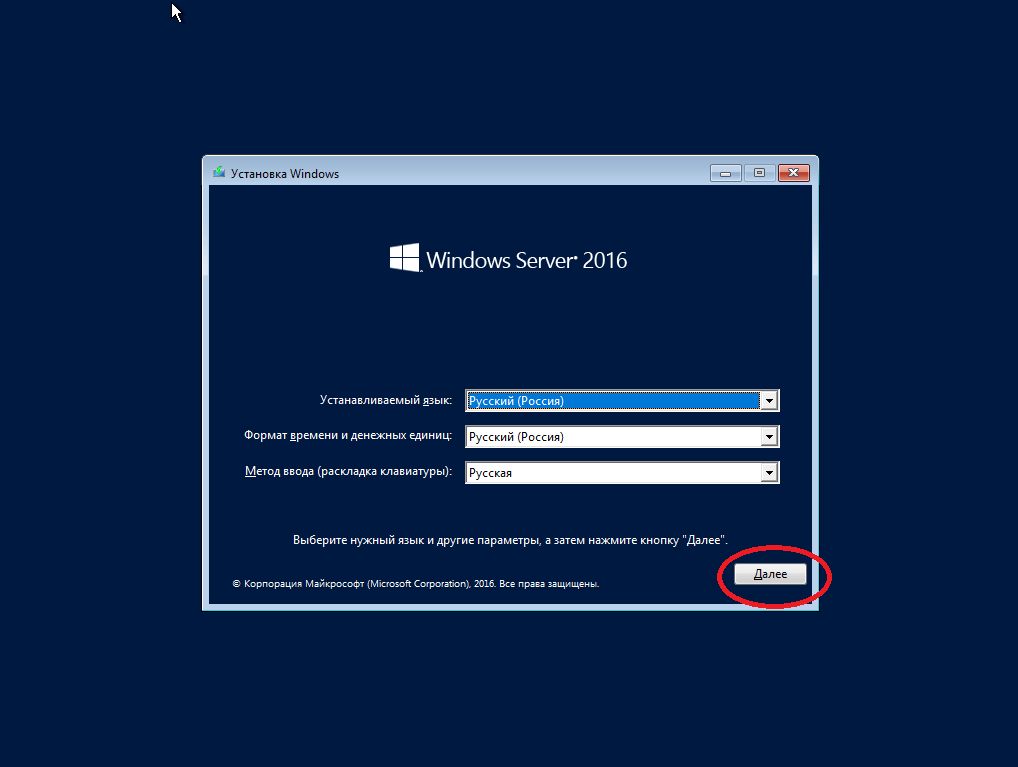
4) Итак, мы уже загрузились с флешки и приступаем к непосредственной установке системы Windows Server 2016.

Выбираем нужный язык дистрибутива.
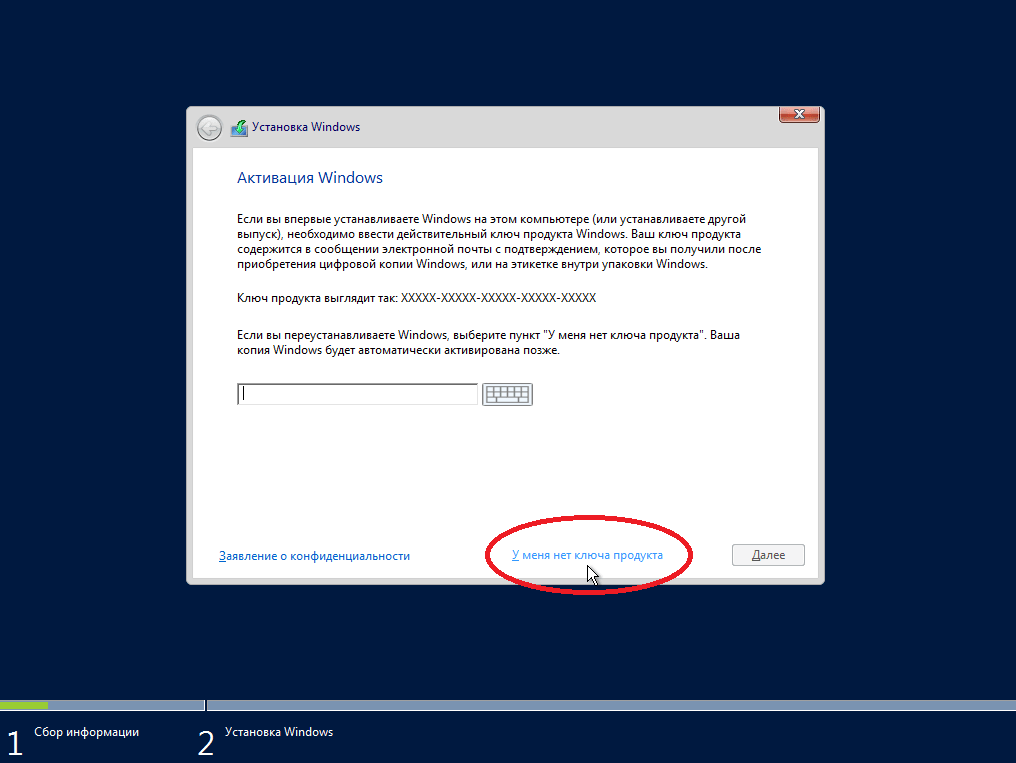
На следующем этапе у Вас запросят ключ активации для Windows Server 2016, мы его введем позже, уже в самой системе. А при установке выбираем «У меня нет ключа продукта».
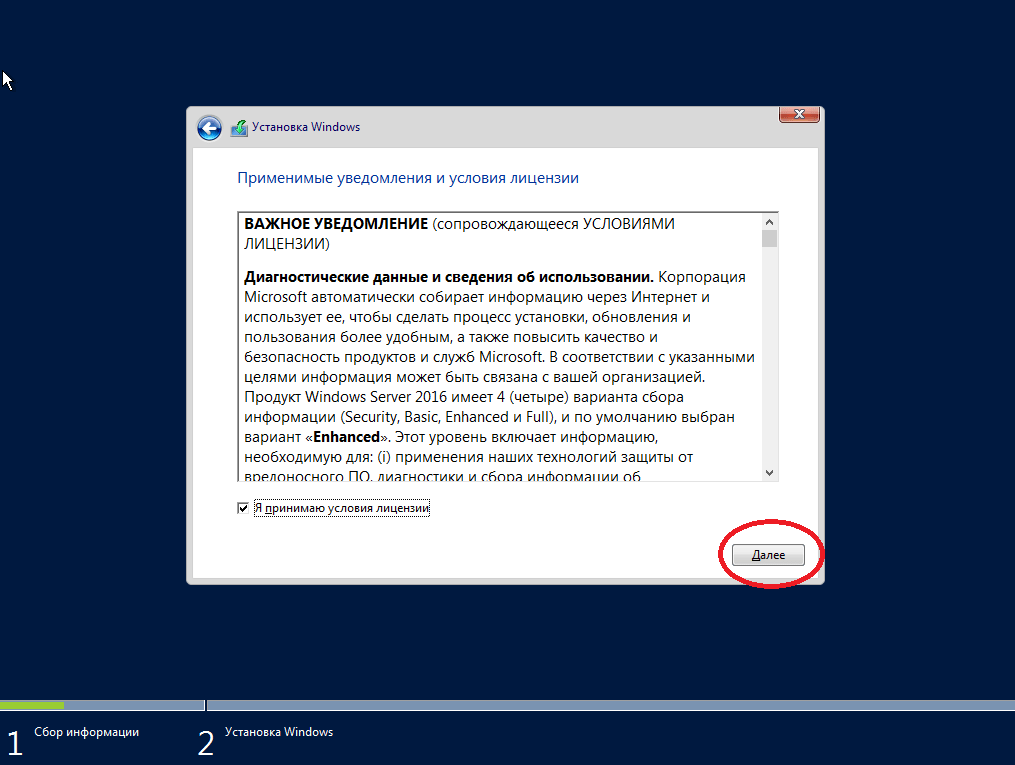
Далее Вас попросят выбрать какой именно версии дистрибутив Вы хотите установить Standard или Datacenter (на примере мы будем устанавливать Standard, но установка Datacenter ничем не отличается), а так же обязательно выбираем «Возможности рабочего стола», иначе система у Вас установится без графической оболочки и управление Windows Server будет доступна только из консоли.

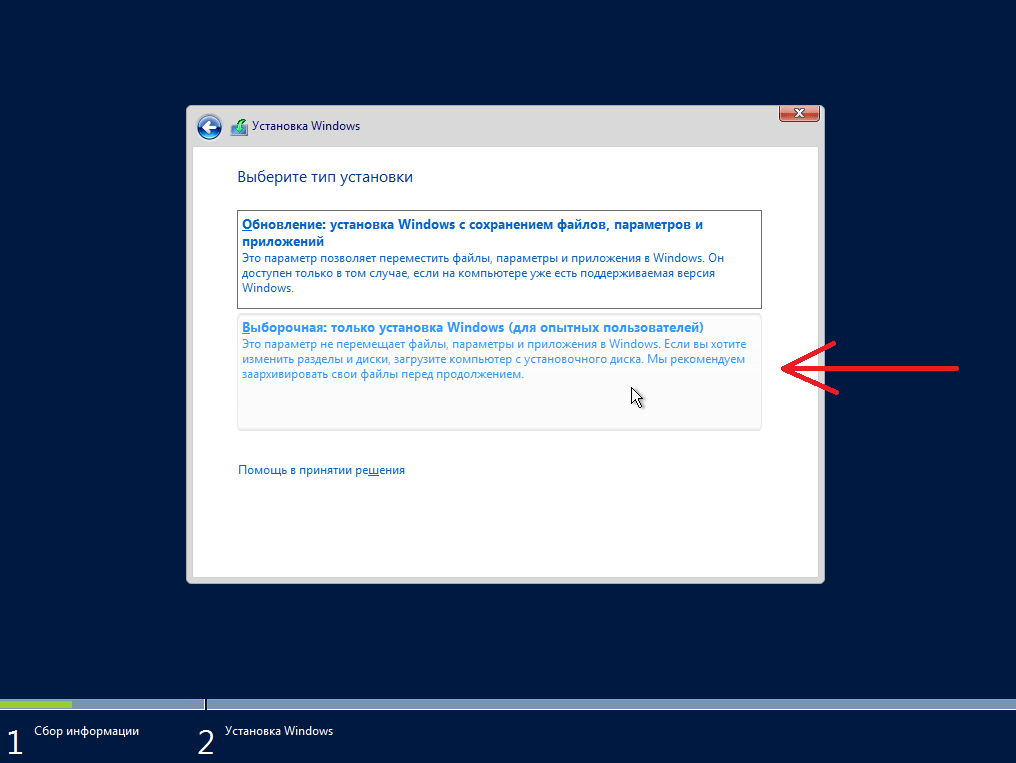
На следующем пункте выбираем «Выборочную установку», т.к мы устанавливаем систему с нуля.
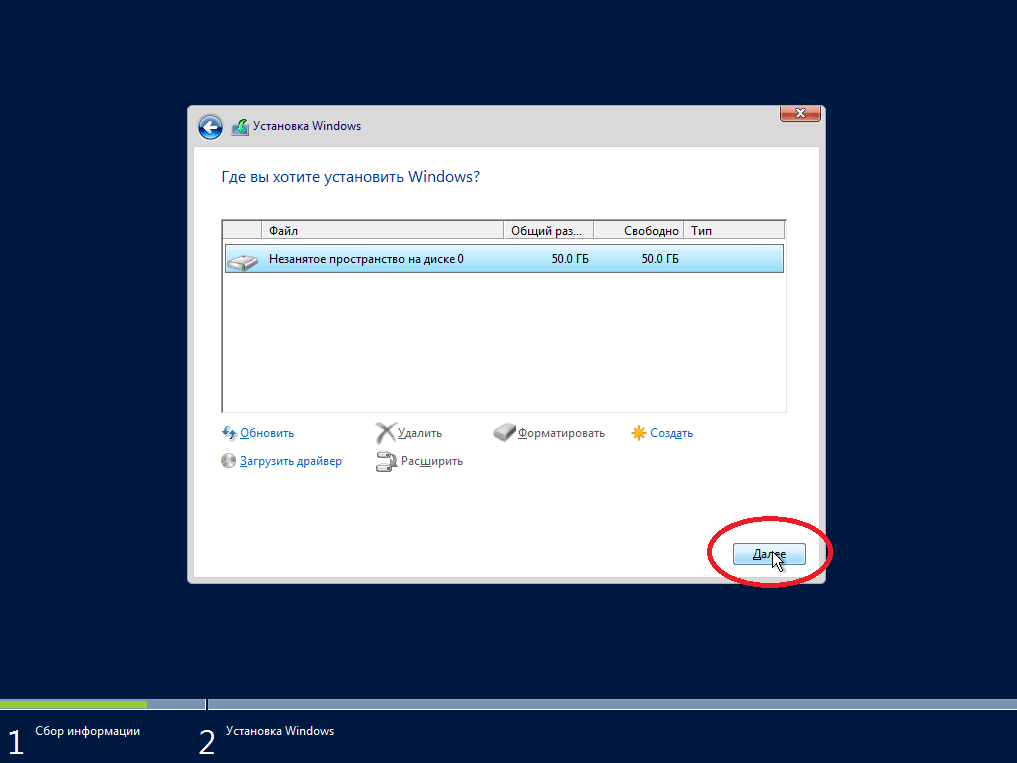
Далее Вам нужно будет выбрать диск, на который Вы хотите установить систему, у Вас их может быть несколько, к примеру SSD для системы, и HDD для хранения файлов, или что-то другое. В нашем случае на примере диск один.
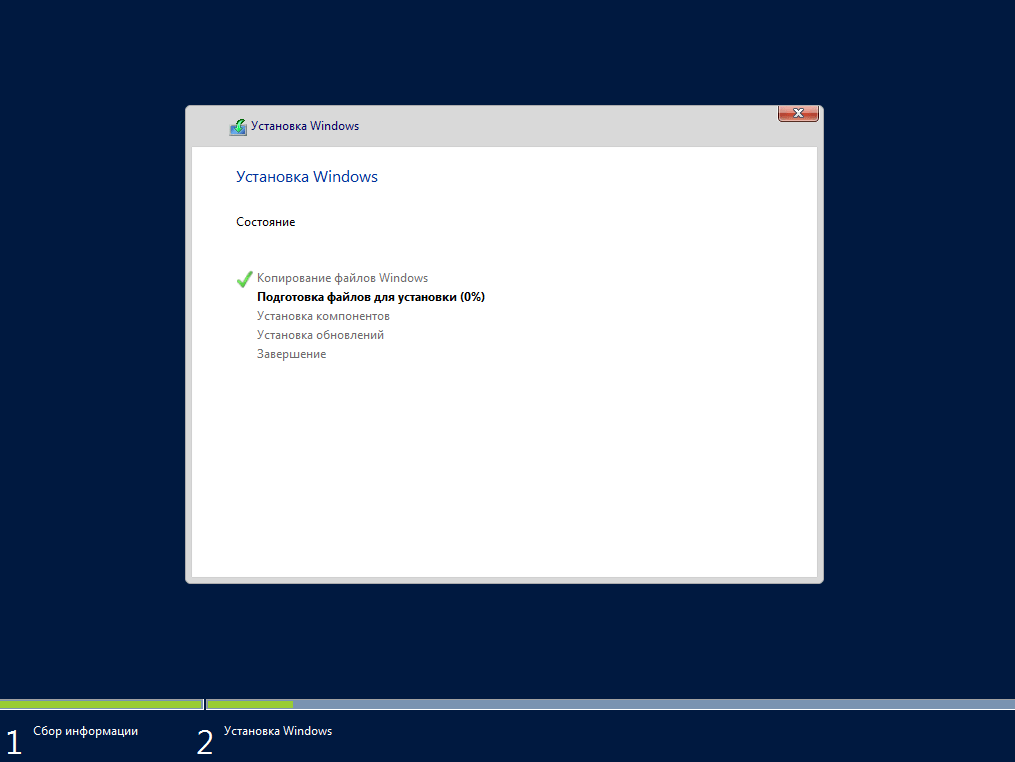
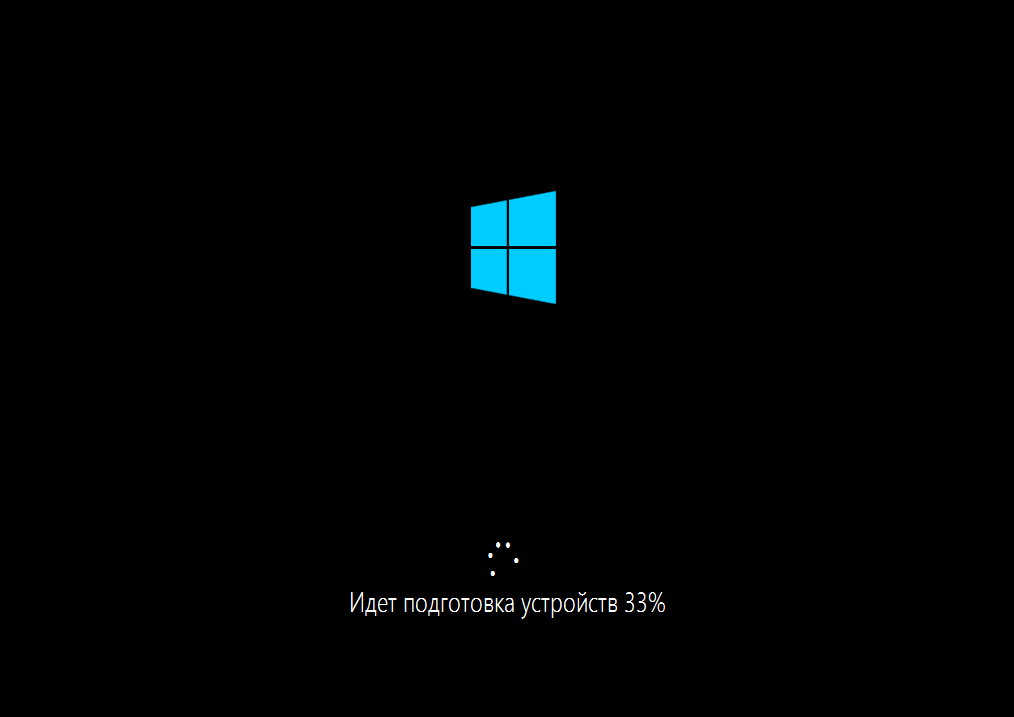
После начинается непосредственно сама установка Winodws Server 2016.
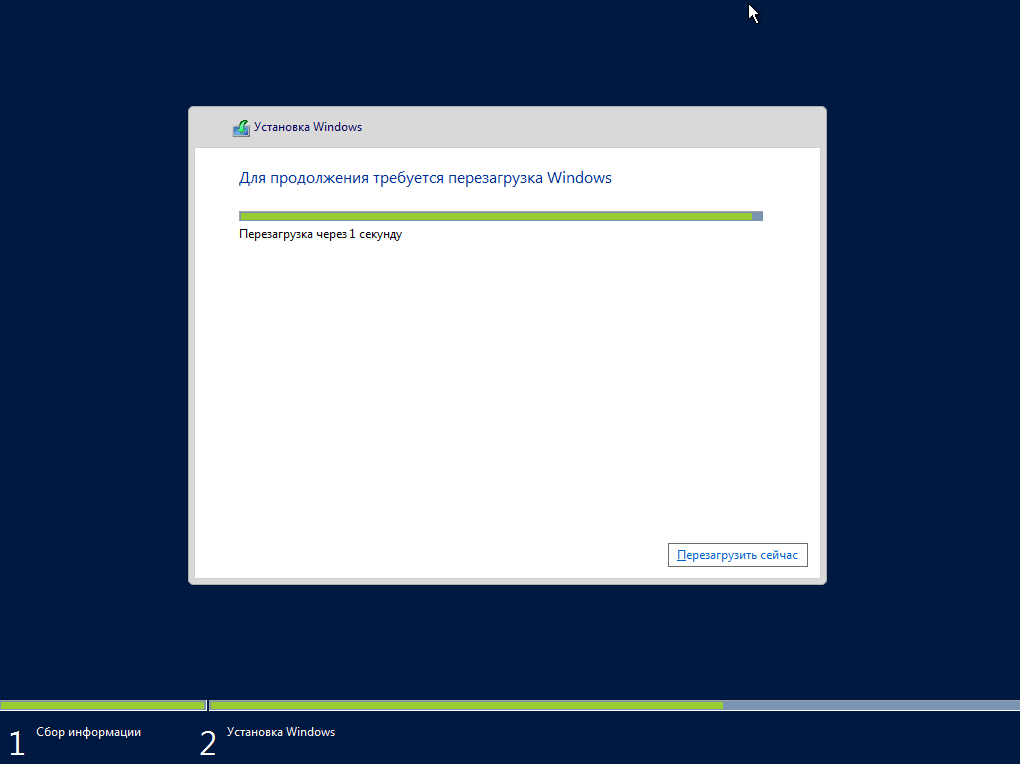
После завершения установки и обновлений компьютер пару раз может перезагрузиться.
Далее Вам нужно придумать пароль администратора, он будет запрашиваться при входе в систему. Используйте латинские символы, пароль так же должен содержать как минимум одну большую букву и цифру.
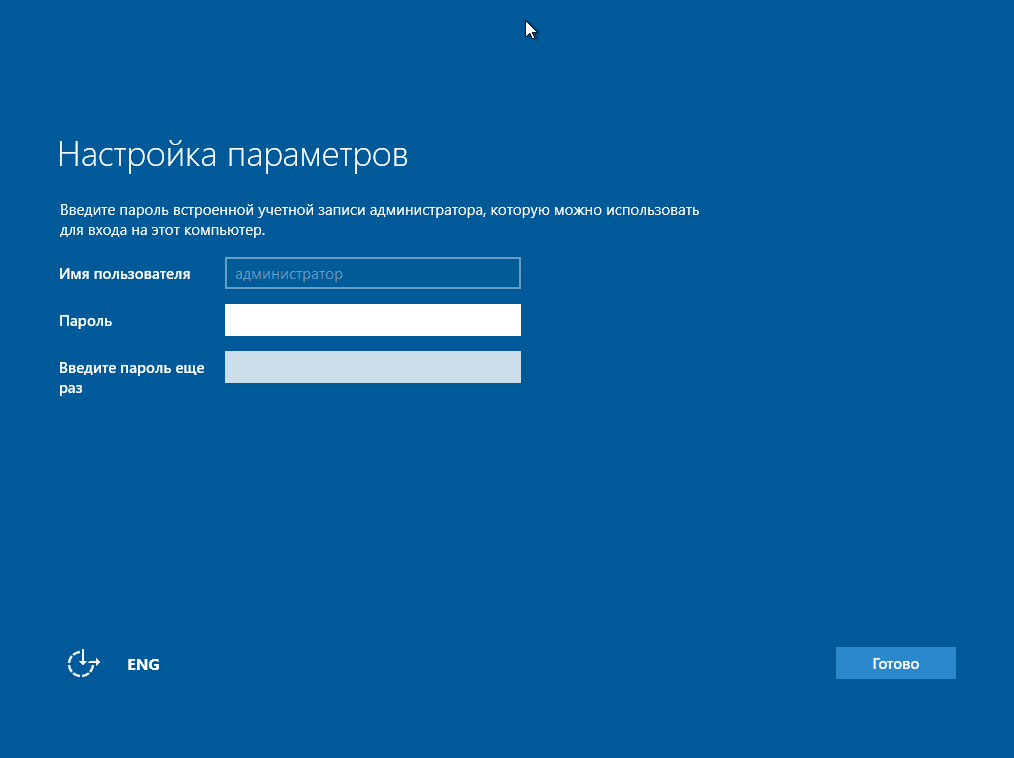
После установки пароля входим в систему.
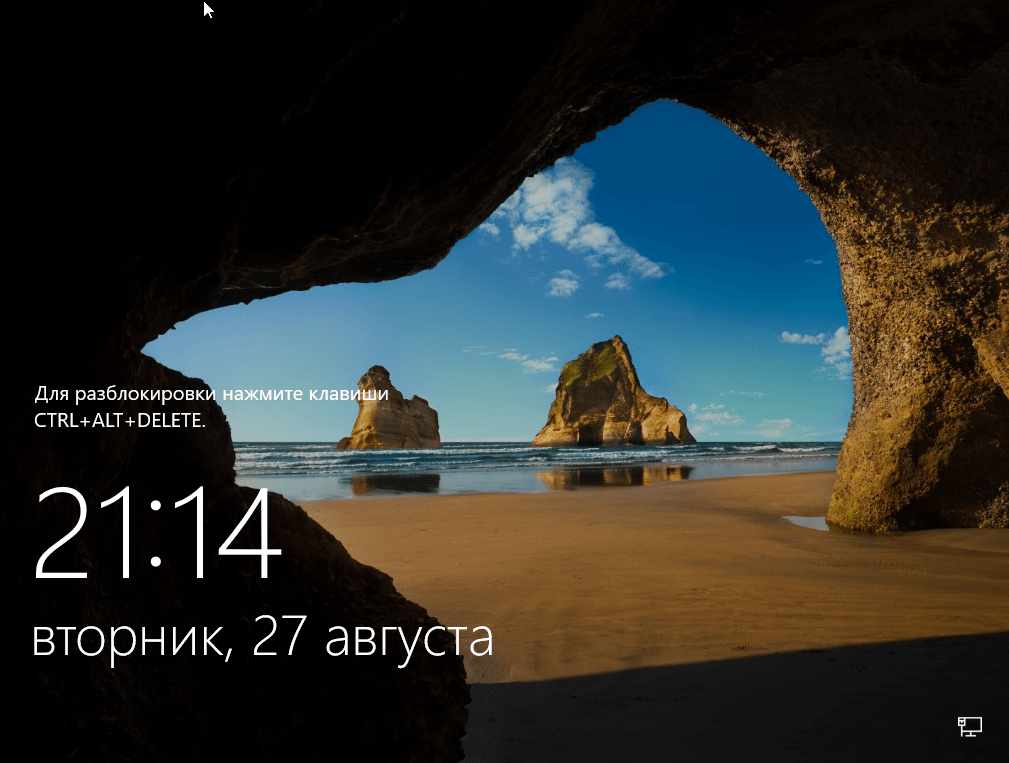
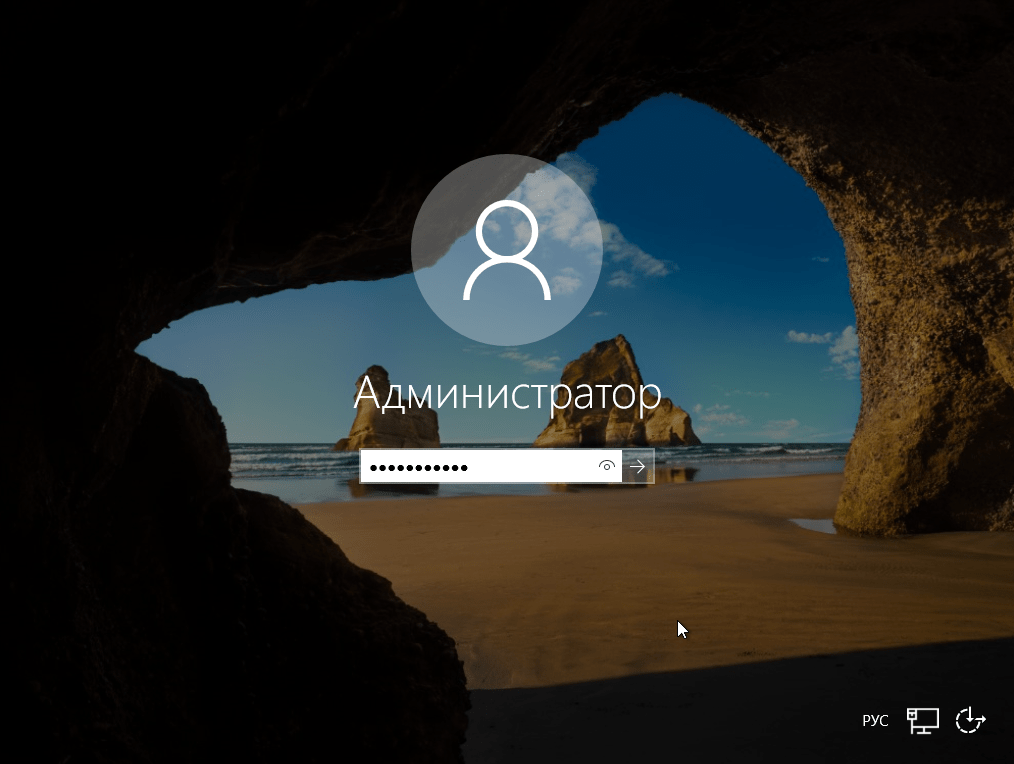
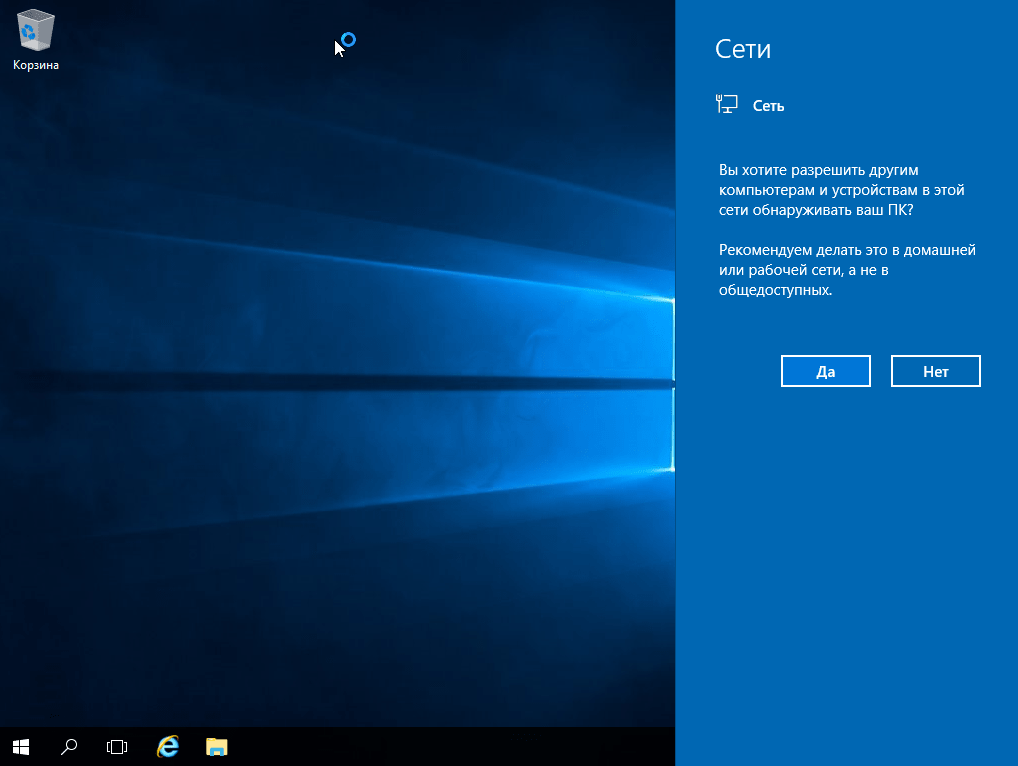
Вот мы и зашли на рабочий стол Windows Server 2016. Нажимаем «Да», если у Вас проводное соединение, для получения доступа в интернет.
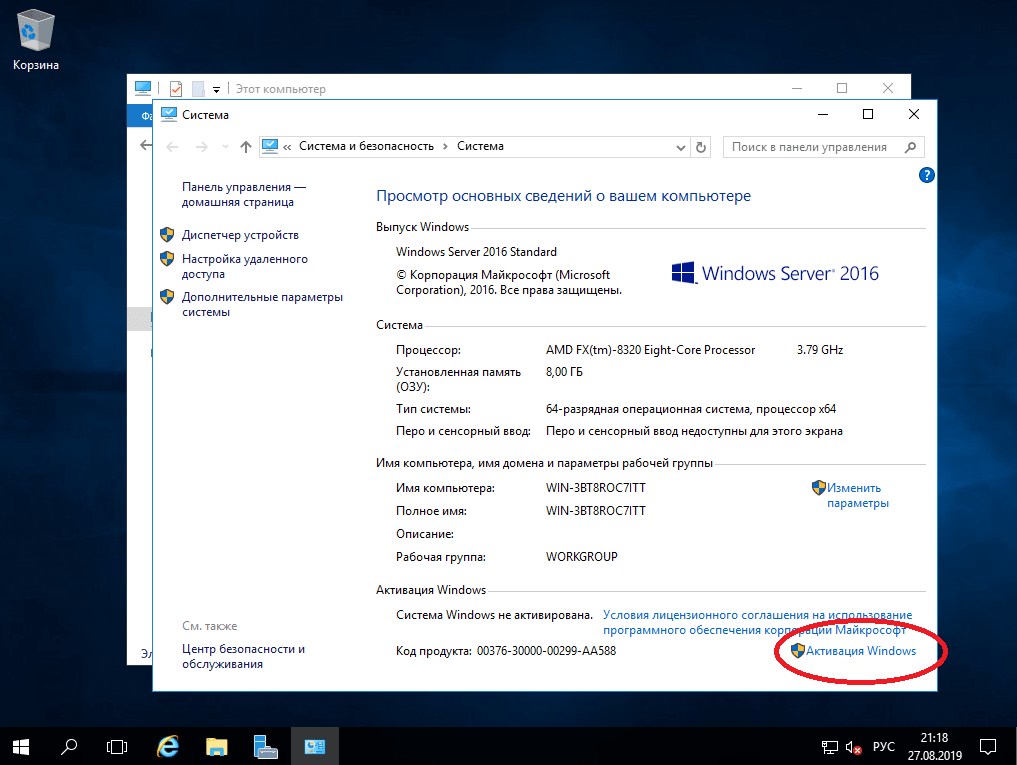
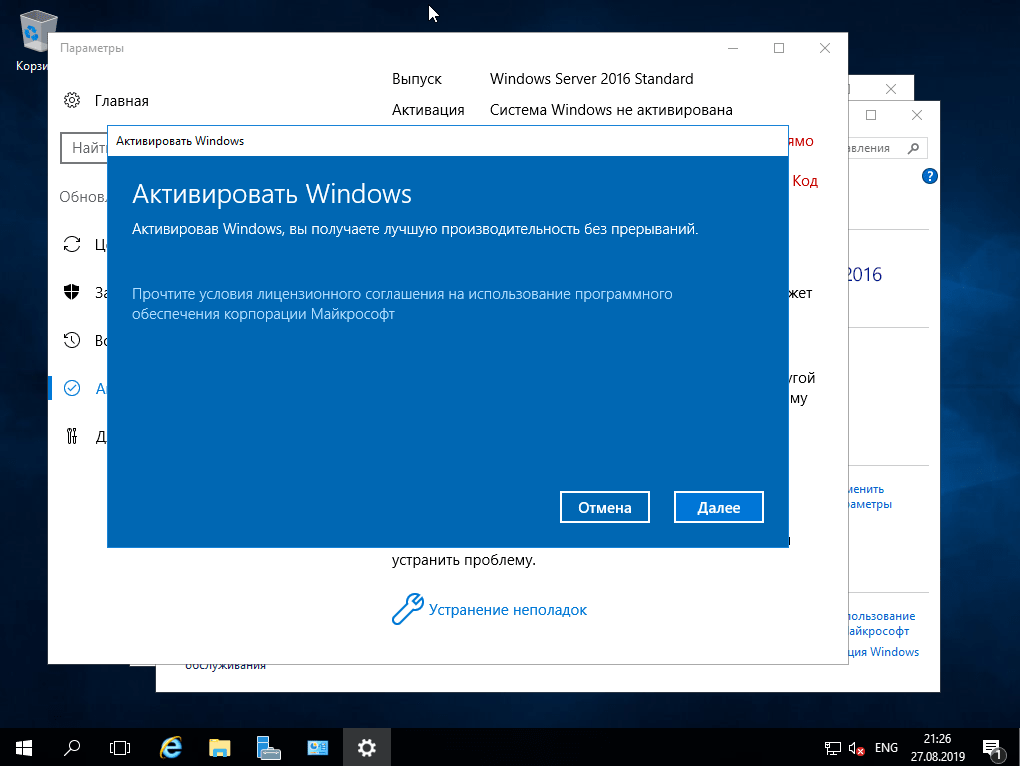
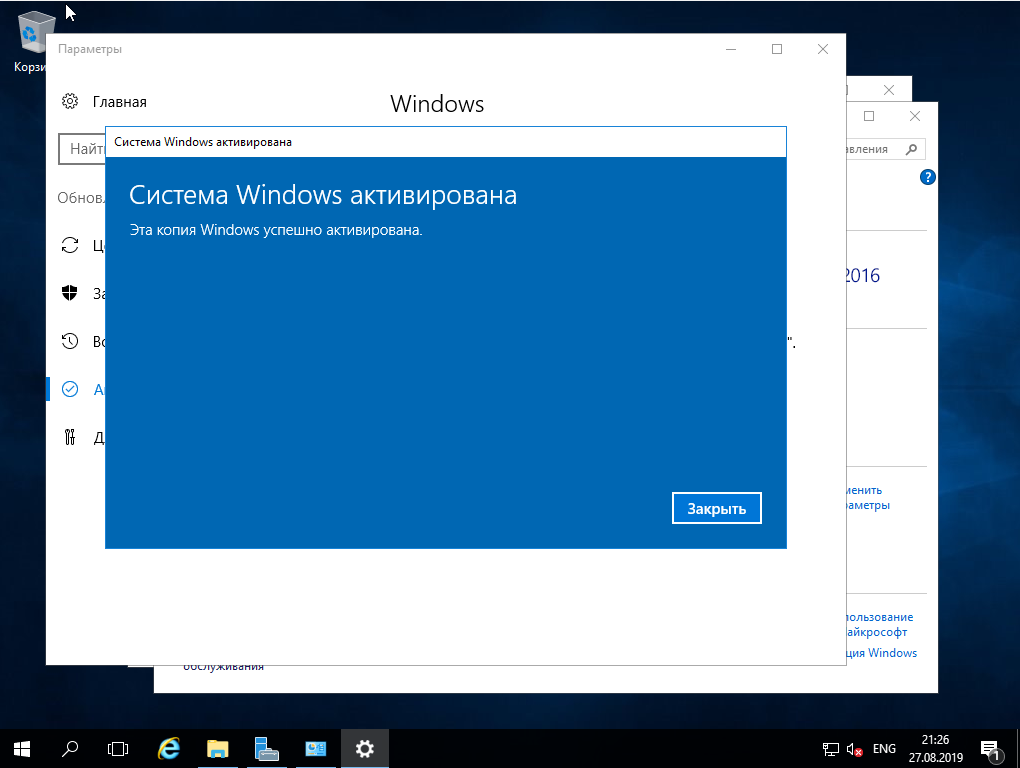
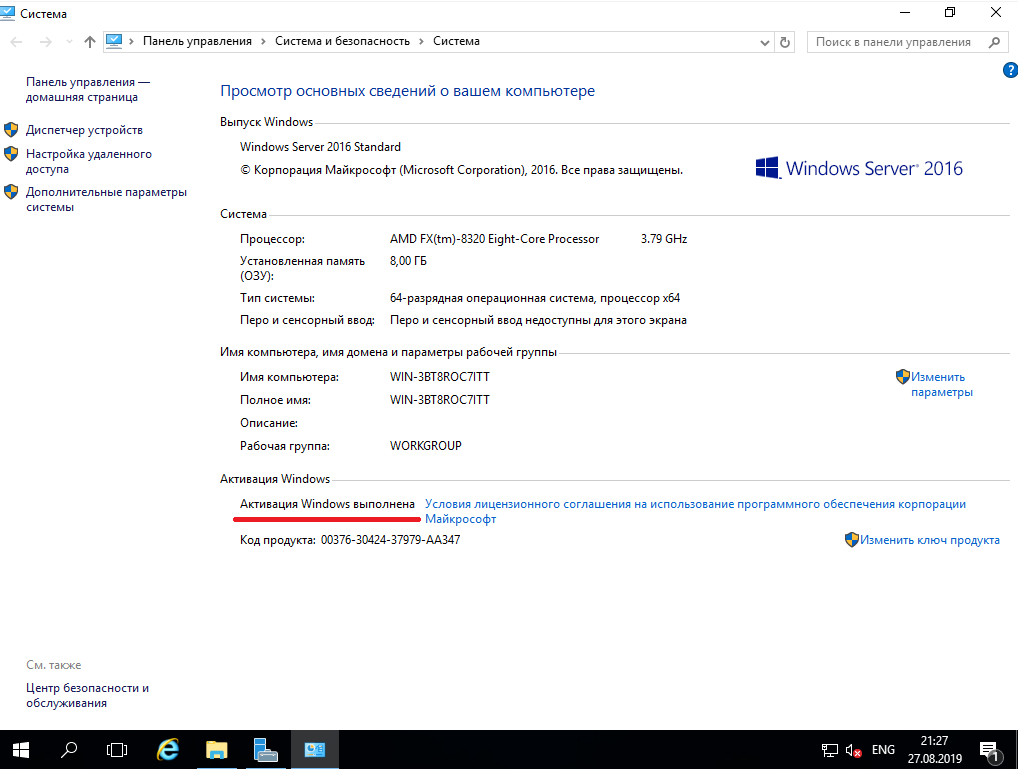
5) Приступим к первичной настройке, не углубляясь в сложности настройки серверной системы. Для начала активируем саму систему. Заходим в свойства компьютера => Активация Windows. Там Вам нужно будет ввести ключ активации.
Приобрести его можете в нашем интернет-магазине по низкой цене. Быстрая доставка ключа на Ваш Email в течении одного часа, так что настройка системы не заставит Вас долго ждать. Приобрести ключ активации на Windows Server 2016 можете в нашем каталоге на следующей странице.
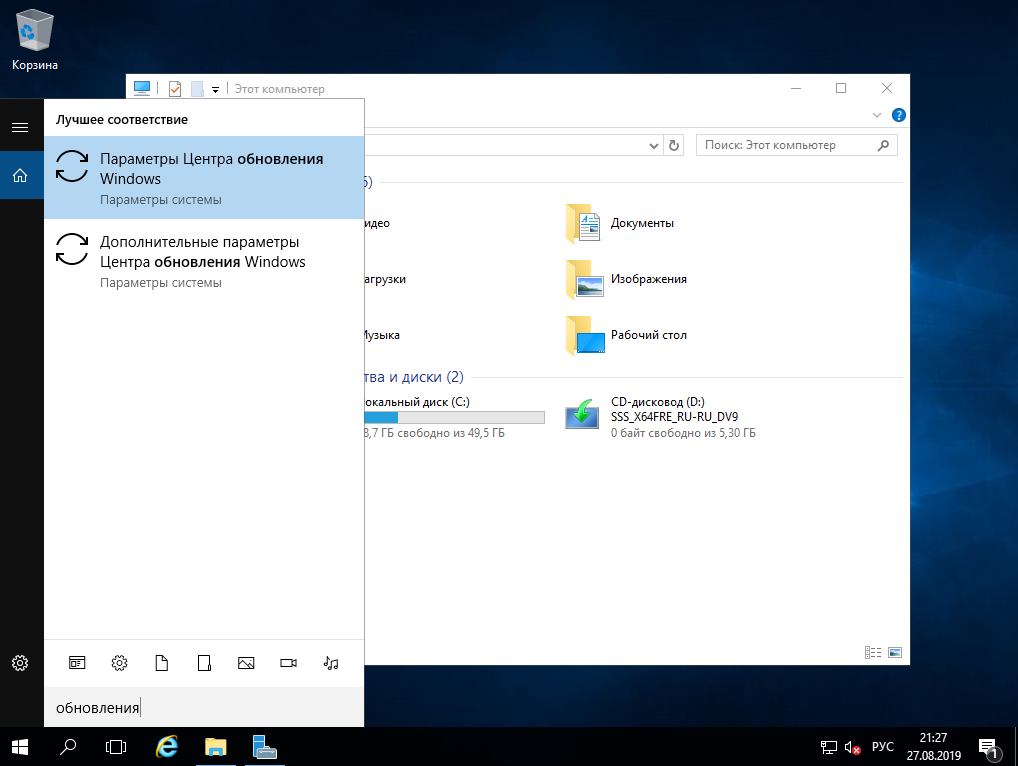
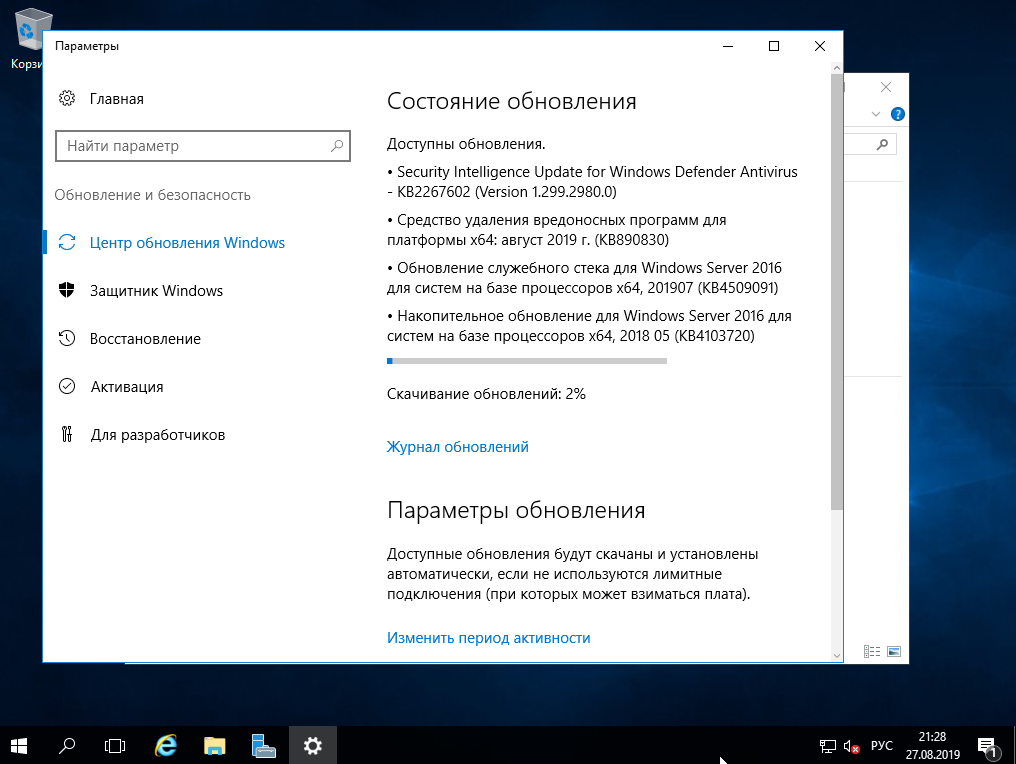
6) Далее приступим к обновлению системы. Чтобы у нас изначально были все актуальные пакеты обновлений и безопасности, для Windows Server — это как никогда очень важно.
В поиске вводим слово «Обновления» и заходим в «Параметры центра обновлений Windows». Проверяете наличие обновлений, скачиваете и устанавливаете. После установки всех пакетов обновлений перезагрузите систему.
В следующей статье мы расскажем как настроить Windows Server.
Лицензионный ключ активации Windows Server 2016 от
Конечно, что самый простой и интуитивный способ создать загрузочную USB флешку для установки Windows Server 2016 на физический сервер – воспользоваться утилитой Windows USB/DVD Download Tool. Данная утилита позволяет записать имеющийся *.iso образ Windows на USB флешку/диск и сделать его загрузочным. Однако, она форматирует флешку в файловую систему NTFS, загрузка с которой не поддерживается на UEFI системах и пригодна такая флешка только для установки Windows только на BIOS системах. В данной статье мы покажем, как без использования сторонних утилит создать установочную флешку с дистрибутивом Windows Server 2016.
Примечание. В отличии BIOS систем, которые могут загрузиться с загрузочных разделов с файловыми системам FAT, FAT32, exFAT или NTFS, UEFI системы могут загрузится только с загрузчика, находящегося на диске, отформатированном в ФС FAT32.
В зависимости от архитектуры сервера UEFI / BIOS нужно воспользоваться одним из следующих способов создания установочной флешки.
Содержание:
- Установочная USB флешка для UEFI системы
- Установочная флешка c таблицей разделов MBR для BIOS и UEFI архитектур
- Размер файла Install.wim более 4 Гб
Важно. При выполнении данной инструкции нужно быть внимательным, проверять пути к дискам и номера дисков, в противном случае, можно случайно отформатировать диск с данными. USB флешка будет отформатирована в любом случае, и данные на ней удалены.
Установочная USB флешка для UEFI системы
В том случае, если флешка будет использоваться для загрузки и установки Windows Server 2016 на сервере с поддержкой UEFI, на загрузочную флешку накладываются следующие требования:
- Минимальный размер USB флешки – 8 Гб
- Тип таблицы разделов флешки – GPT
- Файловая системе — FAT32
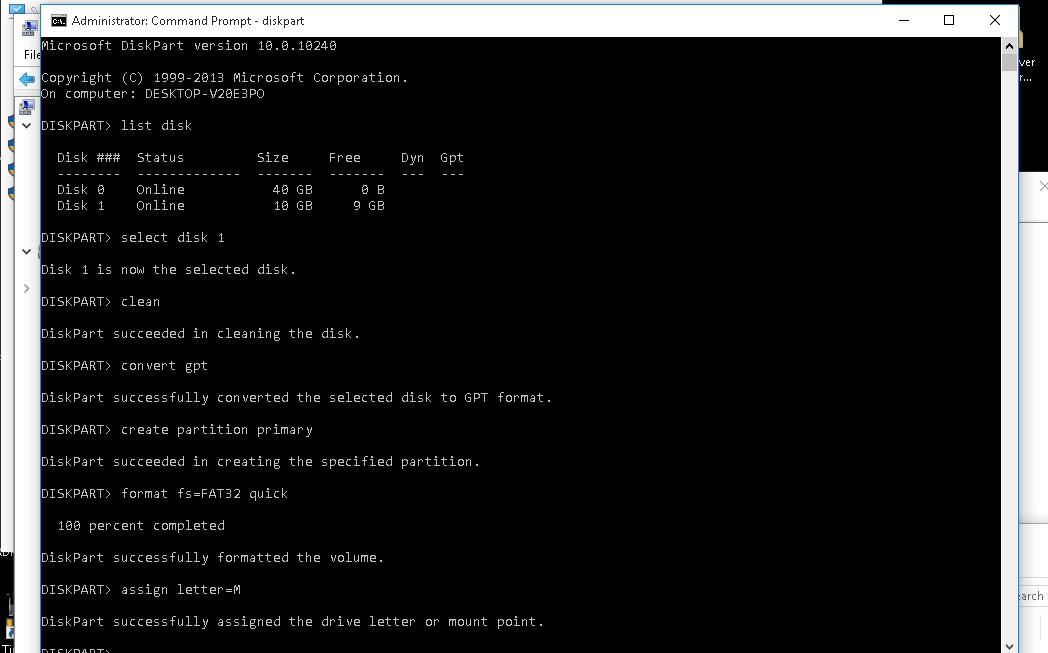
Итак, подключите USB флешку к компьютеру (в нашем примере это ПК с Windows 10), откройте командную строку с правами администратора, выполните команду DISKPART, в контексте которой выполните следующие команды:
list disk
Выведем список дисков, моем случае USB флешка имеет номер диска 1. Выберем ее.
select disk 1
Очистим содержимое флешки.
clean
Преобразуем таблицу разделов в GPT:
convert gpt
Создадим новый раздел (размер не должен превышать 16 Гб):
create partition primary
Совет. Если размер USB флешки более чем 16 Гб, нужно создать раздел, размером до 16Гб:
create partition primary size=16000
Отформатируем раздел в ФС FAT32:
format fs=FAT32 quick
Назначим новому разделу букву диска:
assign letter=M
Осталось завершить сеанс diskpart:
exit
Скопируем файлы дистрибутива со смонтированного iso образа Windows Server 2016 на флешку (предполагаем, что iso образ смонтирован с буквой диска E:\).
xcopy e:\* m:\ /H /F /E
Установочная флешка c таблицей разделов MBR для BIOS и UEFI архитектур
Возможно создать установочную флешку с Windows Server 2016 с таблицей разделов MBR для BIOS и UEFI системе. К USB драйву предъявляются следующие требования:
- Минимальный размер USB флешки – 8 Гб
- Тип таблицы разделов– MBR
- Файловая системе — FAT32
Также запустите сессию diskpart и последовательно выполните команды:
Список дисков в системе:
list disk
Выбираем USB диск (в моем примере, Disk 1):
select disk 1
Очистим диск:
clean
Создадим новый раздел размером не более 16 Гб. Если размер флешки меньше 16 Гб:
create partition primary
Если больше:
create partition primary size=16000
Отформатируем флешку в файловой системе FAT32:
format fs=FAT32 quick
Сделаем раздел активным и назначим букву диска M:
active
assign letter=M

Завершим работу diskpart командой exit и скопируем файлы дистрибутива на флешку:
xcopy e:\* m:\ /H /F /E
Размер файла Install.wim более 4 Гб
В том случае, если размер файла Install.wim более 4Гб, скопировать такой файл на флешку не получится, т.к. максимальный размер файла на файловой системе ограничен 4 Гб. В данной ситуации придется разбить wim файл на несколько более мелких файлов с помощью DISM:
dism /Split-Image /ImageFile:e:\sources\install.wim /SWMFile:m:\sources\install.swm /FileSize:4096
If you have download the latest version of Windows Server 2016 you can create a USB stick to install it on a physical server. This blog goes through how you create a USB Stick for Windows Server 2016.
For UEFI Systems:
- The at least a 8GB USB drive has to be formatted in FAT32
- The USB needs to be GPT and not MBR
- Copy all files from the ISO to the USB drive
This is it, and here is how you do it:
First plugin your USB drive to your computer. The USB drive should be bigger than 6GB.
Open a CMD prompt or PowerShell using the Run as Administrator option and open diskpart. Now you can do list all this by using
Select the USB disk, in my case this was disk 1
Clean the disk. Be careful this will remove all files and partitions on the USB media.
Now convert it to GPT
Create a new primary partition. But make sure the partition is not greater than 16GB otherwise it can be formatted with FAT32.
create partition primary

# If your USB drive is bigger than 16GB use the following command

create partition primary size=16000
Format the partition with FAT32
Assign a drive letter to the volume
now you can exit the diskpart and copy all files from the Windows or Windows Server to the USB drive and boot it. This works with Windows 8, Windows 8.1, Windows 10, Windows Server 2012, Windows Server 2012 R2 and Windows Server 2016 or even Hyper-V Server in the same editions.
For MBR systems:
- The at least a 8GB USB drive has to be formatted in FAT32
- The USB needs to be MBR
- Partition need so be set active
- Copy all files from the ISO to the USB drive
This is it, and here is how you do it:
First plugin your USB drive to your computer. The USB drive should be bigger than 6GB.
Open a CMD prompt or PowerShell using the Run as Administrator option and open diskpart. Now you can do list all this by using
Select the USB disk, in my case this was disk 1
Clean the disk. Be careful this will remove all files and partitions on the USB media.
Create a new primary partition. But make sure the partition is not greater than 16GB otherwise it can be formatted with FAT32.
create partition primary

# If your USB drive is bigger than 16GB use the following command

create partition primary size=16000
Format the partition with FAT32
Set Active
Assign a drive letter to the volume
now you can exit the diskpart and copy all files from the Windows or Windows Server to the USB drive and boot it. This works with Windows 8, Windows 8.1, Windows 10, Windows Server 2012, Windows Server 2012 R2 and Windows Server 2016 or even Hyper-V Server in the same editions.
Important:
If Install.wim is larger than 4GB, you cannot copy the file to the drive, because of theFAT32 based partition limitation. The solutions for this is to split the wim file into smaller files.
split wim file using dism (you may have to change the drive letters):
dism /Split-Image /ImageFile:e:\sources\install.wim /SWMFile:k:\sources\install.swm /FileSize:4096
Tags: Boot, diskpart, DISM, MBR, Microsoft, UEFI, USB, USB Drive, Windows, Windows 10, Windows Server 2016 Last modified: April 25, 2019
About the Author / Thomas Maurer
Thomas works as a Principal Program Manager & Chief Evangelist Azure Hybrid at Microsoft (Cloud + AI). He engages with the community and customers around the world to share his knowledge and collect feedback to improve the Azure hybrid cloud and edge platform. Prior to joining the Azure engineering team (Cloud + AI), Thomas was a Lead Architect and Microsoft MVP, to help architect, implement and promote Microsoft cloud technology.
If you want to know more about Thomas, check out his blog: www.thomasmaurer.ch and Twitter: www.twitter.com/thomasmaurer
Since Windows Server 2016 has been released, I grabbed the RTM ISO file and wanted to install a new server using a USB stick.
I configured the BIOS settings of the server to only boot UEFI and disabled the legacy boot.
Some of the key points to bear in mind:
- A USB stick with more than 5.3GB is required
- UEFI requires a FAT32 partition
- FAT32 has some serious limitations and the size of the install.wim file exceeds those limits. This file requires therefore to be split into multiple more suitable parts
More on this here: https://blogs.technet.microsoft.com/askcore/2013/03/20/creating-bootable-usb-drive-for-uefi-computers/
Here’s how I created my USB boot media compatible with UEFI using PowerShell:
This file contains hidden or bidirectional Unicode text that may be interpreted or compiled differently than what appears below. To review, open the file in an editor that reveals hidden Unicode characters.
Learn more about bidirectional Unicode characters
| # minimum size of USB stick 5.29GB | |
| # Set here the path of your ISO file | |
| $iso = ‘C:\Users\localuser\Downloads\en_windows_server_2016_x64_dvd_9327751.iso’ | |
| # Clean ! will clear any plugged-in USB stick!! | |
| Get-Disk | Where BusType -eq ‘USB’ | | |
| Clear-Disk -RemoveData -Confirm:$true -PassThru | |
| # Convert GPT | |
| if ((Get-Disk | Where BusType -eq ‘USB’).PartitionStyle -eq ‘RAW’) { | |
| Get-Disk | Where BusType -eq ‘USB’ | | |
| Initialize-Disk -PartitionStyle GPT | |
| } else { | |
| Get-Disk | Where BusType -eq ‘USB’ | | |
| Set-Disk -PartitionStyle GPT | |
| } | |
| # Create partition primary and format to FAT32 | |
| $volume = Get-Disk | Where BusType -eq ‘USB’ | | |
| New-Partition -UseMaximumSize -AssignDriveLetter | | |
| Format-Volume -FileSystem FAT32 | |
| if (Test-Path -Path «$($volume.DriveLetter):\») { | |
| # Mount iso | |
| $miso = Mount-DiskImage -ImagePath $iso -StorageType ISO -PassThru | |
| # Driver letter | |
| $dl = ($miso | Get-Volume).DriveLetter | |
| } | |
| if (Test-Path -Path «$($dl):\sources\install.wim») { | |
| # Copy ISO content to USB except install.wim | |
| & (Get-Command «$($env:systemroot)\system32\robocopy.exe») @( | |
| «$($dl):\», | |
| «$($volume.DriveLetter):\» | |
| ,’/S’,’/R:0′,’/Z’,’/XF’,’install.wim’,’/NP’ | |
| ) | |
| # Split install.wim | |
| & (Get-Command «$($env:systemroot)\system32\dism.exe») @( | |
| ‘/split-image’, | |
| «/imagefile:$($dl):\sources\install.wim», | |
| «/SWMFile:$($volume.DriveLetter):\sources\install.swm», | |
| ‘/FileSize:4096’ | |
| ) | |
| } | |
| # Eject USB | |
| (New-Object -comObject Shell.Application).NameSpace(17). | |
| ParseName(«$($volume.DriveLetter):»).InvokeVerb(‘Eject’) | |
| # Dismount ISO | |
| Dismount-DiskImage -ImagePath $iso |
- Download the Utility
- Load Windows onto the USB
- Create the USB Drive
- Enable .NET 2.0
Windows Server 2016 can be installed in a similar fashion as the last several releases. In this example, we will create a bootable USB drive with Windows Server 2016 available to install. The classic method of creating a Windows Installation USB drive is to use the free utility Windows USB/DVD Download Tool.
Download the Utility
Download the latest version of the Windows USB/DVD Download Tool from Codeplex.
Install and run the utility on a Windows desktop system with a USB drive attached.
The utility is still called “Windows 7 USB/DVD Download Tool”
.NET may be required to be enabled as the utility requires .NET 2.0 To enable .NET 2.0 simply go to Control Panel and enable .NET Framework 3.5 (see screenshot below)
Load Windows onto the USB
When the Utility is started, a four-step wizard begins.

Step one asks for the Windows ISO source file. This will be the Windows distribution that will be copied and installed onto the USB drive.

Select USB Device. DVD is also an option for creating bootable DVD disks.

Make sure the correct USB drive is selected. The contents of the USB drive will be destroyed.
Create the USB Drive
Select Begin Copying to create the USB bootable drive.

The utility gives you a chance to cancel, otherwise select Erase USB Device.

You are given one more chance to back out. Select Yes.
In Step four, the USB drive is partitioned, formatted and Windows is unloaded, and the USB drive is configured as a bootable device.


And the USB drive is complete. Either exit or create another Windows setup distribution.
To install Windows from the USB, boot a computer from the USB and the Windows Installer OS will initiate the Windows Installation.
Enable .NET 2.0
If during installation the utility displays a message requiring .NET 2.0, open Control Panel and enable the feature .NET 3.5 (and thereby .NET 2.0).
