
Последнее обновление: 30.01.2023
Установка Clang
Одним из наиболее распространенных компиляторов для языка C++ является компилятор Clang, который развивается в рамках проекта LLVM.
Рассмотрим создание первой простейшей программы на C++ с помощью Clang под ОС Windows.
Прежде всего нам надо установить непосредственно сам компилятор. Clang развивается в рамках проекта LLVM, репозиторий которого можно найти на github:
https://github.com/llvm/llvm-project. И данный проект предоставляет готовый установщик компилятора под Windows
Для загрузки установщика под Windows перейдем на страницу релизов в данном репозитории по ссылке https://github.com/llvm/llvm-project/releases/
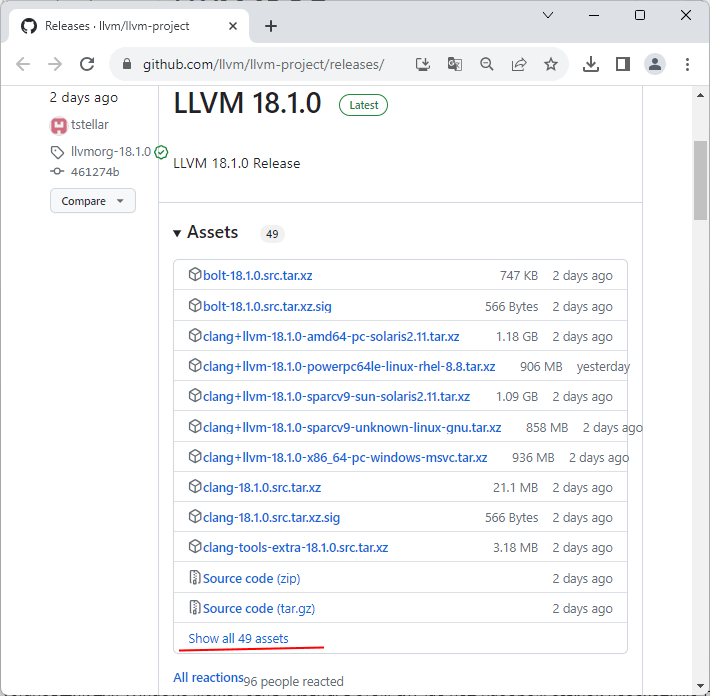
По умолчанию в самом верху будут ссылки на самую последнюю версию. Но по умолчанию ссылка на установщик для Windows может быть скрыта. В этом случае под набором ссылок необходимо
нажать на ссылку Show All assets. И среди появившихся ссылок найдем пункт LLVM-XX.X.X-win64.exe, где XX.X.X — это версия.
Например, в моем случае это файл LLVM-18.1.0-win64.exe
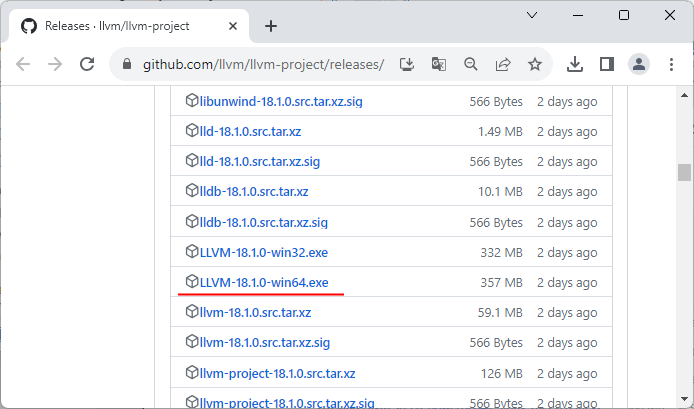
Это версия для 64-битной версии Windows. Если ОС 32-х битная, то необходимо загрузить файл LLVM-18.1.0-win32.exe
После загрузки запустим файл.
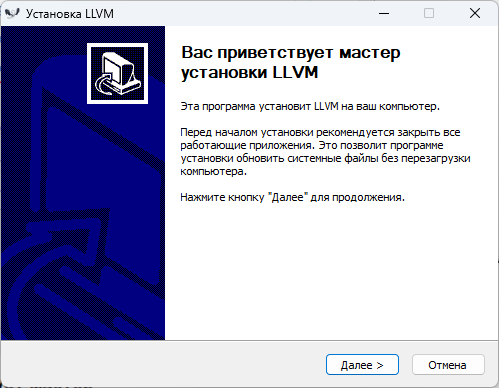
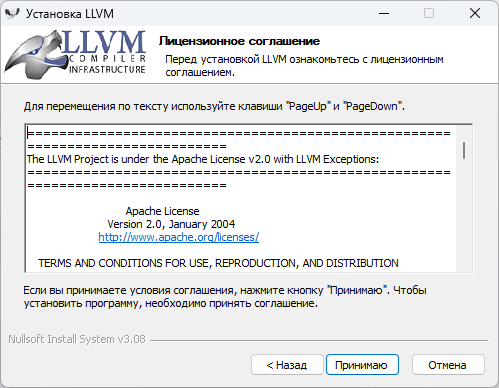
На стартовом экране программы нажмем на кнопку «Далее». Затем надо будет принять лицензионное соглашение
Далее надо будет указать опции установки:
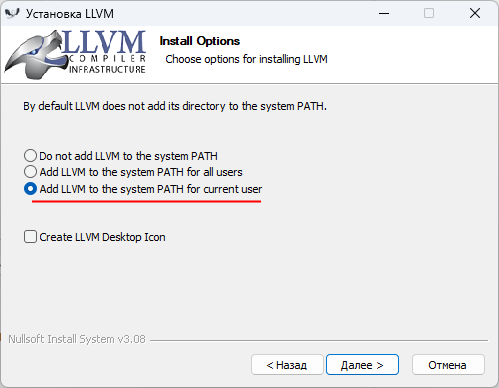
Чтобы при компиляции не указывать полные пути к компилятору или вручную не добавлять путь к нему в переменные среды выберем на этом окне пункт
Add LLVM to the system PATH for current user
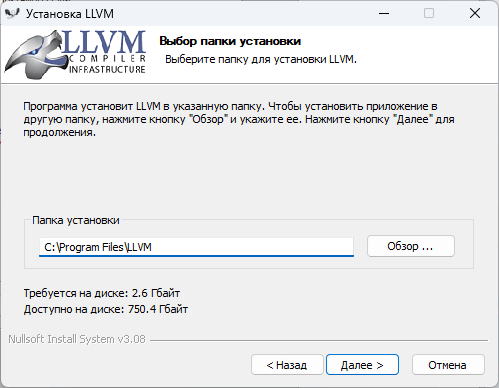
На следующем окне укажем папку для установки. Можно оставать путь по умолчанию — «C:/Program Files/LLVM»:
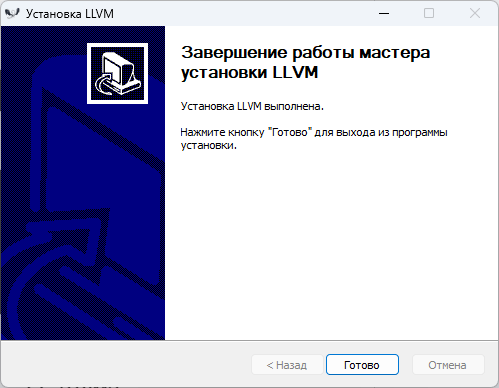
На следующих окнах оставим все опции по умолчанию и запустим процесс установки. После успешной установки мы можем приступать к использованию Clang
Чтобы проверить установку Clang, в терминале/командной строке следует ввести команду clang —version.
В этом случае нам должна отобразиться базовая информация о компиляторе, типа версии и т.д.:
C:\Users\eugen>clang --version
clang version 18.1.0
Target: x86_64-pc-windows-msvc
Thread model: posix
InstalledDir: C:\Program Files\LLVM\bin
Первая программа
После завершения установки если мы откроем каталог C:\Program Files\LLVM\bin,
то найдем там все необходимые файлы компиляторов:
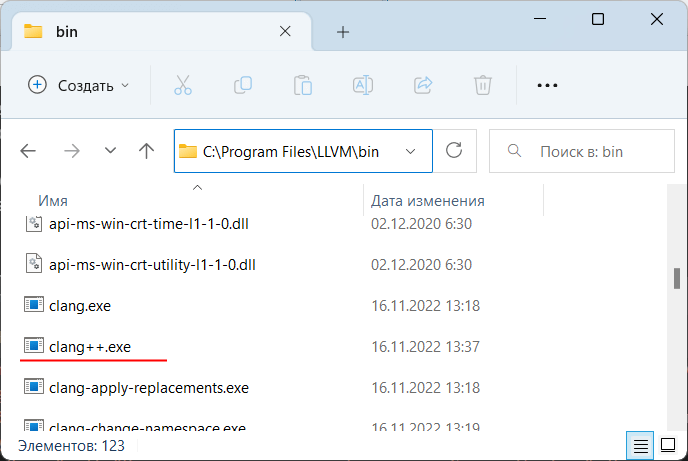
В частности, файл clang.exe предназначен для компиляции программы на языке Си, а
clang++.exe как раз и будет представлять компилятор для языка С++. То есть нам нужен clang++.
Итак, создадим на жестком диске С папку для исходных файлов программы на языке C++. А в этой папке создадим новый текстовый файл, который переименуем в
hello.cpp. То есть по сути файлы исходного кода на С++ — это обычные текстовые файлы, которые, как правило, имеют расширение
cpp.
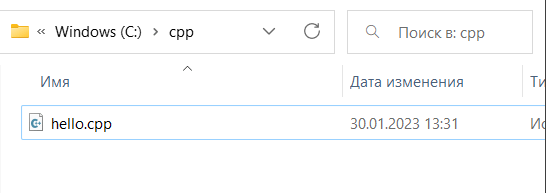
В моем случае файл hello.cpp находится в папке C:\cpp.
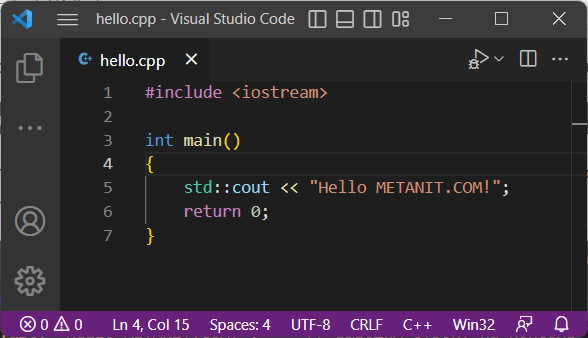
Теперь определим в файле hello.cpp простейший код, который будет выводить строку на консоль:
#include <iostream>        		// подключаем заголовочный файл iostream

int main()							// определяем функцию main
{									// начало функции
	std::cout << "Hello METANIT.COM!";	 // выводим строку на консоль
	return 0;						// выходим из функции
}									// конец функции
Для вывода строки на консоль необходимо подключить нужный функционал. Для этого в начале файла идет строка
#include <iostream>
Данная строка представляет директиву препроцессора, которая позволяет подключить библиотеку iostream. Эта библиотека нужна для вывода строки на консоль.
Далее идет определение функции main. Функция main должна присутствовать в любой программе на С++, с нее
собственно и начинается выполнение приложения.
Функция main состоит из четырех элементов:
-
Тип возвращаемого значения. В данном случае это тип int. Этот тип указывает, что функция должна
возвращать целое число. -
Имя функции. В данном случае функция называется main.
-
Список параметров. После имени функции в скобках идет список параметров. Но в данном случае скобки пустые, то есть
функция main не принимает параметров. -
Тело функции. После списка параметров в фигурных скобках идет тело функции. Здесь и определяются собственно те
действия, которые выполняет функция main.{ std::cout << "Hello METANIT.COM!"; return 0; }
В теле функции происходит вывод строки на консоль. Для обращения к консоли используется стандартный поток вывода std::cout.
С помощью оператора << в этот поток (в данном случае фактически на консоль) передается строка символов, которую надо вывести на консоль, то есть «Hello METANIT.COM!».
В конце осуществляем выход из функции с помощью оператора return. Так как функция должна возвращать целое число, то после return указывается число 0.
Ноль используется в качестве индикатора успешного завершения программы.
После каждой инструкции в языке C++ ставятся точка с запятой.
Каждая строка снабжена комментарием. Все, что написано после двойного слеша // представляет комментарий. Комментарий не учитывается при компиляции приложения, и
не является частью программного кода, а служат лишь для его описания. Комментарий позволяет понять, что делает программа.
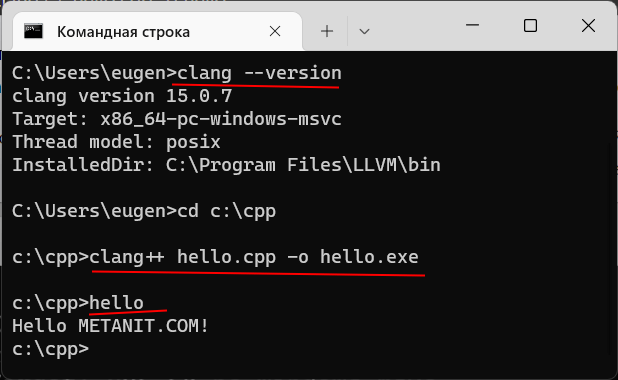
Теперь скомпилируем этот файл. Для этого откроем командную строку Windows и вначале с помощью команды cd перейдем к папке с исходным файлом:
cd C:\cpp
Чтобы скомпилировать исходный код, необходимо компилятору clang++ передать в качестве параметра файл hello.cpp:
clang++ hello.cpp -o hello
Дополнительный необязательный параметр -o hello указывает, что скомпилированный файл будет называться hello.exe. Если не указать этот параметр, то файл будет называться по умолчанию — a.exe.
После выполнения этой команды будет скомпилирован исполняемый файл, который в Windows по умолчанию называется hello.exe. И мы можем обратиться к этому файлу, и в этом случае консоль выведет
строку «Hello METANIT.COM!», собственно как и прописано в коде.
Если вместо командной строки используется оболочка PowerShell, то для запуска файла надо прописать «./hello».

We have already shown that you can install Clang in GNU/Linux distros without needing your package manager, as new versions often appears with features enabled that you wouldn’t want.
I’ve seen people report, for example, that their LSP that uses clangd issues warnings for not using headers. Of course this can be disabled, but people like to have everything ready.
In this article we will see that you can install Clang/Clang++ on Windows with a single command.
In addition to having all the tools also available, such as:
- clang REPL;
clangd;- LLVM;
- And all the others!
First make sure you don’t have clang installed. Open PowerShell and run the command:
clang --versionIf the output that the term is not recognized (it is colored red).
The magic command
The command below must be used in PowerShell.
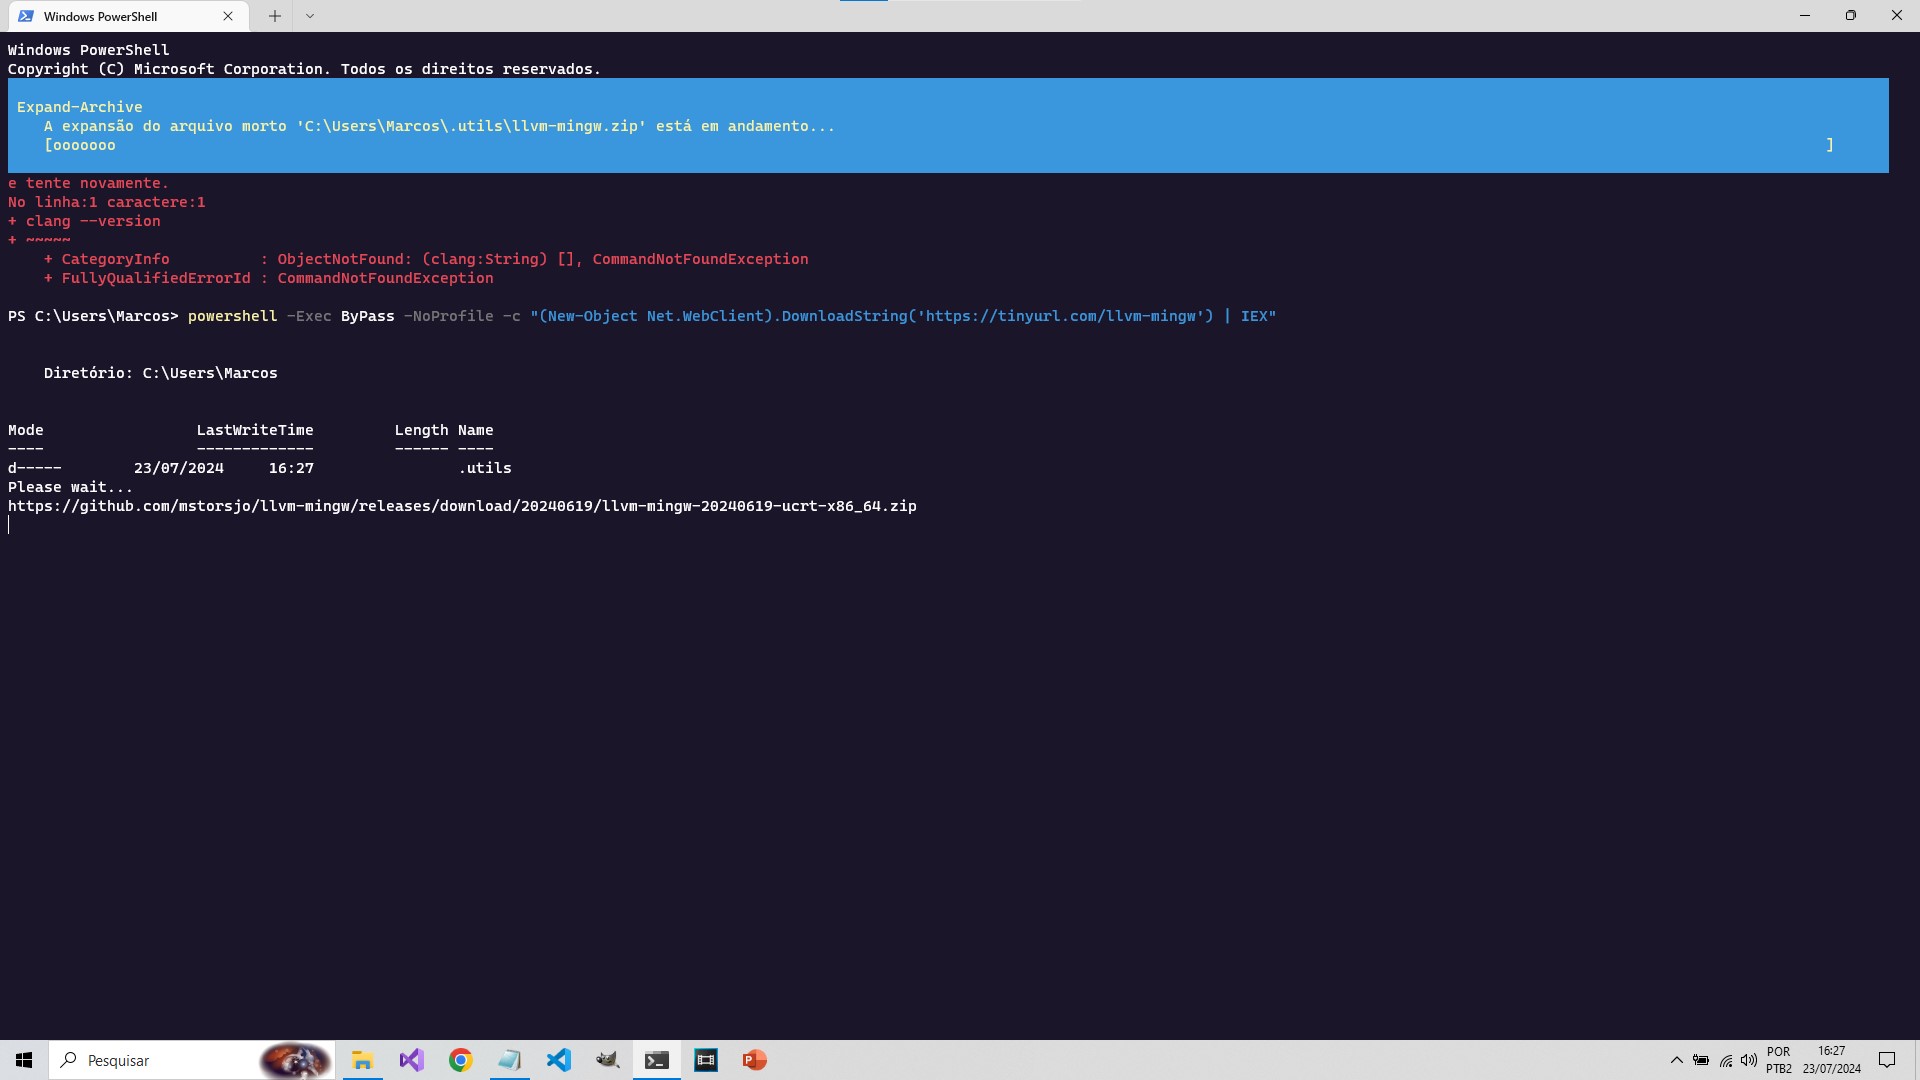
01. copy and paste into your properly opened PowerShell:
powershell -Exec ByPass -NoProfile -c "(New-Object Net.WebClient).DownloadString('https://tinyurl.com/llvm-mingw') | IEX"When you paste, PowerShell will prompt you if you really want to paste, answer yes!
A drop-down menu will open informing you of the download progress and the entire installation process, just wait:
02. Copy the installation path to the \bin folder
The installation location will be similar to the path below, but in your case where it has [YOUR USER] it must be the name of your Windows user:
C:\Users\[YOUR USER]\.utils\llvm-mingw\binClick on the address bar and copy this path.
03. Create environment variables
After that, close PowerShell, or Windows Terminal, or even VSCode which uses a built-in terminal.
- Now type: Environment Variables;
- Select the first option, then click on the Environment Variables button in the window that opened;
- Then in the bottom option: System Variables select the PATH line;
- And click Edit. In the new window that will open, click on New and paste the path you copied.
Now just open PowerShell again and note that the clang --version command will already have output indicating the version!
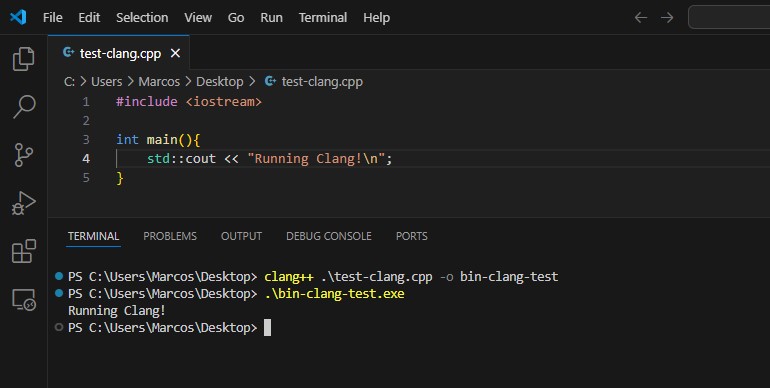
Then just do a test and compile with clang for C Language or Clang++ for C++ :
OBSERVATION
Inside the \bin folder of the path you copied there will be an executable named g++, of course it is not gcc/g++, but rather the clang++ renamed to g++, same with gcc.
If you have MinGW installed on your system, it will still work, as Windows will give priority for this binary, I think it might be the order it was added to the system variables.
But, just in case, it’s a good idea to test!
Related articles
Download Article
A step-by-step guide on installing Clang for Windows
Download Article
This wikiHow will teach you how to install Clang on Windows using Visual Studio 2019 version 16.1 Preview 2. When you install the preview of Visual Studio, you will also be able to install Clang.
Installing Clang on Windows 10+
If you want to use Clang for C/C++ on a Windows machine, first download the Visual Studio Installer from the Microsoft website (if you don’t already have it on your machine. Open the Visual Studio Installer Community folder, click modify, and then add «clang» to install the program.
-

-
«Unless you have purchased the software or are part of an organization that pays a monthly subscription, you’ll want to download the version of the preview suited for the free version of Visual Studio.
- Save the .exe file or click click here to retry to save the download.
Advertisement
-
Most web browsers, like Chrome, give you a notification when your file is done downloading that you can click to open the file. Otherwise, navigate to your downloaded file in File Explorer.
- Click Yes if you’re prompted to allow the program to make changes to your computer.
-
The installation wizard will begin downloading and installing Visual Studio.
-
More options will display in the right panel.
-
You’ll see this in the panel on the right side of the window under the header, «Installation details.»
-
Once the installation is complete, you’ll have everything you need to use Clang on your Windows computer within Visual Studio.[1]


Advertisement
Ask a Question
200 characters left
Include your email address to get a message when this question is answered.
Submit
Advertisement
Thanks for submitting a tip for review!
References
About This Article
Article SummaryX
1. Go to https://visualstudio.microsoft.com/vs/preview/.
2. Click Download Preview under «Community.»
3. Open the downloaded file.
4. Click Continue.
5. Click to check the box next to Desktop development with C++.
6. Click to check the box next to C++ Clang tools for Windows.
7. Click Install.
Did this summary help you?
Thanks to all authors for creating a page that has been read 110,036 times.
Is this article up to date?
01 Sep 2015
Approach 1 — Clang 3.7
In this approach we’ll be installing Clang 3.7.0 and gcc 5.1.0 (via MinGW-w64), to allow us to build and link with clang from the standard windows command prompt.
First quickly consider the following:
- This tutorial was created for, and tested with windows 8.1 — I can’t make promises how well it will work on windows 10.
- If you have an older version of clang/LLVM installed, please use its uninstaller before continuing. Make sure that neither
C:\Program Files\LLVMorC:\Program Files (x86)\LLVMexist on your machine. - You’ll need to edit your system PATH, and the standard windows UI for it is pretty awful. You should consider grabbing the free Windows Environment Variable Editor or “Eveditor”: http://eveditor.com/ which is more user friendly and shows you if you have invalid paths set.
- You will also need to be able to open
.7zarchives, so make sure to install 7zip or something similar.
Ok, let’s get to the fun part. You will need to install all of the following:
- Clang for 64 bit
- Download Link — clang 3.7.0 64 bit.
- Run the installer. When you get to the PATH settings, make sure to add LLVM to the system PATH:
- Use the default install location:
C:\Program Files\LLVM. Once the installation completes hit ‘Finish’. clang++.exeshould be located inC:\Program Files\LLVM\bin, which should be in your system PATH.
- Clang for 32 bit
- Download Link — clang 3.7.0 32 bit.
- Run the installer. IMPORTANT: because we technically just installed a different version of LLVM, the installer will see the 64 bit version as an ‘older version’ and will give you this warning:
You will want to click ‘No’, so that the 64 bit version doesn’t get uninstalled. We want both the 32 and the 64 bit versions.
- You will once again be prompted to add LLVM to the path. This time leave it set to
Do not add LLVM to the system PATH. - Use the default install location:
C:\Program Files (x86)\LLVMand complete the installation. - clang++.exe should be located in
C:\Program Files (x86)\LLVM\bin, but should NOT be in your system path.
- MinGW-w64 for 64 bit
- MinGW-w64 for 32 bit
- Download Link — MinGW-w64: 32 bit, version 5.1.0 with posix threads and dwarf exceptions.
- Extract the
x686….7zfile, either to your desktop (and move it), or directly to yourC:Drive. - Once done you should be able to find g++.exe in
C:\mingw32\bin - Do NOT add mingw32 to your path!
- Batch files
- The 64 bit version of clang/g++ will be used by default. If you want to use the 32 bit versions you can temporarily modify your path with these batch files:
- Right click view raw and save
setgcc32.batandsetgcc64.bat: - Both batch files should be in a folder on the PATH. For example, create
C:\Utils, place the batch files in there and addC:\Utilsto your path.
And that’s it! At this point, you should have the 32 bit and 64 bit versions of Clang 3.7.0 and MinGW-w64 5.1.0 installed. You can now compile 64 bit windows applications through clang like this:
And if you need to compile to 32 bit, just run the batch script, which will temporarily modify your path to prefer the 32 bit versions:
Note: If you see a fatal error that some common library cannot be found when you try to compile, such as:
If this happens check that:
C:\mingw64\binexists and IS in your system PATHC:\mingw32\binexists and is NOT in your system PATH.
| Installing clang++ to compile and link on Windows |
|---|
|
Part 1 : The Problem |
|
Part 2 : Approach 1 — Clang 3.7 |
|
Part 3 : Approach 2 — MSYS2 |
There are plenty of tutorials online on how to install clang on windows with visual studioIDE and MinGW. However, there are none on clang with visual studio build tools.
Requirements:
- 64-bit Windows 7 SP1 or newer with the latest updates installed
- 6 GB of free space on the partition where Windows is installed
- internet connection (for installation only)
1. Install VS 2017 build tools
%VS2017BuildToolsDir% = installation directory of VS 2017 build tools
- download and run the microsoft visual studio build tools
- select and install the following individual component(s):
- Static analysis tools
- VC++ 2015.3 v140 toolset for desktop (x86,x64)
- VC++ 2017 v141 toolset (x86,x64)
- Visual C++ Build Tools core features
- Windows Universal C Runtime
- if windows 10:
- Windows 10 SDK (10.0.10240.0)
- if windows 7 / 8 / 8.1
- Windows Universal CRT SDK
- Windows 8.1 SDK
- Start > Visual Studio 2017 > Developer Command Prompt for VS 2017 (run as administrator)
- execute command(s):
cd %VS2017BuildToolsDir%\Common7\Tools\
VsMSBuildCmd
2. Install LLVM
- download and run LLVM
- add to PATH for current/all user(s)
3. Remove redulant files
- run visual studio installer
- remove the following individual component(s):
- VC++ 2015.3 v140 toolset for desktop (x86,x64)
4. Test LLVM
%procdir% = directory where you created proc.c
- create proc.c with
#include <stdio.h>

int main(void) {
    printf("Test\n");
    while(1) {}
    return 0;
}
- Start > Windows System > Command Prompt (run as administrator)
- execute command(s):
cd %ProcDir%
clang -std=c89 proc.c -o proc.exe
proc.exe
Troubleshoot
'clang' is not recognized as an internal or external command, operable program or batch file.
You didn’t select the set PATH for current/all user(s). If you did but it still didn’t work, set the path environment variable manually by adding %LLVMInstallLocation%\bin
clang.exe: warning: unable to find a Visual Studio installation; try running Clang from a developer command prompt [-Wmsvc-not-found]
You didn’t install VC++ 2015.3 v140 toolset for desktop (x86,x64) and/or VC++ 2017 v141 toolset and/or run VsMSBuildCmd