
Summary
- You’ll first need to prepare Ubuntu by installing GNOME Extensions, GNOME Tweaks, and GIT.
- Next, you install the necessary themes, fonts, icon-packs, and extensions like User Themes and Dash to Panel.
- Finally, fine-tune the extensions, and your Ubuntu PC will start looking like Windows 11.
Ubuntu offers a unique user interface that’s night and day compared to Windows. So, if you are new to Ubuntu and feeling a bit homesick for Windows, I’ve got you covered. Here’s a step-by-step guide covering the essential tools and settings to customize Ubuntu and make it look like Windows 11.
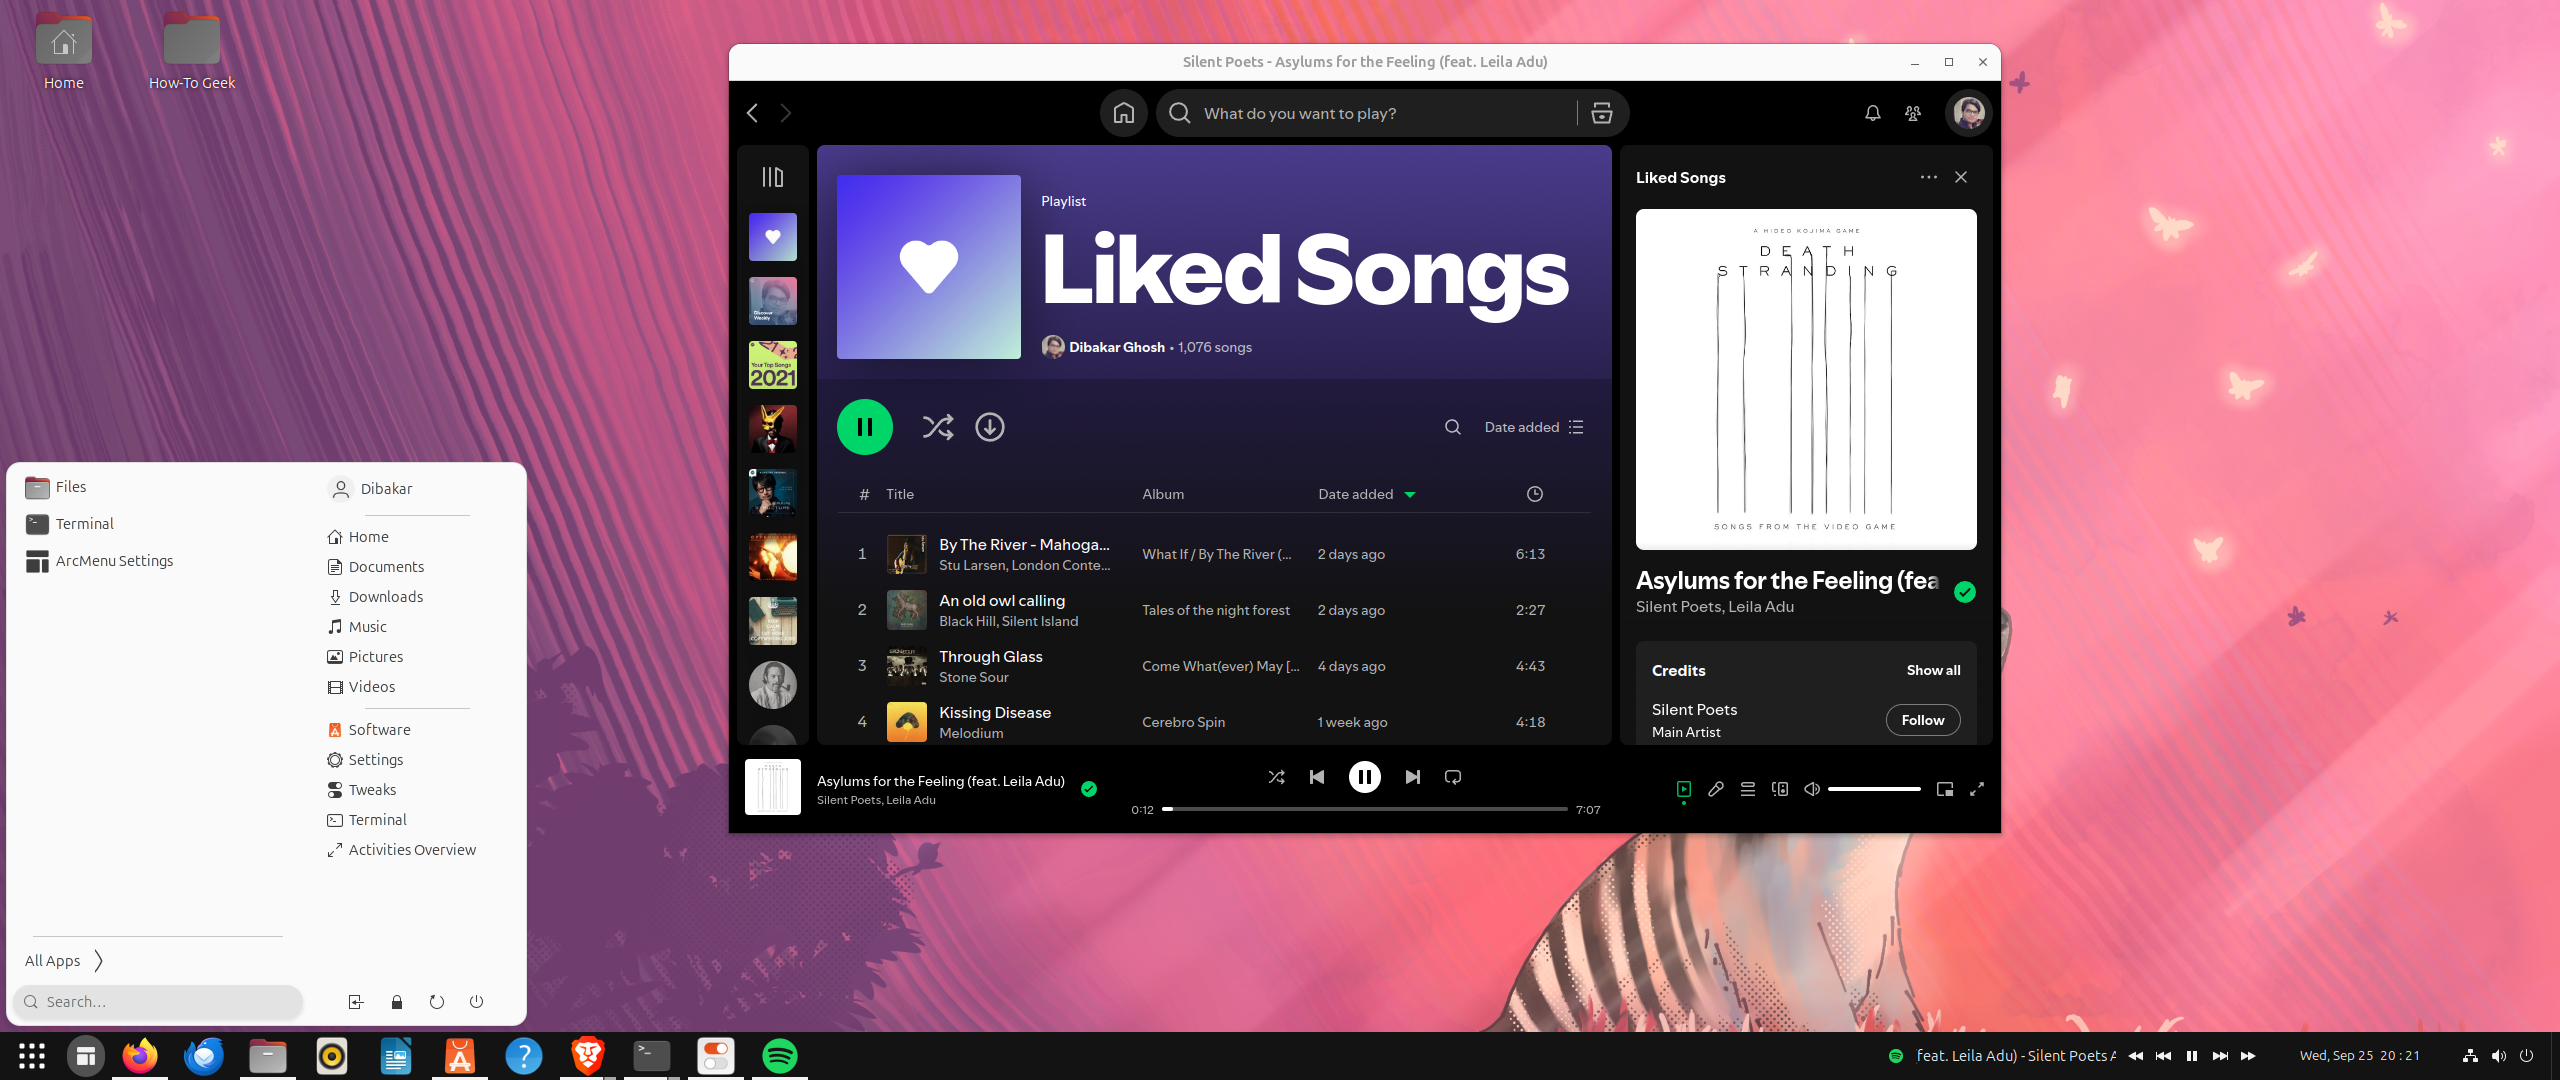
By default, Ubuntu looks like this:
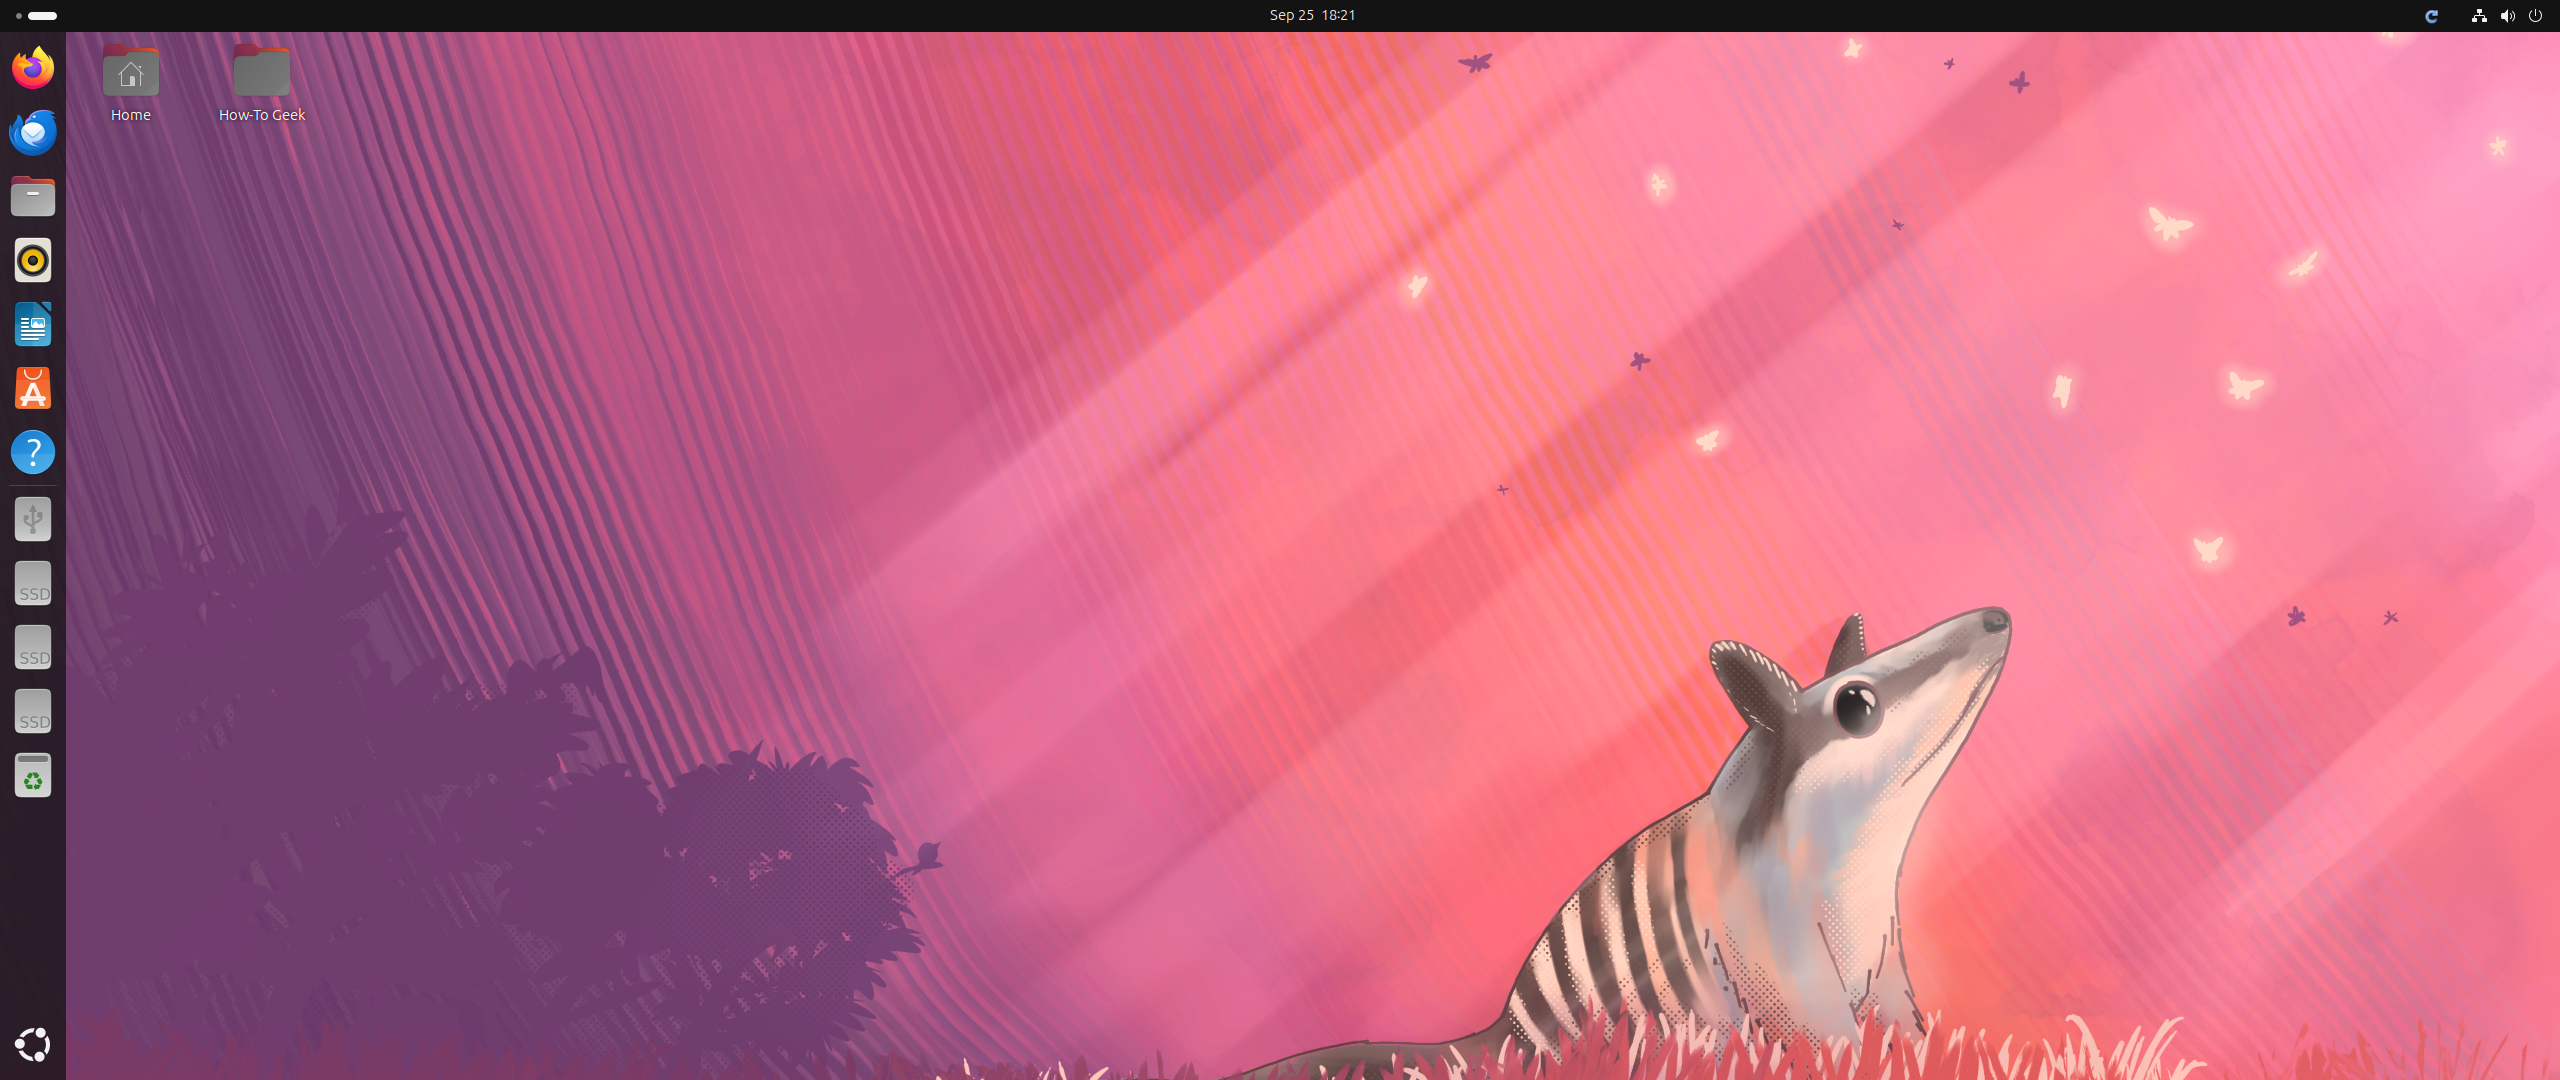
We want to remove the left-side dock along with the top bar and add a taskbar with the app icons, quick settings, and the date and time on the bottom edge of the screen—similar to Windows 11.
To do this, we need to start making changes to the desktop environment (DE) powering Ubuntu: GNOME! By default, Ubuntu doesn’t give you access to the necessary tools to tweak and customize its DE, namely GNOME Extensions and GNOME Tweaks. So we’ll first install them. Next, we install specific themes and icon packs to nail the visual appearance of Windows 11.
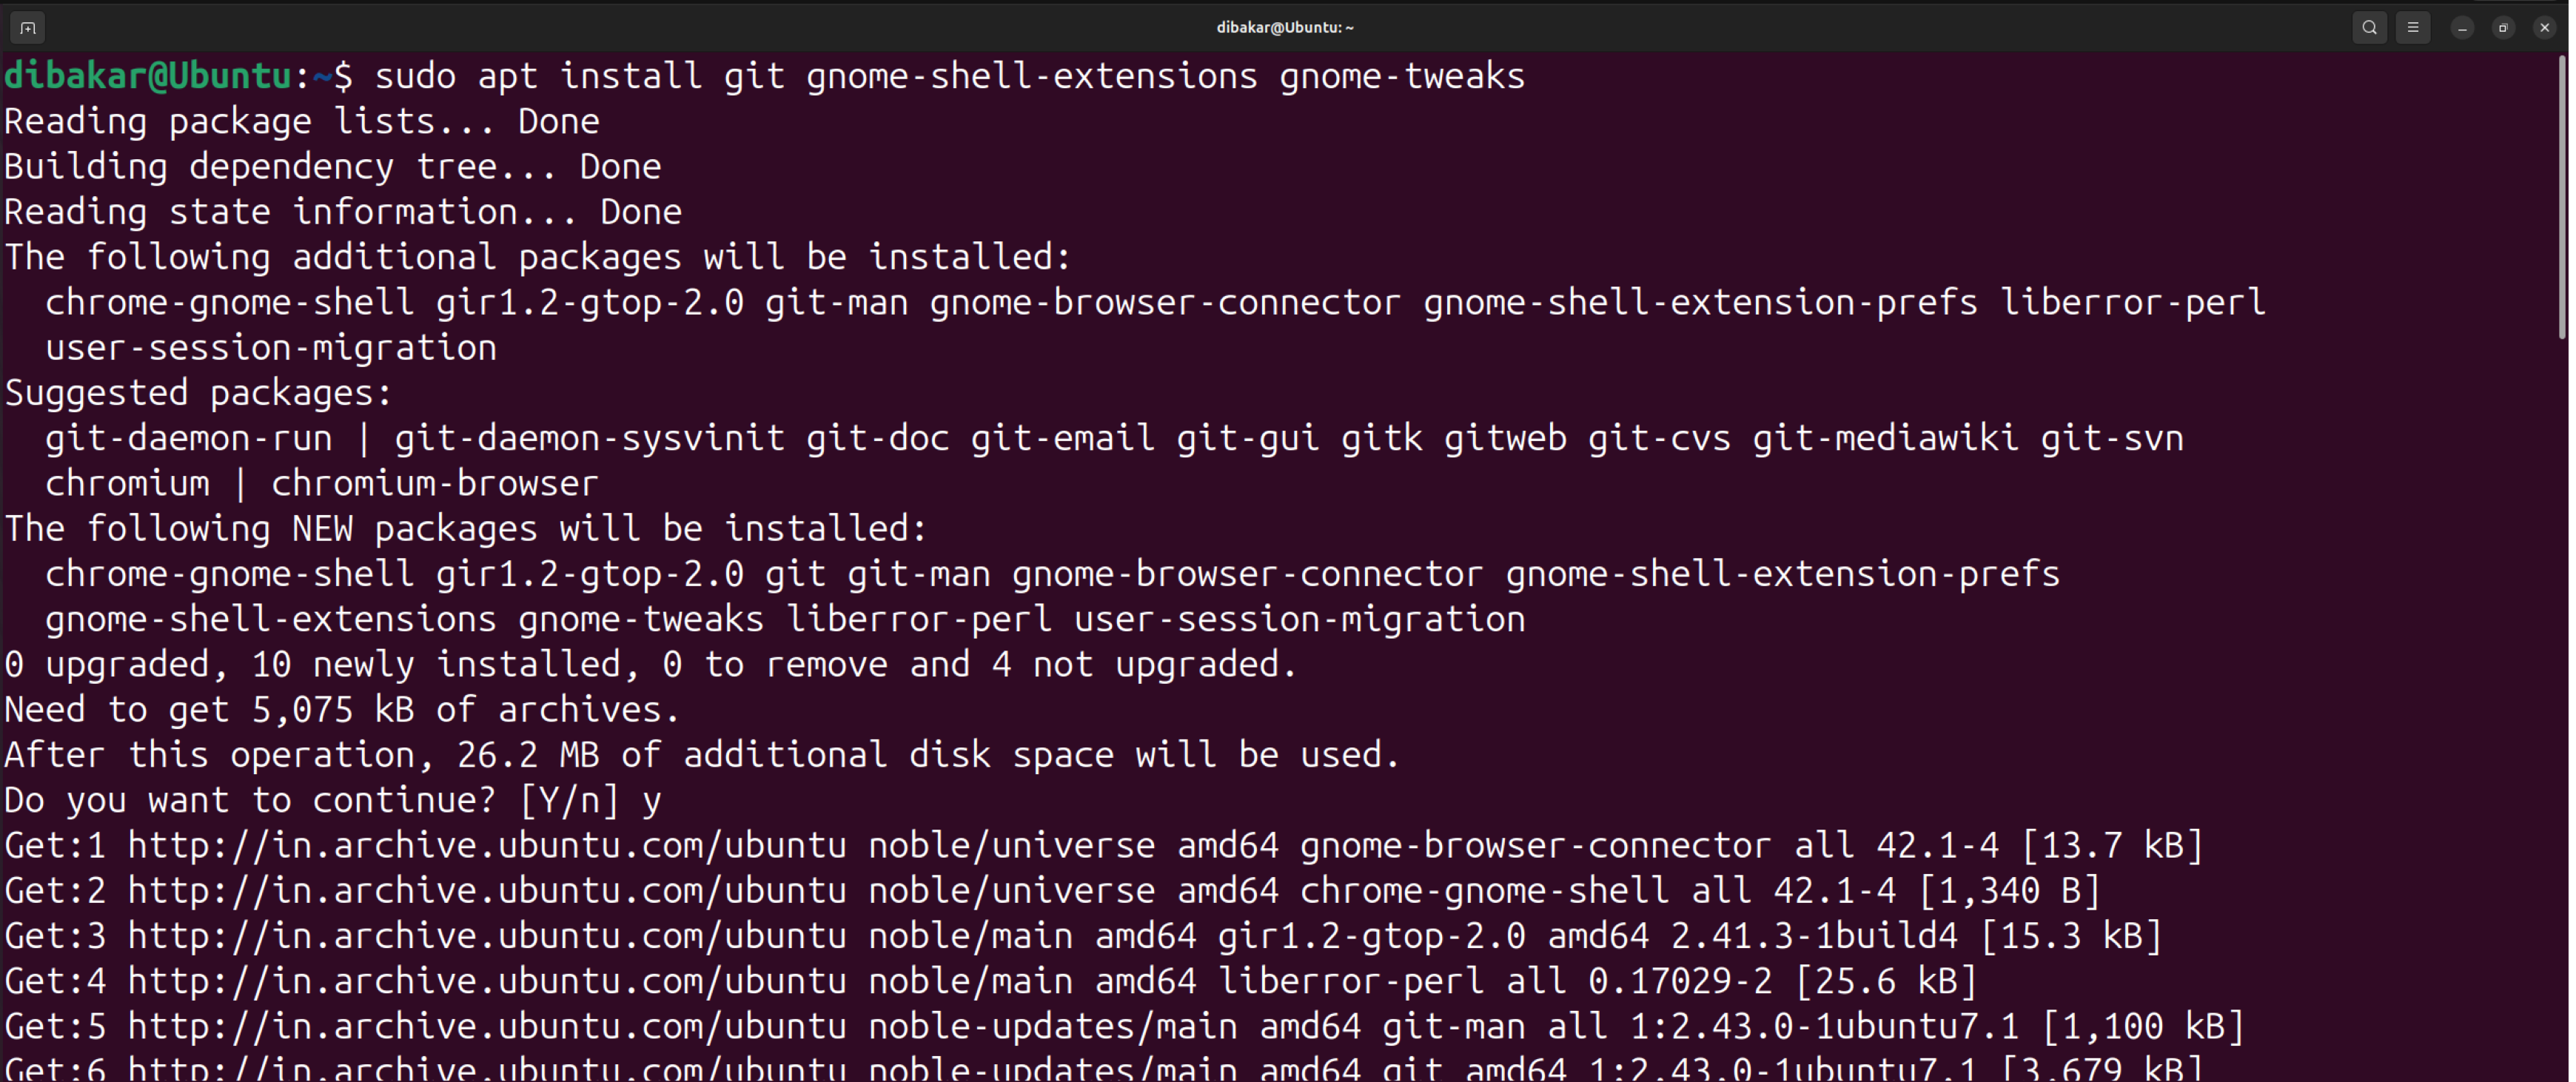
As you can see, we have our work cut out for us. So let’s not waste any more time and kick things off by opening the terminal (press Ctrl+Alt+T) and updating our packages:
sudo apt update
Next, enter this command to install Git, GNOME Extensions, and GNOME Tweaks all at once:
sudo apt install git gnome-shell-extensions gnome-tweaks
Now, we can start installing the stuff we need.
Installing The Necessary Extensions
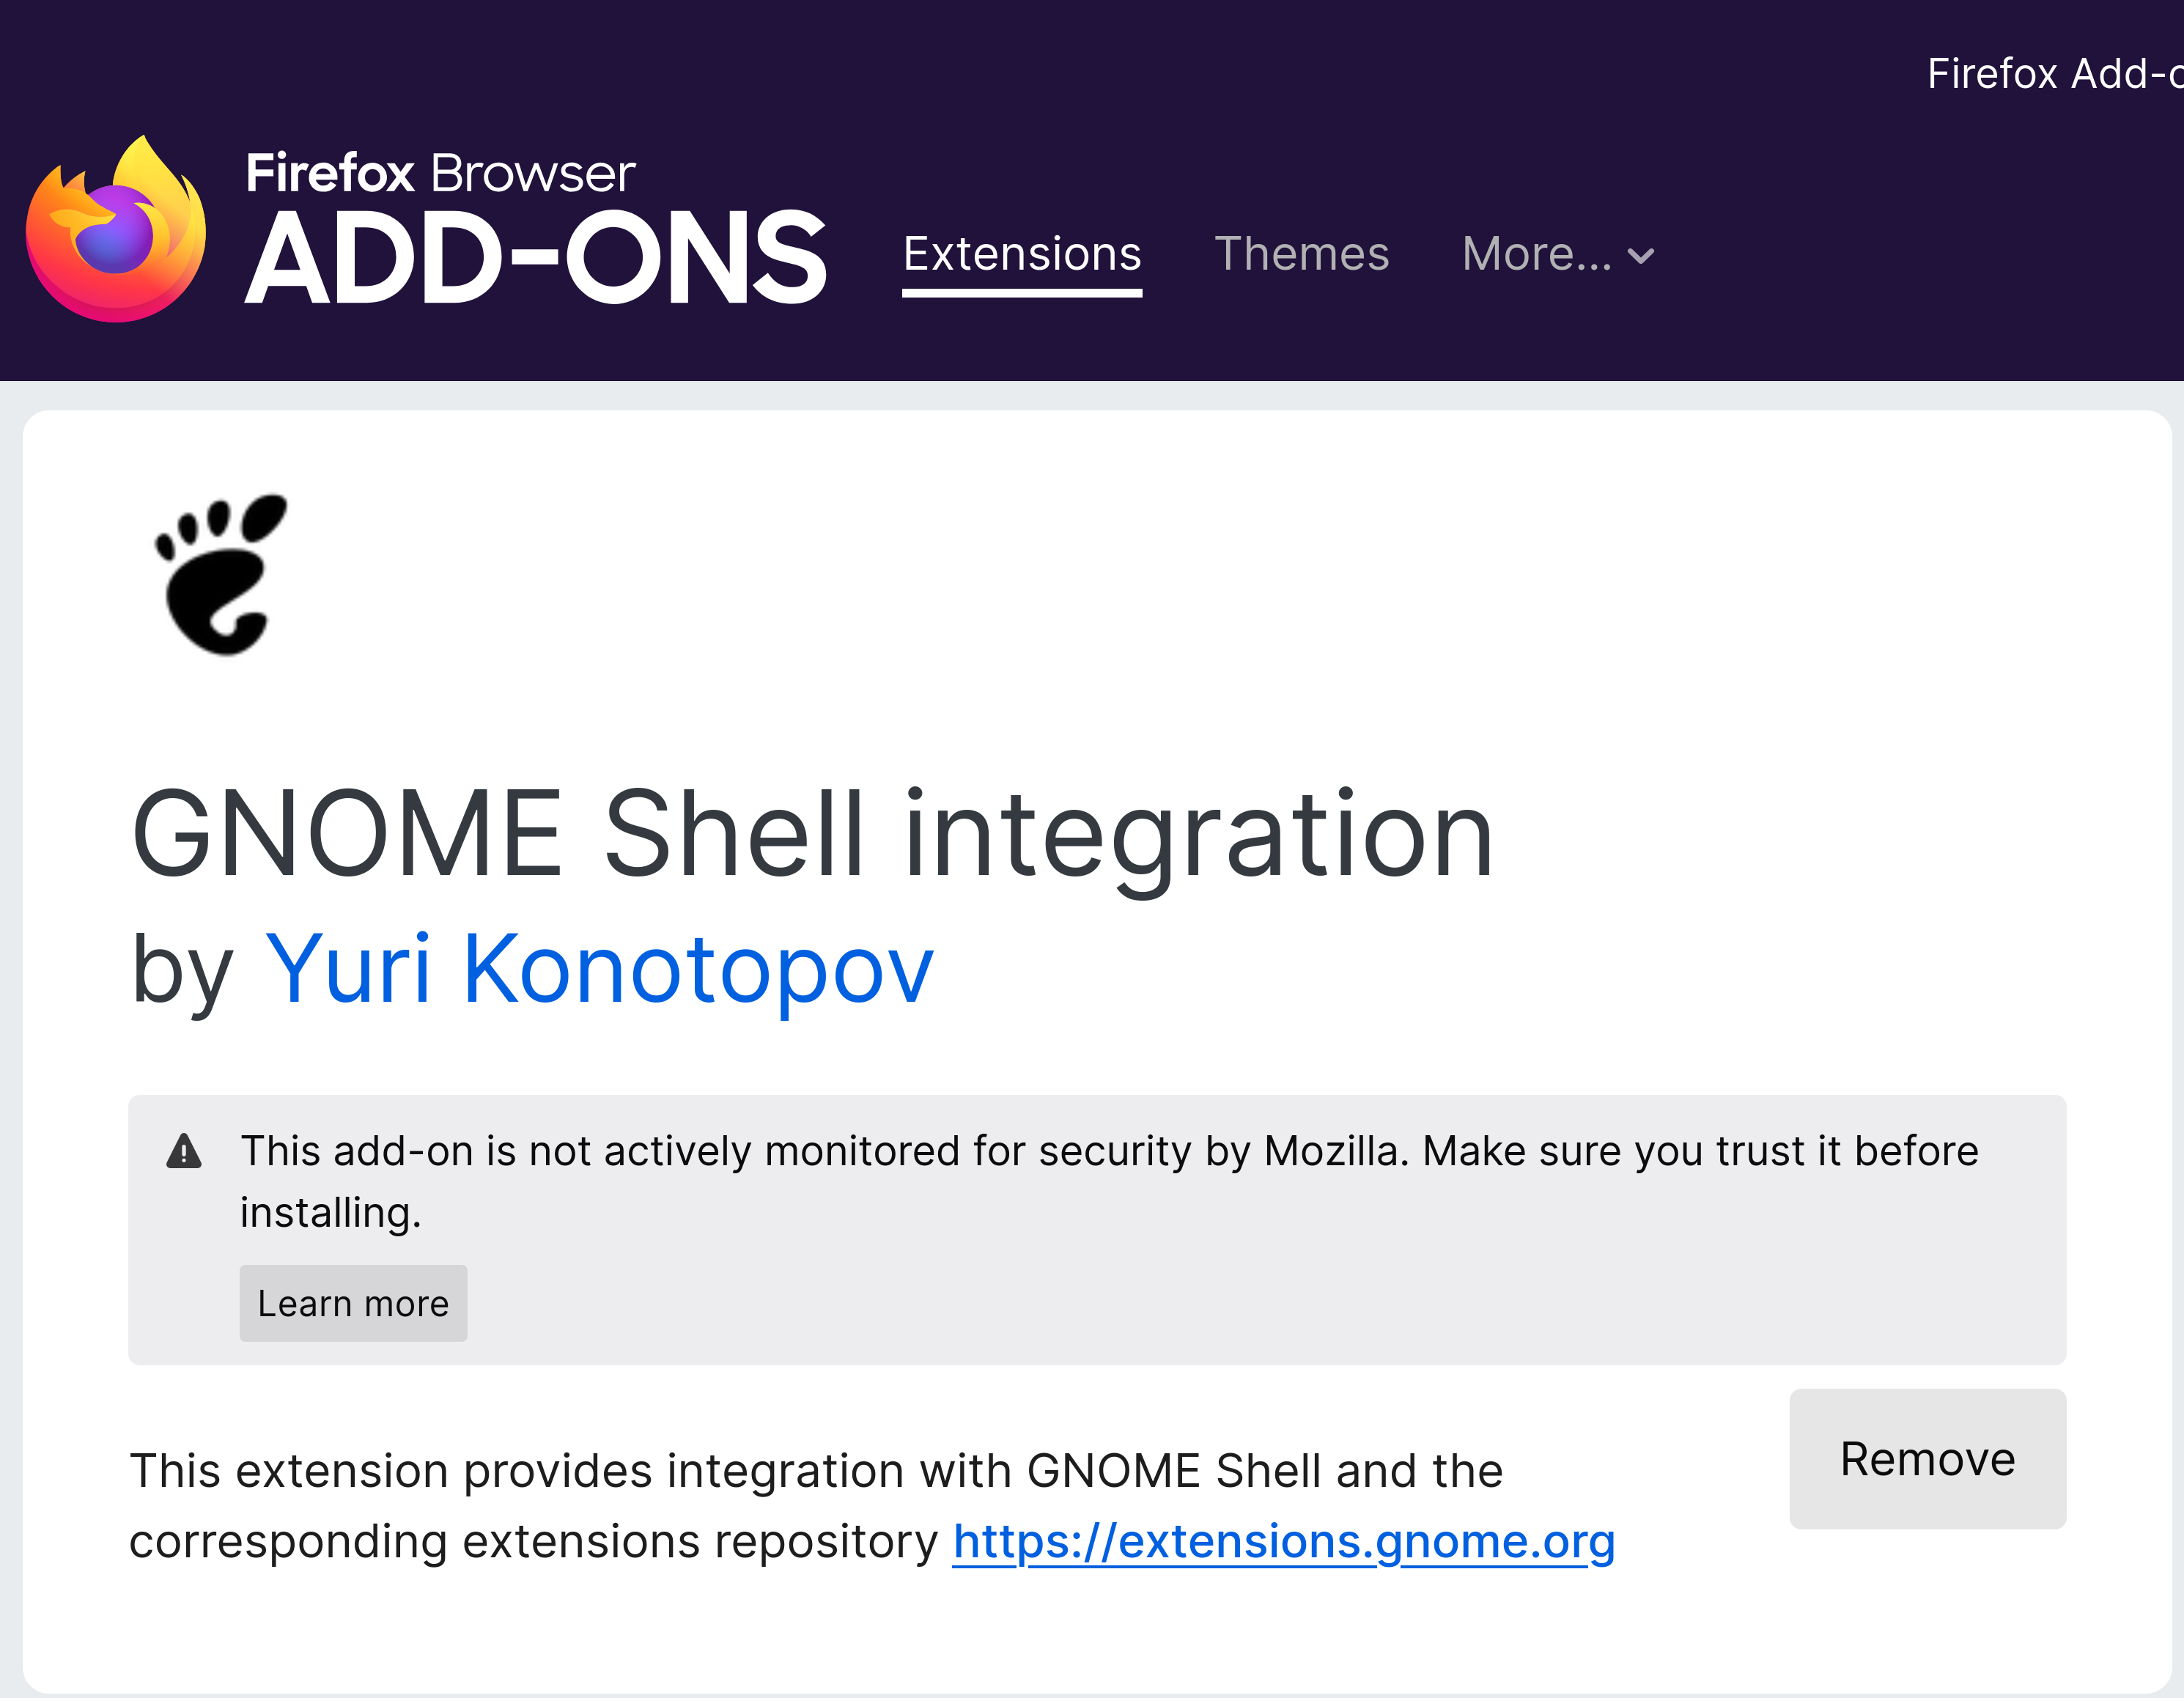
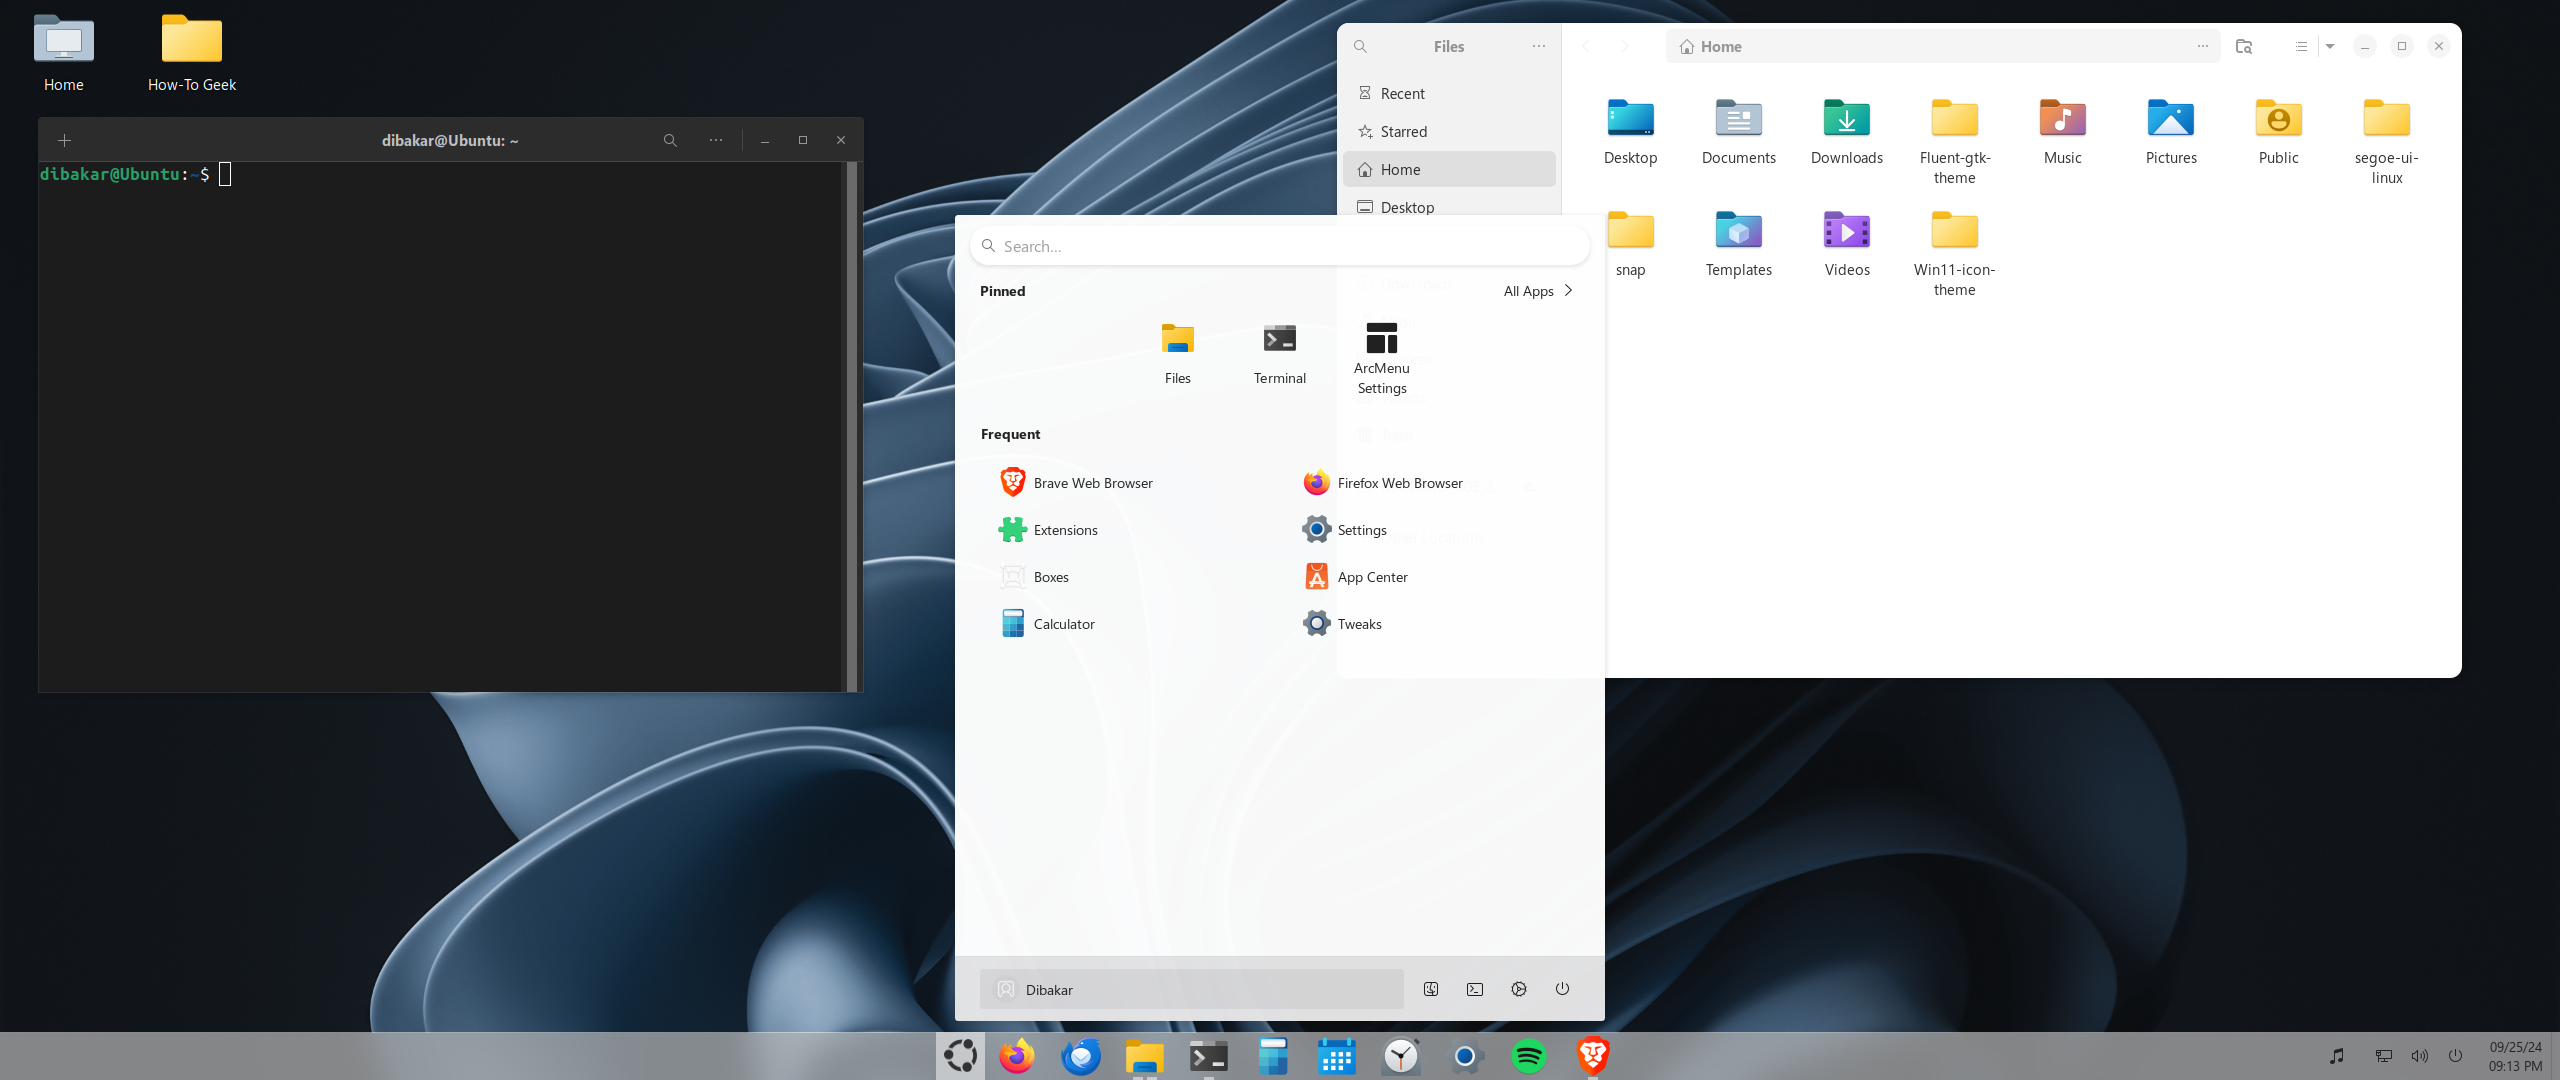
Open your browser of choice—for me, it’s Firefox—and search for the browser extension: GNOME Shell Integration. You need this extension installed on your browser if you wish to install any GNOME extensions on your Ubuntu PC.
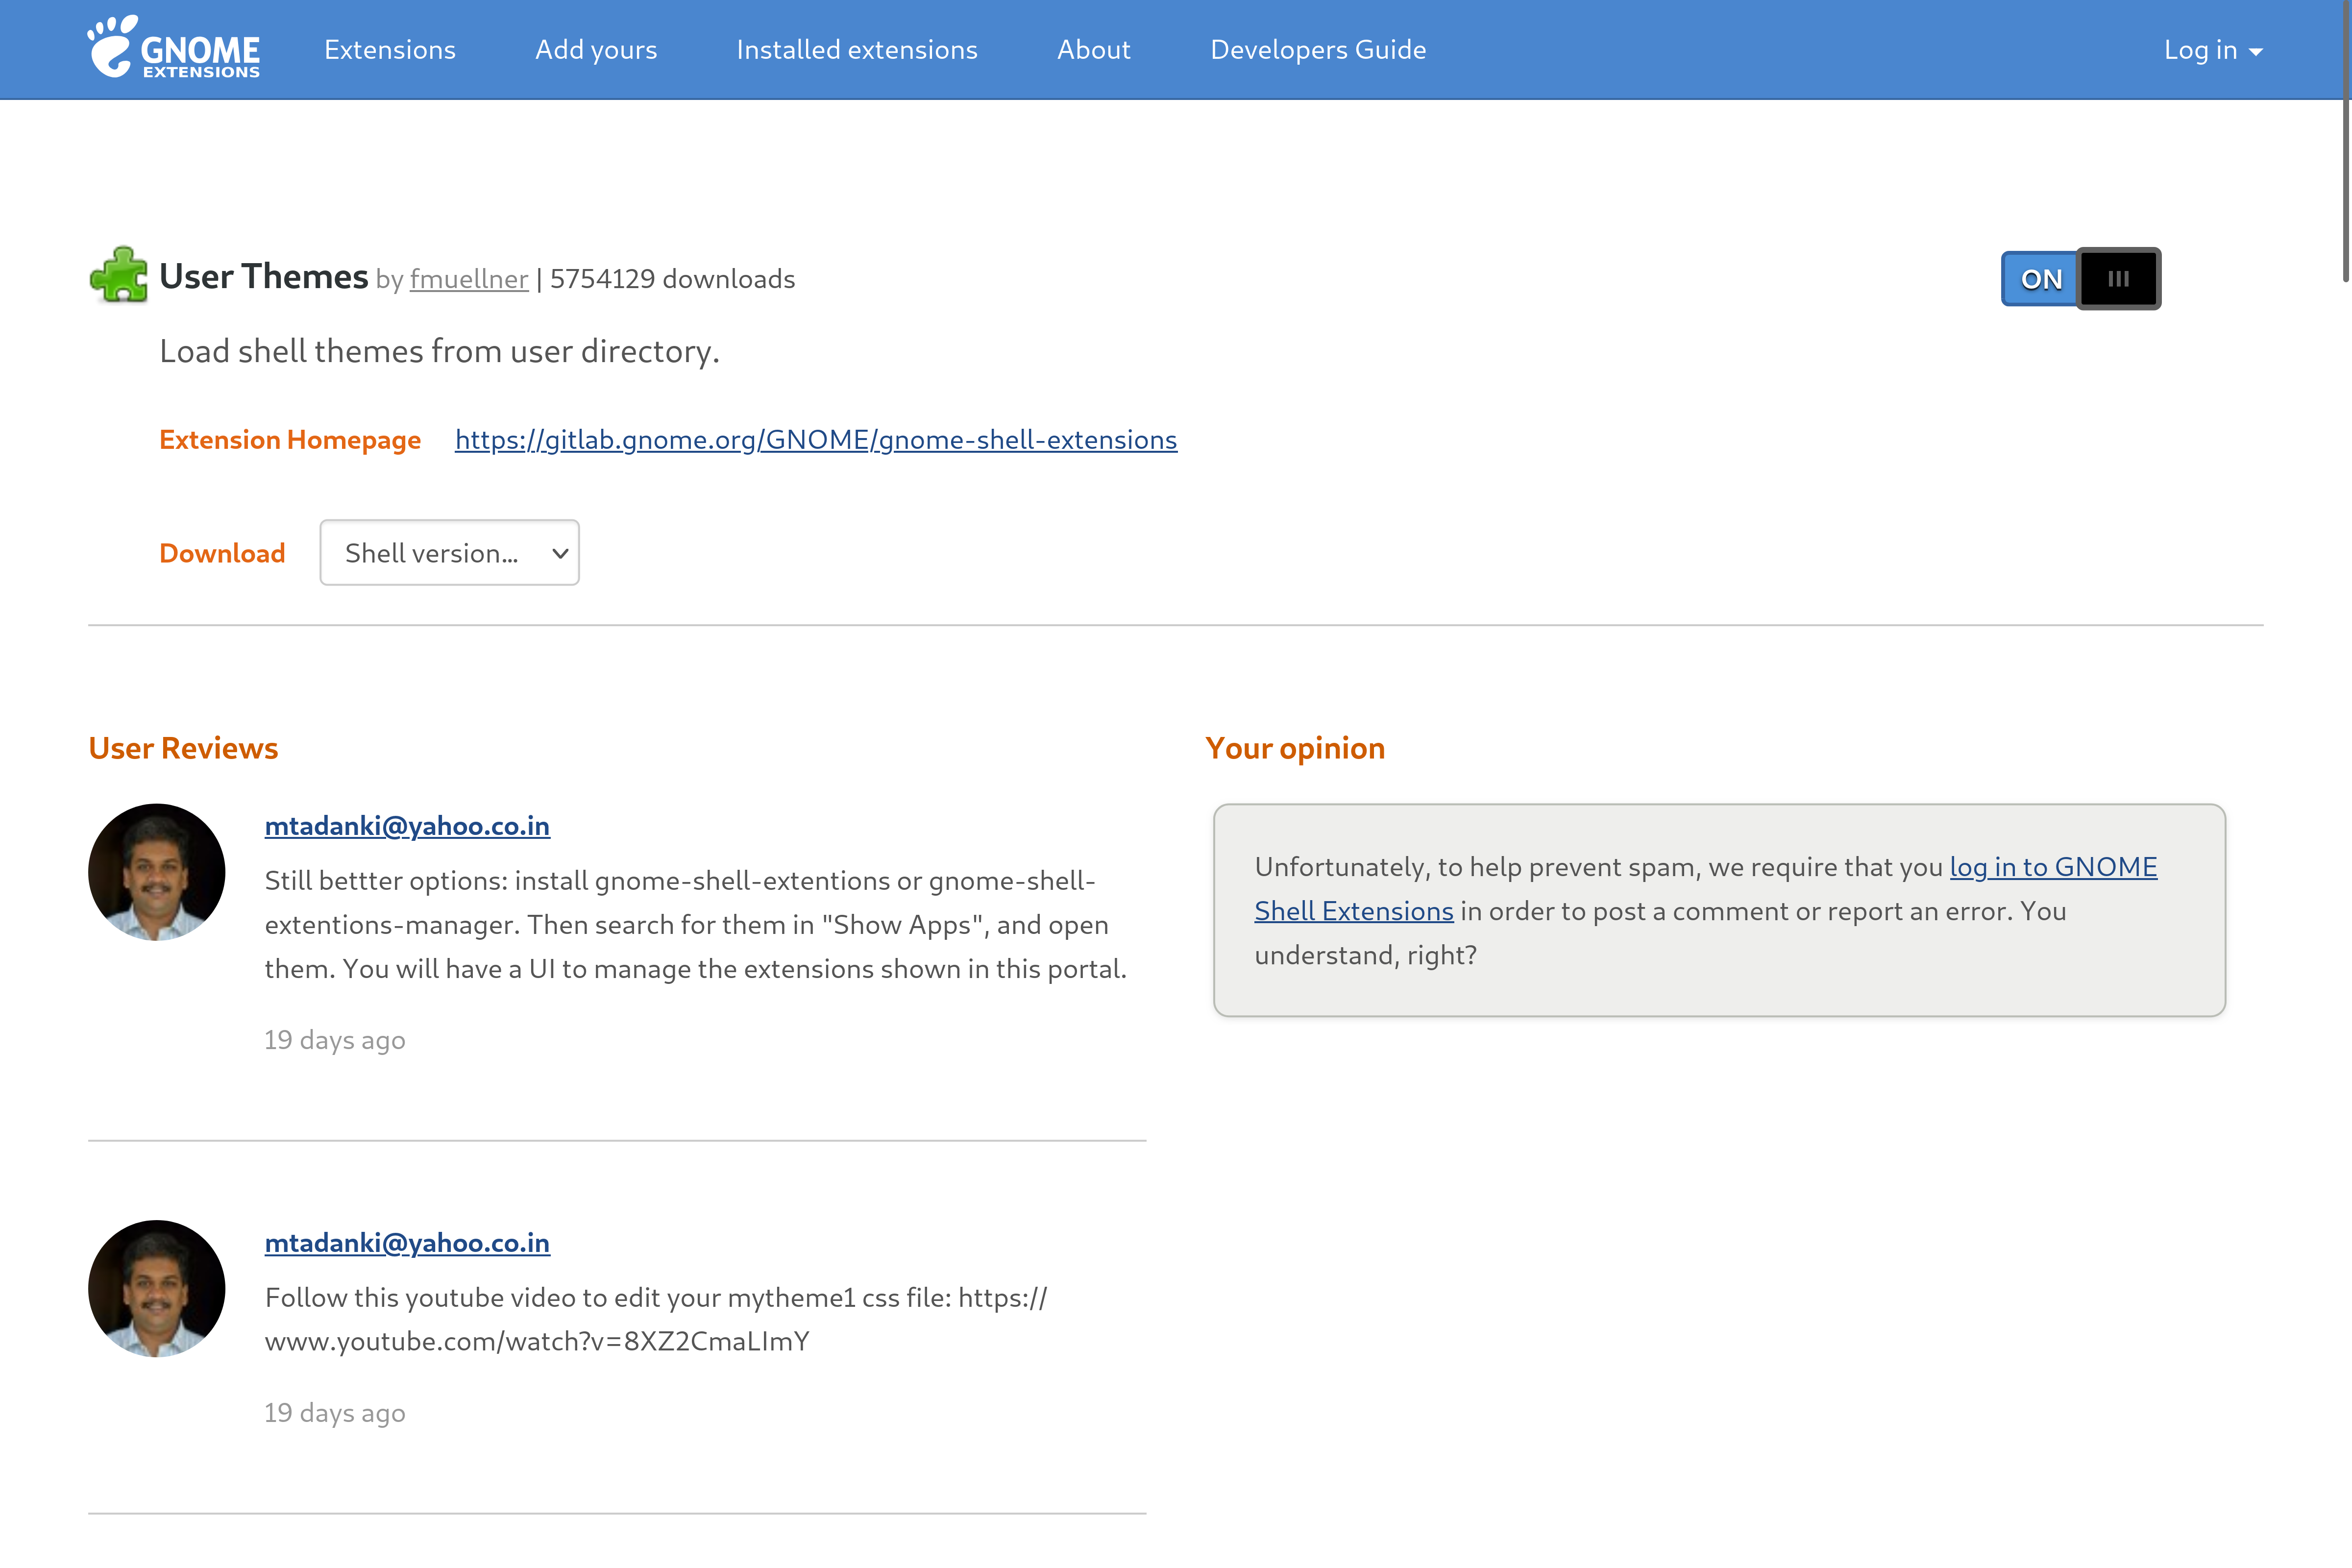
With the extension installed, head on over to this website: extensions.gnome.org. From here, you can start downloading extensions on your Ubuntu PC, which you can then manage from the GNOME Extensions app we previously installed. The first extension you should download is User Themes. It will let you switch between different themes to change the graphical look and aesthetics. You install an extension by clicking the on/off toggle in the top-right area.
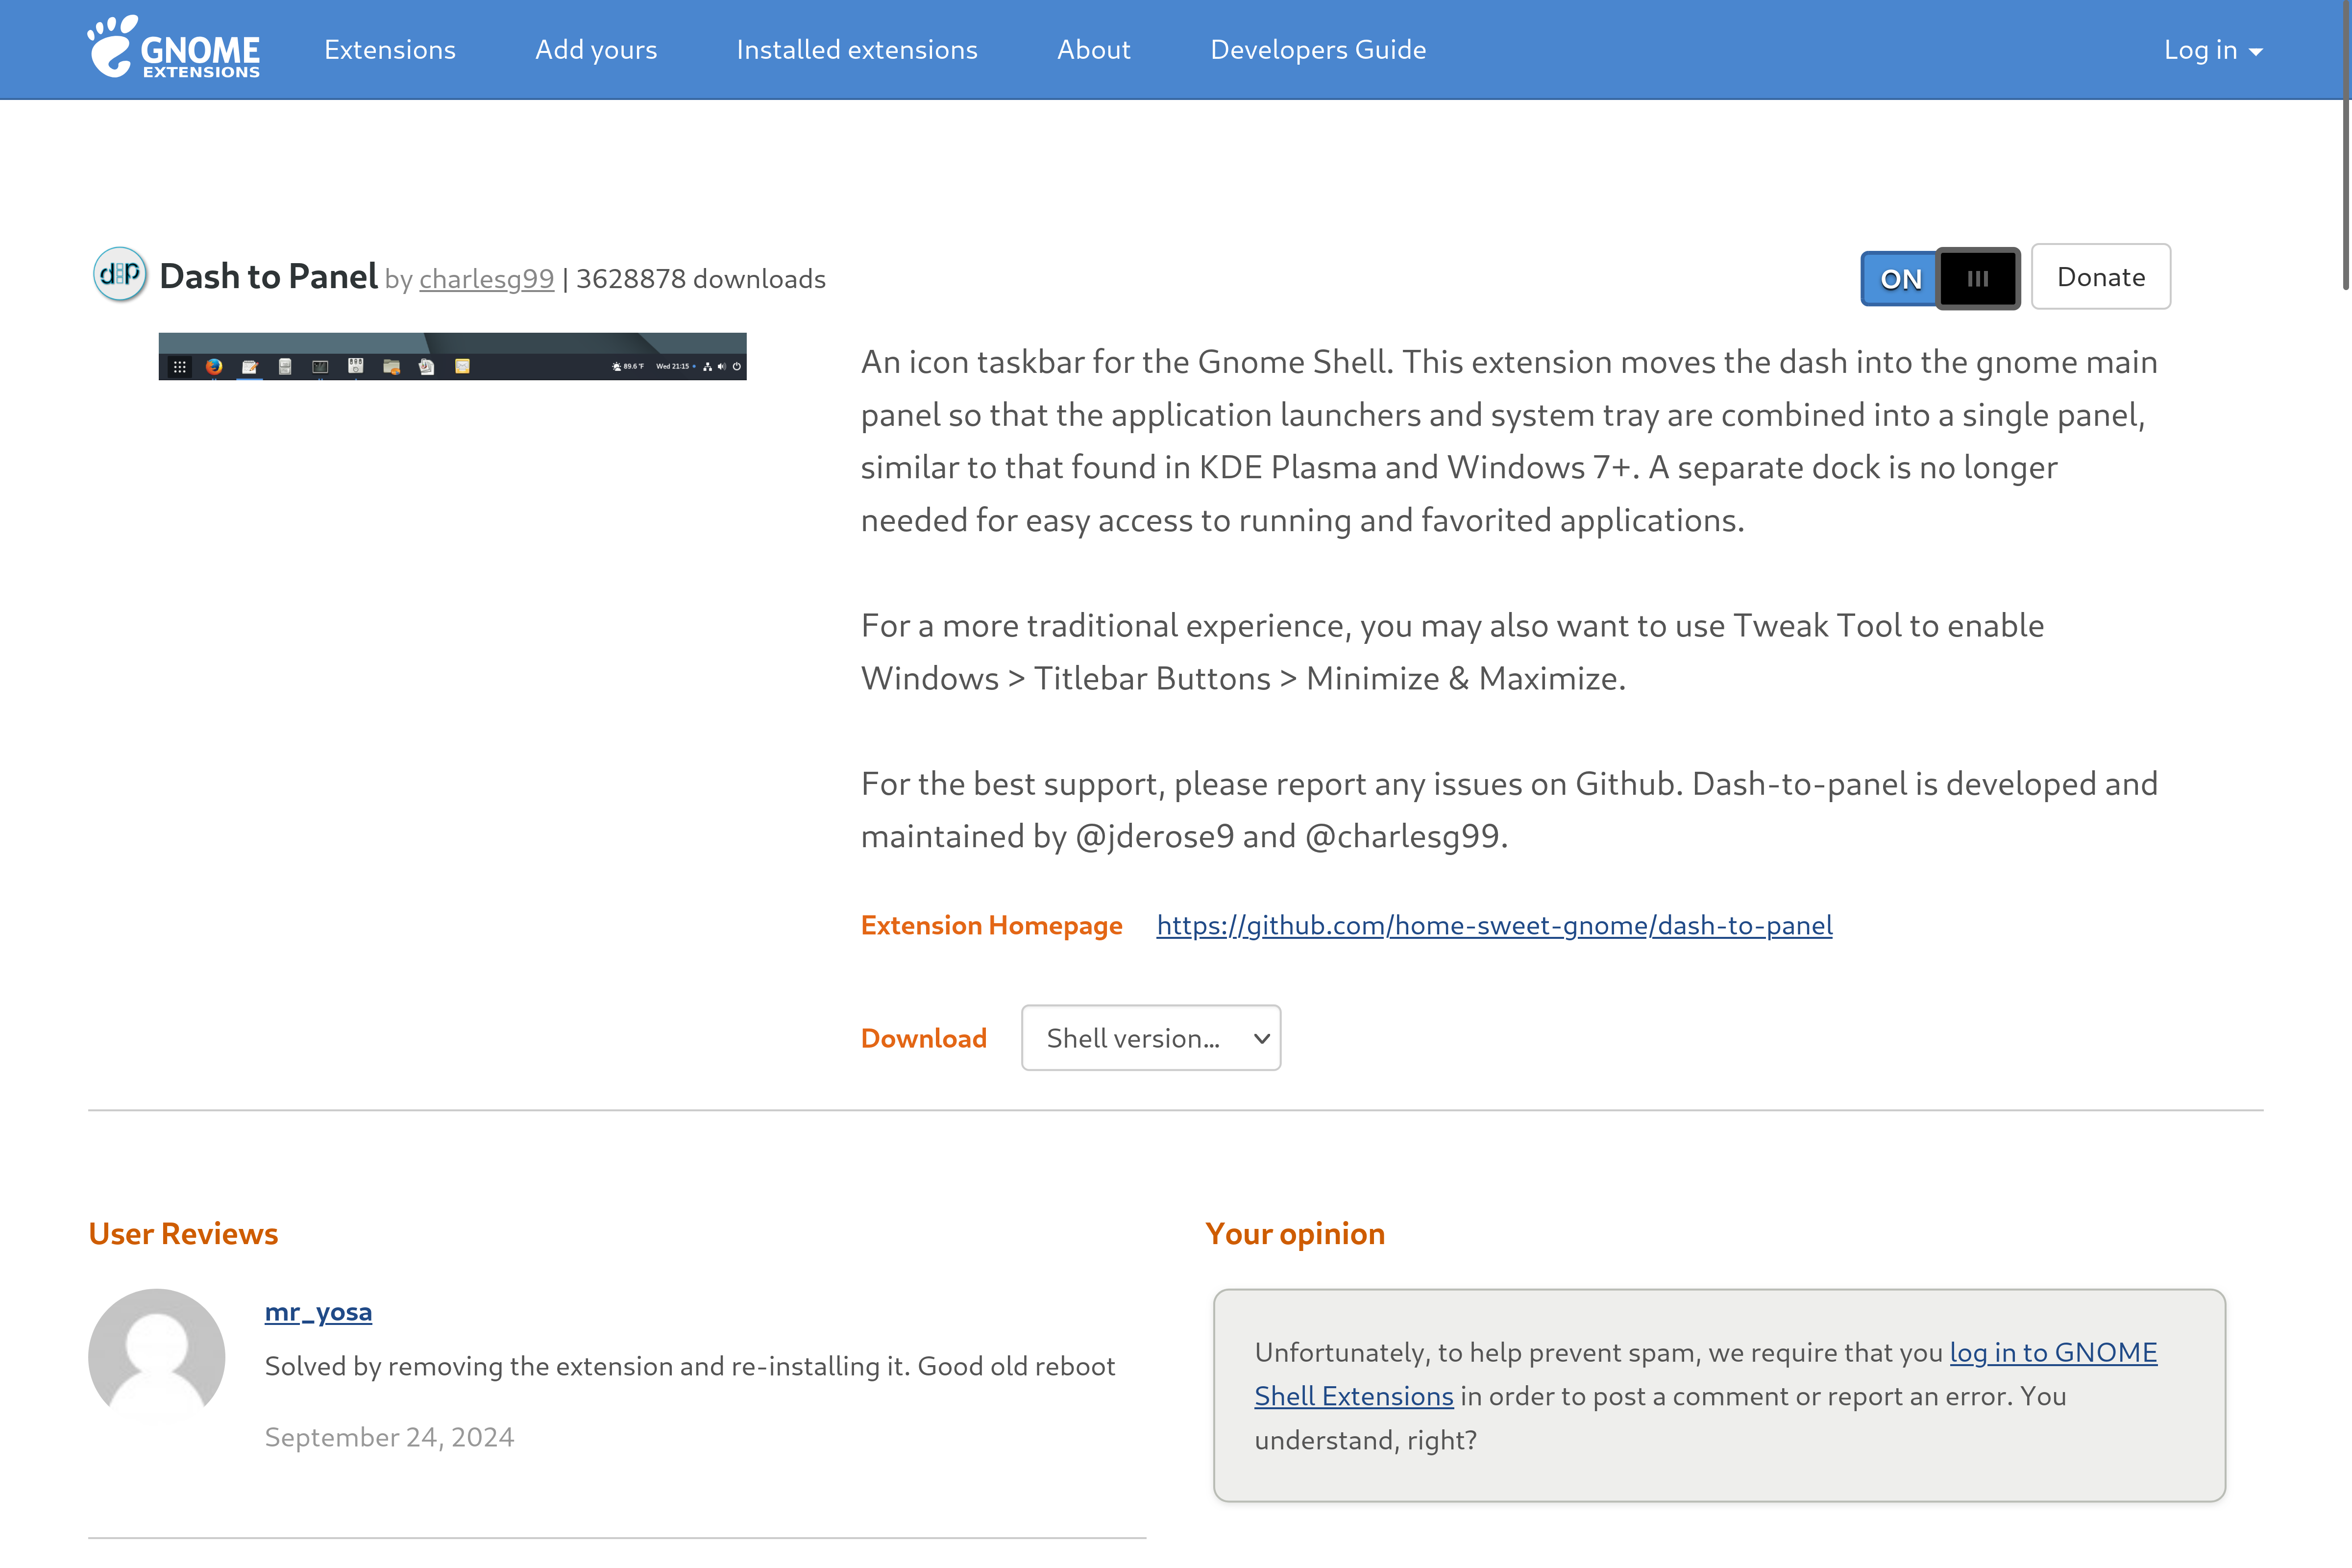
Next, install Dash to Panel. This will transform the left-hand dash into a proper Windows-style taskbar.
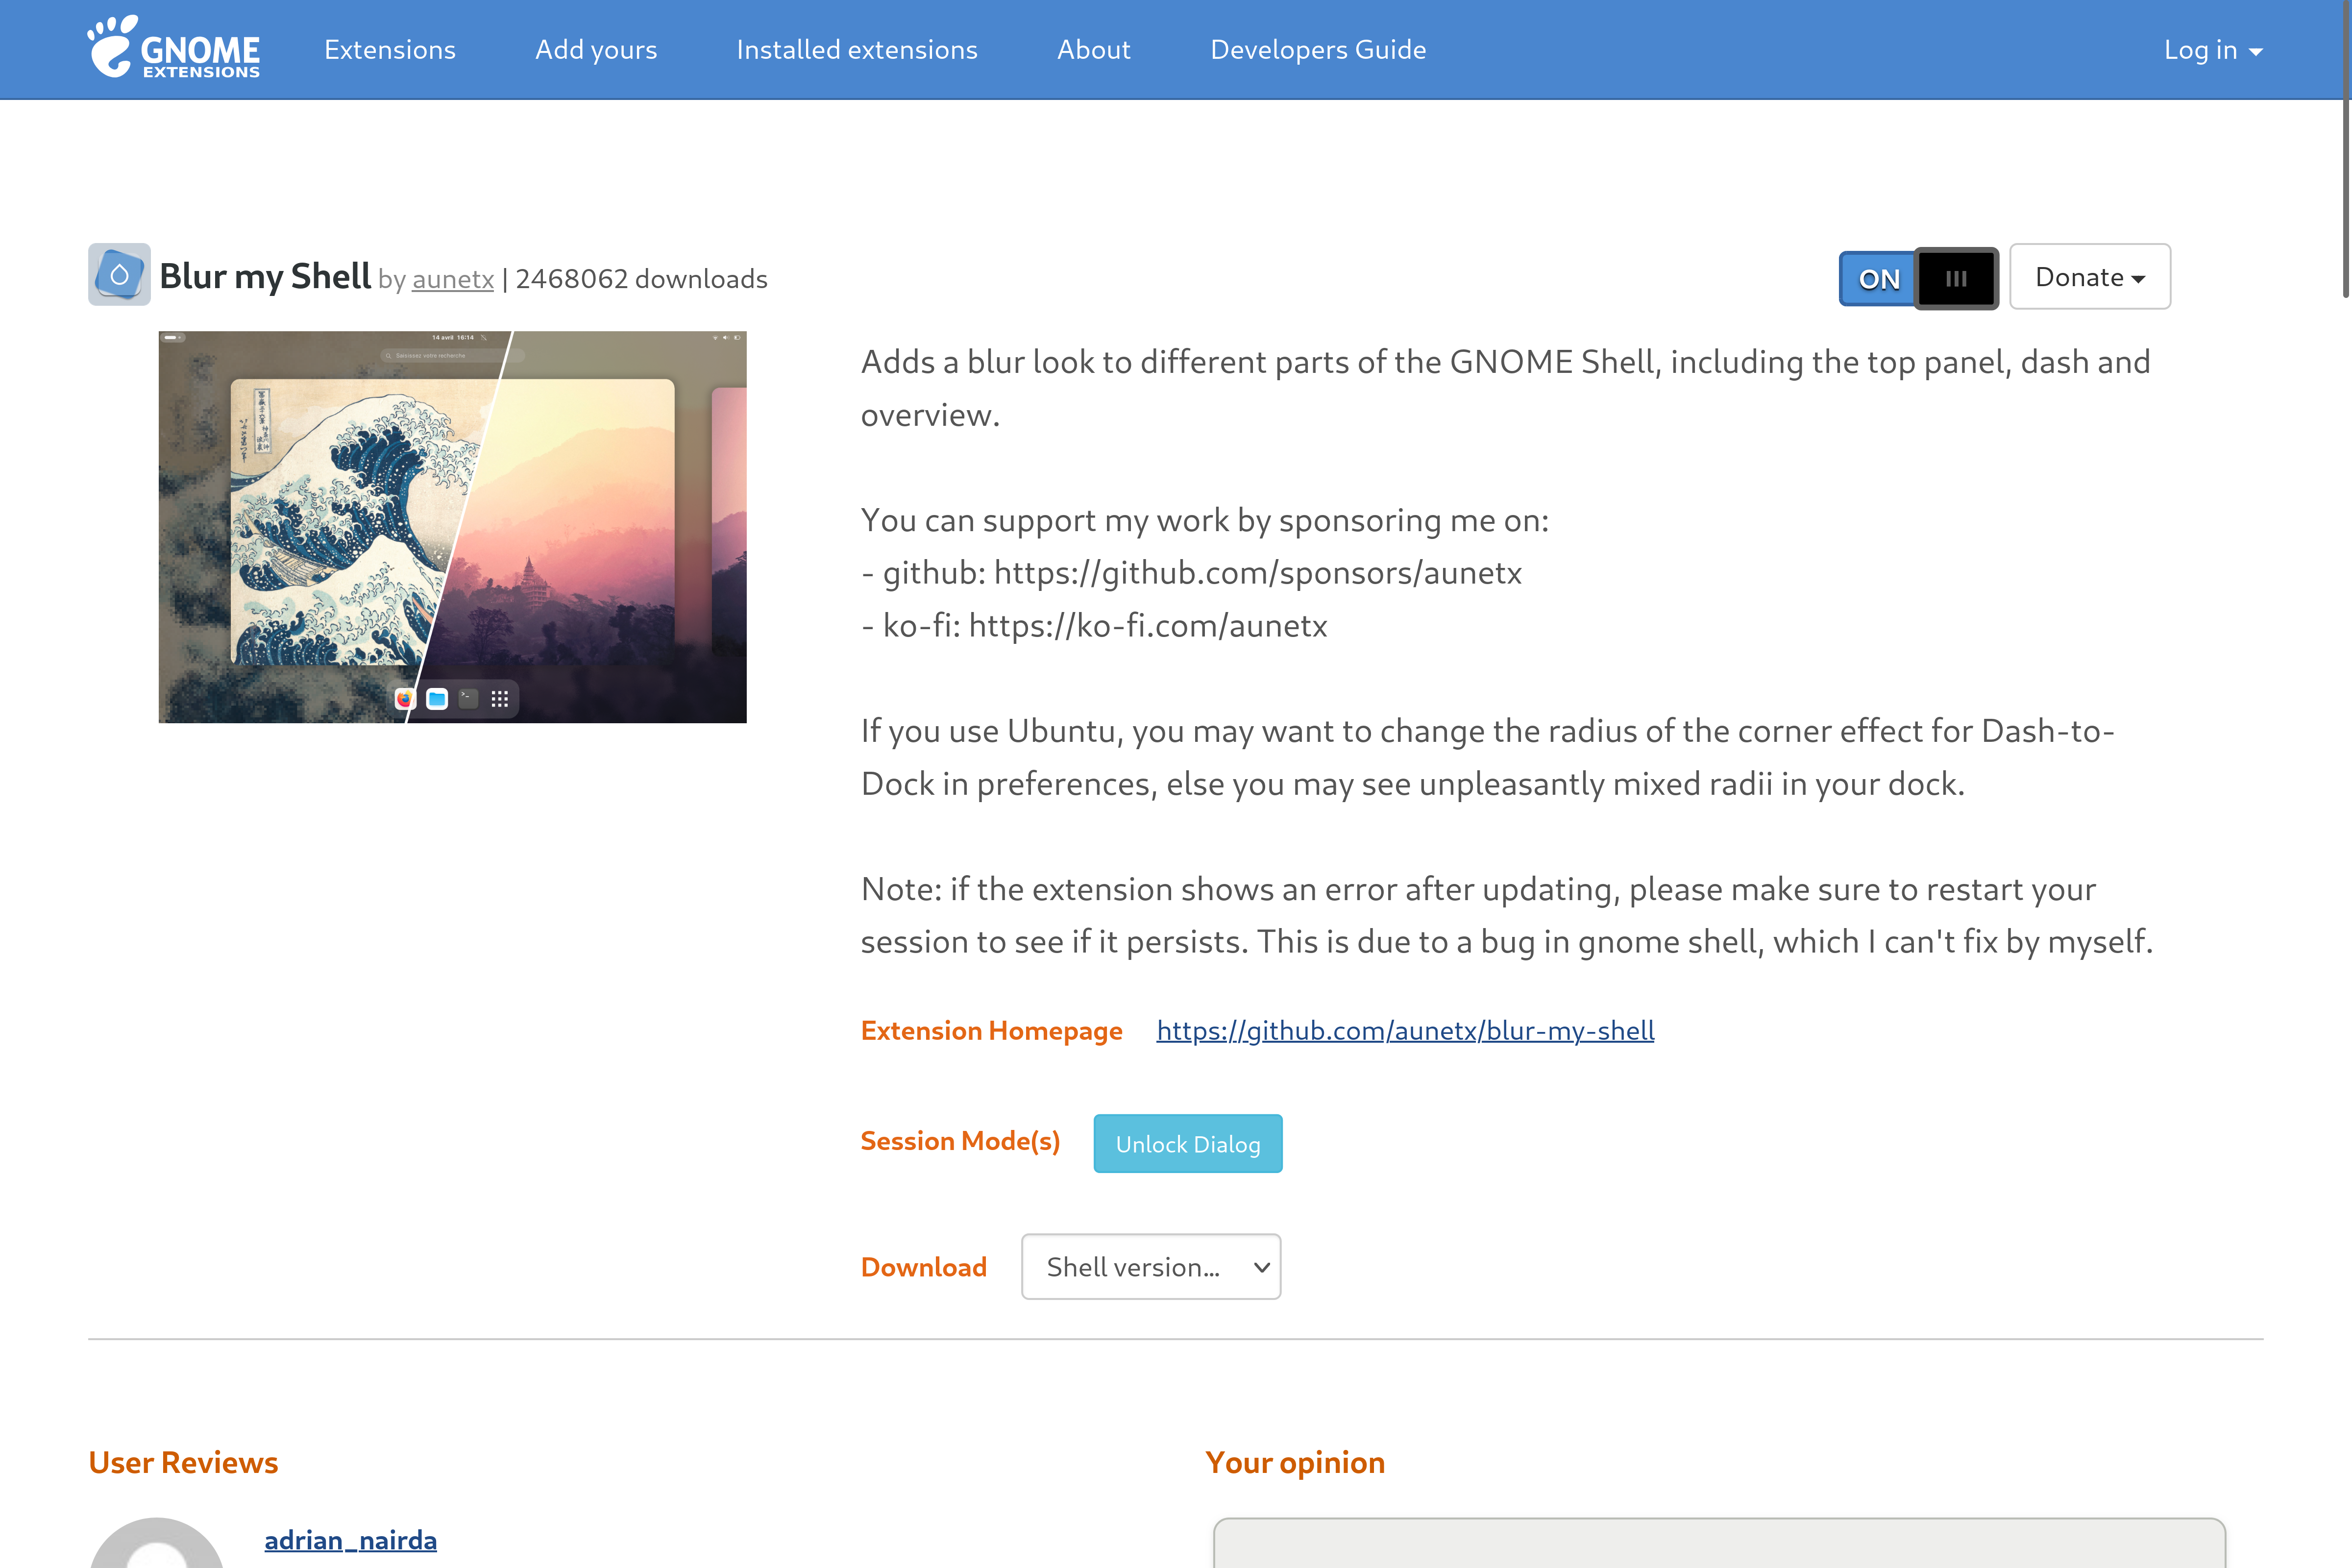
To fine-tune the taskbar and give it the translucent look and feel of Windows 11, we need to install Blur my Shell.
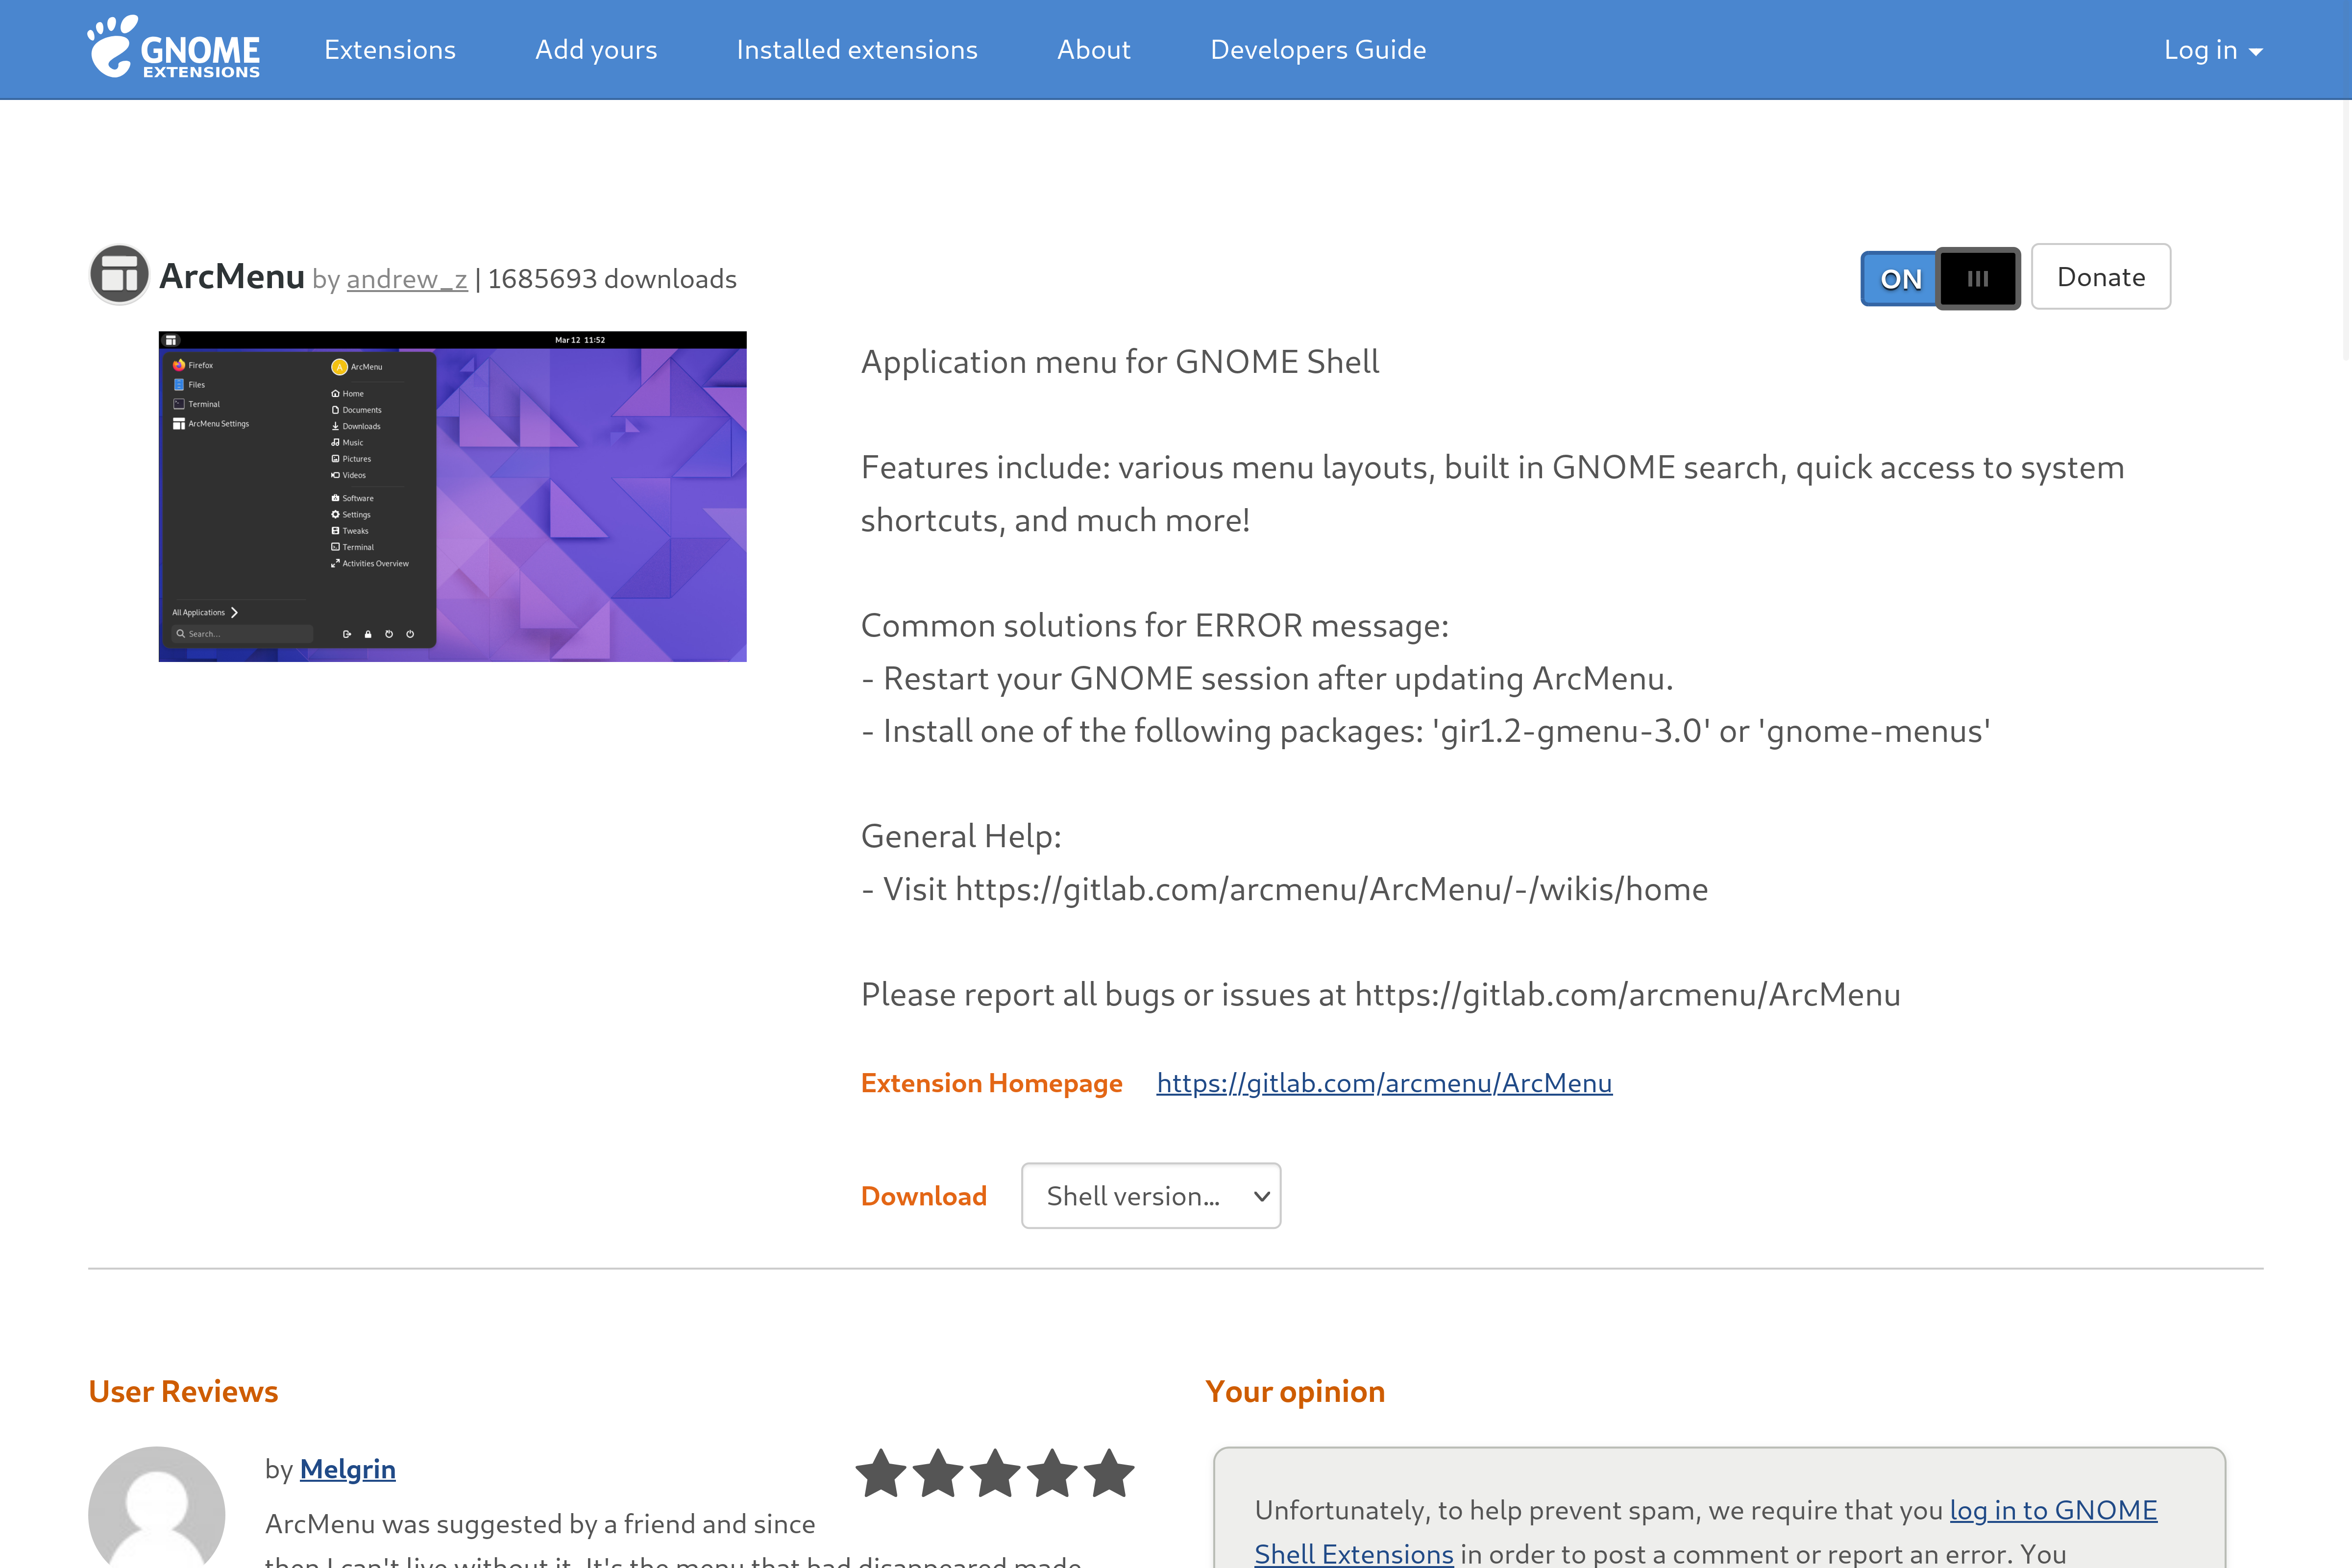
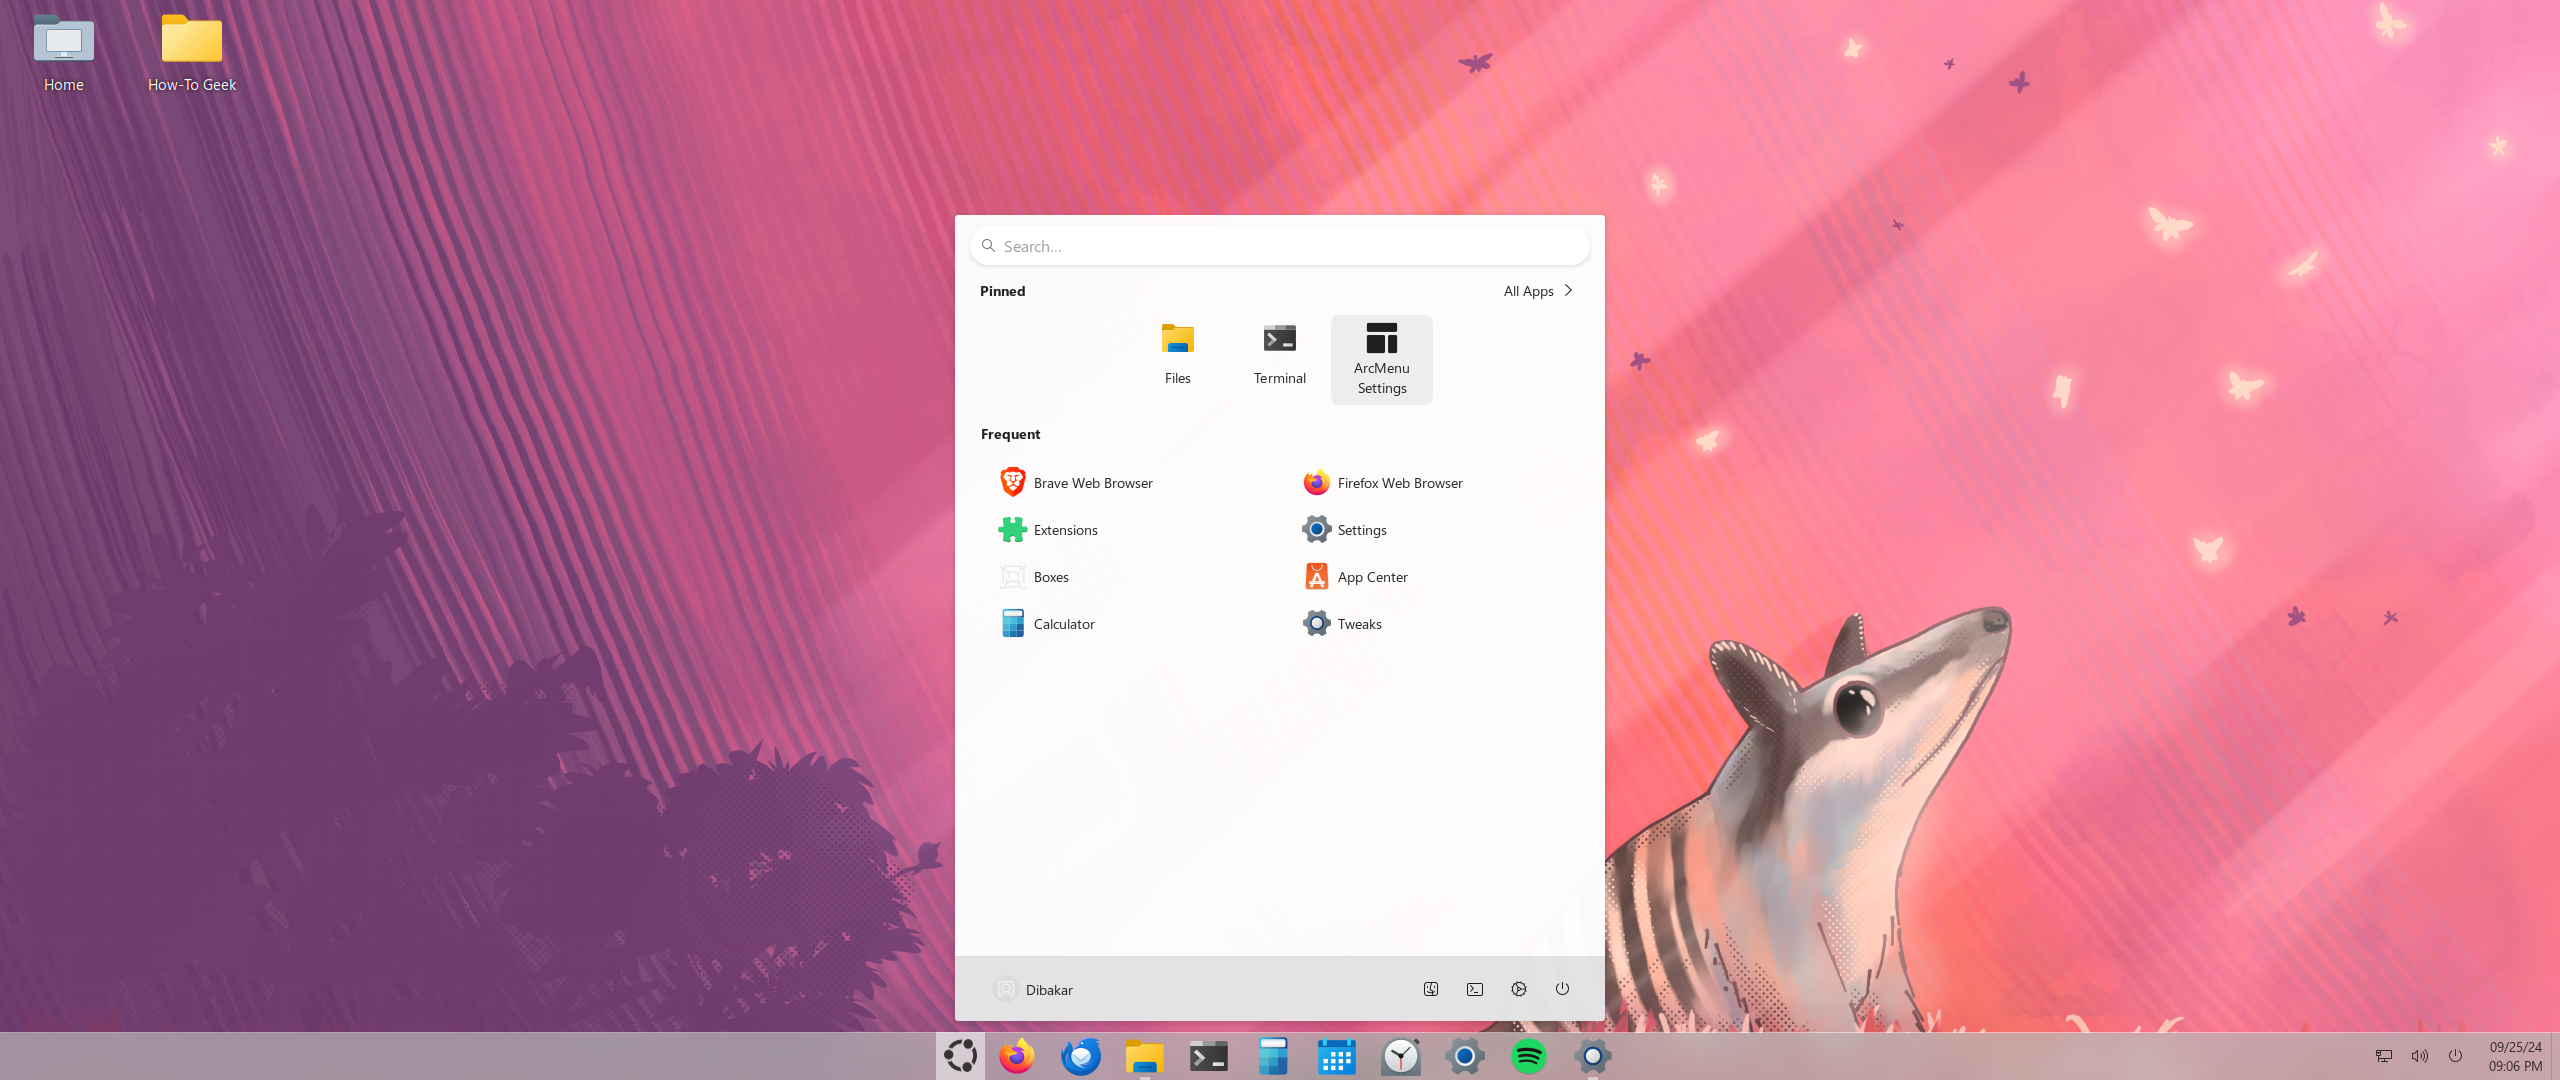
ArcMenu is another important piece of the puzzle. It’ll help us add the Windows 11 start menu.
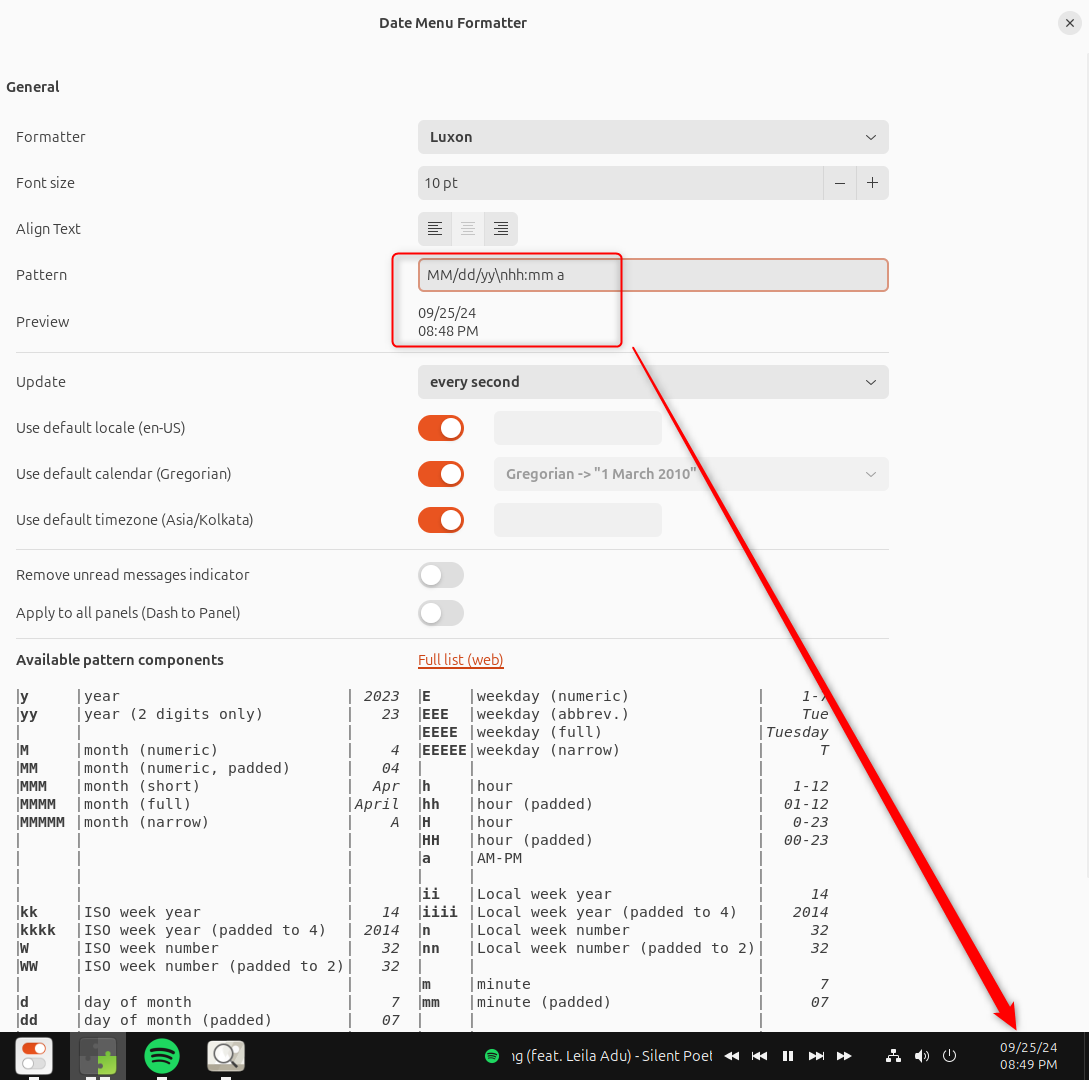
Date Menu Formatter will help us get the Windows 11 time and date format, where the date is stacked on top of the time.

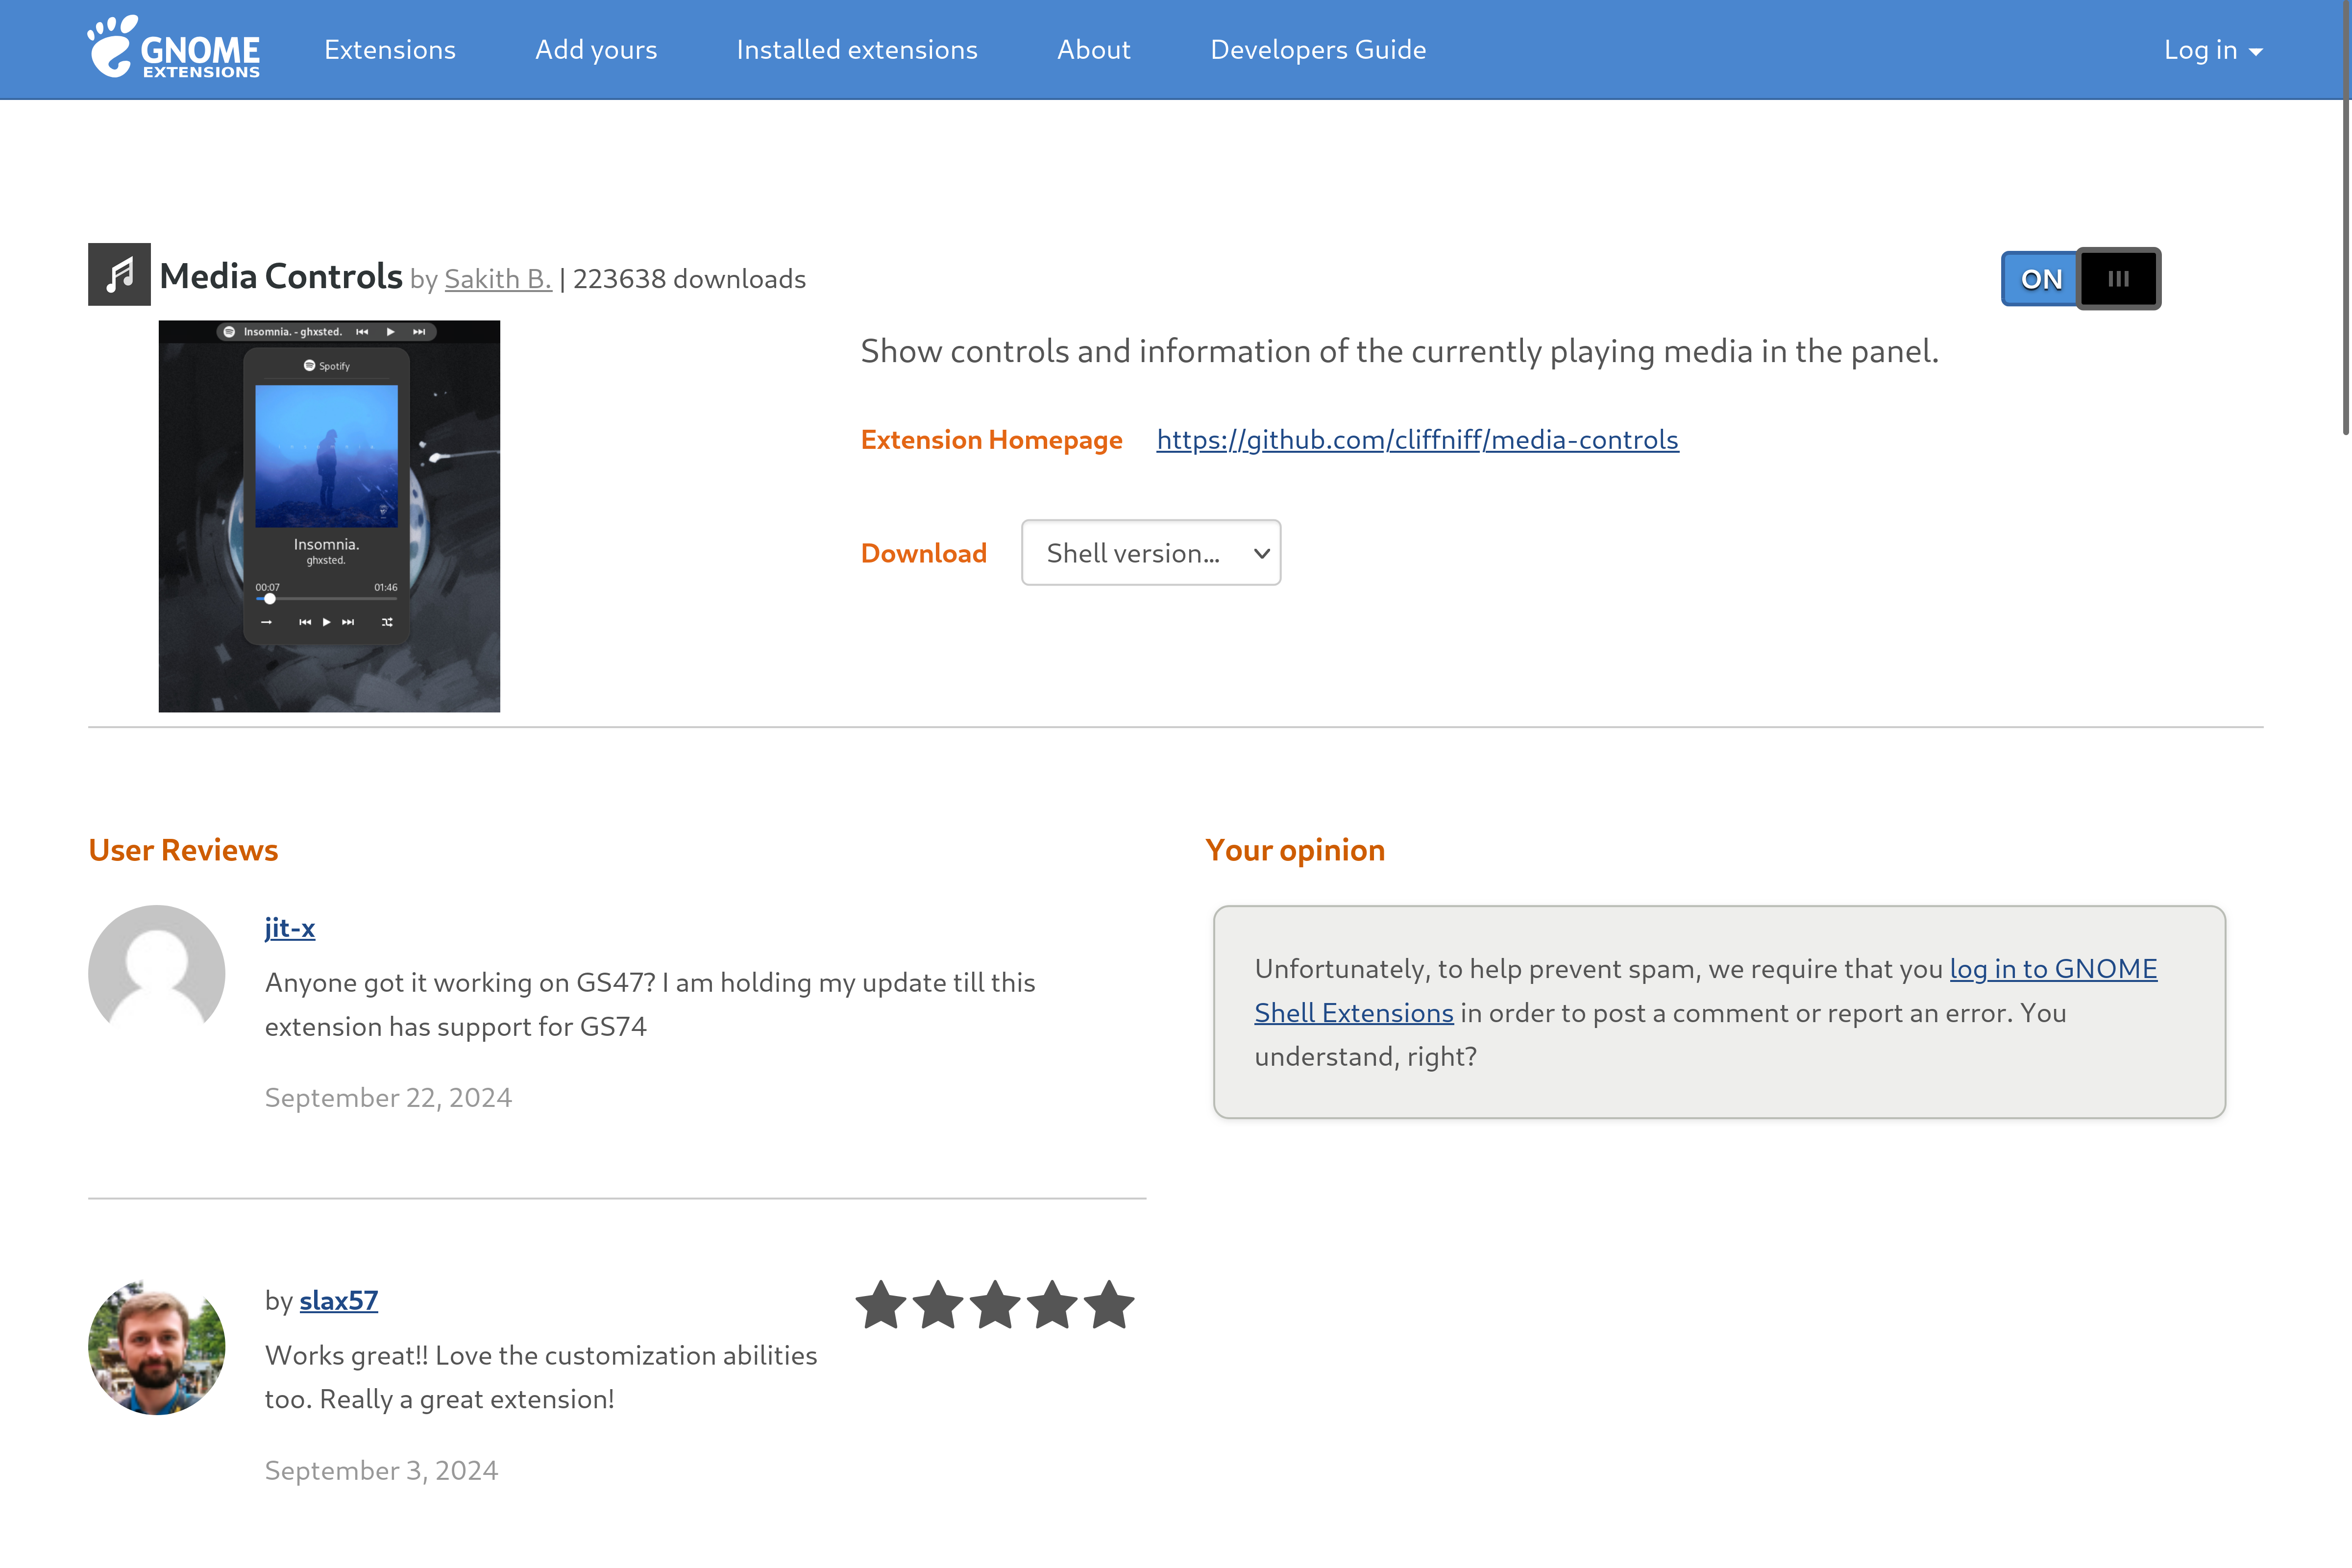
Now, Windows 11 does allow you to access media controls through the volume quick settings. Unfortunately, we can’t get Ubuntu to work like that. However, the Media Controls extension will give us a dedicated icon in the quick settings area to manage all music or videos playing on our system easily.
And finally, you might have noticed that Ubuntu doesn’t show the apps running in the background on its panel. To fix this, we’ll install Tray Icons: Reloaded.
Installing a Windows Theme, Icon Pack, and Fonts
The extensions will help structurally change how the Ubuntu desktop looks. However, to make it more graphically in line with Windows, we need a few more assets. We’ll first install the Windows 11 icon pack. I personally found this one on GitHub excellent!
You can install it by getting the remote repository URL and cloning it on your system using the following command:
git clone https://github.com/yeyushengfan258/Win11-icon-theme.git
Next, change the directory to the folder containing the icon pack.
cd Win11-icon-theme
And finally, install the icon pack using this command:
./install.sh
I also tested a lot of GNOME themes and found the Fluent GTK theme to be the most Windows-like. To install it, you can visit its GitHub page, copy its remote repository URL (found in the «Code» menu), and clone it on your system.
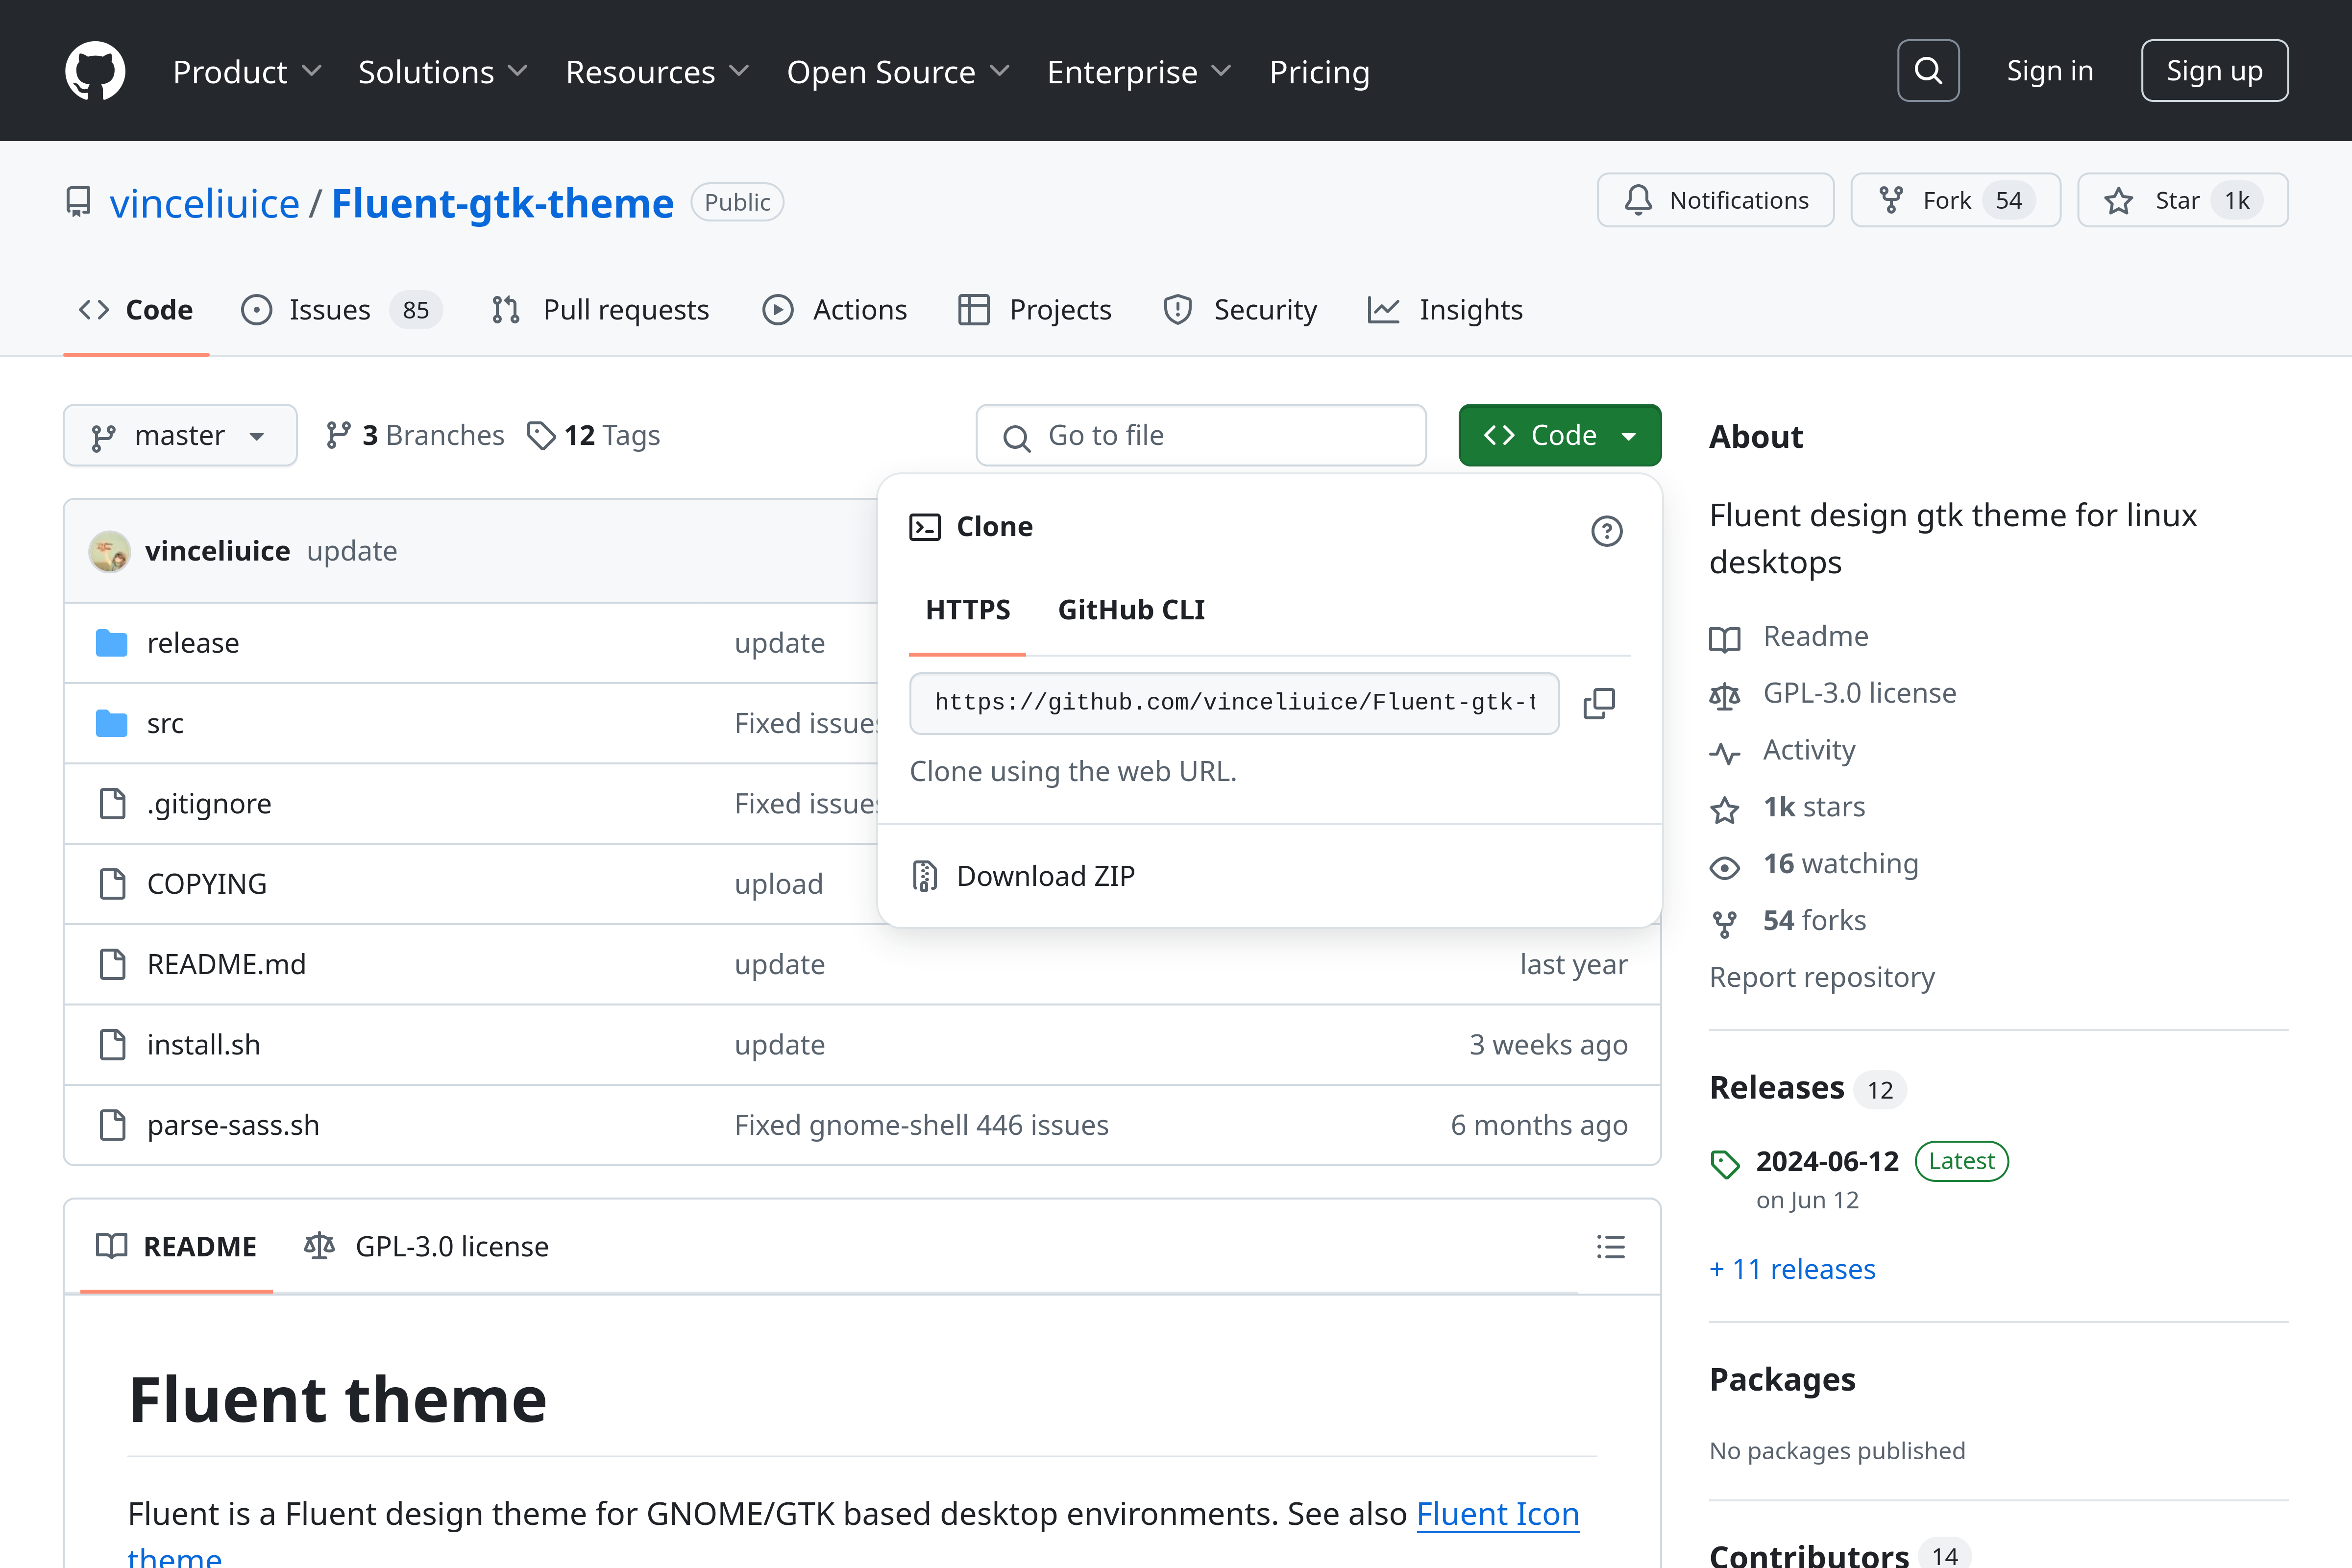
Similar to before, you’ll enter the following commands one after the other:
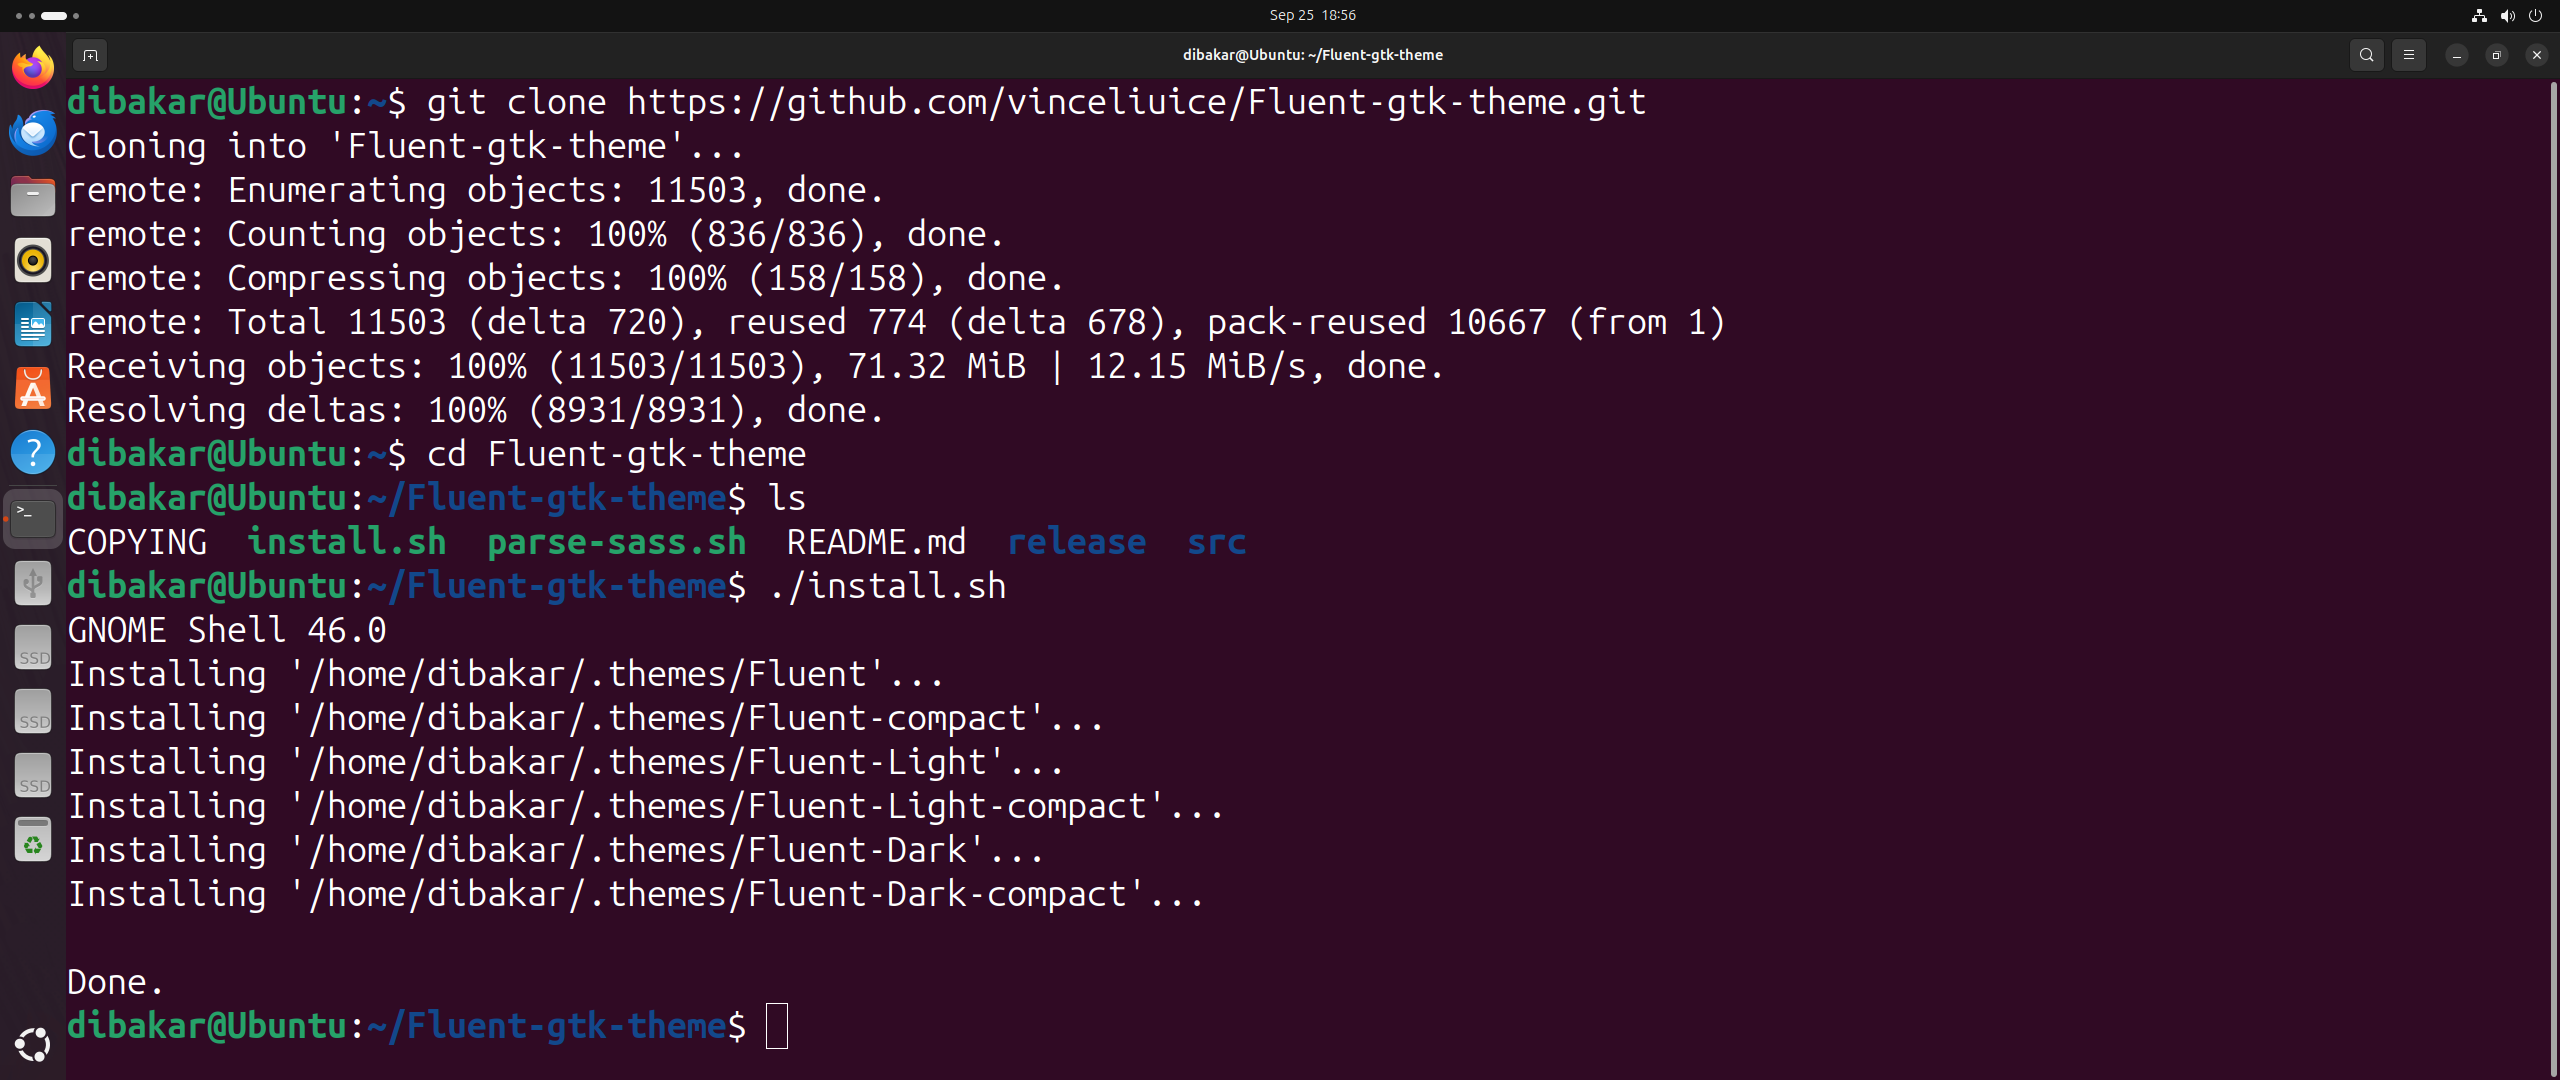
        git clone https://github.com/vinceliuice/Fluent-gtk-theme.git
cd Fluent-gtk-theme
./install.sh
Last but not least, let’s install a Windows-like font pack—Segoe-UI Font.
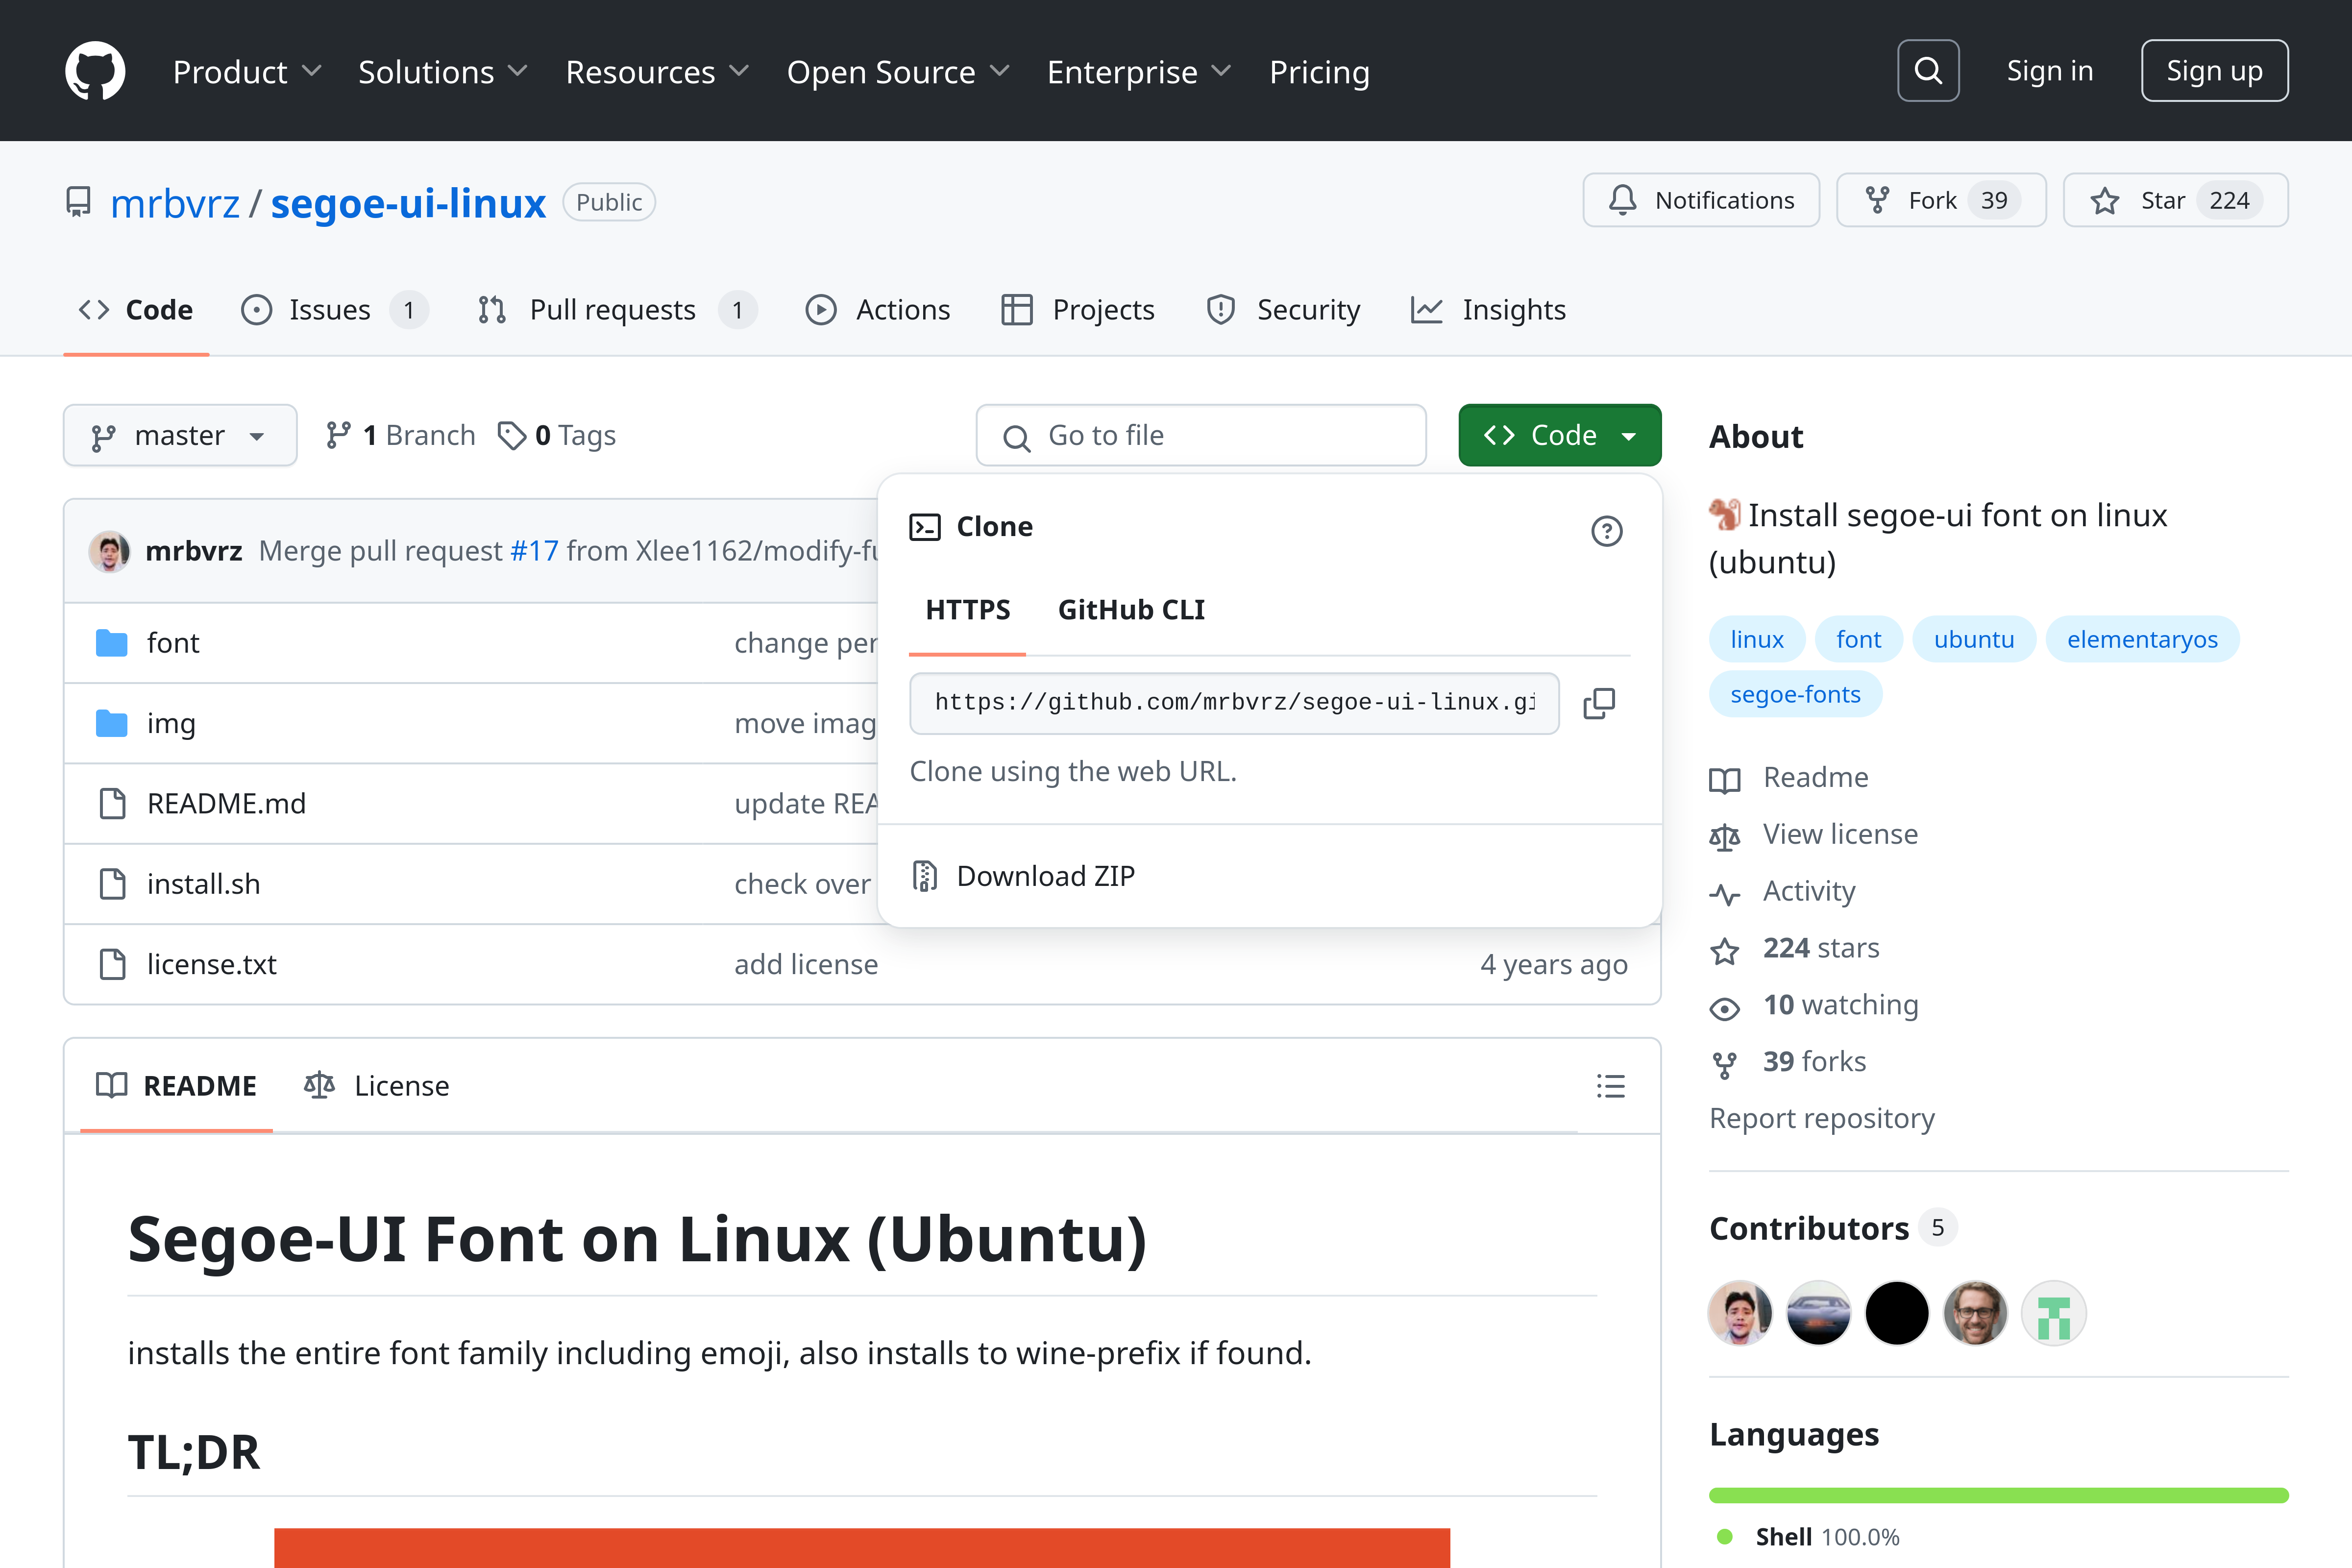
Again, it is hosted on GitHub, and we can install it following similar steps as before:
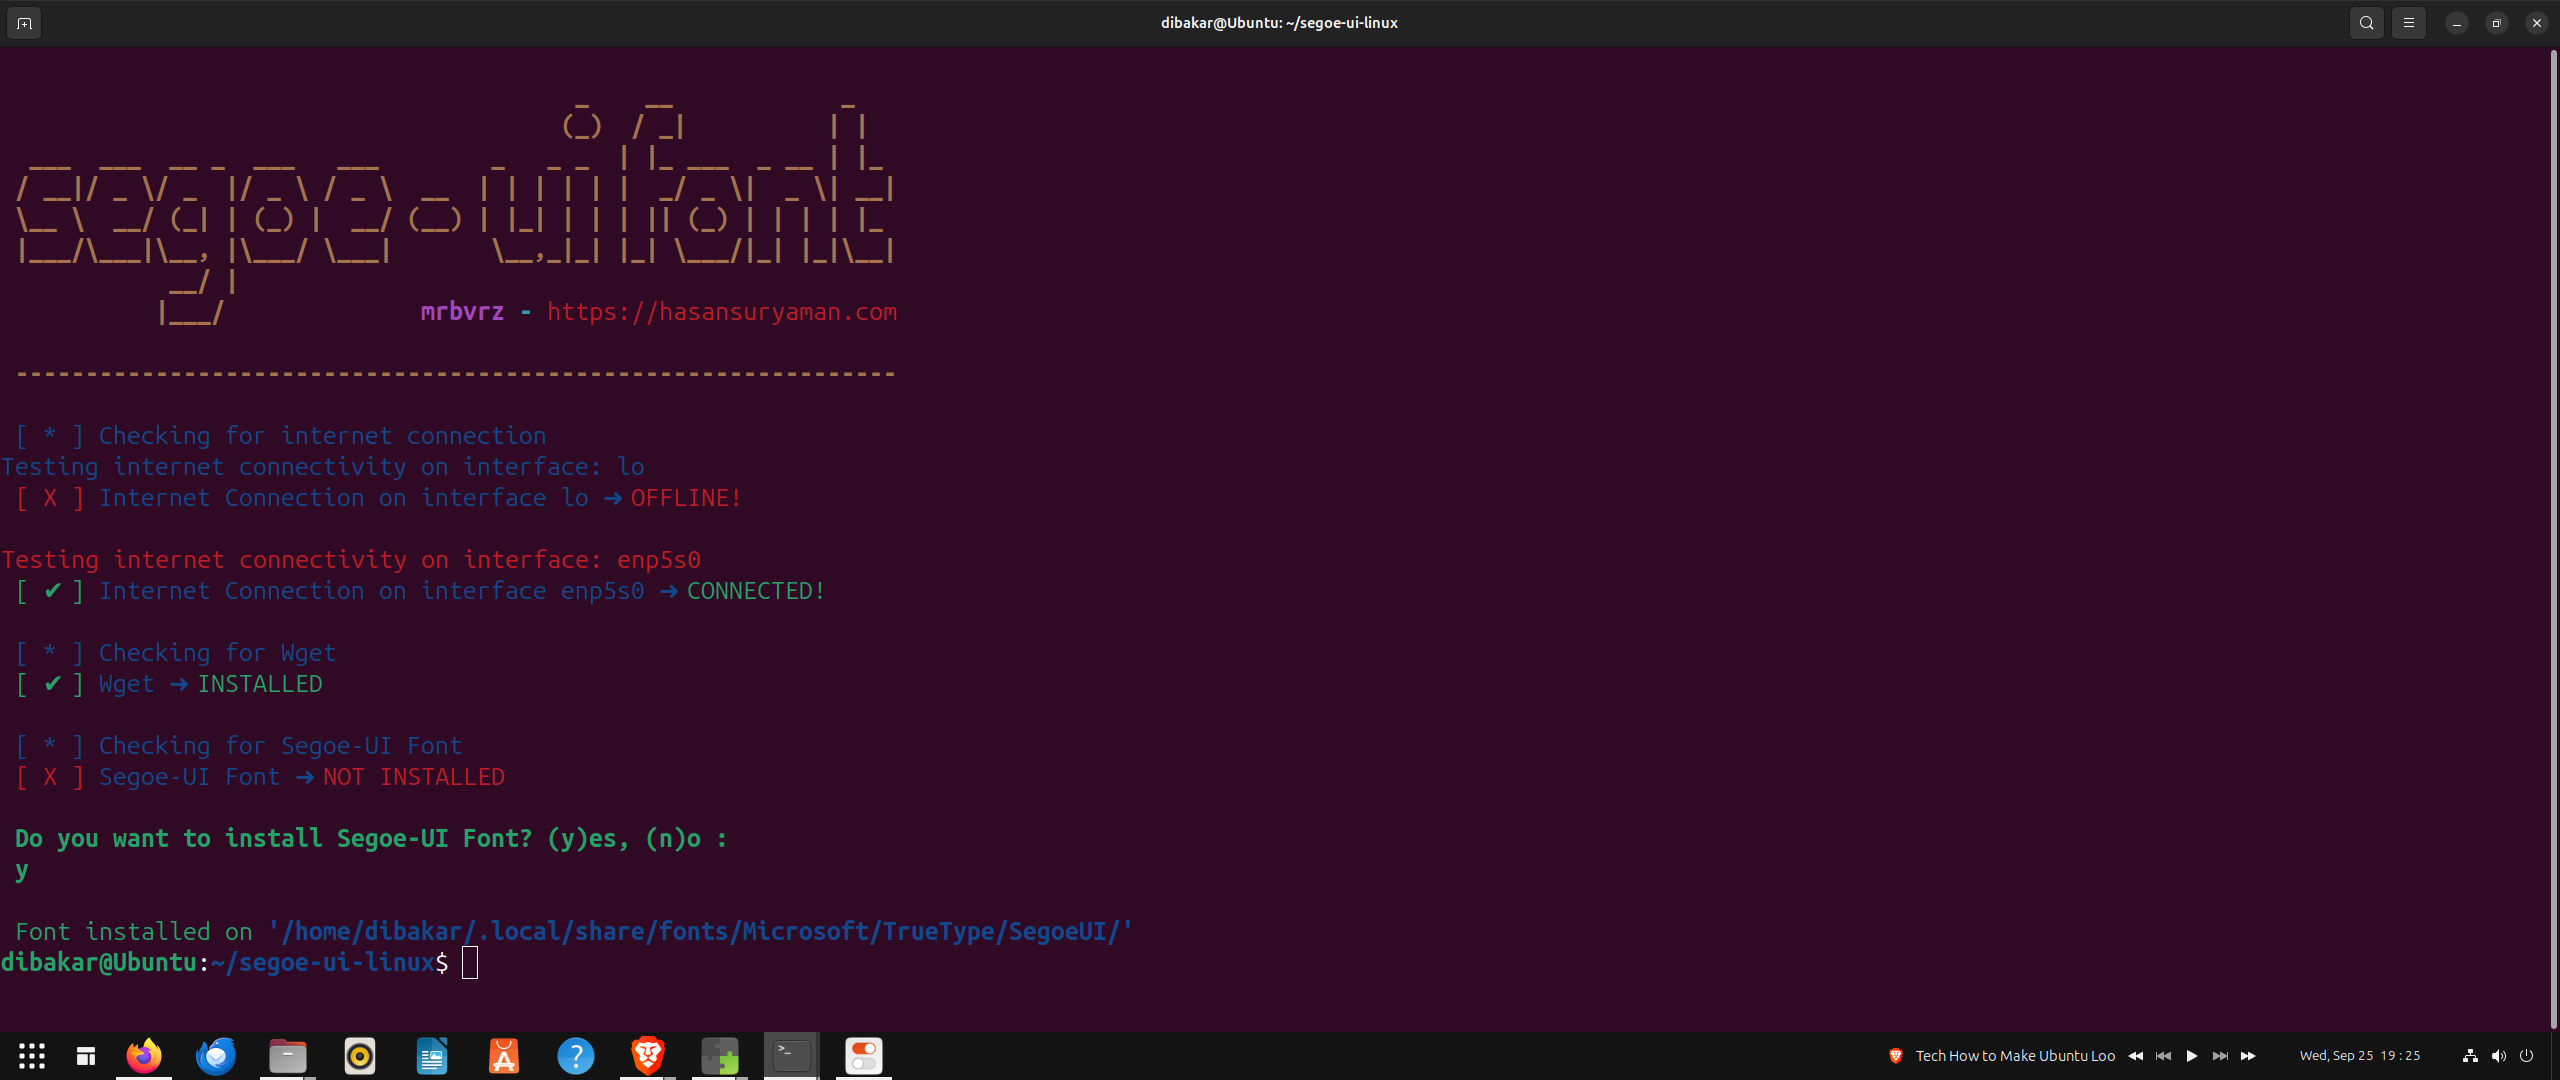
        git clone https://github.com/mrbvrz/segoe-ui-linux.git
cd segoe-ui-linux
./install.sh
With everything installed, we can now start the fine-tuning process.
Ubuntu is already starting to look more like Windows 11.
However, it’s not 100% there yet. But we can easily solve that with some minor fine-tuning. To do this, we’ll need to open the GNOME Extensions app and tweak each extension we installed.
Let’s start with Dash to Panel. Head into its settings and make the following changes:
- In the Position tab, hide the Show Applications Button and Activities Buttons. Click on the Visible button beside them, and they’ll become white, meaning they are deactivated.
- Change the Left Box and Taskbar to Monitor Center.
- Use the arrow buttons to move the Date Menu to the second-last position right above the Desktop Button.
- In the Style tab, change the Running Indicator Style from Metro to Dashes for both Focused and Unfocused apps.
- In the Behavior tab, toggle on Disable Show Overview on Startup.
Once done, move into the ArcMenu extension settings.
- In the Menu tab, click on Menu Layout > Modern Menu Layout > 11.
- Go back to the Menu tab, click on Menu Visual Appearance, and change Height=800, Left-Panel Width=200, Right-Panel Width=200.
- While in Menu Visual Appearance, select Overview Menu Location to Bottom Centered.
- Again, go back and now head into the Menu Button tab. From here, you can «Choose A New Icon for the Start Button (ArcMenu).» If you have a Windows 11 icon, you can upload it here. I’ve picked the Ubuntu logo for this tutorial. Also, change the Icon Size to 33.
Next, let’s tweak Blur my Shell settings.
- From the Panel tab, Disable «Overview Background» and enable «Blur Original Panel with Dash to Panel».
- In Other Settings, set Window List Extension blur Sigma to 0 and Brightness to 1.
Moving on to the Date Menu Formatter, we just need to change the Pattern from the default to this value: MM/dd/yy\nhh:mm a
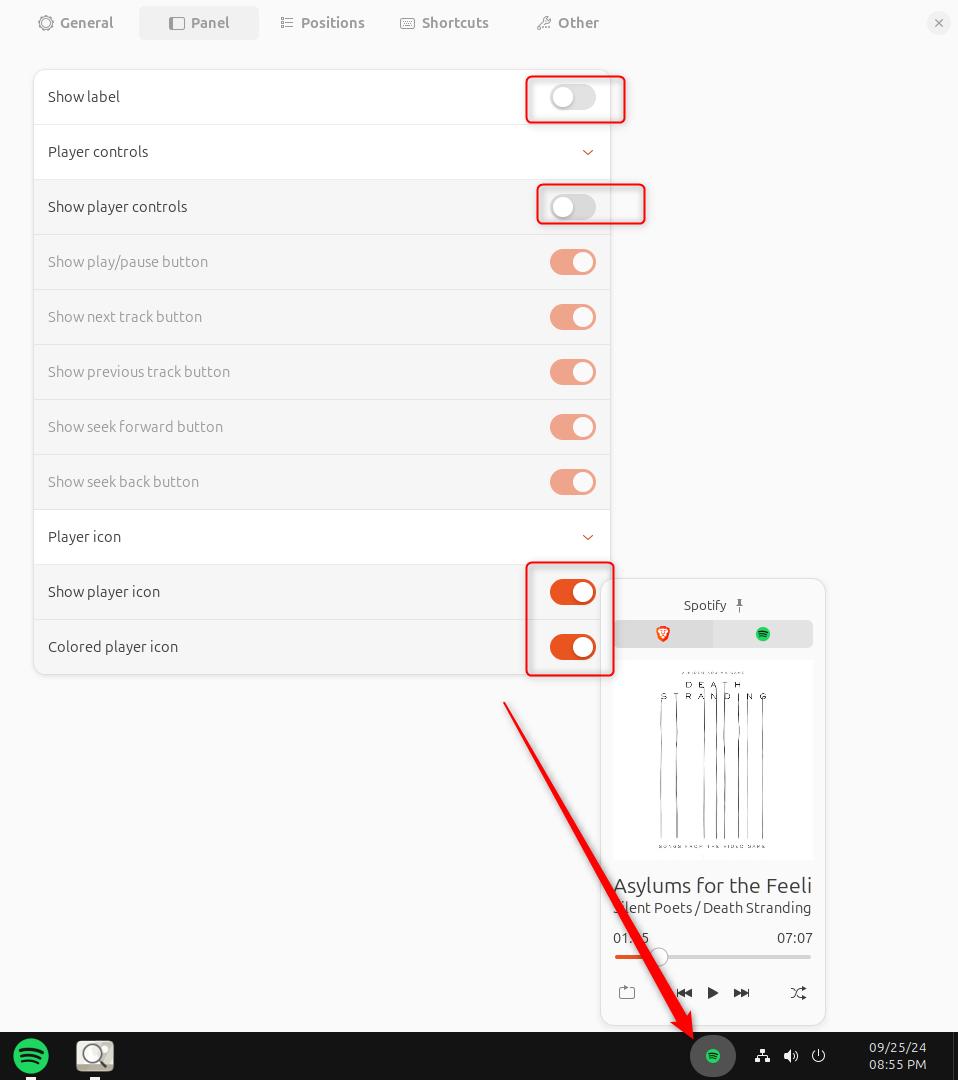
Finally, for Media Controls, head to the Panel tab and just disable Show Label and Show Player Controls. This will give you a dedicated Media Control button on the taskbar which you can click to control media playback.
Adding the Finishing Touches
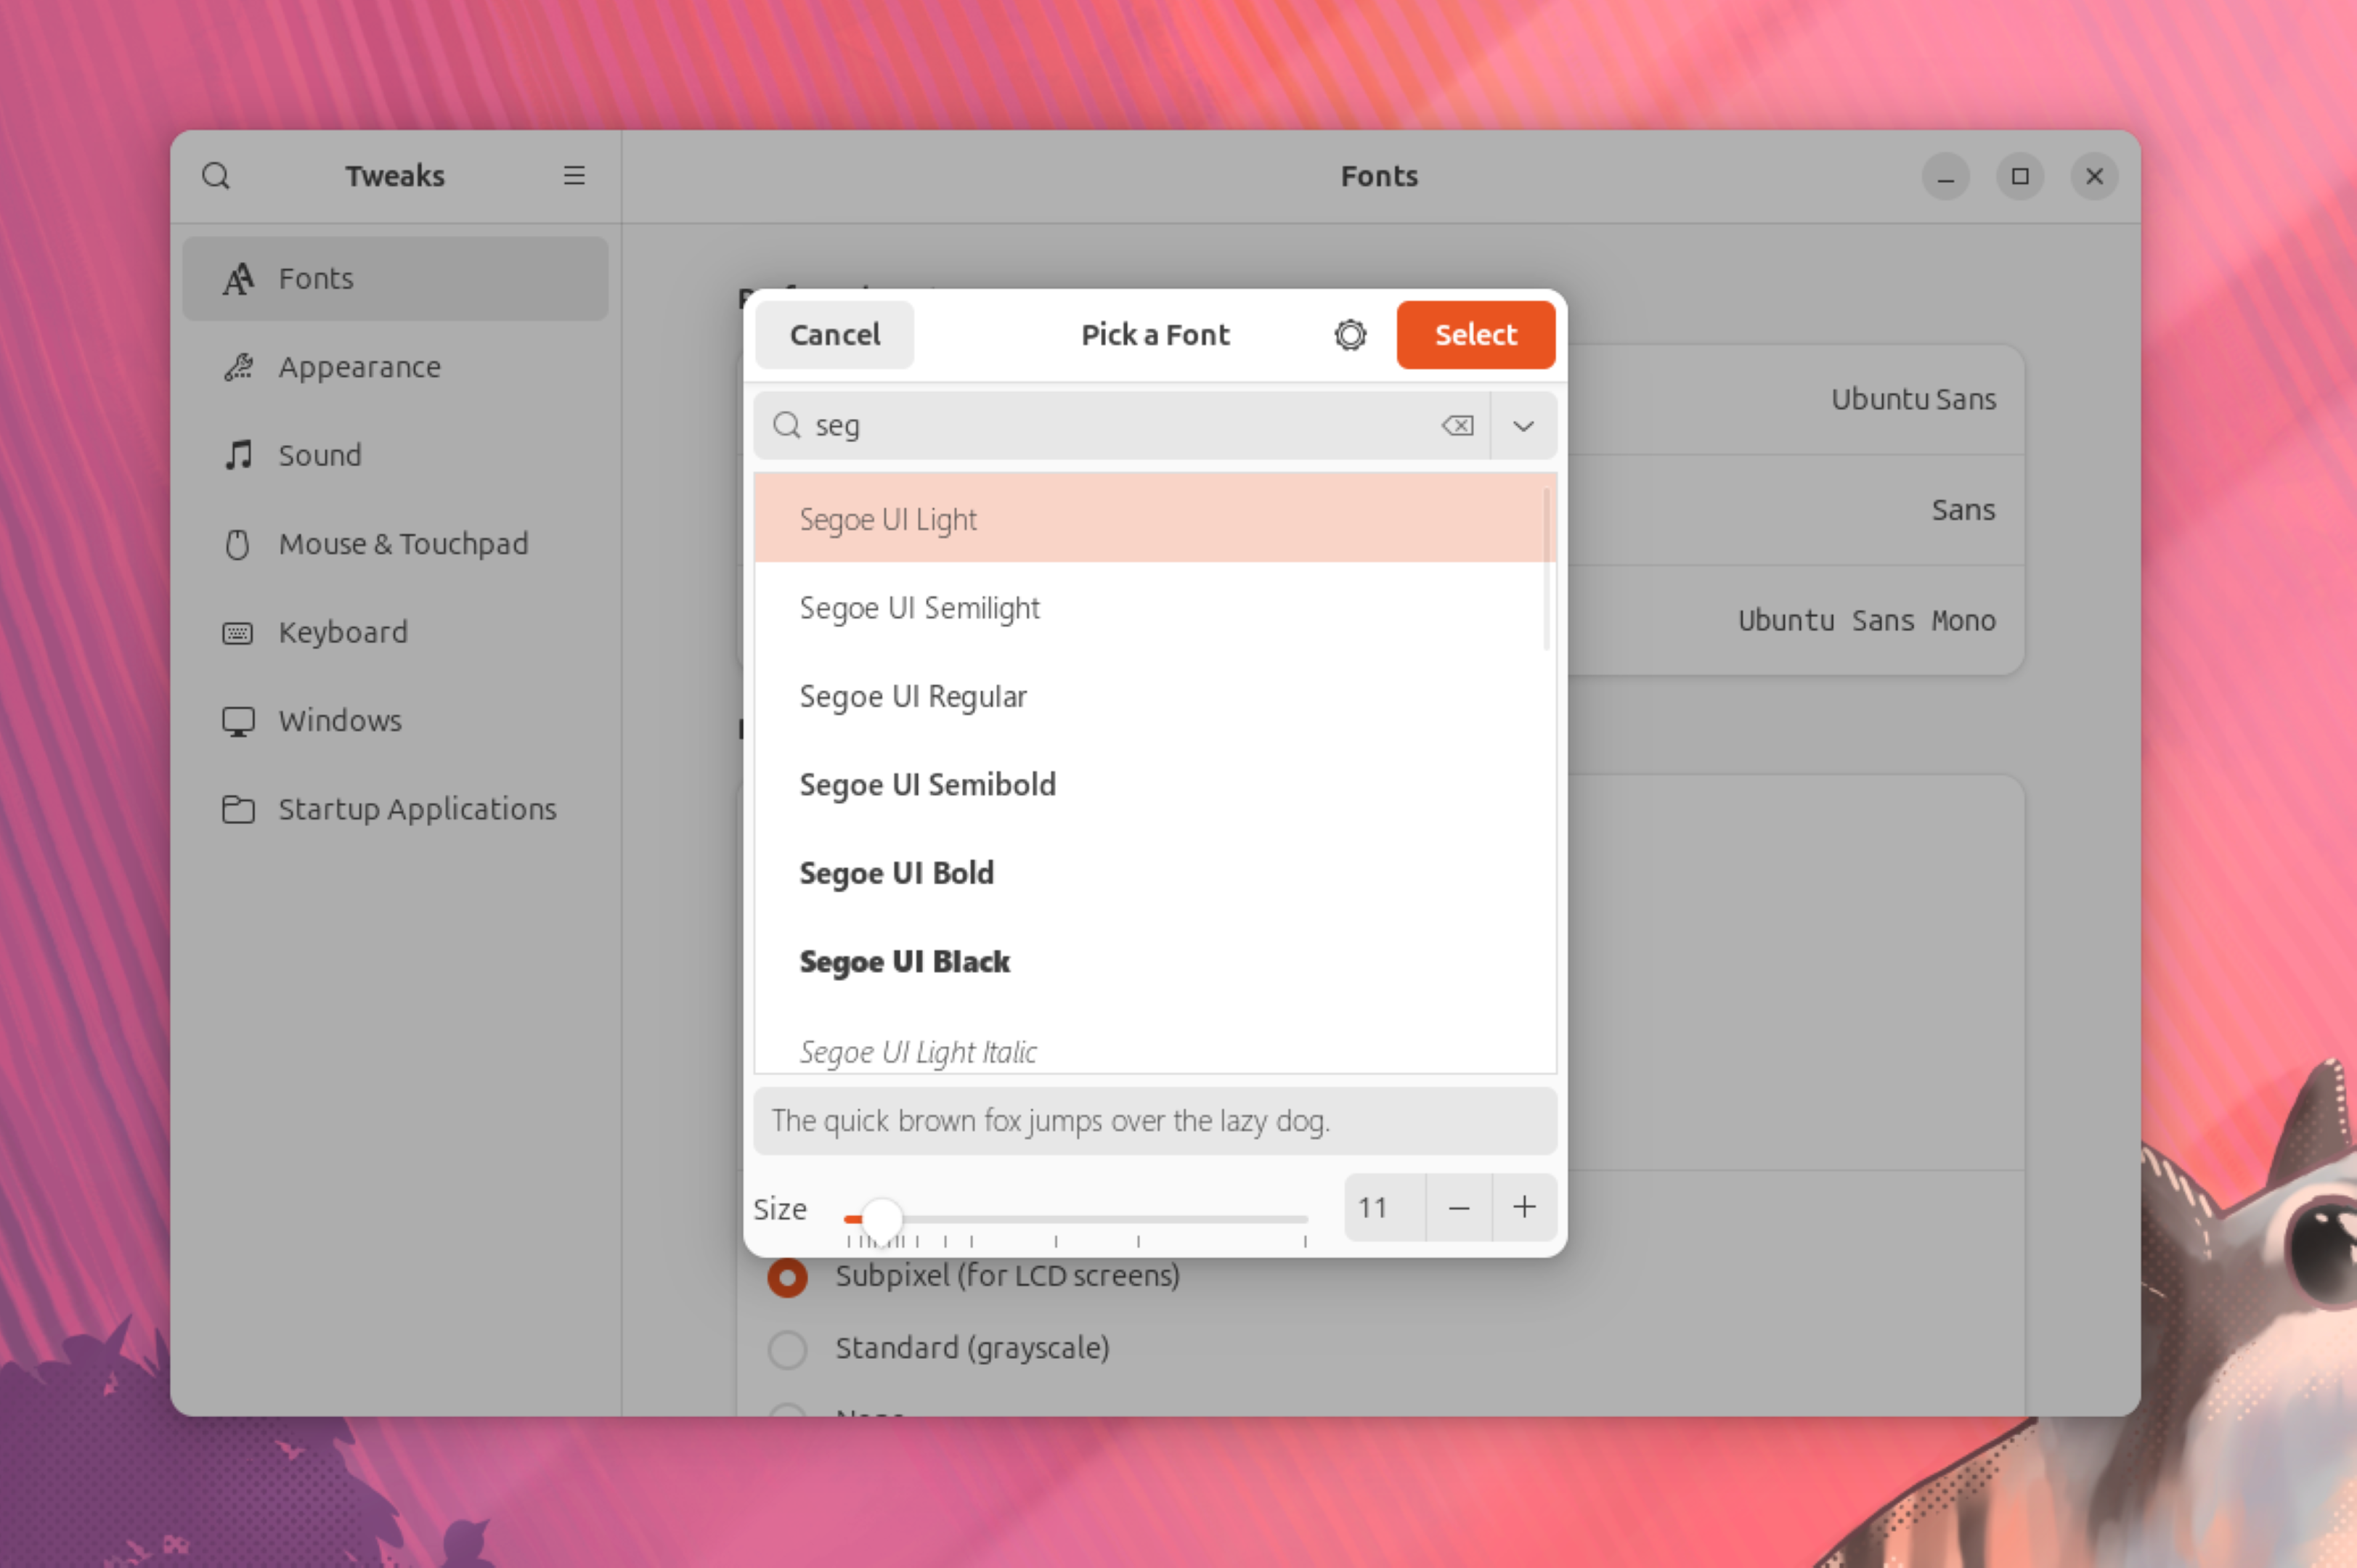
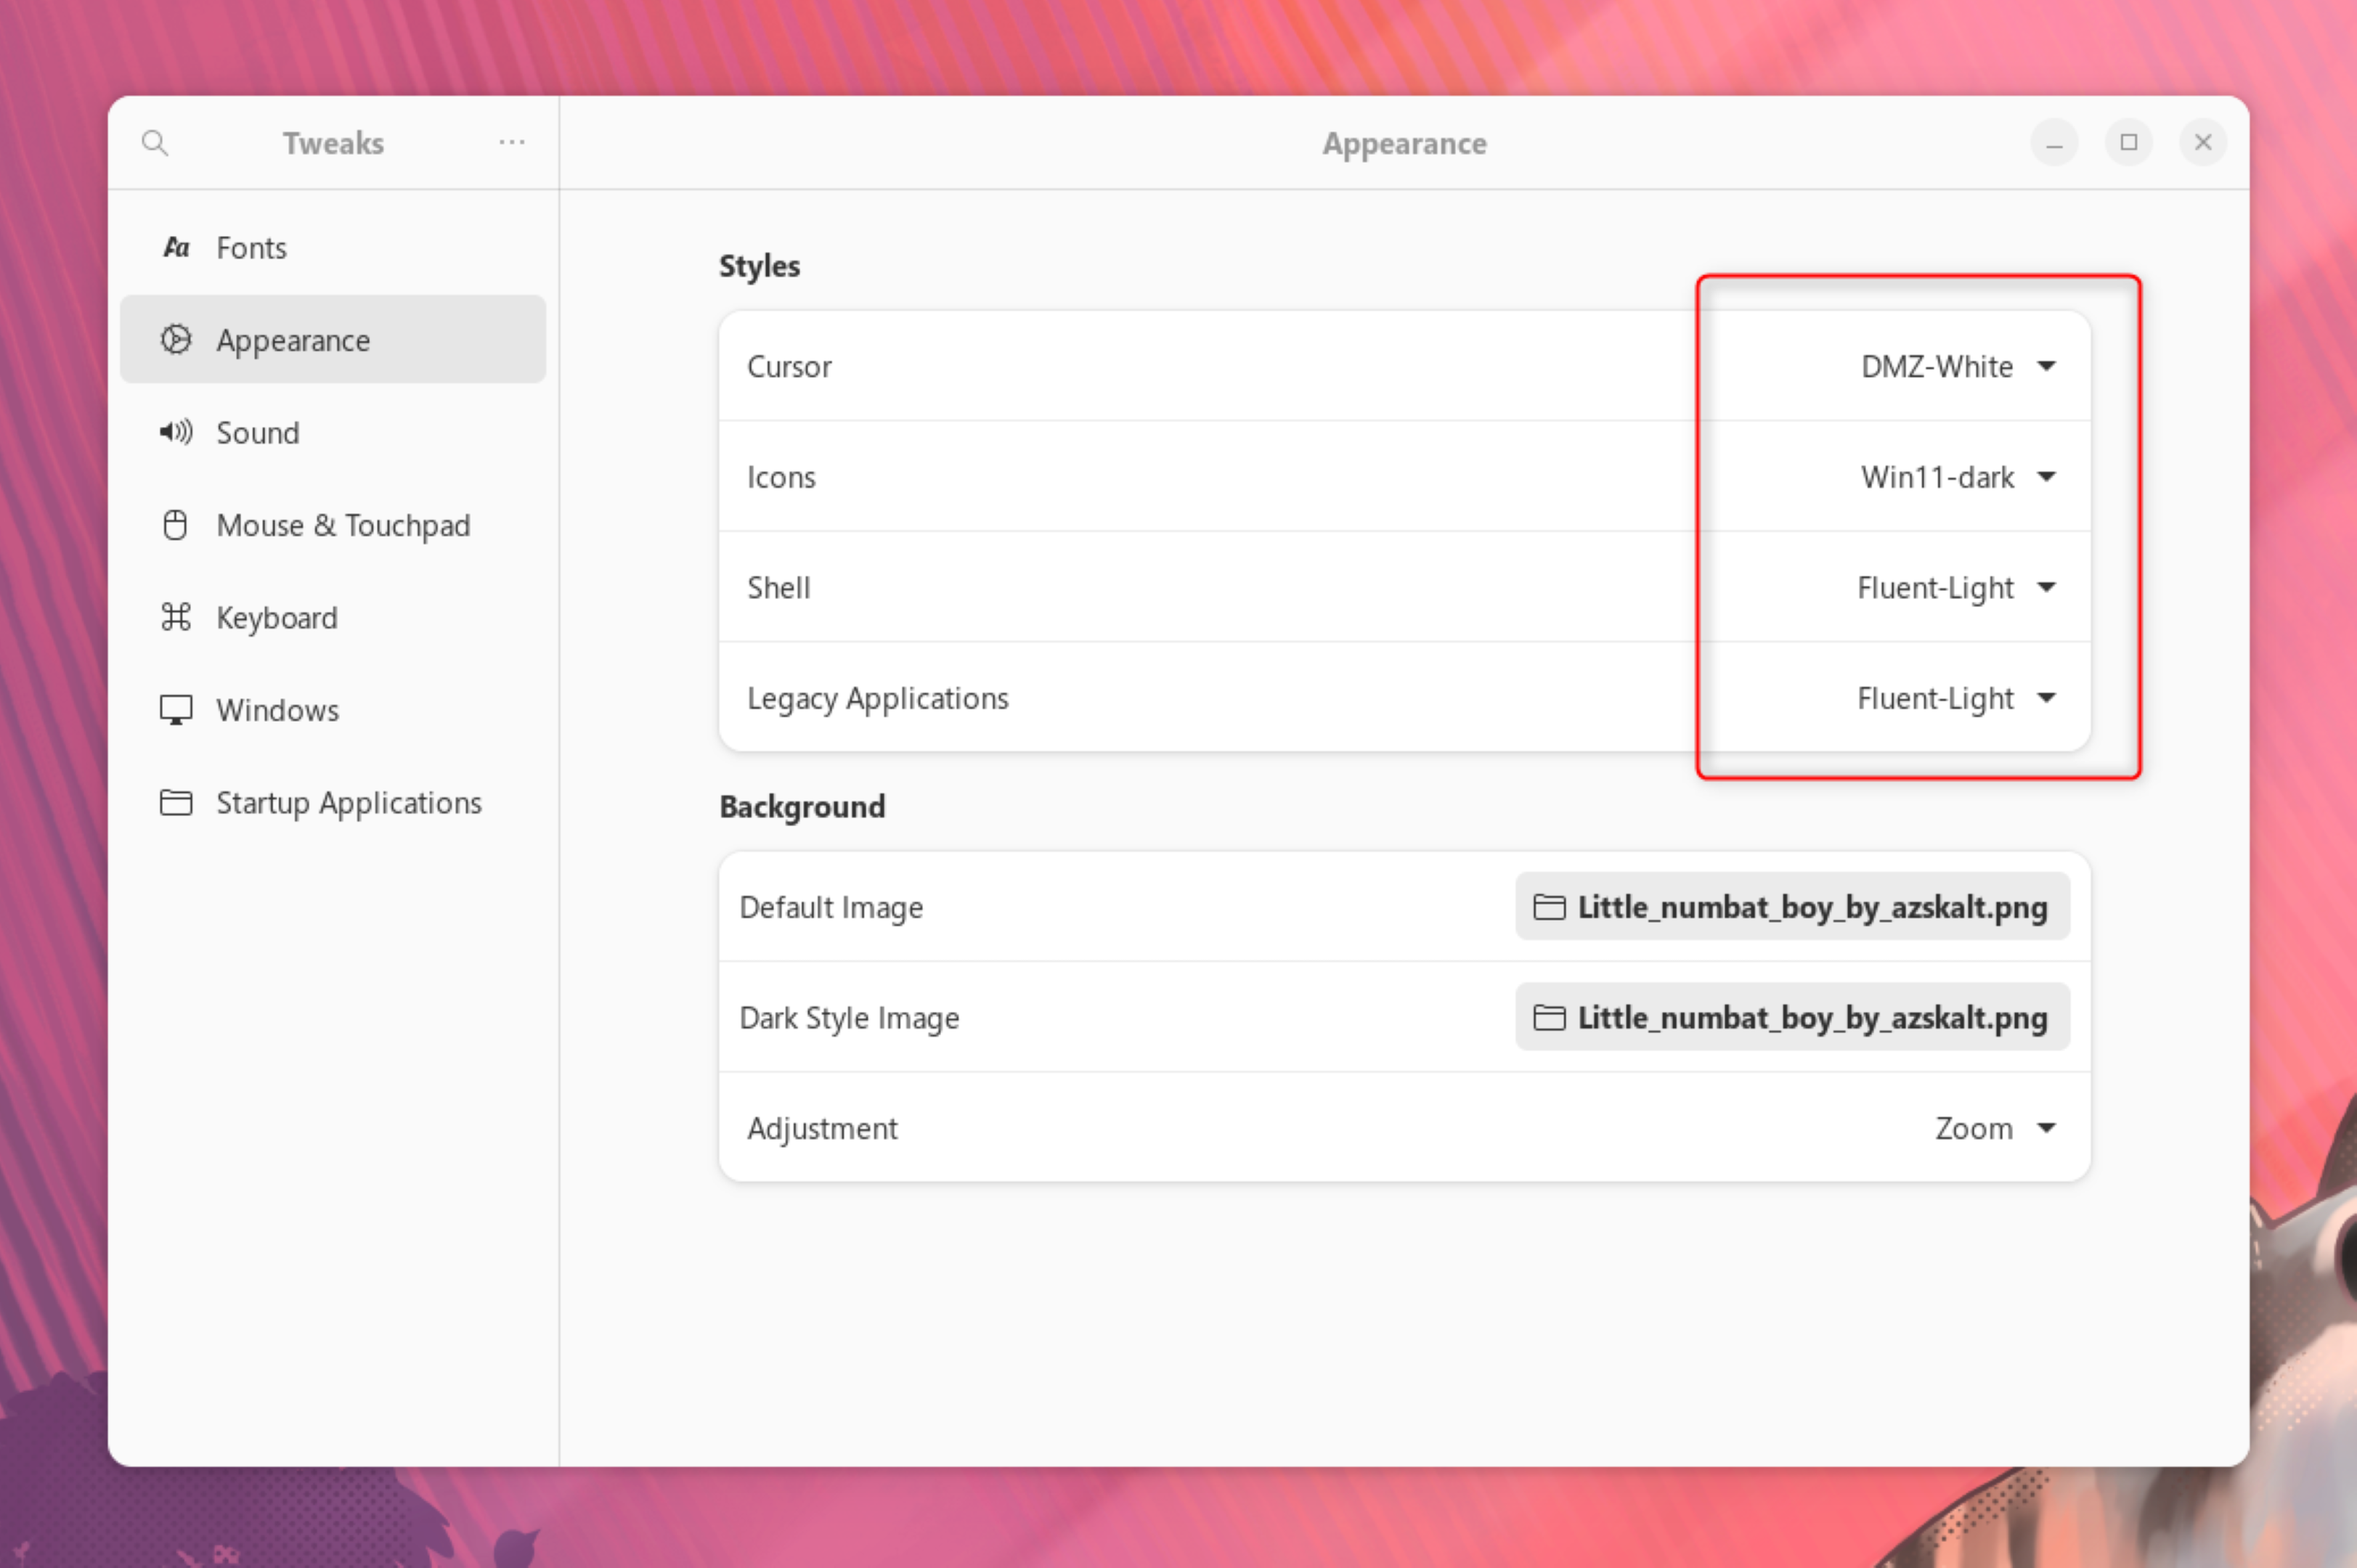
It’s finally time to apply the themes, icon packs, and fonts. To do this, open the GNOME Tweaks app. From the Font tab, select Change Interface Text to Segoe UI Light.
Next, head into the Appearance tab and make the following changes:
- Cursor: DMZ-White
- Icons: Win11-dark
- Shell: Fluent-Light
- Legacy Applications: Fluent-Light
And as you can see, Ubuntu now looks more like Windows 11.
If you still can’t see, here’s another look at it with a Windows 11-like wallpaper.
While we have managed to make the desktop look more like Windows 11, it’s important to remember that the system apps will not look like or have a layout similar to Windows 11 apps.
And there you have it, folks! Your Ubuntu PC is now rocking a convincing Windows 11 costume. Other than making your Ubuntu look more like Windows, I hope this also showcases the customization potential of Ubuntu and, in turn, the GNOME desktop environment.
Skip to content
Navigation Menu
Provide feedback
Saved searches
Use saved searches to filter your results more quickly
Sign up
Appearance settings
Windows 10
GTK theme based on the appearance of Win32 apps on the Windows 10 platform using the default color scheme. Dark theme
Preview
Supported platforms
- Any GTK-based desktop
- Cinnamon
- Gnome
- LXDE/Openbox
- MATE
- Xfce
Manual installation
Go to releases, download the latest .zip file and extract it to the themes directory i.e. /home/USERNAME/.themes
Устанавливаем тему оформления, значков и курсора Windows 10 в Ubuntu 16.04
Многие из нас работая в Linux имеют уже определенный стаж в данной платформе и не обращают внимание на темы который помогают оформить ubuntu и производные дистрибутивы в подобное оформление чтобы сделать систему более похожей на Windows. С одной стороны это правильно, кто к чему привык, системная тема является более стабильно отточенной для повседневного использования, вы можете найти что-то лучше и более приятней глазу как это делаю я, установив себе тему Numix.
Начинающие пользователи в Linux с первого же дня в связи с тем, что путаются в том, а где здесь пуск и куда он пропал, а почему иконки другие и совсем не похожи на те которые я видел ранее. Многие устанавливают Cinnamon, так как есть схожесть с Windows так как данная оболочка для среды рабочего стола имеет подобию меню пуск и оформление очень схоже, конечно иконки все свои, но схожесть присутствует.
Ниже я опишу как установить тему Windows 10 в Ubuntu/Linux Mint и производных, добавлю, никто никого не принуждает устанавливать эту тему, каждый выбирает сам, нужно ли ему это, а кто привык к linux и работает в данной платформе уже более чем 2-7-10 и более лет, эта тема как пустышка, но ради попробовать можете установить и посмотреть.
Для выбора / смены тем в Ubuntu, я использую приложение
Ubuntu Tweak
, очень легкое в освоении и удобное в изменении темы и не только и конечно же как вариант используем Unity Tweak Tool(install: sudo apt install unity-tweak-tool).
Установка темы Windows 10
Запустим терминал (Ctrl+Alt+T), и выполним команды ниже.
Для 32-bit архитектур:
cd /tmp; wget https://github.com/Elbullazul/Windows-10/releases/download/v0.9.6/windows-10-tp_0.9-6.i386.deb; sudo dpkg -i windows-10-tp_0.9-6.i386.deb
Для 64-bit архитектур:
cd /tmp; wget https://github.com/Elbullazul/Windows-10/releases/download/v0.9.6/windows-10-tp_0.9-6.amd64.deb; sudo dpkg -i windows-10-tp_0.9-6.amd64.deb
В дополнение требуется установка пакета gtk2-engines-murrine так как именно он придает оформление иконок приложений так и оконок в стиле Windows 95:
sudo apt-get install gtk2-engines-murrine
В Ubuntu 16.04 дополнительная установка данного пакета не потребовалась так как система сообщает, что он уже установлен, это у меня, у вас может быть и не установлен, смотрите по ситуации.
Установка темы значков в стиле Windows 10
cd /tmp; wget https://github.com/Elbullazul/Windows-10/releases/download/v0.9.6/Windows.10.Icons.v0.4.1.zip; unzip Windows.10.Icons.v0.4.1.zip
sudo mv Windows\ 10\ Icons /usr/share/icons
Установка темы курсора в стиле Windows 10
cd /tmp; wget http://gnome-look.org/CONTENT/content-files/175016-PRA.tar.gz; tar -xvf 175016-PRA.tar.gz
sudo mv PRA /usr/share/icons
После установки нужно еще завершить мелкие правки для корректно работы курсора в данной теме, отредактируем и поправим конфигурационный файл отвечающий за стиль оформление курсора:
sudo gedit /usr/share/icons/default/index.theme
Далее увидите содержимое вида:
[Icon Theme]
Inherits=DMZ-White
Замените DMZ-White на PRA и сохраните изменения и можете закрыть текстовый редактор.
Удаление темы Windows 10
Если вам не понравилось оформление в данной теме, откройте терминал и выполните следующие команды:
sudo rm -rf /usr/share/themes/Windows\ 10\ Dark
sudo rm -rf /usr/share/themes/Windows\ 10\ Light
sudo rm -rf /usr/share/icons/Windows\ 10\ Icons
sudo rm -rf /usr/share/icons/PRA
На этом пожалуй окончим материал. Если вам понравилась тема, оставьте отзыв в комментариях к материалу.
источник: compizomania.blogspot.com
Автор: Юрий Герук
Лицензия: CC BY-SA 4.0
Благодарность автору!
Похожие материалы:
Помогла ли вам статья?
Да
Нет
Статья оказалась полезной для 0 человек
Помогла ли вам статья?
Да
Нет
Статья оказалась полезной для 0 человек
Если вы хоть немного следите за новостями в мире ИТ, наверняка заметили, что названия основанных на Linux отечественных операционных систем все чаще попадают в новостные ленты. Учитывая, что сейчас на развитие информационных технологий правительство выделяет миллиарды рублей, подобная ситуация ничуть не удивляет. К тому же, масла в огонь подкидывает Microsoft, который вводит очередные ограничения по использованию Windows на территории России.
Действительно, Linux-дистрибутивы – достойная замена Винды, но к ним нужно привыкнуть, а сделать это человеку, который на протяжении 20 лет работал только с «окнами», не так просто. И первое, что бросается в глаза – отсутствие знакомых иконок. Согласитесь, что многие настройки вы делаете даже не задумываясь, просто нажимая на знакомые кнопки. Благо, что в Линукс есть различные инструменты, позволяющие смягчить переход.
Базовый интерфейс Simlpy Linux
Мое личное убеждение: что среди представленных дистрибутивов российского производства Simlpy Linux – лучший вариант в качестве первой ОС этого семейства. Проблема в том, что используемое в системе графическое окружение по умолчанию выглядит немного устаревшим и больше похоже на Windows XP или Vista.
Работать с системой в этом виде затруднительно. Особенно неудобен Проводник ввиду ограниченности его функционала.
На самом деле, чтобы немного улучшить ситуацию, не нужно быть программистом. Изменить облик операционной системы Simlpy Linux можно, скачав парочку файлов и скопировав их в нужные папки.
Где искать темы и иконки для Simlpy Linux?
Есть два способа, как можно найти темы и иконки для графических оболочек Simlpy Linux и других ОС этого семейства: с помощью поисковой системы (Google, Ya.ru) с последующим переходом на GitHub или на сервисе Pling.com. Для подготовки этого материала мне пришлось использовать оба метода. Первый – для поиска темы, второй – иконок.
Процесс преобразования Simlpy Linux в Windows
Прежде всего нужно разархивировать скачанные архивы с иконками и темой. Сделать это можно через контекстное меню.
После этого нужно перейти в каталог пользователя и сделать видимыми скрытые папки. В моем случае это кнопка с домиком user в левом боковом меню Проводника.
Важно! К скрытым папкам в среде Simlpy Linux относятся все, которые имеют в начале своего названия точку.
Теперь вам предстоит создать две скрытые папки с именами «.icons» и «.themes». В первую мы переносим все содержимое с архива иконок, а во вторую – с темы.
Теперь перейдите в настройки и выберете добавленные нами элементы, чтобы изменения в интерфейсе вступили в силу.
В диспетчере настроек (аналог Панель Управления Windows) нужно выбрать раздел Внешний вид.
Теперь главное не пропустить название добавленных иконок и темы в соответствующих списках и можно закрывать окно.
В результате мы получили черную панель задач, знакомые иконки на ней и внешний вид папок. Оформление стало более дружелюбным и понятным, но само расположение настроек осталось прежним, что не очень удобно.
Чтобы сделать Simlpy Linux еще более похожей на Винду, необходимо установить Проводник Nautilus. Для этого вам не нужно искать его в интернете, достаточно просто ввести одну команду в терминале ОС.
Осталось только указать Simlpy Linux, что он должен использовать этот Проводник, а не предустановленный. Перейдите в Диспетчер настроек, нажмите на Приложения по умолчанию-Утилиты-Файловый Менеджер.
Согласитесь, что теперь все выглядит гораздо приятнее. Слева окно Nautilus, справа – стандартный проводник.
Осталось разобраться с кнопкой меню Пуск. Вам не придется ничего скачивать: все необходимое уже есть в Simlpy Linux. Потребуется лишь заменить кнопку запуска меню на панели задач.
Однако со стандартными настройками этот апплет не сильно похож на Виндовсовское меню, поэтому в нем нужно сделать некоторые изменения.
Заключение
Как и многие ОС, основанные на Линукс, Simlpy Linux обладает огромными возможности кастомизации и настройки интерфейса. Чего не скажешь про Windows, последняя версия которой имеет множество ограничений, вплоть до того, что пользователь даже не может изменить положение панели задач.
Очень надеюсь что большинство сисадминов сжалятся над бедными сотрудниками и настроят им интерфейс линукса при переходе в организациях и госучереждениях, ну а если нет, любой сможет сделать это пользуясь моей инструкцией самостоятельно.
The screenshot you see above looks like it’s of Windows 7 but it’s actually just a Windows 7 theme for Linux Mint.
Pretty impressive, huh?
We’ve shown you how to make Linux Mint look like a Mac before so aping the appearance of a rival operating system while not to everyone’s tastes is something you already know is possible.
But we’ve never really touched on how to make this distro look like Windows. And Linux Mint is the ideal starting point if you want to do that because it looks and behaves more like Windows than regular Ubuntu does.
So with Windows 7 support at an end, and lots of users debating a switch to Linux Mint, it feels like a good time to share this (surprisingly simple) how to.

For an accurate looking Linux Mint Windows 7 theme we can turn to the fab design team at the B00merang Project.
They’ve crafted a competent copy of the Windows 7 UI for the Cinnamon desktop (the theme will also work on other desktops too, with varying results).
Download Windows 7 GTK Theme
Assuming you’re running a recent-ish version of Linux Mint (or a different distro with the Cinnamon desktop installed) your first step is to download the following Windows 7 theme pack:
Download Windows 7 Theme Pack
Let the archive fully download and then, using your file manager, locate the .zip file you just got and extract it in to a new folder.
Next, in another file manager window, open the .themes directory in your Home folder. Remember: to see (or hide) hidden “dot files” you need to press ctrl + h.
Don’t see a .themes folder? Go ahead and create one, just remember to include the . in the folder name, and stick to lowercase!
Copy the extracted folder in to here to install the Windows 7 theme pack.
Linux Mint makes it very super easy to change theme: open the Mint Menu to search for and open “Themes”. Set the Windows 7 GTK theme for Window borders, Controls, and Desktop.
Download Windows 7 Icon Set
That’s the theme done, but we can go further. To help round out the Windows 7 look you should use an Windows 7 icon set — which, hurrah, the B00merang project also provide:
Download Windows 7 Icon Set
Download and extract the .zip file above and move the extracted directory (not the zip file) to the hidden .icons folder in Home.
Don’t see a .icons folder? Go ahead and create one, just remember to include the . in the folder name, and stick to lowercase!
Once done, pop open the “Themes” tool again set ‘icons’ to the Windows 7 pack you just added.
Finishing touches

By now your desktop will look a lot like the ‘real deal’ you see above — but there are a few other tweaks you can make to round off the experience.
First is adding a Start Menu clone. Now, I personally prefer the default Mint Menu over anything else but I accept that it doesn’t “look the part”.
So, to replace the Mint Menu with a Windows 7 Start Menu clone:
- Right-click on the panel and select “Add Applets”
- Select the “Download” tab
- Search for and install “Start Menu”
- Click the install icon for “CinnVIIStarkMenu”
- Switch back to the Manage section and add the applet
Use “Panel Edit” mode to reposition the Start Menu clone where you want it (i.e. on the far left) — just remember to turn panel edit mode off after as it’s not automatic. If you don’t, you’ll be frustrated that nothing on the panel seems to respond!

Finally, to seal the deal, you’ll want to download a nice high quality version of the Windows 7 wallpaper to set as your desktop background (shortcut: right-click on the image file in the file manager and select ‘Set as Background’).
Download Windows 7 Wallpaper (HD)
There you have it; a safe and secure Linux Mint system that looks a lot like Windows 7 but, mercifully, isn’t Windows 7!