
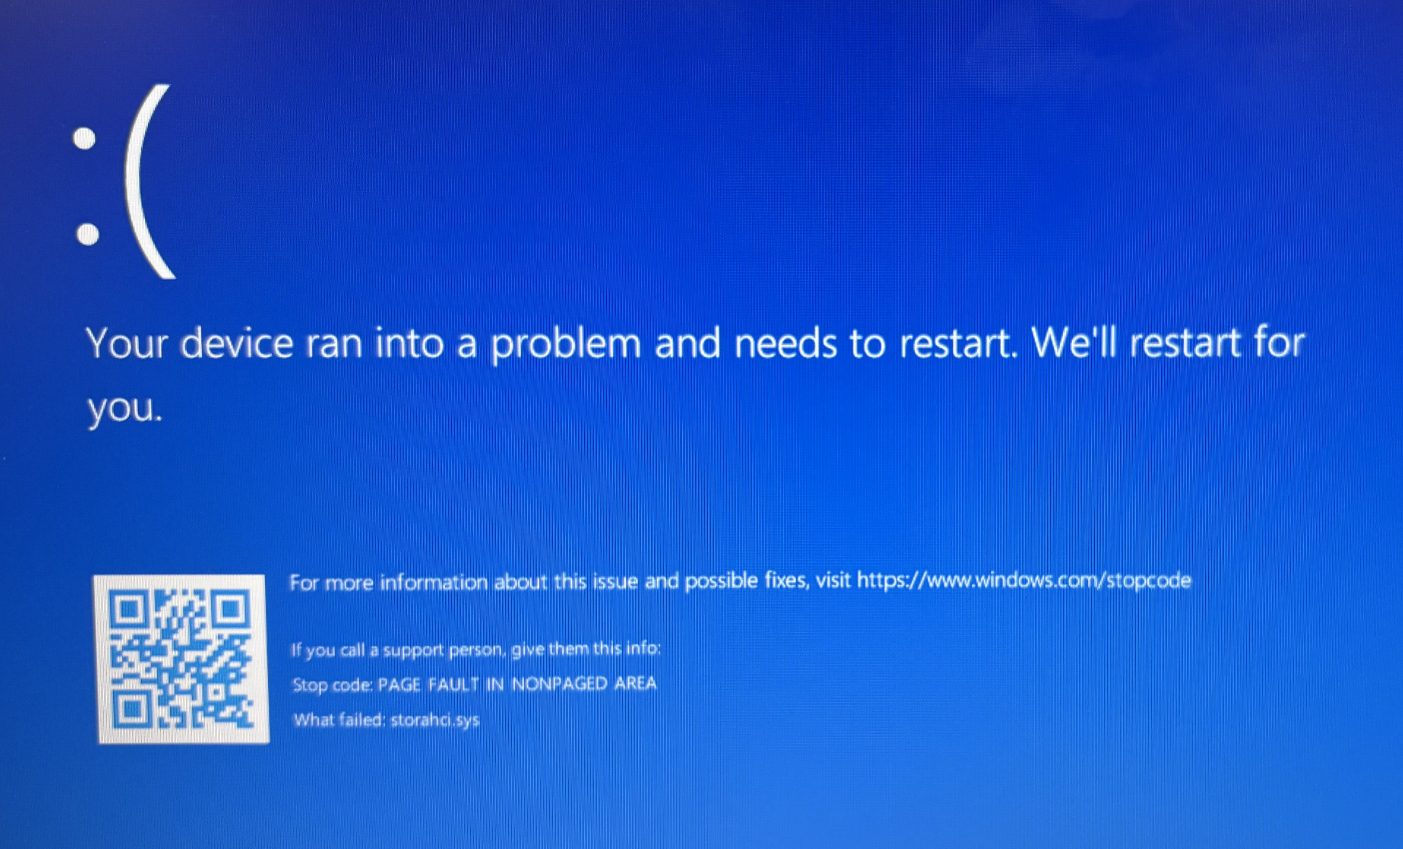
storahci.sys is a storage controller driver to communicate with storage devices on Windows and it is created by Microsoft. Sometimes, this sys family file causes to trigger blue screen problem. The error message is “What failed: storahci.sys” which is accompanied by DPC_WATCHDOG_VIOLATION or DRIVER_IRQL_NOT_LESS_OR_EQUAL. We are here with the solutions to this bug check.
What failed: storahci.sys mostly occurs due to outdated or corrupted storage controller driver. To fix this blue screen error you need to update this storage driver or replace it with the original sys file.
storahci.sys BSOD or Blue Screen Error in Windows 10 or 11
Here is how to fix storahci.sys BSOD Blue Screen Error in Windows 11 or 10 –
Way-1: Update Standard SATA AHCI Controller driver
Problems with the SATA AHCI controller driver could be one of the root causes of the storahci.sys crashing. Furthermore, since the controller is known to optimize storage and increase the rate of large file transfers within your system, so manually updating it can easily repair the error.
Therefore, move forward steps to accomplishing the task –
- Hold the Windows key down then press R.
- Type devmgmt.msc and click on OK. This will open the Device Manager.
- Click on View from the top menu bar and check – Show hidden devices.
- Expand the category IDE ATA/ATAPI controllers. Your SATA controller(s) should be specified inside this section.
- Right-click on each items in this category’s list and select Update driver.
- Select – Search automatically for drivers.
- If Windows detects a driver update, it will immediately download and install it on your system.
- When this option fails, manually locate the drivers on the manufacturer’s website, and download and install them from there.
Analyze the other reasons for the existing BSOD using – How to Use BlueScreenView to Detect the Cause of Blue Screen.
Way-2: Run System File Checker or SFC
System File Checker, abbreviation of SFC, is a command line utility used to repair or replace damaged or missing system files. By executing this tool through the CMD, you can resolve various issues affected because of corruption in the core elements of Windows.
As a result, you could rely on the SFC scan to resolve “What failed: Storahci.sys” BSOD error, when follow this method:
- Click on – Start.
- Type – cmd.
- Then, choose – Run as administrator.
- Select Yes when prompted to confirm.
- Type sfc /scannow at the command prompt and press Enter.
- Allow the syntax to complete the task and Restart your PC.
Use WhoCrashed: A Tool to analyze Dump and reveal culprit driver on Windows.
Way-3: Ensure Windows is Up to Date
Installing pending Windows updates can also help solve the storahci.sys Blue Screen of Death bug check error.
Windows 11
- Right click on Start and select – Settings.
- From the left side, choose – Windows Update.
- Select – Check for updates.
- If there are any pending updates download and install them.
Windows 10
- Press Windows+I and go to Settings.
- Then, select Update & Security Option.
- On the next page, click on – “Check for updates”.
- If there would be an outstanding update, the system will start scanning, and if it is available quickly start downloading.
- After completing, you will come across a popup, click on – Restart now.
Way-4: Use the built-in Windows Update Troubleshooter
There is a solid reason why Windows update troubleshooter is known as the Fixit tool as it highlights particular factors for any sort of errors your system might be affected. In this case, storahci.sys Blue Screen error is prompted so the utility will repair it by checking and removing the flaws.
- Press Windows and type Troubleshoot.
- Hit Enter and choose Other troubleshooters. (If you’re on Windows 10, select “Additional troubleshooters”)
- Look for Windows Update in the list.
- Click – Run (For Windows 10 users, this is “Run the troubleshooter”).
- Finally, implement the suggested fixes and restart the device once the utility has completed its check.
We hope the ways mentioned above must have played a pivotal role in fixing the storahci.sys BSOD Blue Screen Error from your Windows 11 or 10.
Methods:
Way-1: Update Standard SATA AHCI Controller driver
Way-2: Run System File Checker or SFC
Way-3: Ensure Windows is Up to Date
Way-4: Use the built-in Windows Troubleshooter
That’s all!!
Table of contents
- What Is the Storahci.sys Failed BSOD Problem?
- Solution 1: Updating your AHCI controller driver
- Solution 2: Running an SFC scan
Many users have been complaining about getting the storahci.sys Blue Screen of Death (BSOD) errors lately. If you are experiencing the same problem, do not worry because the issue is relatively easy to fix. In this blog post, we are going to teach you how to fix the storahci.sys error in Windows 10. We will also help you gain a better understanding of the BSOD error. This way, you can keep it from showing up again.
What Is the Storahci.sys Failed BSOD Problem?
Before we get to the solutions, you must understand that storahci.sys is a legitimate Windows system file. It can either be a device driver or a critical system file used by the Microsoft AHCI controller.
Now, why does the storahci.sys Failed BSOD issue occur? Well, it is possible that this problem is caused by a recent hardware change. Moreover, there could be missing or corrupted device drivers in your computer, causing the communication between the software and hardware to fail. There are several ways to fix this issue, and we will share them in this article.
Solution 1: Updating your AHCI controller driver
As we’ve mentioned, the storahci.sys Failed BSOD issue is likely caused by a corrupted, missing, or outdated AHCI controller driver. As such, the first solution you should try is updating your device drivers. There are various ways to do this. One of the common methods is to check your processor type, then go to the manufacturer’s website to download the latest AHCI driver. However, before you proceed, you must know that this can take so much of your time. Moreover, if you install the wrong driver, you might end up causing more problems to your operating system.
If you want an easier and safer way to update your AHCI driver, we suggest using Auslogics Driver Updater. Once you install this tool, all you need to do is click a button. Auslogics Driver Updater will recognize your operating system version and processor type automatically. What’s more, it will search for the latest, compatible AHCI driver for your computer.
Solution 2: Running an SFC scan
In some cases, the storahci.sys Failed BSOD error can show up because of corrupted system files. To fix this problem, you must run the System File Checker. It will scan your system for corrupted files and repair them accordingly. Here are the steps:
- Press Windows Logo+S on your keyboard.
- Type “cmd” (no quotes).
- Right-click Command Prompt from the results, then select Run as Administrator from the results.
- Once Command Prompt is up, type “sfc /scannow” (no quotes), then hit Enter.
- After the process is complete, restart your PC and check if the storahci.sys error is gone.
Can you suggest other methods for resolving the storahci.sys Failed BSOD error?
Join the discussion below and share your ideas!
Storahci.sys is the name of a .sys (system) file that is used by the Microsoft AHCI controller. .sys files come as a part of the Windows operating system, and are usually either critical system files, or device drivers. Storahci.sys is a generic controller that comes bundled with whichever version of Windows you are using. For the optimal experience, however, it would be best that you install the AHCI controller driver from the appropriate chipset that you are currently using in your system (Intel, nVIDIA, AMD).
The DRIVER_IRQL_NOT_LESS_OR_EQUAL (storahci.sys) issue commonly comes with a system crash, and it may even bring along the notorious BSOD. The main cause of this problem is either a recent hardware change, a lack of device drivers, or a failure of communication between the software and hardware of your computer. It is commonly known to appear when upgrading to Windows 10 from earlier versions of Windows, however it can also appear when you’ve changed some of your hardware, such as your storage drive.
There are a couple of solutions that can help you fix this problem, and we’re going to detail them in this article in order to help you solve your problem with methods that have worked for a number of users so far.
Method 1: Disconnect any non-essential computer peripherals when installing
Since the release of Windows 10, the operating system has been plagued with a number of strange problems that come with even stranger fixes, and although this is one of them, it has been proven to work for a number of users. This method, however, applies when you’re installing Windows 10 and you get the aforementioned error during setup. What you can do is disconnect any non-essential peripherals during the setup.
This includes any storage devices such as additional SSDs and HDDs, and CD/DVD drives. The reason behind this is that the AHCI controller tends to get confused when you have multiple storage locations during setup, which might result in this error.
The method is as simple as unplugging the storage devices you don’t need, but be careful not to unplug the SSD/HDD that you’re installing the operating system on. When you’re done, the only storage device you need to have connected to your computer is the one that you’re installing the operating system on.
For a desktop computer, this is fairly easy. Open the side panel of your computer. See how many hard drives and optical drives you have connected, and identify the one that you will be installing Windows on. Follow the cables of the remaining ones, and unplug them from the ports on the motherboard. If you have a laptop, however, this might require taking it apart and if you aren’t completely sure what you’re doing, find someone who is and have them do this for you. Some laptops offer a separate cover that holds the storage devices – this can be often taken off with a few screws and it gives you access to the storage devices. Others, however, need to be completely taken apart and this shouldn’t be attempted by anyone who doesn’t know what they’re doing. Again, once you have access to the storage devices, disconnect the ones that you won’t be needing, to avoid confusing the AHCI driver. You can then begin installing Windows 10 on the SSD/HDD of choice.
Method 2: Check the AHCI controller driver and install an appropriate one
Since, as we mentioned earlier, this is most often a driver issue, and you can try fixing it by updating the appropriate AHCI controller driver. The choice is either an Intel or an AMD driver, and which one you install depends on which chipset you are using. The method to check this is fairly easy:
Hold the Windows Key and Press R. Type msinfo32 and Click OK. And look at the Processor field.
This should give you an idea about the Processor you have and the driver’s you should seek.
Intel
If you have an Intel processor and chipset, you need Intel’s AHCI driver, or, more specifically, the Intel Rapid Storage Technology driver. You can get this from Intel’s website, where you can download the correct version for your operating system. Once you’ve downloaded it, the installation process is fairly straightforward. You should reboot your system afterwards and it should all work great.
AMD
For those who have an AMD chipset, the appropriate AHCI driver can be found on AMD’s website, where you will find an automatic scanner. Download and install it, and it will tell you which drivers your specific system needs, as well as download and install them for you, saving you a lot of time in the process.
Method 3: Run Windows Updates
Windows Update is no longer only a method of updating the operating system, but it also checks your entire system for any missing drivers and it downloads and installs them for you. This has turned into a very useful tool for anyone who would rather avoid the hassle of searching for and installing every driver by themselves. If you can boot into Windows 10 despite the issue, somehow then run Windows Updates.
Click Start -> type Windows Update and choose Check for Updates. If there are any updates available, install them and then reboot the PC and test.
Method 4: Perform a clean installation of Windows 10
If all else fails, what you’re left with is to perform a clean installation of Windows 10. While this might sound hard and troublesome for you, you can follow our guide on how to perform a clean installation of Windows 10.
Whilst you do this, you do not need to you can skip the prompts for entering the product key because when you upgrade to Windows 10 from a Windows 8 or 7, the 10 thing ties itself with the hardware and your Microsoft ID. So as soon as you will login it will activate itself. However, whilst doing this make sure you do not connect any external devices or peripherals. Once you’ve reinstalled Windows, run Windows updates so only the essential drivers are updated. Run your system for a day or two and then start adding peripherals and devices one by one to re-assess.
FAQ
Продукт
X415KA, X515KA
[X415KA/X515KA] Устранение неполадок — Ошибка синего экрана (Что не удалось: storahci.sys)
Если Ваша модель ноутбука X415KA или X515KA и версия BIOS v310 или более ранняя, Вы можете столкнуться с ошибкой синего экрана при обновлении операционной системы Windows до версии 24H2 или более поздней, с указанием сбоя на элементе storahci.sys.
Примечание: Вы можете узнать больше о том Как найти модель продукта.
Шаги по устранению
- Обратитесь к этой статье: Как обновить BIOS с помощью ASUS Firmware/EZ Flash и обновите BIOS до версии v311 или более поздней. После завершения обновления BIOS, Ваша операционная система Windows должна функционировать нормально.
Если приведенные выше шаги не решат Вашу проблему, пожалуйста, обратитесь в техническую поддержку для получения дополнительной информации по Вашему вопросу.
Эта информация была полезной?
Yes
No
- Приведенная выше информация может быть частично или полностью процитирована с внешних веб-сайтов или источников. Пожалуйста, обратитесь к информации на основе источника, который мы отметили. Пожалуйста, свяжитесь напрямую или спросите у источников, если есть какие-либо дополнительные вопросы, и обратите внимание, что ASUS не имеет отношения к данному контенту / услуге и не несет ответственности за него.
- Эта информация может не подходить для всех продуктов из той же категории / серии. Некоторые снимки экрана и операции могут отличаться от версий программного обеспечения.
- ASUS предоставляет вышеуказанную информацию только для справки. Если у вас есть какие-либо вопросы о содержании, пожалуйста, свяжитесь напрямую с поставщиком вышеуказанного продукта. Обратите внимание, что ASUS не несет ответственности за контент или услуги, предоставляемые вышеуказанным поставщиком продукта.
Applies ToWindows Server Technical Preview
Симптомы
Предполагается, что на компьютере, который использует драйвер StorAHCI на жестких дисках Serial дополнительные технологии вложения (SATA) без гибридный. Операционная система находится в одном из следующих построений или более поздней версии построения:
-
9870.0.14022-1912 fbl_release
-
9870.0.141022-1846 winmain
В этом случае компьютер не запускается или не могут быть возобновлены из спящего режима.
Причина
Эта проблема возникает, поскольку драйвер StorAHCI включает Питания в режиме ожидания (PUIS) для дисков SATA не гибридный. BIOS не отправляет команду скорость вращения для восстановления настроек диска или для загрузки с жестких дисков.
Решение
При обновлении до Windows 10 технической апробации или технической апробации Windows Server предлагается это обновление совместимости.
Примечание. После установки этого обновления драйвер StorAHCI не включается PUIS для дисков SATA не гибридный.
Статус
Корпорация Майкрософт подтверждает, что это проблема продуктов Майкрософт, перечисленных в разделе «Относится к».
Дополнительные сведения
Английская (США) версия данного обновления программного обеспечения устанавливает файлы, атрибуты которых указаны в приведенных ниже таблицах. Дата и время для этих файлов указаны в формате общего скоординированного времени (UTC). Имейте в виду, что дата и время для этих файлов на локальном компьютере отображаются в местном времени с вашим текущим смещением летнего времени. При выполнении определенных операций с файлами даты и время могут изменяться.
Файлы MANIFEST (.manifest) и MUM (.mum), устанавливаемые для каждой среды, указаны отдельно в разделе «Сведения о дополнительных файлах». MUM, MANIFEST и связанные файлы каталога безопасности (.cat) очень важны для поддержания состояния обновленных компонентов. Файлы каталога безопасности, для которых не перечислены атрибуты, подписаны цифровой подписью корпорации Майкрософт.
Для всех поддерживаемых 32-разрядных версий Windows 10 технической апробации
|
Имя файла |
Версия файла |
Размер файла |
Дата |
Время |
Платформа |
|---|---|---|---|---|---|
|
Atapi.sys |
6.4.9879.9 |
23,584 |
05-Dec-2014 |
15:52 |
x86 |
|
Ataport.sys |
6.4.9879.9 |
160,288 |
05-Dec-2014 |
15:52 |
x86 |
|
Intelide.sys |
6.4.9879.9 |
17,952 |
05-Dec-2014 |
15:52 |
x86 |
|
Pciide.sys |
6.4.9879.9 |
14,880 |
05-Dec-2014 |
15:53 |
x86 |
|
Pciidex.sys |
6.4.9879.9 |
43,040 |
05-Dec-2014 |
15:53 |
x86 |
|
Storahci.sys |
6.4.9879.9 |
100,896 |
05-Dec-2014 |
15:53 |
x86 |
Для всех поддерживаемых 64-разрядных версиях Windows 10 технической апробации или технической апробации Windows Server
|
Имя файла |
Версия файла |
Размер файла |
Дата |
Время |
Платформа |
|---|---|---|---|---|---|
|
Atapi.sys |
6.4.9879.9 |
28,704 |
05-Dec-2014 |
17:53 |
x64 |
|
Ataport.sys |
6.4.9879.9 |
196,640 |
05-Dec-2014 |
17:53 |
x64 |
|
Intelide.sys |
6.4.9879.9 |
20 000 |
05-Dec-2014 |
17:53 |
x64 |
|
Pciide.sys |
6.4.9879.9 |
16,416 |
05-Dec-2014 |
17:53 |
x64 |
|
Pciidex.sys |
6.4.9879.9 |
54,304 |
05-Dec-2014 |
17:53 |
x64 |
|
Storahci.sys |
6.4.9879.9 |
121,888 |
05-Dec-2014 |
17:53 |
x64 |
Сведения о дополнительных файлах
Дополнительные сведения о для всех поддерживаемых 32-разрядных версий Windows 10 технической апробации
|
Свойства файла |
Значение |
|---|---|
|
Имя файла |
Update.mum |
|
Версия файла |
Неприменимо |
|
Размер файла |
1,578 |
|
Дата (UTC) |
08-Dec-2014 |
|
Время (UTC) |
06:04 |
|
Платформа |
Неприменимо |
|
Имя файла |
X86_mshdc.inf_31bf3856ad364e35_6.4.9879.9_none_685fec67af417114.manifest |
|
Версия файла |
Неприменимо |
|
Размер файла |
5,261 |
|
Дата (UTC) |
05-Dec-2014 |
|
Время (UTC) |
15:54 |
|
Платформа |
Неприменимо |
Дополнительные сведения о для всех поддерживаемых 64-разрядных версиях Windows 10 технической апробации или технической апробации Windows Server
|
Свойства файла |
Значение |
|---|---|
|
Имя файла |
Amd64_mshdc.inf_31bf3856ad364e35_6.4.9879.9_none_c47e87eb679ee24a.manifest |
|
Версия файла |
Неприменимо |
|
Размер файла |
5,265 |
|
Дата (UTC) |
05-Dec-2014 |
|
Время (UTC) |
17:57 |
|
Платформа |
Неприменимо |
|
Имя файла |
Update.mum |
|
Версия файла |
Неприменимо |
|
Размер файла |
2,014 |
|
Дата (UTC) |
08-Dec-2014 |
|
Время (UTC) |
06:04 |
|
Платформа |
Неприменимо |
О PUISPUIS является определенным жесткий диск (HDD) средство, позволяющее диск вращается только тогда, когда это необходимо для команды, а не при включении компьютера. Эта функция помогает сохранить энергию и позволяет по ширине скорость вращения время несколько жестких дисков.
Ссылки
См. термины , которые корпорация Майкрософт использует для описания обновлений программного обеспечения.
Нужна дополнительная помощь?
Нужны дополнительные параметры?
Изучите преимущества подписки, просмотрите учебные курсы, узнайте, как защитить свое устройство и т. д.