
Scanning documents or images is one of the everyday tasks that we perform. We scan documents to send them over email, digitalize hard copies, and so on. However, there are a lot of users who are unaware there is a scanning app on Windows PC. Here is how to open the scan app and scan documents on their Windows PC.
If the same goes for you, then I will be sharing a step-by-step guide with you. I will talk about Microsoft’s scan app and how you can set it up and get started with it.

Your Scanner already comes with OEM software for all your scanning needs. So in case, if you have the software, then do install it on your computer and see if it can detect your Scanner or not. Or you can download the software from your Scanner or printer’s official website.
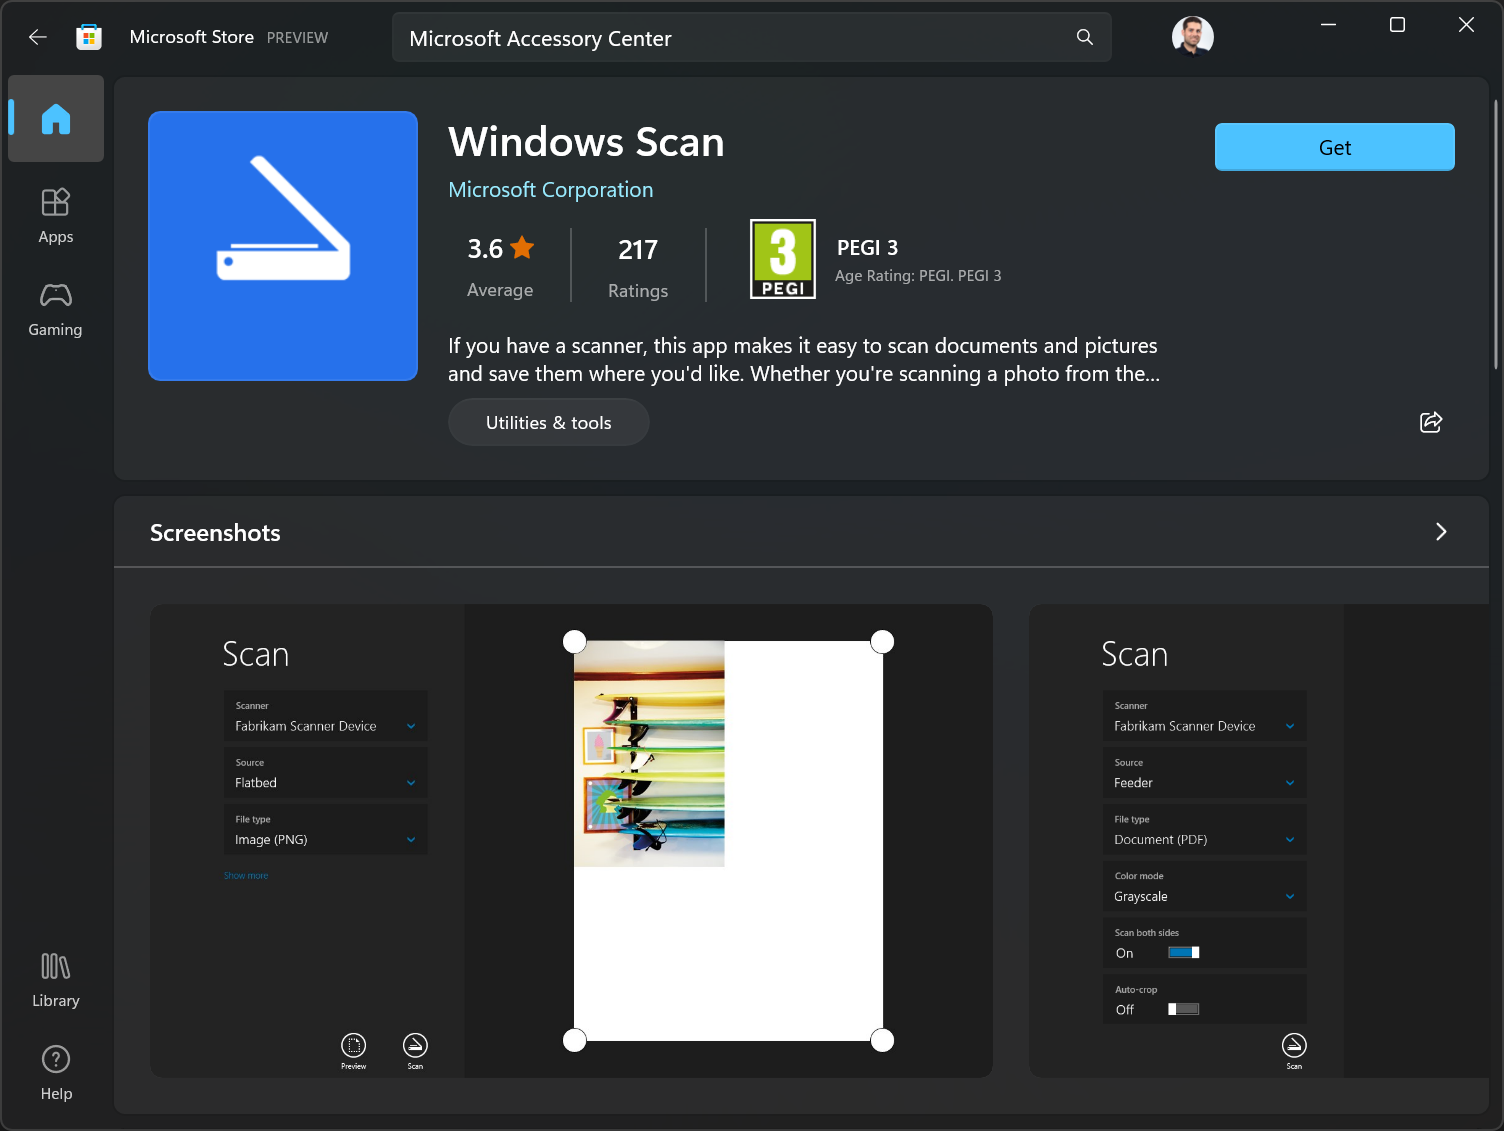
Apart from the OEM software, you can also use a free-to-use scanning software known as Windows Scan.
It is a free-to-download app available on Microsoft Store. And for this tutorial, I will be using it only. But no matter what application you choose to use, make sure you have installed your Scanner or printer driver. Anyway, here are the steps that you have to follow:
- Go to the Search menu (Win + S), type down Microsoft Store, and launch it.
- Search for Windows scan and click on Get to download and install it on your computer.
- Once installed, launch it by clicking on the Open button.

- Now it will ask you to connect a scanner, So do that.
- Once you have connected your scanning device, you should see its name on the sidebar.

Now that you are done connecting your scanner device to your computer, the next step is to take a scan. So for this, follow the below steps.
How To Scan a Document in Windows 11/10?
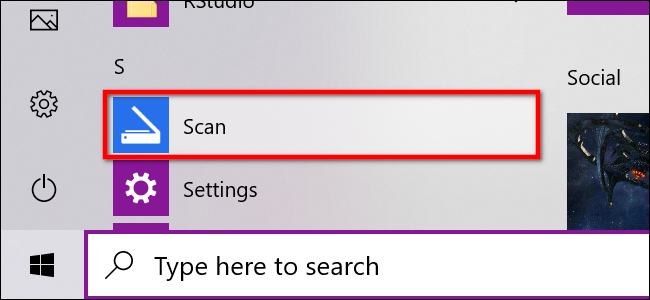
- At first, launch the Windows Scan app using the Start Menu.
- Next, you should see a File type dropdown menu on the sidebar. Use it to choose an export format for your scans. Such as saving your scan as PDF, PNG, JPG, or any other file type.

- Now place a document on the Scanner and put down the lid.
- Come back to the Windows scan app and click on Preview, and it will start capturing the document.
- In the preview mode, you can click on show more to get additional settings like selecting color mode, selecting area to scan, and saving location.
- Once you are done making all the changes as per your needs, click on the Scan option.


How Do You Scan a Document From Your HP Printer to Your Computer?
Different printers have different ways of functioning. However, the Windows scan app can be used for the job. Connect your HP printer to your PC and launch the Windows scan app to capture and save a scan.
How Can I Scan a Document Into a Computer Without a Scanner?
The best way to scan a document without a scanner is to use a smartphone application. Fortunately, we have too many mobile document scanner apps available which use your smartphone’s camera to capture a scan. For instance, you can use Adobe scan for the job.
Where Is the Scan App on My Computer?
If you cannot find the Scan app, I recommend installing the Windows Scan app from the Microsoft store. Once you have installed it, go to the Start menu and search for Scan to access it.
So that was all for how to open the scan app and Scan Documents on this PC. Now go ahead and try the steps by yourself and see if you can scan your documents. In case you are stuck at anything, do let me know through the comments.
Nayan is a crypto and gadget enthusiast who likes to cover topics related to Tech, Startups, Crypto, Gaming, Windows, and other interesting areas. But when he is not working, you can find him playing games or watch random videos on YouTube.
By
Apr 6, 2023
Windows
0 Comments
If you’re old enough to have owned a scanner in the 90s, you’ll remember the feeling of being a wizard when you first used it. The ability to take physical photos and documents and turn them into digital files was truly magical.
Fast forward to today, and scanners are still an important tool for digitizing physical documents and photos. With Windows 10 and Windows 11, you will be able to scan your photos and documents easier than ever using the Windows Scan application.

In this blog post, Im taking a closer look at the new Windows Scan application in Windows 11 and explore how it can help you digitize your physical documents and photos with ease.
How to install the Windows Scan application
If you’re a Windows user and don’t have the app installed on your device, you can easily download and install it from the Microsoft Store.
- Open the Microsoft Store
- Search for Windows Scan App
- Click on Get

- Launch the Windows Scan App
How to use the Windows Scan application
One of the best things about the Windows Scan App is its user-friendly interface. The app is easy to navigate, and its simple design makes it accessible to users of all skill levels. To start scanning, all you need to do is open the app and select the type of scan you want to perform.
- Open the Windows Scan App
- Select the Scanner, if you have more than one device connected to your computer with this feature
- Adjust the scan settings
- Click on Preview to get a first scan of the document
- Adjust the image to be scanned
- Click the Scan button
The Windows Scan App offers users a variety of scanning options. Users can scan documents and photos in color, grayscale, or black and white. The app also supports various file formats, including JPEG, PNG, and PDF. Users can select the resolution, size, and orientation of the scanned file according to their preference.
Conclusion
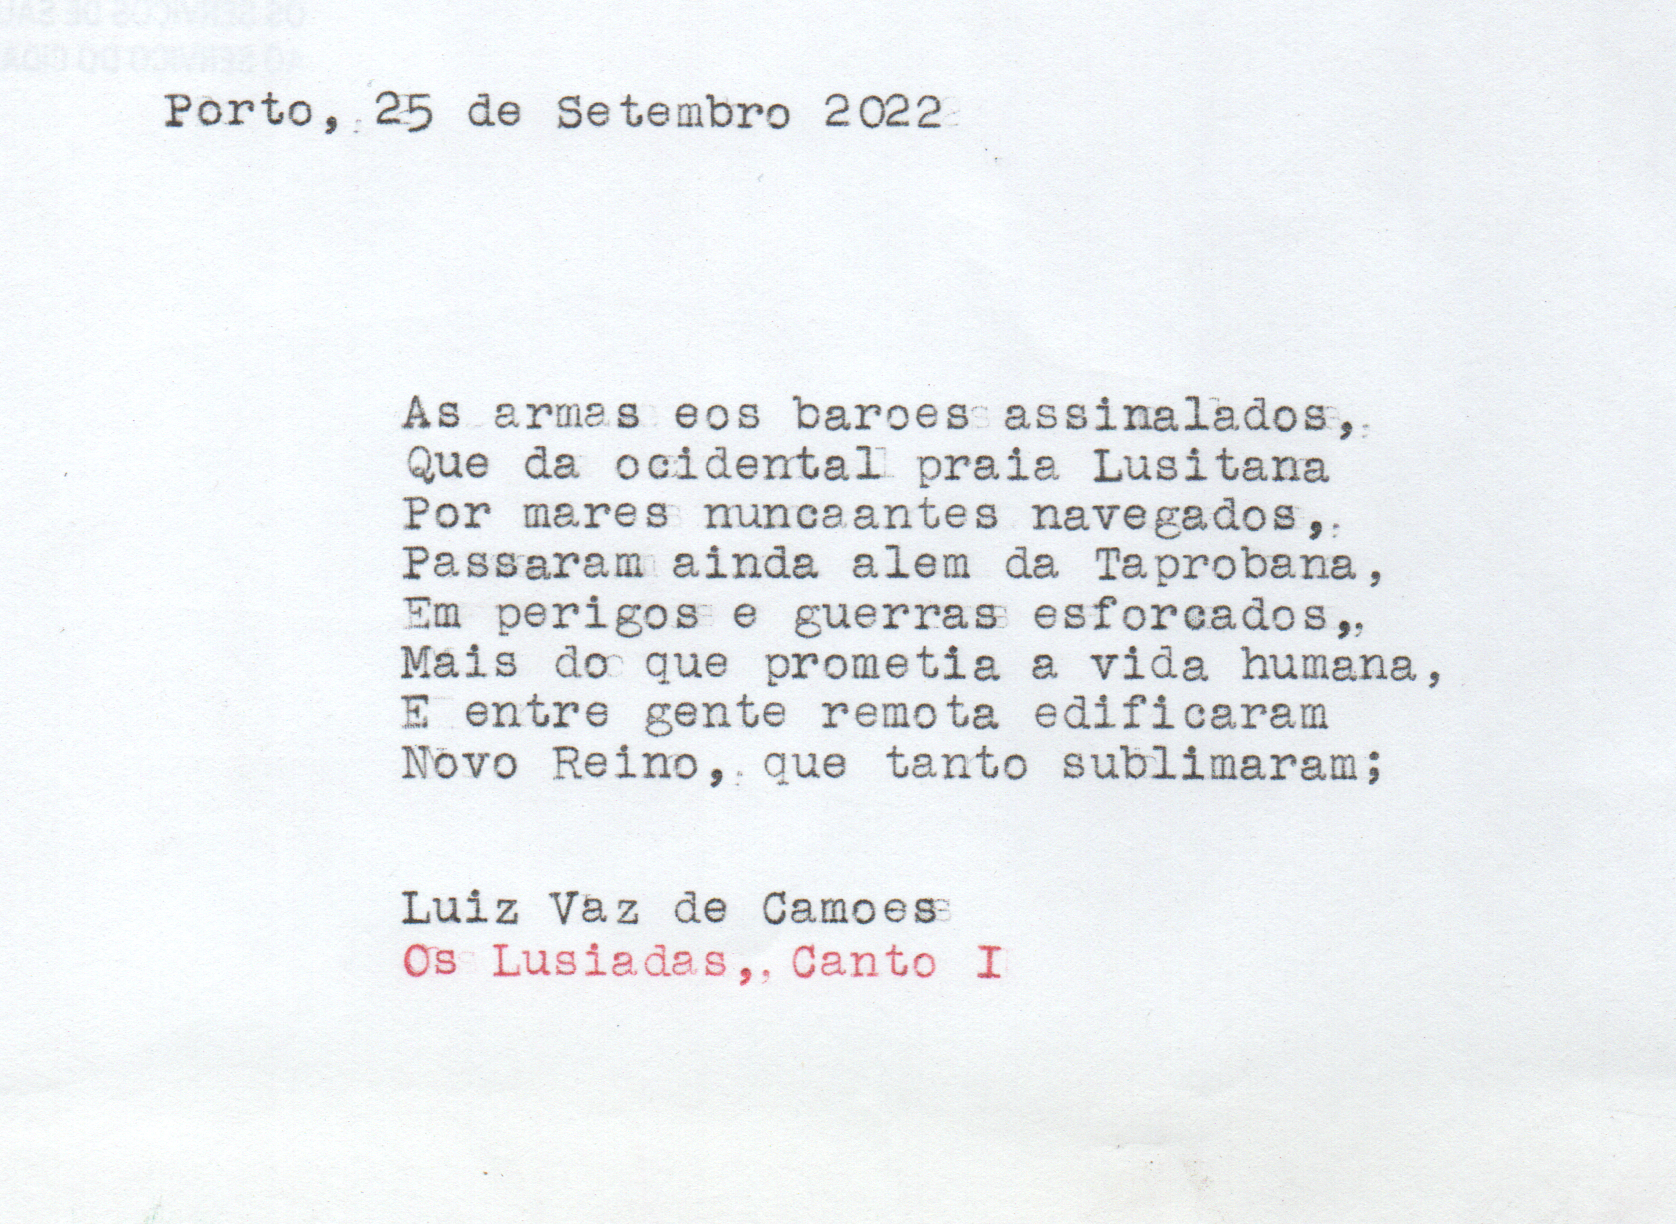
The scanner is a fantastic tool for capturing fine details on old documents, particularly when it comes to preserving important historical or legal documents. For example, with the Windows Scan App, you can easily digitize old documents and see the small imperfections on the fonts created by the typewriter.
This level of detail is often impossible to see with the naked eye, but with the help of a scanner, you can capture and preserve these important details for future generations. Whether you’re working on a personal project or preserving important historical documents, the scanner is an indispensable tool that can help you to save your memories.
(Image credit: Windows Central)
Although we’re now living in a digital world, from time to time, you may still need to scan important documents, such as handwritten letters, contracts, forms, and more, for many reasons. For instance, when you need to sign and send an agreement digitally via email, you want to convert important papers into digital files for inventory or preservation purposes, etc.
If you have a multi-function printer or standalone scanner, you can probably walk up to the device and directly scan the document (or picture) onto a USB flash drive. However, Windows 10 has two apps you can use to save you the trip to scan any documents and pictures directly onto your device without having to use the manufacturer software, whether you have a flatbed or feeder scanner.
In this Windows 10 guide, we’ll walk you through two methods to scan documents and photos on your device.
- How to scan documents using Windows Scan app
- How to scan documents using Windows Fax and Scan app
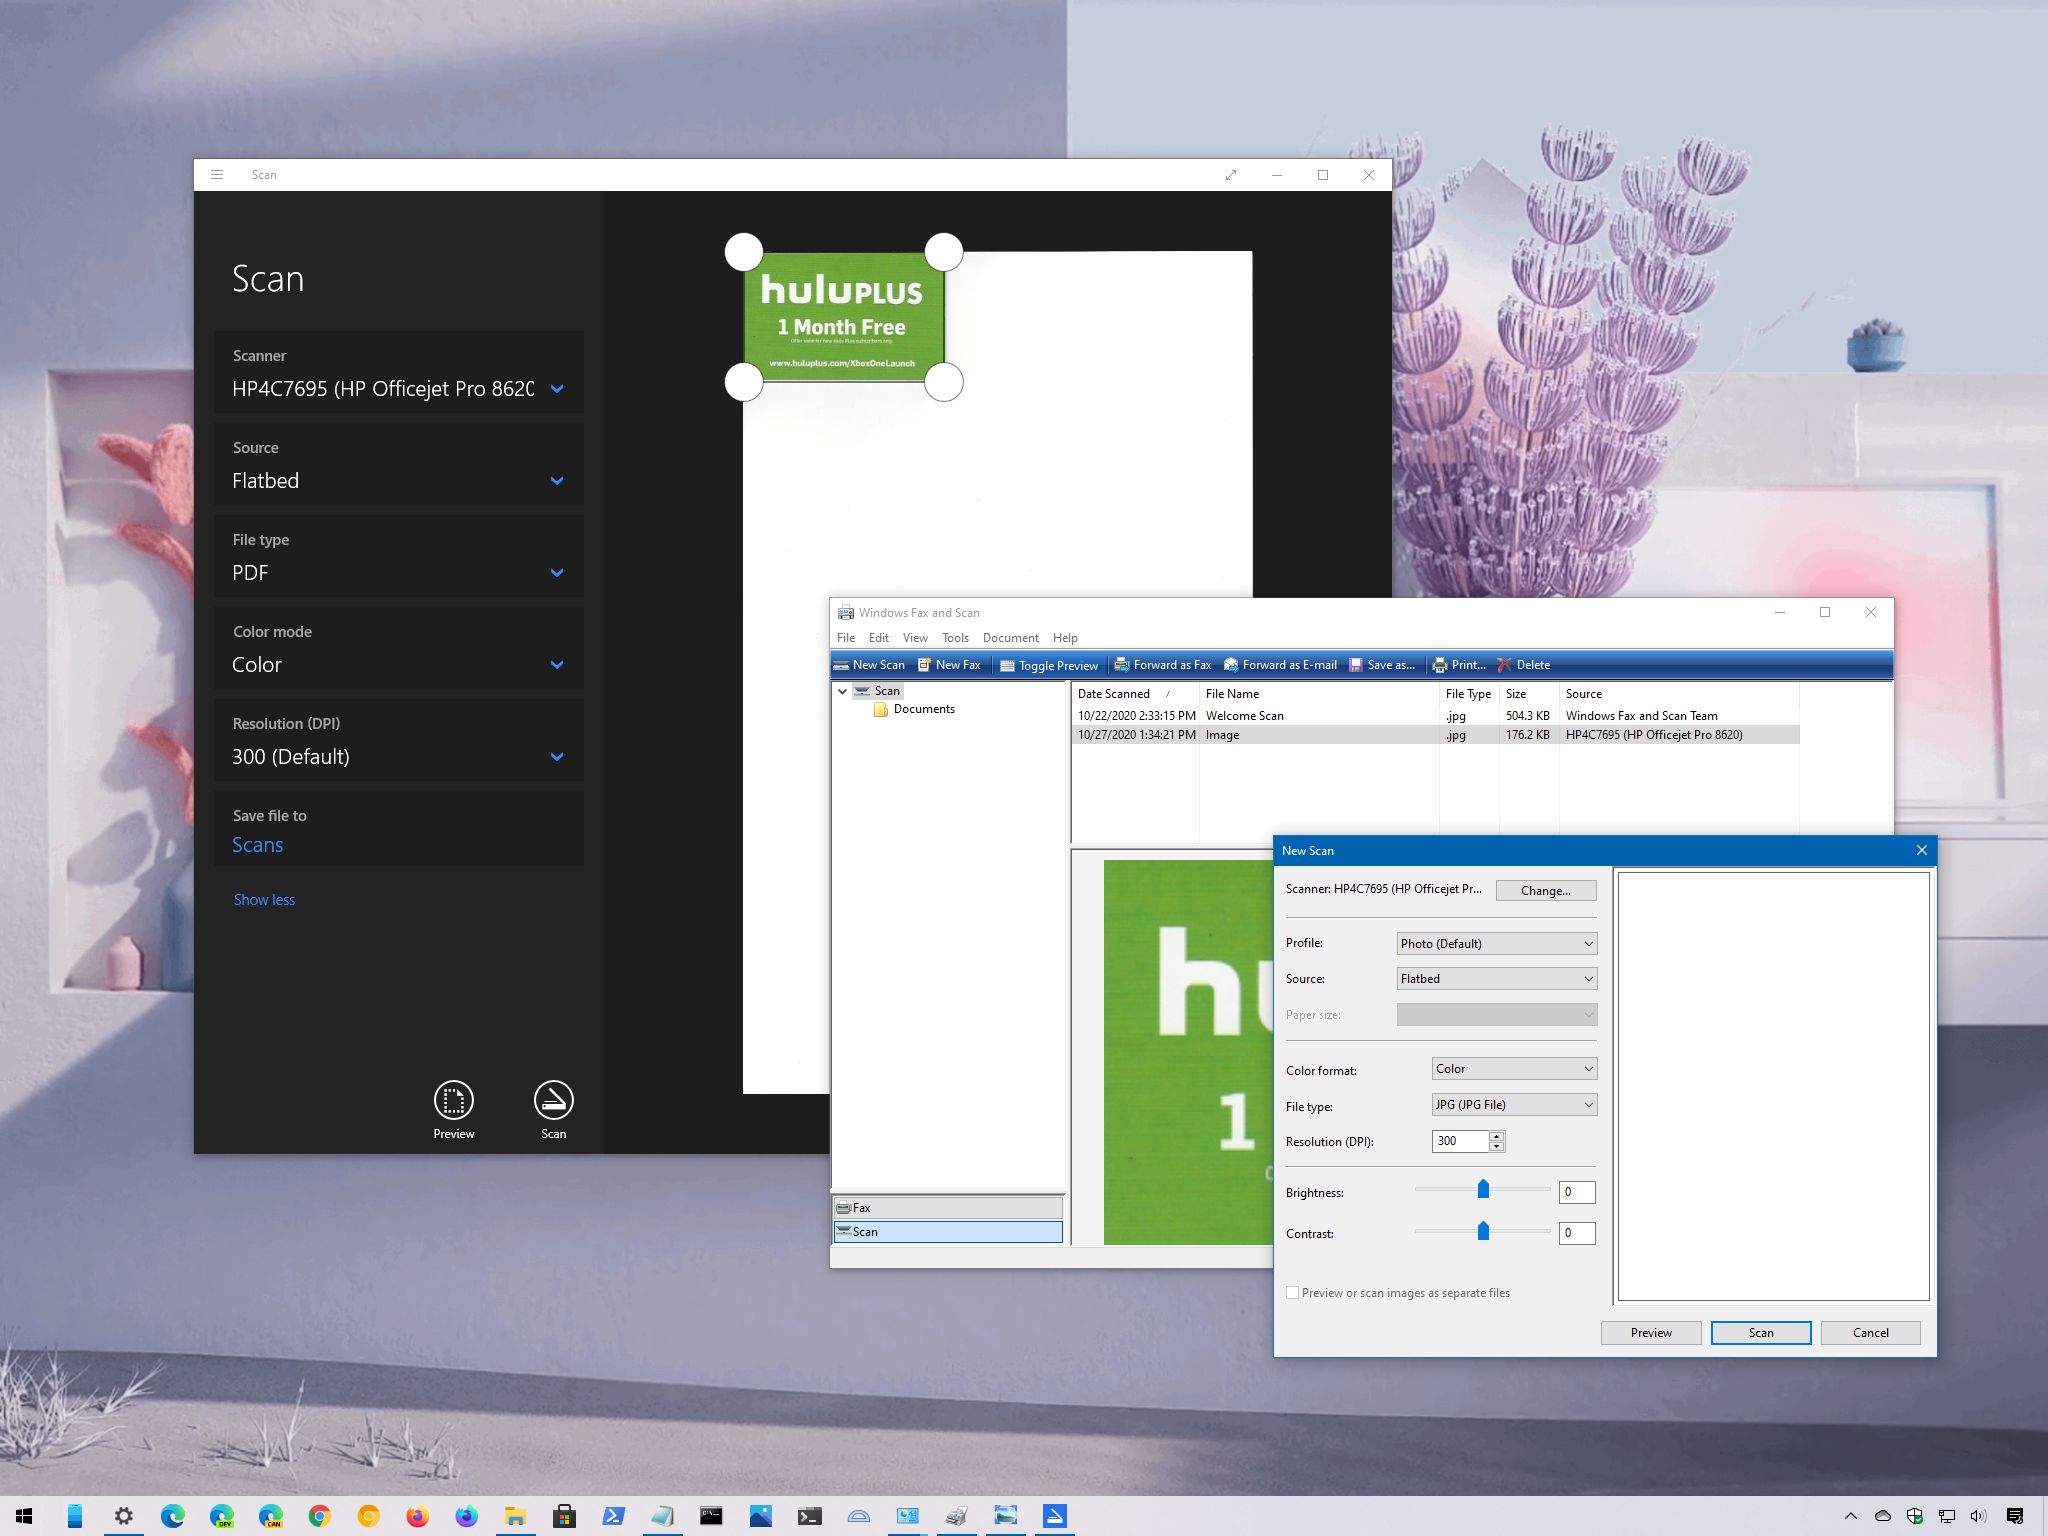
How to scan documents using Windows Scan app
Windows 10 has a modern app to scan documents using a scanner, but you must first download and install it from the Microsoft Store.
Install Windows Scan app
To install the Windows Scan app, use these steps:
- Open web browser.
- Use this Microsoft Store link to get the Windows Scan app.
- Click the Get button.
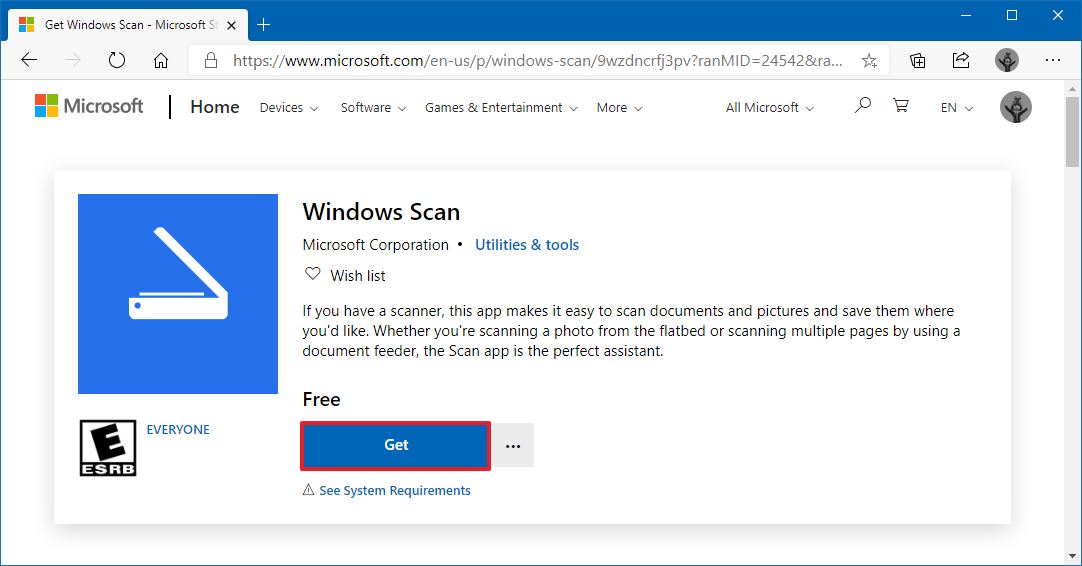
- Click the Open button.
- Click the Install button.
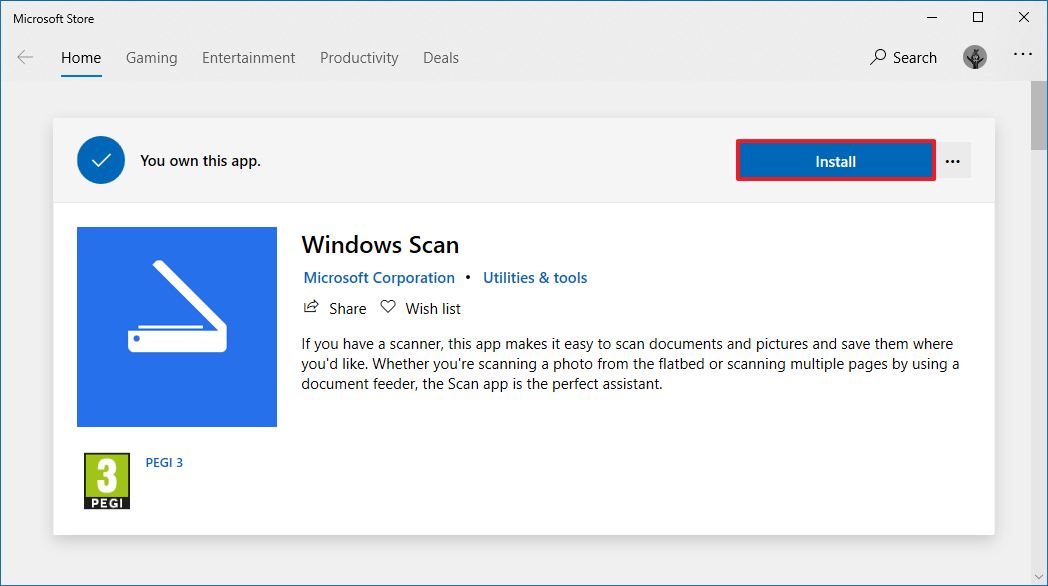
Once you complete the steps, the app will install, and you can proceed to convert documents from physical to digital.
Scan documents
To scan physical documents to PDF, JPEG, or another file format, use these steps:
All the latest news, reviews, and guides for Windows and Xbox diehards.
- Open Start.
- Search for Windows Scan and click the top result to open the app.
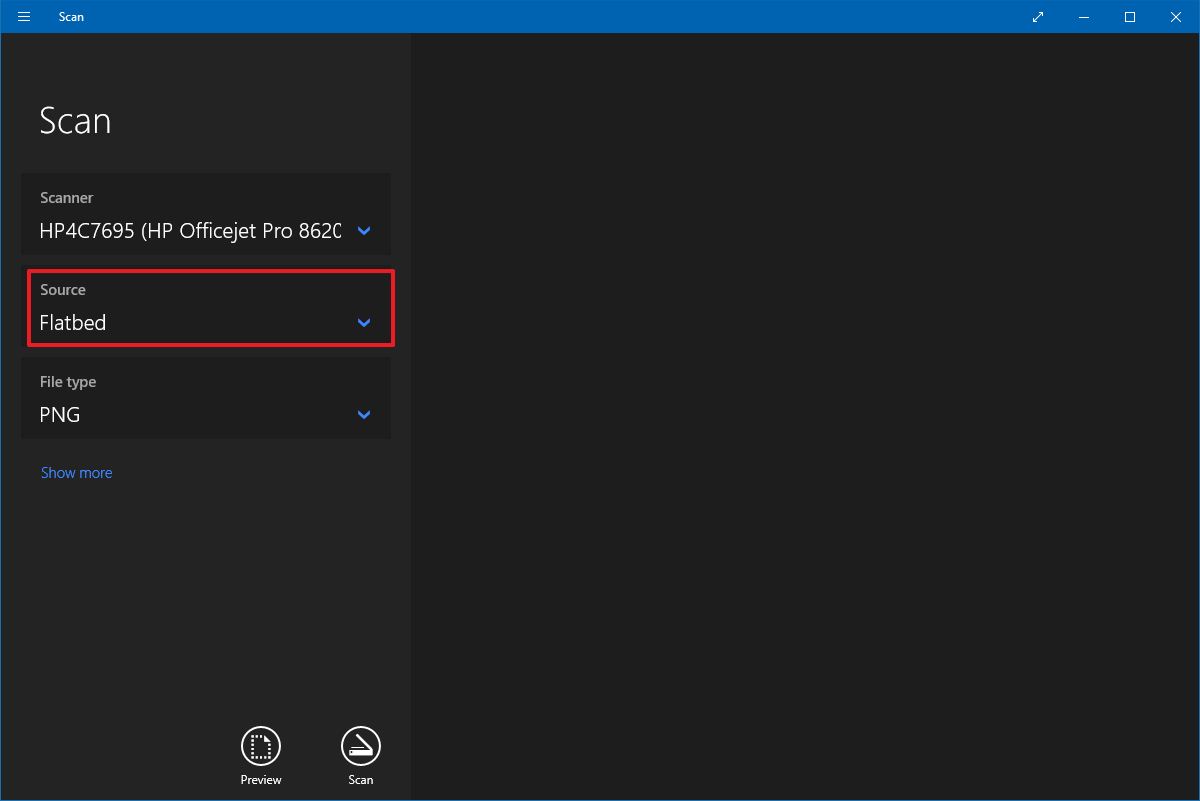
- Use the «Scanner» drop-down menu to select the scanning device.Quick tip: Before proceeding with the scan, make sure the scanner is powered on and connected to the computer via USB or network, depending on how you configured the device.
- Use the «Source» drop-down menu to select the location of the document you are trying to scan:
- Flatbed: This option will apply for most users who have a standalone scanner or multi-function printer with scanning functionality.
- Feeder: This option is for scanners that support scanning by feeding the document using the roller paper feeder. If you select this option, you’ll also be able to select two additional settings, including the ability to scan both sides and select the paper size.
- Auto-configured: This option doesn’t include additional settings, and it’ll scan the document as-is and save the output into a file.
For this guide’s purpose, we’ll be selecting the «Flatbed» option since it will apply to most users.
- Use the «File type» drop-down to select the file format to save the document scan. Options available include:
- JPEG.
- PNG.
- TIFF.
- Bitmap.
- OpenXPS.
- XPS.
- PDF.
Quick tip: Usually, you may want to select the PDF option for paper documents and JPEG when scanning images. For this guide, we’ll be selecting the «PDF» option.
- (Optional) Click the Show more option.
- Use the «Color mode» drop-down menu to select whether you want the scan. Options available include:
- Color.
- Grayscale.
- Black and white.
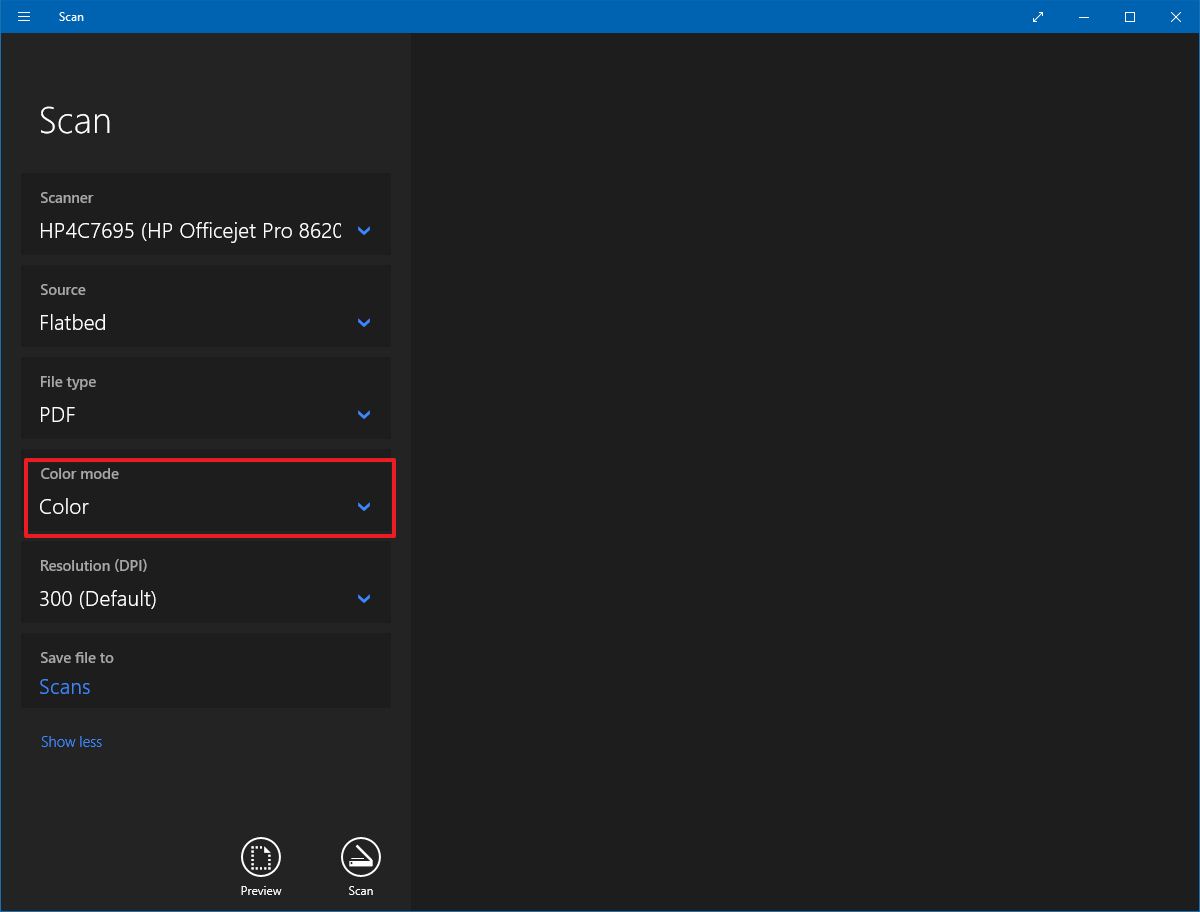
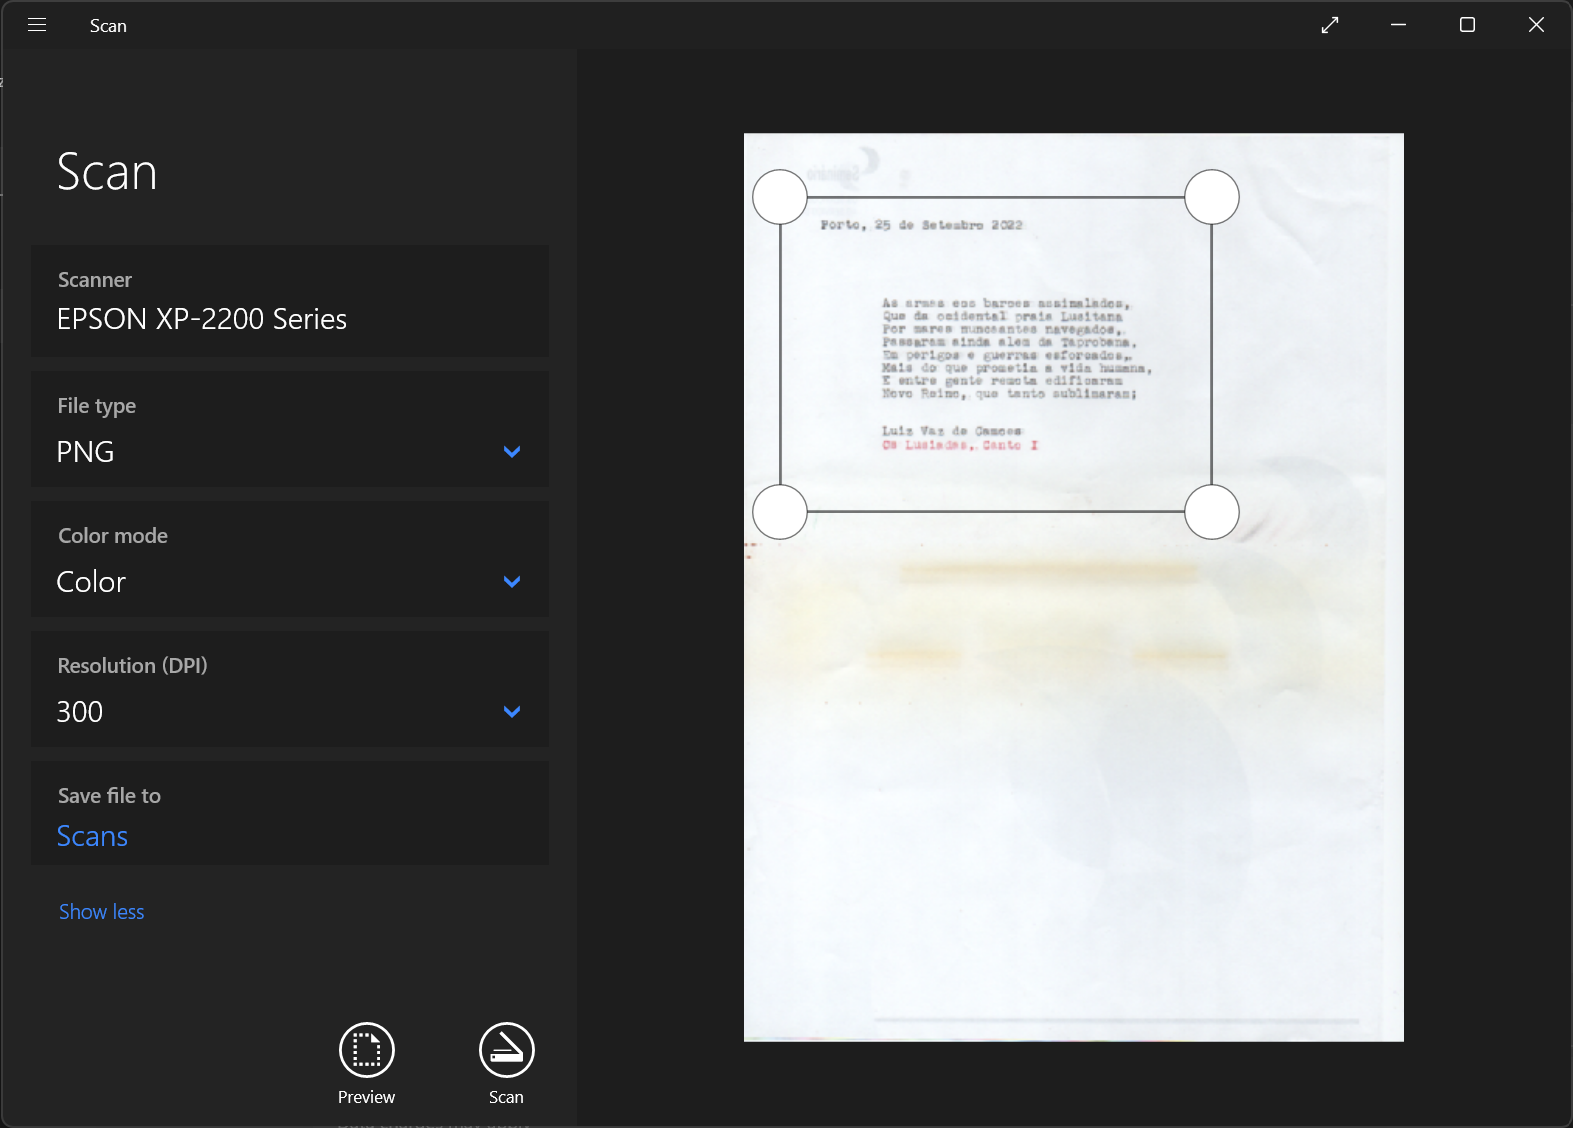
- Use the «Resolution (DPI)» drop-down menu to select the Dots Per Inch setting. The higher the DPI, the higher the resolution. (Usually, 300 DPI is suitable for most scenarios.)
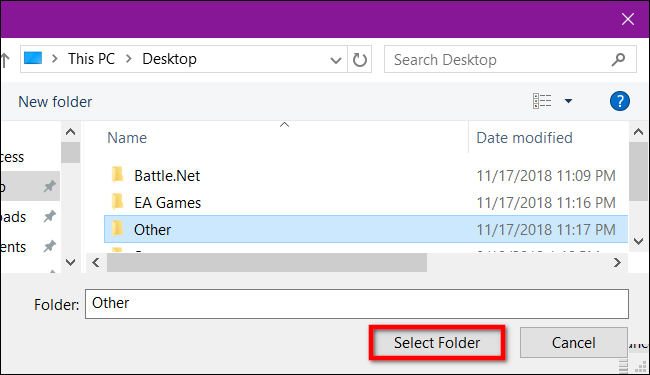
- Click the Scans file to option.
- Select the destination folder.
- Click the Select Folder button.
- Click the Preview button.
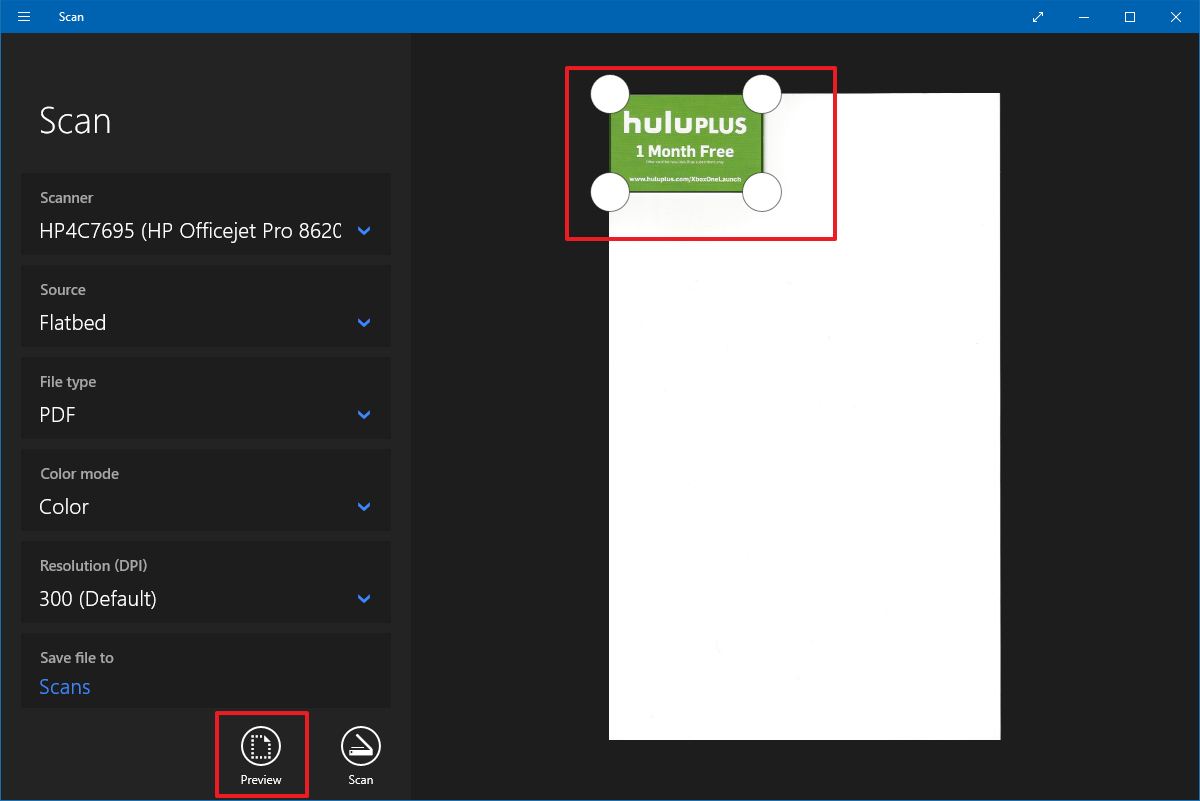
- Use the pins to crop the document (as needed).
- Click the Scan button.
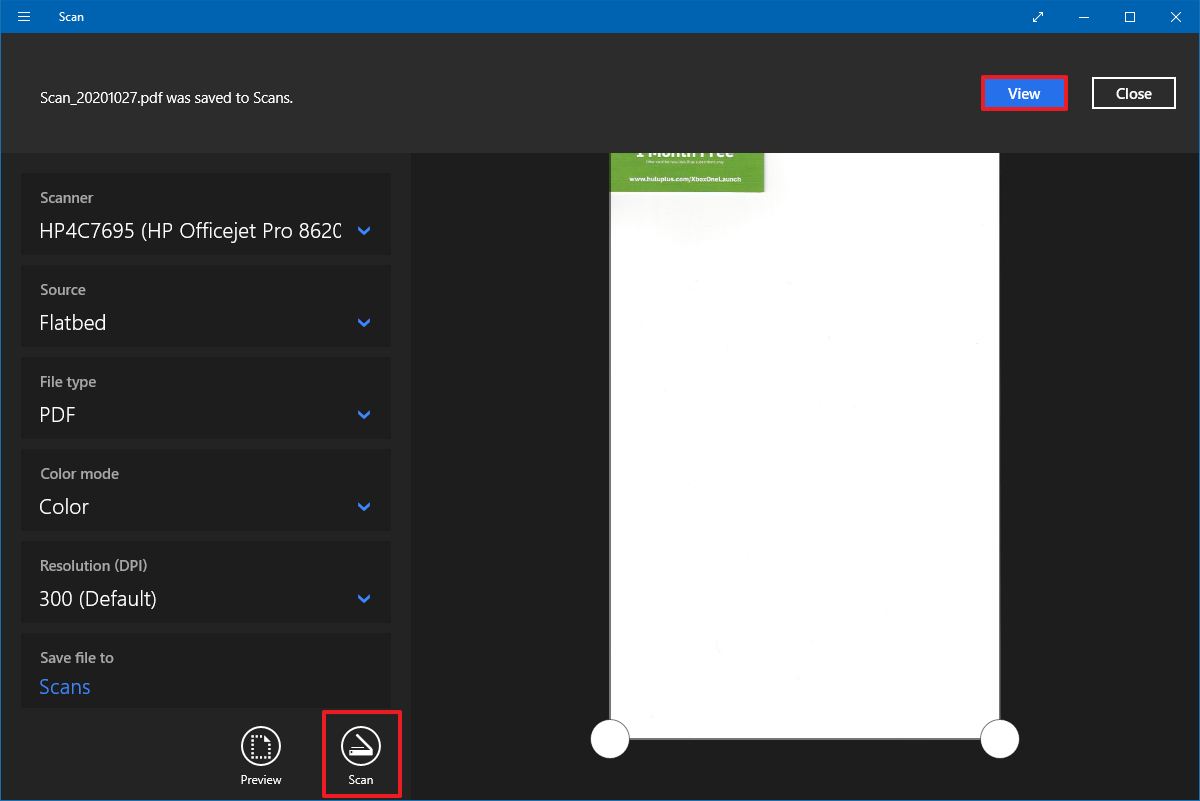
- Click the View button.
Once you complete the steps, the scanner will scan the document, and the app will save a digital copy in the Scans folder inside the Pictures profile folder unless you selected a different location.
If you scanned an image, the view option would open the file with the Photos app, and if you scanned a document as PDF, then the file will open with the default PDF viewer.
In the case that you’re in the market for a new all-in-one printer with scanning capability, then look no further than the HP OfficeJet Pro 8025 since it’s a reliable wireless printer that offers decent speed and good quality printing. Of course, it also includes a flatbed scanner with feeder functionality to scan both sides of the page. This is our best overall, but we have other picks you may want to consider.
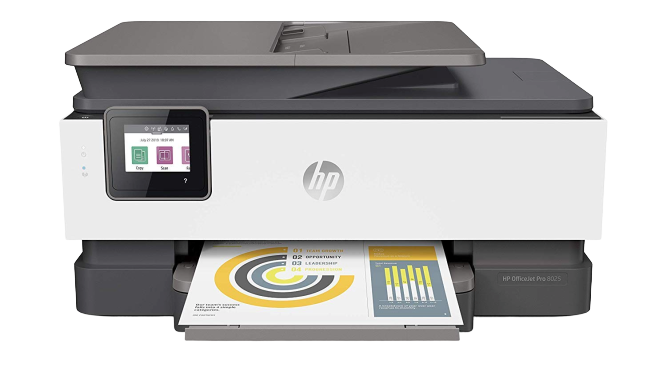
Printer and scanner
HP OfficeJet Pro 8025
It prints and scans
The OfficeJet Pro 8025 is a great solution for your home office or small business. It’s full of smarts so that you can use it with the cloud.
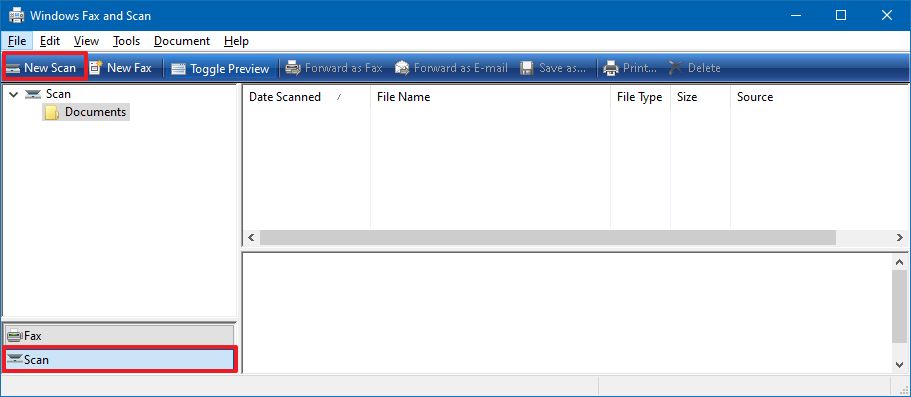
How to scan documents using Windows Fax and Scan app
Alternatively, you can also use the legacy Windows Fax and Scan app. The app has been available for many years, and it includes all the essential features to scan documents and images. (If you have a modem and landline, you can also use it to send and receive faxes.)
To scan a document with the Windows Fax and scan app, use these steps:
- Open Start.
- Search for Windows Fax and Scan and click the top result to open the app.
- Click the Scan option from the bottom of the page (if applicable).
- Click the New Scan button from the top-left corner.
- Click the Change button to select the scanning device (if applicable).
- Click the OK button.
- Use the Profile drop-down menu to select the profile that applies to your scan. Options available include:
- Photos.
- Documents.
For this guide, we’ll be selecting the «Documents» option.
- Use the «Source» drop-down menu to select the location of the document you are trying to scan:
- Flatbed: This option will apply for most users who have a dedicated scanner or a multi-function printer with scanning functionality.
- Feeder: This option is for scanners that support scanning by feeding the document using the roller paper feeder. If you select this option, you’ll also be able to select two additional options, including the ability to scan both sides and select the paper size.
For this guide, we’ll be selecting the «Flatbed» option.
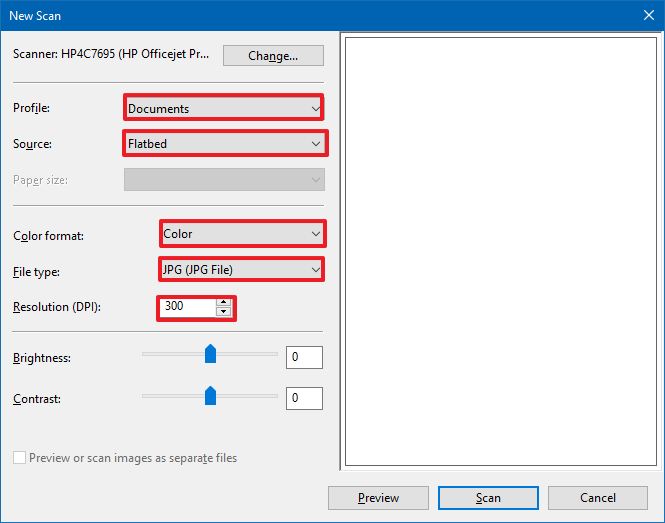
- Use the «Color format» drop-down menu to select whether you want the scan. Options available include:
- Color.
- Grayscale.
- Black and white.
- Use the «File types» drop-down menu to select the format to save the scan. Options available include:
- JPG.
- BMP.
- PNG.
- TIF.
- Use the «Resolution (DPI)» drop-down menu to specify the scan’s resolution.Quick note: When specifying the resolution, the higher the number means higher resolution, but using 300 is good enough for most scans.
- (Optional) Use the slider to control the scan brightness.
- (Optional) Use the slider to control the scan contrast.
- Click the Preview button.
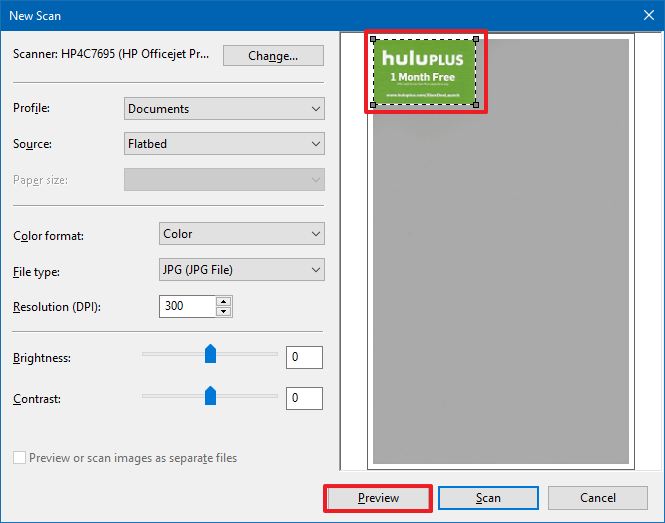
- Use the pins to crop the document (as needed).
- Click the Scan button.
- Select the image from the Windows Fax and Scan inbox to view a preview of the scan.
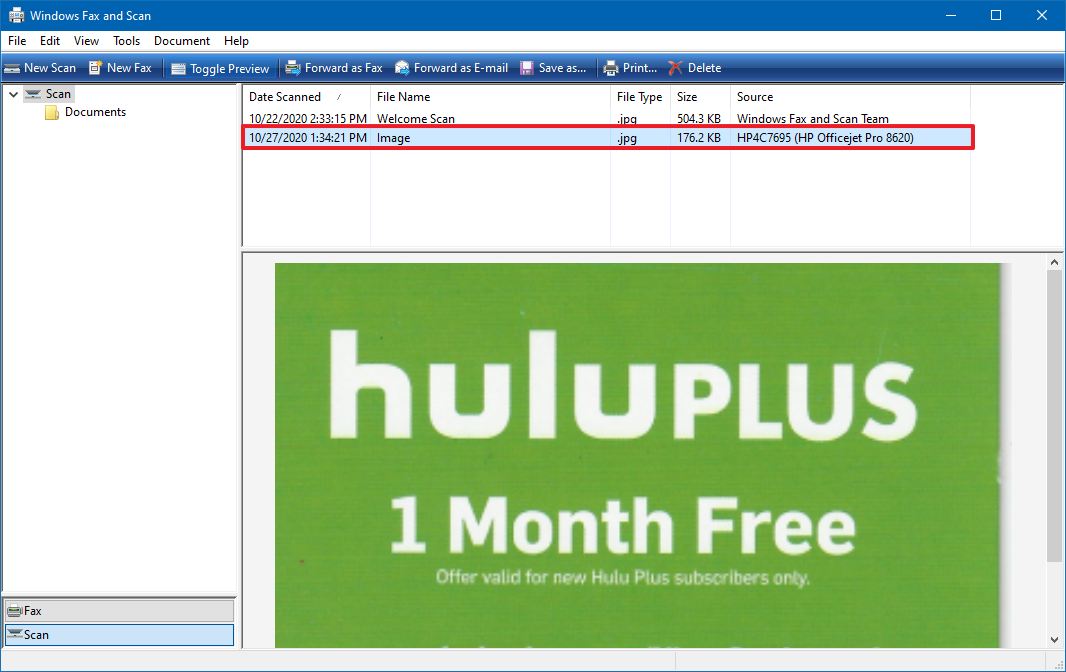
After you complete the steps, you can find the output file in the «Scanned Documents» inside the Documents folder.
We’re focusing this guide on scanning documents, but the instructions will also work to convert printed pictures into digital copies.
Mauro Huculak has been a Windows How-To Expert contributor for WindowsCentral.com for nearly a decade and has over 15 years of experience writing comprehensive guides. He also has an IT background and has achieved different professional certifications from Microsoft, Cisco, VMware, and CompTIA. He has been recognized as a Microsoft MVP for many years.
Quick Links
-
Is Your Scanner Windows 10 Compatible?
A great way to preserve sensitive, written documents like W9s, contracts, and living wills is to store them digitally. This guide shows you how to scan a document in Windows 10 without installing third-party tools.
Typically, you can scan a document using the software provided by manufacturers. Printers and scanners usually ship with an optical disk containing the necessary drivers and tools. Manufacturers also make their drivers and tools available online if your PC doesn’t include an optical drive.
For instance, this guide uses Epson’s Expression Premium XP-7100 all-in-one printer as an example. In addition to drivers, the software suite installs eight separate tools for printing CD labels, scanning, updating software, and more.
Because manufacturers don’t supply identical software suites across all printers and scanners, this guide uses two «native» Windows-based tools instead: Microsoft Scan and Windows Fax and Scan.
Of course, always default to your manufacturer’s software for an experience customized to your specific scanner. If you don’t want third-party tools installed on your PC, however, Microsoft’s two solutions should do the trick.
Is Your Scanner Windows 10 Compatible?
Before moving on, we need to make a couple of points. First, your scanner’s manufacturer may supply drivers for Windows 10, but the device itself may not specifically support the platform.
For example, we tested the following tools using Canon’s PIXMA MG3520 all-in-one printer with a built-in scanner. The «recommended» drivers date back to July 2015, though Canon released a newer suite six months later. That’s still three-year-old software.
That said, the scanner portion of this AIO printer would not appear in the native Windows tools but worked correctly—using a wireless connection, in fact—through Canon’s software.
If you run into similar problems, you may have an older printer or scanner that’s not fully compatible with Windows 10. The device may also require a direct USB-based connection if used outside the manufacturer’s third-party tools. For AIO printers, you may need to tweak its networking settings, so your Windows 10 PC recognizes the scanner component in addition to the overall printer unit.
Microsoft Scan
This tool is a visual upgrade to Microsoft’s older Fax and Scan tool. It provides most of the same features, depending on your printer, but removes the fax and email components.
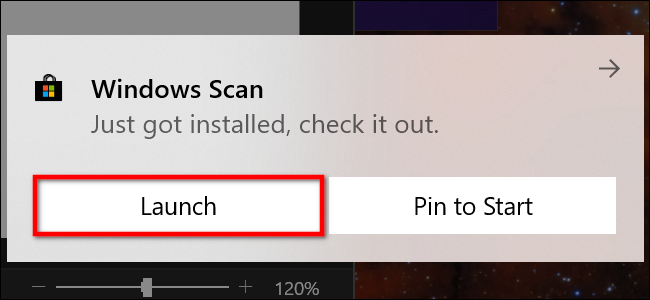
Head to the Windows Scan app listing on the Microsoft Store (free) and click the blue «Get» button. Once it installs on your PC, click the «Launch» button in the pop-up notification on Windows 10.
You can also access the new app—simply labeled as «Scan»—from the Start Menu.
With the app open, your scanner should appear listed on the left. As previously stated, this guide uses Epson’s Expression Premium XP-7100 all-in-one printer as an example. You’ll also see an option for «File Type» along with a «Show More» link. Click this link for the Scan app’s full menu.
For starters, you may see a «Source» category. Since our example printer has both a flatbed scanner and an automatic document feeder, both options are available for scanning a document. In this case, the default setting is set to «Auto-Configured.»
This «Auto-Configured» setting limits what you can do, locking you to «File Type» and «Save File To» options. If you select the «Flatbed» option as your source, or it’s the only source available, you’ll see two additional options appear on the list: «Color Mode» and «Resolution (DPI).»
With «Color Mode,» you can scan documents in full color, in grayscale, or a stark black and white. Meanwhile, the «Resolution (DPI)» setting allows you to switch from 100 to 300 DPI.
If you select «Feeder» as your scanning source, two additional options appear. As shown below, you can choose the paper size (A4, Legal, or Letter) and toggle on/off the option to scan both sides of your document.
With all three sources, the «File Type» setting provides four options: JPEG, PNG, TIFF, and Bitmap. We provide a separate article explaining the benefits of each format. In short, however, the JPEG and TIFF formats typically offer high-quality results, though TIFF files also support transparent backgrounds. PNG files are ideal for posting online, and BMP files are raw, uncompressed images.
Finally, you’ll see the «Save File To» option. It’s set to «Scans» by default and places your scanned documents in a «Scans» folder located within your «Pictures» folder. The proper path is:
C:\Users\youraccount\Pictures\Scans
Click the «Scans» link, and File Explorer appears. Here you can create a new folder or select a current location and click the «Select Folder» button.
When you’re ready to scan, insert your document into the feeder, or lift the scanner’s lid. For the latter, place the document face-down on the glass and close the lid.
With the «Flatbed» option set as your source, you can click «Preview» to test the scan and make adjustments if needed before finalizing with the «Scan» button. If you’re using the «Feeder» source, the «Preview» option does not appear.
Windows Fax and Scan
This program first appeared in Windows Vista. Unlike Microsoft’s newer Scan app, this version provides additional settings, like a built-in tool for emailing your scan, so you’re not searching for the file through the Mail app, browser, or third-party email client.
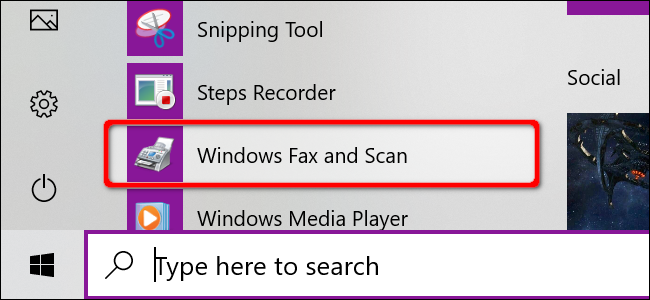
You can find the Fax and Scan program located within the Start Menu’s «Windows Accessories» folder.
Once it’s opened, click the «New Scan» option on the toolbar.
In the «New Scan» popup window, make sure the program is set to your default scanner. If not, click the «Change» button.
Next, select a scan profile: «Photo,» «Documents,» or «Last Used Settings.» As an option, click the «Add Profile» selection on the list to create a custom profile to use repeatedly.
Select your scanner’s source. This option may simply read «Flatbed.» If you have an AIO printer that includes a feeder, however, you may see two additional options: «Feeder (Scan One Side)» and «Feeder (Scan Both Sides).»
If your printer or scanner supports a feeder and you select that option, you will see a setting for the target paper size. Click the setting, and a long list of sizes appears.
Next, select your color format (Color, Grayscale, or Black and White) followed by file type (BMP, JPG, PNG, or TIF) and resolution.
For resolution, the default setting is 300, but you can manually raise or lower the number of dots the printer crams into every inch. Typically, the higher the number, the better the resolution. If you’re scanning a low-grade document, however, bumping up the resolution won’t help.
Finally, adjust the brightness and contrast accordingly.
When you’re done, click the «Preview» button to see the results. If the pre-scan looks great, then click the «Scan» button. If not, adjust your settings and click the «Preview» button again for another test. Click the «Scan» button when you’re satisfied with the settings.
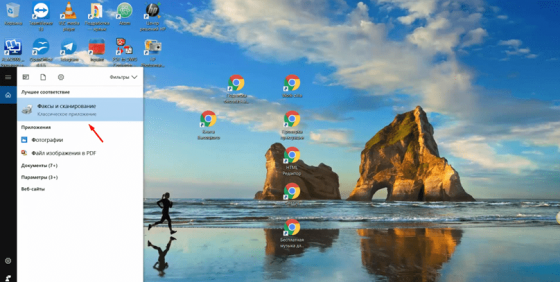
Сканирование документов на компьютере обеспечивается с помощью нескольких компонентов: функционального устройства (самостоятельного сканера или в составе МФУ), драйверов и программного интерфейса. Сканер в Windows 11 отличается новым интерфейсом и дополнительными возможностями. Располагается он на прежнем месте — в «Панели управления». Там перечислен список подключенных факсов, принтеров и сканеров. Интерфейс приложения довольно удобный, но он больше ориентирован под факсы — на стартовом экране отображается список входящих/отправленных писем. Переключение на вкладку сканирования можно в левом нижнем углу интерфейса.
Где скачать сканер для Windows 11?
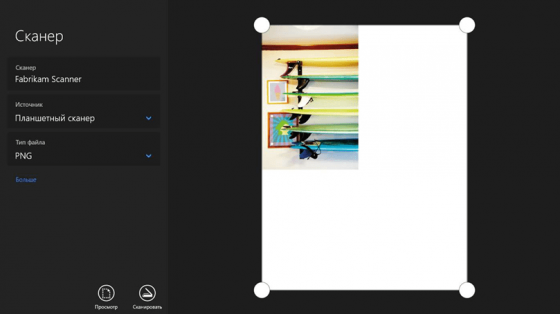
По умолчанию у каждого производителя оборудования есть своя утилита для печати/создания электронных копий печатного документа. В связке с ABBYY FineReader можно сканировать любые файлы и создавать на компьютере архив любого размера. Загрузить программное обеспечение можно на официальном сайте фирмы-поставщика оборудования или же воспользоваться запасным вариантом. В «Windows Store» есть приложение «Сканер» с минимальным набором настроек. Пользователь может подключать планшетный или любой тип устройства, выбирать активный девайс и тип выходного файла (PNG, JPG). Доступен предварительный просмотр и кнопка запуска распознавания.
Принцип работы сканера в Виндовс 11
Для корректного функционирования устройства нужно подключить его через USB или Bluetooth адаптер к компьютеру/ноутбуку и установить правильные драйвера. Чтобы не тратить много времени на поиск подходящего компонента, воспользуйтесь автоматизированным решением вроде DriverPack Solution. Софт проанализирует список подключенных устройств и подберет оптимальное программное обеспечение.
После успешного подключения нужно будет зайти в «Принтеры и факсы», настроить параметры сканирования и запустить процесс. Документ будет отображаться в общем списке, и его можно сохранить в любом формате или переместить в папку на рабочем столе.
Видео по настройке встроенного инструмента
В видео ролике наглядно проиллюстрирован процесс работы со стандартным интерфейсом факса/сканера. Он даст базовые знания, после просмотра вы сможете повторить шаги со своим устройством.
Инструмент для распознавания документов от Microsoft вполне заслуживает внимания. Можно пользоваться им или установить софт от производителя оборудования. Для базовых задач вполне подойдет и стандартная программа, если же нужно еще и редактировать изображения: менять ориентацию, наносить текст и фигуры, то не получится обойтись без более функциональной утилиты.