
Вступление
В этом разделе объясняется, как работает механизм WinForms для отображения форм и того, как вы контролируете их жизнь.
Показать немодальную или модальную форму
После определения структуры вашей формы с помощью дизайнера WinForms вы можете отображать свои формы в коде двумя разными способами.
-
Метод — модельная форма
Form1 aForm1Instance = new Form1(); aForm1Instance.Show(); -
Метод — Модальный диалог
 Form2 aForm2Instance = new Form2();
 aForm2Instance.ShowDialog();
Эти два метода имеют очень важное различие. Первый метод (немодальный) показывает вашу форму и затем немедленно возвращается, не дожидаясь закрытия только что открытой формы. Таким образом, ваш код продолжает все, что следует за вызовом Show. Второй метод вместо этого (модальный) открывает форму и блокирует любую активность во всем приложении до тех пор, пока вы не закроете форму с помощью кнопки закрытия или с некоторыми кнопками, соответствующим образом настроенными для закрытия формы
Закрытие немодальной формы
Используется немодальная форма (обычно), когда вам нужно показать что-то постоянное рядом с основным экраном приложения (подумайте о легенде или представлении о потоке данных, поступающих асинхронно с устройства или в дочернее окно MDI).
Но немодальная форма представляет собой уникальную задачу, когда вы хотите ее закрыть. Как получить экземпляр и вызвать метод Close в этом экземпляре?
Вы можете сохранить глобальную переменную, ссылающуюся на экземпляр, который вы хотите закрыть.
theGlobalInstance.Close();
theGlobalInstance.Dispose();
theGlobalInstance = null;
Но мы также можем использовать коллекцию Application.OpenForms, где механизм формы хранит все экземпляры форм, созданные и открытые.
Вы можете извлечь этот конкретный экземпляр из этой коллекции и вызвать метод Close
Form2 toClose = Application.OpenForms.OfType<Form2>().FirstOrDefault();
if(toClose != null)
{
    toClose.Close();
    toClose.Dispose();
}
Закрытие модальной формы
Когда форма показана с помощью метода ShowDialog , необходимо установить свойство DialogResult формы, чтобы закрыть форму. Это свойство может быть установлено с использованием перечисления, которое также называется DialogResult .
Чтобы закрыть форму, вам просто нужно установить свойство DialogResult формы (любому значению с помощью DialogResult.None ) в каком-либо обработчике событий. Когда ваш код выйдет из обработчика событий, механизм WinForm скроет форму, а код, следующий за начальным вызовом метода ShowDialog , продолжит выполнение.
private cmdClose_Click(object sender, EventArgs e)
{
    this.DialogResult = DialogResult.Cancel;
}
Вызывающий код может отображать возвращаемое значение из ShowDialog, чтобы определить, какую кнопку пользователь нажал в форме. При отображении с использованием ShowDialog() , форма не удаляться автоматически (так как она была просто скрыта и не закрыта), поэтому очень важно , чтобы использовать , using блок , чтобы обеспечить форма расположена.
Ниже приведен пример проверки результата использования встроенного OpenFileDialog , проверки результата и доступа к свойствам из диалогового окна перед его удалением.
using (var form = new OpenFileDialog())
{
    DialogResult result = form.ShowDialog();
    if (result == DialogResult.OK)
    {
        MessageBox.Show("Selected file is: " + form.FileName);
    }
}
Вы также можете установить свойство DialogResult на кнопку. Нажатие этой кнопки устанавливает для свойства DialogResult в форме значение, связанное с кнопкой. Это позволяет закрыть форму без добавления обработчика событий для установки DialogResult в коде.
Например, если вы добавите кнопку OK в свою форму и установите ее свойство в DialogResult.OK форма автоматически закрывается, когда вы нажимаете эту кнопку, а вызывающий код получает DialogResult.OK в ответ на ShowDialog() метода ShowDialog() .
Visual Studio C#: использование Show() и ShowDialog для отображения окон (форм)
Добавил(а) microsin
Окна — основные интерфейса GUI-программы Visual Studio. Чтобы создать и отобразить окна, используют экземпляры (переменные) класса Form, и методы Show() и ShowDialog(). В статье рассматривается применение этих методов.
[Обычные окна, использование Show]
Show отображает обычное окно, а ShowDialog — модальное. В программу можно добавить произвольное количество форм (окон), все они будут действовать независимо, если отображены методом Show. Добавляется новое окно так: меню Проект -> Добавить форму Windows… -> Форма Windows Forms -> OK. По умолчанию будет добавлена форма Form2. Далее в модуле Program.cs добавьте код для отображения второй формы:
...
static void Main()
{
   Application.EnableVisualStyles();
   Application.SetCompatibleTextRenderingDefault(false);
   Form2 frm = new Form2();
   frm.Show();
   Application.Run(new Form1());
}
...
После запуска программы отобразятся сразу две формы, Form1 и Form2.
Чтобы можно было вызывать из Form1 подпрограммы и функции (методы) из Form2 (и наоборот), то необходимо инициализировать и запускать формы немного по-другому (код из Program.cs):
namespace MyApp
{
   static class Program
   {
      static public Form1 frm1;
      static public Form2 frm2;

      ///
      /// Главная точка входа для приложения.
      ///
      [STAThread]
      static void Main()
      {
         Application.EnableVisualStyles();
         Application.SetCompatibleTextRenderingDefault(false);
         frm1 = new Form1();
         frm2 = new Form2();
         frm2.Show();
         Application.Run(frm1);
      }
   }
}
Пример вызова из класса Form2 (процедура Form2_FormClosed) метода класса Form1 (процедуру Close):
private void Form2_FormClosed(object sender, FormClosedEventArgs e)
{
   Program.frm1.Close();
}
[Модальные окна, использование ShowDialog]
Модальное окно должно блокировать другие окна, пока не будет закрыто модальное окно. Обычно модальное окно используется для диалогов настройки, а также для фокусирования внимания пользователя на каком-то событии. В приложении в любое время может быть активно и доступно для пользователя только одно модальное окно. Часто диалог About тоже запускают как модальное окно.
Любую обычную форму можно запустить как модальное окно, если вместо Show() использовать ShowDialog(). Пример запуска диалогового (модального) окна настройки, вызываемого из меню:
      private void SetupStripMenuItem_Click(object sender, EventArgs e)
      {
         //Program.form2.Show();
         Program.form2.ShowDialog();
      }
[Важные отличия Show от ShowDialog]
1. Show() запускает отображение обычного окна, а ShowDialog() отображает модальное окно. Отличия обычного окна от модального известны — обычное окно равноправно со всеми окнами приложения, а модальное окно блокирует все остальные окна приложения, пока не будет закрыто это модальное окно.
2. Если после вызова Show() пользователь закроет вызванное окно, то повторно вызвать Show() не получится, так как объект окна будет уничтожен, и его надо будет создавать заново. Т. е. Использование Show() всегда должно быть по такой схеме: создание экземпляра класса окна (), Show(), закрытие окна. При каждом вызове Show() экземпляр класса окна нужно создавать заново в коде приложения.
3. ShowDialog() работает по другому: после закрытия пользователем окна (в отличие от Show()) экземпляр класса окна не будет уничтожен, поэтому не нужно перед каждым новым вызовом ShowDialog создавать экземпляр класса. Этот экземпляр класса может быть создан только один раз при старте приложения (например, в функции Main модуля Program.cs).
4. Свойства модального окна нужно менять в самом классе этого окна, а не из классов других окон, так как действие кода из другого класса не будет производить никакого эффекта на модальное окно. Например, поменять свойства Top и Left модального окна, влияющие на его положение, из модулей других окон не получится.
[Ссылки]
1. C#: часто задаваемые вопросы (FAQ).
Open a new Form in Windows Application
In this c# windows application tutorial we will learn how to open a windows from from another form. we can open a form by two ways Form.Show() and Form.ShowDialog() methods in windows forms application. We will learn both methods Show() and ShowDialog() with an example in this c# post.
In this example we need two forms for demo, one is main form works as parents and the form will be opened works as child form.
Show()
Show() used to open new form, when we use show() method it allow us to perform any action on parent page.
We can open same form multiple times when we use Show() method to open new window, because it allow to click on parent form after opened child form.
Form frm2 = new Form2();
frm2.Show();
ShowDialog()
ShowDialog() method used to open new form, but it not allow to focus on parent window after opened child form and we can not perform any action on parent form.
When we use ShowDialog() method to open new windows, it does not allow to open same windows multiple time.
Form frm2 = new Form2();
frm2.ShowDialog();
Example :
Here, we have two windows form Form1 and Form2. We try to open Form2 from Form1, so we need a button control on Form1 for open Form2.
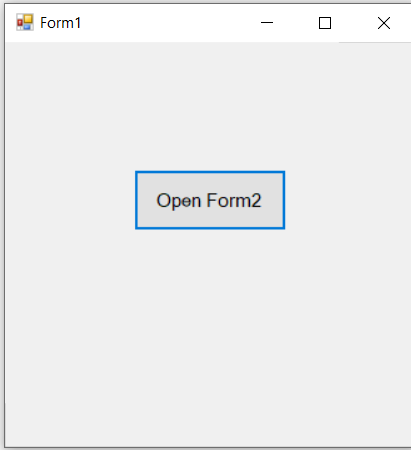
Write below code in button control click events to open a Form2.
private void button1_Click(object sender, EventArgs e)
{
     Form frm2 = new Form2();
     frm2.Show();
}
The output of above example:
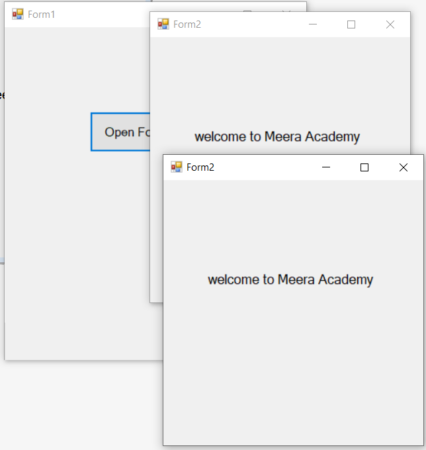
In above figure we can see that we opened Form2 multiple time from Form1 as we use Show().
In next c#.net windows application tutorial we will learn more about Show() and ShowDialog() with example.
-
Use the
Form.Show()Method to Open a New Form Using a Button inC# -
Use the
Form.ShowDialog()Method to Open a New Form Using a Button inC#
This tutorial will teach you how to access forms using buttons when developing applications in C#.
Use the Form.Show() Method to Open a New Form Using a Button in C#
It belongs to the System.Windows.Forms namespace and shows or displays a new form to the user. It only works for non-modal forms and can efficiently display, show, or control them.
Before calling this method, its Owner property must be set to owner so the new form can access this property to get information about the owning form. The new form will be visible after setting its Visible property to true.
You need to instantiate it as an object by creating a new object from the active form’s class. Use this instantiated object to call the Show() method, and you can access the new form.
Code — Form1.cs:
using System;
using System.Windows.Forms;

namespace openFormfromClickEvent {
  public partial class Form1 : Form {
    public Form1() {
      InitializeComponent();
    }

    private void button1_Click(object sender, EventArgs e) {
      // create an object of `Form2` form in the current form
      Form2 f2 = new Form2();

      // hide the current form
      this.Hide();

      // use the `Show()` method to access the new non-modal form
      f2.Show();
    }
  }
}
Output:
-method-in-csharp.webp)
Using a button to access another form can have multiple benefits as you can replicate a form as needed and easily and effectively modal some basic workflow of your C# applications. In Winforms, you can structure your applications by handling forms via Click events to manipulate the GUI.
Use the Form.ShowDialog() Method to Open a New Form Using a Button in C#
Similar to the Form.Show() method, It opens a new form as a model dialog box in your C# application, and every action in this dialog box is determined by its DialogResult property.
You can set the DialogResult property of the form programmatically or by assigning the enumeration value of the modal form to the DigitalResult property of a button. The Form.ShowDialog() method returns a value that can be used to determine how to process actions in the new modal form.
As a modal dialog box is set to Cancel, it forces the form to hide, unlike the non-modal forms. When a form is no longer in service or required by your C# application, the Dispose method becomes helpful because using the Close method can hide a form instead of closing it, which means it can be shown again without creating a new instance of the modal form.
This method does not specify a form of control as its parent as a currently active form becomes the owner (parent) of the dialog box or modal form. If there comes a need to specify the owner of this method, use the Form.ShowDialog(IWin32Window) version of the method, which shows the form as a modal dialog box with the specified owner.
Code — Form1.cs:
using System;
using System.Windows.Forms;

namespace openFormfromClickEvent {
  public partial class Form1 : Form {
    public Form1() {
      InitializeComponent();
    }

    private void button1_Click(object sender, EventArgs e) {
      // create an object of `Form2` form in the current form
      Form2 f2 = new Form2();

      // hide the current form
      this.Hide();

      // use the `ShowDialog()` method to access the new modal form
      f2.ShowDialog();
    }
  }
}
Output:
-method-in-csharp.webp)
To hide an active form, use this.Hide() method and to close a form use this.Close() method in a button_Click event.
C# application developers must know about event handling to perform some actions on a form. The Form.cs [Design] of your C# project in Visual Studio contains the visual representation of your form elements, and by double-click, a design element can automatically create an event handler method that controls and respond to events generated from controls and a button clicked event is one of them.
Enjoying our tutorials? Subscribe to DelftStack on YouTube to support us in creating more high-quality video guides. Subscribe
It’s common for desktop applications to use dialog boxes when prompting information from the user. You can create input dialog boxes in a Windows Forms application, by displaying a new window.
You can also add UI elements to the new dialog window. These include messages, text boxes, and «Ok» and «Cancel» buttons. When the user enters information in the input box, you can store the result and use it in other parts of the app.
How to Create an On-Click Function to Trigger the Input Dialog Box
The dialog box should not always be visible. You can trigger the dialog box to show when the user completes an action, such as a button click. You can also learn more about other Windows Forms events that you can use in a Windows Forms app.
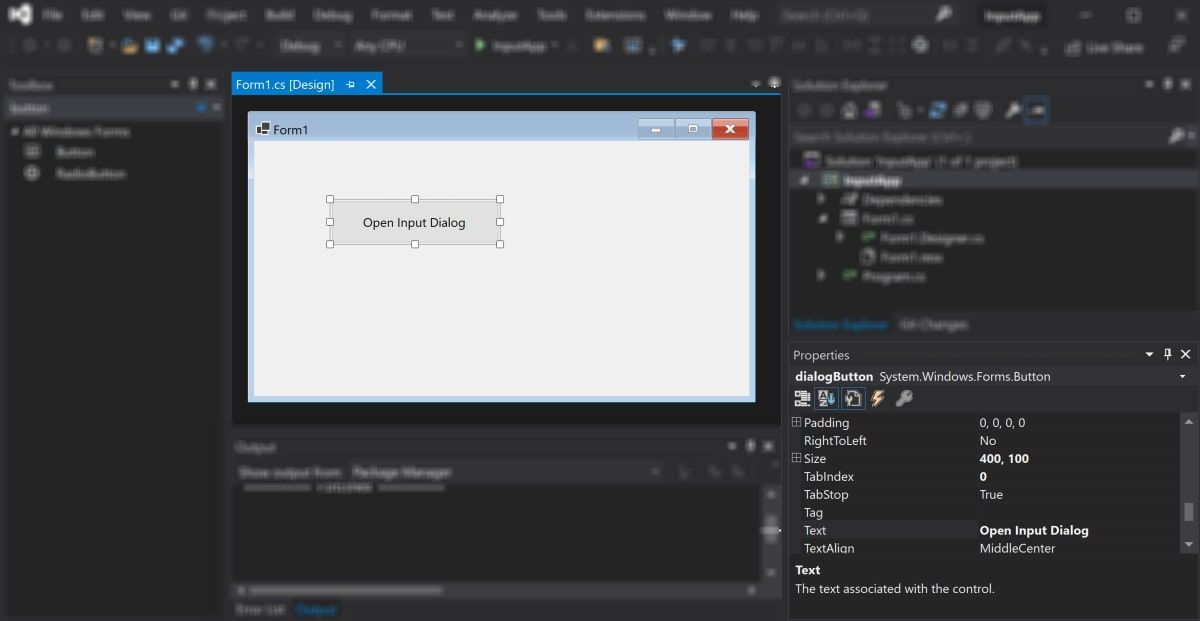
Add a button to the canvas and create a function that will run when the user clicks on the button.
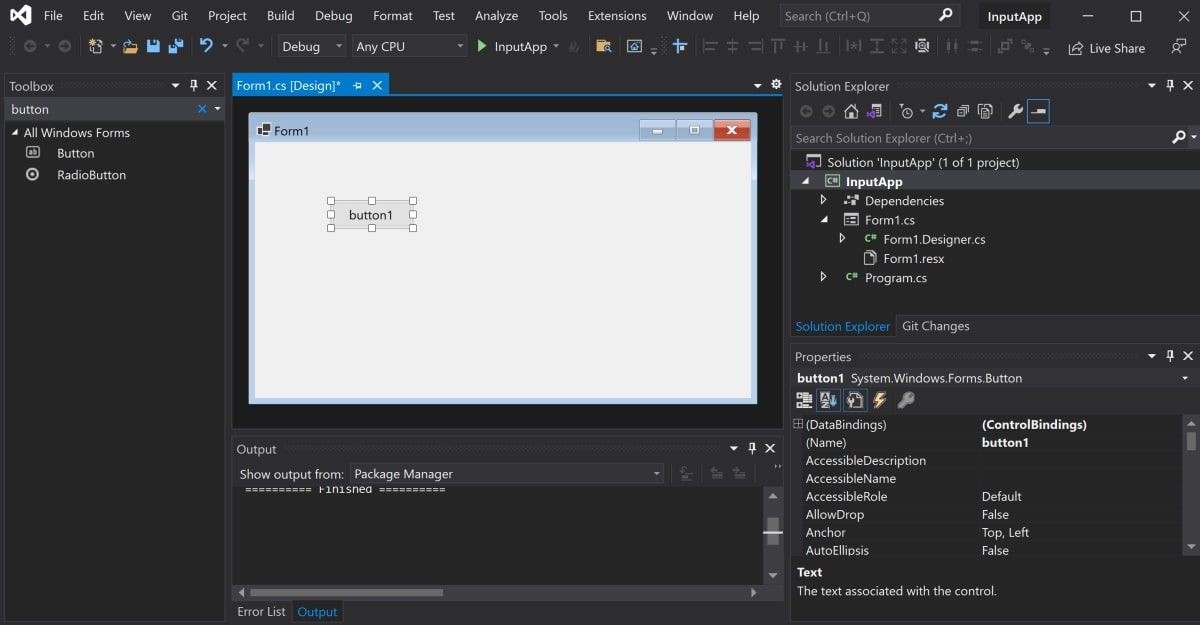
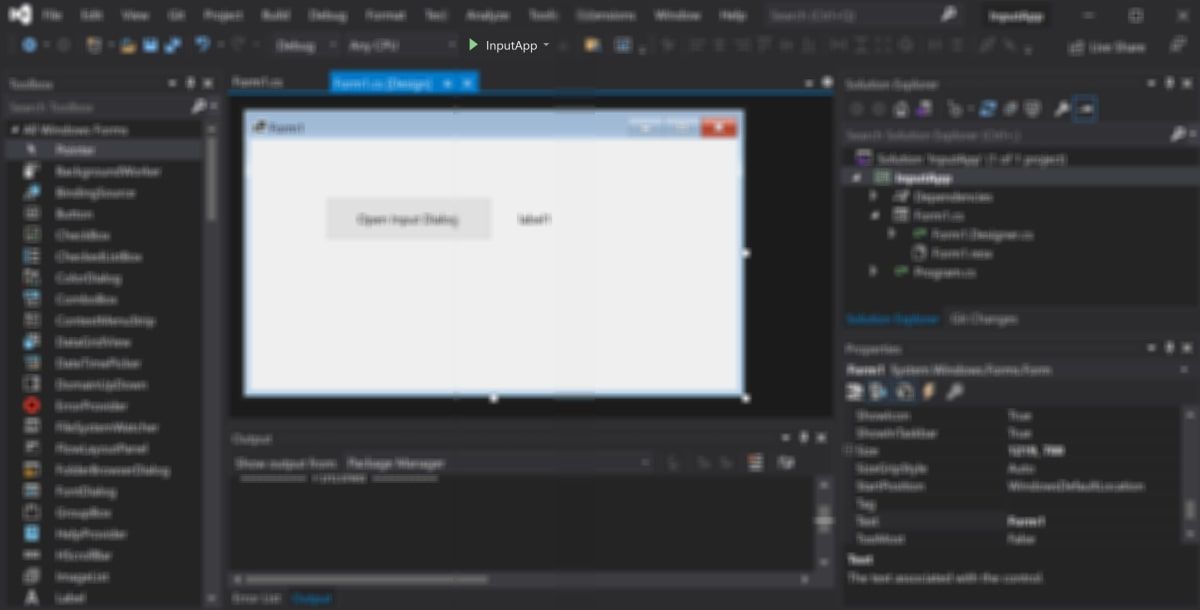
- Create a new Windows Forms application in Visual Studio.
- In the Toolbox, search for a button UI control.
-
Click and drag a button onto the canvas.

-
In the properties window, change the properties of the button to the following new values:
Property Name
New Value
Name
dialogButton
Size
400, 100
Text
Open Input Dialog

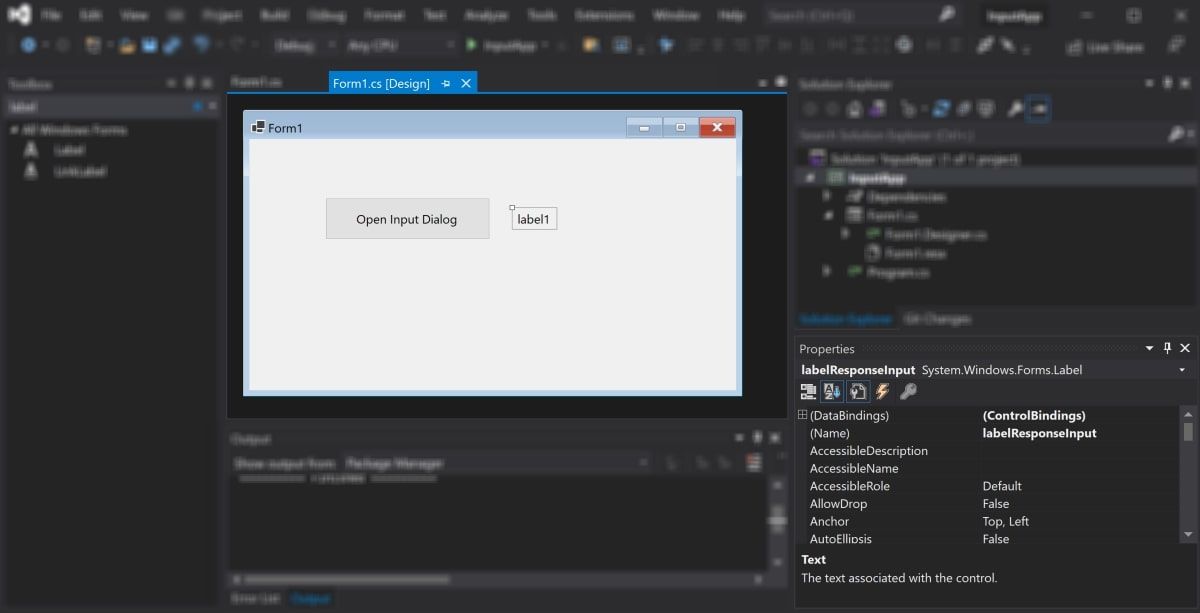
- In the Toolbox, click and drag a label onto the canvas. Place the label to the right side of the button.
-
In the properties window, change the properties of the label to the following values:
Property Name
New Value
Name
labelResponseInput
Visible
False

-
Double-click on the new Input Dialog button. This will generate an on-click function in the code-behind CS file for the form.
        private void dialogButton_Click(object sender, EventArgs e)
{
    // The code here will trigger when the user clicks on the button
    // It will display the input dialog box
}
How to Create the Input Dialog Box
Create the dialog box inside a new function. The function will programmatically create a new form, and add UI elements to it, including a text box with «Ok» and «Cancel» buttons.
-
Under the dialogButton_Click() function, create a new function that will create the Input Dialog box. The «title» parameter will show in the top-left corner of the window. The value for the «promptText» will display to the user. The «value» parameter is an out parameter and will return the value that the user entered inside the input box.
        public static DialogResult InputBox(string title, string promptText, ref string value)
{}
-
Inside the InputBox() function, create the UI elements that will display on the form.
        Form form = new Form();
Label label = new Label();
TextBox textBox = new TextBox();
Button buttonOk = new Button();
Button buttonCancel = new Button(); -
Add the title of the form, which will display in the top-left corner. Also add the main message that will display to the user, above the input box.
        form.Text = title;
label.Text = promptText; -
Add values for the «Ok» and «Cancel» buttons. The text property contains the text that shows on top of each button. The DialogResult property contains the type of result the button will represent. You can read more about DialogResult in Microsoft’s official documentation.
        buttonOk.Text = "OK";
buttonCancel.Text = "Cancel";
buttonOk.DialogResult = DialogResult.OK;
buttonCancel.DialogResult = DialogResult.Cancel; -
Use the SetBounds() method to set the x and y positions of the label, text box, and buttons on the form. You can also specify each element’s width and height.
        label.SetBounds(36, 36, 372, 13);
textBox.SetBounds(36, 86, 700, 20);
buttonOk.SetBounds(228, 160, 160, 60);
buttonCancel.SetBounds(400, 160, 160, 60); -
Configure some properties for the dialog window itself. These properties set the form size, borders, and start position. It also controls the ability to minimize or maximize the window, or resize the label if necessary.
        label.AutoSize = true;
form.ClientSize = new Size(796, 307);
form.FormBorderStyle = FormBorderStyle.FixedDialog;
form.StartPosition = FormStartPosition.CenterScreen;
form.MinimizeBox = false;
form.MaximizeBox = false; -
Add the UI elements onto the new form, and set the form’s accept and cancel buttons to the button objects created earlier.
        form.Controls.AddRange(new Control[] { label, textBox, buttonOk, buttonCancel });
form.AcceptButton = buttonOk;
form.CancelButton = buttonCancel; -
Show the newly created dialog window to the user.
DialogResult dialogResult = form.ShowDialog(); -
Store the value that the user entered into the textbox. Return the result of the form, which would either be «Ok», or «Cancel», based on the button the user clicks on.
        value = textBox.Text;
return dialogResult;
How to Use the Input Dialog Box
To use the input dialog box, call the InputBox() function inside the dialogButton_Click() function. When the user clicks on the «Open Input Dialog» button, it will show the dialog box.
-
Inside the dialogButton_Click() function, create a variable to store the value that the user enters inside the text box. This value will come from the «value» out parameter.
string value = ""; -
Display the dialog box by calling the InputBox() function. Check if the user clicks on the «Ok» button, and if so, add some text onto the screen to display the response back to the user.
        if (InputBox("Dialog Box", "What is your name?", ref value) == DialogResult.OK)
{
    labelResponseInput.Visible = true;
    labelResponseInput.Text = "Your name: " + value;
}
How to View the Input Dialog Pop Up
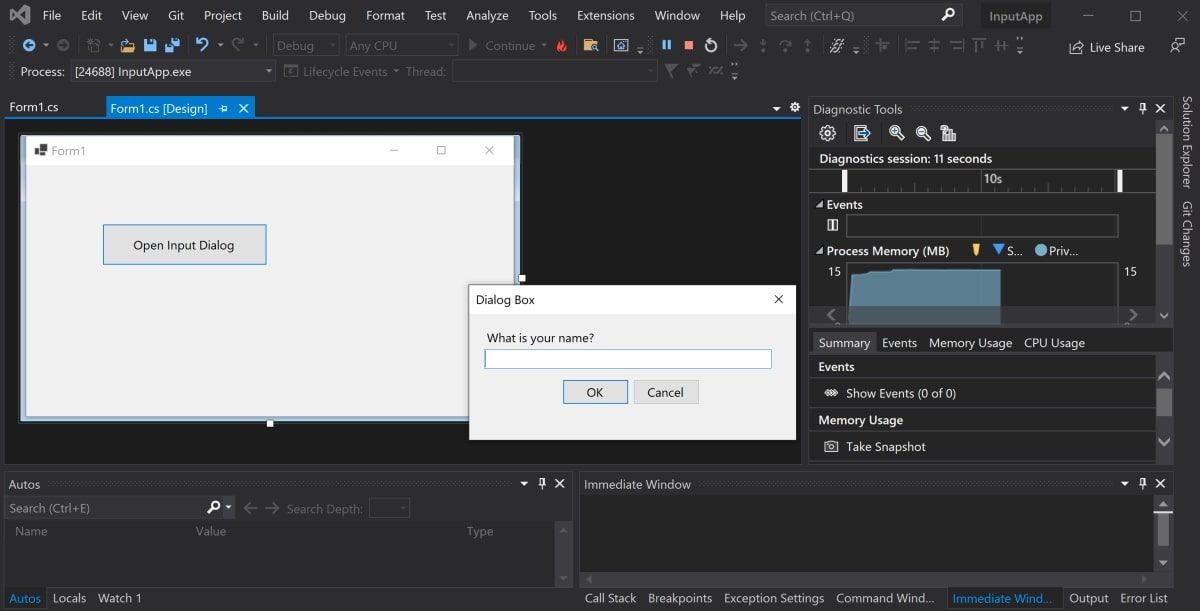
Run the application and trigger the dialog box.
-
Click on the green play button at the top of the Visual Studio window.

-
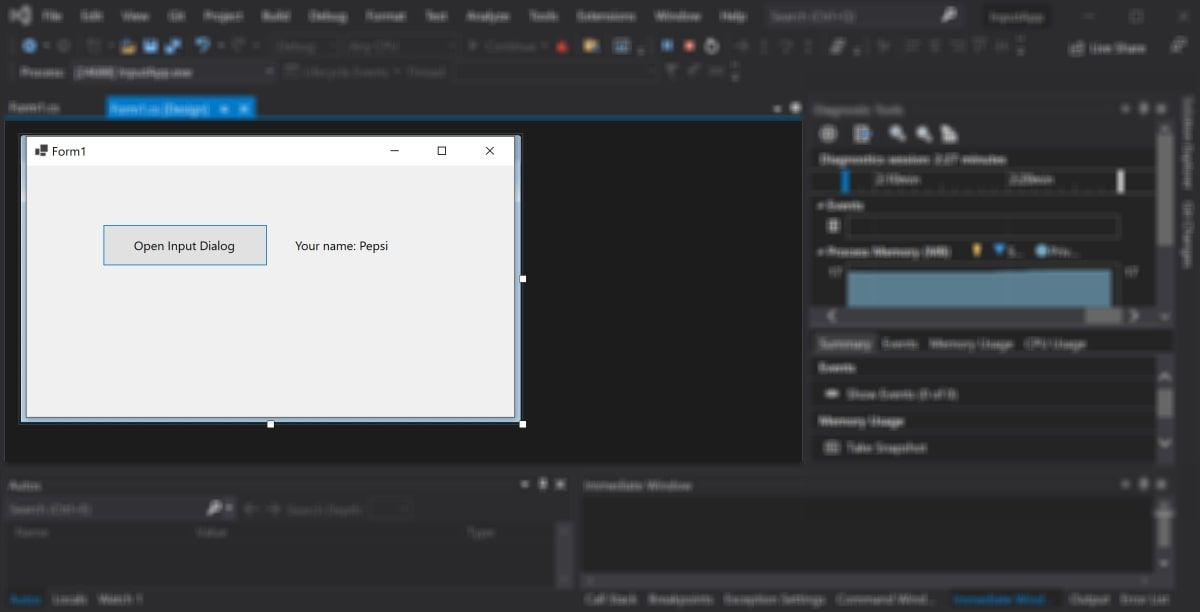
Click on the Open Input Dialog button to show the dialog box.

-
Enter a name into the text box and click on the OK button. The dialog box will close and display the results entered into the text box.

- Click on the Open Input Dialog button again to re-open the dialog box.
- Click on the Cancel button to close the dialog box. This cancels the dialog box without completing any actions or updating the UI.
Adding Content and UI Elements to Your Windows Forms Application
You can create input dialog boxes in a Windows Forms application, and display them to the user when certain events happen. You can create a new dialog window by creating a new form. You can then add new UI elements to it, such as labels, text boxes, or buttons.
Once the user has entered the required information, you can close the input box and store the information that they entered.
If you want to add more content to your UI or dialog box, you can explore how to add other UI elements. This includes elements such as shapes or images.