
Как прошить коммуникатор на базе Windows Phone 7
Скачаиваем нужную прошивку.
Официальные прошивки
I8700DTMJJ6 (пароль — samfirmware.com)
I8700XXJJ4
I8700XXJK1:
CSC: XENJK1 (пароль — samfirmware.com)
CSC: BSEJK1 (пароль — samfirmware.com)
CSC: DBTJK1
I8700XXKC1 XXKB2 (с NoDo)
I8700XXKH2(Mango)
I8700XXKH5 — Mango hotfile.com | FileShare.in.ua | iFolder.ru | Narod (за ссылки спасибо efanor) (пароль — samfirmware.com)
o Прошивка запакована в архив, вам необходимо его распаковать.
3. Mobile USB Drivers v5.2 — Mobile_USB_Drivers.exe ( 4.42 МБ ) Samsung WP7 Flash Program — Samsung_WP7_Flash_Program.exe ( 2.16 МБ )
4. Откройте на ПК Mobile USB Drivers и следуйте инструкциям на экране для установки драйверов.
5. Выключите коммуникатор.
6. Нажмите и удерживайте клавиши Увеличения громкости + Камера + Клавиша включения (отпустите кнопку Включения когда включится экран, но не отпускайте две другие клавиши).
7. Когда появится желтый треугольник, подождите 5 секунд и можете отпустить клавиши Увеличения громкости и Камеры.
8.
Подключите коммуникатор к ПК.
9. Откройте Samsung WP7 Flash Program. Приоткрытиивылезетошибка «Cannot Image File Please Try again» — нажмите Close Dialog.

10.Перетащите прошивочные файлы в окно программы Samsung WP7 Flash Program

11. Нажмите кнопку Start для старта процесса прошивки.
12. Процесс будет продолжаться около 20 минут. Не отключайте коммуникатор от ПК и не закрывайте Samsung WP7 Flash Program до окончания процесса прошивки.
Примечание: Как один из владельцев, могу описать проблему, с которой столкнулся при пользовании телефоном. Она касается невозможности перехода в режим загрузки (download mode) при версии загрузчика (bootloader version) 4.10.1.9. Как следствие возникает проблема с перепрошивкой, а значит «разбрендированием» операторских версий телефона. Решение проблемы — изготовление так называемого jig dongle, т.е. в micro-usb разъёме резистором на 301 КОм замыкаются ноги 4 и 5 после чего телефон автоматически переходит в режим загрузки и становится возможным перепрошивка.
Примечание 2:
Попробуйте еще вот эти прошивальщики —
http://www.multiupload.com/3OE4SYAGQA
http://www.mediafire.com/?eu2sw1k2wv2et9t
Попробуйте еще переустановить драйвера на устройство.
http://hotfile.com/dl/109276666/f22355e/SAMSUNG_USB.rar.html
Если и это не поможет, пробуйте прошить инженерную прошивку-
I8700XXKD1
I8700XXKH2
I8700XXKH5
Для инженерных прошивок (WP7_Engineer) использовать прошивальщик —
http://hotfile.com/dl/128925284/06d8378/WP7Engineer.zip.html
Просмотров: 10 495
CUSTOM ROM INFO
| Name | WindowsPhoneMod |
| Android Version | Android 2.3.7 GingerBread (CM 7.2) |
| Is this official? | No |
| Stability | Good enough for daily use. |
| Credits | TheRinseM |
Features
- Based on CyanogenMod 7.2
- Windows Phone 8 Home screen
- Windows 8 keyboard –> With sounds
- Windows Phone Theme
- Windows Phone music
- Windows Phone Messaging service
- Windows Phone lock screen
- Windows Phone Contacts
- Windows Phone dialer
- Windows Phone Calculator
- GAPPS included
WARNING!
Warranty may be void of your device if you follow the procedures given on this page.
You only are responsible for your device. We won’t be liable if any damage occurs to your device and/or its components.
GUIDE: SAMSUNG GALAXY ACE WINDOWSPHONEMOD ROM INSTALLATION
Before you begin with guide instructions below, make sure your android device is adequately charged — at least 50% battery of the device.
STEP 0: CHECK DEVICE MODEL NO.
To make sure your device is eligible with this, you must first confirm its model no. in ‘About device’ option under Settings.Another way to confirm model no. is by looking for it on the packaging box of your device. It must be GT-S5830!
Please know that this page is meant for Samsung Galaxy Ace only. Please DO NOT try the procedures given here on any other device of Samsung or any other company. You have been Warned!
STEP 1: BACKUP YOUR DEVICE
Back up important data and stuff before you start playing around here as there are chances you might lose your apps and app-data (app settings, game progress, etc.), and in rare case, files on the internal memory, too.
For help on Backup and Restore, check out our exclusive page on that linked right below.
► ANDROID BACK UP AND RESTORE GUIDE: APPS AND TIPS
STEP 2: INSTALL THE LATEST CWM/TWRP RECOVERY
Skip this step if you you already have latest version of CWM or TWRP recovery installed on your device.
Make sure that you’ve latest version of the recovery installed on your device.
STEP 3: INSTALLATION INSTRUCTIONS
DOWNLOADS
Download the files given below and transfer it to a separate folder on your PC and remember the location.
ROM FILE
DOWNLOAD LINK | File name: WindowsPhoneMod_Beta1-TheRinseM.zip (102.48 MB)
Be sure to transfer the ROM file you downloaded above to your phone and remember the location of the file.
You will need to flash them now on your device using either of ClockworkMod (CWM) or TWRP recovery.
We’ve got separate guide for CWM and TWRP recovery, so use the guide relevant to the recovery you have installed on your device.
GUIDE FOR CWM RECOVERY USERS
Example video: If you haven’t used CWM recovery before to install a .zip file of a ROM or anything else, then we suggest you first watch a video of that to get familiar with the process. Click here to watch the video
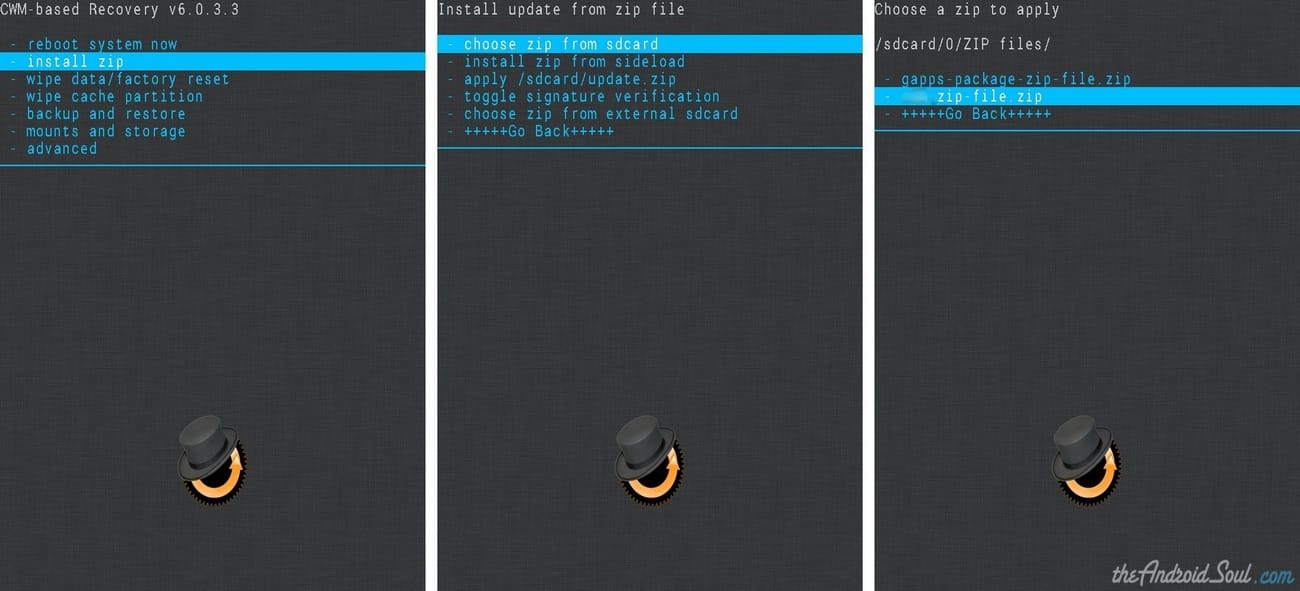
- Boot into recovery mode. If you’re rooted, the easiest way to boot into recovery mode would be using the QuickBoot app. If not rooted, then follow the instructions below:
- Power off your device and wait for 5-10 seconds until the device is fully switched off.
- Press and hold Volume Up + Home + Power button together and release them as soon as you see the Galaxy Ace logo.
└ In Recovery mode, use Volume buttons to navigate Up and Down between options and use Power button to select an option.
(For further help, Check out our exclusive page on Samsung Galaxy Ace Recovery Mode).
- Create a Nandroid Backup from recovery. It’s optional but very important to do, so that in case something goes wrong you can restore to current status easily. For making a Nandroid Backup, go to Backup And Restore » Backup.
- Perform a full clean-up of the device (This will delete all apps and their settings and game progress). For this:
- Select Wipe data/Factory reset, then select Yes on the next screen to confirm factory reset (screenshot).
- Select Wipe Cache Partition, then select Yes on the next screen to confirm wiping cache.
- Install the ROM file:
- Select Install zip » Choose zip from sdcard (or external sdcard, you know where your files are) » browse to the location where you saved the file and select the ROM file.

- Select Install zip » Choose zip from sdcard (or external sdcard, you know where your files are) » browse to the location where you saved the file and select the ROM file.
- Reboot your device. For this, go back to the main menu of recovery and select reboot system now.
That’s all. Your phone will now reboot and it will take some time as it’ll be phone’s first boot after installing installing the rom, be extremely excited for this!
Note: In case your device gets bootloop (stuck at logo while rebooting), just do a factory reset (step 3) and you will be fine.
GUIDE FOR TWRP RECOVERY USERS
- Boot into recovery mode. If you’re rooted, the easiest way to boot into recovery mode would be using the QuickBoot app. If not rooted, then follow the instructions below:
- Power off your device and wait for 5-10 seconds until the device is fully switched off.
- Press and hold Volume Up + Home + Power button together and release them as soon as you see the Galaxy Ace logo.
(For further help, Check out our exclusive page on Samsung Galaxy Ace Recovery Mode).
- Create a Nandroid Backup from recovery. It’s optional but very important to do, so that in case something goes wrong you can restore to current status easily. For making a Nandroid Backup, go to Backup » and select all check boxes and swipe on the Swipe to confirm option at the bottom of the screen to confirm backup.
- Perform a Factory Reset (this will delete all apps and their settings and game progress). For this:
- Tap on Wipe » then at the bottom of the screen do a Swipe on the ‘Swipe to factory reset‘ option (screenshot).
- Install the ROM file:
- Tap on Install » browse to the location where you saved the files and tap on the ROM file. Now at the bottom of the screen, do a swipe on the Swipe to confirm flash option to begin flashing.

- Tap on Install » browse to the location where you saved the files and tap on the ROM file. Now at the bottom of the screen, do a swipe on the Swipe to confirm flash option to begin flashing.
- Reboot your device. Go back to the main menu of recovery and tap on Reboot » then, tap on System to reboot your phone.

That’s all. Your phone will now reboot and it will take some time as it’ll be phone’s first boot after installing the rom, be extremely excited for this!
Note: In case your device gets bootloop (stuck at logo while rebooting), just do a factory reset (step 3) and you will be fine.
FEEDBACK US!
It was easy to install WindowsPhoneMod ROM, based on CM 7.2, right? Let us know how it is to your liking in comments below.
Your suggestions and queries, if any, are most welcomed!
Read Next
Subscribe to Newsletter
Join me on this exciting journey as we explore the boundless world of web design together.

Вчера вечером мы писали о том, что Samsung начали рассылать обновленную прошивку для Samsung ATIV S, которая исправляет баги с загрузчиком смартфона. После обновления прошивки вы сможете наконец поставить на смартфон свежее обновление Windows Phone 8.1, где в центре уведомлений появился переключатель передачи данных. Напомним, что до обновления загрузчика, обновление операционной системы вводило смартфон в циклическую перезагрузку, из-за чего Microsoft быстро отозвали апдейт для ATIV S. Хотя сейчас Microsoft все еще не рассылают обновления по Preview for Developers для ATIV S (видимо, Samsung еще не сообщили Microsoft о том, что профиксили неприятности), но есть безопасный способ по установке обновления уже сейчас.
Для начала, вам надо будет отредактировать реестр на вашем смартфоне. Для этого вам надо выполнить требуемые действия в этой инструцкии. Эта процедура несложная, но если вы не уверены в своих силах, лучше обойдите стороной обе статьи.
- Прежде чем начать, убеждаемся, что ваш смартфон обновлен до прошивки 2424.15.3.2. Как обновить, читаем вот здесь.
- Проверяем версию билда вашей операционной системы. Переходим в номеронабиратель и вводим ##634#. Запустится приложение Diagnosis. В нем вводим *#1234#.
- Убедитесь, что код вашего билда (строчка PDA) является DNI3. Если DNI4, вам придется перешить свой смартфон на другой билд.
- Если у вас пустые строчки и не отображается информация, создайте пустой текстовый файл с названием «Non-Production Errors.txt». Поместите его в папку с документами на смартфоне.
- Переходим в редактор реестра и переходим на следующие ветки: HKLM\SYSTEM\Platform\DeviceTargetingInfo.
- Меняем значение PhoneManufacturer с SAMSUNG на NOKIA.
- Меняем значение PhoneManufacturerModelName с GT-I8750 на RM-1090_1023.
- Сохраняем.
- Переходим в настройки телефона — обновления и скачиваем все апдейты. Устанавливаем их.
- После обновления заменяем измененные ключи на старые значения, это важно!

Если вы проделали все правильно и получили апдейт, в центре уведомлений вашего смартфона появится переключатель сотовой сети. Надеемся, Microsoft не станет затягивать с возобновлением рассылки обновления и пользователям не придется «танцевать с бубном» для получения свежих обновлений.
Кстати, после обновления загрузчика, пользователи смогли установить Windows 10 на ATIV S. В скором времени появится инструкция.
За предоставленный мануал мы премного благодарим Савелия Красовского.
Microsoft’s new mobile effort revolves around bringing the best of Windows 10 to Android and iOS. Now that Windows 10 Mobile is all but dead, it’s time to start embracing Microsoft’s new goal; making Android and iOS better for Windows users. Timeline, Cloud Clipboard and Continue on PC are all Windows 10 features that aim to tie your Android or iOS device to your PC further, and vice versa.
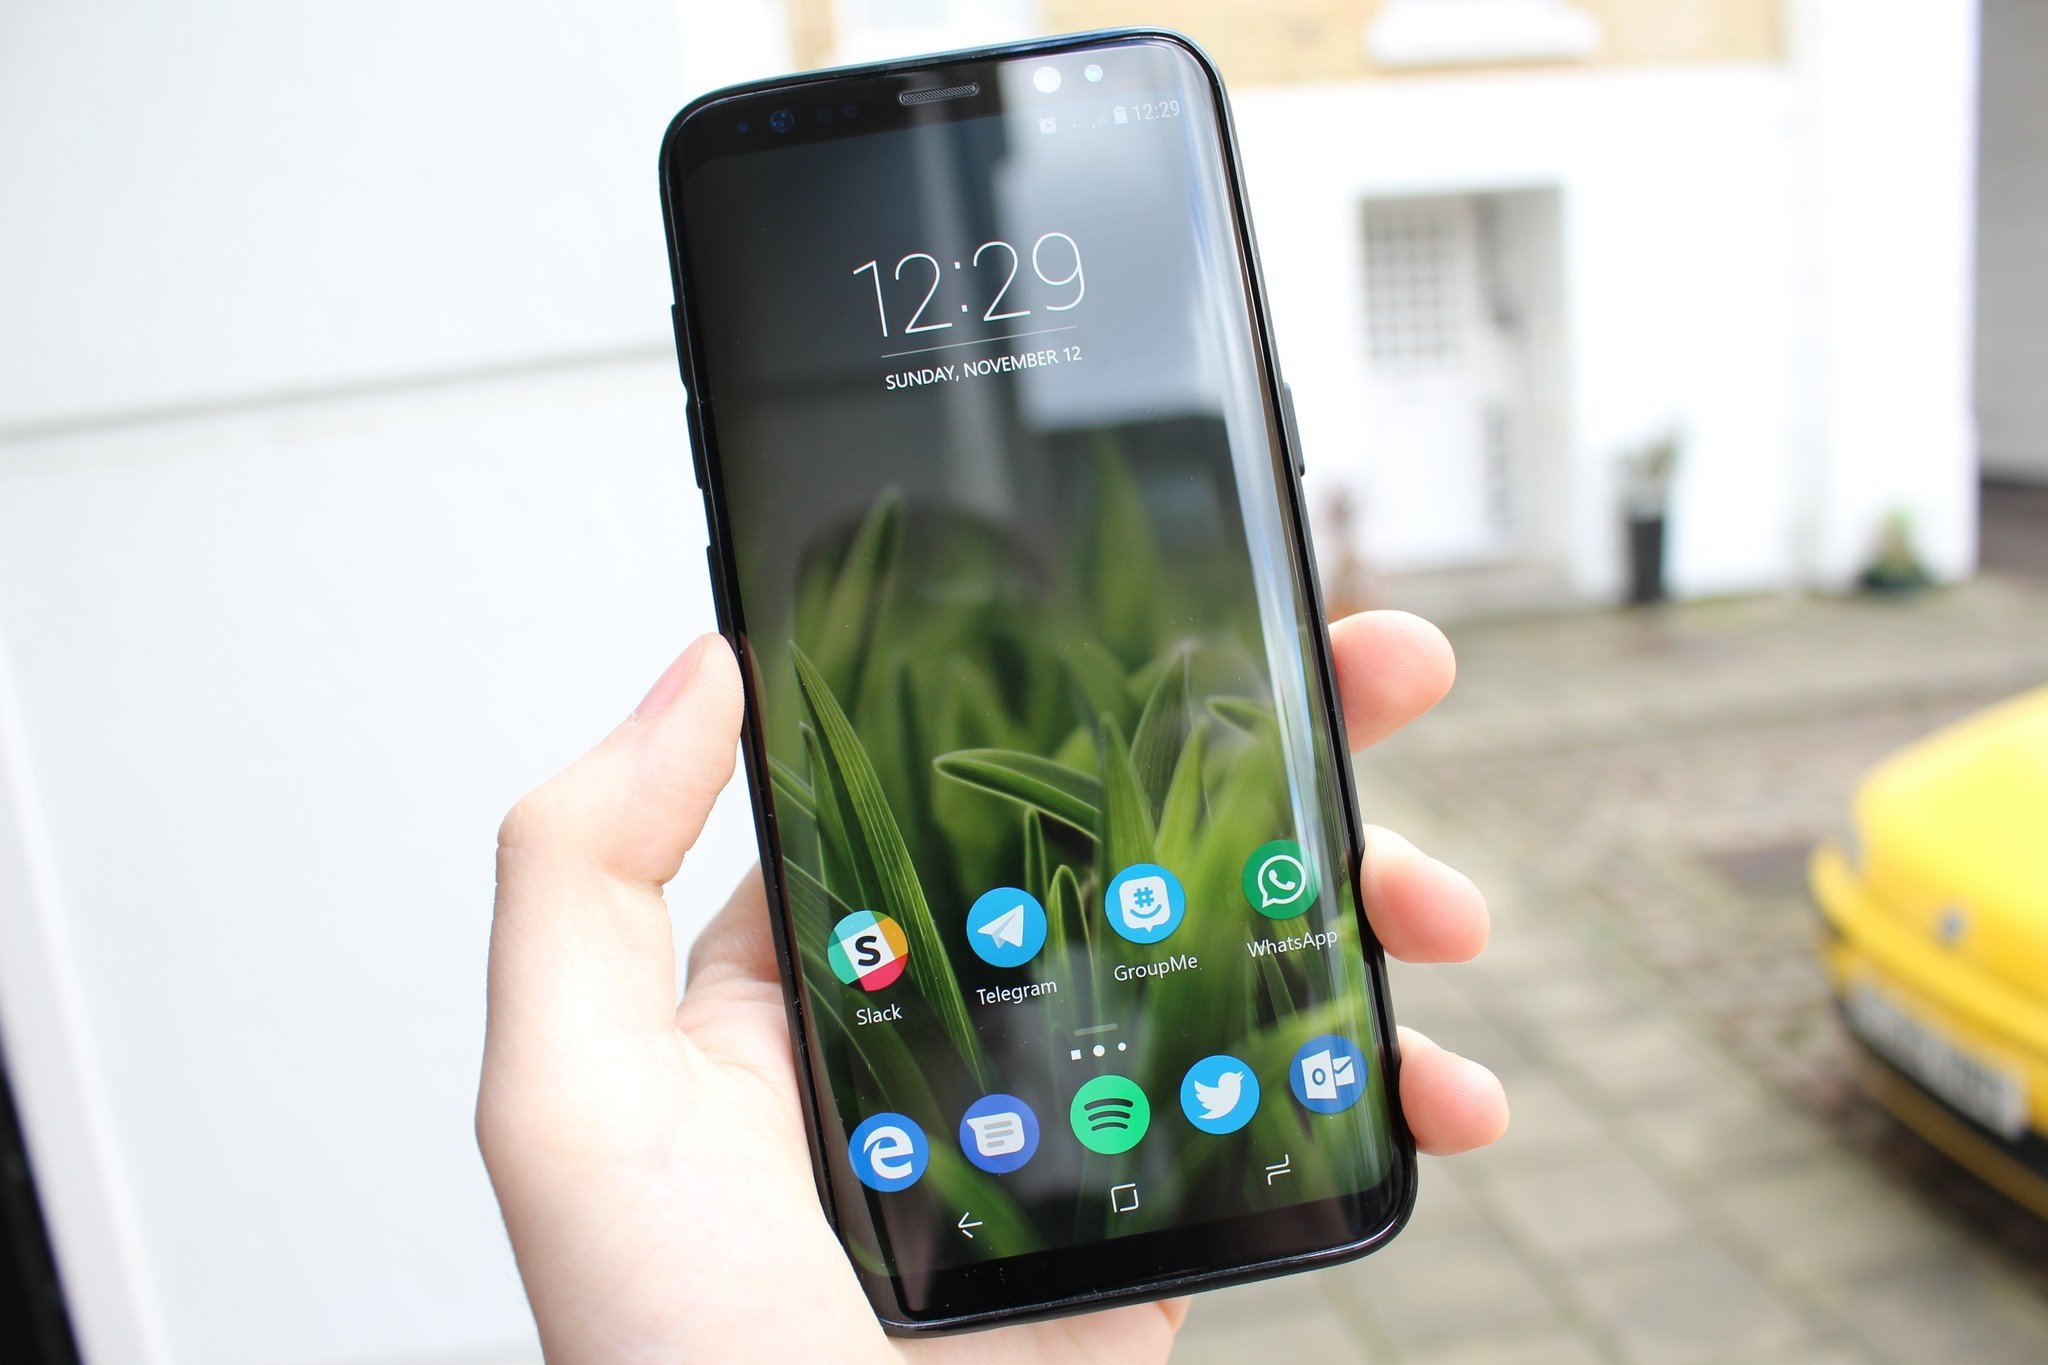
I recently went out and purchased a Samsung Galaxy S8 with the intention of turning it into my new Windows phone. Now, calling it a Windows phone isn’t entirely accurate since it’s not running Windows; so I like to call it a Microsoft phone. It’s a smartphone that’s loaded up with Microsoft software and services, and outside of live tiles and UWP apps, it has everything my Lumia Windows phone had, and that’s fantastic.
See Samsung Galaxy S8 at Amazon
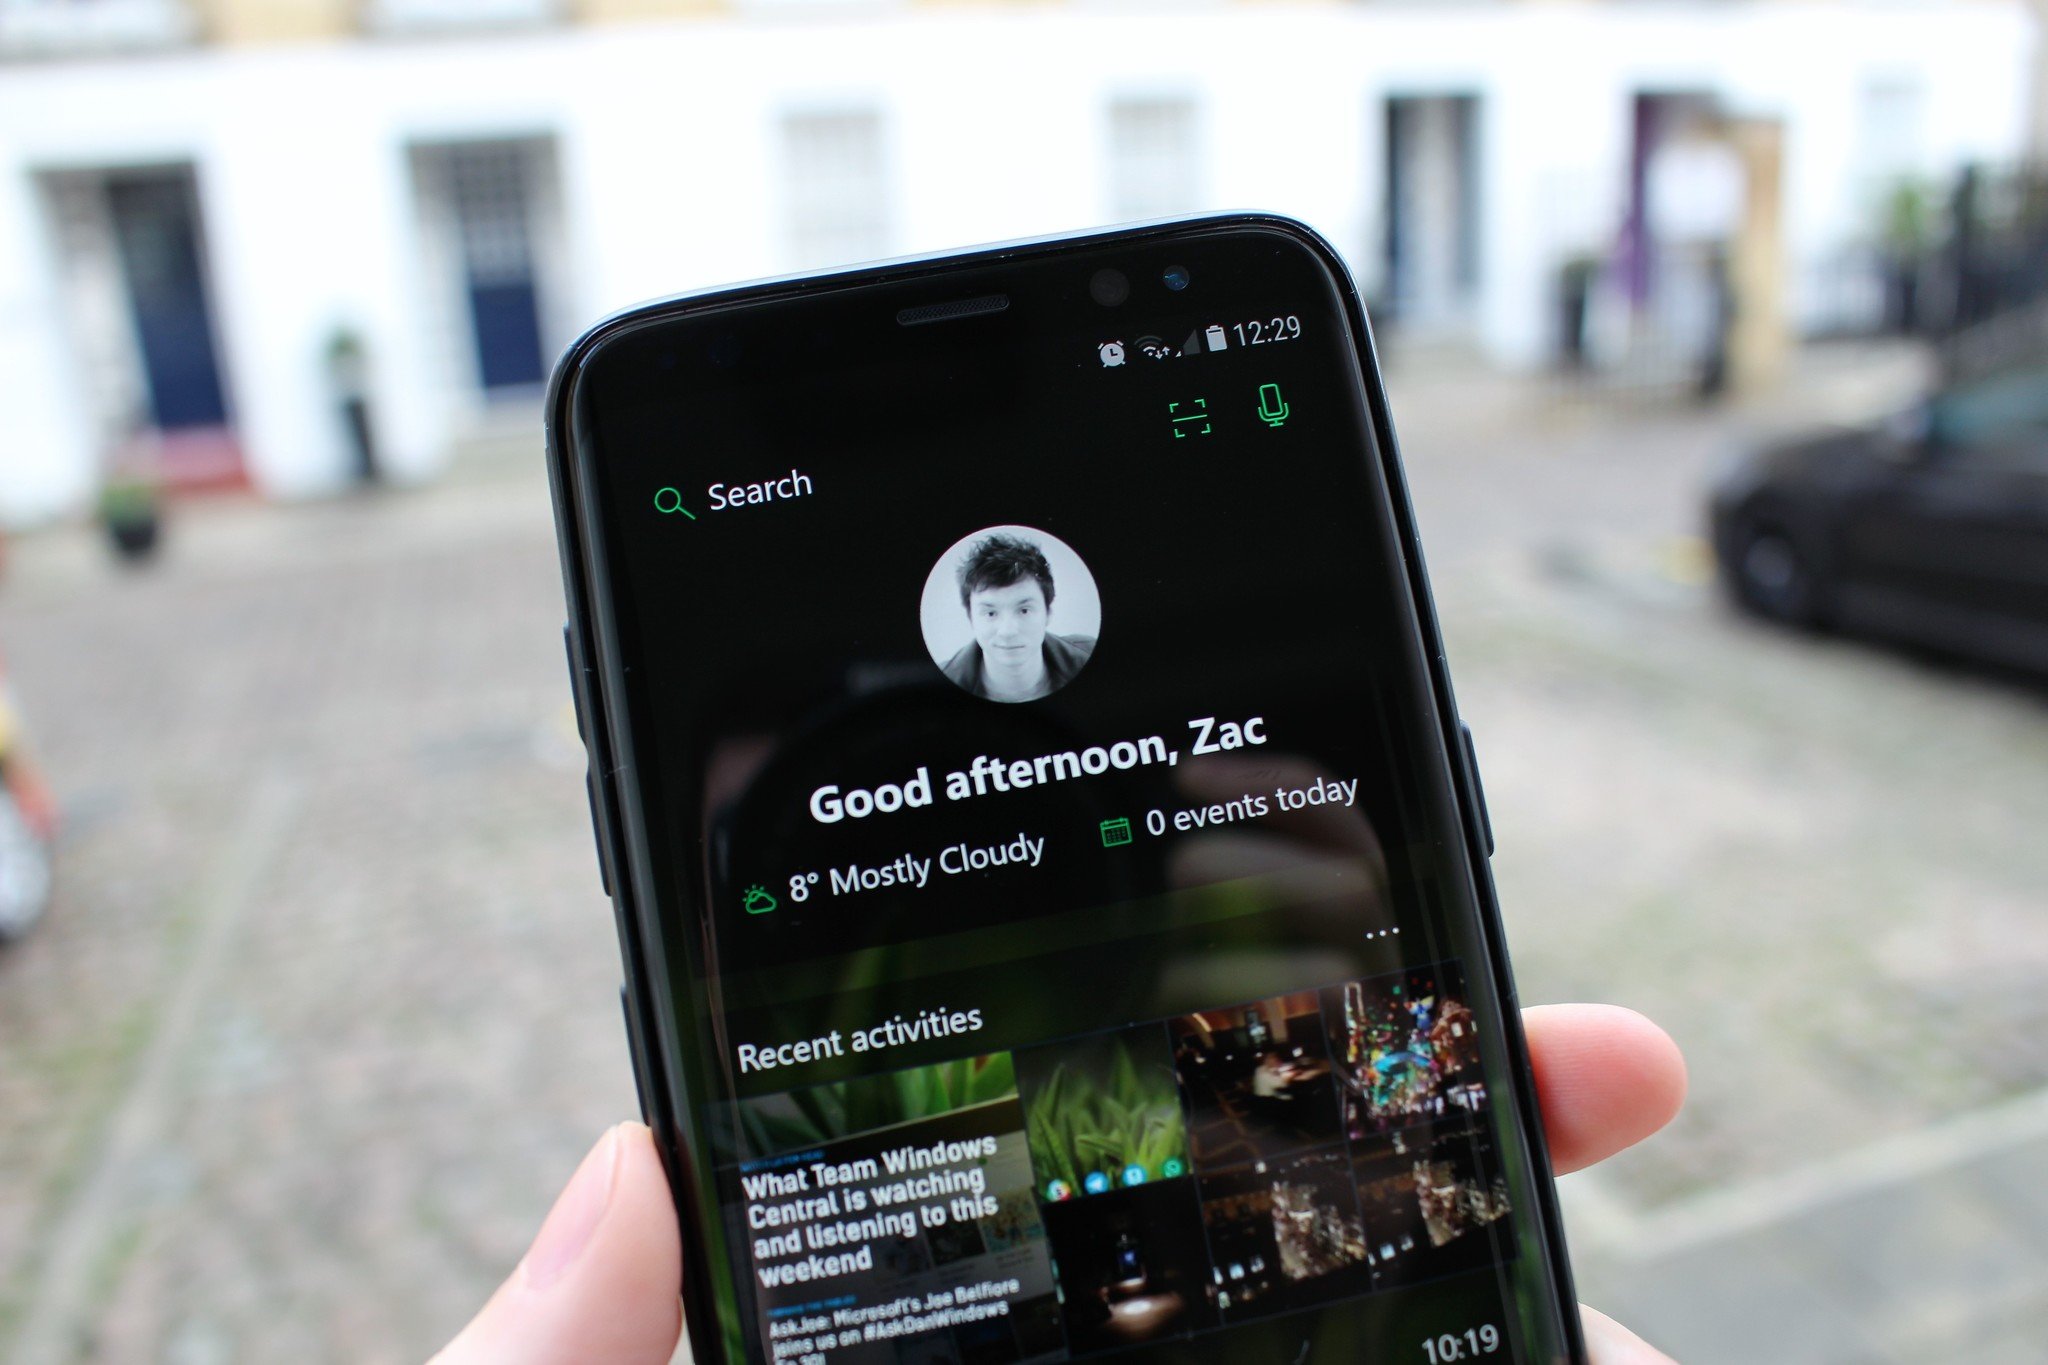
Microsoft has made switching from Windows phone to Android or iOS incredibly easy, so much so my Android phone feels even more connected to my Windows 10 PC than my Windows 10 Mobile device ever did. Things such as Microsoft’s own Android Launcher, Edge, Cortana, Outlook and OneDrive bring all the features and functions I need out of the Windows experience on my phone.
I’ve even reprogrammed the dedicated Bixby button to launch Cortana instead, using an app called bxActions. When I press the dedicated button, it launches the Cortana app. If I hold the button down, it takes me immediately to voice mode where I can say commands and have Cortana do things. It’s super handy having a dedicated Cortana button on the side, as it makes adding things like reminders or checking the weather super convenient.
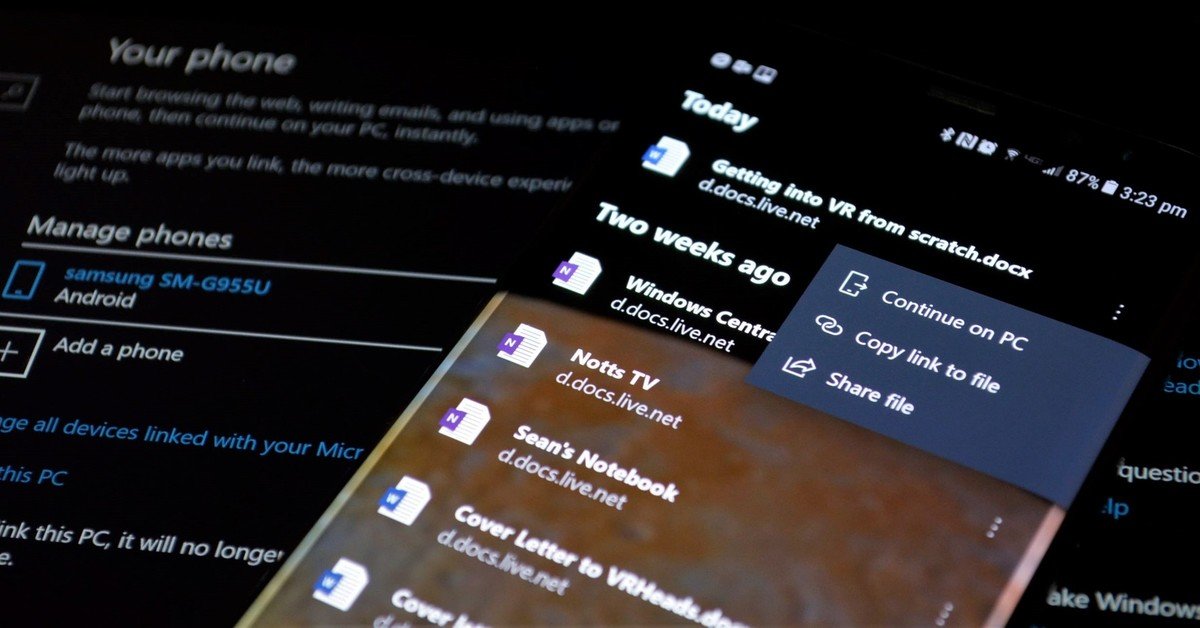
Using Edge on Android is a nice addition, as it syncs your bookmarks and form data across your PC and phone. I don’t care that it’s using the Chrome engine underneath, because I don’t have an issue with Chrome’s engine. I use Edge because it uses my Microsoft account to sync data, not because of the underlying engine. Being able to continue files and web pages on my PC from my phone is also super convenient, more so than I was originally expecting.
More to come
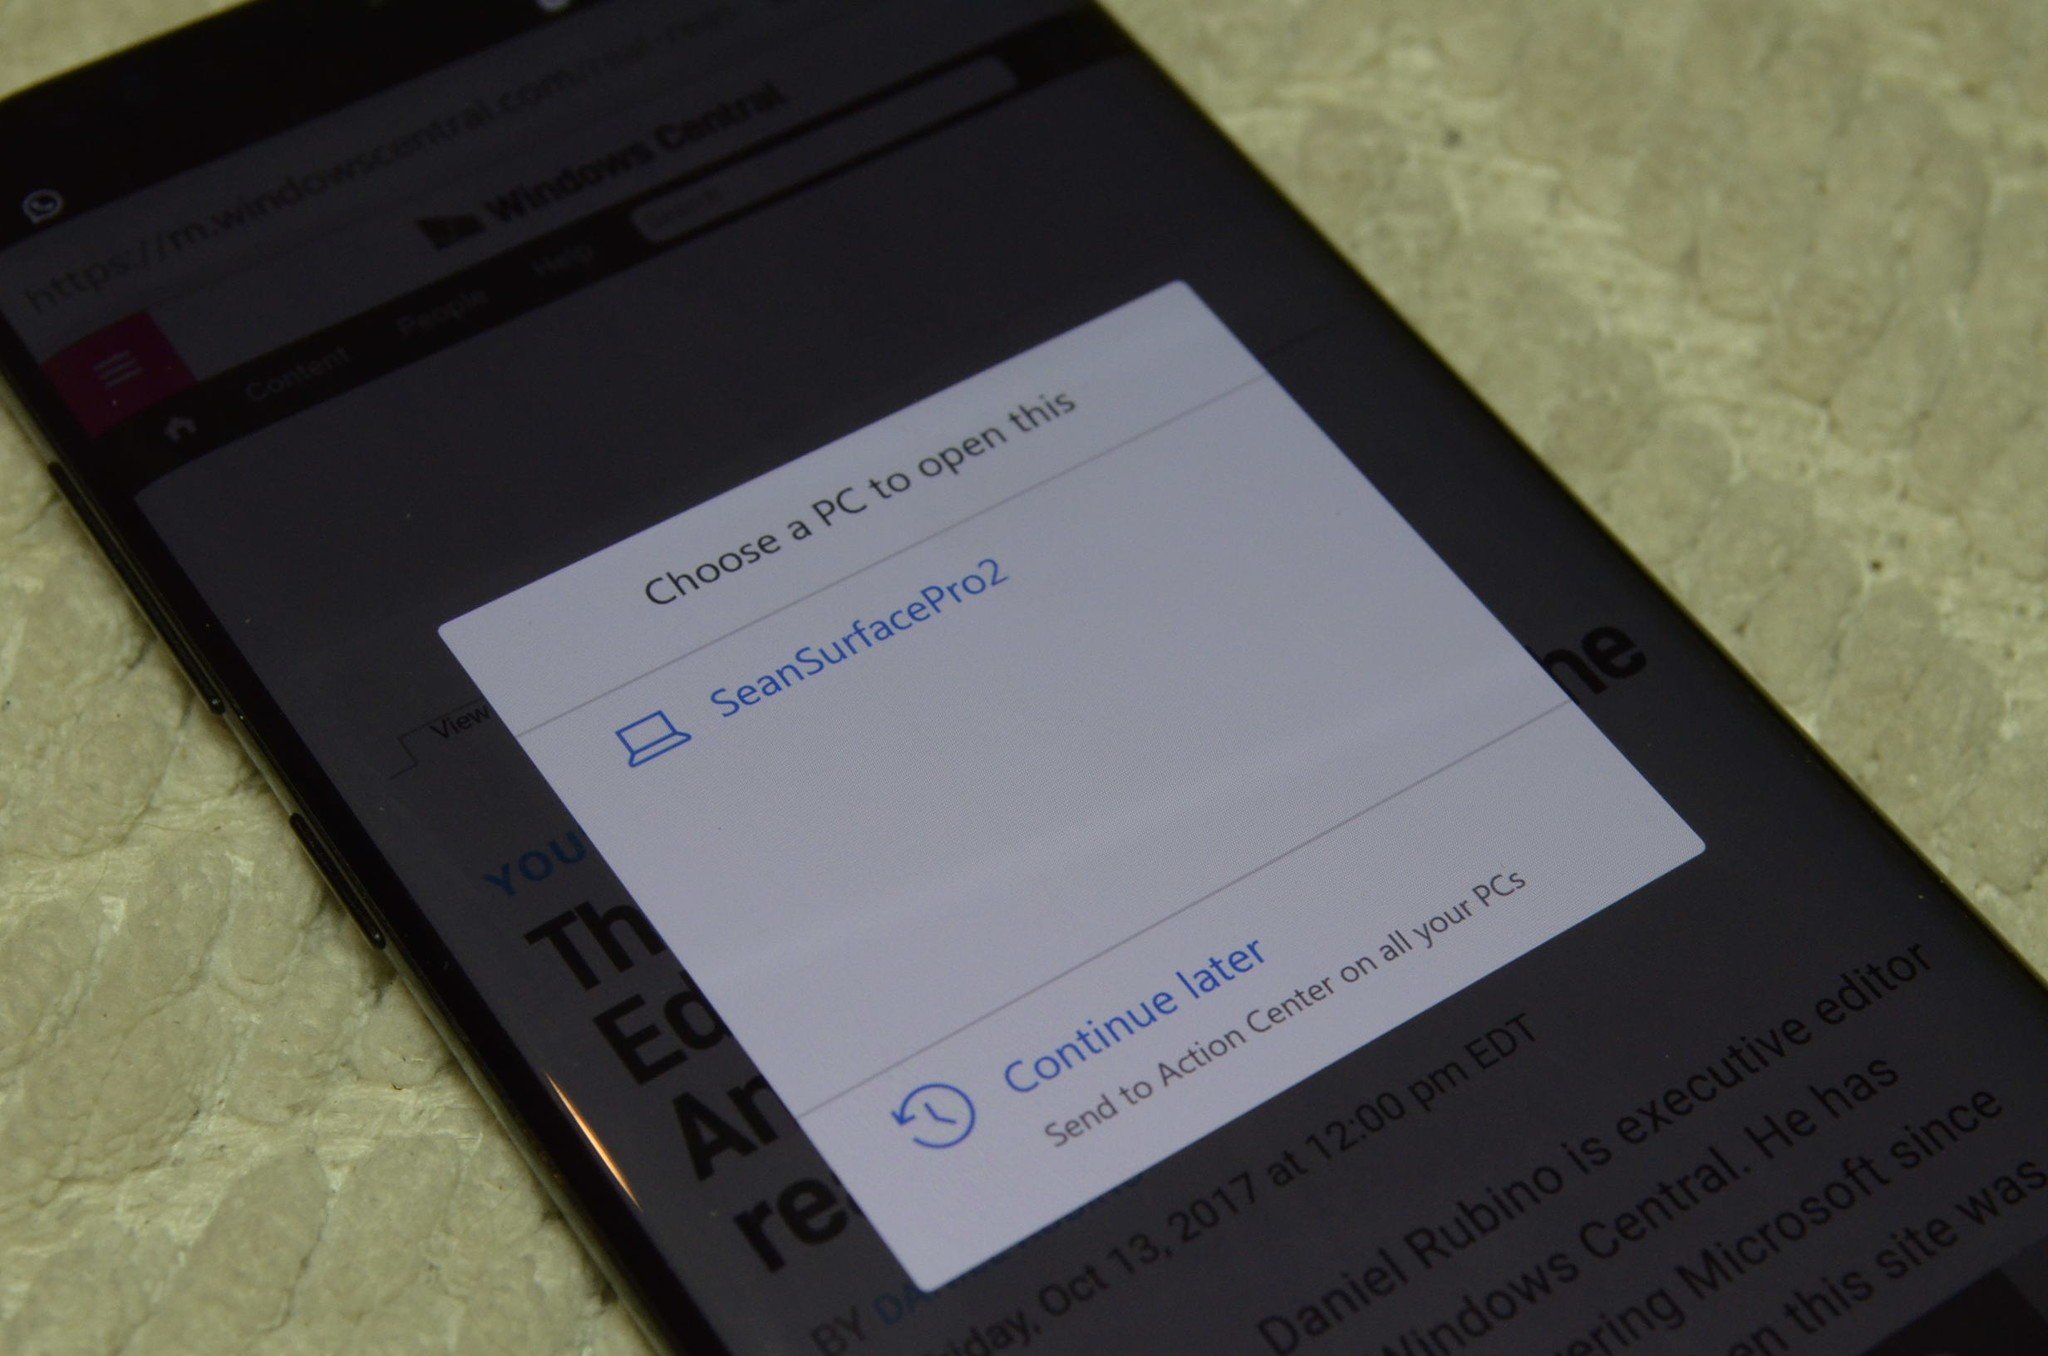
This will improve over time, too. With Timeline and Cloud Clipboard in Redstone 4, apps and things you copy will also be transferable across devices. Near Share is a new feature in the works for Windows 10 right now too, which will undoubtedly be coming to Android phones; allowing you to share files, photos and more instantly between your PC and phone directly from the Share UI on Windows 10.
All the latest news, reviews, and guides for Windows and Xbox diehards.
The only things I need from Microsoft to complete my Microsoft experience is a dedicated Phone and SMS app. Once I’m able to make cellular calls or send SMS texts from a dedicated app on my PC and phone that sync that data across devices, my Microsoft smartphone experience will be complete. It’d also be nice to see a Movies & TV app on Android or iOS, but that’s not a priority for me.
The beauty of Android is that it’s an open platform. Sure, most Android phones come bundled with Google services, which isn’t ideal if you’re someone who isn’t into Google’s ecosystem; but the good news is you can essentially replace all of that with Microsoft’s own offerings. You can set Edge as your default web browser, Microsoft’s Launcher as your default home experience, OneDrive as your photos cloud backup solution, Outlook as your default email and calendar client, and more.
You can also download package disablers, which I don’t actually recommend unless you know what you’re doing. Package disablers allow you to disable some software and services that Google and OEMs bundle onto Android devices. For example, I used a package disabler to disable some of the things Samsung includes on the Galaxy S8, including Samsung Cloud, TouchWiz, Bixby and even Samsung’s built-in keyboard. I don’t want or use Samsung’s services. Of course, most people, even Microsoft users, won’t want to disable these.
I also personally like to disable pretty much everything Google on my Android, outside of Google Play Services and the Play Store. I disabled everything from Chrome to the Google Assistant, as Microsoft offers alternatives in that regard. If Microsoft has an app that does something Google or Samsung offers, then I’m absolutely going to be disabling the Google and Samsung offering in favor of Microsoft’s.
Windows 10 Mobile is no longer the best choice for Microsoft fans
If you’re still using Windows 10 Mobile because you think Windows phone still offers the optimal «Microsoft» experience, it’s time to re-evaluate that thought process. Microsoft has put so much work into making Android and iOS ‘the’ platforms for Microsoft software and services on mobile that Windows 10 Mobile simply doesn’t hold a candle to the integrations and features Microsoft apps have on other platforms anymore.
Redstone 4 will see this trend continue. Microsoft is building features into Windows 10 on PC that tie directly into the apps and services available on iOS and Android. This is not something that is happening on Windows 10 Mobile. As we have reported in the past, Microsoft is leaving Windows 10 Mobile behind with feature2, with no new features in development. Windows 10 Mobile doesn’t have an ecosystem to support it anymore.
Sure, Windows 10 Mobile still works today, and it will continue to work for a long time. However, Microsoft isn’t going to be building experiences that benefit Windows 10 Mobile and PC integration anymore. That focus is now on Android and iOS, and that’s incredibly exciting. If you’ve decided to remain on Windows phone, just know that your tight integration between your PC and phone is now matched on rival platforms, and will quickly find that over time, Android and iOS phones will have better integration compared to what Windows 10 Mobile can offer.
Zac Bowden is a Senior Editor at Windows Central. Bringing you exclusive coverage into the world of Windows on PCs, tablets, phones, and more. Also an avid collector of rare Microsoft prototype devices! Keep in touch on Twitter and Threads
There are two apps that are available (Super 8 and Galaxy S5+) to Change the UI of a Windows phone into Android Phone. Galaxy S5+ App turns your Windows UI into Samsung S5 like UI.
Please Note : This won’t install Android OS or Change anything in your Windows phone other than Changing the basic Windows UI to Android UI.
Super 8 has more than 50 tools and shortcuts. You can pin tools to start screen, and you can use your photos the tile. It’s cool, handy, and interesting. Have a try, you’ll love it. For more details and watch Super 8 Working in the Video How to convert Windows Phone to Android below…
Apps Facebook, Whatsapp, twitter, Vine, Youtube, Waze, Nokia MixRadio, WeChat, Super Tool, Music Player, Recorder, Photo Tales, Cool Light, iMoney, Photo Tile, Sticky note, Bing sports, Bing search, 6tag, QQ, bing weather, Groupon, App Social, Lync ,iJobs, iMirror, Android theme, adidas miCoach,
Plans 2.handy tools messaging,IE browser, flashlight, stop music, music timer, calendar, alarm, stopwatch, countdown, write email, phone info, wallet 3.settings: Wi-Fi, screen rotation, battery saver, Bluetooth, cellular, airplane mode, email+account, lock screen, location.
The Galaxy S5+ is much more than a simple Android emulator, it’s a world of applications, games and social! You can have fun with more than 85 icons. All you have to do is to register yourself and start enjoy this wonderful app! Protect access to Galaxy S5+ with the new PASSWORD feature. you can set your PASSWORD in settings area! Personalize your Galaxy S5+ background selecting from hundreds of wonderful pictures. To Know more Watch the Videos. Watch Galaxy S5+ in action in the Video below on How to convert Windows Phone to Android.
Just wanted to let you know that We’ve launched YouTube Channel where we upload awesome video content. Make sure you hit the subscribe button to stay up to date with the new videos we upload every week. This was all about on How to convert Windows Phone to Android and to watch more Video Tutorials Please visit our Youtube Channel and Subscribe us.