
GamingServices.exe and GamingServicesNet.exe are parts of what make gaming with Xbox on Windows 11 and Windows 10 work. They are responsible for all the tasks from getting your games onto your computer and keeping them running properly, specifically those you download from the Microsoft Store or Xbox app.
Also see: How to remove Xbox Game Bar from Windows 11
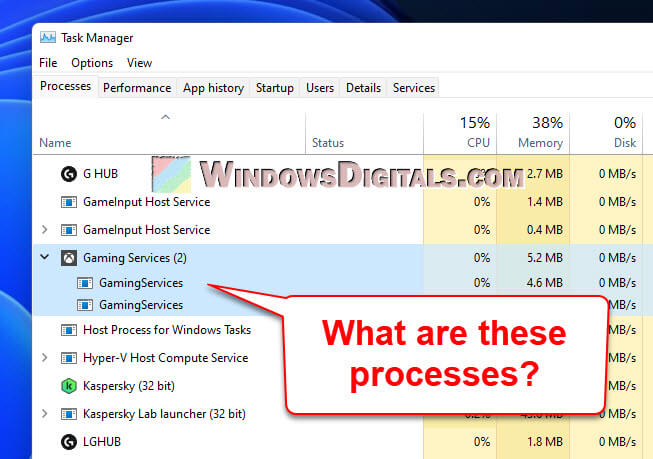
Gaming services in Windows 11 or 10
Think of GamingServices.exe and GamingServicesNet.exe as the backstage crew for Microsoft’s gaming show on Windows. They’re there to make sure your games are set up right, well updated, and that you have all the game-related features you want.
GamingServices.exe
GamingServices.exe is like a game manager for Windows, making sure your games from the Microsoft Store and Xbox app are installed and up-to-date. If it wasn’t around, you might have trouble getting your games to start or update properly.
GamingServicesNet.exe
And GamingServicesNet.exe looks after the online side of things, helping your online multiplayer games run without issues, managing streaming, and syncing your game saves onto the cloud.
Useful tip: How to know which app is using the internet in Windows 11
Locating GamingServices.exe and GamingServicesNet.exe
Knowing if these processes are running is easy using Task Manager:
- Right-click on the taskbar and pick “Task Manager”.
- Hit the “Details” tab.
- Look down the list for
GamingServices.exeandGamingServicesNet.exe.
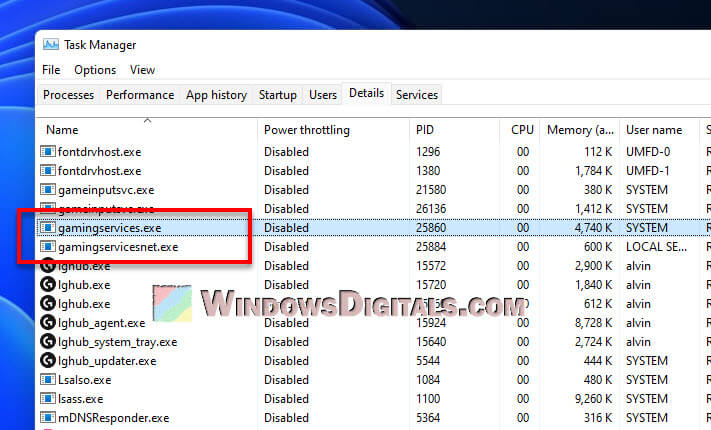
These processes should be running if you’re on Windows 10 or 11, especially if you’ve got games from the Xbox app installed.
Related resource: How to delete a service in Windows 11 or 10 using CMD
Is GamingServices.exe a virus?
Normally, GamingServices.exe and GamingServicesNet.exe are legit and safe. But it’s still important to check they’re the real deal and not bad software in disguise.
Follow the steps below to check where these files are located:
- Open “Task Manager” the way you did before.
- Hit the “Details” tab again.
- Find
GamingServices.exeorGamingServicesNet.exe, right-click, and choose “Open file location”.
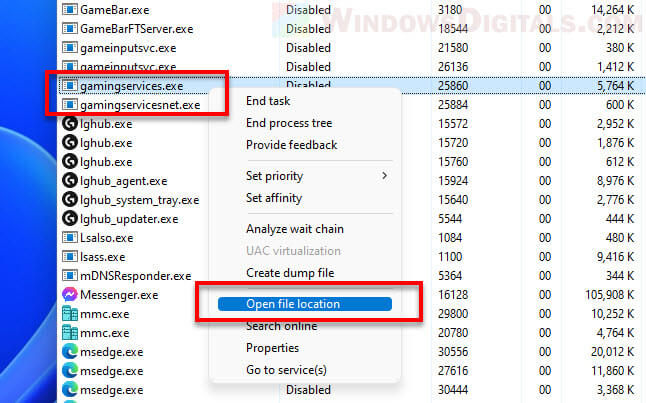
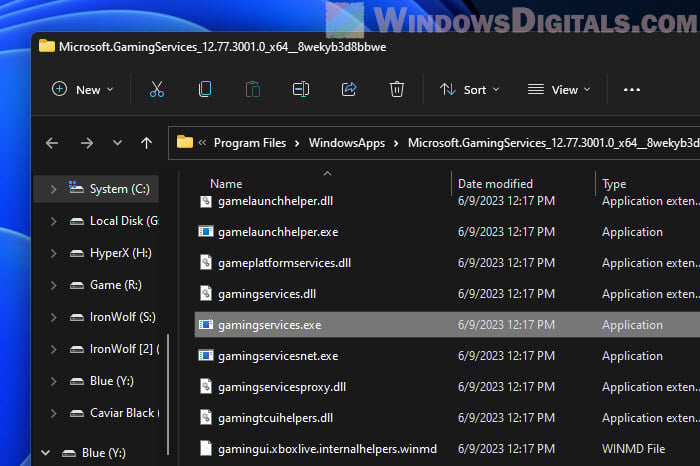
If they’re not in C:\Program Files\WindowsApps\Microsoft.GamingServices_..., something might be up. And, running a virus scan every so often is a common practice to keep malware away from your PC.
Pro tip: 30+ Windows 11 services to disable for better performance
Potential issues and solutions
Even though these processes are usually quiet, sometimes they might cause issue. The following are some common issues and how to fix them:
Gaming services high CPU or disk usage
If your computer is slowing down because these services are working too hard and consuming too much CPU and disk resources, especially during game updates, try restarting the service:
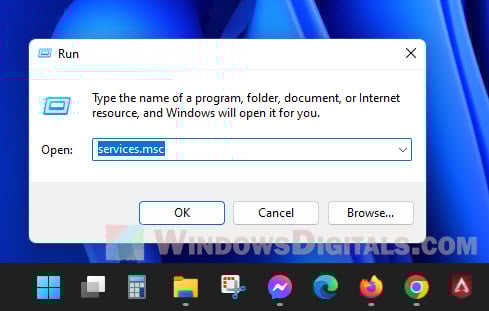
- Hit Win + R, type “services.msc”, and press Enter.

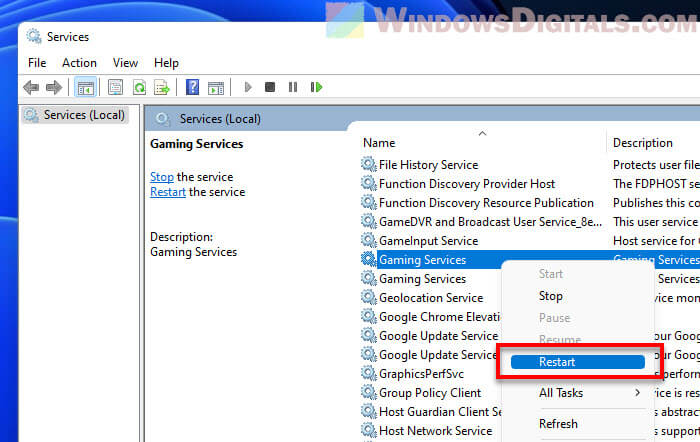
- Scroll to “GamingServices”, right-click it, and click “Restart”.

Linked issue: High CPU usage after Windows 11/10 update (Fix)
Failure to launch games
If you can’t get a Xbox or MS Store game to start correctly, It might be a random problem with the Gaming Services. Try the following steps to fix it:
- Press Win + i to open Settings.
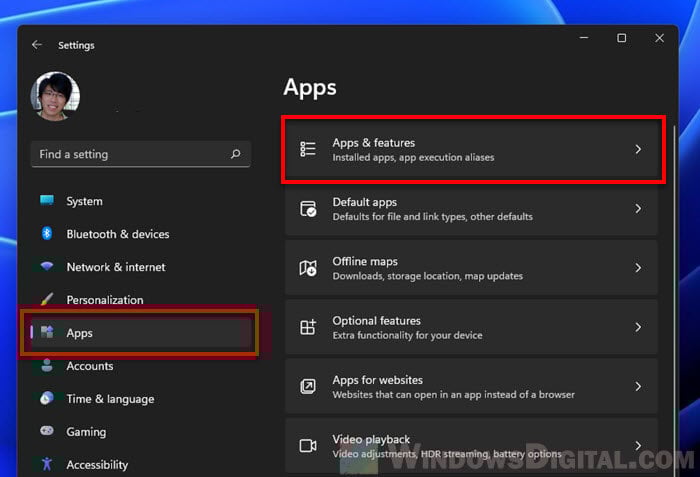
- Go to “Apps” then “Apps & features”.

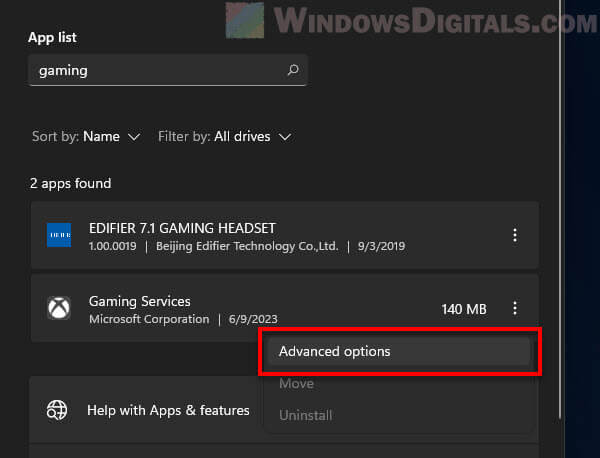
- Find “Gaming Services” in the list. Use the search bar to find it fast. Click the menu next to it and choose “Advanced options“.

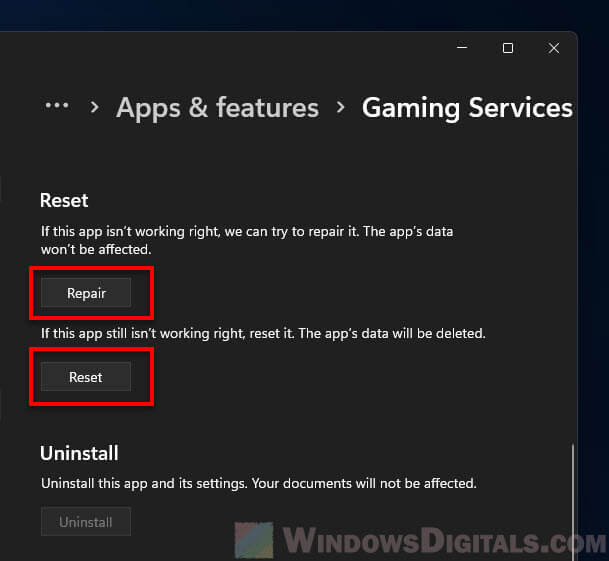
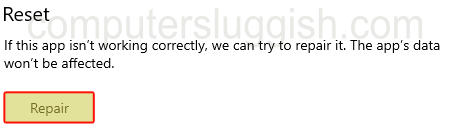
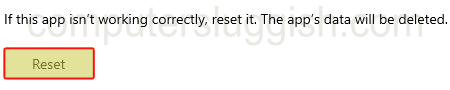
- Hit “Repair” to let Windows try fixing it. If your game still won’t start, hit “Reset“.

Similar problem: Xbox PC Game Pass stuck on syncing data in Windows 11
How to disable or uninstall GamingServices.exe
While GamingServices.exe and GamingServicesNet.exe are important for Xbox games on Windows, there might be times you want to turn them off. But, it’s not as simple as you’d hope. The system protects them because they’re so important.
For example, trying to stop them from starting up via services.msc won’t work; the option is greyed out. And, you can’t just uninstall Gaming Services the regular way either.

However, you can use PowerShell to remove them, though be aware this might affect your ability to play games from the Microsoft Store or Xbox app. Follow the steps below to do it:
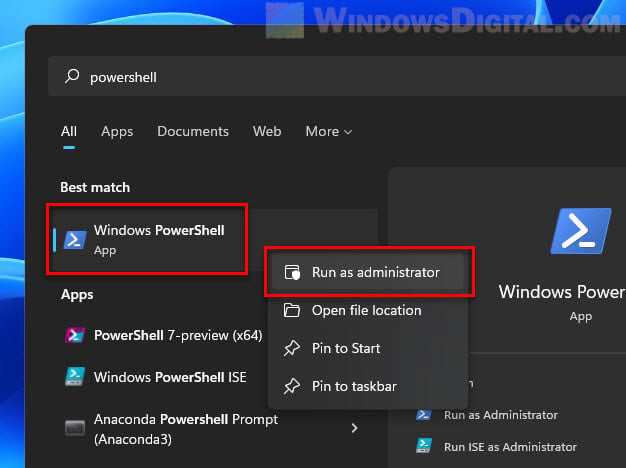
- Open the Start menu, type “PowerShell”, right-click “Windows PowerShell” and pick “Run as administrator”.

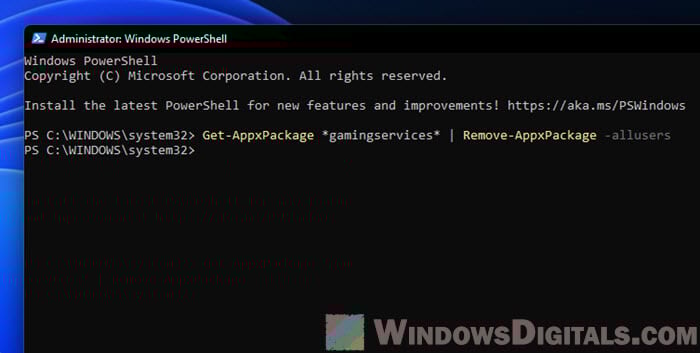
- Type the following and press Enter after each line:
Get-AppxPackage *gamingservices* | Remove-AppxPackage -allusers

- Restart your computer to finish.
Check Task Manager under Services after rebooting. Gaming Services should be gone.
If you change your mind, installing any game from the Microsoft Store or Xbox app will bring Gaming Services back.
What have we learned?
GamingServices.exe and GamingServicesNet.exe are both very crucial processes if you do play games through the Xbox app or Microsoft Store on Windows 11 and 10. They are responsible for things like game installations, updates, and network stuff for games from the Microsoft Store and Xbox app.
While usually, they don’t cause issue, they can sometimes make your computer slow or not let games start right. Fixing these issues can be as simple as restarting or resetting the service. And, even though they’re safe, always keep an eye out for imposters pretending to be these services (just scan the files when in doubt).
Disabling them is possible but think twice before you do so, as it could break your games and cause issues with them. If you know what you’re doing and you really need to disable them, the steps above can help you out. Just be ready for the effects it might have on your games.
In this guide, we will be taking a look at fixing Microsoft gaming services in Windows. Have you tried to play a game from the Microsoft Store or perhaps you have installed a game using the Xbox app in Windows 10 or Windows 11, and are not able to launch any games? You may keep getting a message saying “gaming services is missing“, or you are just getting an error code. Don’t worry as there are a few things that you can do that should fix Windows gaming services on your PC or laptop.
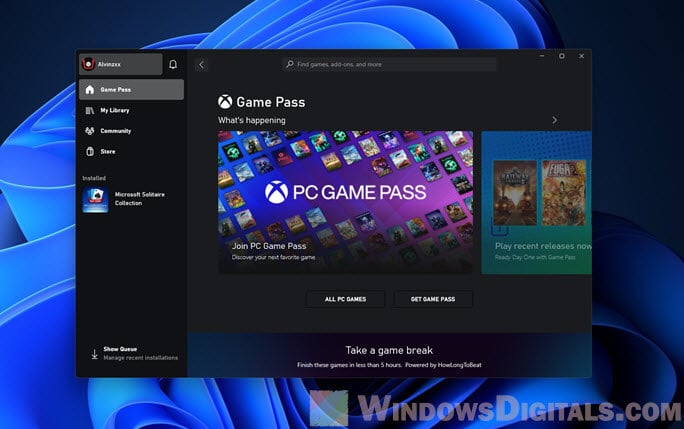
There are many games in the Microsoft Store and the Xbox app, including games from your Xbox subscriptions such as Game Pass. But a lot of these require the Gaming Services to be running in Windows to be able to play them. And if there is an issue then you will not be able to play the game until it’s resolved.
So we have put together a few different methods below that you can try, to hopefully fix the gaming service so you can get back to playing the game again.
Why is my gaming services app not working?
There can be many reasons why your gaming services app is not working in Windows 10 or Windows 11. It could be due to it being missing as it’s not installed in Windows, one of the gaming services might have run into an error, or something has gone wrong with the gaming services files so it needs reinstalling.

How to fix Microsoft Gaming Services in Windows
Below are the different methods for fixing Microsoft Gaming Services not working on Windows. You will need to do each method until one resolves the issue you are having.
Fix 1: Install Gaming Services
If you have not got the Gaming Services installed in Windows then you are going to have problems trying to play some of the games in the Microsoft Store and Xbox app. but luckily we can manually install it:
- To install the Gaming Services in Windows first you need to go to the following link: Gaming Services download link
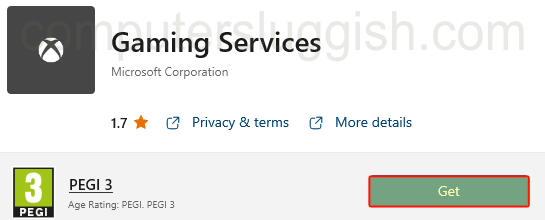
- Once you have opened the link above click “Get in Store app“
- The Microsoft Store should now be open and you will be able to click Get > This will begin to install the Gaming Services to your computer
Fix 2: Update Microsoft Store apps
If you have not updated all the apps within the Microsoft Store in a while then there could be a new update available for Gaming Services:
- Open the Start menu and search Microsoft Store
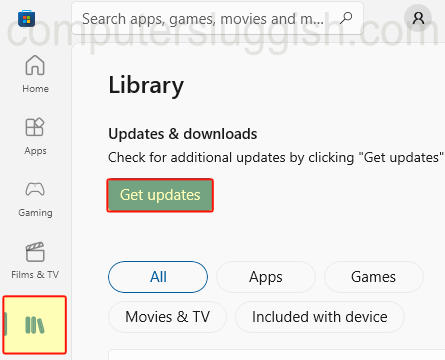
- Select the Library icon
- Now click the Get updates button > This will then update all the apps within the Store
Fix 3: Update Windows
It’s important to ensure you have the newest Windows version installed on your computer. This can be for security reasons, but also because there could be an update that fixes the issue that you are facing.
Windows 10:

- Right-click the start menu > Settings
- Go to Update and security > “Check for updates“
Windows 11:
- Open Settings by right-clicking on the start menu icon
- Select Windows Update and then click on the “Check for updates” button

Fix 4: Start Gaming Service
The services might not be running and if this is the case then you are going to get all sorts of error messages:
- Right-click on the start menu icon and select Task Manager
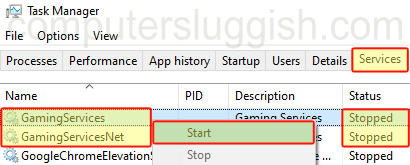
- Now click the Services tab
- Find GamingServices and GamingServicesNet
- If the Status says Stopped then right-click on each service and click Start
Fix 5: Repair Gaming Service
If there is an issue with something with the Gaming Service configuration itself, then doing a repair could resolve this:
- Right-click the Start menu and select Apps and Features
- Now search for Gaming Services
- Next click Terminate
- Then under Reset, you will see a Repair button which you need to click
Fix 6: Reset Gaming Service
Same as the above if there is something going on with the Gaming Service then doing a reset could also help:
- Right-click the Start menu and select Apps and Features
- Now search for Gaming Services
- Next click Terminate
- Click on Reset
Fix 7: App permission
By default, the app permission for the Gaming Service is set to Power optimised, so try changing it to Always:
- Right-click the Start menu and select Apps and Features
- Now search for Gaming Services
- Click on Advanced Options
- Under “Background apps permissions” select the drop-down and change to Always
Fix 8: Uninstall Gaming Service
If none of the above methods have helped then uninstalling the Gaming Service from Windows and then installing it again should do the trick:
- Open the Start menu and search Windows PowerShell
- Right-click on Windows PowerShell and select Run as an administrator
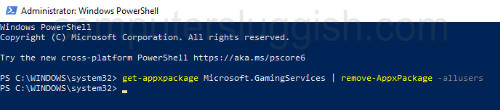
- Now copy and paste the following code into PowerShell and press Enter to remove Gaming Services from Windows:
get-appxpackage Microsoft.GamingServices | remove-AppxPackage -allusers- Once removed reinstall the Gaming Services to Windows again (As explained in Fix 1)
We hope the above methods have helped fix the gaming service on your Windows computer and that you are now able to jump back into your games and enjoy them. Especially if you are doing the Xbox pay monthly, as you will want to get your money’s worth!
If you found this guide helpful then we are sure you would like some of our other Windows guides.
Check out the video tutorial here on How to fix Windows gaming services if you are getting stuck.
Check out our latest guides:
Readers help support Windows Report. We may get a commission if you buy through our links.
Read our disclosure page to find out how can you help Windows Report sustain the editorial team. Read more
It seems like Microsoft is making significant efforts toward improving gaming on Windows 10. Social media users nowadays can now download the Xbox Gaming Services app on the Microsoft Store.
The app is rumored to be released as a part of the new gaming features that are currently being tested by Microsoft in new Insider builds.
What is the Xbox Gaming Services app?
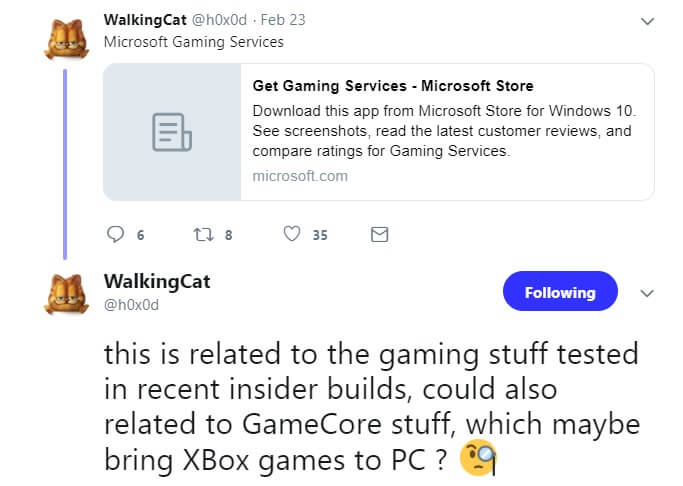
The Gaming Services app was initially spotted by a Twitter user, you can find this one as a free application under utilities and tools.
The Twitter user also stated that the Game Services app has been introduced as a part of the Game Core updates that have been scheduled for Xbox Live and UWP.
It enhances the performance of the Windows Store as the app is going to facilitate the installation of large apps through the Windows Store.
How can I download the Xbox Gaming Services app?
You will end up installing two drivers along with the app on your PC, the first one is Gaming Filter (Microsoft Gaming Install Filter Driver), and the other one is XVD Disk Driver (Microsoft Gaming Filesystem Driver).
Click here to download the Xbox Gaming Services app.
What permissions does the Xbox Gaming Services app require?
The app description states that it requires a couple of permissions from the user. It requires access to your internet connection and all your peripheral devices, files, programs, and apps.
Furthermore, it also requires permission to directly manage other apps, collect information regarding other apps, install a service on the machine, and control system policies related to already installed apps.
Some clues have forced gamers to think that Microsoft is working pretty hard to bring gaming to Windows. You might not have noticed that Windows 10 19H1 preview builds directly download the State of Decay Game from XboxLive servers rather than the Microsoft Store server.
Therefore, it is evident that your Windows 10 PCs will soon get Xbox features. In the future, we can expect that the gap between the PC and the Xbox platform will be reduced.
Microsoft Store will be offering its games for both platforms i.e. PC and Xbox. It is also expected that the current Xbox gaming infrastructure will be used to rebuild Windows Store for PC. And this should help get rid of situations where gaming services download is stuck on pending.
- Microsoft finally issued fix recommendations for an ancient Microsoft Store bug
- iTunes For Windows 7 32/64-bit: How to Download it
- Windows 7 Extended Kernel: How to Download & Use
- How to Download Acer PredatorSense in Two Simple Ways
We hope you managed to find out all you needed to know about the Xbox Gaming Services app, as well as download it to your PC.
Milan Stanojevic
Windows Toubleshooting Expert
Milan has been enthusiastic about technology ever since his childhood days, and this led him to take interest in all PC-related technologies. He’s a PC enthusiast and he spends most of his time learning about computers and technology.
Before joining WindowsReport, he worked as a front-end web developer. Now, he’s one of the Troubleshooting experts in our worldwide team, specializing in Windows errors & software issues.
-
Home
-
News
- What to Do If Xbox Gaming Services Won’t Install or Work?
What to Do If Xbox Gaming Services Won’t Install or Work?
By Linda | Follow |
Last Updated
The Xbox app or Microsoft Store may need the Gaming Services app so that they can install some games. This post from MiniTool Partition Wizard offers 6 solutions to the Xbox Gaming Services not installing/updating/working issue.
Xbox gaming services are a set of online services that allow Xbox users to play games online with other users and access various other features. These services are provided by Microsoft and include Xbox Live, Xbox Game Pass, and Xbox Play Anywhere.
If the Xbox Gaming Services are not installed, you will not be able to play games online or play/install Xbox Game Pass games, and you may have problems installing games from the Microsoft Store or Xbox app.
Many people have encountered the Xbox Gaming Services not installing/updating/working issue. Here are some examples.
Xbox Gaming Services Not Installing
Can’t install the Gaming Services from the Microsoft store. It says acquiring license then all of a sudden a message that says «Something Happened On Our End. Try Again Later».https://answers.microsoft.com/en-us/windows/forum/all/cant-install-the-gaming-services-from-the/c65c55a7-b5d4-4802-86bb-911ae0e73057
Xbox Gaming Services Not Updating
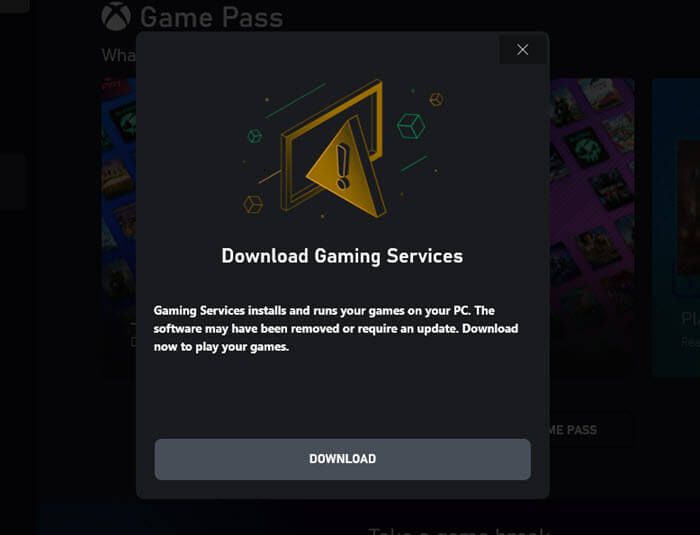
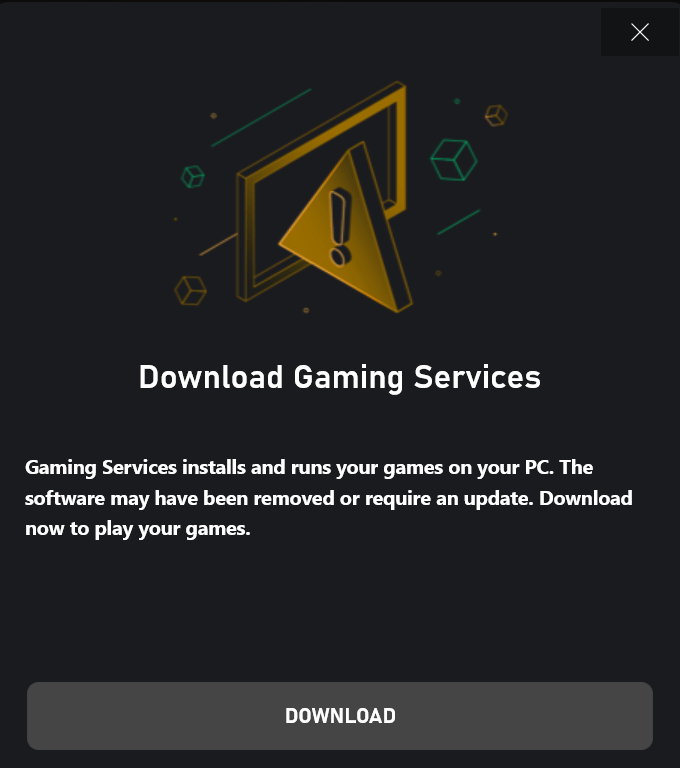
I finished playing a game on Game Pass earlier, and when I got out, I was unable to launch or install anything new. When I did, I was greeted by a message saying «Gaming Services installs and runs your games on your PC. The software may have been removed or require an update. Download now to play your games.» Simple enough. I discovered I could not install it…https://answers.microsoft.com/en-us/xbox/forum/all/gaming-services-not-functioning-for-game-pass/c91a390f-a708-46df-9bd7-f853e12ec137
Xbox Gaming Services Not Working
Hi, does anyone know why the Xbox app won’t let me install games? Whenever I want to install any game, it asks me to download game services, but game services are already running in the background.https://www.reddit.com/r/XboxGamePass/comments/10tb796/xbox_still_does_not_detect_gaming_services/
After reading the above examples, you can learn that many of them are almost facing the same issue: They need the Gaming Service to play a game and the Xbox app or other apps don’t recognize the existing Gaming Services. They are asked to install the new Gaming Service but it won’t install.
How to Fix the Xbox Gaming Services Not Installing/Updating/Working Issue
To solve the Xbox Gaming Services not working/updating/installing issue, you can try the following ways.
Way 1. Update Windows and Reset Microsoft Store
You can do these to ensure that the Xbox Gaming Services not installing/updating/working issue is not caused by the problems of Windows and Microsoft. Here is the guide:
Step 1: Update Windows.
- Press the Windows logo key + I to open Settings.
- Go to Windows Update and click Check for updates.
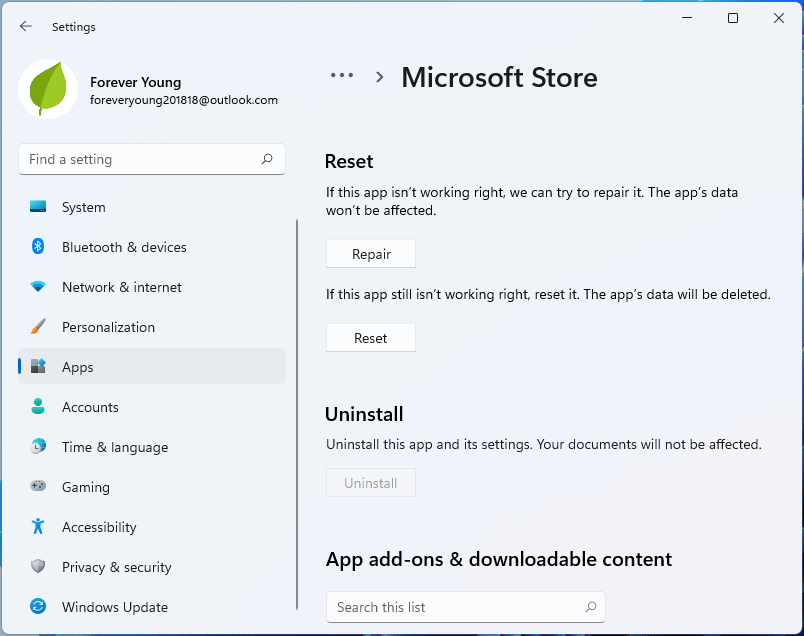
Step 2: Reset Microsoft Store.
- Go to Settings > Apps > Apps & features.
- Scroll down to find Microsoft Store. Click the vertical three-dot icon and choose Advanced options.
- Under the Reset section, click Reset to reset Microsoft Store.
Way 2. Update Gaming Services from Microsoft Store Rather than the Xbox App
Some people report that this method solves their issue. You can have a try. Open Microsoft Store on your PC and go to Library. Gaming Services should be in here. If it’s not, then open the Xbox app, say yes to installing gaming services, then open the store, and check the update here.
Way 3. Reinstall the Gaming Services App
Some people report that this method works. You can also have a try.
Step 1: Select the Search icon on the taskbar, type “powershell”, right-click on Windows PowerShell, and then select Run as administrator.
Step 2: In Windows PowerShell, execute the following commands one by one:
- get-appxpackage Microsoft.GamingServices | remove-AppxPackage -allusers
- start ms-windows-store://pdp/?productid=9MWPM2CQNLHN
The above commands will remove Gaming Services and open the Gaming Services install page. Then, install this app and restart your computer.
Way 4. Disable IPv6 for All Network Devices
Some people report that this solution works. Here is the guide:
- Use the Windows Search tool to search for “View Network Connections” and open it.
- Right-click on the connection you are using, and press Properties.
- Scroll down to “Internet Protocol Version 6 (TCP/IPv6)” and uncheck it. Then, press OK.
- Restart the PC to make the change take effect.
Way 5. Use Registry Editor
This solution works for many users and you can have a try.
Step 1: Go to Settings > Apps > Apps & features to reset the Gaming Services app.
Step 2: Go to C:\Program Files\WindowsApps to find 2 gaming services folders and then delete them.
Step 3: Press the Windows logo key + R to open the Run dialog box. Type “regedit” and press Enter to open Registry Editor. Then, delete the following entries:
- HKEY_USERS\.DEFAULT\Software\Classes\Local Settings\MrtCache\C:%5CProgram Files%5CWindowsApps%5CMicrosoft.GamingServices_2.45.11001.0_x64__8wekyb3d8bbwe%5Cresources.pri
- HKEY_USERS\.DEFAULT\Software\Classes\Local Settings\MrtCache\C:%5CProgram Files%5CWindowsApps%5CMicrosoft.Gamingservices_2.45.11001.0_x64__8wekyb3d8bbwe%5Cresources.pri\1d6937194966bce
- HKEY_LOCAL_MACHINE\SYSTEM\CurrentControlSet\Services\GamingServices
- HKEY_LOCAL_MACHINE\SYSTEM\CurrentControlSet\Services\GamingServicesNet
Tips:
The version numbers may be different depending on what you have installed.
Step 4: Restart your computer and then reinstall Gaming Services.
Way 6. Uninstall All Related Things
- Uninstall the Xbox app from Settings or Control Panel.
- Uninstall Gaming Services using the PowerShell command (get-appxpackage Microsoft.GamingServices | remove-AppxPackage -allusers).
- Restart the computer.
- Delete the XboxGames folder in the C:\ drive. Check other drives also to see if there is an XboxGames folder. If there is, delete it, too.
- Reinstall the Xbox app and then things should be OK.
Do you need to partition your hard drives, clone your disks, migrate the OS, recover data, and manage your disk space? If so, MiniTool Partition Wizard can help you.
MiniTool Partition Wizard DemoClick to Download100%Clean & Safe
About The Author
Position: Columnist
Linda has been working as an editor at MiniTool for 5 years. She is always curious about computer knowledge and learns it crazily. Her articles are simple and easy to understand. Even people who do not understand computer can gain something. By the way, her special focuses are disk management, data recovery and PDF editing.
Many Xbox PC users are facing issue that the Xbox Gaming Services not installing while trying to download a Game. Even on the newPC / laptop after installing the XBOX app it asks to download the services. In some cases the XBOX Gaming services would throw an error when attempting to install or will get stuck forever and does not download completely.
XBOX Gaming services not Installing on Windows 11 is not a new issue as the same issue is reported with Windows 10 as well. The Xbox gaming services does not install even after multiple tries. In this article we have listed fix for Xbox Gaming services not installing on Windows.

How to fix XBOX Gaming services not Installing on Window 11/10 ?.
XBOX Gaming services not Installing on Windows could be due to a software glitch or configuration issue. To fix Gaming service not working on installing on Windows you may have try some simple or complex solutions as describe below.

Fix : Repair Gaming service
On your Windows PC’s the Xbox Gaming services may have corrupted or not installed properly. To fix that you should first try to repair the Gaming service. go into Settings, Apps, and clicking Repair on Gaming Services
Fix: Update Xbox/ Gaming service from The Store directly
Sometimes installing the gaming services from the prompt does not go well in windows. To fix this try starting the update of Xbox app and gaming services from the within the Microsoft store app rather than the Xbox app prompt.
To do that open the MS store on your pc, then go library and gaming services should be there and if it’s not then open the Xbox app say yes to installing gaming services then open the store and check the update in there.
Fix : Include Game Pass
One other quick fix for XBOX Gaming services not Installing on Windows is installing it with the Game Pass. Go to the Microsoft Store and try searching a Xbox game with using the option “Install – Included with Game Pass”. This seems to work for many users who were facing the issue.
Fix : PowerShell commands
If XBOX Gaming services not Installing on Windows then this could be issue in directly download the game from the Store. You can try using Windows inbuild PowerShell to download the Game Service.
- First on your PC search for PowerShell and launch it as admin.
- Now enter following command “get-appxpackage Microsoft.GamingServices | remove-AppxPackage -allusers”
- In the same powershell window, enter “start ms-windows-store://pdp/?productid=9MWPM2CQNLHN”
- You will be taken to the Gaming Services page in the Windows store. Click install/update. Should work from there.
This will download the Xbox Game services in few minutes but please note that it may take two or three time to work.
Fix : Registry settings
If none of the above solution helped to fix the issue “XBOX Gaming services not Installing on Windows” then finally you should try to update the registry.
- Open Registry Editor (In the window search box on the taskbar, type regedit, then select Registry Editor)
- Go to HKEY_LOCAL_MACHINE -> SYSTEM -> CurrentControlSet -> Services
- Remove the GamingServices and GamingServices.Net
- Restart Computer
- Go to your Windows Store -> 3-dot-menu -> Downloads and Updates -> Check updates
- Gaming Services should install now without any issues.
- You can Double check this by rebooting and going back to Windows Store and trying to Get Updates again – you should be Up to date.
Other troubleshooting steps:
– Update everything on Window: Make sure that there are no pending updates for Window, Appstore or the App.
– Make sure your regions match both the Xbox app and Microsoft account. If there’s a mismatch it could prevent the syncing necessary.
– Uninstall and reinstall the app.
– Update windows and restart your computer
– Ensuring that the Harddrive/SSD is formated to NTFS with the allocation size default or 4K, not something else.
Conclusion: Hope this article helps to fix “XBOX Gaming services not Installing on Windows”, do let us know in comment section.
Read: Starfield can’t take ship with all piloting skill needed