
Важно! Данная статья относится только к Mac с процессором Intel. Шаги по созданию виртуальной машины в Parallels Desktop на Mac с чипом M1 представлены в KB 125375.
Симптомы
- Вам не удалось установить Windows или другую гостевую операционную систему с помощью инструкций из этой статьи: 4729 Как установить Windows на виртуальную машину с помощью Parallels Desktop?
- При установке гостевой ОС возникает ошибка.
- Процесс установки гостевой ОС зависает или прерывается ошибкой «синий экран».
Причины
- Поврежденный установочный носитель (CD/DVD, .iso-образ).
- Неподдерживаемый или нестандартный образ или дистрибутив операционной системы.
- Неправильные настройки Parallels Desktop или виртуальной машины.
Решение
Прежде всего, пожалуйста, убедитесь, что установочный носитель операционной системы подходит для установки на виртуальную машину:
1. В случае с диском CD/DVD убедитесь, что он находится в исправном состоянии. Чтобы это проверить, попробуйте запустить его на любом физическом ПК.
2. Попробуйте другой диск CD/DVD или используйте образ .iso. Подробнее об образах диска в формате iso смотрите в этой статье: 4917 Как создать iso-образ установочного диска Windows?
2. Если вы устанавливаете Windows, убедитесь, что у вас есть действительный ключ лицензии для ее активации.
Если перечисленные выше шаги не помогли решить вашу проблему, попробуйте найти решение в одной из следующих статей:
- Я не могу установить Windows на виртуальной машине
- Я не могу установить Mac OS X или Linux на виртуальной машине
- Я не могу установить Windows или другую ОС, загруженную с помощью Parallels Desktop
Я не могу установить Windows на виртуальной машине — возможные проблемы и решения
- Если вы не можете установить или обновить Windows на виртуальной машине из-за ошибки «Файл ответов для автоматической установки содержит недопустимый ключ продукта. Удалите недопустимый ключ или предоставьте допустимый ключ продукта в файле ответов для продолжения установки Windows«, смотрите эту статью:
6955 Файл ответов для автоматической установки содержит недопустимый ключ продукта
- Если вы не можете установить Windows 7 из Boot Camp из-за ошибки «Разделы диска в Windows Boot Camp и Mac OS не совпадают», смотрите эту статью:
11244 Не получается создать виртуальную машину Boot Camp.
- Вы купили Windows 7 в интернет-магазине Parallels или в Parallels Convenience Store, но не смогли скачать ее:
113282 Я купил(а) Windows 7 через сайт Parallels, но загруженный файл слишком маленький
112008 Не удается скачать установочные файлы операционной системы
- При первом после установки запуске Windows 2000 возникает ошибка BSOD 0x0000001E STOP:
113434 Ошибка «синий экран» после установки Windows 2000
Я не могу установить Mac OS X или Linux на виртуальной машине
- Я не могу установить ни Leopard, ни Snow Leopard на виртуальной машине из-за следующей ошибки: Установлена неверная версия Mac OS. Из семейства Mac OS X на виртуальных машинах можно установить только Mac OS X Server Leopard или Mac OS X Server Snow Leopard. Другие версии Mac OS X не поддерживаются. Смотрите эту статью:
112323 Установлена неверная версия Mac OS. Из семейства Mac OS X на виртуальных машинах можно установить только Mac OS X Server Leopard или Mac OS X Server Snow Leopard.
- Вы не можете или не знаете, как установить Mac OS X Lion на виртуальной машине:
112121 Как создать виртуальную машину с Lion с помощью Parallels Desktop
113614 В Parallels Desktop не работает автоматическое обнаружение установщика Ubuntu 12.04
Я не могу установить ОС, загруженную через Parallels Desktop
- Если возникает ошибка, связанная с прерванным соединением, нажмите Повторить.
- Отмените текущую загрузку и начните ее заново.
- Убедитесь, что на жестком диске Mac HD достаточно свободного места.
- Попробуйте выполнить загрузку немного позднее.
С 29 июля официально вышла 10-я версия Windows, и имея официальные лицензии Windows 7 и 8, можно бесплатно обновиться на 10-ку.
При попытке установить на
1.Мак через Parallels 10 столкнулся с ошибкой:
«Этот компьютер не совместим с Windows 10″ из-за проблем с Parallels Display Adapter (WDDM)«
2. При попытке обновить на PC с 8-ки, — вежливо попросили ждать очереди
Решение:
качаем вот эту утилиту ( для 64-разрядной версии): dl.dropboxusercontent.com…/MediaCreationToolx64.exe
в случае с Мак (Parallels) запускаем с виртуальной машины, в случае с РС — просто запускаем с правами администратора…и все, процесс пошел.
Важно:
— убедитесь что у вас установлена последняя версия Parallels DeskTop 10
— при установке 64-разрядной версии Windows 10, убедитесь что ваша виртуальная машина имеет 2Гб и более оперативной памяти.
Удачи
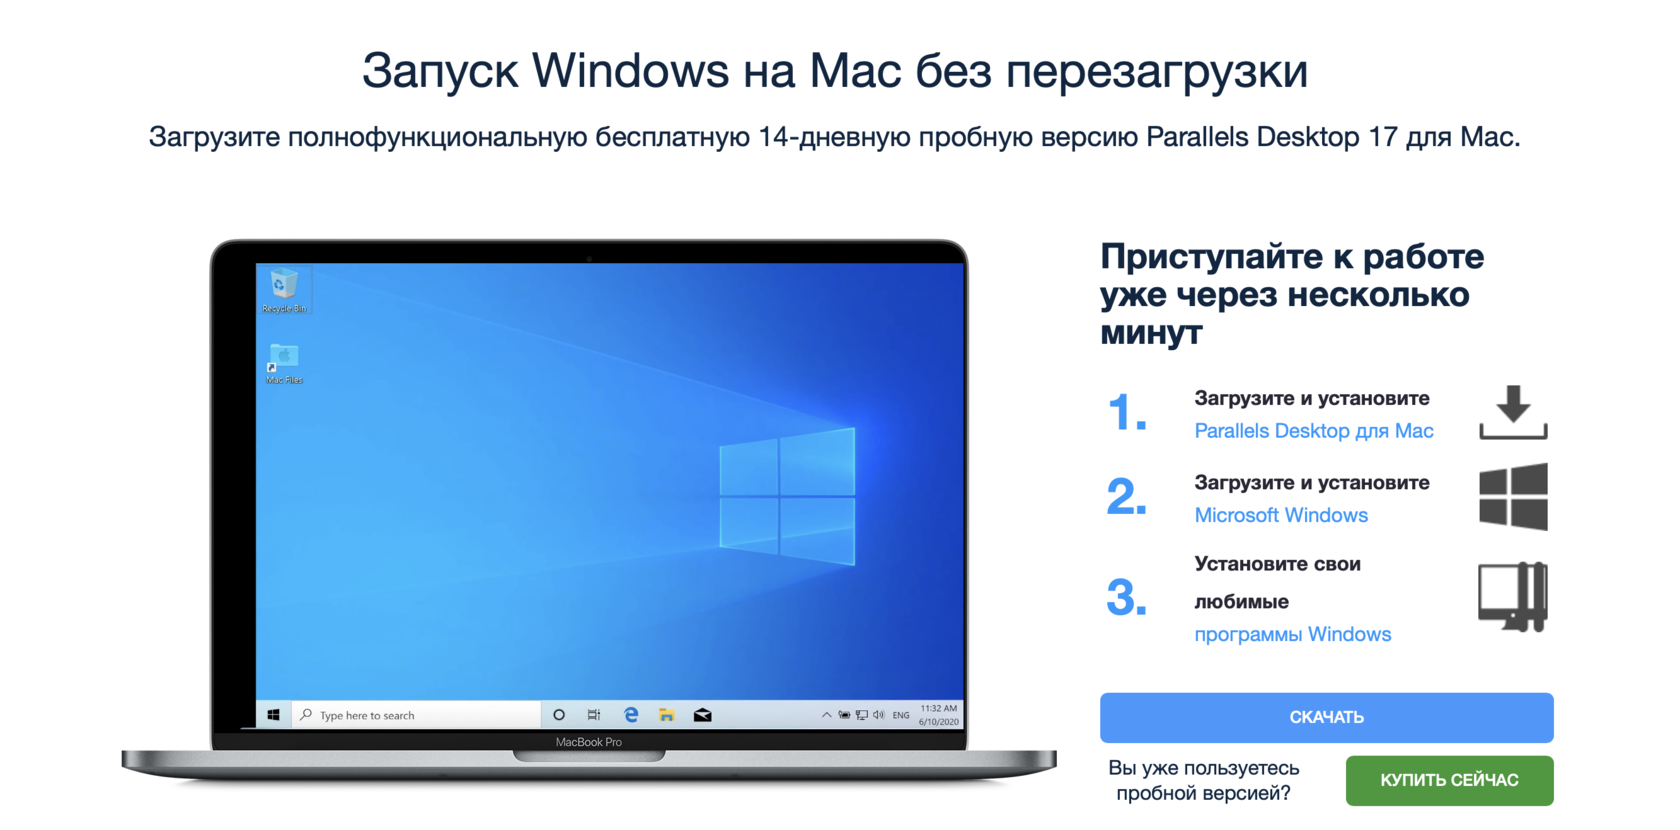
Программа платная и стоит от 4 до 6 тысяч рублей. Но можно поставить пробную версию, испытать работу компьютера и, при желании, приобрести программу.
Первым делом необходимо скачать Parallels Desktop. Для этого перейдите по ссылке и выберите скачать пробную версию https://www.parallels.com/ru/products/desktop/trial/
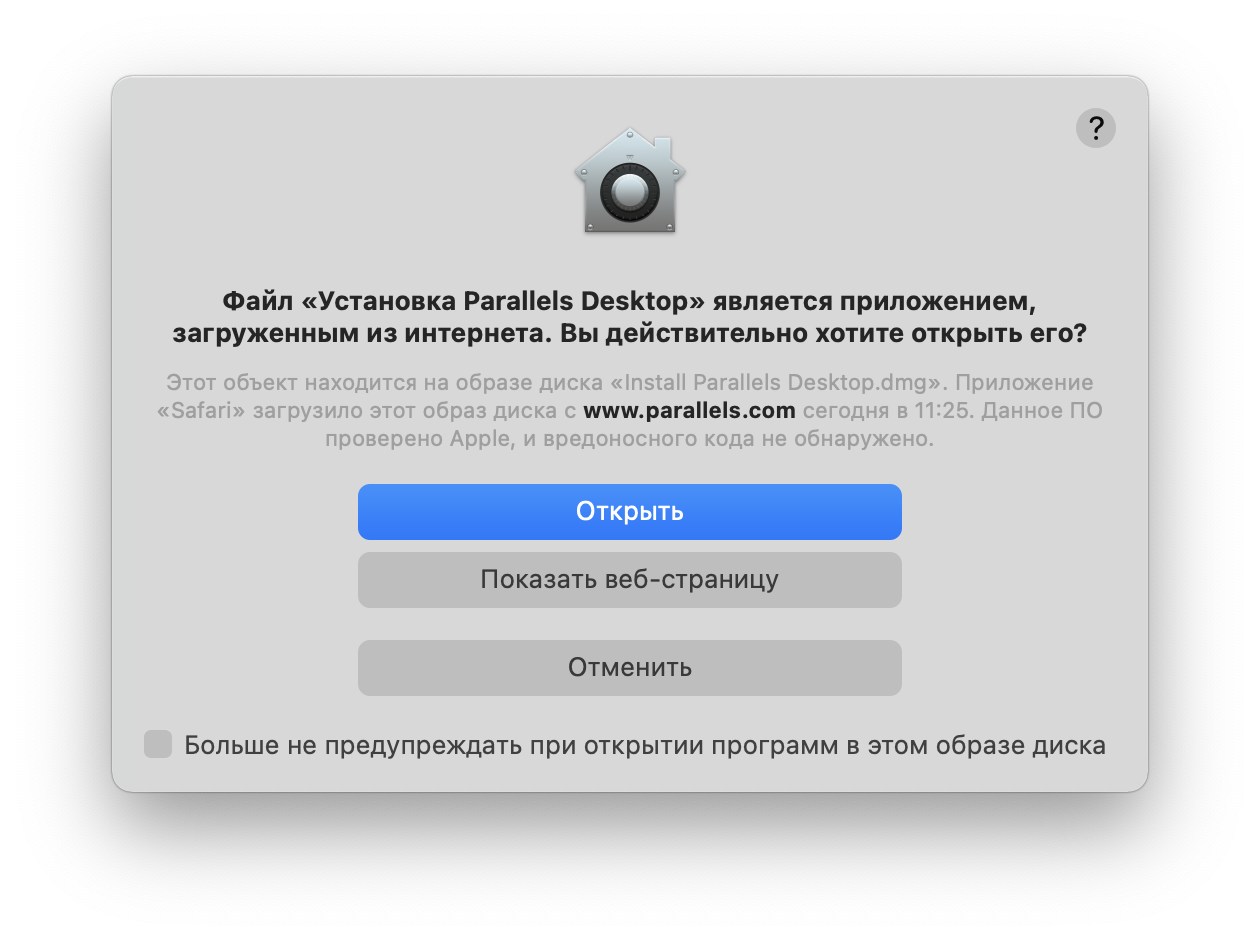
После скачивания, запускаем файл
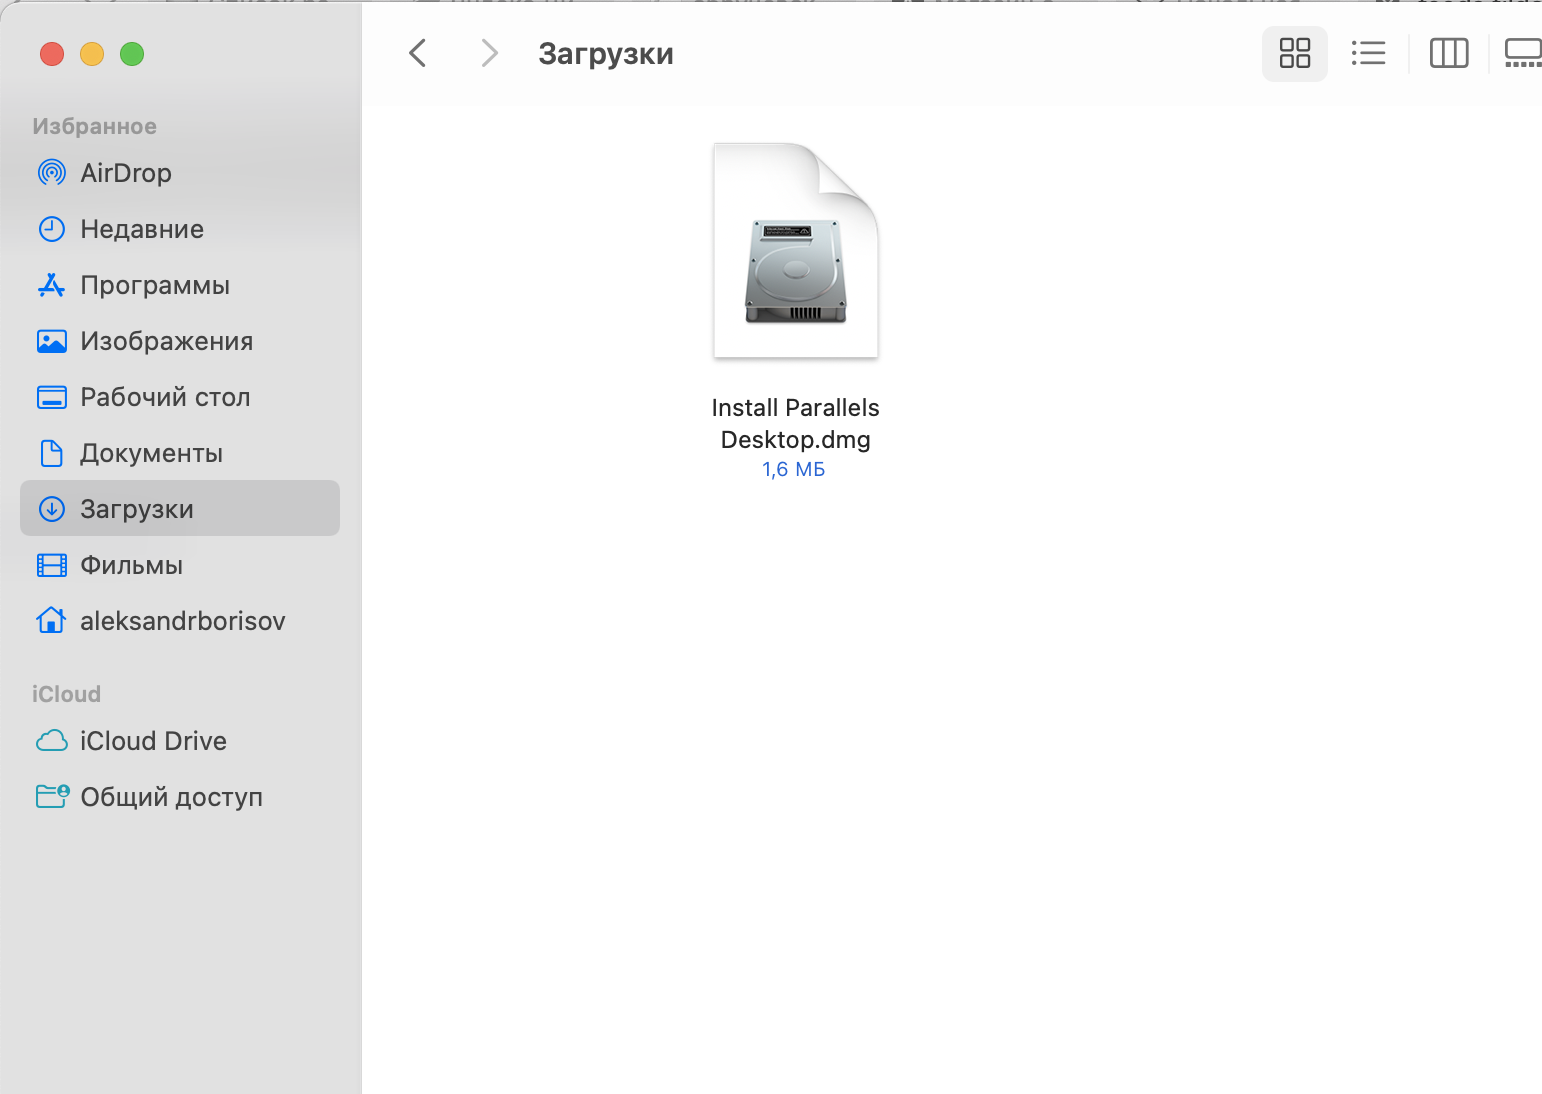
Появляется окно, где нужно запустить этот значок
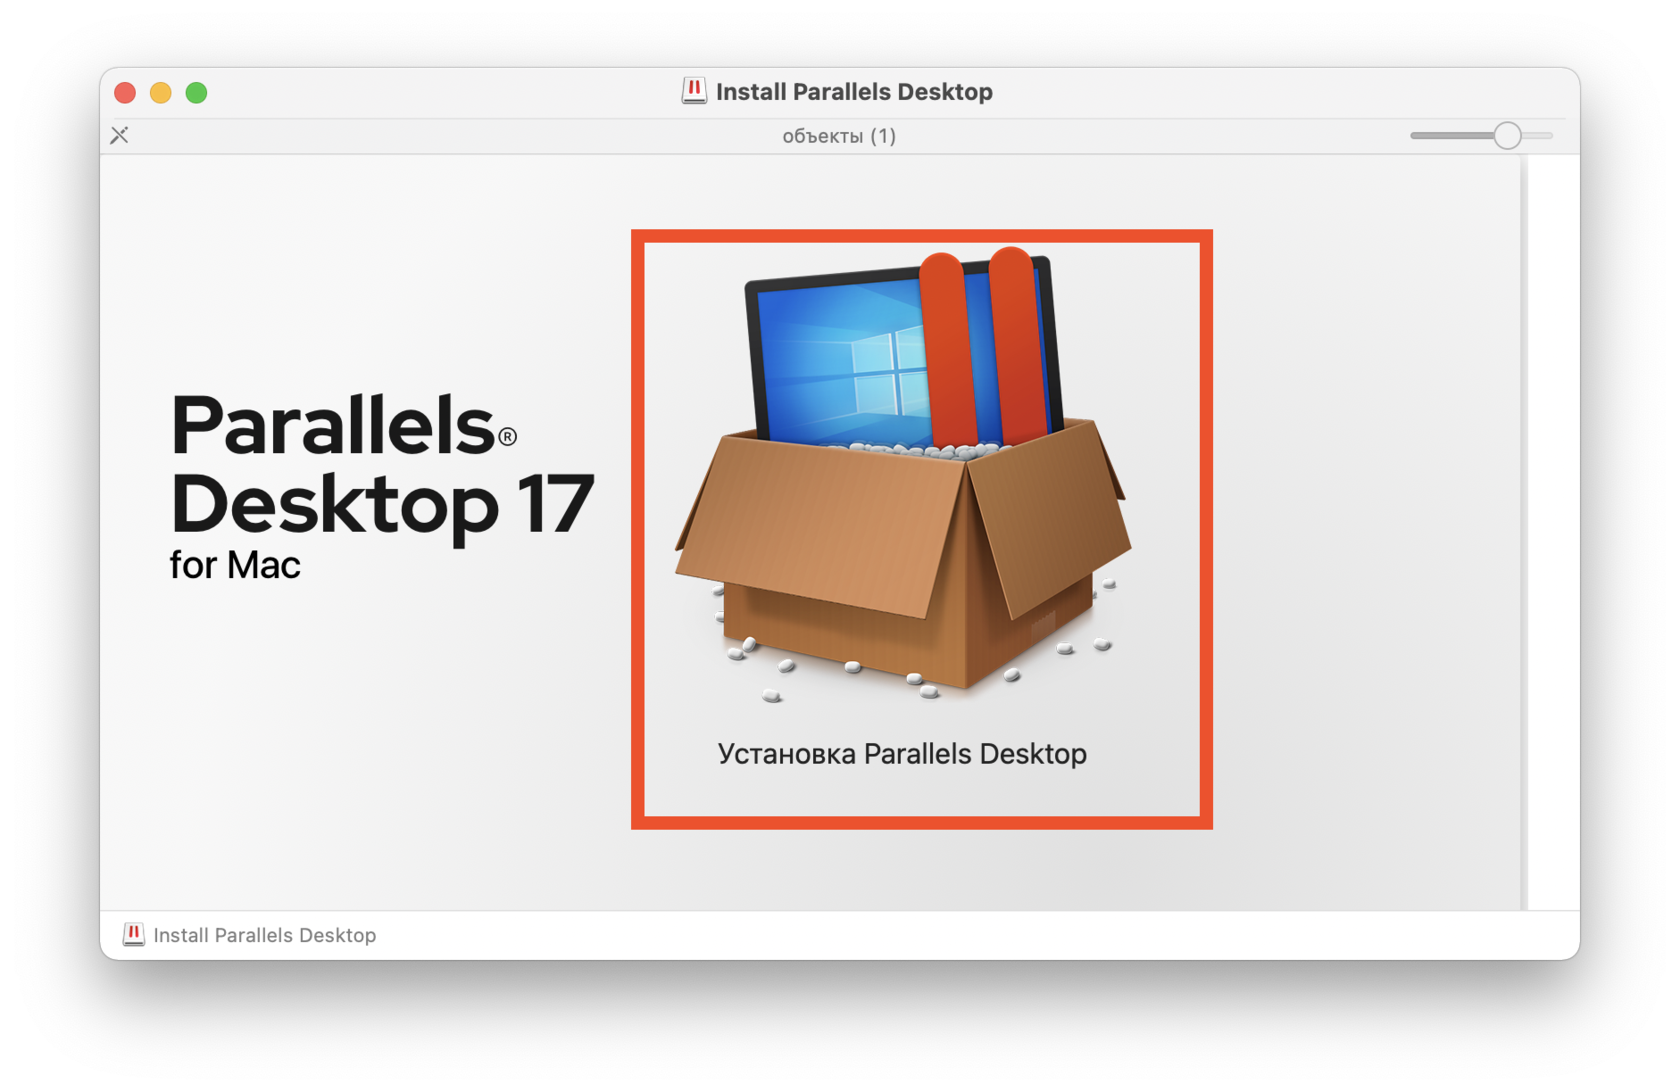
При открытии файла спросит разрешение
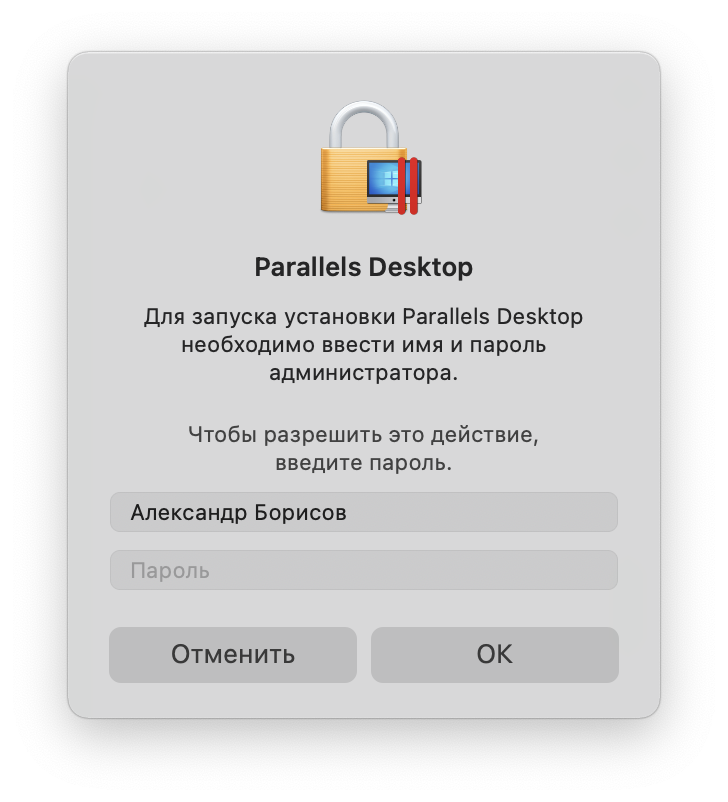
Далее будет идти процесс скачивания программы и в итоге появится следующее окно, где надо ввести пароль
Пока программа будет запускаться, нам необходимо скачать образ Windows 11. Вот ссылка для скачивания
https://disk.yandex.ru/d/XjOgQUI6_ks9yA
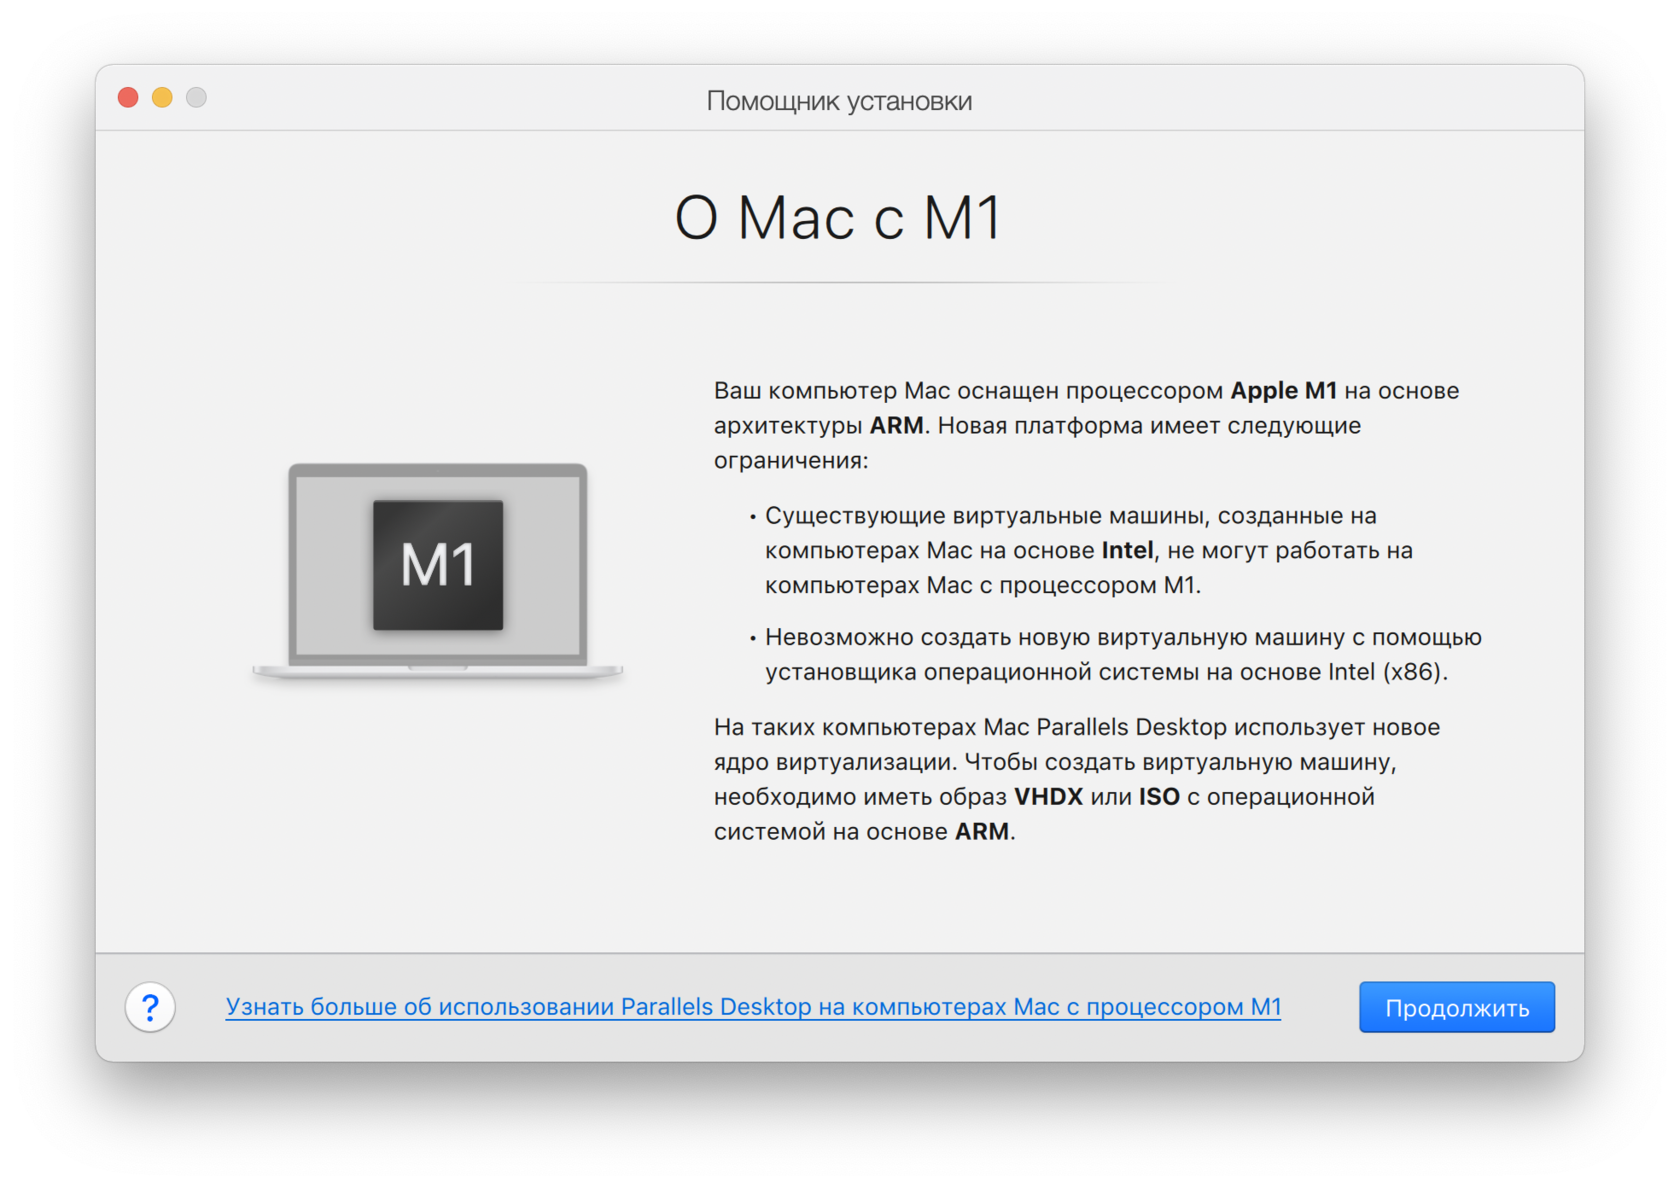
После скачивания образа Windows 11, вернемся в программу Parallels Desktop.
Нажимаем продолжить.
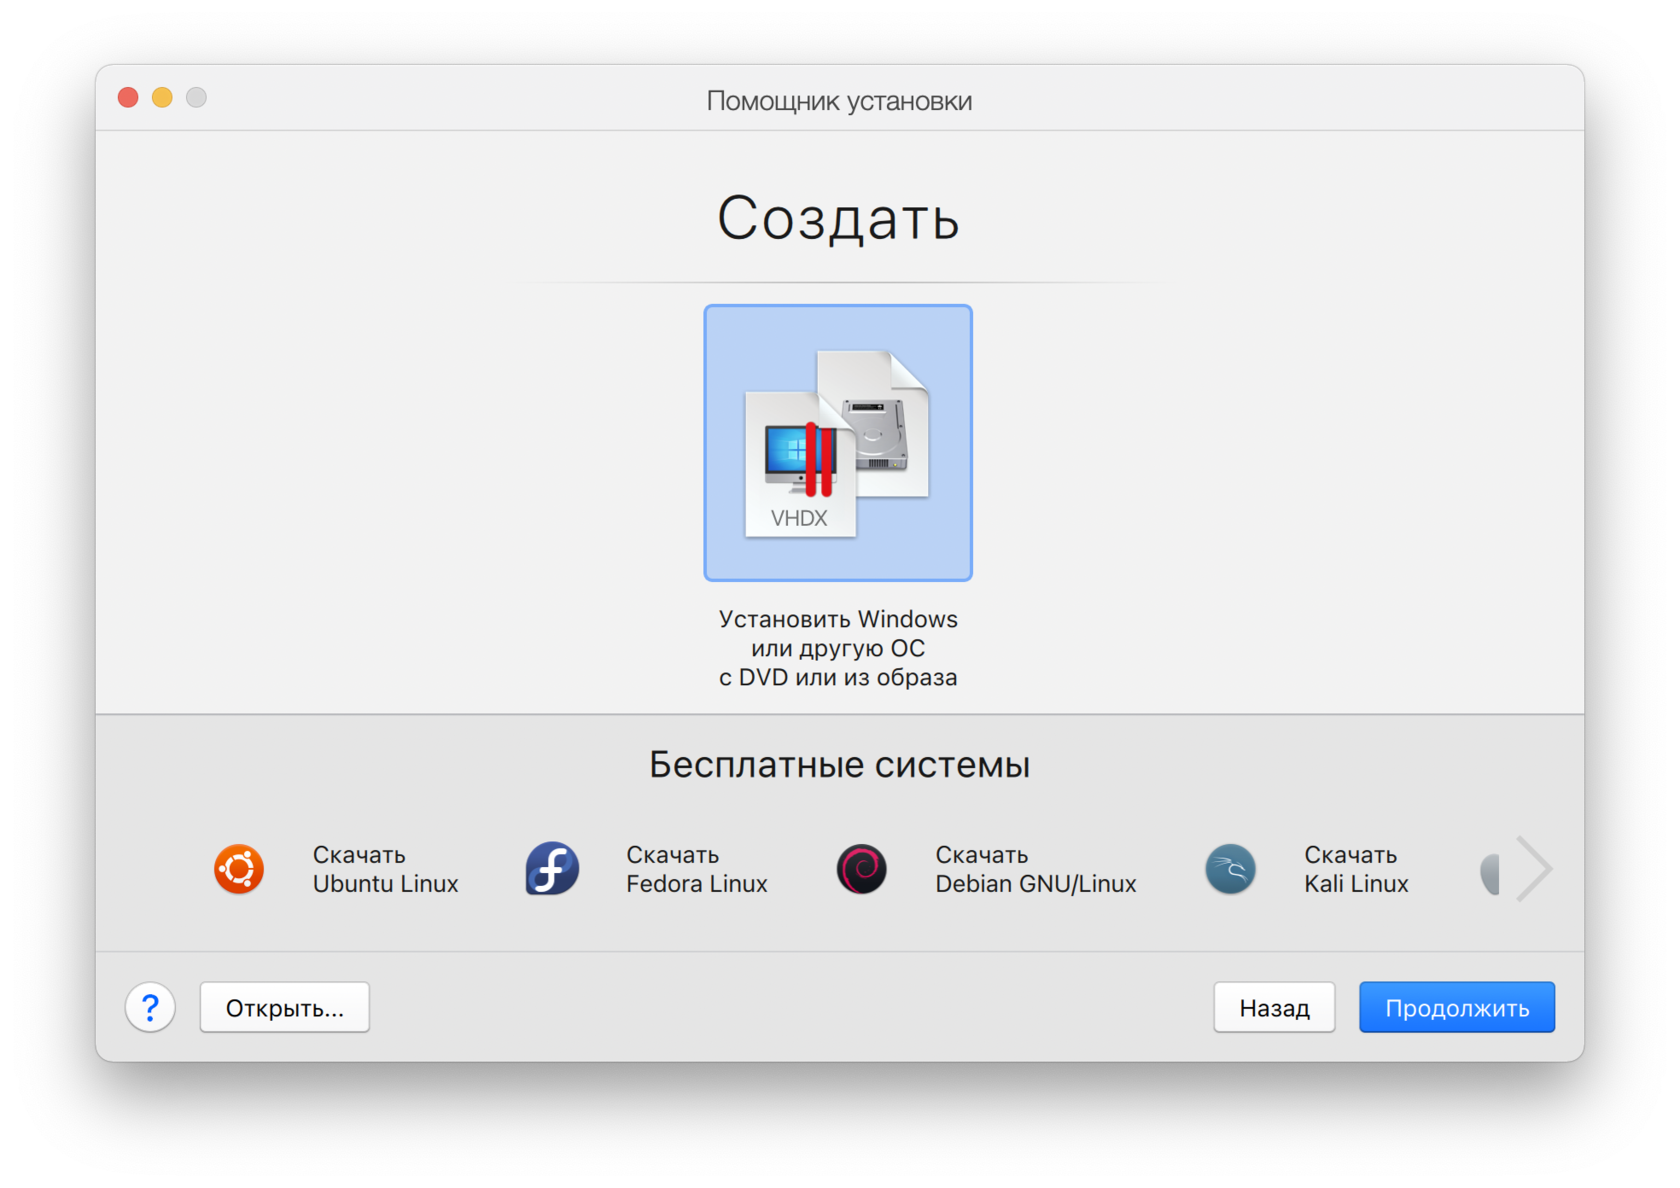
Далее выбираем «Установить Windows или другую ОС с DVD или из образа» и жмем Продолжить.
Жмем Выберите файл…
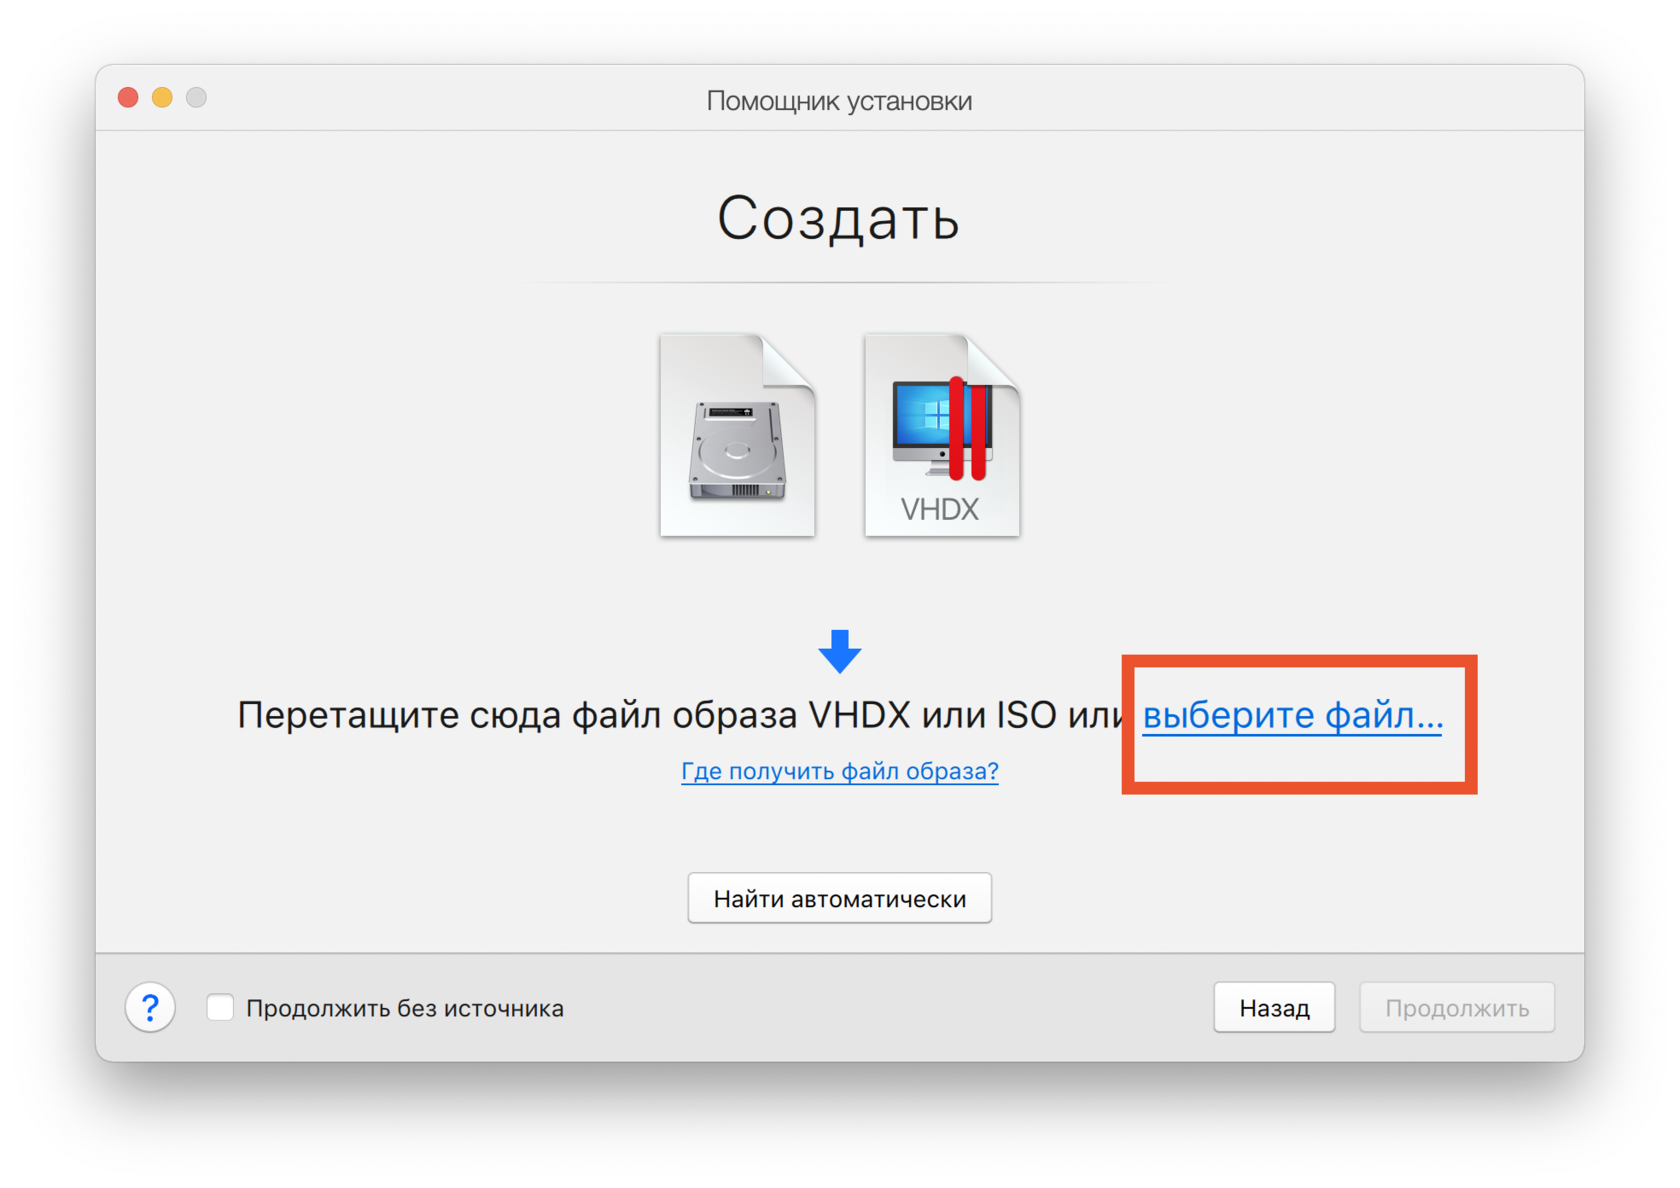
и указываем наш скаченный образ.
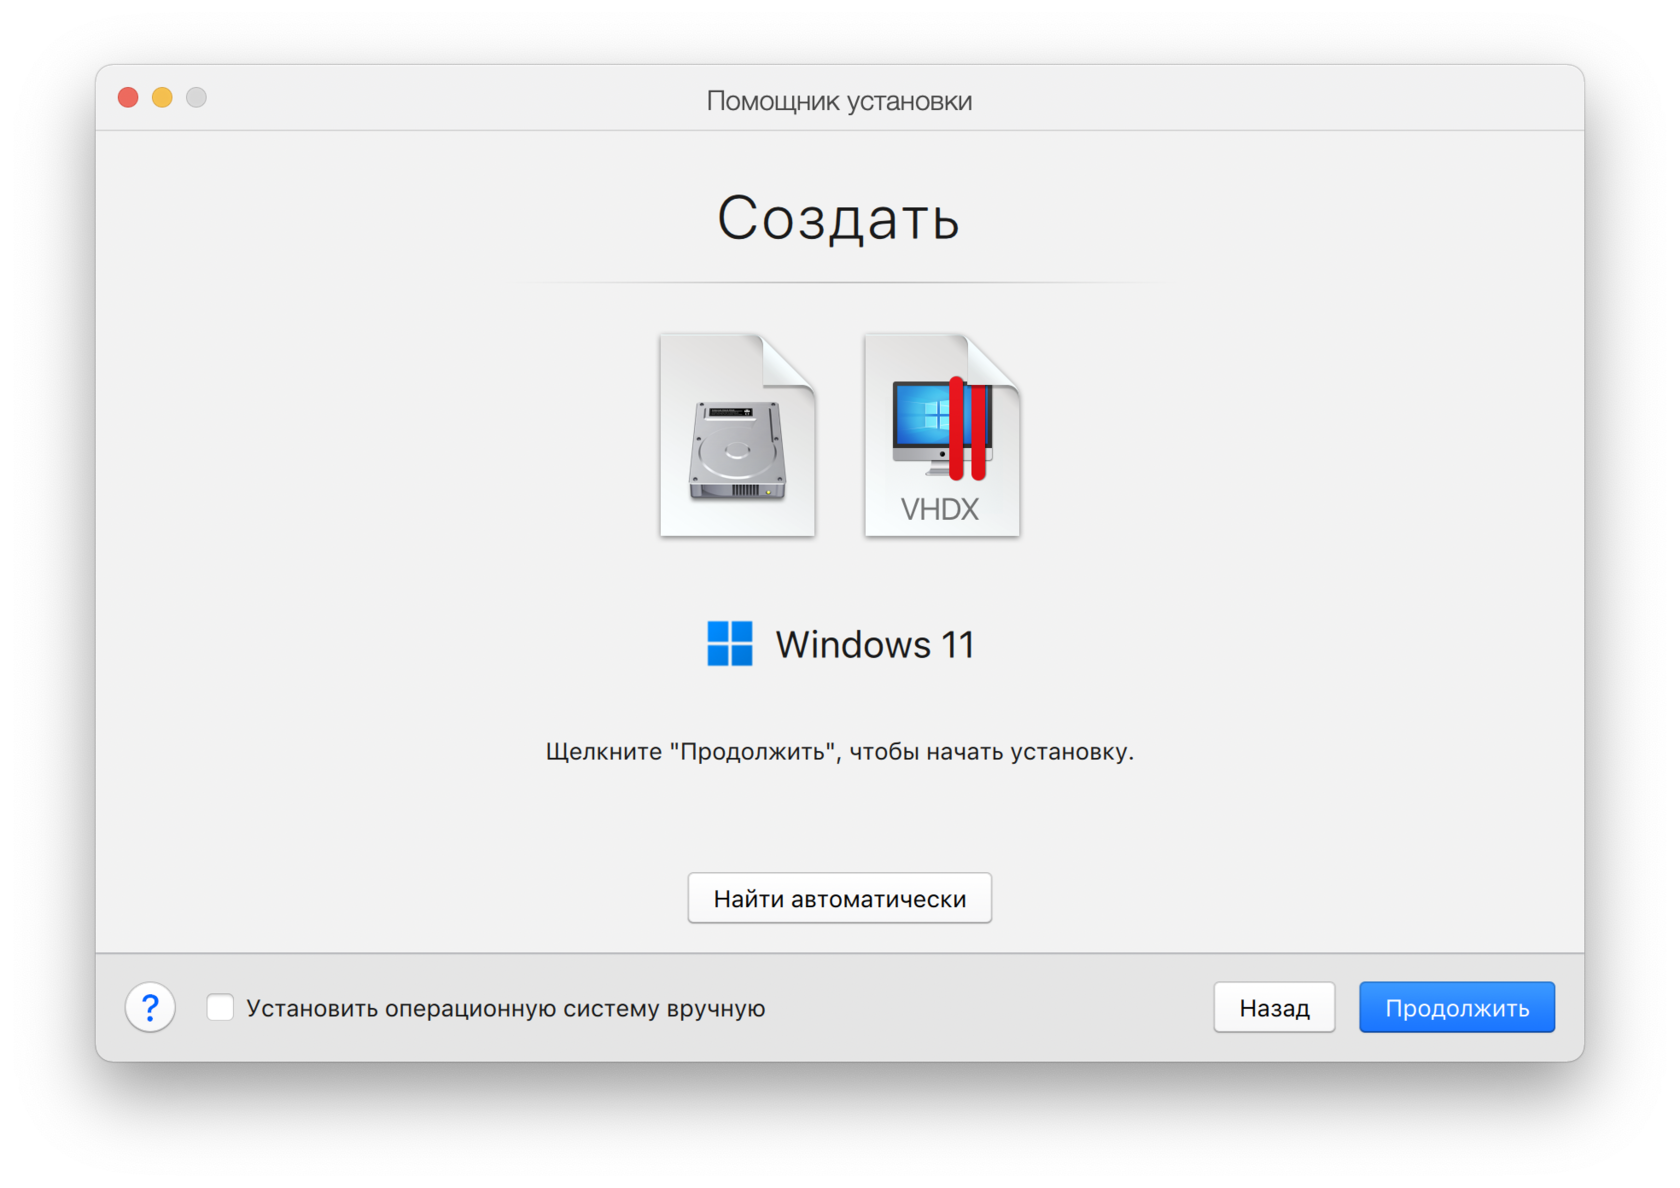
Нажимаем продолжить.
После чего выбираем применение Windows. Тут смотря для чего вы ставите операционную систему. Продолжить.

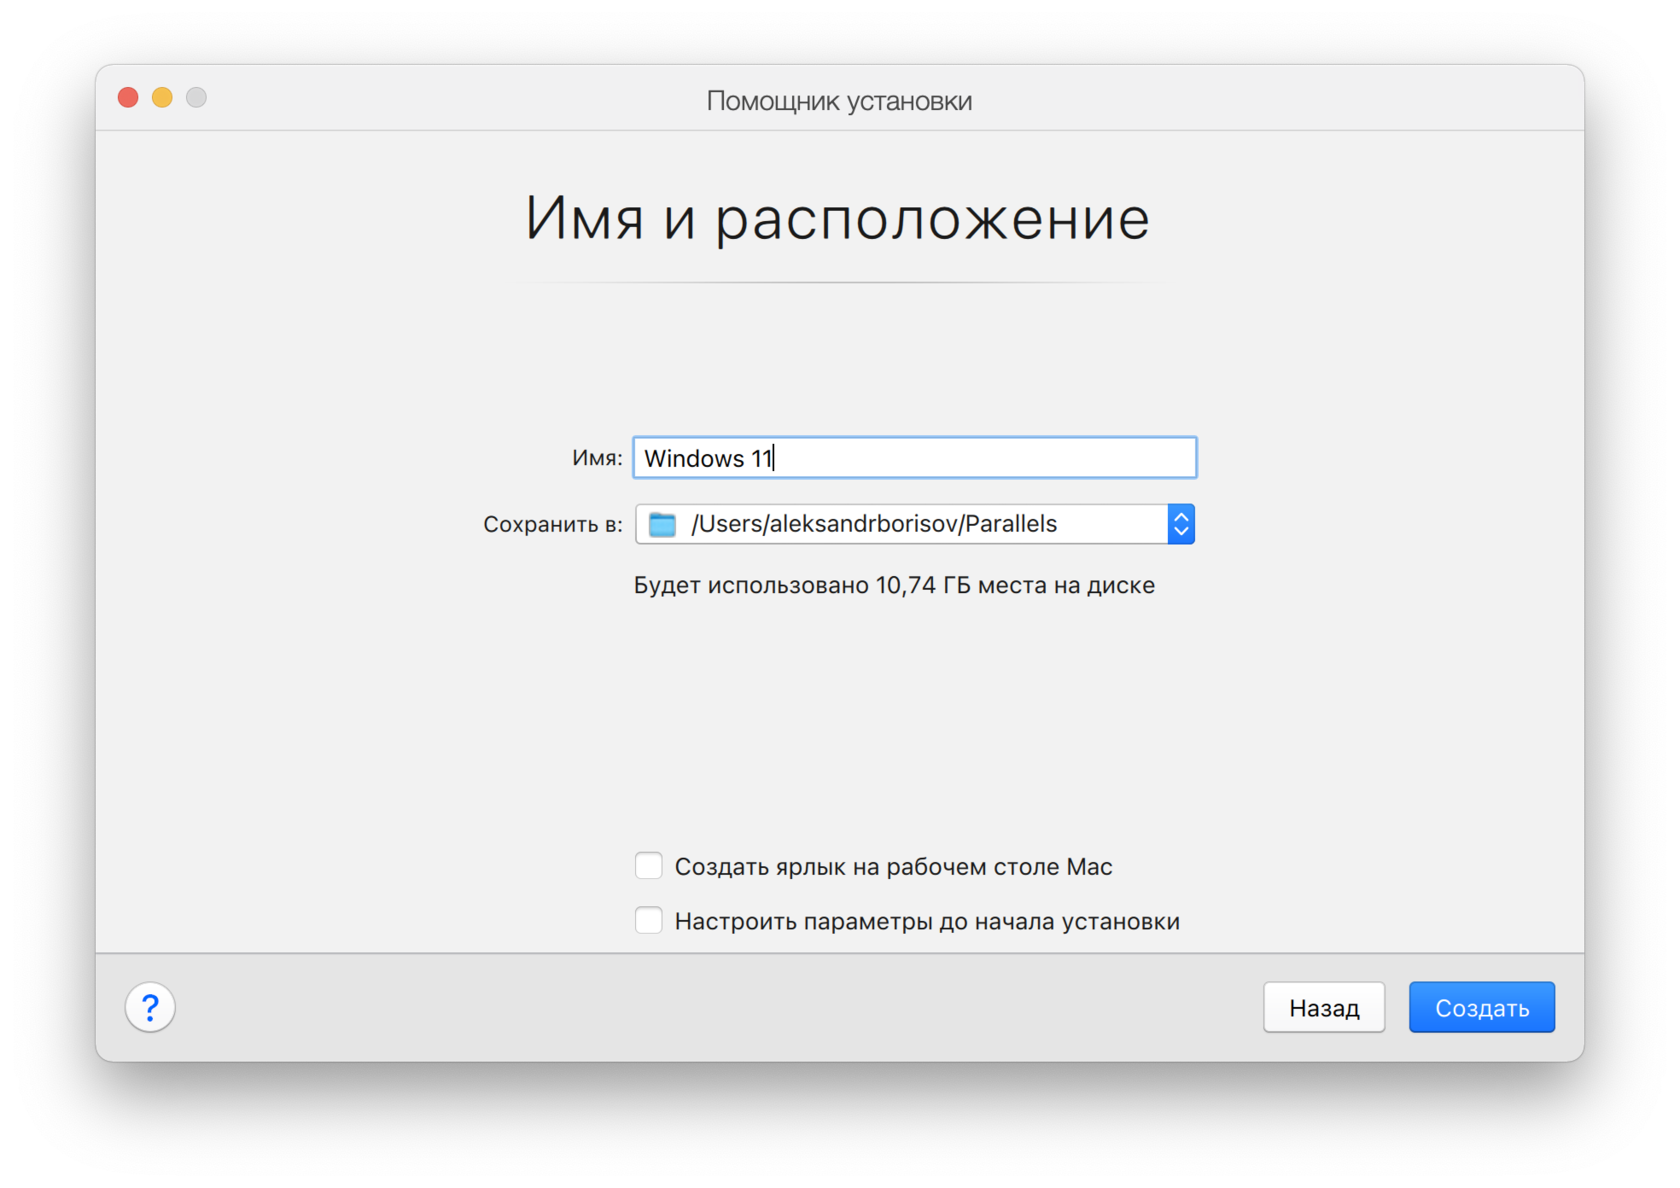
Эти данные можно оставить без изменений. Нажимаем Создать.
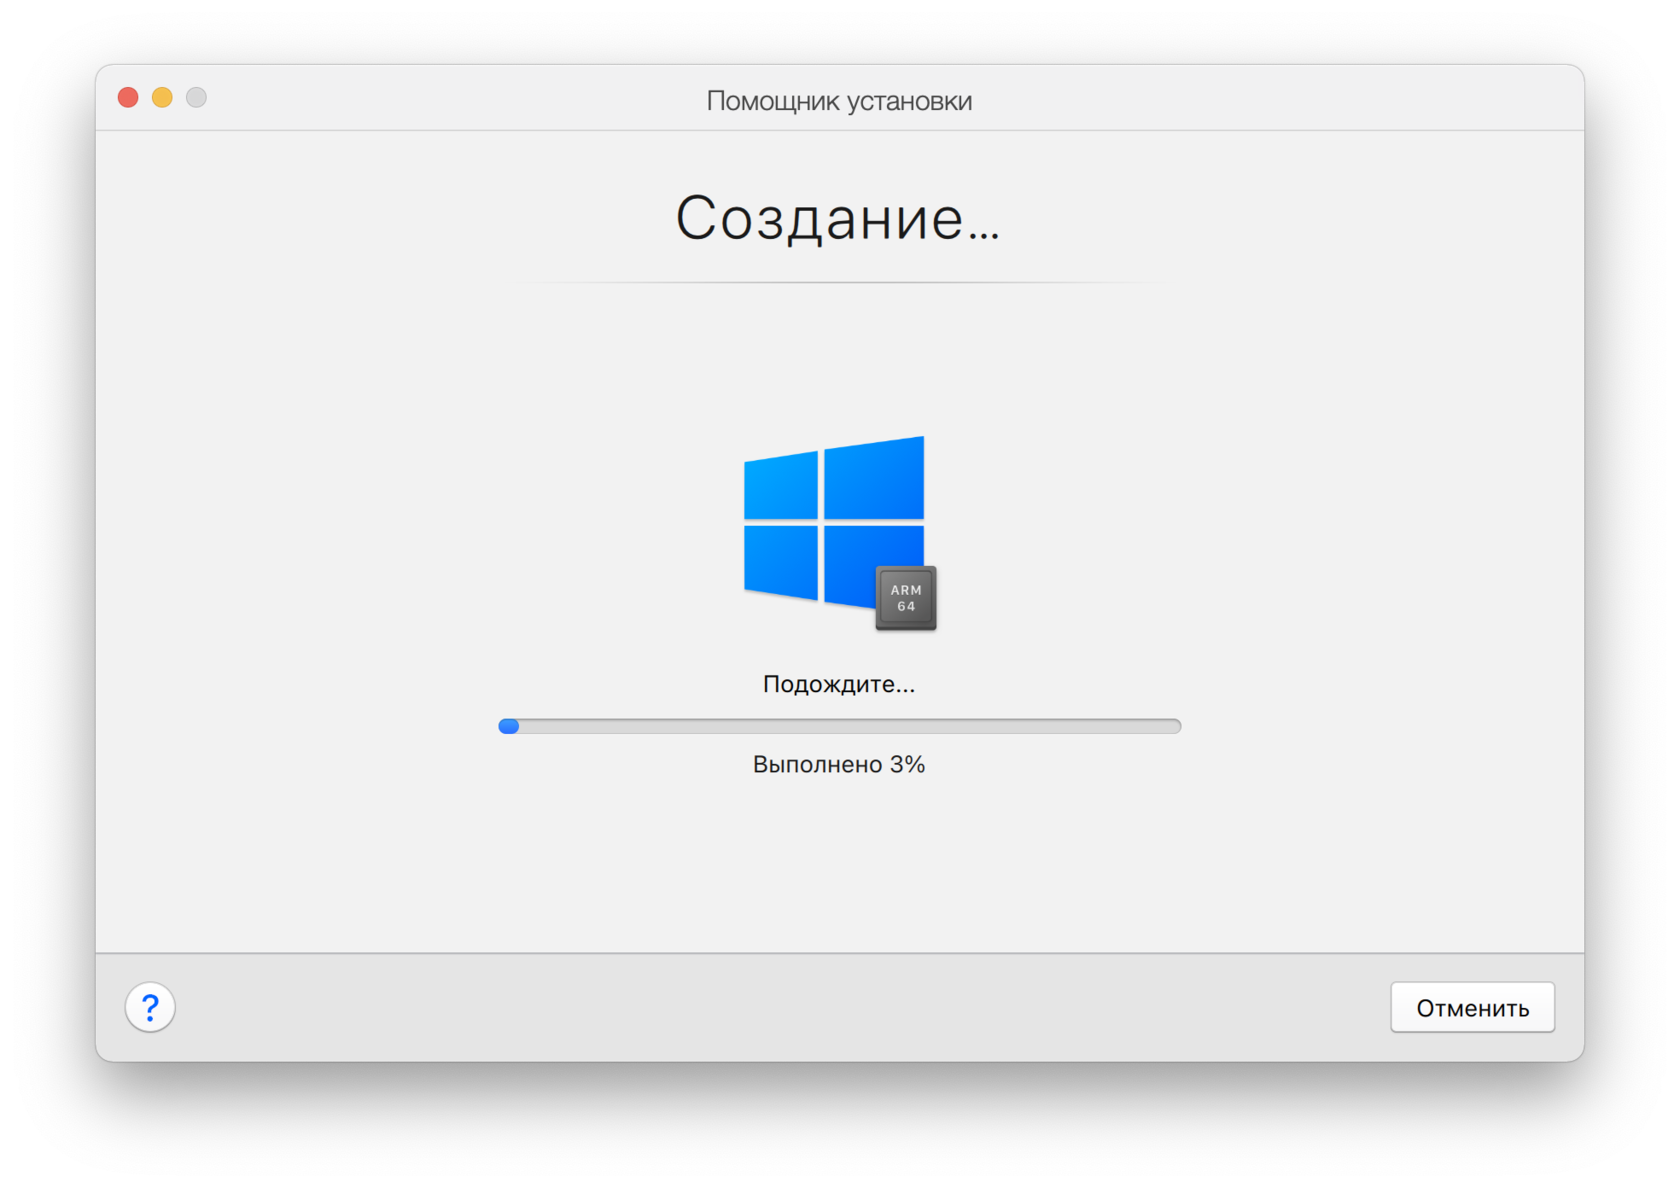
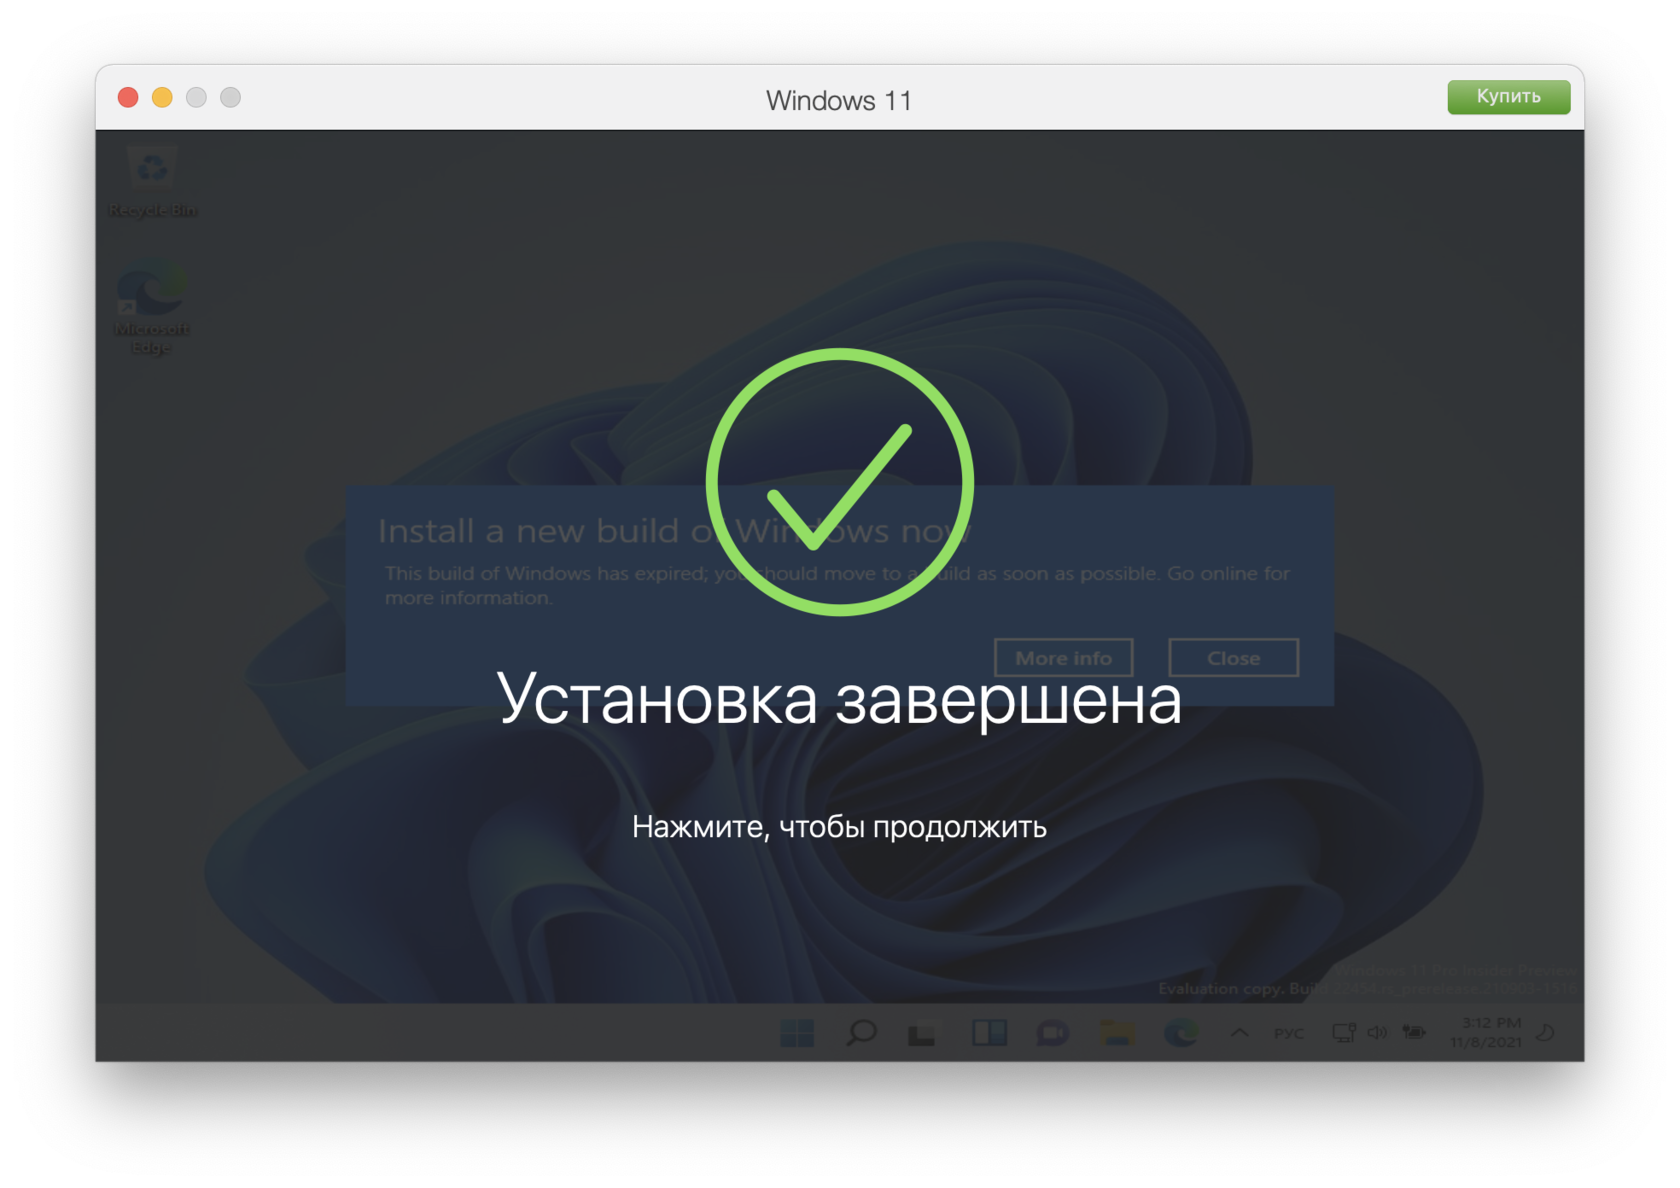
После непродолжительного ожидания Windows 11 установится и вы сможете работать с ней.

Installing Windows 11 on Parallels Desktop can be a seamless experience, bringing all the benefits of Microsoft’s latest operating system to your Mac environment. Parallels Desktop is a powerful virtualization software that allows you to run Windows applications alongside macOS without rebooting your computer.
In this guide, we will explore the steps you need to take to install Windows 11 on Parallels Desktop, from preparing your system to optimizing your virtual machine for best performance.
Prerequisites for Installation
Before you begin the installation process, ensure you have met the following prerequisites:
-
Parallels Desktop Software: Make sure you have Parallels Desktop installed on your Mac. You can download the latest version from the official Parallels website. The software is a paid product, so you will need a valid license.
-
Windows 11 ISO File: Download a Windows 11 ISO file from the official Microsoft website. You’ll need to ensure that your device meets Windows 11’s minimum system requirements.
-
macOS Compatibility: Ensure your Mac is running macOS 10.14 (Mojave) or later, as Parallels Desktop requires a modern macOS version.
-
Sufficient Storage: Check that you have enough disk space available on your Mac. Windows 11 requires at least 64GB of storage, but more may be needed for applications and updates.
-
Hardware Requirements for Windows 11: Windows 11 has specific hardware requirements which include:
- 1 GHz or faster processor with at least 2 cores on a compatible 64-bit processor
- 4 GB RAM or more (8 GB recommended)
- DirectX 12 compatible graphics with a WDDM 2.0 driver
- UEFI firmware with Secure Boot capability
- TPM version 2.0
Step-by-Step Installation Process
Step 1: Download Parallels Desktop
If you haven’t installed Parallels Desktop yet, go to the official Parallels website, and download the installation file. Follow the prompts to install the application on your Mac. If prompted, enter your administrator password to allow changes.
Step 2: Get the Windows 11 ISO
- Navigate to the Windows 11 download page.
- Select «Download now» under the «Create Windows 11 Installation Media» section.
- Choose «ISO file,» and hit «Next» to download the file to your Mac.
Step 3: Create a New Virtual Machine
- Open Parallels Desktop: Launch the Parallels Desktop application on your Mac.
- Create New: Click on the ‘+’ button or select the option to create a new virtual machine.
- Select Source: When prompted to choose the source of your installation, select «Install Windows or another OS from a DVD or image file.»
- Locate ISO File: Click on «Choose Manually,» and navigate to the location where you downloaded the Windows 11 ISO file. Select it and click «Open.»
- Continue: Parallels will recognize your ISO file and prepare for installation.
Step 4: Configure the Virtual Machine
-
Choose Installation Type: Choose “Express installation” for easier setup or “Custom installation” for more control over settings.
- The Express installation will automatically configure the virtual machine with optimized settings for Windows 11.
-
Set Up User Account: For the Express installation option, you’ll be asked to enter information like your Microsoft account details (optional) and choose settings for Windows.
-
Allocate Resources: Parallels Desktop allows you to allocate CPU and RAM to your virtual machine. For Windows 11, it’s recommended to allocate at least 4GB of RAM and 2 processor cores. Adjust these settings based on your Mac’s specifications.
-
Configure Storage: Choose the size of the virtual hard drive; 64GB is the minimum for Windows 11. Opt for “Expanding disk” to save space on your Mac hard drive, allowing it to grow as needed.
-
Select Integration Options: Choose how you want Windows to interact with your Mac. Parallels offers several integration options, from sharing folders to using Mac resources like printers.
Step 5: Installation of Windows 11
-
Start Installation: After setting up your virtual machine, click the «Create» or «Continue» button to start the installation process.
-
Windows Setup: After a moment, the Windows installation wizard will open. Follow the on-screen instructions to proceed with the installation.
- Choose your language, time format, and keyboard layout.
- Click «Next,» then select the «Install Now» option.
-
Activate Windows: If you have a product key, enter it when prompted. If not, you can choose the option to activate later.
-
License Agreement: Accept the license agreement to continue the installation.
-
Choose Installation Type: Select “Custom: Install Windows only (advanced)” for a clean installation.
-
Select Partition: You will see a partition screen. Select the virtual drive created (usually labeled as Drive 0) and click “Next.” Windows will then install on this virtual drive, which might take several minutes.
Step 6: Complete the Initial Setup
-
Finalize Installation: After the Windows installation process is complete, your virtual machine will restart. Follow additional prompts to set up preferences such as privacy settings, online features, and updates.
-
Create User Account: Set up your user account by entering your information and creating a password, if necessary. You can also use a Microsoft account or create a local account.
-
Initial Updates: Once the setup is finished and you are logged into Windows, allow Windows to check for updates and install them as needed, ensuring you have the latest features and fixes.
Step 7: Install Parallels Tools
After finishing the Windows setup, installing Parallels Tools is essential to optimize the performance of your virtual machine.
- Access Parallels Menu: Click on the «Actions» menu in the Parallels Desktop toolbar.
- Install Parallels Tools: From the drop-down menu, select «Install Parallels Tools.»
- Follow Installation Steps: This will open a new window in Windows 11. Follow the on-screen instructions to install the tools.
- Restart Windows: Once installation is complete, restart your Windows virtual machine to apply the changes.
Step 8: Optimize Windows 11 for Performance
-
Configure Virtual Machine Settings: To improve performance, navigate to the Parallels Desktop Control Center, right-click on your Windows 11 virtual machine, and choose «Configure.»
- CPU and Memory: Adjust the number of CPU cores and amount of RAM allocated. Increase these settings based on your Mac’s capability if you notice slowness.
-
Set Graphics Options: Under the “Graphics” option, ensure that you select “DirectX 11” for better graphics performance and smoothness.
-
Shared Folders: Ensure that shared folders are set up correctly, allowing easy access to your Mac files from Windows 11.
-
Disable Unused Features: In «Hardware» settings, disable unnecessary accessories that you won’t use, such as printers or cameras, to free up resources.
-
Snapshots: Use the snapshot feature regularly to create restore points. This can be a lifesaver if you encounter issues down the line.
Conclusion
Installing Windows 11 on Parallels Desktop is a straightforward process that bridges the gap between macOS and Windows environments. With a few steps, you can enjoy the latest features and applications of Windows while still utilizing your Mac.
Always ensure that your installation is backed up and your virtual machine is configured optimally to get the best performance. Windows 11 offers numerous enhancements and improvements, making it worth the transition. With Parallels Desktop, you can harness the power of both operating systems, increasing productivity and workflow efficiency.
As always, keep your Parallels Desktop and Windows 11 updated to enjoy new features and improved security, ensuring a smooth and enjoyable computing experience.