
Previously, when you installed Windows 7 SP1 as a guest OS, you could install VMware Tools without problem.
However, since VMware Workstation 16, some warnings and an error occur if the guest OS is not up to date.
- Warnings displayed when installing VMware Tools on Windows 7
- Installation of prerequisites
- Install VMware Tools on Windows 7
1. Warnings displayed when installing VMware Tools on Windows 7
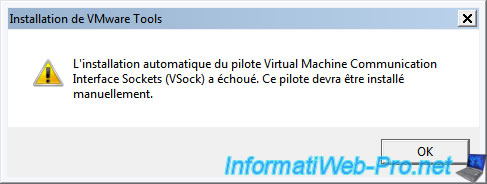
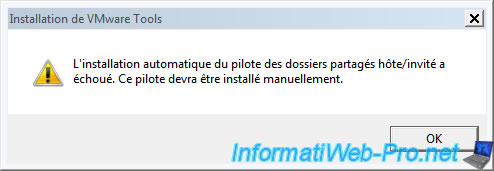
To begin, warnings will be displayed regarding the installation :
- VSock Virtual Machine Communication Interface Sockets driver
- Host Guest Shared Folders driver
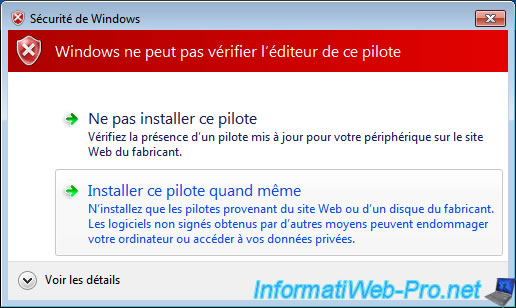
Then, you will get a «Windows can’t verify the publisher of this driver software» error.
This is because VMware has updated the certificates used to sign these drivers using the SHA-2 encryption algorithm. Except that this algorithm is not supported by default by Windows 7.
2. Installation of prerequisites
To find out about the prerequisites required for installing the VMware Tools of VMware Workstation 16 on Windows 7, simply consult the informations regarding VMware Tools 11.1.5.
As you can check on the VMware site, you will see that this new version of VMware Tools requires Windows 7 SP1 with the KB4474419 update.
To get started, install Windows 7 SP1 if you haven’t already.
Otherwise, download the service pack 1 of Windows 7 from the Microsoft Update catalog and install it in the virtual machine.

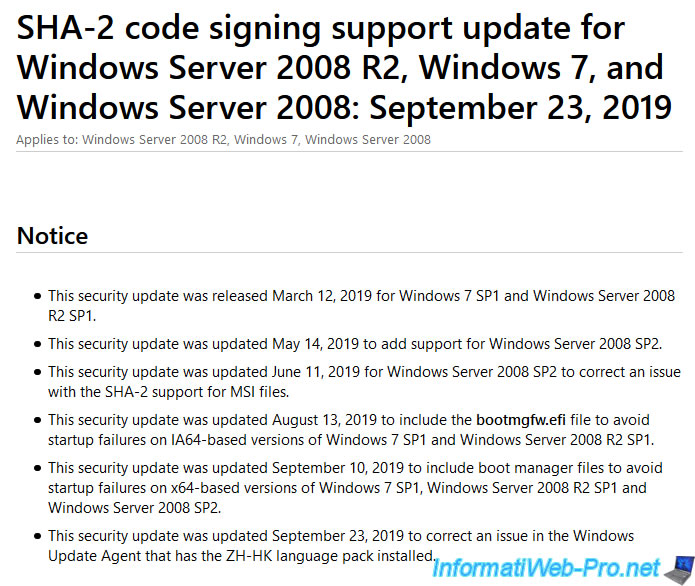
If you click on the «KB4474419» link referenced on the VMware site, you will arrive on a page : SHA-2 code signing support update …
As you can see, this update will add support for the SHA-2 algorithm for code signing.
This will allow Windows 7 to be able to correctly check the signature of the various drivers that will be installed by VMware Tools in your virtual machine.
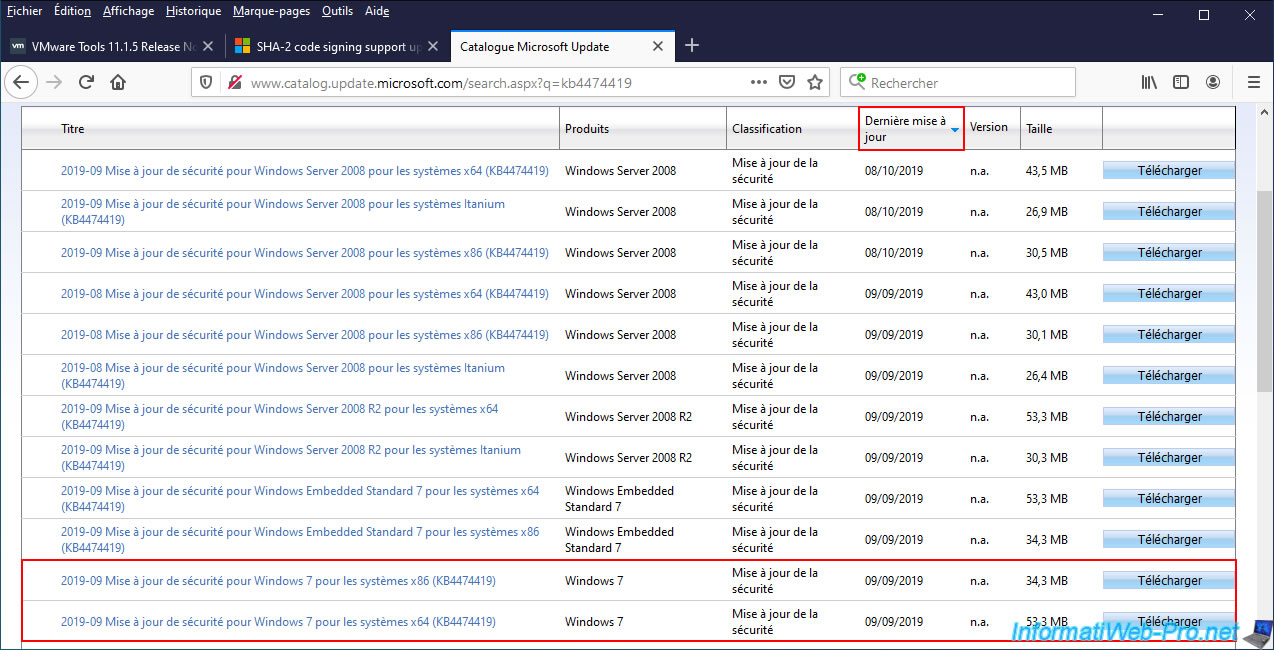
To download this update, you can use Windows Update or download it manually from the Microsoft Update Catalog by clicking on this link : KB4474419.
On the site that appears, sort the list by date of the last update to find the most recent version of this Windows update and download the one adapted to the architecture of Windows 7 that you have installed :
- Windows 7 x86 : Windows 7 in 32-bit
- Windows 7 x64 : Windows 7 in 64-bit
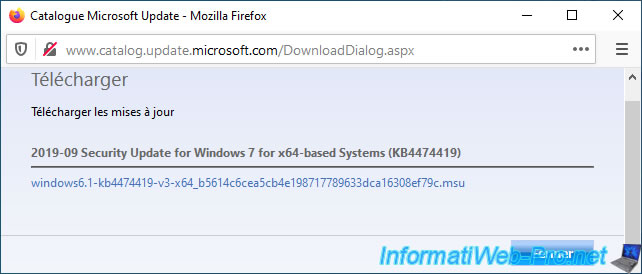
Once you click on the «Download» button, you will have a small window like this with a download link.
Just click on it to download this update.
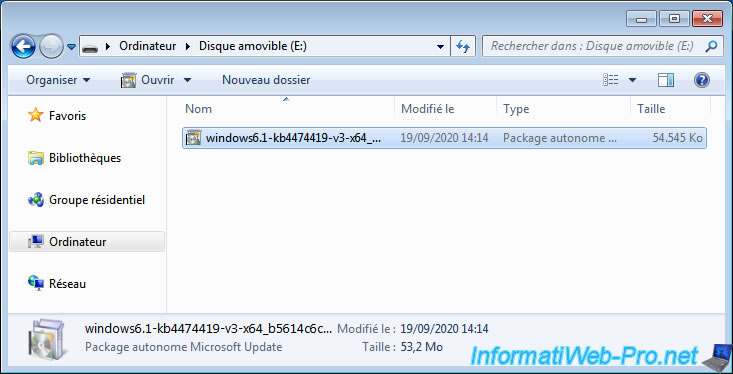
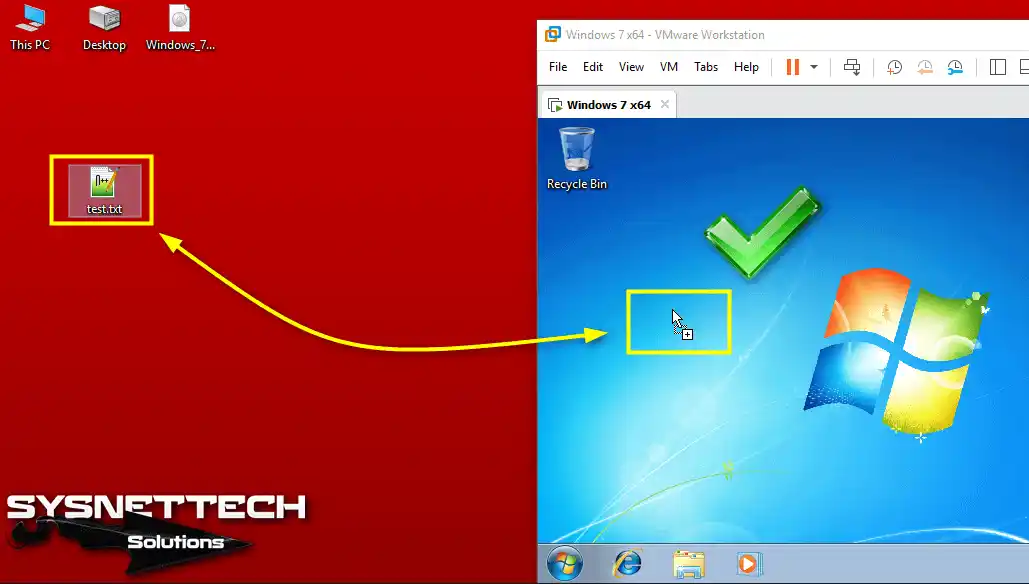
To transfer this update to the virtual machine, you have several options :
- download it directly from the virtual machine
- store it on an USB key and plug it virtually into your virtual machine from the VMware Workstation interface.
Indeed, drag/drop and VMware Workstation shared folders don’t work for the moment since VMware Tools are not installed in your virtual machine.
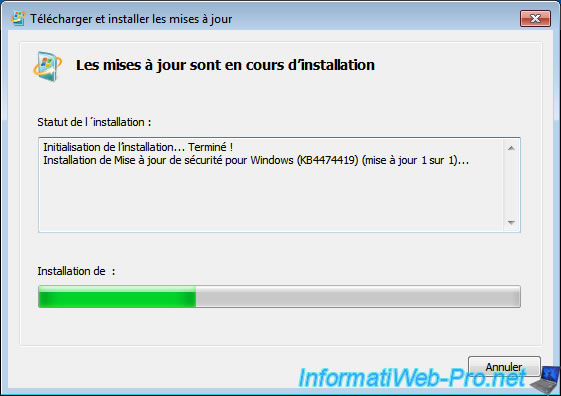
Launch the downloaded file and a window will appear telling you : Security Update for Windows (KB4474419).
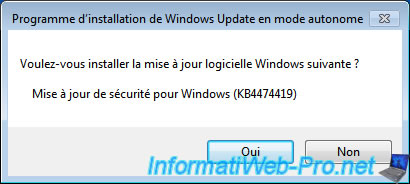
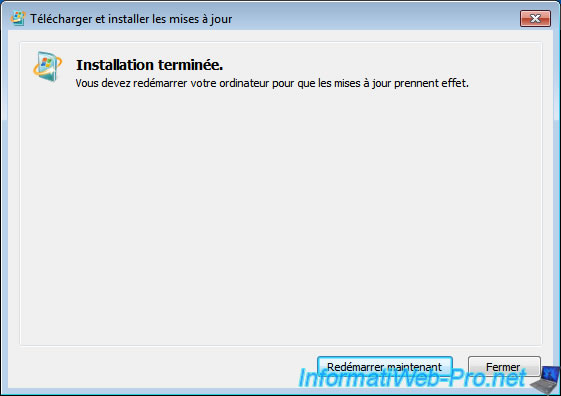
Wait while this Windows update is installed.
Restart the virtual machine after its installation is complete.
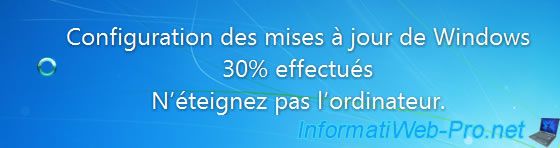
The «Configuring Windows updates» message appears while restarting the virtual machine.
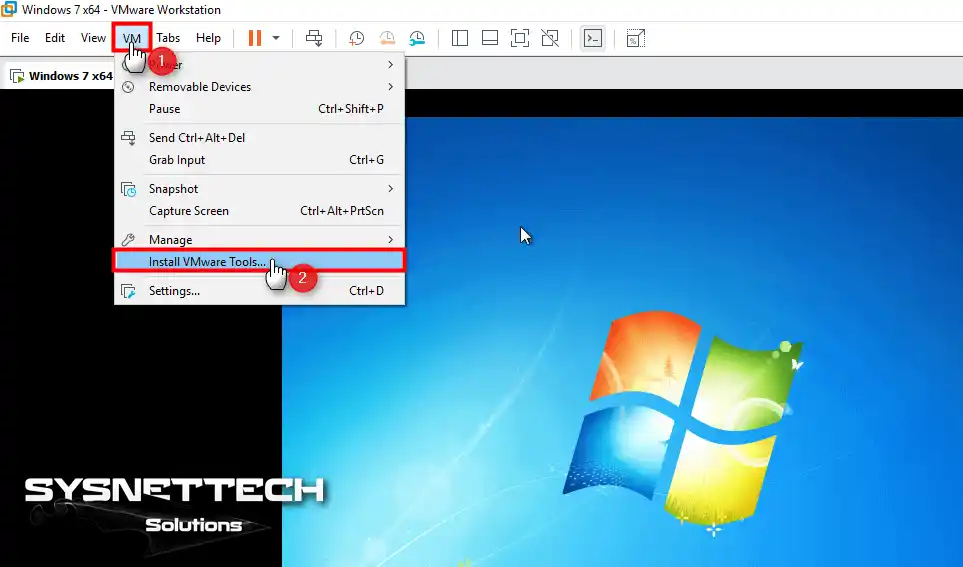
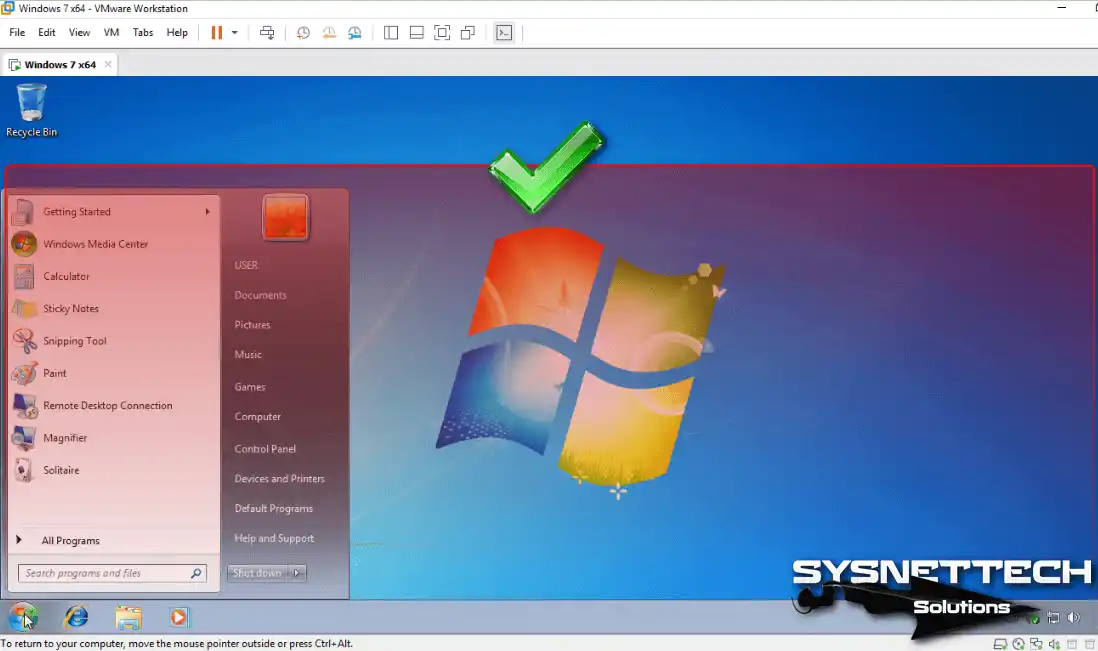
Now, you can install VMware Tools by clicking on : VM -> Install VMware Tools.
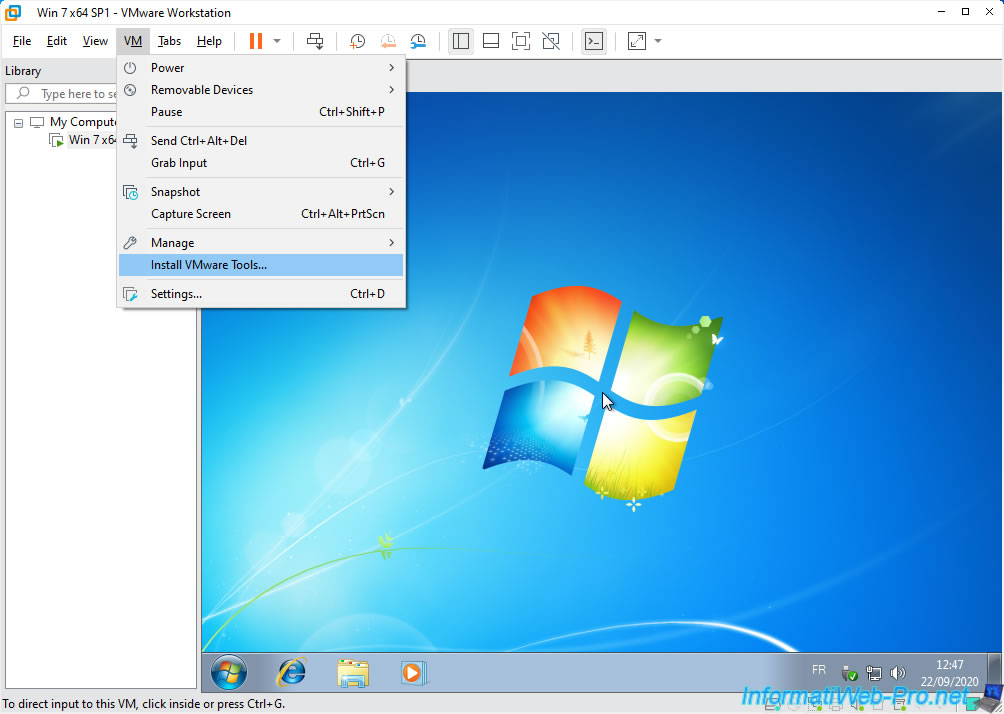
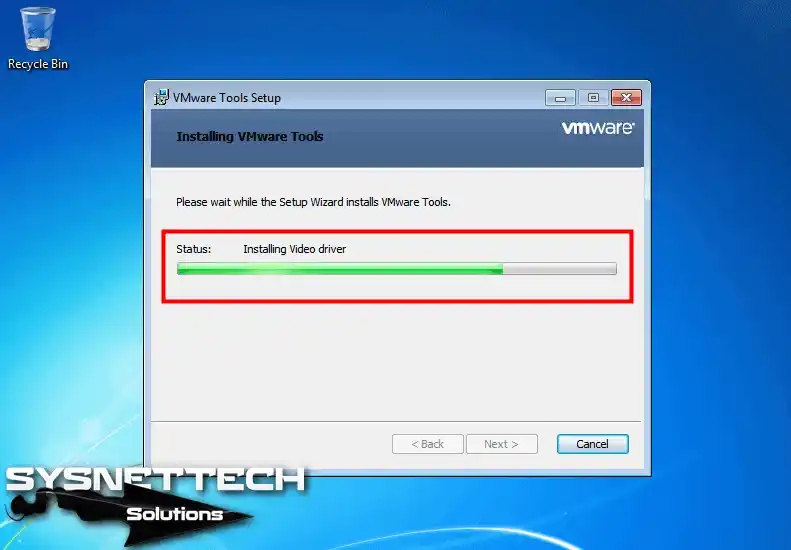
Wait while the VMware Tools install.
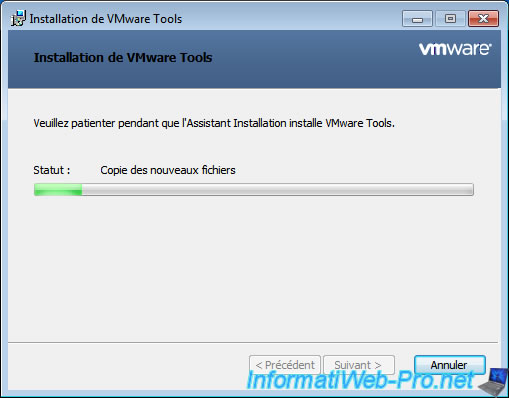
As expected, the installation completes without any warning and without any error.
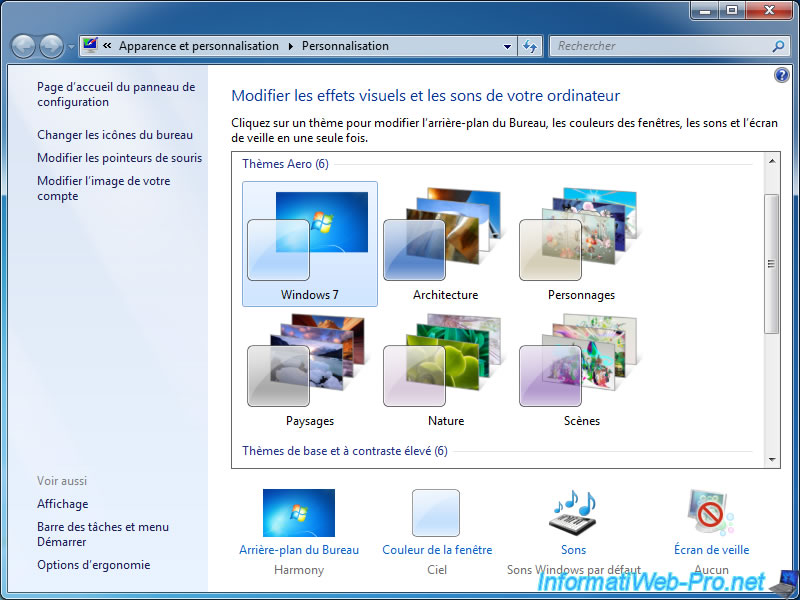
Once the virtual machine has restarted, don’t forget to activate Windows 7 aero, by right-clicking «Personalize» on the desktop, then clicking on the «Windows 7» Aero theme.
It is crucial to install VMware Tools on your Microsoft Windows 7 virtual machine. This will increase performance and improve integration. Not only that, but you will also get better graphics performance. This will improve the response time between you and your host PC.
Plus, you will gain ease of use by increasing mouse and keyboard responsiveness. You will also get access to better LAN features. In this guide, I will explain the steps to build VMware Tools on a Windows 7 VM.
Benefits of Installing VMware Tools for Windows 7
First of all, I want to mention that with VMware Tools, you can increase the performance of your virtual machines. Thus, you can improve your user experience and provide better usage. Plus, when you install on Microsoft Windows 7, you will also gain:
- Improved Graphics Performance: You will significantly improve the graphics capabilities of your guest machine. Thus, you will make your graphical interface more fluid and more responsive.
- File Sharing Capabilities: You will enable file sharing between the host machine and your guest machine. You can operate it to drag and drop files or access mapped drives.
- Clipboard Functionality: Copying & pasting your text, images, and files will be more effortless. In particular, you will speed up your data transfer and increase productivity.
- Time Synchronization: You will automatically synchronize your VM’s clock with your host machine. Obviously, if you have time-related tasks, you will prevent errors by ensuring consistency.
- Improved Mouse Interaction: You can move your mouse cursor smoothly between the host and guest systems. Plus, you will eliminate problems such as cursor lag.
Why Should I Install Windows 7 Virtual Drives in VMware?
As you know, technology is constantly evolving, but sometimes you may need old applications. So, virtual PCs give us a good solution for this. VMware makes it incredibly easy for us to manage these digital environments.
Here are the main reasons why we need to install Windows 7 virtual drives:
- Legacy Application Support
By running Windows 7 on a virtual machine, we can experience old applications. For this reason, we can use software that does not work on new versions of Windows. This development eliminates the need for us to search for old hardware.
- Testing and Development
VMs are the ideal testbeds for us to experiment with any software. Additionally, you can experiment without affecting your primary operating system. Moreover, you can safely explore different scenarios on a stable system.
- Safe Browsing Experience
You can reduce security risks by running legacy browsers in a VM. For example, you can isolate threats in a virtual environment before they affect your central system. This is an effective strategy to increase your knowledge & experience in cybersecurity.
- Resource Efficiency
Modern PCs also have the power to run multiple virtual OSes at the same time. VMware also preserves the performance of existing hardware by using resources efficiently.
- Easy Backup and Recovery
For example, you can easily create backups with snapshots in a Windows 7 VM. Additionally, you can quickly revert to a previous state if a problem occurs.
- Cost Effective Solution
Old physical systems are expensive to maintain and troubleshoot. So, a virtual OS like Windows 7 reduces our costs. We also save physical space by reducing our energy consumption.
In short, we get all these benefits by installing the hardware drivers of the Windows 7 VM.
How to Build VMware Tools on Guest Machine
Usually, if your host PC has Internet, you will automatically install VMware Tools when installing the VM. If you still can’t install it, that’s okay, so you will need to install it manually.
Now, let’s install Guest software on Win7 OS step by step.
Step 1
As you can see below, the driver software is not installed on the Win7 guest machine. You can obviously understand and verify this by the fact that your screen resolution has not changed.

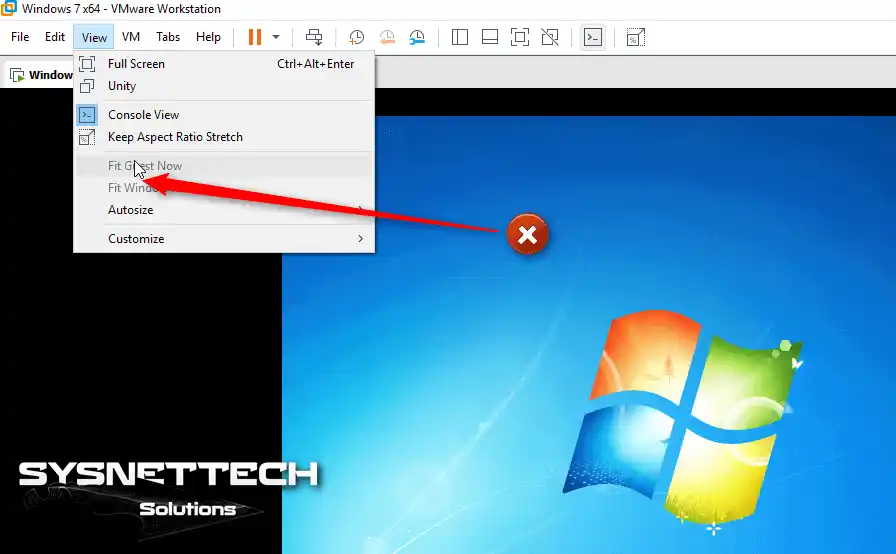
Step 2
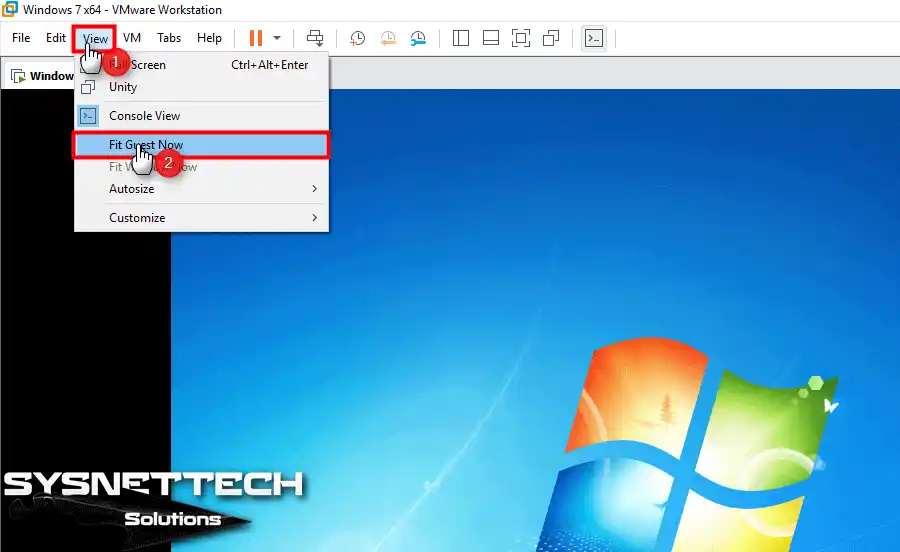
Here, if you installed the drivers for your guest machine, View / Fit Guest Now would be active, as in the image below. However, after the installation process, you can automatically fix the screen resolution of your VM.
However, since VM Tools is not installed at the moment, this option is inactive.
Step 3
To get rid of this situation, you should install the VMware tool on your guest machine. If you are ready, click on the VM / Install VM Tools option to install the additional software.
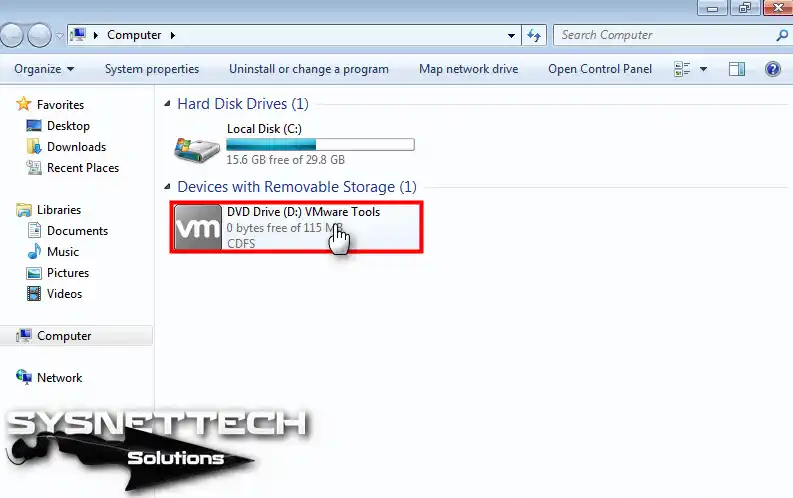
Step 4
You have mounted the image of the VM tools to the system. Then open My Computer and double-click the drive to start the wizard.
Step 5
We need to confirm that the wizard will start so the User Account Control pops up. Here, allow the running of files from the CD/DVD drive and proceed.

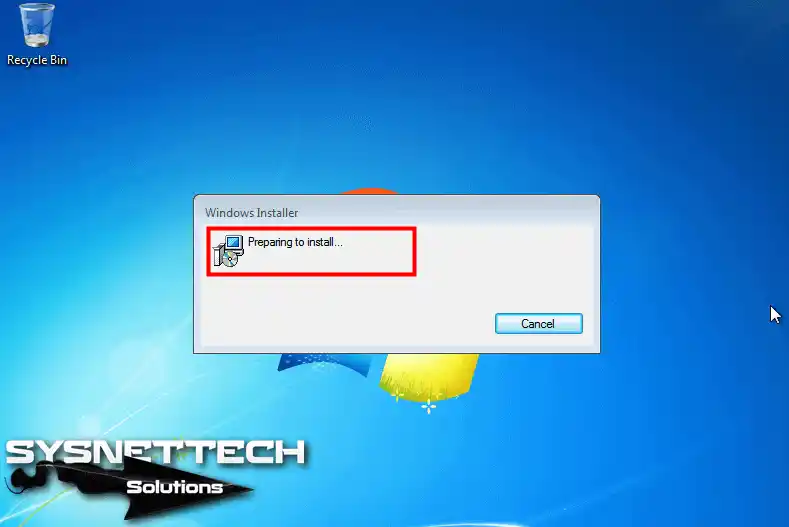
Step 6
The wizard prepares the drivers for your Windows 7 guest machine.
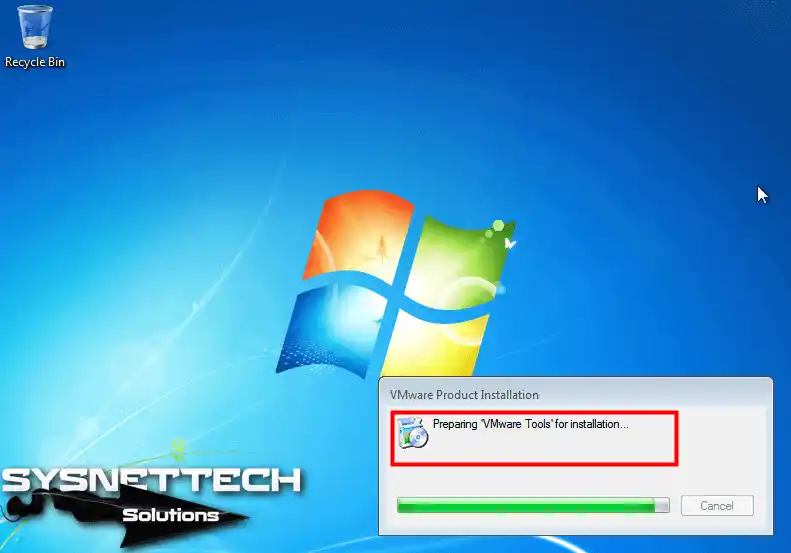
Step 7
Now, wait patiently for the installation process.
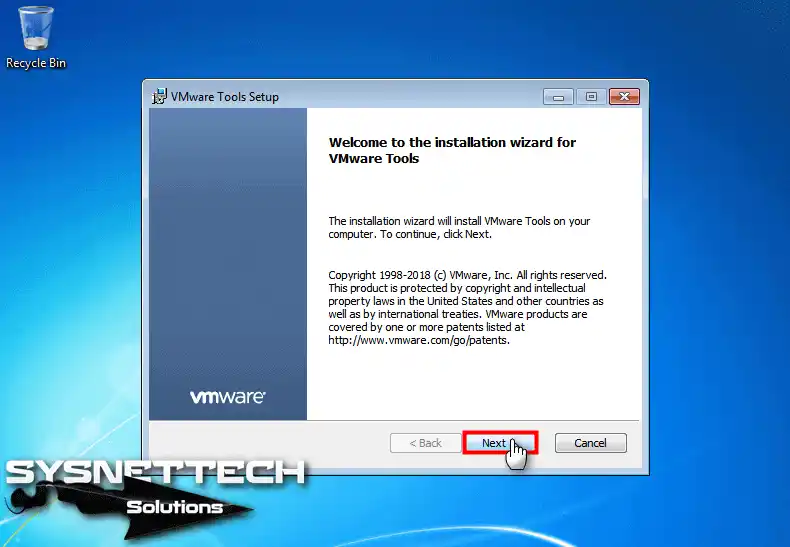
Step 8
Proceed through the Setup window, reading the legal rights regarding the VM tools.
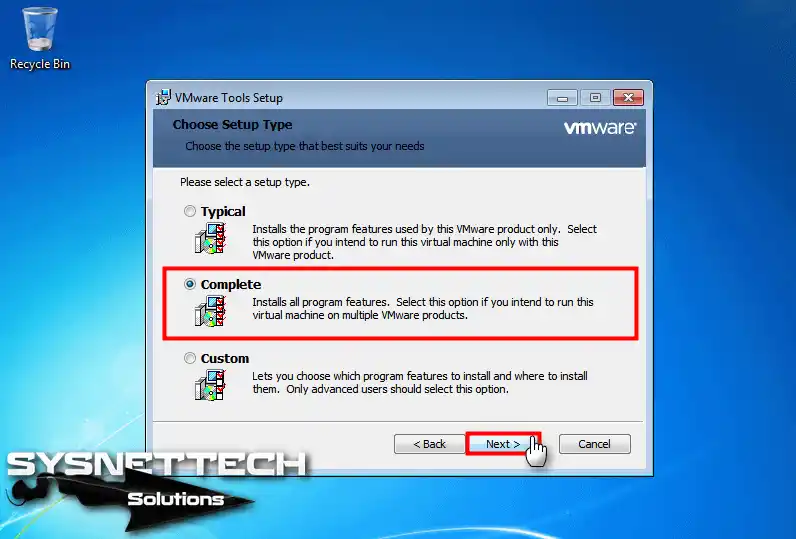
Step 9
When installing VM Tools on your Guest PCs, I definitely recommend that you select the Complete option. If you install all of these tools, you will prepare your virtual machine for new technologies in the future. That means you can run it on different VMware platforms.
Now, choose the Complete option and click Next to continue.
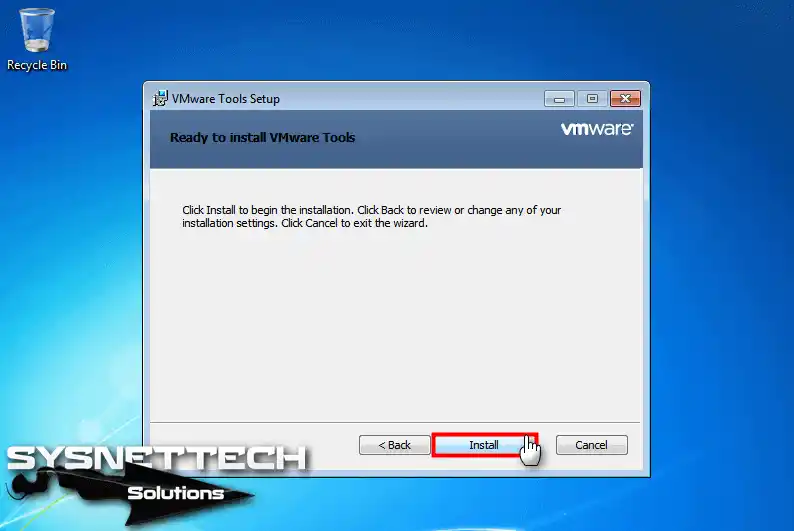
Step 10
The wizard is now ready to install VMware Tools, so continue by clicking Install on the relevant screen.
Step 11
Wait while the wizard installs VMware Tools on your Windows 7 virtual PC.
Step 12
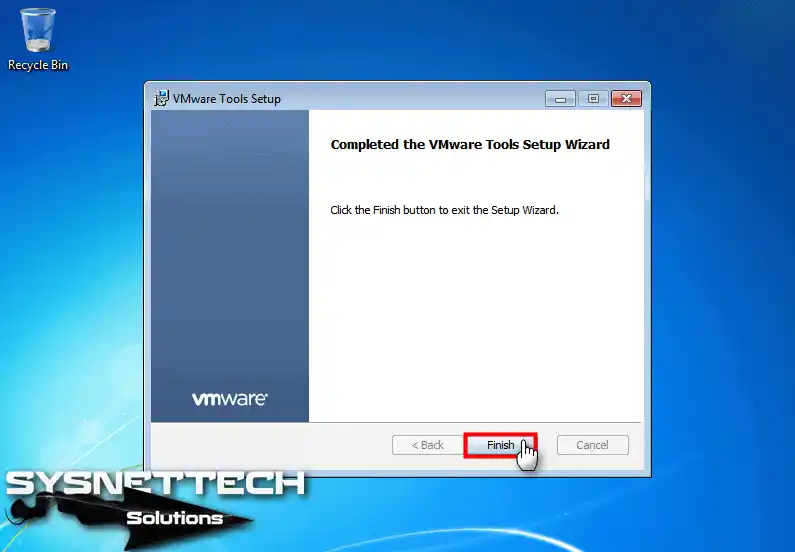
Now, you have installed the drivers for your VM’s virtual hardware.
Step 13
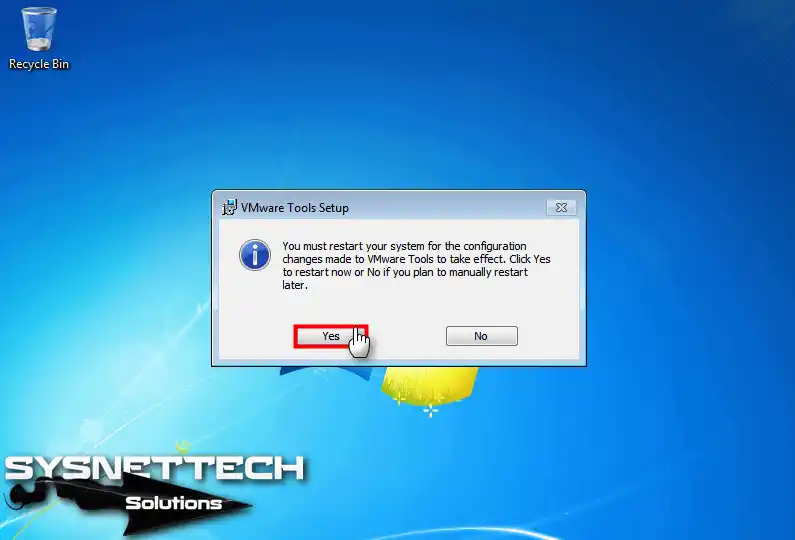
Restart your virtual PC to enable VMware services.
Step 14
Now your Fit Guest Now option is active. Click on the relevant option to adapt the Win7 screen settings to your host’s panel.
Step 15
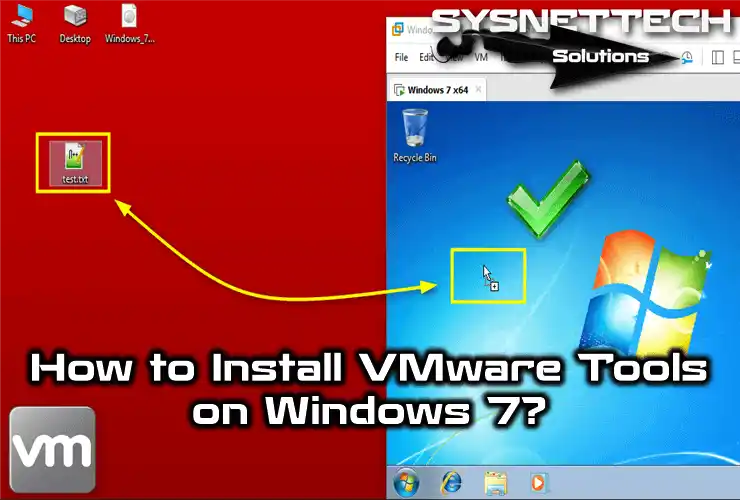
As soon as you click on the Fit Guest Now option, you will have changed the resolution of your VM.
Step 16
You can now transfer files between your physical PC system and your Win7 VM!
How to Setup Guest Software on Win 7 VM ⇒ Video
You can also increase the performance of your Windows 7 in VMware Workstation with our detailed video guide. For this, check out our YouTube tutorial video below. Finally, if you find our content helpful, we would like you to support us.
Frequently Asked Questions (FAQ)
- What if I encounter problems during installation?
If you are having trouble installing VMware Tools, first make sure your Windows 7 VM is up to date. Verify that you have the correct permissions to install additional software. Check that the ISO file was properly installed. If necessary, try uninstalling and reinstalling the existing installation. You can check the VMware website for specific error messages.
- Can I uninstall VM Tools?
Yes, you can uninstall this driver package like any other application. First, go to Control Panel > Programs > Programs & Features, find VM Tools in the list, and click Uninstall.
- Does it work with all versions of Windows 7?
Yes, it works with all of VMware Tools, including Home, Professional, and Ultimate. Just make sure it’s the same version of VMware Pro software that you’re using.
- Is it necessary to update regularly?
Yes, I recommend you always keep this driver package up to date. That is, every update includes bug fixes, new features, and better performance. If so, you are using a newer version of VMware Workstation. In that case, you can easily follow the updates of this software through the interface.
- How can I verify that VM Tools was installed successfully?
After installation and reboot, look for its icon in the system tray. Also, go to the Control Panel to check the installation. In this way, you can check if VM Tools is listed in Programs and Features.
Final Word
As a result, you have increased the efficiency of your Windows 7 guest system. In addition, of course, you can speed up your workflow by making GPU improvements.
One of the best parts of using VM is file sharing. You can share your documents quickly from both systems. You can also work smoothly with better mouse functionality.
Now, you can use old apps on your Win7 OS. For example, you are forced to use this system for an old machine in a manufacturing company. Because the software of this invention they made in the past works on this OS. Now you can solve such problems on your new generation PC!
If you are still having trouble with the configuration, we have a complete guide. I also explained how to use all these features in our article Installing Windows 7 with VMware. If you read it, you will see that there is only one solution on the Internet.
As of 12/11/2020, VMware no longer signs Tools for Windows Vista with SHA-1, so you need Windows 7 SP1 or later to use the latest version.
However, you can use an older version of VMware Tools, which is here: https://media.githubusercontent.com/media/thepwrtank18/thepwrtank18/master/VMware%20Tools%20for%20Windows%207%20RTM%20and%20Vista.iso
Link is dead. Instead, here’s a full on guide.
Step 0: Foreword
This is an unsupported operating system, with unsupported drivers. Use this at your own risk.
Step 1: Preparation
You will need:
- Either a:
- x64 Windows Vista ISO
- x64 Windows Vista Disc + Reader
- VMware Workstation (Pro or Player) 15.x, or Pro 16.x and higher.
- An old version of the VMware Tools ISO (10.3.5 to be precise), from here
Step 2: Creation
Note: Do not let VMware scan your ISO or disc, Easy Install may use the wrong version of Windows, whether a wrong edition or architecture.
Make a VM. If you have Pro or Player 15.x, do what you normally do. If you have Pro 16.x, make sure compatibility is set to Workstation 15.x (in Custom settings). After that, customize the settings you want. (Player does not support custom settings, so you either need to get 15.x, which is what you need anyway, or Pro 16.x and higher.)
Step 3: Modification
Make sure you have your ISO or disc selected in the VM options. If there’s a floppy disc or extra DVD drive with «autoinst» or the like on it, remove that drive.
Step 4: Installation
Install as usual. When it tells you to create a user profile, don’t do that for now. Go to the VM settings, then put in the VMware Tools ISO you got earlier. Don’t install VMware Tools via VM>Install VMware Tools. After that, press Shift+F10 in the VM. Put in D:\setup64.exe.
Step 5: Initialization
Do the VMware Tools installation as usual. When it says if it wants to restart the machine, say «Yes», then go to VM>Power>Reset. When it reboots, do the setup as normal. Let it monitor your computer’s performance, as drivers are installed.
01kg
Posted on
• Edited on
1. Where to download Windows 7?
As of Nov. 2024, this archive.org link is available. The SHA1 of this image is 36ae90defbad9d9539e649b193ae573b77a71c83. It matches what UTM official suggested. Please check and confirm it after downloading for safety reasons.
Considering the purpose of my installation is for testing, so I accept the potential risk of it. It’s not Microsoft official link, use with your own risk. Microsoft official link is not available
2. Key steps
- Use Easy Install method
- No activation key (My testing period is short, no key needed.)
- Default settings
- After installation, turn off «Side Channel Mitigations» if you need.
3. Install VMware Tools
Key points:
-
Should install KB4490628, KB4474419 manually.
As VMware article 78708 pointed out, Microsoft has changed Windows driver signing to use SHA-2 algorithm exclusively starting December 3, 2019, legacy Windows systems without SHA-2 code signing support will fail driver signature verification.
-
Should remove CD/DVD drive and add a new one.
After Windows 7 guest installation, the .iso of Windows 7 installation image file occupies the guest’s CD/DVD drive. So should delete it and add a new one.

Steps:
-
Install KB4490628, KB4474419 in Windows 7:
Without VMware tools, you can not copy and paste anything from host to guest. These updates should download in guest. But IE is too old to visit most sites. Two options:
-
IE browser: Tools -> Internet Options -> Advanced -> Security. Enable all SSL and TLS options:

This will prevent «cannot display» error:

But, after SSL and TLS options enabled, each time you visit an HTTPS site, it still will sometimes prompt you:

Just continue to it, if you know it is a good site.
-
Use IE search Firefox and install:

It looks like only ESR version of Firefox is capable to Windows 7.
-
Search KB4490628 and KB4474419 separately, find the «Microsoft Update Catalog» Link:
-
Restart Windows 7 guest
-
-
Remove and add new CD/DVD drive for Windows 7 guest


According to this article on ghacks.net, after Windows 7 installation finished, should shut down Windows 7 guest, remove its CD/DVD drive (mounted Windows 7 .iso file) then add a new one:
- Shut down the virtual machine.
- Open VMWare Workstation Player and right-click on the VM. (Don’t start the VM)
- Select the «Settings» option to edit the hardware settings.
- Highlight the CD/Drive on the left sidebar under the Hardware tab and click on the remove button.
- Repeat the above step to remove the Floppy Drive. (This step seems unnecessary, but it works for me.)
- Click on the «Add button» and select «CD/DVD» Drive and select finish. The right pane should now have the option «Use Physical Drive > Auto Detect» enabled. (Previously, it had the Windows ISO selected)
- Click on «OK» to close the window, and Start the VM as usual.
- Once it has booted to the desktop, click on the menu at the top left corner and go to «Player > Manage > Install VMWare Tools».
Tools for Windows 7
- Mounting disk image files tool: Wincdemu (Open source)
В материале мы рассказали о ключевых особенностях VMware Tools, а также дали пошаговую инструкцию для установки VMware Tools на виртуальную машину с Windows или Linux.
Введение
VMware Tools представляет собой специализированный набор программ, который устанавливается и используется на виртуальных машинах (ВМ). Он играет важную роль в эффективном взаимодействии ВМ с физическим сервером, который дает ресурсы для ее работы. VMware Tools способствует тому, чтобы операционная система (ОС) виртуальной машины была более управляемой и производительной.
Особенности VMware Tools
Вот несколько основных примеров функций VMware Tools:
- Ускорение графики виртуальной машины.
VMware Tools устанавливают драйверы, которые позволяют использовать ускоренную 3D-графику на виртуальных машинах. Это повышает качество графики. - Управление устройствами.
VMware Tools устанавливают драйверы для устройств, которые используются в виртуальных машинах. Например, клавиатура, мышь и сетевые адаптеры. С помощью установки драйвера получится лучше управлять устройствами и оптимизирует их использование. - Автоматическая настройка размеров экрана.
VMware Tools автоматически меняют размеры экрана виртуальной машины, подстраивая их под текущие настройки хост-машины. - Интеграция между гостевой и хост-системой.
VMware Tools позволяют выполнять различные операции: копирование и перенос данных между виртуальной машиной и хост-системой, обмен файлами и т. д. - Клонирование и резервное копирование виртуальных машин.
VMware Tools позволяют клонировать виртуальные машины и создавать их резервные копии. Обычно это происходит таким образом: VMware Tools запускает процесс создания VSS snapshot внутри вашей гостевой ОС. Для этого используется VMware Snapshot Provider. В этот момент все VSS writers в гостевой операционной системе готовят нужные приложения к копированию и также записывают все данные из памяти на диск. По завершении своей работы, VSS writers передает службе VMware Tools информацию о том, что можно снимать снапшот. Все это происходит через VMware Snapshot Provider. Данная служба передает VMware о готовности снять снимок. Это позволяет легко делать снапшоты ВМ.
В состав VMware Tools включены следующие драйверы:
- VMware SVGA. Поддерживает ускоренную графику для виртуальных машин.
- VMware vShield. Обеспечивает безопасное соединение и защиту трафика при работе в сети.
- VMware VMXNET. Обеспечивает оптимизацию работы сетевых адаптеров в виртуальной машине.
- VMware Tools для клавиатуры и мыши. Позволяет лучше управлять этими устройствами в виртуальной машине.
- VMware Paravirtual SCSI. Позволяет увеличить производительность работы дисков на уровне I/O запросов.
Установка VMware Tools на виртуальную машину с Windows
Шаг 1: Выберите вашу виртуальную машину из списка Inventory (меню в левой верхней части экрана).
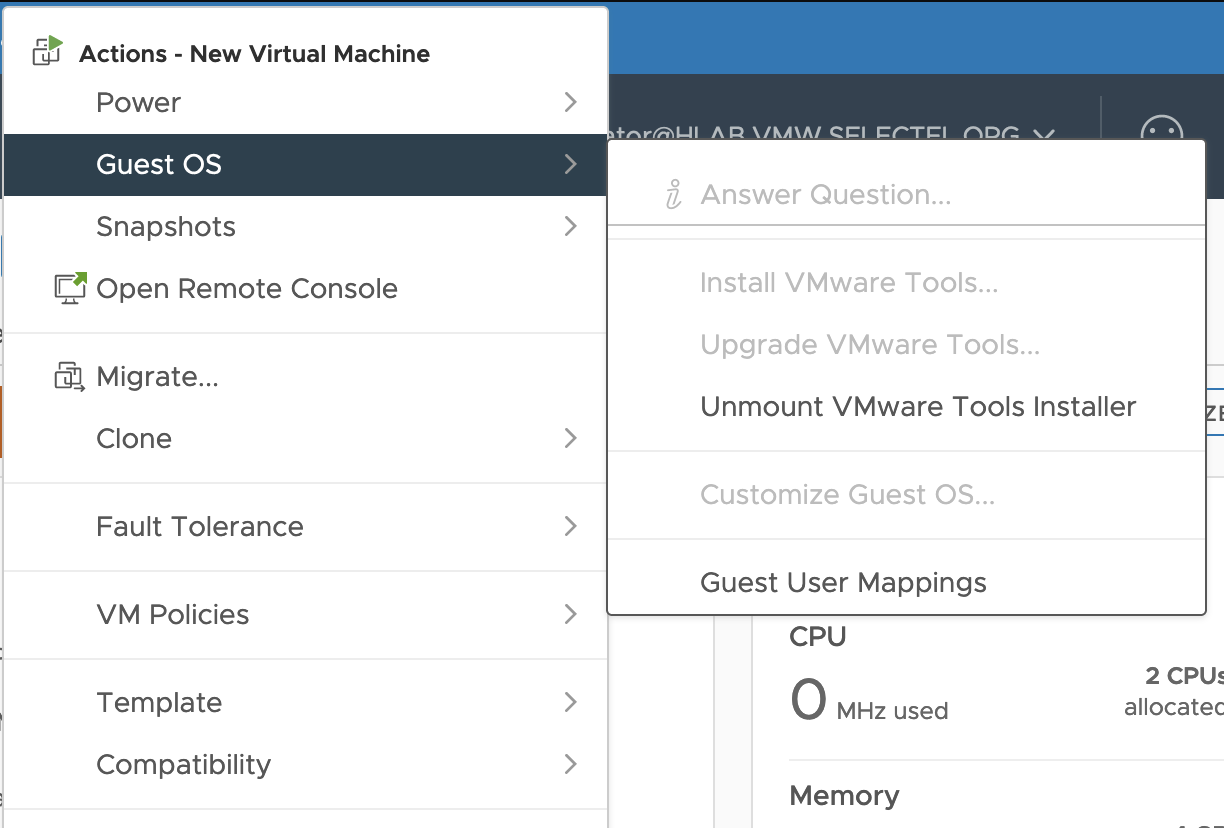
Шаг 2: А затем перейдите в меню Actions → Guest OS → Install VMware Tools.
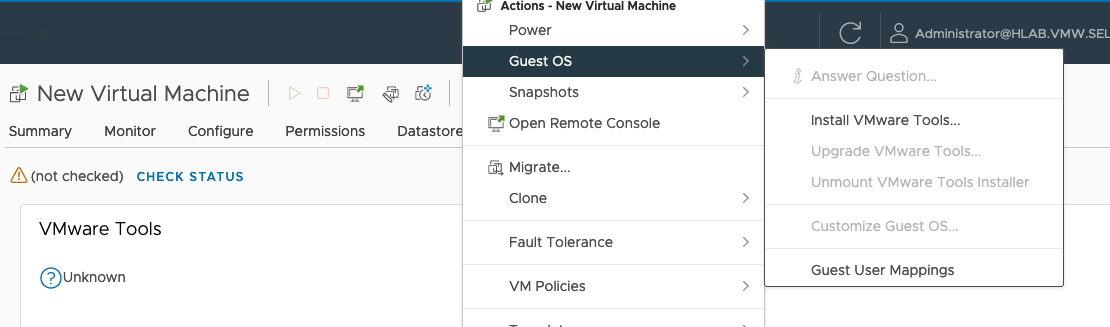
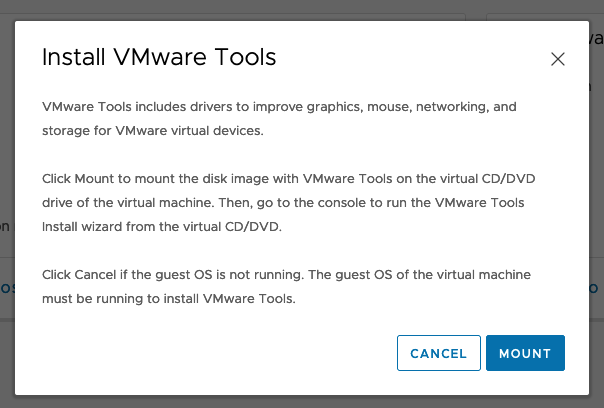
Шаг 3: Подтвердите монтирование образа диска. Благодаря этому, вы сможете подключить к вашей виртуальной машине ISO-образ с необходимыми установочными файлами.
Шаг 4: Войдите в операционную систему Windows. Сделать это можно через консоль самой VMware или при помощи RDP.
Шаг 5. Запустите File Explorer, затем перейдите в This PC. Среди подключенных дисков, собранных в единый список, выберите VMware Tools и кликните по нему два раза (это запустит установщик).
Шаг 6. Для завершения установки потребуется сделать перезагрузку виртуальной машины.
Шаг 7: После того, как установка закончится, отключите диск с VMware Tools от виртуальной машины. Сделать это можно в меню Actions → Guest OS → Unmount VMware Tools.
Особенности пакета Open VM Tools
Open VM Tools (open-vm-tools) — это реализация VMware Tools с открытым исходным кодом. Пакет подходит для гостевых ОС Linux. Open-vm-tools поставляется в комплекте с некоторыми операционными системами Linux и обычно устанавливается вместе с ОС. Благодаря этому вам не нужно самостоятельно устанавливать этот пакет в операционную систему.
Все ведущие поставщики Linux поддерживают набор open-vm-tools для vSphere, Workstation и Fusion и объединяют open-vm-tools со своими выпусками продуктов. Проверить, совместима ли ваша ОС с пакетом open-vm-tools, можно в Руководстве по совместимости с VMware.
Операционные системы, в которых есть встроенный пакет с дистрибутивом open-vm-tools:
- Red Hat Enterprise Linux 7.0 и более поздние версии,
- SUSE Linux Enterprise 12 и более поздние версии,
- Ubuntu 14.04 и более поздние версии,
- CentOS 7 и более поздние версии,
- Oracle Linux 7 и более поздние версии,
- FreeBSD 10.3, 10.4 & 11.1,
- Fedora 19 и более поздние версии,
- Debian 7.x и более поздние версии,
- openSUSE 11.x и более поздние версии.
Для более эффективного управления гостевыми операционными системами набор open-vm-tools включает следующие пакеты:
- Core open-vm-tools package.
Он содержит основные утилиты open-vm-tools, прикладные программы и библиотеки, включая vmtoolsd, которые помогают эффективно взаимодействовать хосту с виртуальными машинами. Этот пакет включает такие функции как синхронизация часов гостевых ОС с платформой виртуализации, передача файлов между сервером и виртуальными машинами, отправка информации о состоянии гостевых ОС в vSphere для поддержки vSphere High Availability (HA), публикация информации об используемых ресурсах и сетевой информации гостевых ОС в платформу виртуализации и т. д. - Open-vm-tools-desktop package.
Можно подключить в зависимости от необходимости, так как пакет является опциональным и включает дополнительные пользовательские программы и библиотеки для улучшения интерактивной функциональности рабочих столов виртуальных машин. Пакет позволяет изменять размер дисплея в соответствии с окном консоли хоста или окном удаленной консоли VMware vSphere. Он также позволяет копировать и вставлять данные между хостовой и гостевой ОС. - Open-vm-tools-devel package.
Содержит библиотеки и всю необходимую дополнительную документацию, которая используется при разработке плагинов и приложений vmtoolsd. - Open-vm-tools-debuginfo package.
Содержит исходный код open-vm-tools и двоичные файлы. Последнюю копию исходного кода Open VM Tools можно найти на GitHub.
Методы установки Open VM Tools на Linux
Чтобы установить пакет open-vm-tools на Linux, нужно ввести такую команду в командной строке и нажать Enter:
# sudo apt install open-vm-toolsДля установки open-vm-tools на RPM based дистрибутивы, нужно выполнить команду:
# yum -y install open-vm-toolsХотим обратить ваше внимание на тот факт, что способ установки и удаления VMware Tools через ISO может быть не самым эффективным.
Во-первых, это требует вмешательства пользователя в каждую отдельную виртуальную машину — никакой возможности автозагрузки не предусмотрено. Это может быть весьма трудоемким при большом количестве ВМ.
Во-вторых, обновление и управление этими инструментами может быть затруднено, так как каждая виртуальная машина должна будет обновляться вручную.
В-третьих, при обновлении гипервизора, необходимо еще раз устанавливать все эти инструменты заново.
Для операционных систем на базе Linux команда VMware рекомендует использовать пакет open-vm-tools.
Заключение
В данном материале мы рассмотрели особенности VMware Tools для Windows и Open VM Tools для Linux. Также рассказали, как их установить на ВМ с соответствующими операционными системами. Надеемся, что этот материал поможет вам в работе с VMware Tools.