
Applies ToWindows 7 Home Basic Windows 7 Home Premium Windows 7 Professional Windows 7 Ultimate Windows 7 Enterprise Windows Vista Home Basic Windows Vista Home Premium Windows Vista Business Windows Vista Business 64-bit Edition Windows Vista Ultimate Windows Vista Enterprise Microsoft Windows XP Home Edition Microsoft Windows XP Professional
Симптомы
Когда компьютер под управлением Windows пробыл достаточно в простое, чтоб отключить жесткий диск, а жесткий диск не отключается. Например Вы установили параметр Отключить жесткий диск на 3 минуты, а жесткий диск не отключается даже если компьютер находится в бездействии и 15-20 минут.
Причина
Такое поведение может возникать в случае любой дисковой активности, вызвана ли она системной задачей или вводом пользовательских данных. Любая активность диска сбрасывает таймер простоя жесткого диска, и это может увеличить время, необходимое для его отключения.
Windows предназначен для автоматического выполнения задач обслуживания для повышения производительности и надежности. Когда компьютер подключён к электросети и находится в режиме простоя, то на несколько минут могут быть запущены задачи по обслуживанию системы. Эти задачи обслуживания системы включают оптимизации разметки диска для повышения производительности и подготовка точки восстановления системы автоматического для повышения надежности. Как правило, эти задачи возникают первое время когда Вы оставляете компьютер в простое, после его запуска. Эти задачи обеспечивают сохранность системы, её производительность и надежность даже после длительного использования. Поскольку эти задачи включают и чтение и запись на жесткий диск, то его время простоя сбрасывается регулярно на протяжении этого периода обслуживания.
Также есть и другие элементы, которые могут сбросить таймер простоя жесткого диска. Эти элементы могут включать:
-
Операции разбиения по страницам.
-
Проверка состояния системы Windows Update.
-
Ведение журнала событий.
-
Обнаружение сети DHCP или Autonet.
-
Обеспечение квоты службам сторонних производителей программного обеспечения или антивирусной программе.
-
Запланированные задания.
-
Загрузка службы или драйверы.
Когда эти элементы считывают с диска или записывают на него данные, таймер простоя жесткого диска сбрасывается.
Статус
Данное поведение является особенностью.
Дополнительные сведения
Такое поведение согласуется в Windows Vista и Windows 7. Это верно, даже если новые процессы в этих системах преимуществами время простоя системы для повышения удобства работы пользователей. Эти новые процессы включают (но не ограничиваются) Superfetch, индексирования и Защитник. Может быть также установленные на компьютере приложения сторонних, пользующихся преимуществами это время простоя без негативного воздействия на активных сеансов пользователей.
Можно использовать инструмент «Электропитание» панели управления для настройки компьютера на отключение дисков после простоя компьютера в течение указанного количества времени.
Дополнительные сведения о том, как определить, если в данной статье описывает проблему или получить дополнительные сведения об устранении неполадок щелкните приведенные ниже номера статей базы знаний Майкрософт:
310560 способы устранения неполадок конфигурации с помощью программы настройки системы в Windows XP
310353 способы выполнения «чистой» загрузки в Windows XP
Нужна дополнительная помощь?
Нужны дополнительные параметры?
Изучите преимущества подписки, просмотрите учебные курсы, узнайте, как защитить свое устройство и т. д.
Отключение внутреннего жесткого диска с помощью средств Windows
Самое разумное — после определенного периода бездействия перевести жесткий диск в спящий режим. В этом случае он почти не потребляет энергию, но при необходимости быстро возобновляет работу.
- Откройте панель управления и выберите там категорию «Система и безопасность».
- В ней выберите «Электропитание» и слева нажмите «Настройка перехода в спящий режим».
- Нажмите «Изменить дополнительные параметры питания», откроется небольшое окно.
- В категории «Жесткий диск» теперь вы можете выбрать, через сколько минут оборудование перейдет в режим ожидания.
- Кликните по кнопке ОК, чтобы сохранить ваши настройки.
Через BIOS и специальные программы
Отключать внутренний жесткий диск стоит только в том случае, если на нем сохранены только личные данные, а не программы или другая важная информация. Если Windows захочет получить доступ к отключенному жесткому диску, вы получите сообщение об ошибке. Кроме того, постоянное включение и выключение винта более вредно, чем работа «на холостом ходу».
BIOS: в некоторых версиях BIOS вы можете отключить питание жесткого диска после определенного периода бездействия. Однако это работает не в каждой модификации BIOS.
Программное обеспечение: гораздо удобнее включать и выключать жесткий диск с помощью определенных программ. Например, инструмент HotSwap! интегрируется в панель задач и позволяет выключать и снова включать жесткие диски одним щелчком мыши. Аналогично работает программа revoSleep.
Если вы хотите отключить один жесткий диск, потому что на другом достаточно места, все равно стоит разбить рабочий диск на разделы, чтобы отделить программы и данные друг от друга. Как это сделать, мы рассказывали здесь.
Читайте также:
- Почему SIM-карта не распознается и что с этим делать
- Как выключать компьютер в заданное время: 2 способа
If you think hard disk consume a lot of power, especially in your Windows 11 laptop you can prefer to turn off hard disk after idle time. This helps in saving the battery life of your system. In Windows 11, you can turn off this setting manually.
In this post, learn how to set hard disk to turn off after idle time in Windows 11.
Page Contents
Set hard disk to turn off after idle time in Windows 11
Method 1: Turn off Hard Disk Using Power Options
1. Open the Run dialog box by pressing the Windows + R tabs together on your keyboard. After that, type powercfg.cpl in the Run dialog box and press Enter to open Power Options.

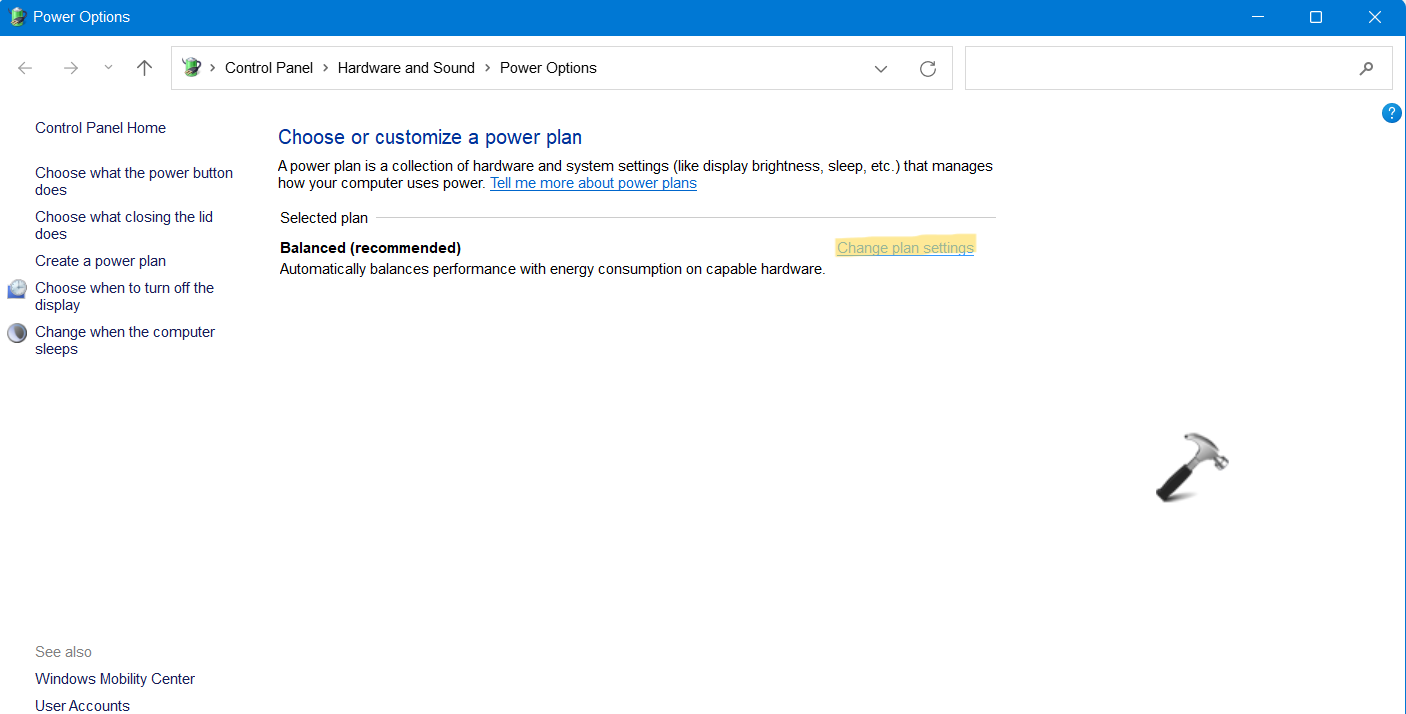
2. Once there, click on Change plan settings under the Selected plan window.
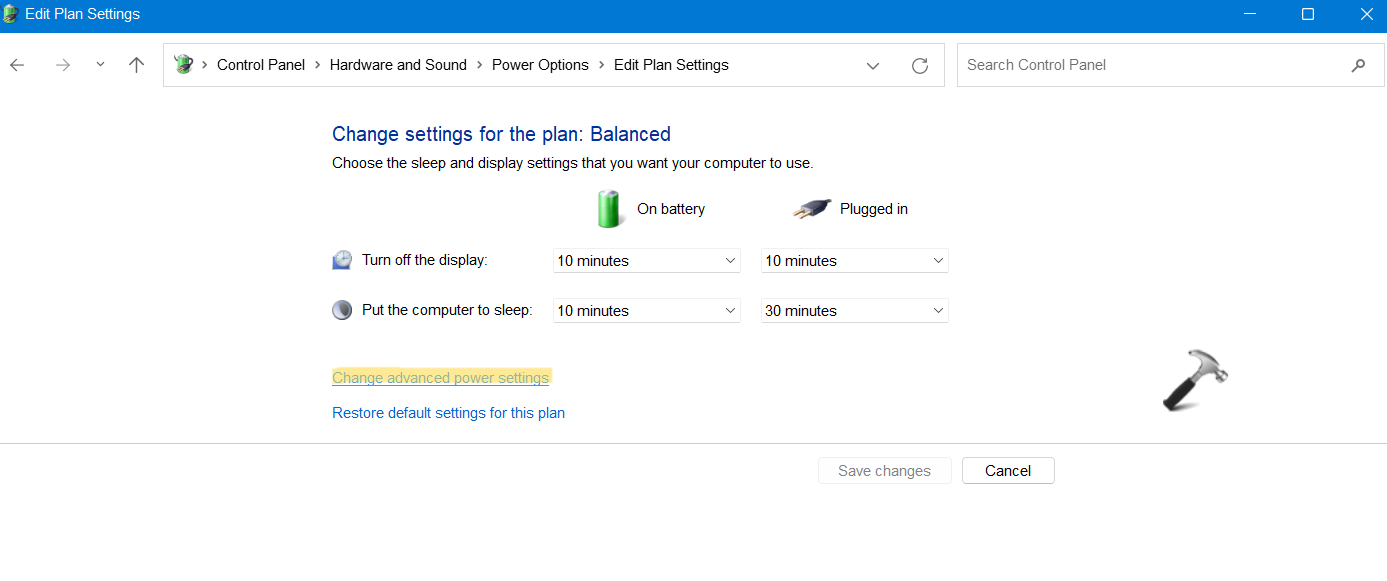
3. After that, select Change advanced power settings.
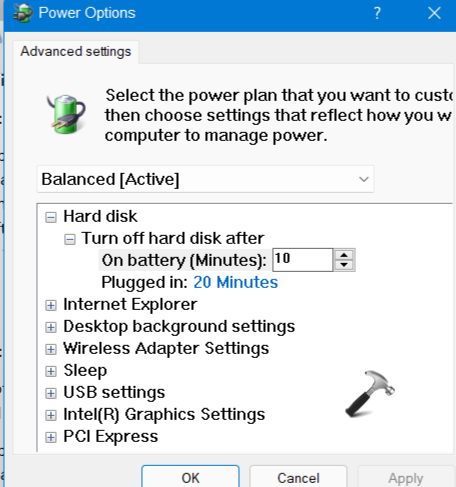
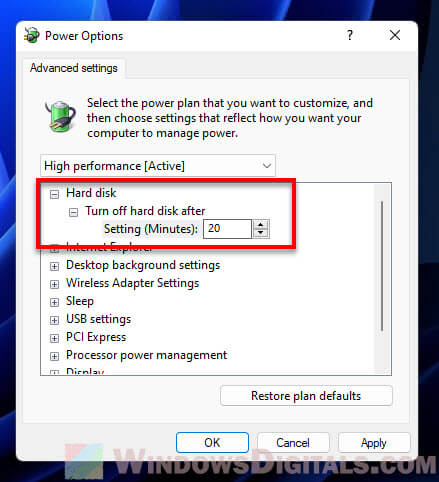
4. In the next window, go to the Advanced settings tab and click on Hard disk to expand it. Next, click on Turn off hard disk after. From there, you need to change the time for On battery (Minutes) and Plugged in.
5. Once done, click on Apply and hit OK for saving the changes.
Method 2: Turn off Hard Disk Using Command Prompt
This is another method to set hard disk to turn off after idle time in Windows 11. Here, you need to use Command Prompt for a much quicker solution. Now, go through the instructions given below:
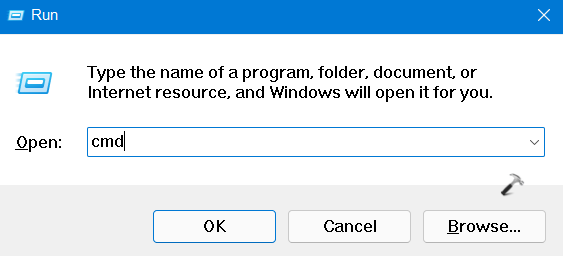
1. Open the Run dialog box by pressing the Windows + R tabs together on your keyboard. After that, type cmd in the Run dialog box and press the Ctrl + Shift + Enter keys simultaneously to open Command Prompt with admin privileges.
2. Now, copy-paste the following command and hit Enter.
powercfg -change -disk-timeout-dc 0
Note: Before you execute, change 0 with the amount of minutes you like to disable hard disk after idle time.
3. Next, execute the following command and hit Enter.
powercfg -change-disk-timeout-ac-0
Note: Before you execute, change 0 with the amount of minutes you like to disable hard disk after idle time.
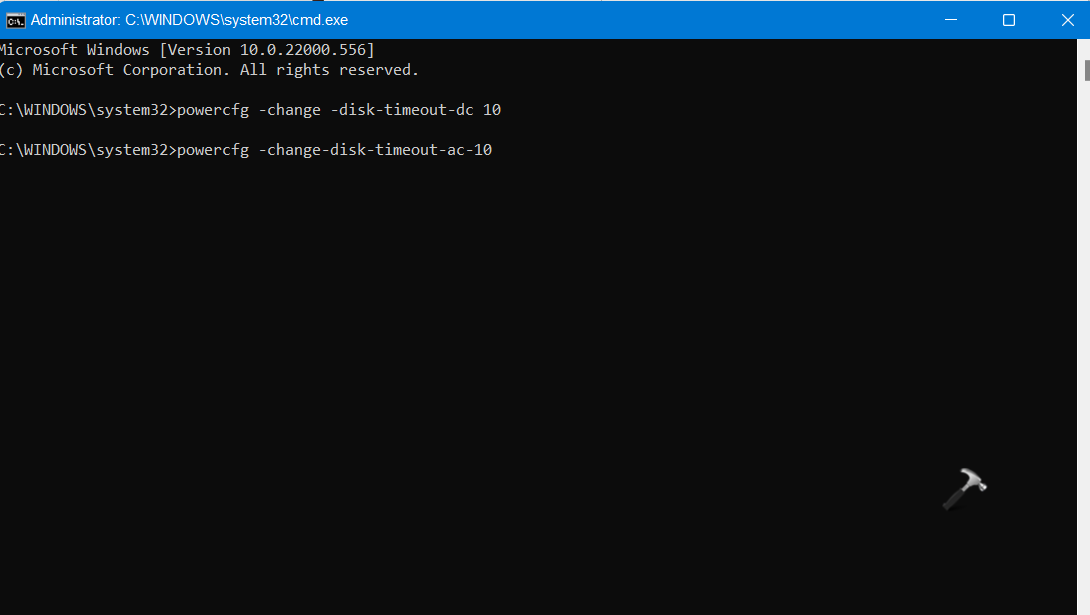
For reference, we want to turn hard disk off for 10 minutes after the system is idle. Thus, we have replaced 0 with 10 in the attached screenshot. You can replace it with any number of minutes you want.
After executing these commands, close Command Prompt and restart your system. Now, when your computer is idle, your hard disk will be disabled for the specified time.
So, these are some of the easiest methods to turn off hard disk after idle time.
RELATED ARTICLES
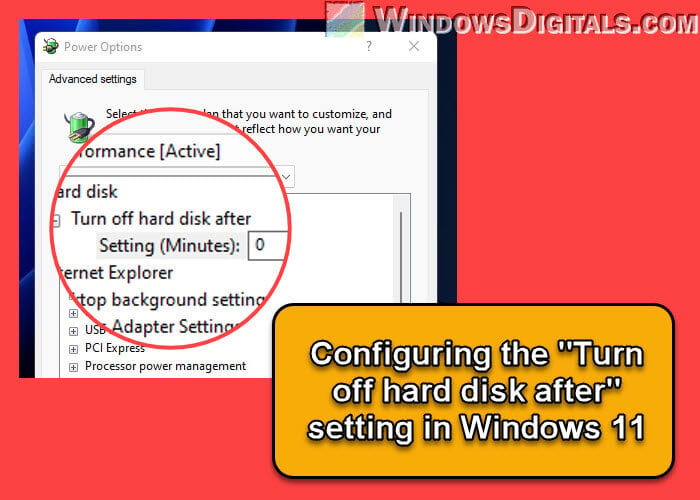
When talking about saving energy, making sure your computer doesn’t waste unnecessary power is quite important. If you’re using Windows, there is a handy option called “Turn off hard disk after” that you can use to tell your PC to turn off your hard disk after a set period of time if your PC is in idle state. This only saves you some energy and battery life, it also prolongs the lifespan of your hard disk drives. This guide will talk about this particular setting and how to configure it in Windows 11.
Also see: How to Stop Windows 11 From Turning Off Screen or Sleeping
What’s the “Turn off hard disk after” setting?
The “Turn off hard disk after” setting lets you choose how long your computer waits during a period of inactivity before it puts the hard disk to sleep. This little adjustment is all about cutting down on power use, making your hard disk last longer, and maybe even keeping your computer cooler.
Linked issue: Second Monitor Keeps Going to Sleep (Fix)
Why should you care?
There are a bunch of reasons this setting is worth a look:
- It’s good for the planet and your wallet because it saves energy.
- Your hard disk might last longer since it’s not working non-stop.
- A quieter computer, because a sleeping hard disk doesn’t make noise.
- It might help keep your computer running cooler.
Useful tip: How to Turn On/Off or Change Screen Saver in Windows 11
Changing the setting in Windows 11
Want to adjust this setting? Here’s how you do it:
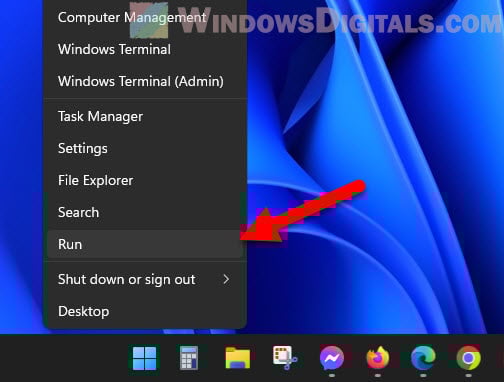
- Give the Start button a right-click and choose Run.

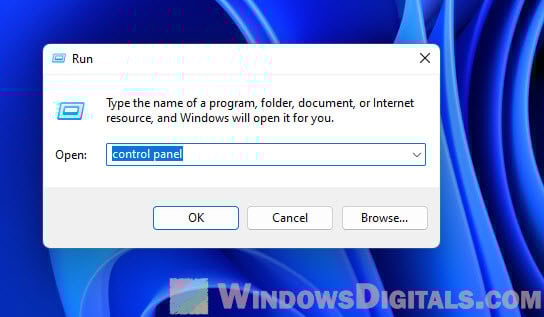
- Type
control panelin the Run box and press Enter.
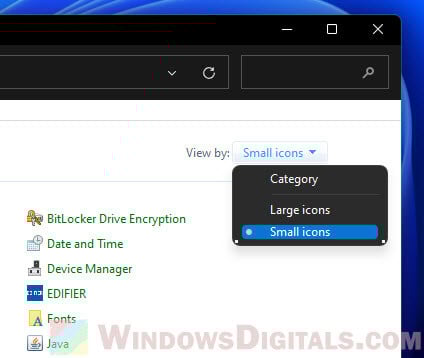
- Switch the Control Panel view to either Large icons or Small icons.

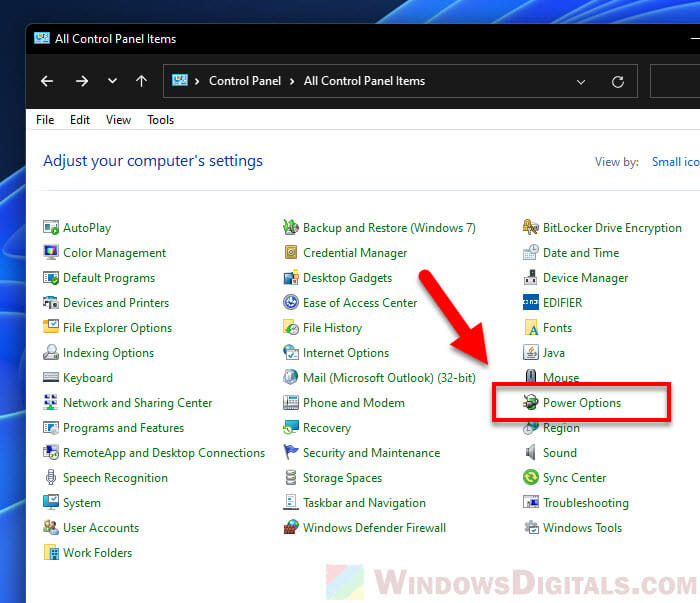
- Hit Power Options.

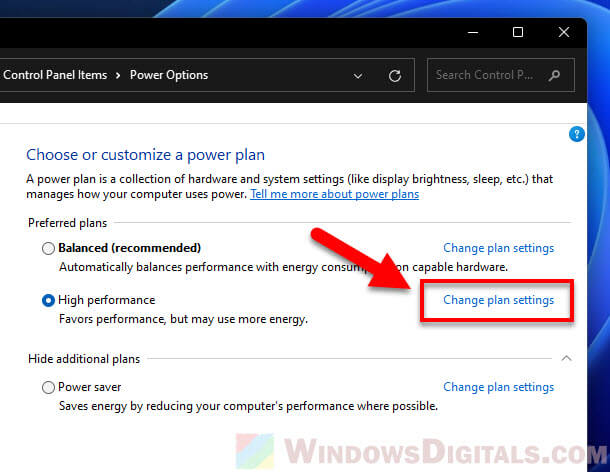
- Click on Change plan settings next to your active plan.

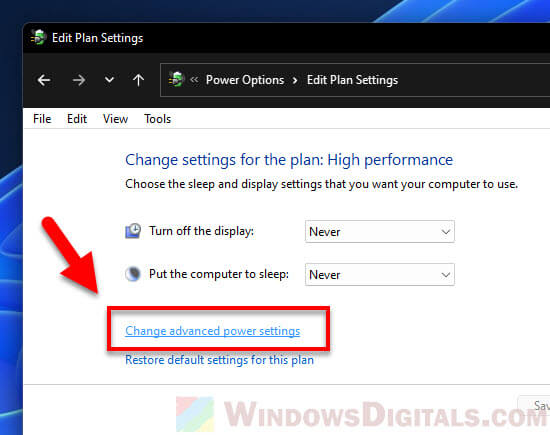
- Open Change advanced power settings.

- Find the Hard disk section, then the Turn off hard disk after option.

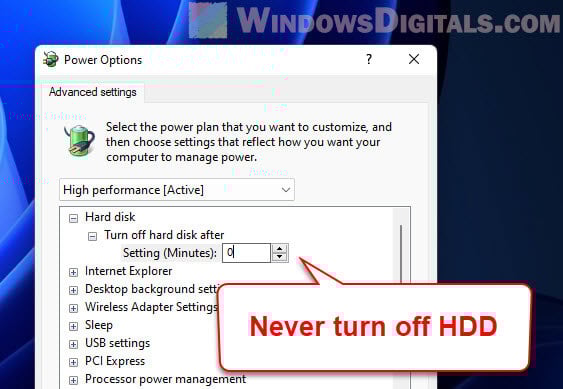
- Adjust the minutes for when you’re on battery and when plugged in, or type “0” to never turn it off.
- Hit Apply and then OK to save your settings.
Related resource: How to Add Hibernate Option in Windows 11
How many minutes is the best setting for “Turn off hard disk after”?
Finding the best time to set your hard disk to turn off really depends on how you use your computer and what’s actually important to you, like saving power, having a quick-to-respond PC, or making your hardware last longer. But, let me give you a few tips to start with.
If you’re like most casual users, setting it to turn off after 15 to 20 minutes is probably the nicest middle ground. It saves energy and still keeps your computer ready to jump back into action without waiting too long. With this setting, if you step away for a coffee break, your disk gets a little rest, too.
Now, if you’re someone who’s always using their PC restlessly or using apps that need to access the disk a lot, you might want to change that time to 30 minutes or more. This makes sure your disk is always ready to go, though it does use a bit more power.
And if your main concern is about saving energy or you really can’t stand the sound of your hard disk spinning non-stop, you might want to go for a quicker snooze time of 5 to 10 minutes. This means it’ll shut down sooner when you’re not using it, saving energy and giving you some peace and quiet.
At the end of the day, the “best” setting is whatever fits your needs and how you use your PC. Don’t be afraid to experiment to find that sweet spot for yourself.
Suggested read: Allow Keyboard or Mouse to Wake Computer in Windows 11
What if you set it to 0 minutes (Never)?
If you don’t want your hard disk to ever take a break, you can set this to 0 minutes. It means your disk will keep spinning no matter what. Just know that this might use more electricity and wear out your disk faster, so it’s not the best idea for everyday use.
See also: How to Keep Laptop On When Closed in Windows 11
Any downsides?
Yes, there are a few things to watch out for:
- If your hard disk goes to sleep, it’ll need a moment to wake up again. This means waiting a bit longer when you want to open files or apps.
- Some programs might not like it if the hard disk takes a nap while they’re running. Make sure everything works okay after you change this setting.
- On the off chance your computer crashes or loses power as the disk is shutting down, you might lose data. It’s rare, but it can happen.
Some final advice
The “Turn off hard disk after” setting in Windows 11 can really help manage how much power your computer uses and might even keep it running healthier and for longer (lifespan). But it’s not all sunshine and rainbows. You’ve got to think about the possible downsides like longer wait times and making sure your apps are okay with it.
Consider how you use your computer, how often you need to access your hard disk, and what you value most—like saving power or having a quick, responsive system. If you’re not sure, play around with the settings to see what feels right. Also, if you’ve moved on to using a Solid State Drive (SSD), this setting might not make as much of a difference, but it’s still worth trying out.

This tutorial will show you how to change how long HDDs are inactive before automatically turned off in Windows 10 and Windows 11.
The Turn off hard disk after setting in Power Options lets you specify the period of inactivity before the disk is automatically powered down.
Having your HDDs automatically turn off after being idle can help save energy and extend the battery life.
When you or anything tries to access a HDD that has been turned off, there will be a delay of a few seconds as the HDD automatically turns back on and spins up before being able to access it.
Reference:

Disk idle timeout
Specifies the period of inactivity before the disk is automatically powered down.
learn.microsoft.com
The Turn off hard disk after setting only applies to HDDs.
This does not apply to SSD, M.2, or NVMe drives.
Contents
- Option One: Change Turn Off Hard Disk After Idle Time in Power Options
- Option Two: Change Turn Off Hard Disk After Idle Time using Command
Option One
Change Turn Off Hard Disk After Idle Time in Power Options
1 Open the Control Panel (icons view), and click/tap on the Power Options icon.
2 Click/tap on the Change plan settings link to the right of the power plan (ex: «Balanced») you want to change settings for. (see screenshot below)
This will usually be for your active power plan.

3 Click/tap on the Change advanced power settings link. (see screenshot below)

4 In Power Options, expand open Hard disk and Turn off hard disk after. (see screenshot below step 5)
5 Select Never or type how many minutes timeout you want in the On battery and/or Plugged in drop menus, and click/tap on OK. (see screenshot below)
You will only see separate On battery and Plugged in settings if your device has a battery or connected to a UPS.
The default On battery time is 10 minutes.
The default Plugged in time is 20 minutes.

6 You can now close the Control Panel if you like.
Option Two
Change Turn Off Hard Disk After Idle Time using Command
This option will apply to your current active power plan.
1 Open Windows Terminal, and select either Windows PowerShell or Command Prompt.
2 Type the command(s) below you want to use into Windows Terminal, and press Enter.
Substitute <minutes> in the commands below with how many minutes you want to turn off hard disk after.
Substitute <seconds> in the commands below with how many seconds you want to turn off hard disk after.
0 minutes or seconds would be to never turn off hard disks.
The default On battery time is 10 minutes or 600 seconds.
The default Plugged in time is 20 minutes or 1200 seconds.
powercfg -change -disk-timeout-dc <minutes>
OR
powercfg /SETDCVALUEINDEX SCHEME_CURRENT 0012ee47-9041-4b5d-9b77-535fba8b1442 6738e2c4-e8a5-4a42-b16a-e040e769756e <seconds>
AND/OR
You would use this option for a desktop computer, since desktop computers will not have separate On battery and Plugged in options available unless it has a data connection to a UPS.
powercfg -change -disk-timeout-ac <minutes>
OR
powercfg /SETACVALUEINDEX SCHEME_CURRENT 0012ee47-9041-4b5d-9b77-535fba8b1442 6738e2c4-e8a5-4a42-b16a-e040e769756e <seconds>
That’s it,
Shawn Brink