Table of contents
- Common Error 0x8007042B Windows 10 Upgrade Scenarios
- How to Fix Windows 10 Update Error 0x8007042B?
- Method 1: Running the Windows Update troubleshooter
- Method 2: Disabling or removing your antivirus
- Method 3: Manually downloading and installing the update
- Method 4: Launching an SFC scan and a DISM scan
- Method 5: Resetting the components of Windows Update
- Method 6: Updating drivers and ensuring software compatibility
- Method 7: Performing System Restore
- Method 8: Using the Windows Media Creation Tool to install the update
- Windows 10 Update Error 0x8007042B: Fixed
- FAQ
Because of this problem, users are prevented from installing the latest build. It is undeniable that some people find these updates an annoyance.However, it is almost impossible to avoid or disable them. So, the only choice is to learn how to fix the Windows 10 error code 0x8007042B 0x2000D.
Common Error 0x8007042B Windows 10 Upgrade Scenarios
The error code 0x8007042B can interrupt the update process, leaving your computer vulnerable. If you encounter this problem, it is important for you to learn how to fix “Windows 10 upgrade failed” right away. Here are some of the scenarios associated with this error:
- Windows 10 upgrade failed – In some cases, the Windows update process fails because of the error code 0x8007042B. You can easily fix this by disabling your antivirus.
- 0x8007042B Windows 10 upgrade – This can show up while you’re trying to install a new build of Windows 10. If this error persists, it would be advisable to manually download and install the update.
- Windows 10 error code 0x8007042B 0x2000D – There are other cases wherein the error message is accompanied by another error code. If this happens on your computer, you can try to repair your files and check if it fixes the issue.
How to Fix Windows 10 Update Error 0x8007042B?
Method 1: Running the Windows Update troubleshooter
Lucky for us, Windows 10 includes a built-in troubleshooter that can automatically find and fix problems with Windows Update:
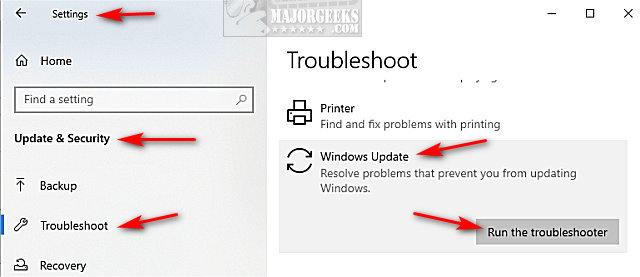
- Go to Settings > Update & security > Troubleshoot > Additional troubleshooters.
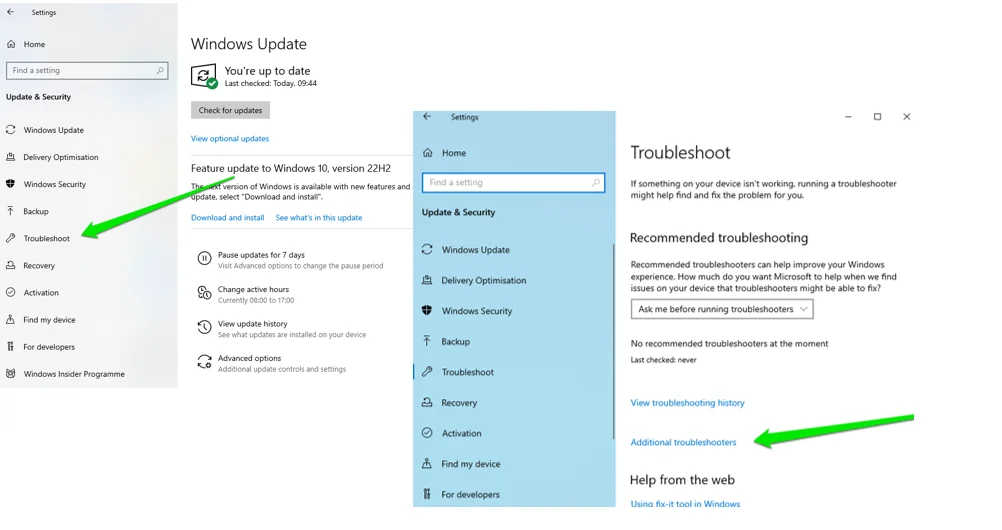
- Select Windows Update and then Run the troubleshooter.
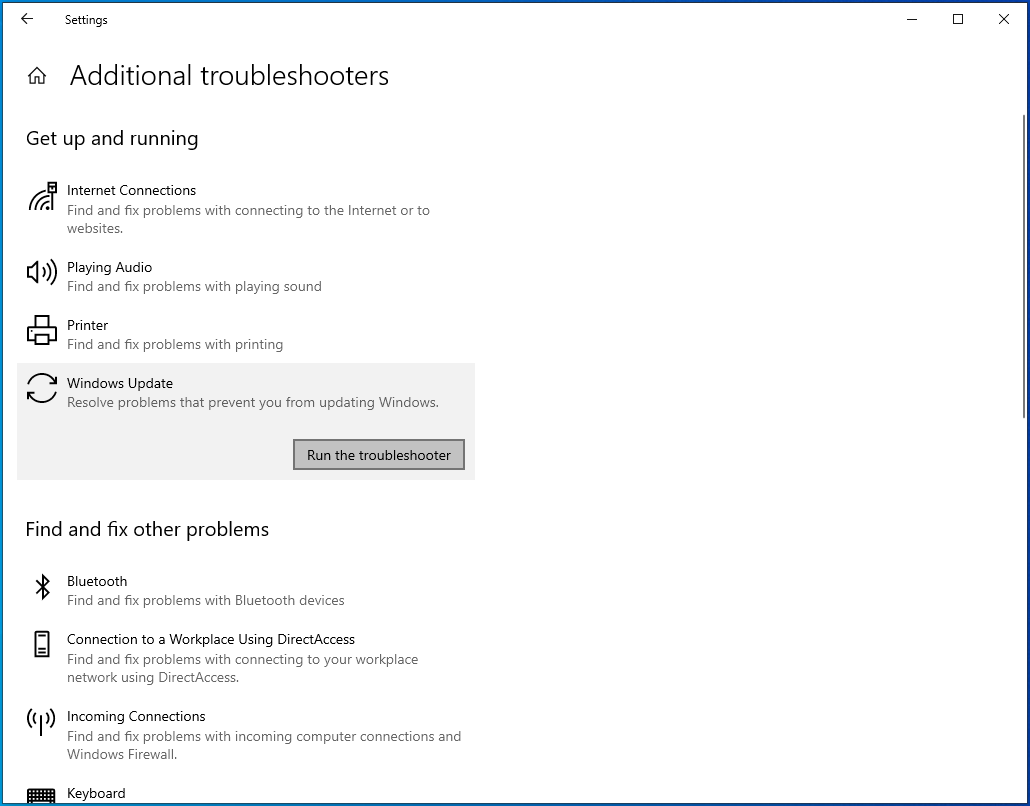
- Follow the on-screen instructions to detect and resolve any problems.
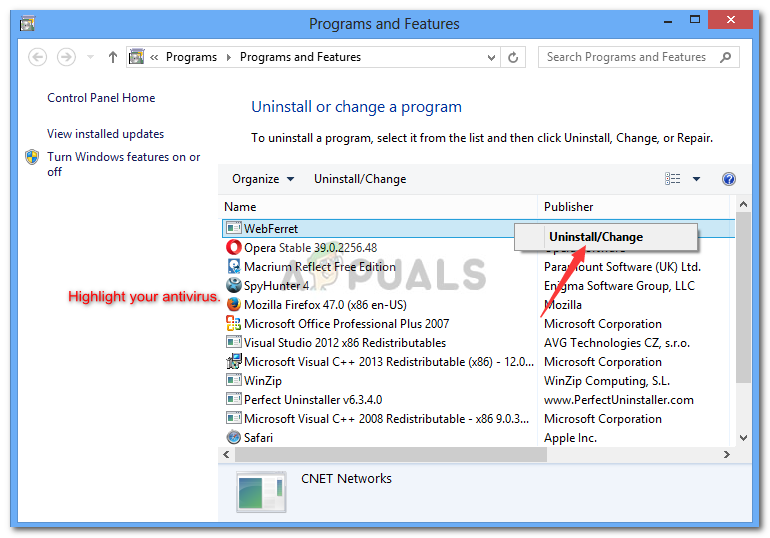
Method 2: Disabling or removing your antivirus
If you’re getting the 8007042B Windows 10 upgrade error, it would be advisable to disable certain features of your antivirus. Check if doing this resolves the problem. On the other hand, if the issue persists, then you should try completely disabling your antivirus.
Warning
Keep in mind that disabling your antivirus will leave your system vulnerable to a whole range of online threats . Make sure to enable it back on as soon as you resolve the issue.
If disabling your antivirus didn’t help resolve the issue, move on to the next method.
Consider switching to an anti-malware solution that is fully compatible with Windows such as Auslogics Anti-Malware . The program will not interfere with any Windows update processes and will keep your system safe from even the rarest malware.
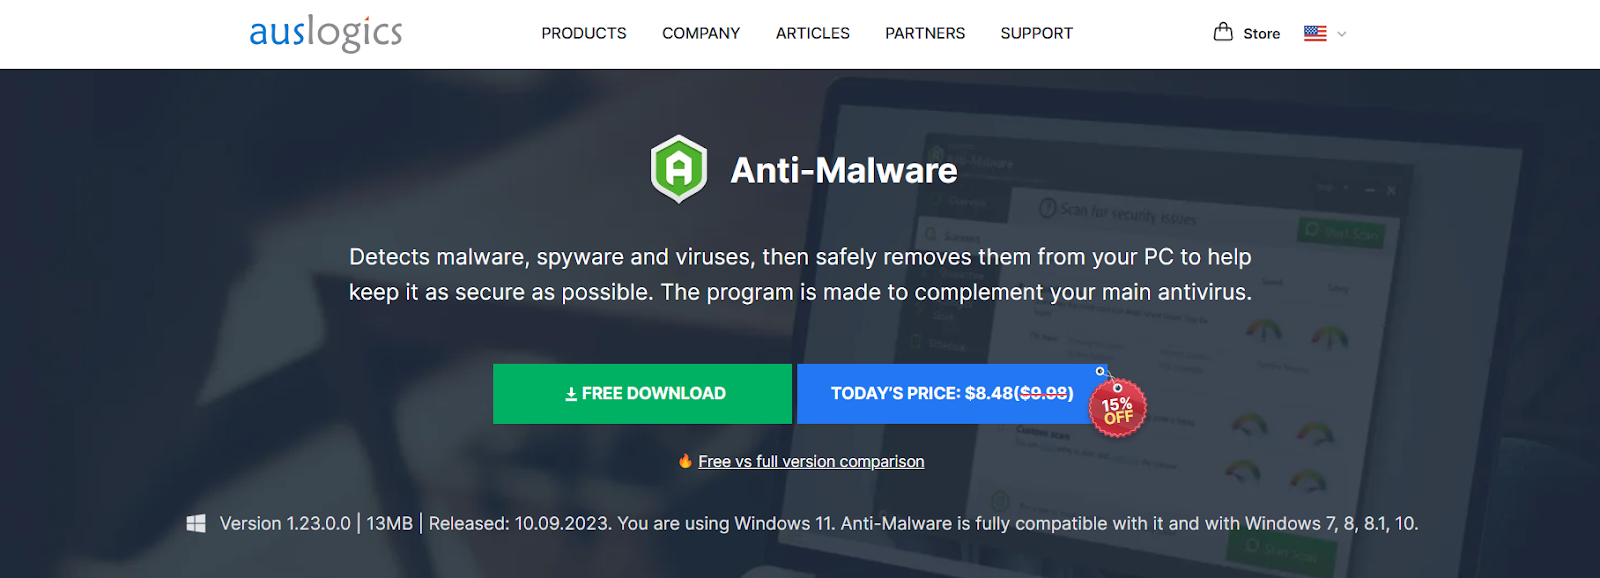
Scan your PC for malicious software with Auslogics Anti-Malware
Method 3: Manually downloading and installing the update
One of the simplest workarounds for the error 0x8007042B is manually installing the update . You just have to follow these steps:
- Click the search icon on your taskbar.
- Type
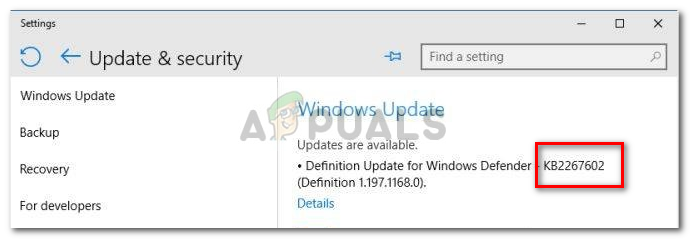
updates, then select Check for updates from the list. - If you see an update that you need to install, take note of the code.
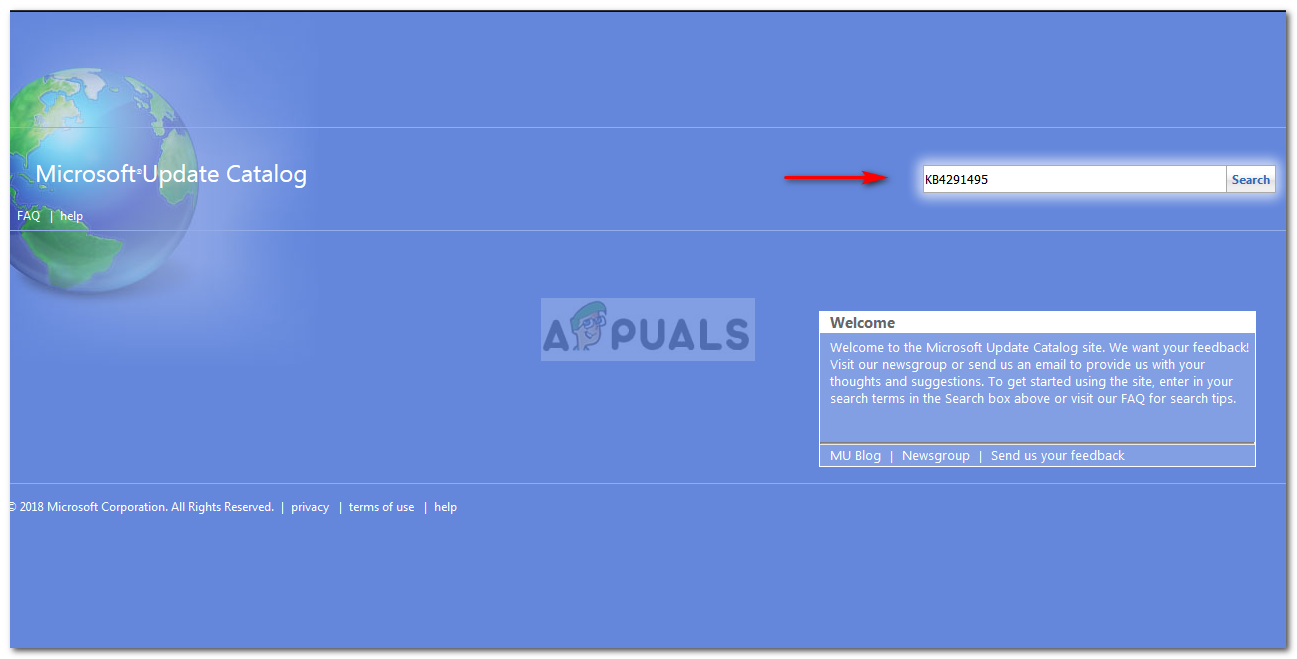
- Launch your web browser, then search for Microsoft Catalog.
- In the search bar, type the name of the KB.
- Download and install the update file.
- Restart your computer to complete the installation process.
You won’t encounter the error message because you are manually downloading and installing the update. However, it is worth noting that the root cause of the problem still exists. So, the error will return when your system automatically downloads future updates. You can permanently fix this by using the next method.
Helpful reading:How to Reset Windows Update: Fixing Update Problems
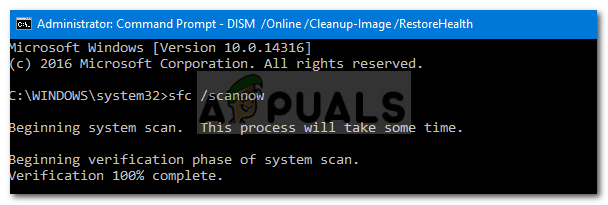
Method 4: Launching an SFC scan and a DISM scan
Some users reported that the error 8007042B may be caused by file corruption. You can run an SFC scan to repair your files and resolve the problem. Just follow the instructions below:
- On your keyboard, press
Windows key + X. - From the list, select Command Prompt (Admin) or Powershell (Admin).
- Type
sfc /scannow, then hitEnter.
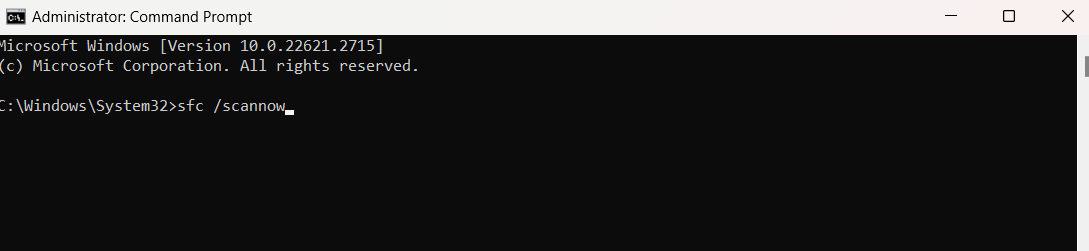
The SFC scan should take a couple of minutes. Just wait and avoid interrupting it. Once the process is complete, check if the issue has been resolved.
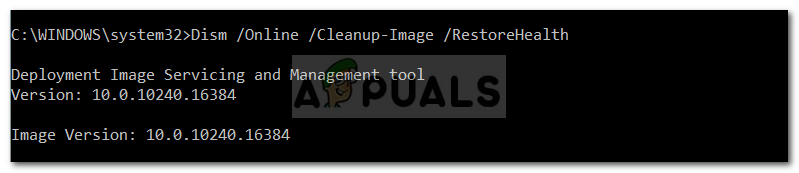
If an SFC scan does not get rid of the error, your next resort would be to run a DISM scan . To do that, simply repeat the first two steps in performing an SFC scan. In the Command Prompt , type DISM /Online /Cleanup-Image /RestoreHealth. Again, you have to wait until the DISM scan is complete. The process might take longer. So, be patient and avoid interfering with it.
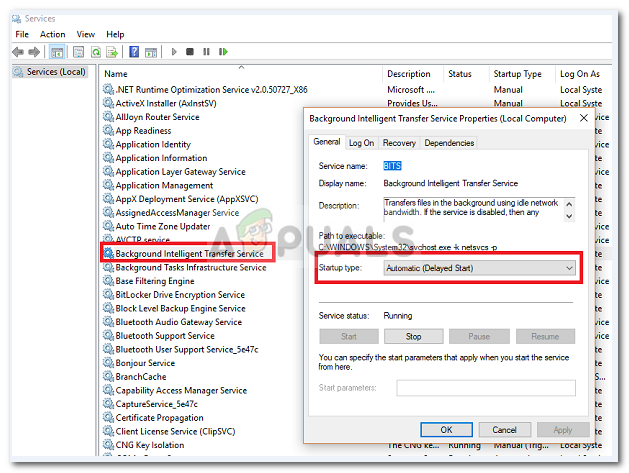
Method 5: Resetting the components of Windows Update
Some users reported that they had been able to resolve the error 0x8007042B by resetting the Windows Update components. In order for your system to properly work, it has to rely on certain services. If these services are corrupted, it is possible for you to encounter the error 8007042B while installing updates. On the other hand, you can fix this issue by running a couple of commands. That said, follow the steps below:
- On your keyboard, press
Windows key + S. - Type
command prompt. - Right-click Command Prompt from the list, then select Run as administrator.
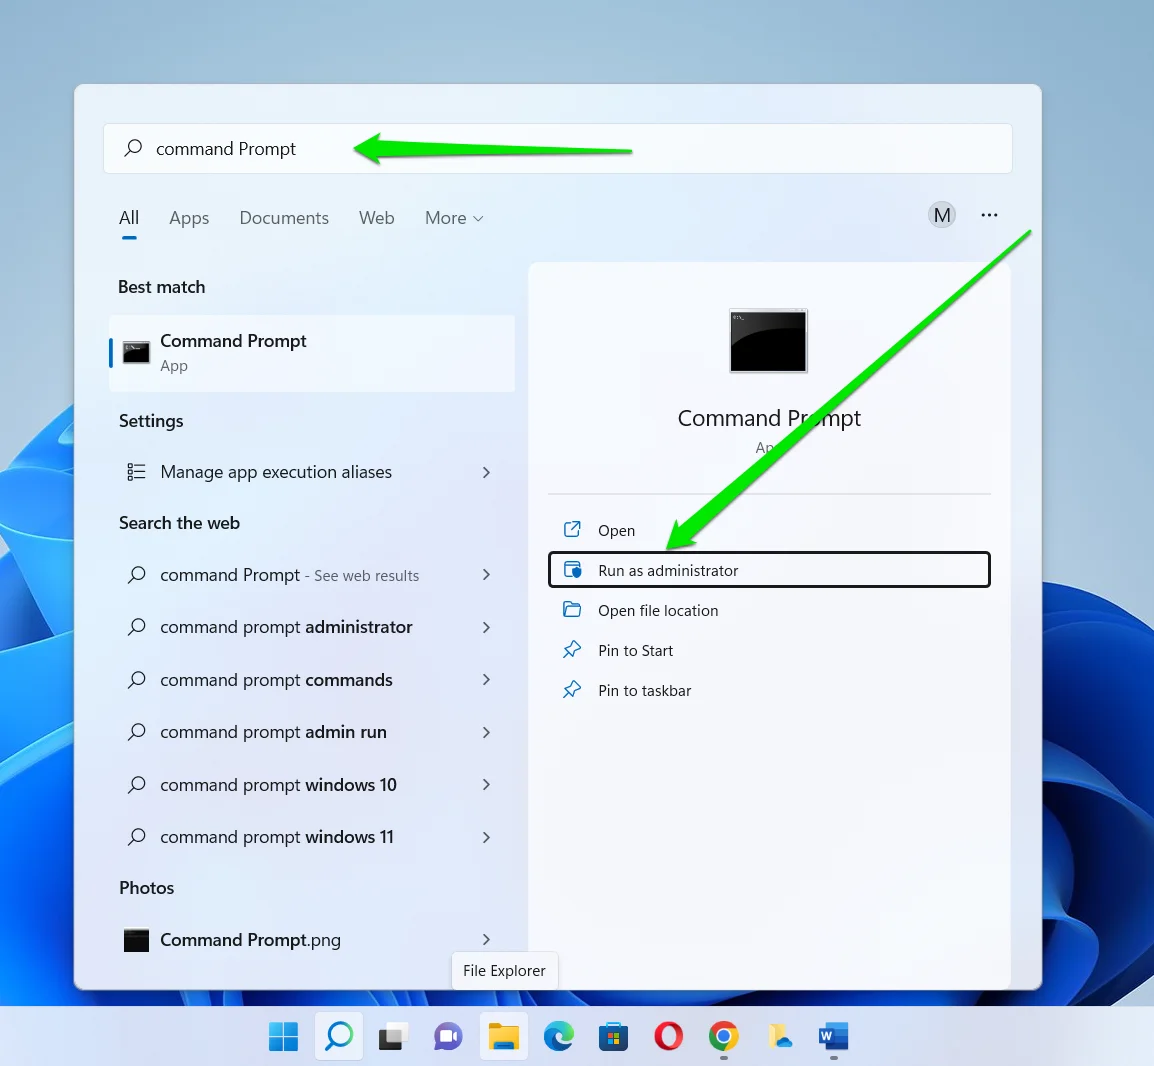
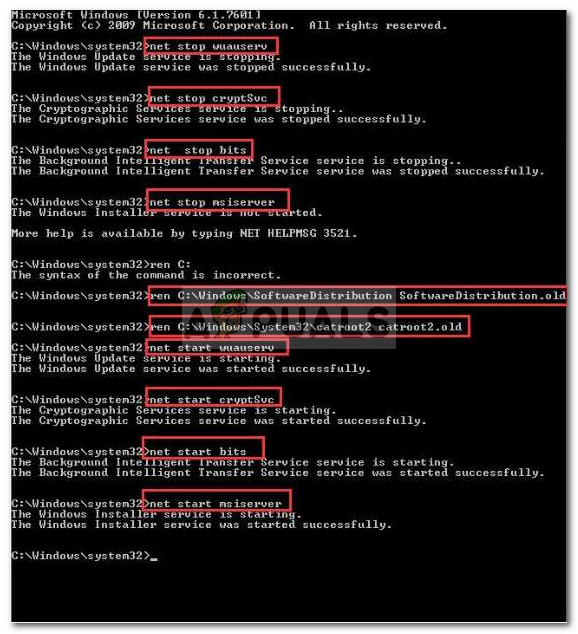
- Once Command Prompt is up, paste the following commands:
net stop wuauserv

net stop cryptSvc

net stop bits

net stop msiserver

ren C:\Windows\SoftwareDistribution SoftwareDistribution.old

ren C:\Windows\System32\catroot2 catroot2.old

net start wuauserv

net start cryptSvc

net start bits

net start msiserver

pause
After running the commands, check if you’ve gotten rid of the error.
Fix this issue quickly
You can try using a safe and totally free tool developed by the Auslogics team of experts.
A few simple steps to troubleshoot the issue:
Download the tiny Auslogics TroubleShooter tool.
Run the application (no installation is needed).
The app will check for the issue mentioned in the article. When the scan is done, check that this is the issue you were looking to solve and click ‘Apply now’ to apply the recommended fix.
You can use the app to troubleshoot other malfunctions for free by simply typing in a brief description of the issue your PC is experiencing. Or you can scan your PC for performance issues using the My Scanner tab.
Method 6: Updating drivers and ensuring software compatibility
Before attempting the update, ensure all drivers and software are up to date and compatible with the latest Windows version. Use the Device Manager to update drivers and check software publishers’ websites for updates or compatibility modes.
- Right-click the Start button and select Device Manager from the menu.
- Browse through the list to find the device whose driver you want to update. Common devices that may need updates include display adapters, network adapters, and sound, video, and game controllers.
- Right-click the device and select Update driver.
- Choose “Search automatically for updated driver software.” Windows will then search for and install any available updates for that device.
- Repeat steps 2 and 3 for any other devices you wish to update.
- After updating your drivers, restart your computer to ensure all changes take effect properly.
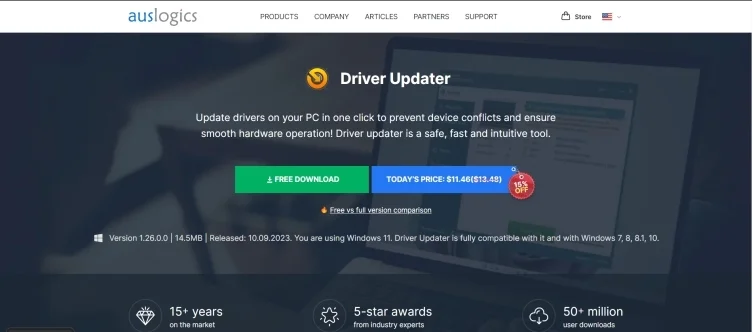
Updating drivers with Device Manager can take quite a bit of time – especially if you have more than one driver to update. Using driver update automation software like the Auslogics Driver Updater can help you save lots of time. The program will search for outdated drivers automatically and update them in just a few clicks.
Method 7: Performing System Restore
You can also try taking your system back to a previous state where it was properly functioning. In this way, the error 0x8007042B won’t appear, allowing you to smoothly install the updates.
Warning
Make sure to back up important files and apps before using this fix.
Here are the steps:
- Go to your taskbar, then click the search icon.
- Type
system restore.
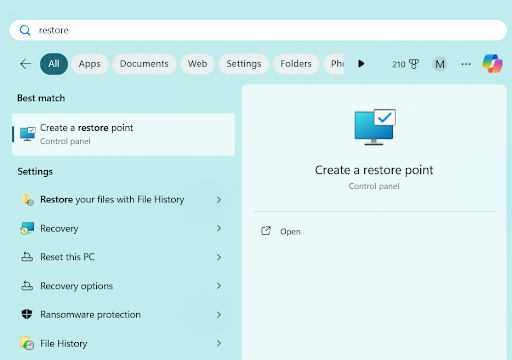
- Click Create a restore point from the list.
- You will see the System Properties window.
- Click the System Restore button.
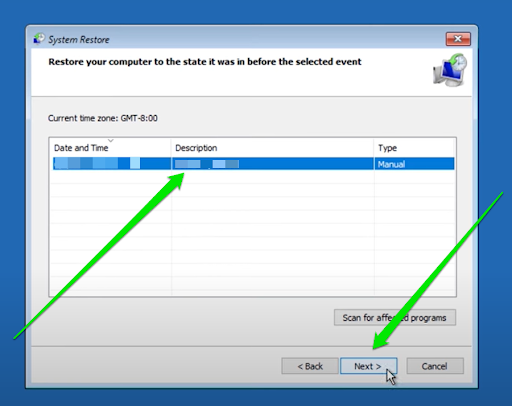
- Once the System Restore window is up, click Next.
- Choose your preferred restore point, then click OK.
- Follow the on-screen instructions to complete the process.
Once you’ve restored your system to a previous state, try installing the update, then check if the error has been fixed.
Method 8: Using the Windows Media Creation Tool to install the update
If any of our aforementioned solutions did not work for you, you should try performing a clean install. If there are corrupted, missing, or damaged system files, the only foolproof way to deal with them would be to reinstall your system. Once you’ve done that, you can perform the updates and get rid of the error 0x8007042B. Here is the process:
- Go to Microsoft’s website and download the Media Creation Tool .
- Save it to a USB flash drive, then install it on your computer.
- Choose Upgrade this PC now, then click Next.
- The tool will now start preparing the necessary files.
- Select the Download and install updates (recommended) option, then click Next.
- Wait while the setup downloads the necessary files.
- Follow the on-screen instructions until you reach the Ready to install screen.
- Select the Change what to kee p option.
- Don’t forget to select the Keep personal files and apps option, then click Next .
- Follow the on-screen instructions to complete the setup.
To ensure that your computer will run smoothly after installing the updates, we also recommend using Auslogics Driver Updater. This tool will recognize your system and find the latest, compatible drivers. It will deal with missing, outdated, and corrupted drivers, ensuring that your computer will deliver its optimum performance. Can you recommend other workarounds for this error? Share your ideas in the comments below!
Fix this issue quickly
You can try using a safe and totally free tool developed by the Auslogics team of experts.
A few simple steps to troubleshoot the issue:
Download the tiny Auslogics TroubleShooter tool.
Run the application (no installation is needed).
The app will check for the issue mentioned in the article. When the scan is done, check that this is the issue you were looking to solve and click ‘Apply now’ to apply the recommended fix.
You can use the app to troubleshoot other malfunctions for free by simply typing in a brief description of the issue your PC is experiencing. Or you can scan your PC for performance issues using the My Scanner tab.
Windows 10 Update Error 0x8007042B: Fixed
By methodically working through the suggested fixes, you can identify and resolve the underlying cause of the error, paving the way for a successful update. If you find yourself stuck or if the problem persists, don’t hesitate to seek further assistance through Microsoft Support or tech forums where experts and fellow users can offer guidance.
FAQ
Is it safe to disable my antivirus to fix the update error?
Temporarily disabling your antivirus can help resolve the update error. However, it’s important to re-enable it as soon as possible to keep your system protected against threats.
How do I know if my system is ready for a Windows 10 update?
Before initiating an update, ensure all drivers are updated, there’s sufficient disk space, no third-party software is likely to conflict, and your system meets the minimum requirements for the update. Microsoft often publishes these requirements for significant updates.