Ошибка 0x80070026 не является новой проблемой в ОС от Майкрософт, но пользователи Windows 10 с недавнего времени снова начали ощущать на себе данную проблему. Итак, для начала давайте разберемся, что собой представляет эта ошибка.
0x80070026 — это ошибка, возникающая во время очередного обновления операционной системы Windows 10. Причиной этой проблемы являются повреждения системных файлов, но также не исключены и иные причины.
Способы решения 0x80070026 в Windows 10
Способ №1 Запуск утилиты SFC
SFC — это отличная утилита ОС Windows для проверки и исправления системных файлов. Если ваши системные файлы были повреждены, что вероятней всего при ошибке 0x80070026, то применение утилиты SFC — это здравомыслящий шаг. Она просканирует вашу систему на наличие поврежденных файлов и исправит их, но только если это будет возможно. Итак, для запуска SFC нужно сделать следующее:
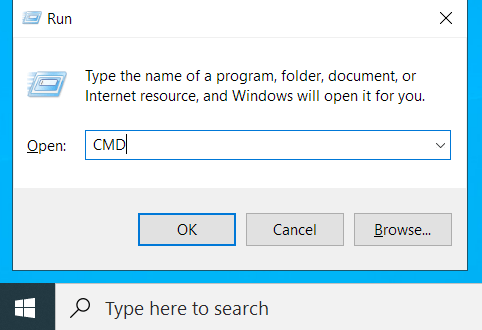
- Кликните ПКМ на Пуск и выберете «Командная строка(администратор)».
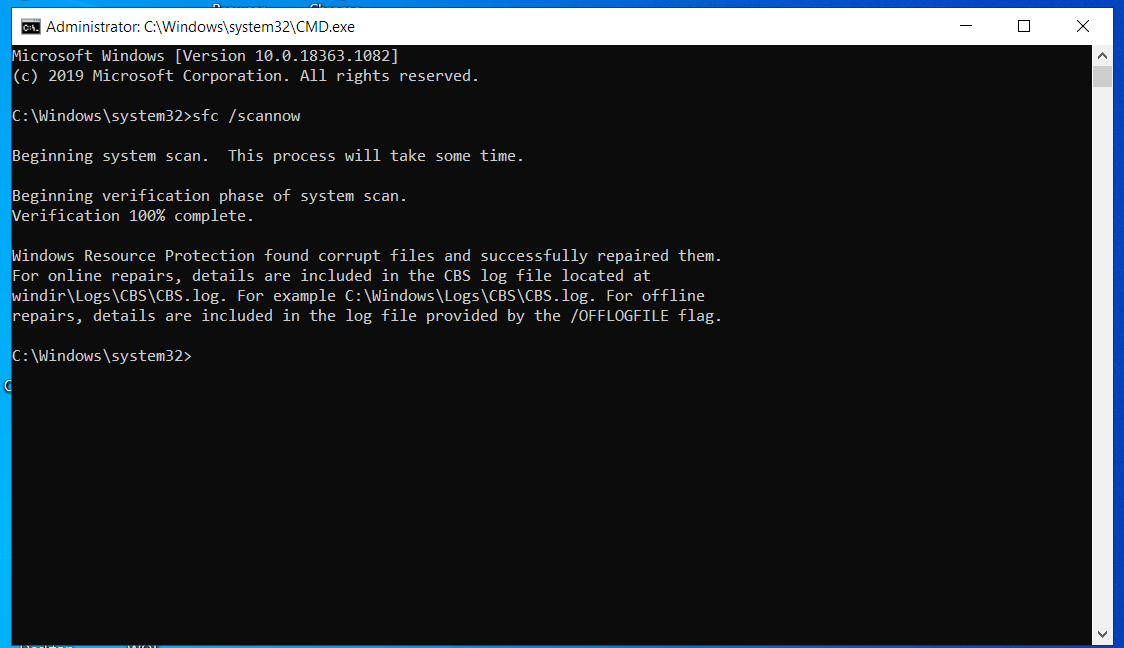
- Впишите в нее команду sfc /scannow и нажмите Enter для запуска работы утилиты.
Вот, собственно, и все. После нажатия на Enter, утилита SFC запустит сканирование вашего компьютера для проверки целостности системных файлов. Если она найдет какие-то повреждения, то она попытается устранить их.
Способ №2 Запуск утилиты DISM
Если проблема в виде ошибки 0x80070026 все еще присутствует при попытках обновить Windows 10, то вы можете попробовать запустить другую системную утилиту — DISM или же система обслуживания образов развертывания и управления. Для ее запуска сделайте следующее:
- Откройте Командную строку точно также, как это было показано в предыдущем пункте.
- Открыв командную строку с повышенными правами, вписывайте в нее следующие команды, при этом нажимая Enter после каждой из них:
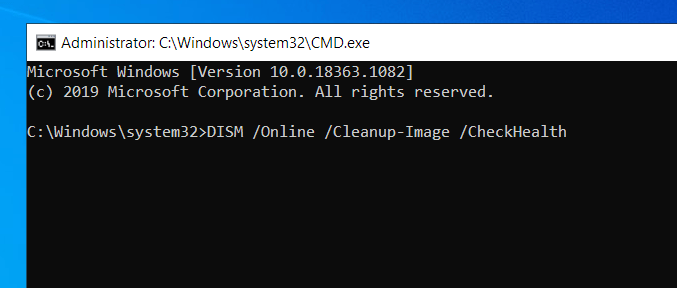
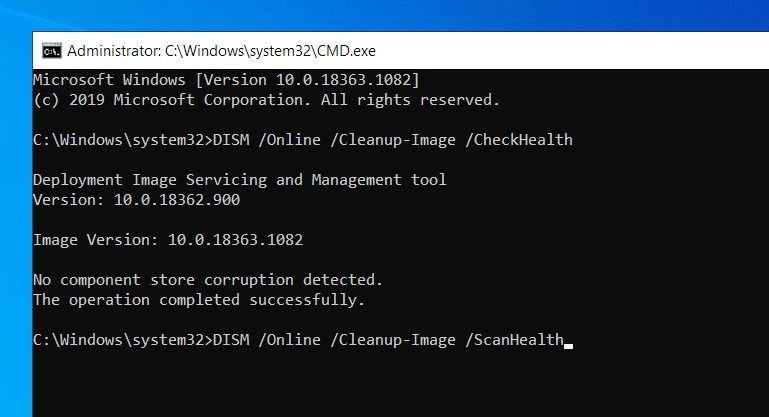
- dism /Online /Cleanup-Image /CheckHealth
- dism /Online /Cleanup-Image /ScanHealth
- dism /Online /Cleanup-Image /RestoreHealth
Перезагрузите свой компьютер и попробуйте снова попробовать запустить обновление Windows 10. Возможно, что вы все-таки смогли устранить ошибку 0x80070026.
Если же у вас так и не получилось исправить эту неприятную ошибку, то можно посоветовать еще несколько действий в этой ситуации:
- Проверьте свою систему на наличие вирусов в ней, так как некоторые особо вредоносные образцы могут блокировать некоторые функции ОС.
- Проверьте, не устанавливали ли вы недавно каких-то сомнительных утилит, которые могли бы создавать проблемы при обновлении. Например, некоторые программы по уборке компьютера от мусорных или временных файлов могут стать причиной ошибки 0x80070026.
- Убедитесь, что ваше Интернет-соединение вполне стабильно для загрузки обновления в Центре обновления Windows.
- Можете воспользоваться удобным для вас способом Восстановления системы. Рекомендуем для начала использовать точку восстановления.
Table of contents
- What Is the Error Code 0x80070026 in Windows 10?
- What Causes the Windows Update Error Code 0x80070026?
- How to Fix the Update Error 0x80070026 on a Windows 10 PC
- Solution 1: Temporarily Disable Your Antivirus
- Solution 2: Run the Windows Update Troubleshooter
- Solution 3: Empty the Contents of the Temp Folder
- Solution 4: Run the SFC and DISM Tools
- Solution 5: Reset Windows Update Components
- Solution 6: Try Using the Windows Media Creation Tool
- Solution 7: Try Installing the Updates Manually
- Solution 8: Temporarily Disable Your Proxy Connection
- Solution 9: Reset Your PC
Sometimes, when trying to update Windows 10, you may come across the update error code 0x80070026. It’s a fairly common error on Windows 10 PCs, and our post today highlights some of the solutions on how to fix the Windows Update error code 0x80070026.
What Is the Error Code 0x80070026 in Windows 10?
First, let’s try to understand what the error code 0x80070026 means and why you’re encountering it on your PC. On Windows 10, unlike on older versions of Windows, whenever updates are available, the update feature automatically downloads and installs them.
However, sometimes, you may want to manually check for updates by launching the Windows Update service. That’s when the error occurs. It reads in full:
“There were problems installing some updates, but we’ll try again later”. If you keep seeing this and want to search the web or contact support for information, this may help:
- Cumulative Update for Windows 10 Version 1511 for X64-based system (KB3120677) – Error 0x80070026.
You’ll notice that the updates are being downloaded, but then they fail.
What Causes the Windows Update Error Code 0x80070026?
Various reasons could be responsible for the error code 0x80070026 when installing Windows 10 updates, the main one being damaged system files. This can be a result of malware infection or file corruption.
Another cause of this error is if Windows Update fails to function properly. Since this feature is directly responsible for downloading and installing Windows updates, if it ceases to work as required, you’re likely to encounter errors when installing updates.
Other causes include the following:
- Your antivirus blocking the installation of updates
- A failure to communicate with Microsoft servers
How to Fix the Update Error 0x80070026 on a Windows 10 PC
Solution 1: Temporarily Disable Your Antivirus
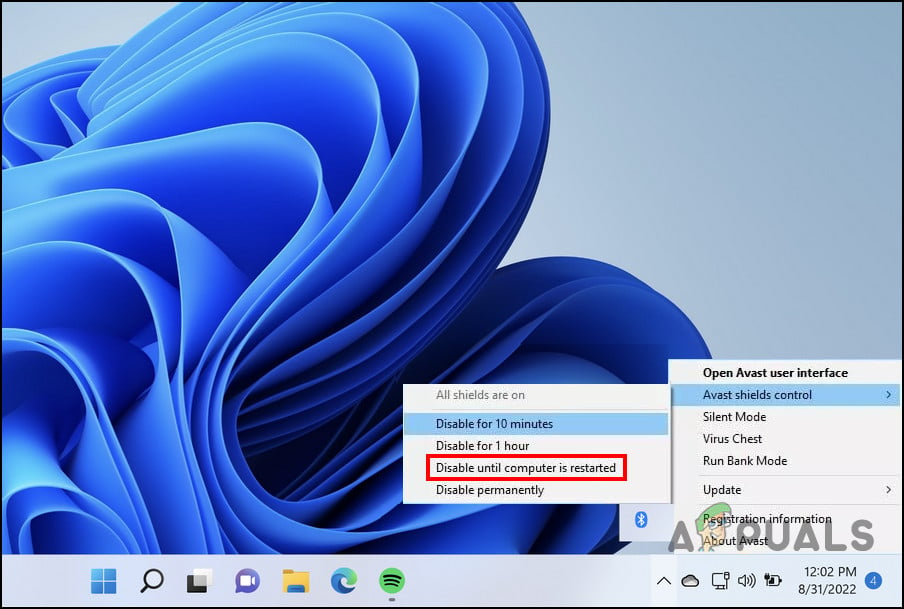
Your antivirus software could be preventing the updates from being installed on your computer. Third-party antivirus programs are notorious for blocking downloads from external servers, and this may be the case in your situation.
You can try temporarily disabling your antivirus tool to see if this gets rid of the error. Depending on your antivirus, the steps to disable it will vary. Once you’re done, try running the installation again. If the error persists, you may have to completely uninstall the app.
If this doesn’t work, you may try disabling the firewall temporarily. If you’re using Windows Defender as your primary security program, follow these steps:
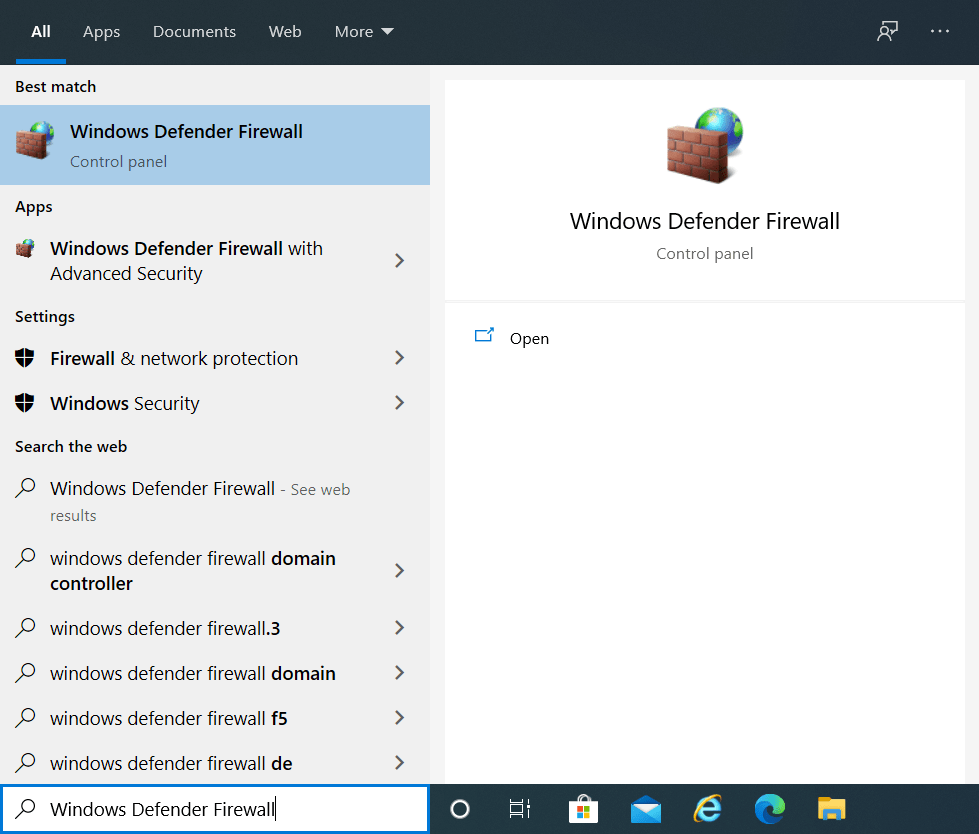
- Press the
Windows logoon your keyboard, typeWindows Defender Firewall, and hitEnter.
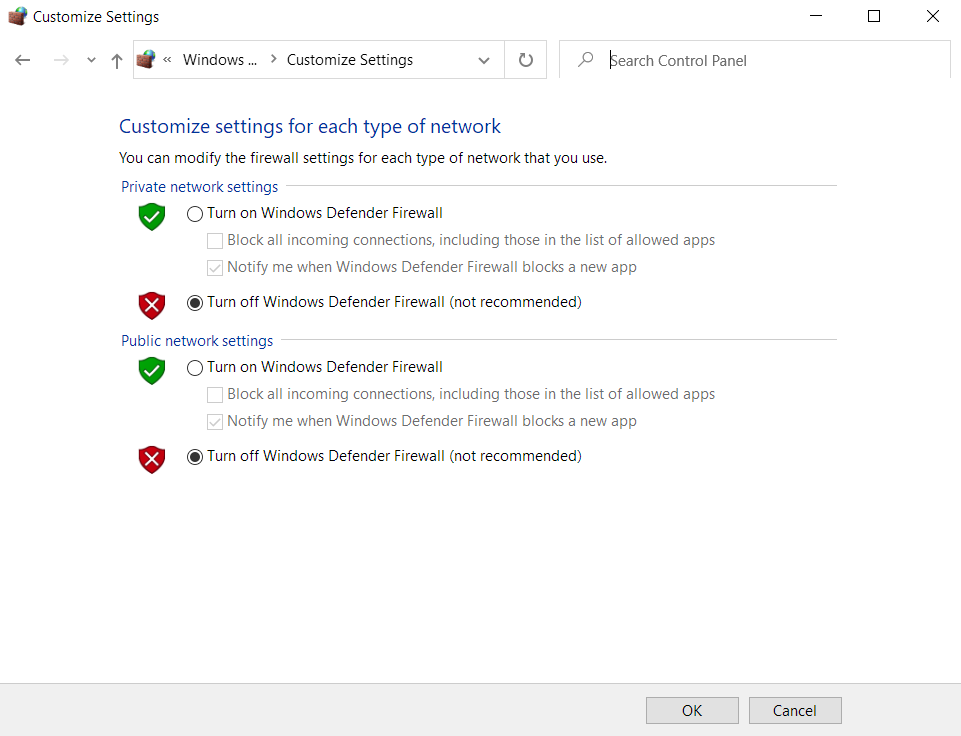
- On the Windows Defender Firewall screen, select Turn Windows Defender Firewall on or off in the left sidebar.
- Click on the Turn off Windows Defender Firewall (not recommended) radio buttons for both the Private network settings and Public network settings options.
- Click on OK to apply these settings and exit the Control Panel.
- Now, try installing Windows 10 updates to see if you run into the Windows Update error 0x80070026.
Solution 2: Run the Windows Update Troubleshooter
Before you start applying more sophisticated solutions, try running the built-in Windows Update troubleshooter to check if this resolves your issue. This tool can be useful when trying to fix update errors whose origin you can’t pinpoint.
Here are the guidelines on how to run the Windows Update troubleshooter:
- Press the
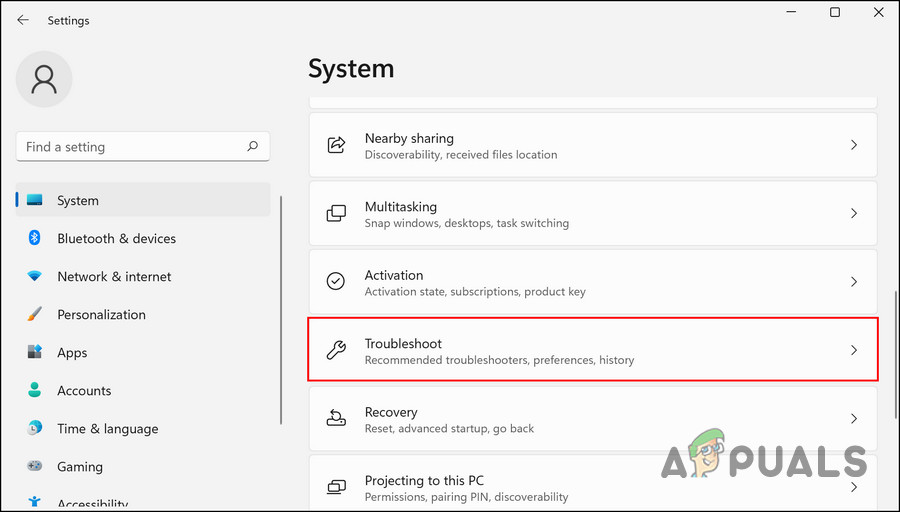
Win + Ikeyboard shortcut to launch the Windows Settings app. - In the Find a setting text box, type
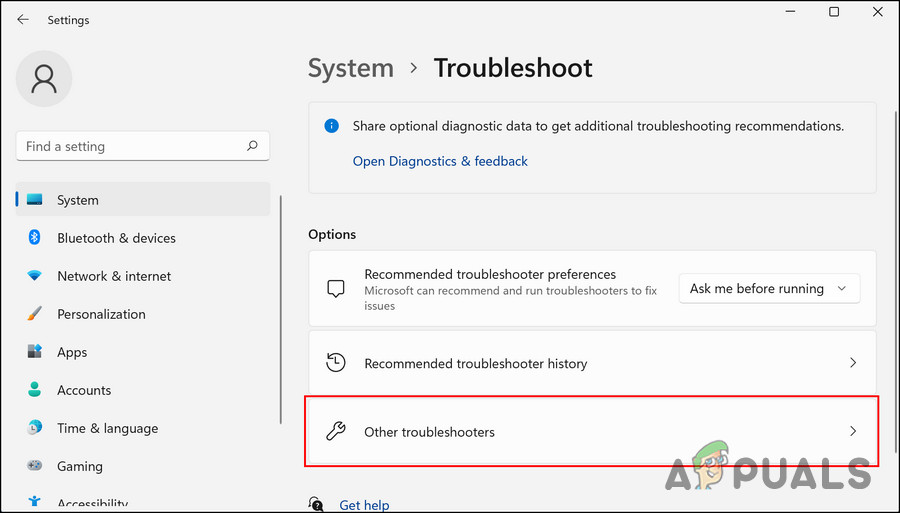
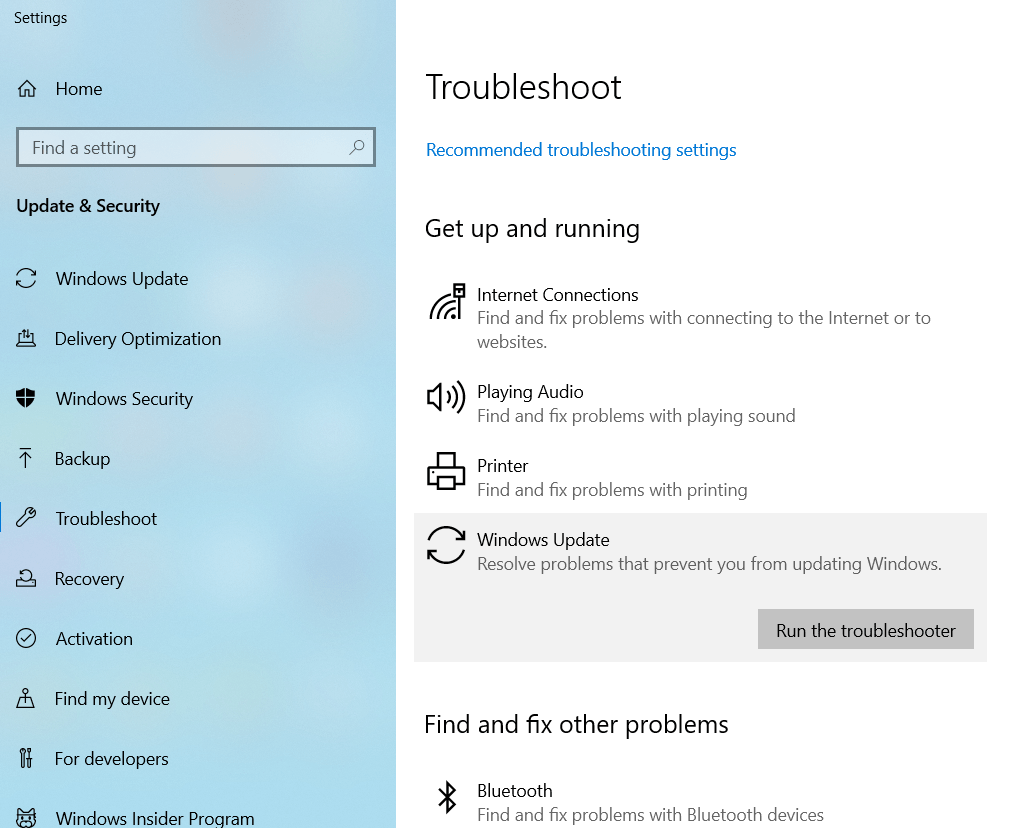
Troubleshoot, and select Troubleshoot other problems.
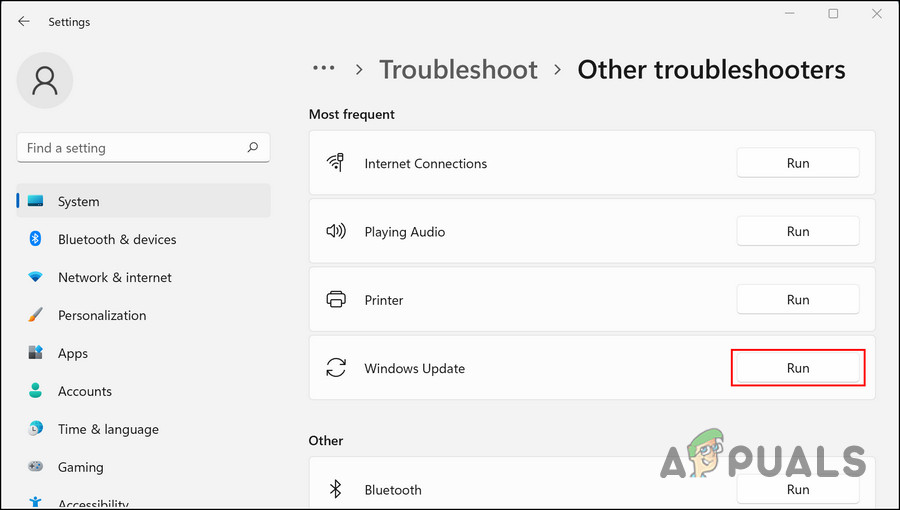
- On the next page, find Windows Update and click on it once to reveal the Run the troubleshooter button.
- Click this button to initiate the troubleshooting process. If Windows detects any errors, it will attempt to fix them. Apply any suggestions displayed.

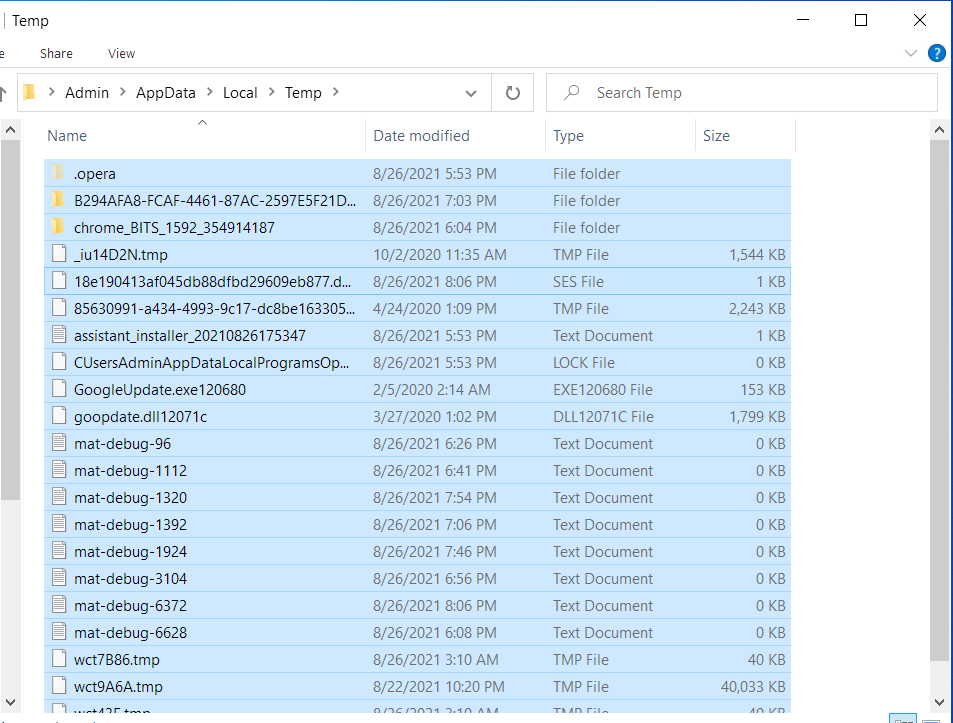
Solution 3: Empty the Contents of the Temp Folder
The temporary folder is where Windows stores temporary files when you run various processes. These files are useful and may help programs load faster the next time you want to access them.
Despite their usefulness, temporary files can get corrupted and end up interfering with the running processes, including the installation of Windows updates. To prevent this from happening, it’s advisable to clear the temp folder on your PC.
Here’s how:
- Restart your computer and log in using your administrator account.
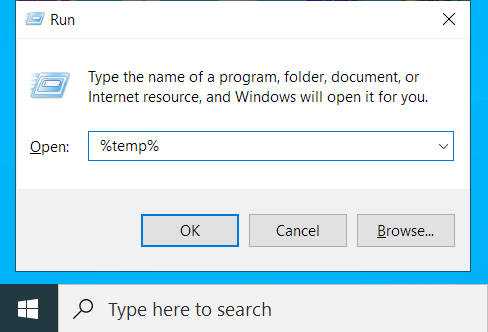
- Press the
Win + Rkeyboard shortcut, type%temp%into the Run dialog box, and hitEnter.
- Select everything in this folder using the
Ctrl + Ashortcut and hit theDeletebutton.
- Now, go back to Settings and try updating your Windows 10 PC to check if the error has been resolved.
A faster and safer way of clearing the temp folder, along with removing PC junk, is to use reliable PC optimization software like Auslogics BoostSpeed. This program scans your system, detects all speed-reducing and error-causing issues, and attempts to fix them.
Download Auslogics BoostSpeed
Your one-stop PC maintenance and optimization tool, this program will clean, speed up, repair and tweak your system to ensure maximum speed and efficiency.
BoostSpeed offers you more than a dozen PC optimization tools, including Registry Cleaner, Disk Defrag, Duplicate File Finder, Internet Optimizer, Empty Folder Cleaner, and Deep Disk Cleaner, to name but a few.
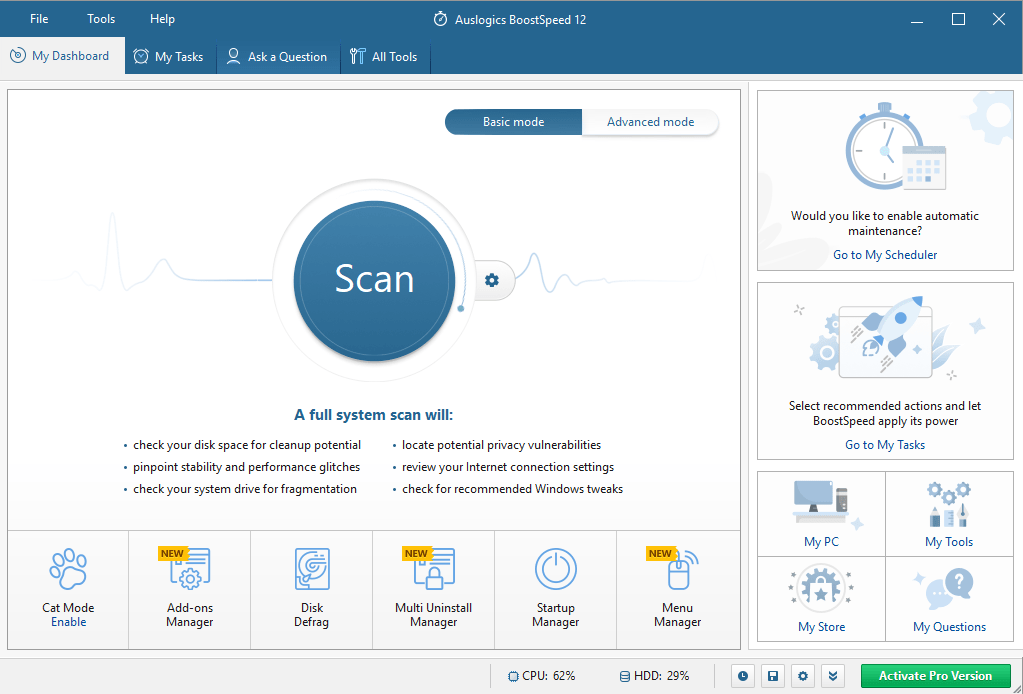
The Delete Temp Files option is accessible via the Clean Up tab. All you have to do is click the Deep Disk Cleaner button to view a list of system and application temporary files that have accumulated on your drives. You can easily select the files you want to be removed from your system as they are conveniently categorized into five groups, namely Web Cache, System Files, Application Files, Temporary Files, and Advanced. Once selected, click on the “Clean up” button. You’ll also find the option to back up the changes, just in case you need to restore some files.
You can also run the Registry Cleaner tool to eliminate corrupted or outdated registry entries to fix and prevent random freezes and crashes and other system errors. Running Auslogics BoostSpeed regularly ensures your system’s overall stability and improved performance.
Solution 4: Run the SFC and DISM Tools
Another solution to the Windows Update error code 0x80070026 is to fix corruption in your system files. For this, we’ll use built-in Windows tools such as System File Checker (SFC) and Deployment Image Servicing and Management (DISM).
The SFC utility scans for corrupted system files and attempts to restore them with a cached copy. To use this tool to fix the error 0x80070026, follow these steps:
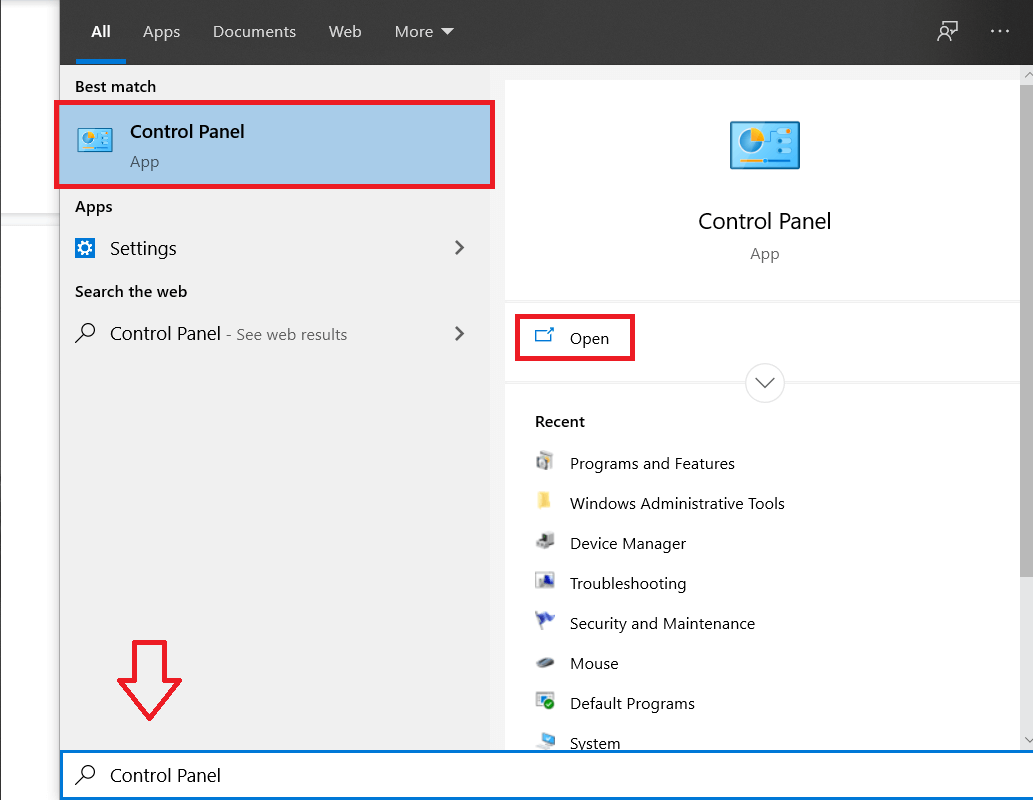
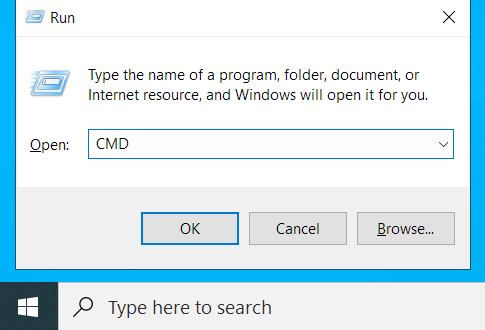
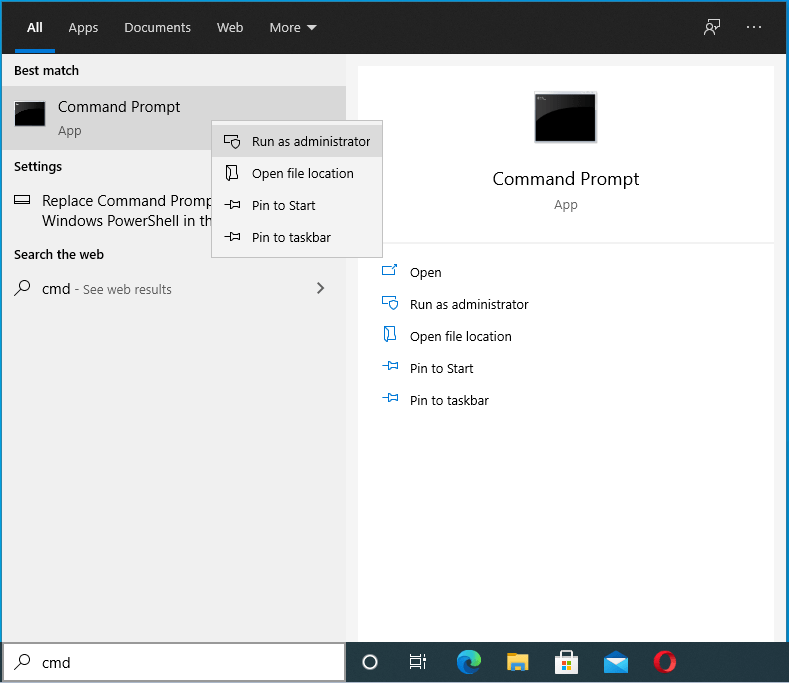
- Run the Command Prompt as an administrator. To do that, press the
Win + Rshortcut, typeCMDinto the Run text box, and press theCtrl + Shift + Entershortcut.
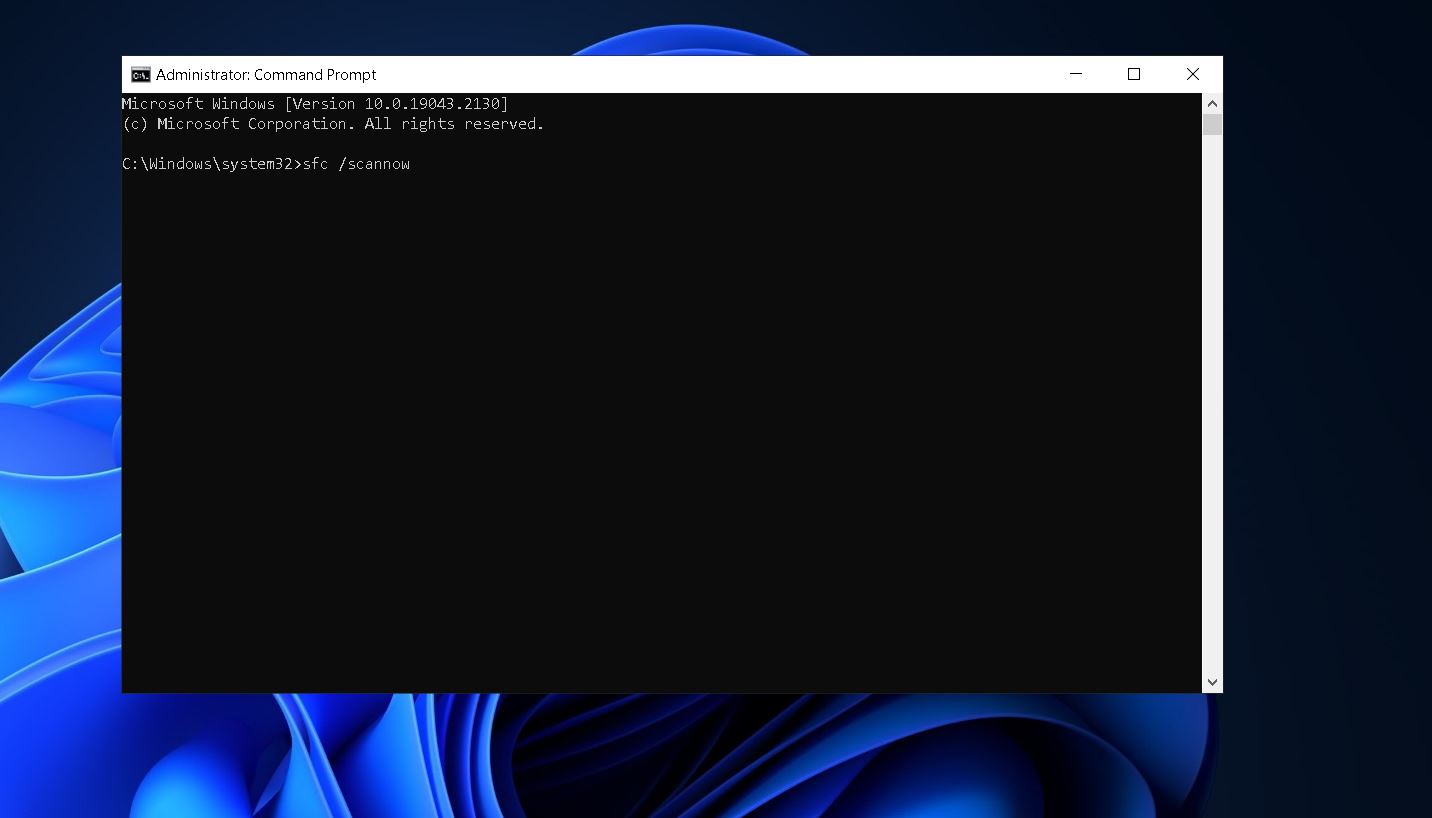
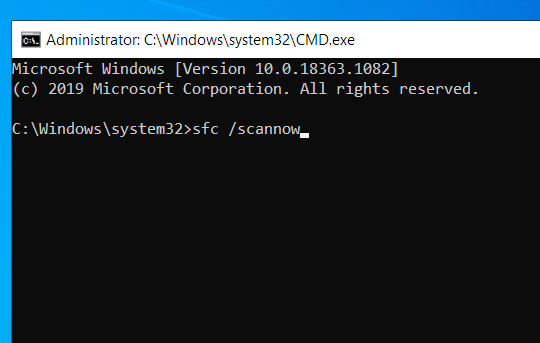
- In the elevated Command Prompt, type or paste the command
sfc /scannowand pressEnter. Wait for the scan to be completed so that the damaged files can be fixed.
- If the process is successful, you’ll see the notification “Windows Resource Protection found corrupt files and successfully repaired them”.
- Reboot your Windows 10 PC and try running Windows Update again to check if the error still shows up.
If it does, you should run the DISM utility. This tool manages Windows Update files, and it can be useful in this scenario. Here is how to use the tool:
- Open an elevated Command Prompt as outlined in step 1 above.
- Type or paste the following command lines and press
Enterafter each one:
DISM /Online /Cleanup-Image /CheckHealth
DISM /Online /Cleanup-Image /ScanHealth
DISM /Online /Cleanup-Image /RestoreHealth
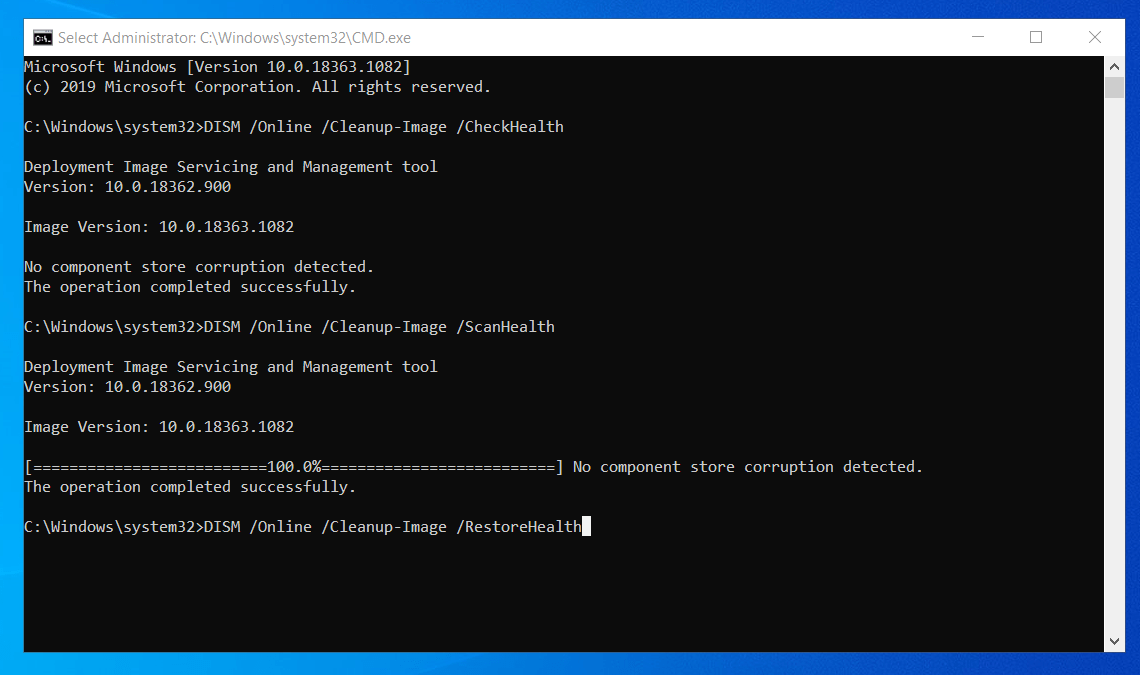
- Reboot your PC and check if the Windows updates will now install without fail.
Solution 5: Reset Windows Update Components
Like we mentioned earlier, the Windows Update service should be functioning properly for Windows to install all updates successfully. If something’s wrong with this feature, then it might explain why you’re getting the Windows Update error code 0x80070026.
There are two main folders that contain all the information related to the updates you perform on your Windows 10 PC. These are the SoftwareDistribution and Catroot2 folders, and you will need to rename them. You will also need to restart certain Windows Update services.
Here is what you should do:
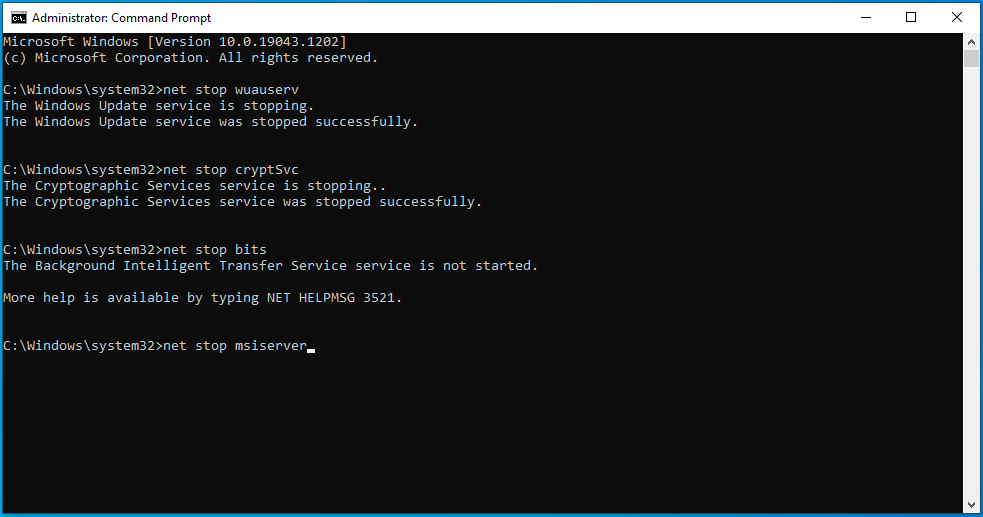
- Launch the Command Prompt as an admin as shown above.
- Type the following commands, hitting
Enterafter each one:
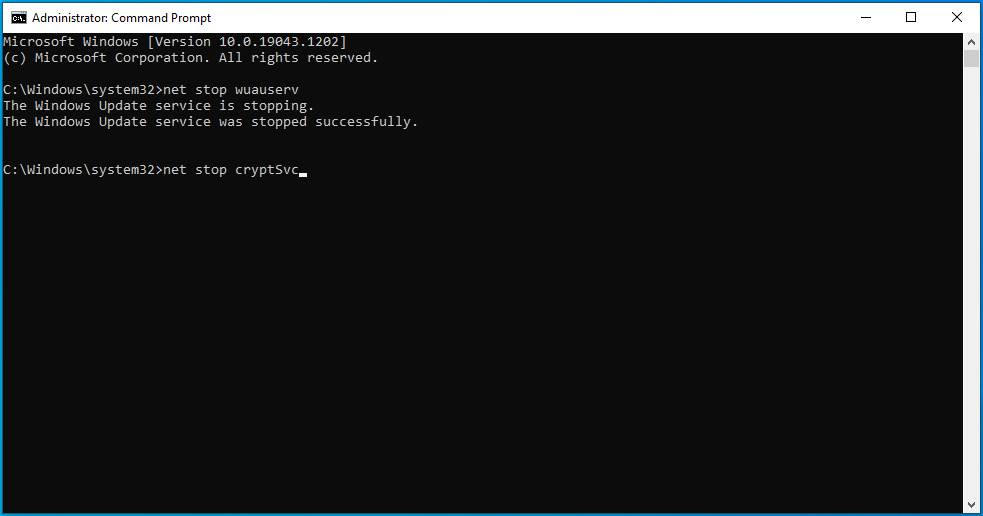
net stop wuauserv
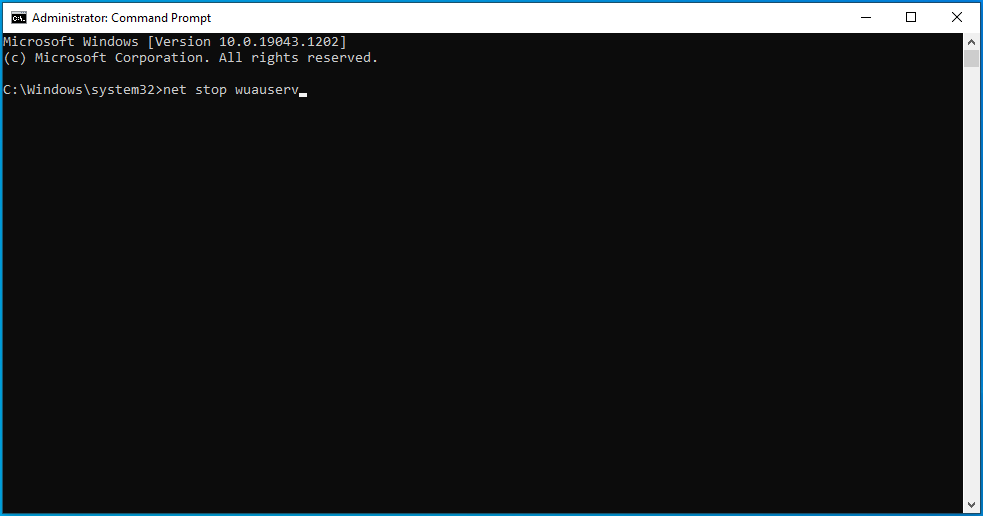
net stop cryptSvc
net stop bits
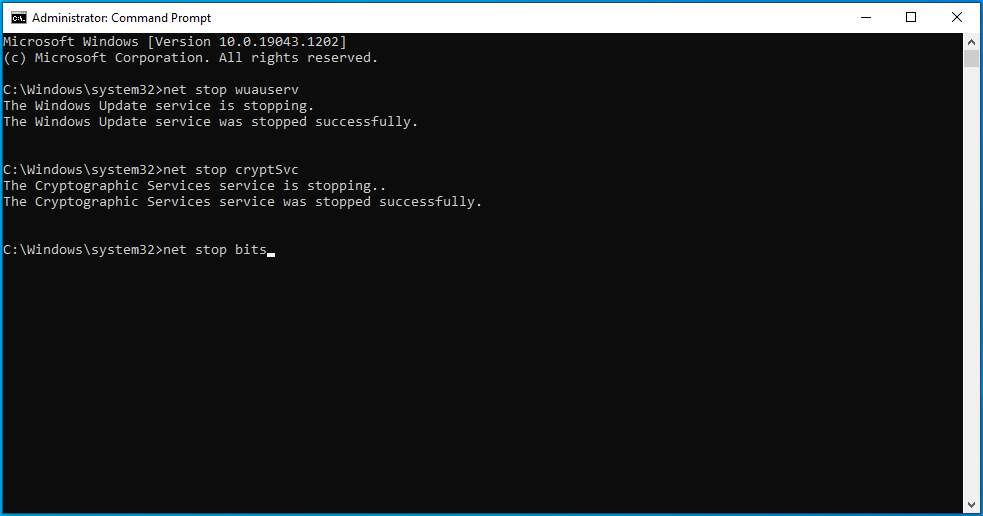
net stop msiserver
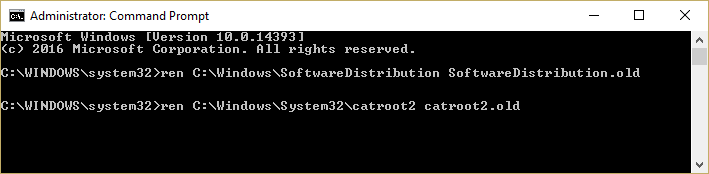
- Next, rename the Catroot2 and SoftwareDistribution folders. To do that, copy and paste the commands ren C:\\Windows\\System32\\catroot2 Catroot2.old and ren C:\\Windows\\SoftwareDistribution SoftwareDistribution.old, and hit
Enterafter each one. - Finalize the process by restarting MSI Installer, Windows Update, Cryptographic Service, and BITS. To do so, copy and paste the commands below one after the other, hitting the
Enterkey after each one:
net start wuauserv
net start cryptSvc
net start bits
net start msiserver
- Exit the Command Prompt and try installing the updates to check if the error code 0x80070026 has been rectified.
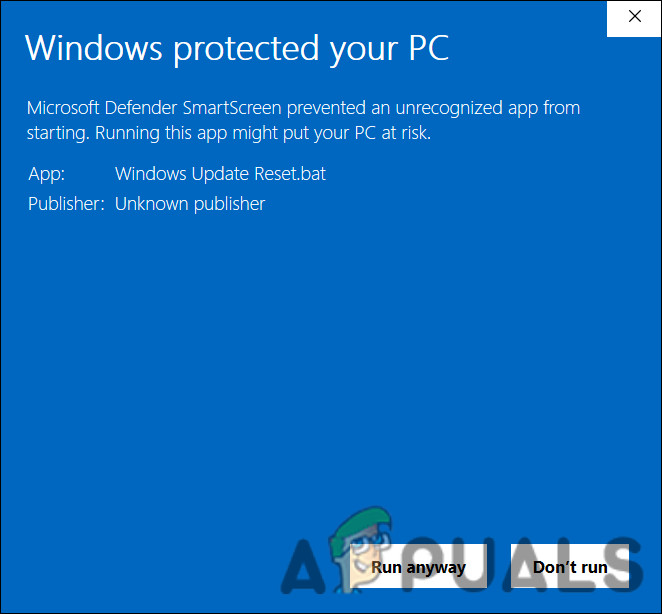
Solution 6: Try Using the Windows Media Creation Tool
Sometimes, when having trouble installing Windows updates, the Windows Media Creation Tool might come in handy. Here is how to use it:
- Go to the official Microsoft website to download Windows 10 installation media.
- Select Run. You need to be an administrator to use this tool.
- On the “What do you want to do?” page, choose Upgrade this PC now and select Next.
- Wait for the necessary files to be downloaded and the upgrade process to complete.
- Lastly, restart your PC.
This solution should fix the Windows Update error code 0x80070026.
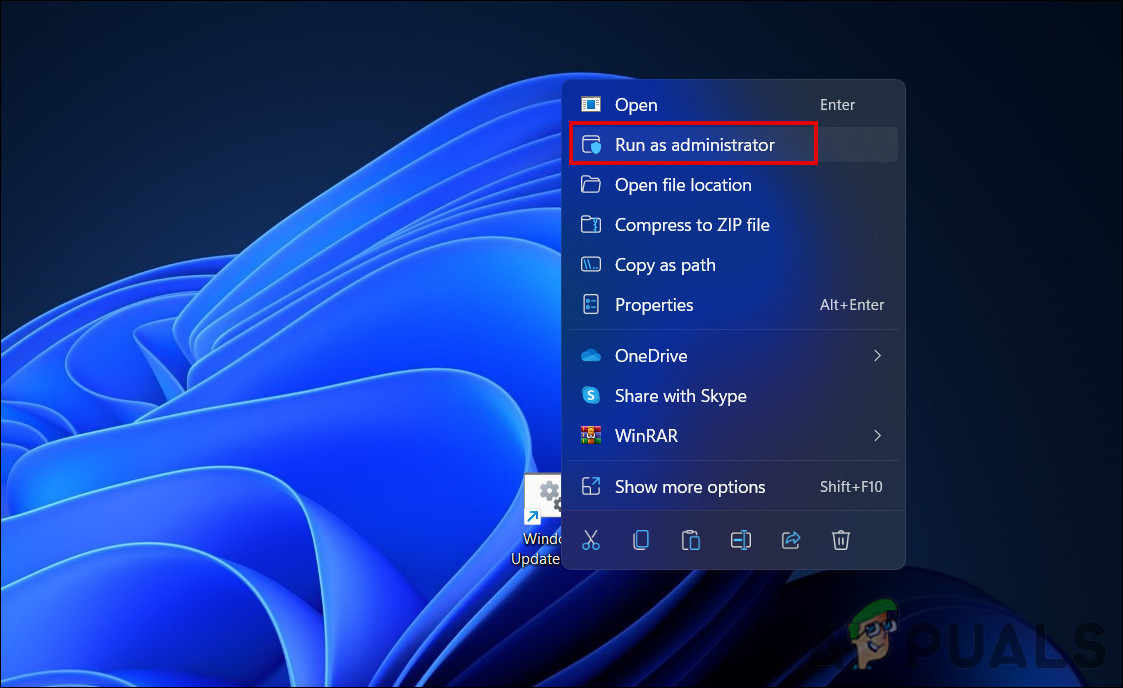
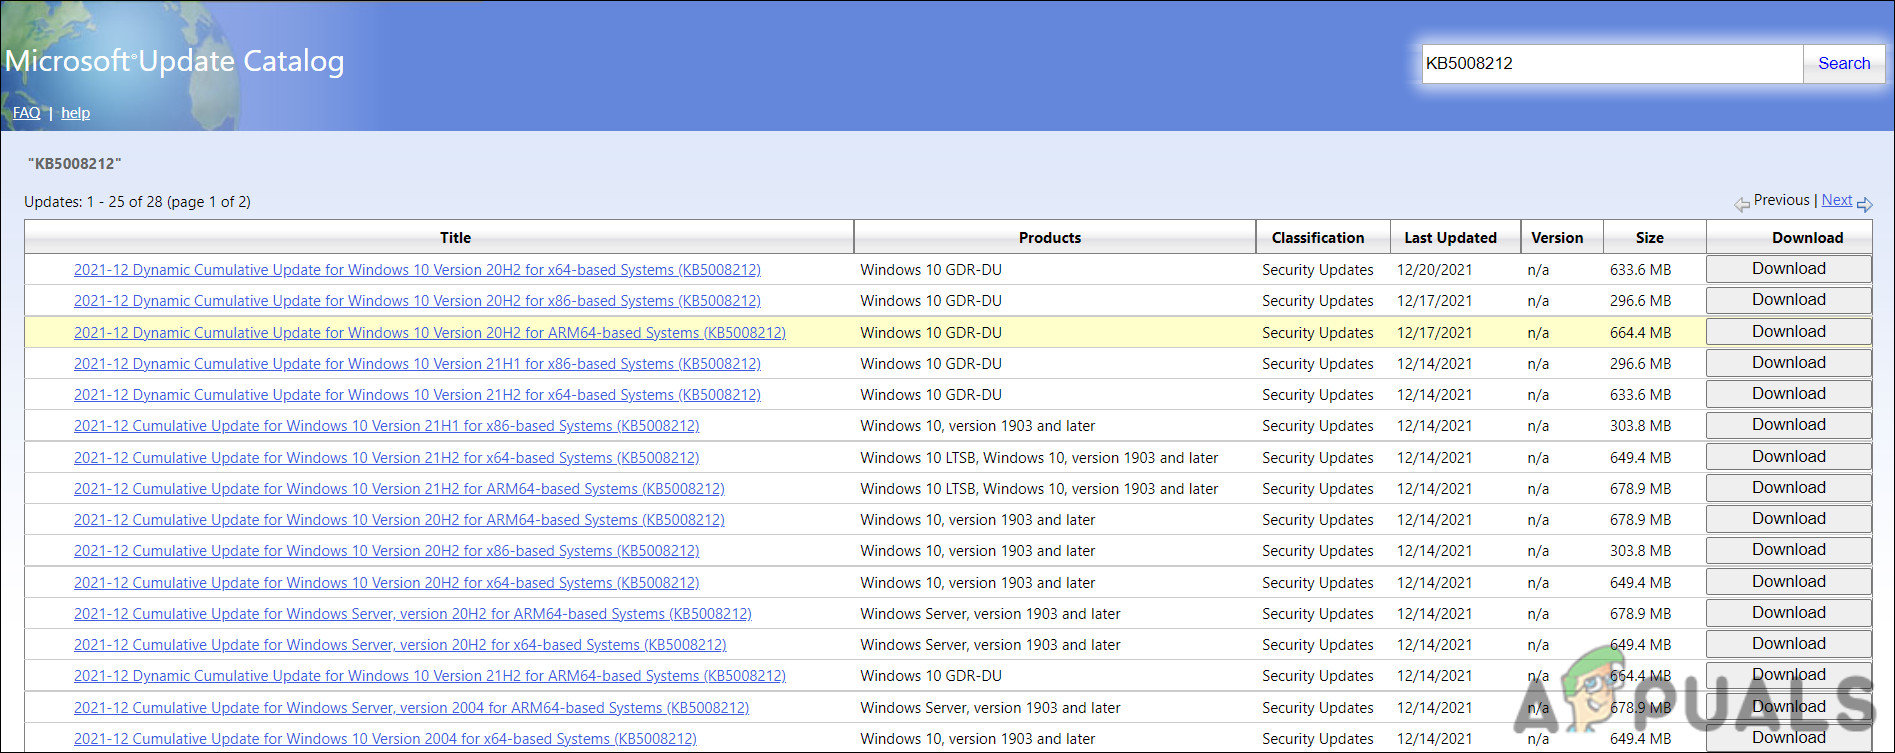
Solution 7: Try Installing the Updates Manually
If you’re still getting the error code 0x80070026 when trying to update Windows 10, you can try installing the latest Windows patches by going to Microsoft’s Update Catalog page. Once on this page, enter the KB numbers of the updates you want to install and click the “Download” button.
Likewise, if you want to install the latest driver updates, visit the manufacturers’ websites and download the updates from there.
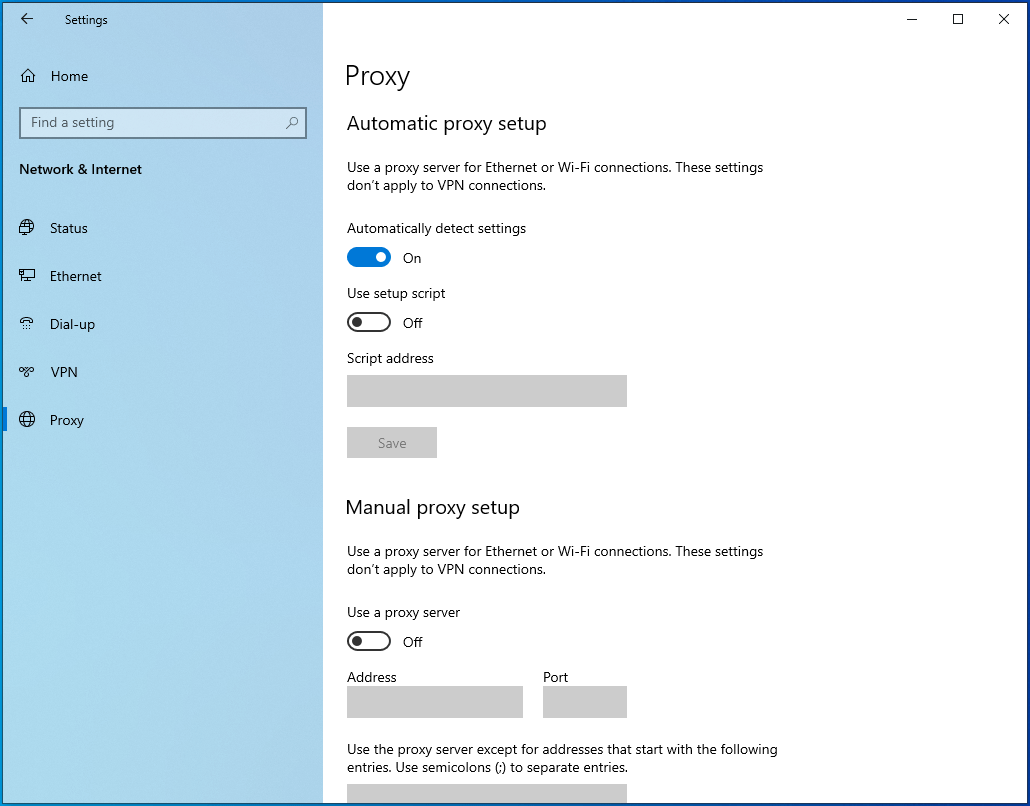
Solution 8: Temporarily Disable Your Proxy Connection
If you’re using a proxy connection on your Windows 10 PC, it may be the culprit behind the error code 0x80070026. Try disabling it to check if this fixes the problem. Here’s how:
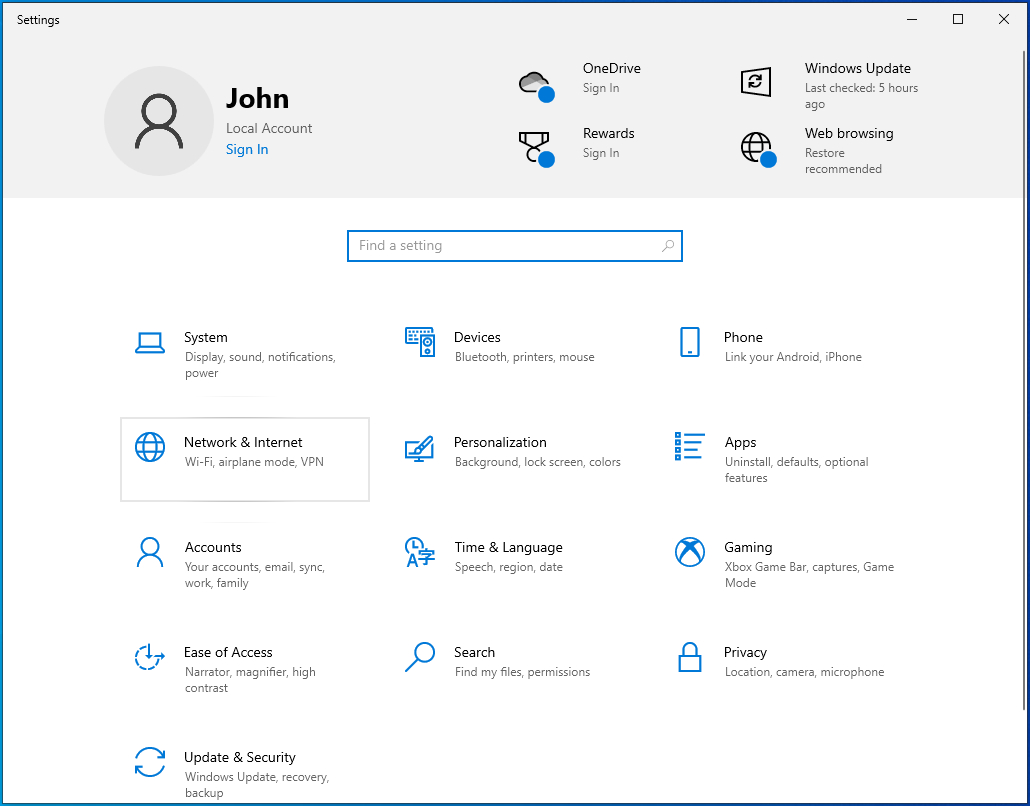
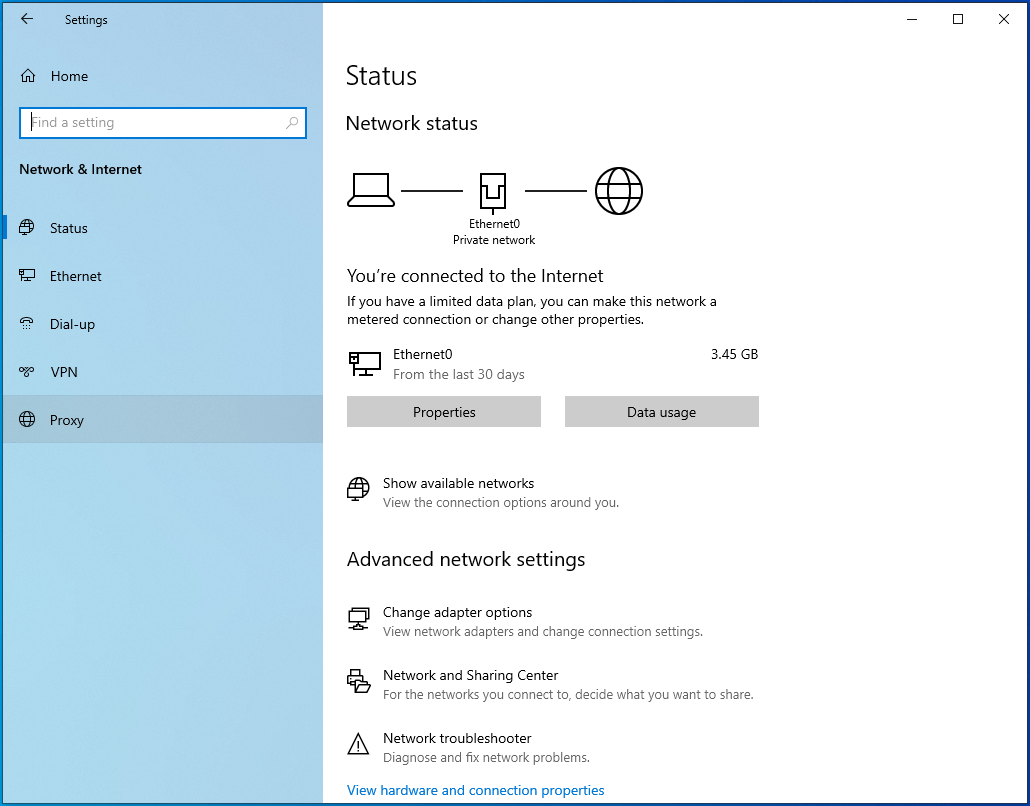
- Open Windows Settings and select Network & Internet.
- Click on Proxy in the left sidebar.
- On the right sidebar, toggle the Automatically detect settings to On.
- Under Manual proxy setup, toggle the Use a proxy server button to Off.
- Now, try running Windows Update again to see if it works this time around.
If you don’t use a proxy, skip this solution.
Download Auslogics BoostSpeed
Your one-stop PC maintenance and optimization tool, this program will clean, speed up, repair and tweak your system to ensure maximum speed and efficiency.
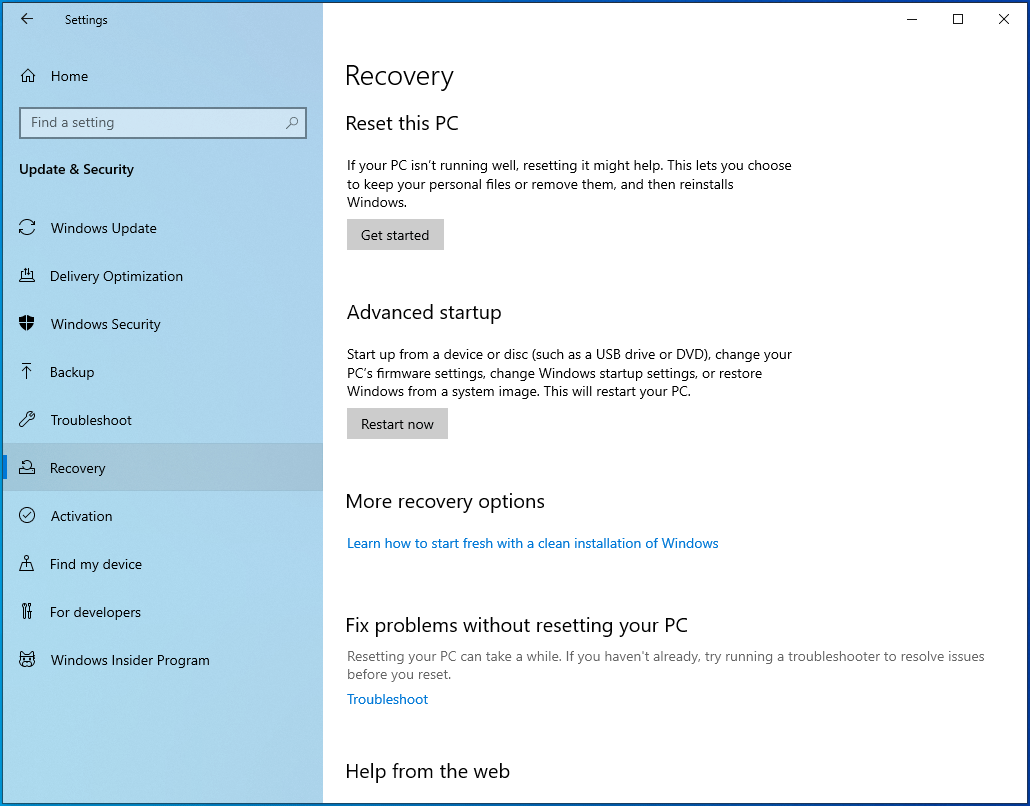
Solution 9: Reset Your PC
If none of the solutions above are fruitful in fixing the Windows Update error code 0x80070026, you may have to reset your PC. Be sure to back up important data before you proceed since resetting your PC may delete some files. It’s advisable to back up the files to an external hard drive. Once you’re done, follow these instructions:
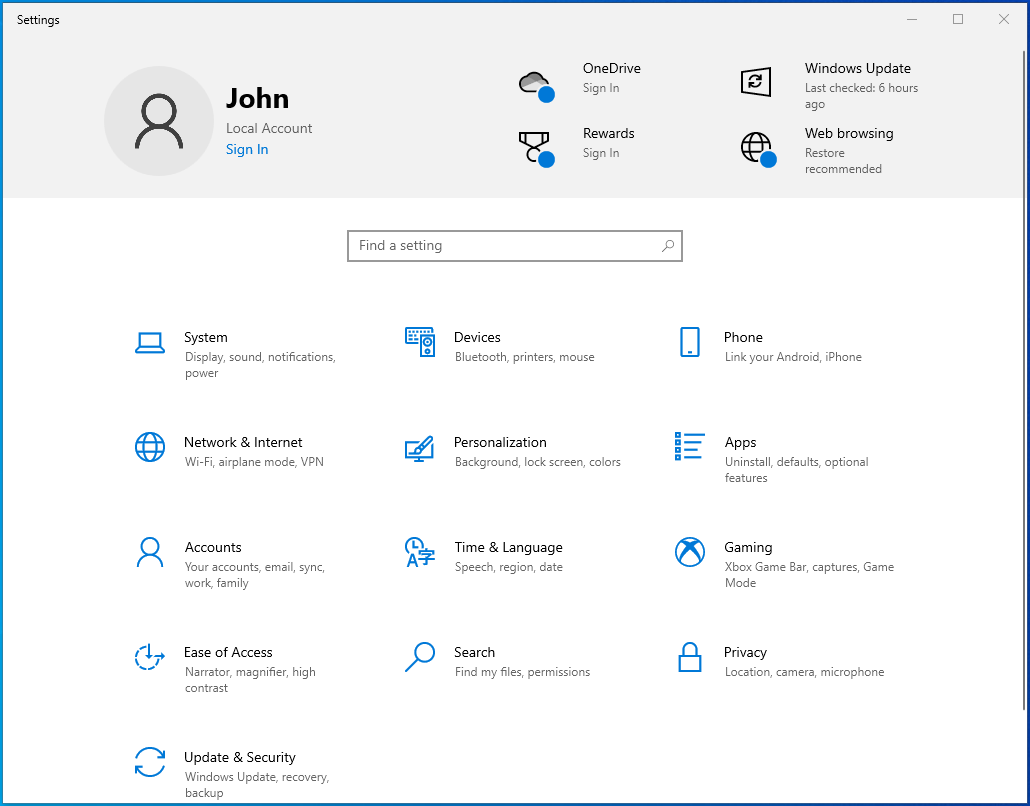
- Open your Settings app using the
Win + Ishortcut.
- Go to Update & Security > Recovery.
Картинка с сайта: www.auslogics.com
We hope the solutions in this post work for you. If you have additional information regarding the error code 0x80070026, feel free to contribute by commenting below.