
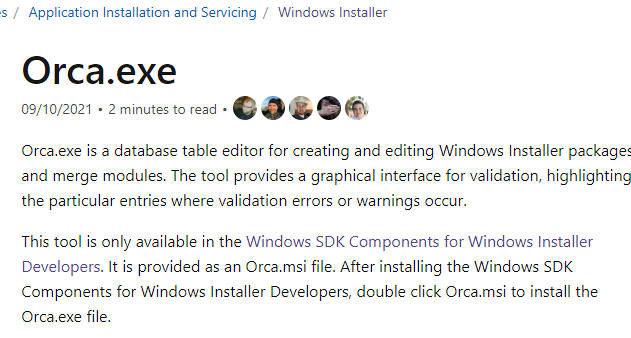
Microsoft Orca is a database table editor for creating and editing Windows Installer packages and merge modules. The tool provides a graphical interface for validation, highlighting the particular entries where validation errors or warnings occur.
The application installer is usually only accessible after installing a version of the Windows SDK for Installer Developers.
These are the MSI installer files for archival purposes. The files are digitally signed by Microsoft Corporation.
Download both the MSI and CAB files for your chosen version to the same folder, and run Orca-x86_en-us.msi to install.
| Orca.exe Version | About Version | SDK Version | Windows Target | Release Date |
|---|---|---|---|---|
| 5.0.22621.3233 | 5.0.10011.0 | 10.0.22621.3235 | Windows 11 | 2024-02 |
| 5.0.22621.2428 | 5.0.10011.0 | 10.0.22621.2428 | Windows 11 | 2023-10 |
| 5.0.7693.0 | 5.0.7693.0 | 7.1 | Windows 7 | 2010-06 |

Orca MSI Editor allows you to edit the properties of any MSI file. With this tool, you can change the title and text within the installer and look at how and where the files are delivered. It’s also handy if you need to “hack” an MSI to work with a newer version of Windows.
This tool used to be a part of Microsoft Developer Tools but is now retired and no longer supported by the company. Since finding the Microsoft Developer Tools is such a chore, I have made a download available with just the Orca MSI Editor tool.
Click here to download Orca MSI Editor then install it. Once installed you can right-click any MSI and select “Open with Orca”.
Author Mitch Bartlett
Through my career that spans over 20 years I have become an expert in Microsoft Systems Administration, Android, and macOS. I started this site as a technical guide for myself and it has grown into what I hope is a useful knowledgebase for everyone.
Helping millions of people navigate the world of technology.
Quick Tips
- The ORCA MSI editor tool used to be a part of Microsoft Developer Tools but is now retired and no longer supported by the company.
- We’ve provided a link to download the tool as a standalone package.
- Orca MSI Editor allows you to edit the properties of any MSI file.
How to Download and Install the ORCA MSI Editor
Downloading the standalone MSI installer file is quite difficult. However, we’ve extracted and uploaded it onto a link that you can download from.
Note: The installation file is present inside a ‘.zip’ file, so make sure you have the right tool to unzip and extract the installation file.
Download ORCA MSI Editor
Step 1: Extract the downloaded zip file. Double-click to open the file.
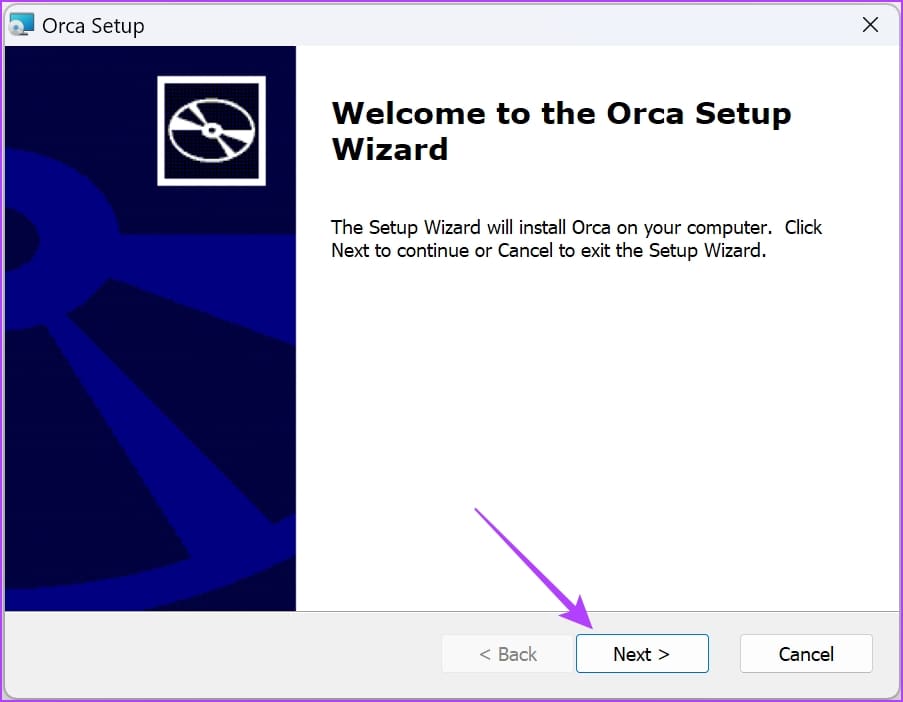
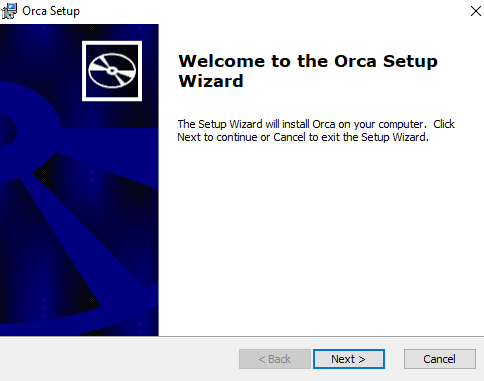
Step 2: You have now entered the installation wizard. Tap on Next on the welcome screen to begin.
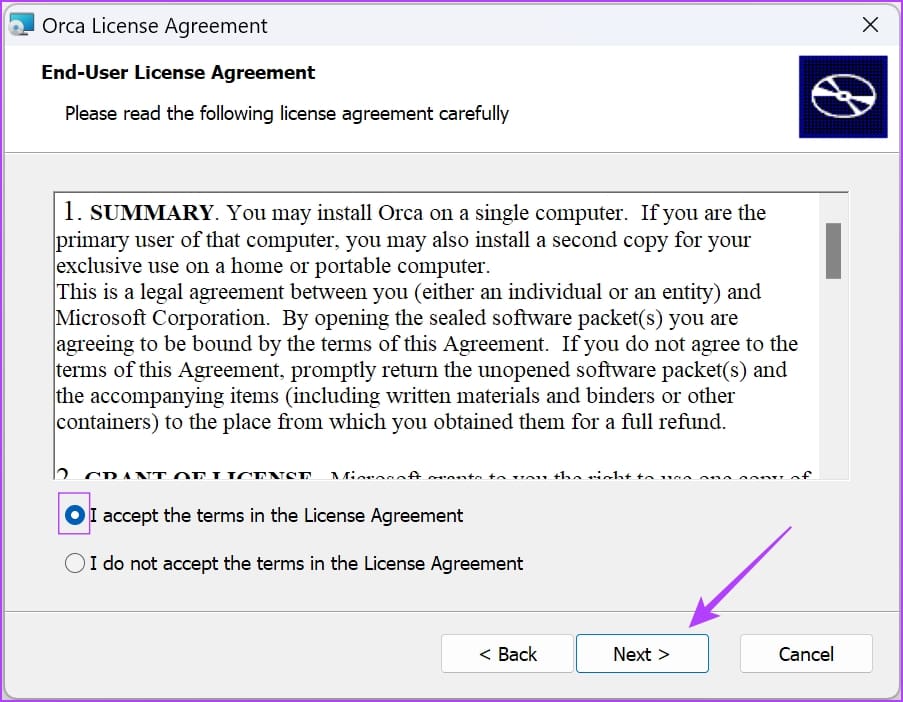
Step 3: Check the box on I Accept the terms in License Agreement, and tap on Next.
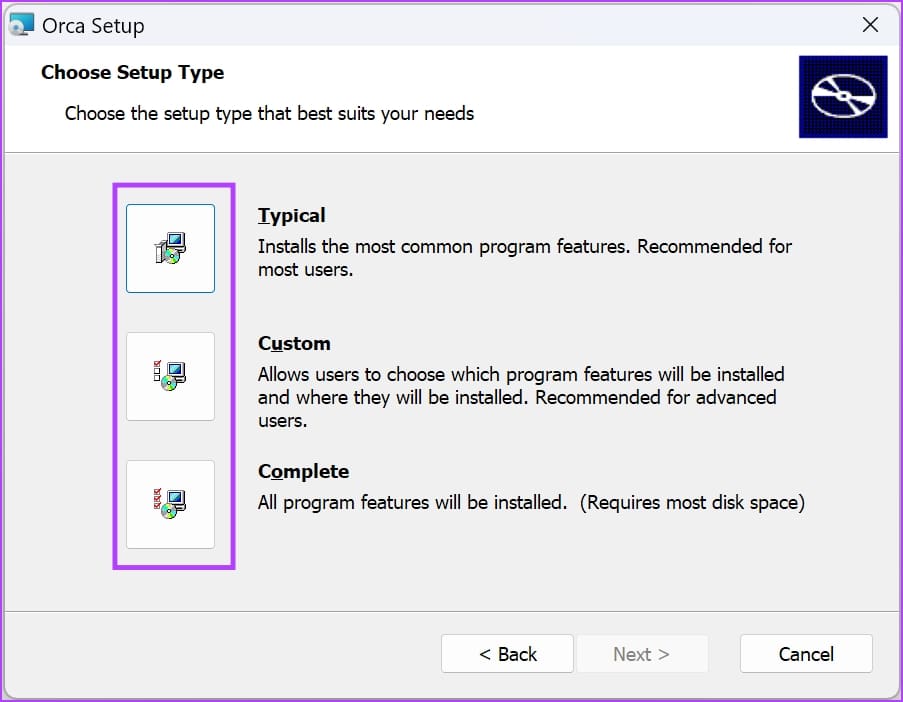
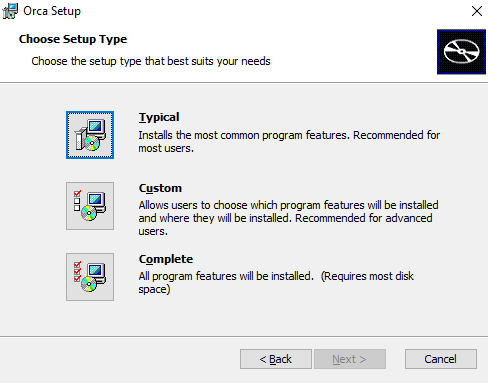
Step 4: Choose your installation package. The Typical package will be the most suitable one, as suggested by the installer.
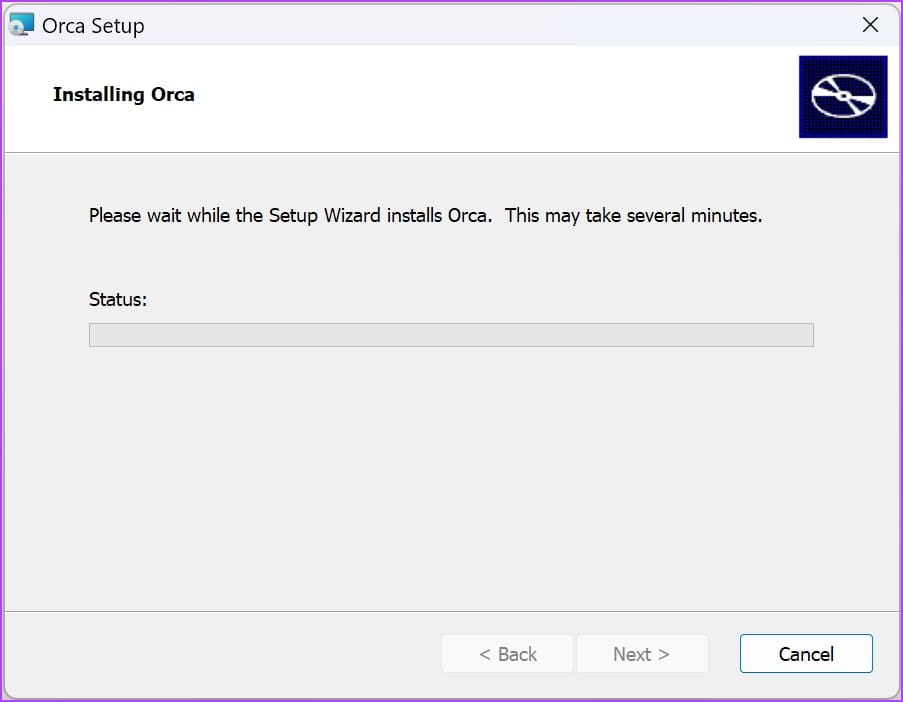
Once you select the installation package, you will be automatically redirected to the next window, where the installation process will begin. Wait for a few minutes for the process to complete.
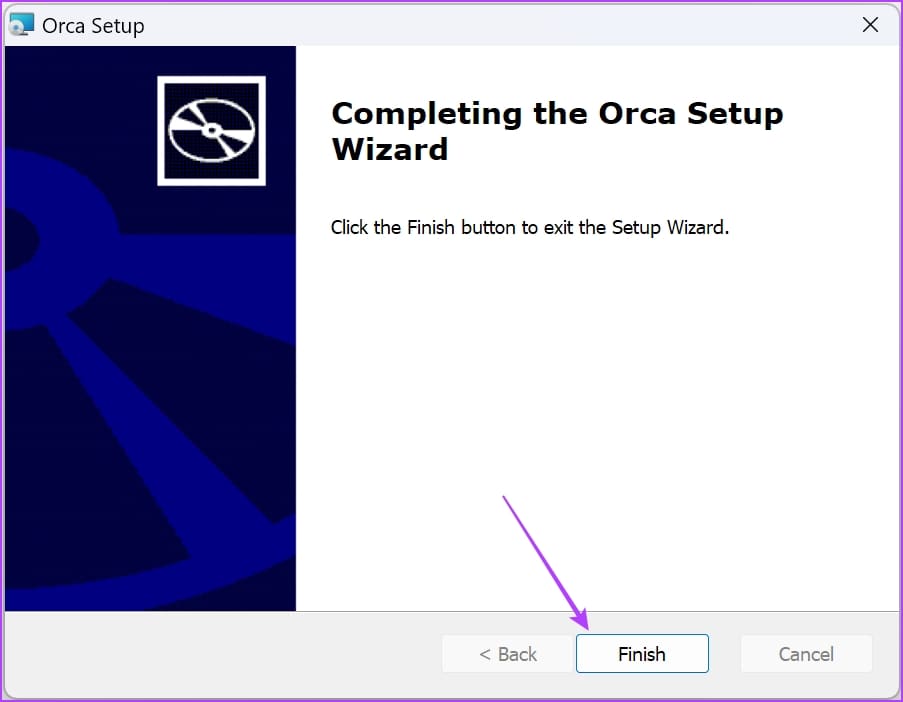
Step 5: Tap on Finish to complete the process.
Also Read: How to fix “Windows Installer Service Could Not Be Accessed” error.
How to Edit MSI Files on ORCA MSI Editor
To open the ORCA MSI editor on your Windows PC, all you need to do is to open the Start menu, search for ORCA, and click on the search result. You will have to run the ORCA as an administrator.

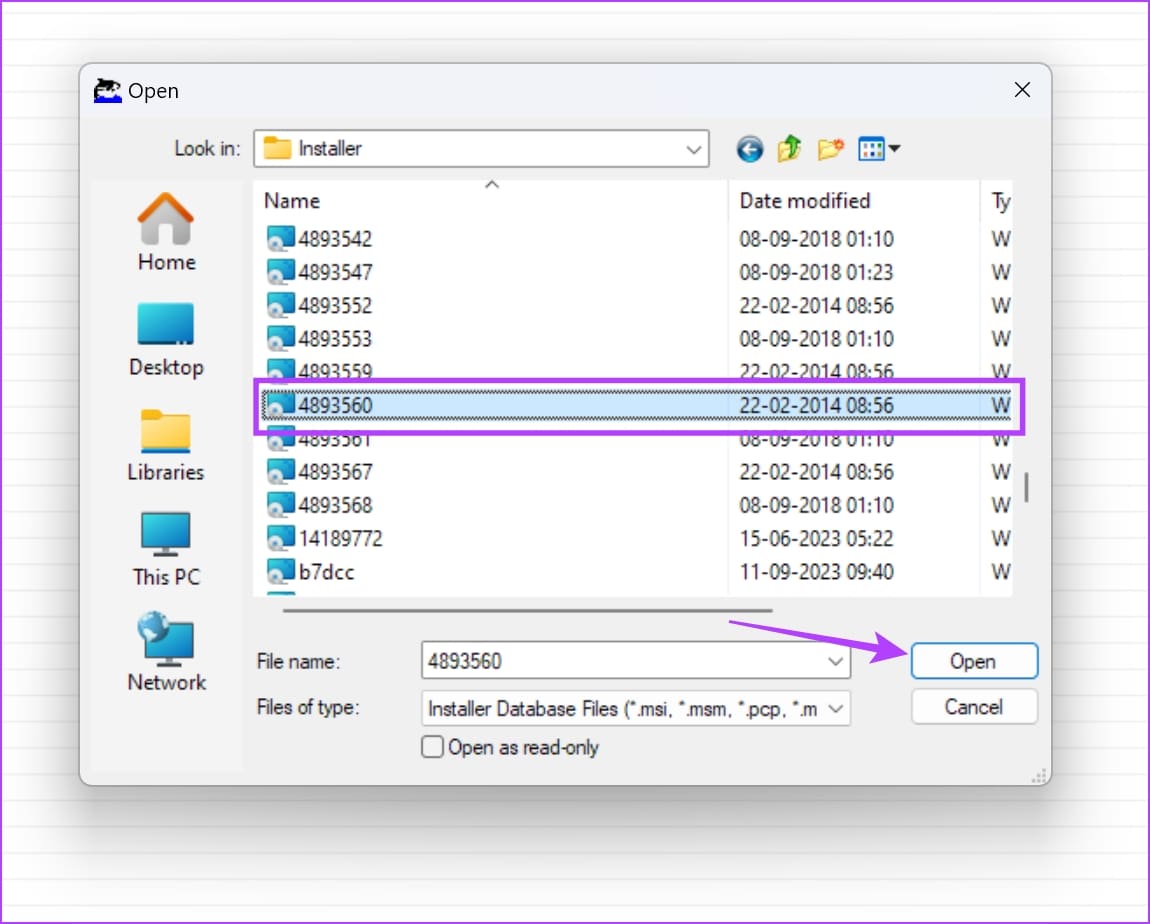
Step 1: Once you have opened the MSI ORCA application, click on File in the toolbar and tap on Open.

Step 2: Navigate to the directory where the MSI file is present. Click on open to open the MSI file you want to edit.
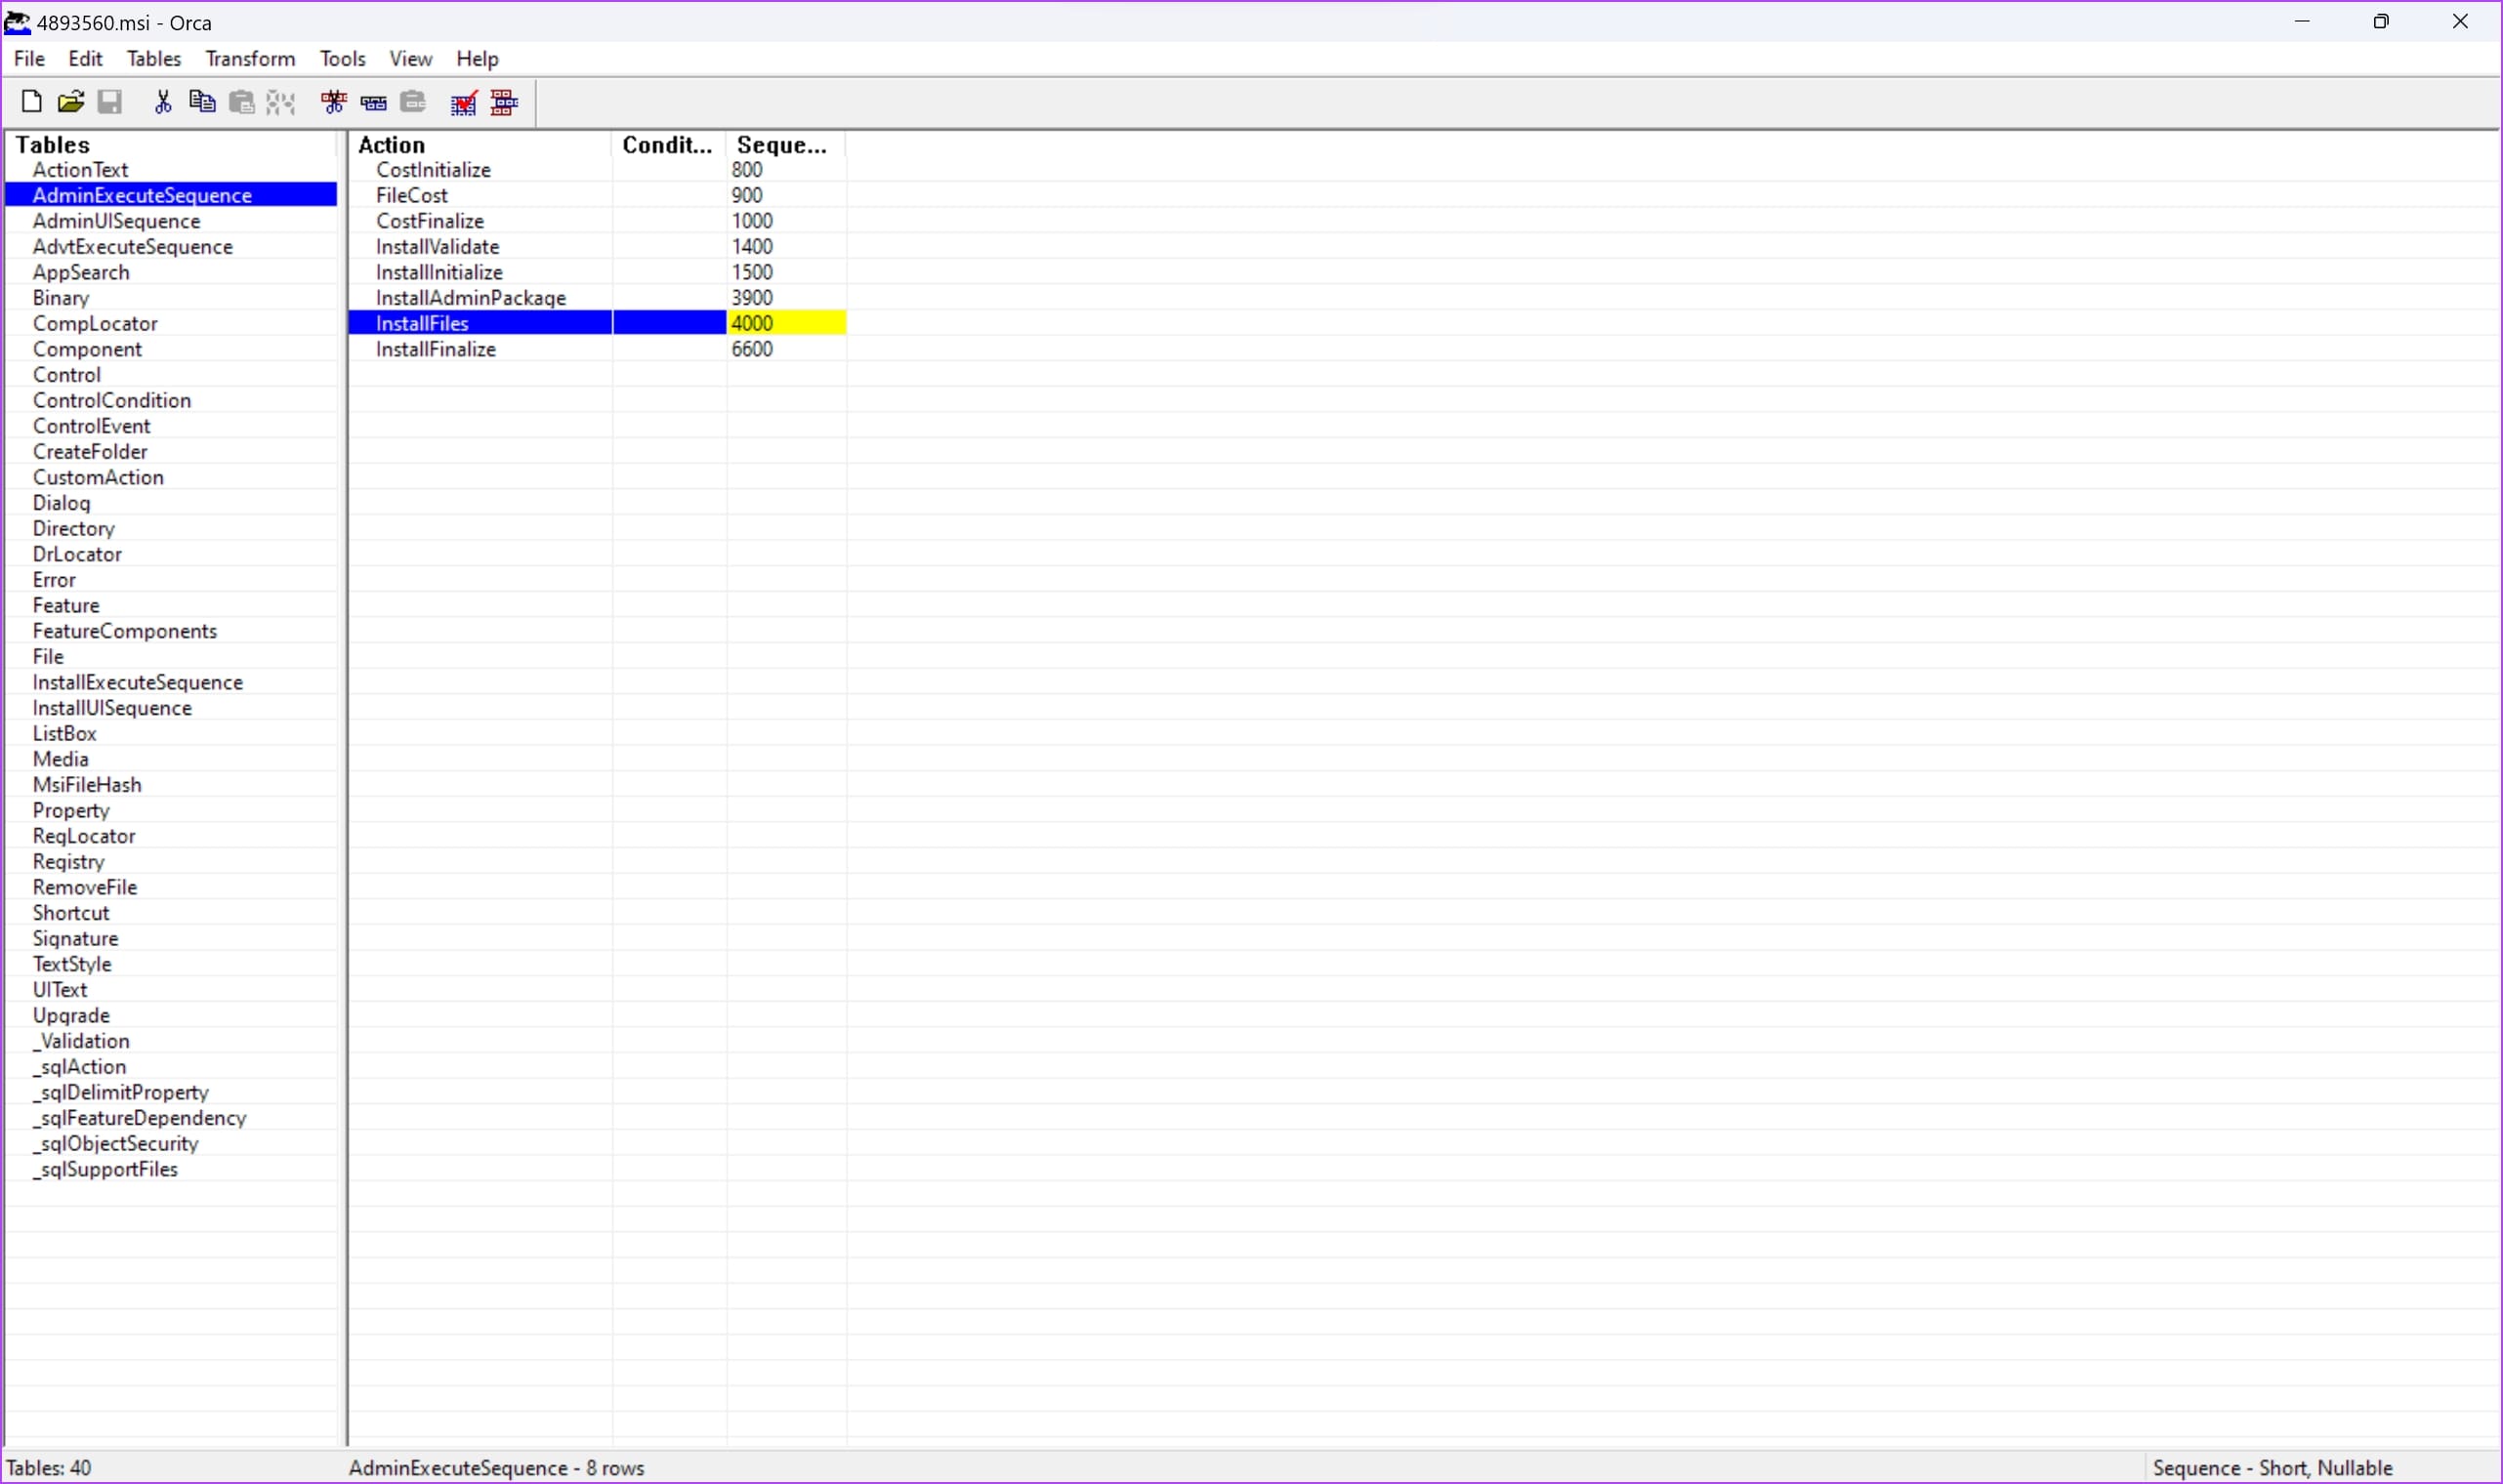
Step 3: Once the file is opened, you can select a variable to begin editing it.
However, here are a few things to remember before you begin editing the MSI file.
- Always create a backup of the original MSI file before making any edits and changes.
- Familiarize yourself with MSI file structure and Windows Installer technology through relevant documentation. Make sure you are fully aware of what you are doing.
- Understand the permissions and privileges required for modifying MSI files, and ensure to run ORCA with appropriate administrative rights.
- Maintain detailed documentation of your changes, including reasons for modifications, for future reference and collaboration.
Was this helpful?
Thanks for your feedback!
Last updated on 15 July, 2024
The article above may contain affiliate links which help support Guiding Tech. The content remains unbiased and authentic and will never affect our editorial integrity.
ORCA MSI Editor is a tool to edit entries and properties of MSI files or to modify the MST files. Microsoft had developed ORCA MSI Editor to edit and create different MSI files, like- title, text, properties or add table rows.
ORCA MSI Editor is a Windows Installer package with a user-friendly interface that helps to edit the MSI files very easily. Being developed by Microsoft, ORCA Editor nowadays does not receive any support from the company itself.
Other MSI Editors available in the market are very poorly developed and designed whereas, Microsoft ORCA MSI Editor is a cleaner software to install and re-package the MSI file. So, you can say, ORCA MSI Editor is a brilliant tool to create and edit the MSI files. Using ORCA, the existing database schema and the tables can be accessed smoothly and can export the database table.
Download and Install ORCA MSI editor
First, you need to download Microsoft ORCA MSI Editor from the internet and install it in your system. Downloaded ORCA file will be in zip format in a proper location of your system. Now, extract the zip file using WinRAR extraction software and run the ORCA MSI.
Below mentioned are the guidelines and step by step how to install Microsoft ORCA MSI in your system.
Step 1: Run the ORCA MSI. It opens a dialogue ORCA setup wizard. Click next.
Step 2: The ORCA Licence Agreement dialogue shows the license agreement. Please read it carefully and select one option from the following. By selection, I open the terms in the license agreement and click the Next button.

Step 3: Choose a setup type that best suits your needs and Click next.
Step 4: Ready to install dialogue open click to install.

Step 5: Your ORCA will be installing and you have to wait a few minutes till it’s done.
Step 6: Finally, the install is completed.
How to effectively run the Microsoft Orca
Microsoft ORCA MSI editor is very easily editing MSI packages and MST files. Here are the guidelines of the steps that how to use ORCA MIS Editor tool:
Step 1: Open form start, the program menu and ORCA icon show. Click to open the ORCA editor. The ‘keys’ are opened in the left window, and the property and their values are listed in the right window.

Step 2: Select the file menu, open dialogue now selects an MSI file that you want to edit. The left window enables you ]to view several data tables of the MSI package.

Step 3: click the ‘Transform’ menu to modify the MSI package for your needs.
Step 4: Select the listed feature from the table in the left window.
By clicking it, you’ll see the details property with a value in the right window. To change the values, double-click the current value and enter with the new value.
If you select the ‘control’ feature from the left window pane, the right window shows its properties and the values.
You can change the value of the existing properties, i.e., as shown in the picture that blue mark shows the property with the existing value and the yellow mark modifies the value with the new one.
Furthermore, if you select a check-box list features from the tables from the left window panel, you can see the property and the values are blank in the right window panel. Now you can add a row by double-clicking on it. A new dialogue box will appear; you create the property with its value.
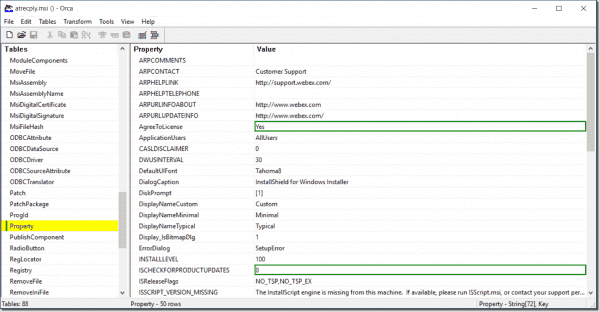
Step 5: You’re required to select the PROPERTY table under the TABLE column to set the properties with the following values
- AgreeToLicence = Yes
- ISCHECKFORPRODUCTUPDATES = 0
- RebootYesNo = No
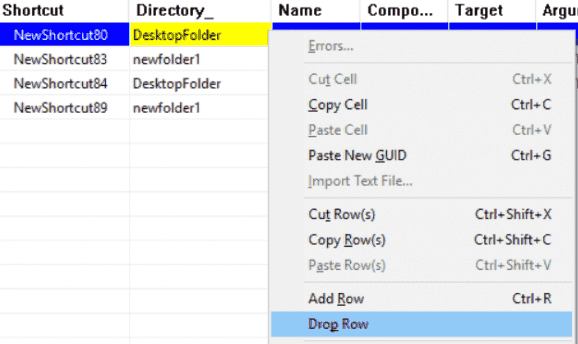
An additional tool is included in the right-side panel is you can Drop row by selecting the property and then the right-click menu will show Drop row option.
You can select the Shortcut from the Tables option and right-click the two rows having a desktop folder which will stop the installation from generating desktop shortcuts.

After completing all the features go to the Menu bar and click the transform menu and generate a transform to save the proper MSI package modification. Once the installation process is finished, you would not see desktop shortcuts.
Conclusion
An MSI file is a database that is full of tables with the presence of referential integrity. A change in one table automatically cascades to the other ones not consuming much time whereas, in ORCA, this table changes need to be done manually.
The benefit of using ORCA to generate transform is that it omits and edits the Windows registry to disable settings post-installation.
I hope this article will be fruitful in your learning steps of Microsoft ORCA MSI Editor tool download, installation, and the uses completely.
If you want to edit your MS installer file and have a smooth experience as a bonus, you have to use an MSI editor. But are the editors available in the market poorly developed?
Don’t worry! As a technological geek, I researched it and found Microsoft ORCA MSI editor the best in this regard. I guarantee your experience will also be the same while creating and editing MSI files.
So, keep reading. Don’t skip any section, as I will unearth the easiest ways to download, install and run the Orca MSI editor on your system.

What is Orca MSI Editor?
MSI file stands for Microsoft Installer file. It is an attribute of Microsoft. Hence, MSI editor means editing or customizing the properties of the MS installer file. This is a tool that used to be an asset of Microsoft, but they are not ready to support and continue it anymore.
MSI is presently known as Windows Installer SDK (Software Development Kit).
As MSI editor is a tool you will use to modify your MSI file, you should be extra careful about this.
In short,
You may create an MST (Microsoft Transform) file to preserve the changes temporarily instead of making the changes on the MSI file directly. When you edit, you will find this an exclusive idea, I am sure.
For your information, an MST file is just an extension of an MSI file used mainly for editing the installer file.
It is no hassle to download Orca MSI editor. So, to download Orca Microsoft Installer alternatively used as Windows Installer, go to the following link:
The link will redirect you to the further step. But, for your convenience, I will share the process with you.
Here are the steps to download the Orca MSI editor for your system:
- Click on the download link above.
- Go to the site.
- Find out the Download MS Installer or Windows Installer button.

- Click on it and confirm the file location.
- Extract the files from the zipped one when the download process is finished. You can use WinRAR or some contemporary other software to unzip it.
Now, you have the file downloaded on your system.
How to Install Orca MSI Editor
When you have Orca MSI editor downloaded in your folder, you are ready to install it. You have the downloaded and unzipped folder in your hand.
But, before installing, you need to confirm that your system has the minimum configuration required to install the MS installer.
You will require Microsoft .NET Framework 3.5 (the later version you have, the more smooth installation and user experience you will receive). It is a prerequisite.
Let’s dive into the installation process.
Here are the steps to install the Orca MS installer:
- Find out the Orca MSI from the files and double-click on it. It will open a dialog Orca Setup window.
- Click on Next from the window.
- Read the ORCA Licence Agreement carefully and select I accept the terms in the License Agreement from the two options.

- Choose any setup types that perfectly suit your needs among the three, i.e., typical, custom, and complete.
- Click on Install from the Ready to install dialog box. Your download will start.
- Wait till the download is finished.

Well done. You now have an Orca MSI editor installed on your computer.
How to Uninstall Orca MSI Editor
You may want to uninstall Orca MSI editor once you have completed your work. The process of removing the MSI editor from your system is pretty straightforward. Let me give you ideas on how to uninstall the editor.
Here are the steps to uninstall Orca MS installer editor:
In this case, we will use PowerShell.
- Right-click on Command Prompt and click on Run as Administrator. An Elevated Command Prompt will appear.
- Enter the command MsiExec.exe /x Orca-x86_en-us.msi /qn.
- Hit the Enter.
Uninstalling of Orca MSI will automatically be started. Now, I will show you the conventional process of uninstalling software.
Here are the steps to uninstall the Orca Windows installer editor using Control Panel:
- Go to the Start menu.
- Type Control Panel on the Search bar. Click on the first option from the suggestions.
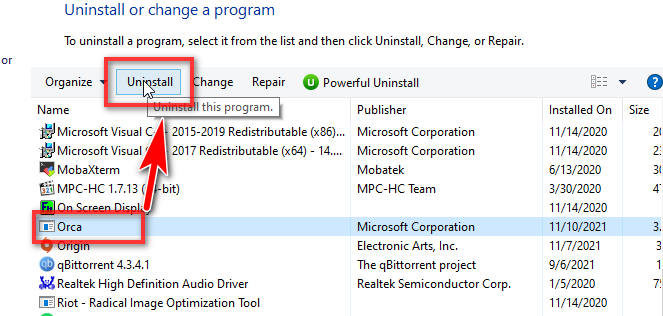
- Navigate to Programs and Features. You will see the list of all installed applications on your computer.
- Click on the Orca MSI Editor from the appeared list.
- Tap to Uninstall/Change next to Organize.

Wait a bit until the process is not finished. Once you are done, enjoy!
How to Run and Use Orca MSI Editor
It is naive to run Orca MSI editor. Most probably, you will use it to edit MSI files. So, I will note down some guidelines so that you can feel comfortable while using them.
- Open Orca MSI editor by double-clicking it. Having the window opened, you will find the keys on the left and the properties on the right.
- Click on the File menu.
- Select Dialog from the left pane and select an MSI file that you want to edit from the right.
- Press the Transform menu to edit the file.
- Select a feature from the list on your left. The files and their properties and values will appear on the right when you click on an option.
- Double click on the current value and enter the new value. Now, you will see tables on the left and properties on the right.
- Select the Property under the Table column to set the properties with the following values: AgreeToLicence = Yes; ISCHECKFORPRODUCTUPDATES = 0; RebootYesNo = No
After completing all the features needed, navigate to the Menu and click the transform option. Generate a transform to save the new MSI package modification. This is how you can efficiently perform your adjustment.
FAQ
Question: What is Orca Microsoft?
Answer: Orca.exe is a database table editing tool initiated by Microsoft for creating and editing Windows Installer packages. This tool provides a Graphical User Interface (GUI) to highlight the entries where validation errors occur or require changes.
Question: Are MSI files safe?
Answer: An MSI file is a Windows installer package that stores information pf a particular installer. So, it is, of course, safe. As MSI files are commonly used for software installations, someone rarely reported malicious files in them.
Question: Where can I find Orca MSI?
Answer: Immediate after installation, you can find it in the SDK’s install path. In my system, the location is C:\Program Files (x86)\Windows Kits\10\bin\x86\Orca-x86_en-us. msi.
Conclusion
Well. You should have sound theoretical experience regarding the Ocra MSI editor, its safe download, install or uninstall, and utilization from the discussion above. In Orca, you need to manually change or customize the data and properties of your MSI file that you may find a bit time-consuming. But, the benefit is, Orca edits the Windows registry to disable settings post-installation.
I hope this article was helpful. If yes, please share this with your friends. And, if you have any further queries, feel free to ask via commenting on the comment box below. I will try to get back to you soon.