
Item Preview
There Is No Preview Available For This Item
This item does not appear to have any files that can be experienced on Archive.org.
Please download files in this item to interact with them on your computer.
Show all files
341
Views
1
Favorite
DOWNLOAD OPTIONS
Uploaded by
Cra209
on
SIMILAR ITEMS (based on metadata)
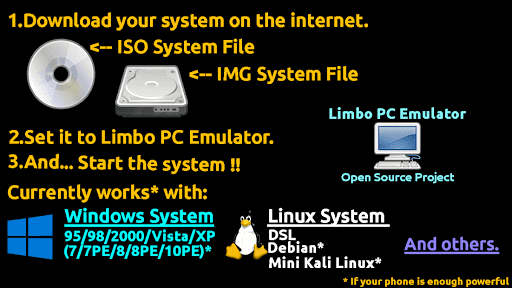
Android is the most popular operating system which runs on Linux environment. As it is a Linux based system, You can easily root your device and install the Linux terminal for using ‘sudo‘ commands. Linux provides you a very smooth flexibity by which you can easily boot any boot img or iso file on your device.
You can also install windows 7 operating system with win img or iso file in just a couple of steps. And here in this guide, I am going to show how to boot windows 7 iso file on your android device without root.
Let’s see the step by step guide:
How to install Windows 7 on android using Limbo
-
- The very first thing which you need to do is that download and install the below-required files:
- Download Windows 7 ISO free, click here
- Download Limbo PC emulator free full version
- Once you have downloaded win 7 iso for Limbo then install Limbo emulator in your device as usual.
- Open Limbo emulator.
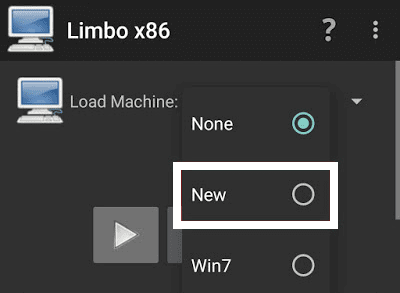
- Now at your Limbo App dashboard, You will find a drop-down menu for loading machine. You need to tap the drop-down menu and then select “New.” see below picture.

- Now, a pop-up window will appear. You need to enter the name of your new virtual machine and then click on ‘Create’. see below picture
- Architecture option: Here you need to select PC.
- Machine Type option: Here you need to select the x64 option.
- CPU Model option: Here you need to select the SandyBridge option.
- CPU cores option: Here you need to select 4 Cores.
- RAM memory option: Here you need to select 880 MB RAM. You can select more RAM if your device has more than enough RAM.
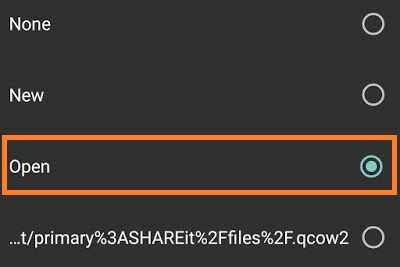
- Hard disk option: Here you need to select the “OPEN” option. After that, you will be redirected to your SD card. Now you need to locate the downloaded Windows 7 img/iso file and then select the file.

- Device option: Here you need to select Hard Disk in the boot settings.
- VGA Display option: Here you need to select Vmware.
- User Interface option: Here you need to select SDL.
- Now you need to match all the settings as shown in the below picture one by one.
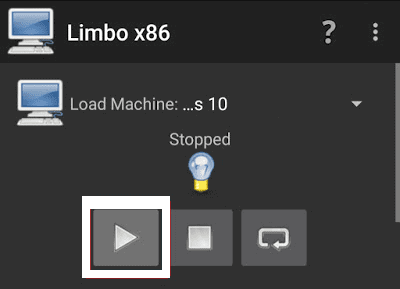
- Now you need to click on ‘Play Option‘. It will start booting process of Windows 7.

- While booting being in the process. Your device screen will look something like below picture.

- When the booting process will be 100% completed. Your Windows 7 home screen will look something like below picture.

- That’s it.
- The very first thing which you need to do is that download and install the below-required files:


I hope that the above step by step guide has helped you for installing Windows 7 iso on your android device (tablet or mobile) without root using limbo emulator.
Also Read: Windows 10 on Android limbo
Для работы проектов iXBT.com нужны файлы cookie и сервисы аналитики.
Продолжая посещать сайты проектов вы соглашаетесь с нашей
Политикой в отношении файлов cookie
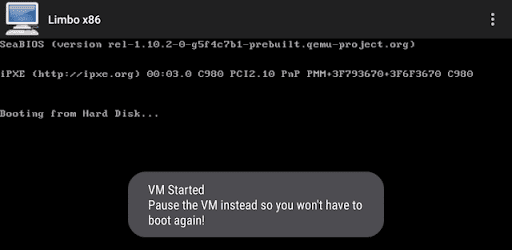
Прошлый пост о том, как на Android работает Windows 95, доказал, что Limbo — вещь годная. Не такая шустрая, как QEMU, но вполне сносная. И на ней — о Боги — запустился Fallout! С минимальным фреймрейтом, но играть было можно. Так что теперь, используя сие благословение цифровых богов, можно заняться тем, чем я, собственно, и хотел заняться ранее. А именно — тестировать различные игры и ОС. Начну с последнего.
Итак, Windows 95 от MVoloshin я проверил, всё работает, запускается F1, скорость не самая шустрая, но удобоваримая. Разрешение экрана меняется, Интернета нет, диски подключаются без особых проблем. От того же MVoloshin есть микро-образ Windows 98, в распакованном варианте весящий чуть больше 130 мегабайт. Что, если мне не изменяет память, меньше, чем весит W95. Занятно.
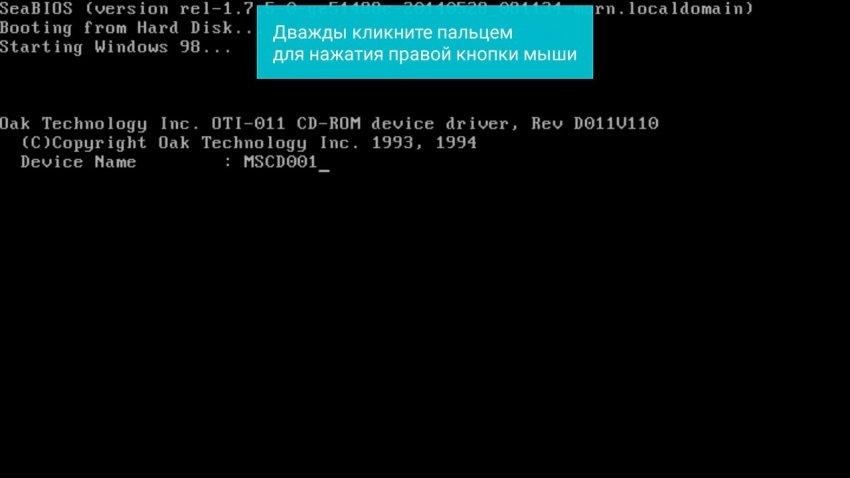
С параметром в 392 мегабайта оперативной памяти ОС загружаться не захотела, пришлось понизить значение до 92. Загрузилась система раза в три быстрее, чем Windows 95, но это и немудрено, ведь установленных программ в ней почти нет. Только пара стандартных. На ней было бы забавно протестировать игры на наличие в ОС драйверов, но это уже будет чуть позже.

Следующей в очереди является Windows 2000 от germantm7025. Образ в распакованном виде весит почти 800 мегабайт, что должно стать первым мало-мальски серьёзным испытанием для Limbo. Версия, которую я добыл, является Win2000 Professional «на основе технологии NT». После минутной загрузки меня встретил экран профиля. Нажав «ОК», я после ещё минутного ожидания попал на голубой экран, на котором появились сначала меню «Пуск», а после — иконки приложений.
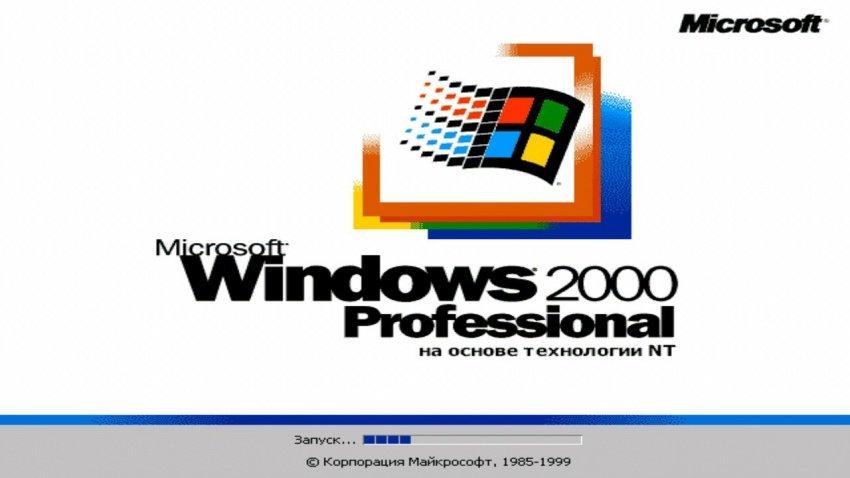
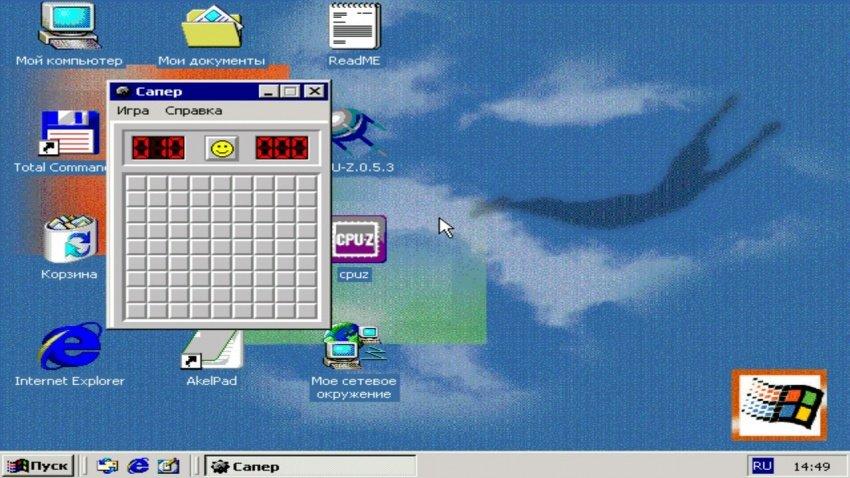
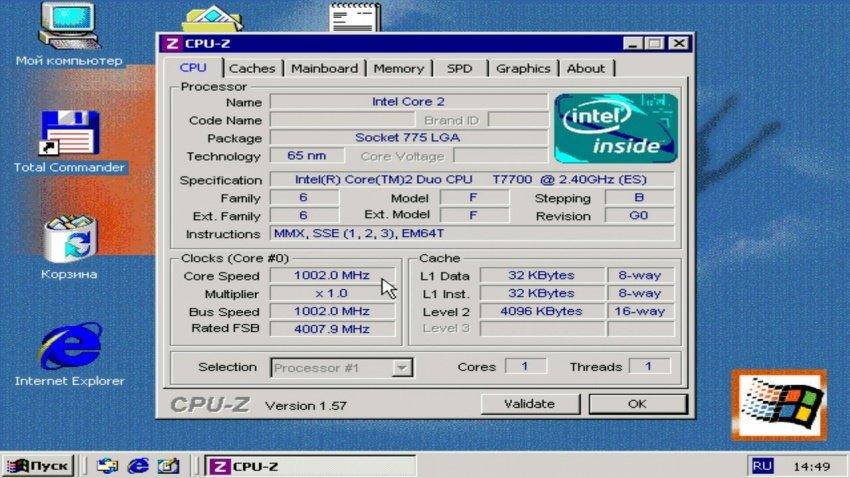
Программ — как собак блохастых. Total Commander, uTorrent, CPU-Z/GPU-Z, AkelPad, QiP 2010. Стандартные, включая Outlook, Word и Internet Explorer, тоже на месте. В общем, полный фарш. Интернет, впрочем, не хочет работать (или я просто не знаю, как его настроить на Windows 2000, что более вероятно). Максимальное разрешение экрана — 1280 х 1024 точки. И да, предустановленные игры вроде Сапёра, Косынки и даже Пинбола в образе есть!
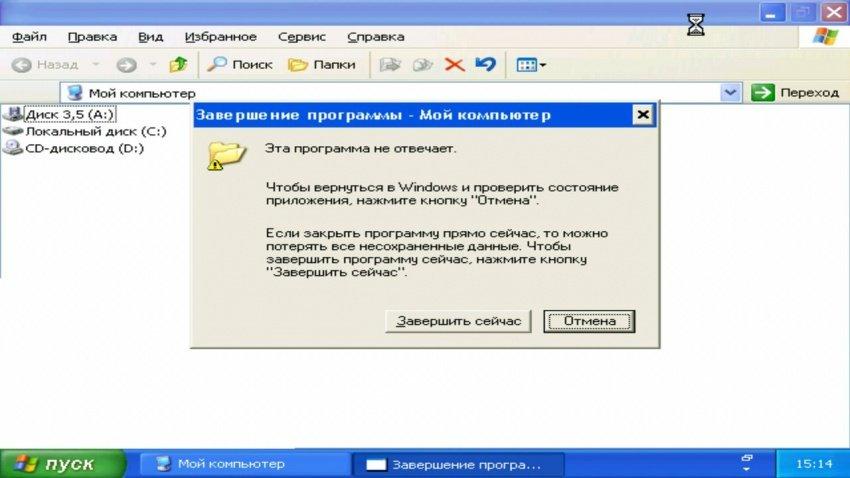
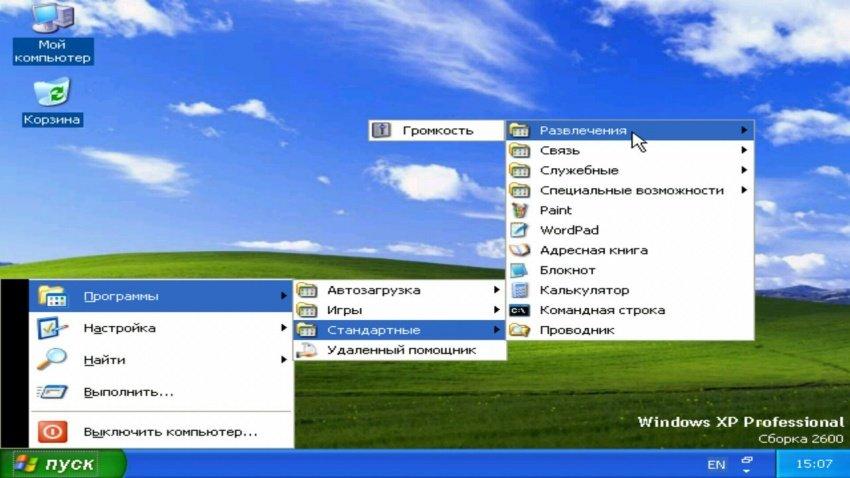
Настала очередь культовой «хрюши», Windows XP. Я использовал сборку от всё того же MVoloshin, оригинальную версию без пакета обновлений, вышедшую в 2001 году. Весит сборка 1 гигабайт, запускается довольно долго, и не содержит в себе ничего лишнего. Но и без вырезки встроенных приложений на сей раз обошлось.
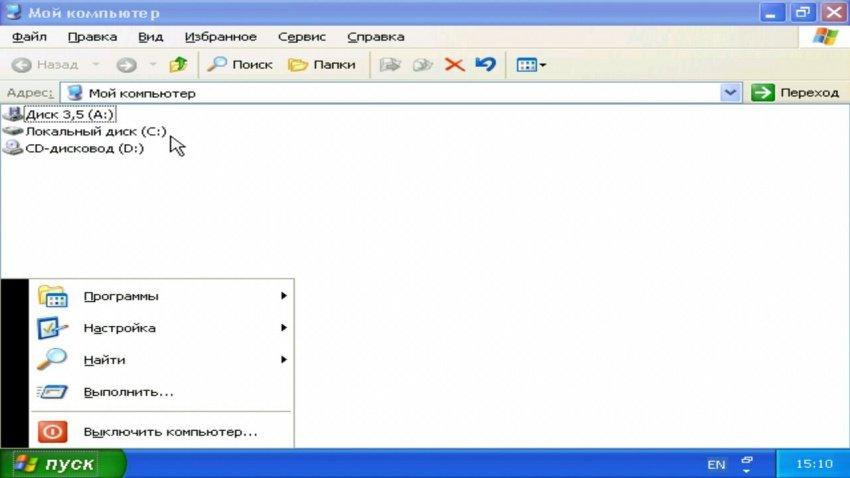
Последнее сказалось, кстати, довольно критичным, так как именно в XP у меня в первый раз зависло одно из окон. Если быть точным, то «Мой компьютер», при попытке посмотреть на интерфейс дисков. Ну, соскучился я по нему, захотелось мне. И окно зависло. Так что если нужна работоспособность повыше, то лучше выбрать менее увесистый образ.
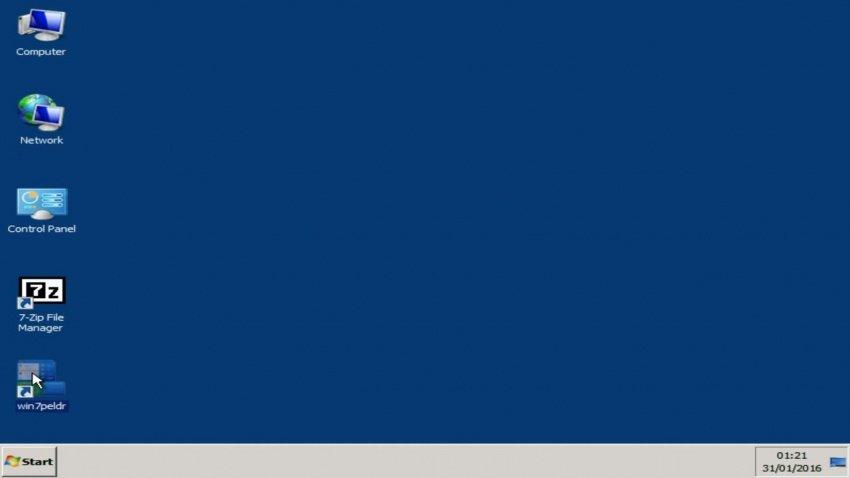
Повышаем ставки! Windows 7, Сборка Live CD от всё того же MVoloshin, урезанная версия, занимающая всего 500 мегабайт в распакованном виде и с оболочкой в виде стандартного интерфейса Windows из более старых представителей. Первый запуск прошёл печально и безуспешно, так как уперся в ошибку загрузки диска. А всё дело в том, что сборка Live CD предназначается для загрузки с CD-ROM, а не в качестве жесткого диска.
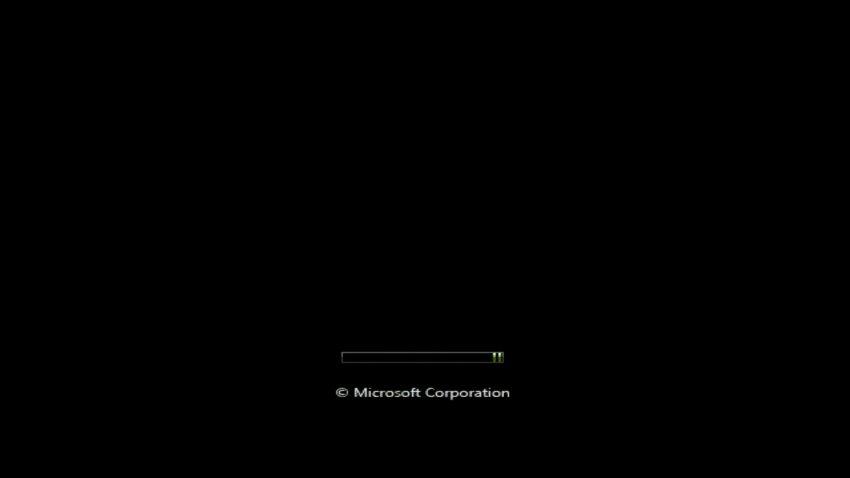
После обратной смены имени, выставления оперативки чуть поболее, чем 96 мегабайт, я… запустил процесс. Прошло три минуты, прежде чем мои глаза узрели надпись «Starting Windows». Ещё через минуту появился анимированный логотип. И тут я понял, что пора идти ставить чай… Или что-нибудь покрепче, а-ля кофе или кефир.
Предсказав время загрузки в 10 минут, я ошибся и был сему факту обрадован, так как уже через две минуты увидел курсор, которым даже можно было двигать. К сожалению, двигать им можно было на чёрном экране, который пропал… аккурат на десятую минуту. Сменить фамилию на «Ванга», что ли? Вместо чёрного экрана, кстати, появилась фоновая картинка, в которую я пялился ещё минут сорок. И десять минут настраивался рабочий стол.
Итого — час реального времени до полной загрузки. Работоспособность ОС, разумеется, я ставлю под вопрос, запуск приложений — тоже. «Мой компьютер» открывался три с лишним минуты, про более серьёзные задачи говорить не буду. В общем, запустить-то я вещь запустил, но большего добиться не смог.

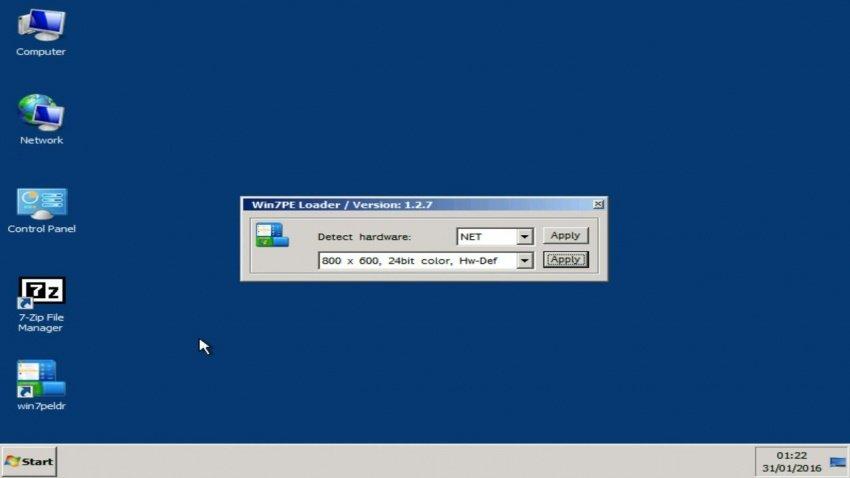
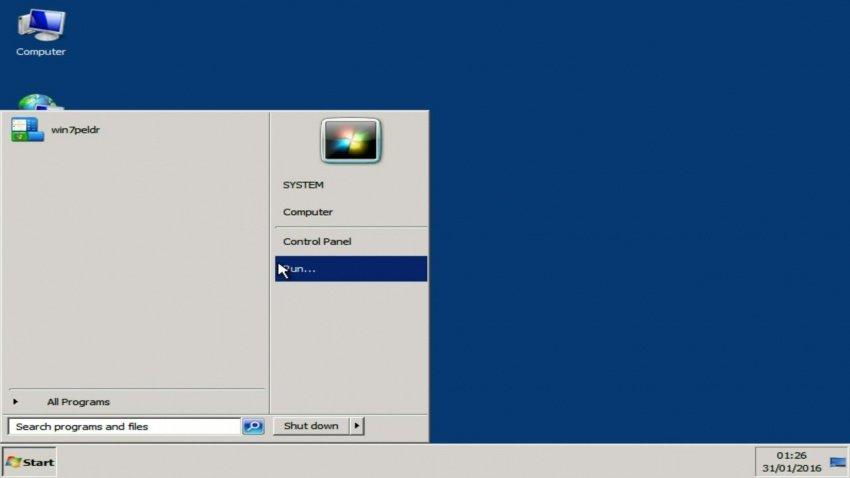
Если же у тебя возникнет нужда в Win 7 на Android, а ждать час загрузки — не вариант, то единственное, что я могу предложить, это Windows PE, он же — Preinstallation Environment. Сборки с подобным названием урезаны самими разработчиками, и позволяют загружаться с флешек, дисков и прочих миниатюрных носителей информации. А моя версия 3.0 от AndrewAVX ещё и полностью совместима с приложениями для Windows 7, что должно быть идеальным вариантом для работы.
К сожалению, на моём устройстве с рекомендуемыми параметрами:
Интерфейс: VNC,
Процессор: Phenom/Core2Duo/KVM,
Количество ядер: на выбор,
ОЗУ: от 176 до 512 МБ
Устройство загрузки: CD ROM,
Видеокарта: любая
Включенные «Multithread AIO» и «Высокий приоритет».
… сборка всё равно не запустилась по непонятным причинам. Надеюсь, у других это получится лучше.
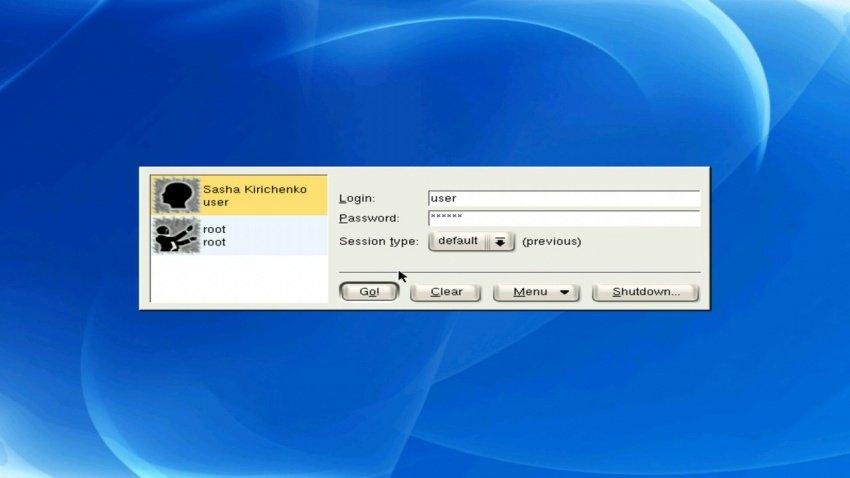
На закуску я проверю Linux. Запускать эту ОС на Android для знающих людей — всё равно, что жарить куриное филе в яйце. Почти что тавтология, зато обычно получается вкуснятина. Так вот, я буду запускать версию с KDE от AntiBillOS. Образ весит немного, но для входа в учётную запись требуется пароль — 111111, который нужно ввести. Без клавиатуры этого сделать никак нельзя, поэтому пришлось подключать свою, от компьютера, через OTG.
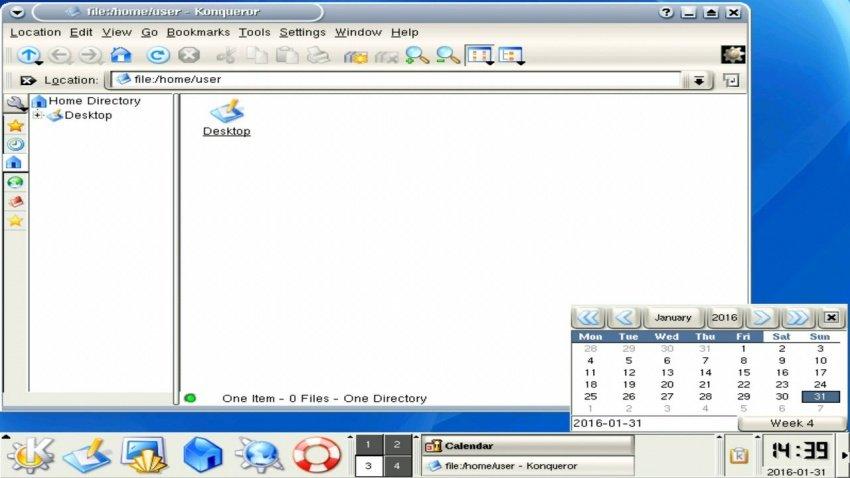
Система работает не то, чтобы шустро, но и не тормозит, как Семёрка. Меня позабавило, как панель задач по нажатию на стрелочку уехала вбок, я такого поворота событий никак не ожидал, и завороженно смотрел за её движением, ожидая, насколько глубоко она уйдёт, и можно ли будет её потом достать оттуда. Вряд ли вместе с виртуальной лупой в ОС встраиваются виртуальные клещи…

Но всё обошлось, я запустил «Home», и понял, что в Linux на удивление часто проскакивают двойные нажатия, когда я того не хочу. В целом, работоспособность на 6 из 10, скорость средняя, а зачем нужен Linux на Android — я понятия не имею.
В следующий раз я загляну чуть поглубже в прошлое, и достану из пыльных закоулков Интернета образы ОС, которые могут быть даже старше меня. Устроим небольшую археологическую раскопку!
In today’s tech-savvy world, virtual machines have become essential tools for developers, testers, and everyday users. One of the most intriguing options for running Windows 7 is through Limbo x86. Limbo x86 provides a unique solution for users who want to experience Windows 7 on platforms that may not natively support it. This article dives deep into everything you need to know about Limbo x86 running on Windows 7, exploring its benefits, installation procedures, compatibility, and use cases. Let’s get started!
What is Limbo x86?
Limbo x86 is an emulator that allows users to run x86 operating systems on ARM and x86-based devices. Originally developed for Android, Limbo x86 has expanded to support various platforms, making it an excellent choice for anyone seeking to run outdated operating systems like Windows 7. It allows users to experience Windows 7’s interface and functionalities without going through the hassle of installing it on their machine directly.
Why Use Limbo x86 with Windows 7?
- Legacy Software Support: Many organizations still rely on legacy applications that only run on Windows 7. Limbo x86 ensures that these apps can be accessed from modern devices.
- Testing Environment: Developers can set up a controlled environment to test applications without modifying their main operating systems.
- Security: Running Windows 7 in a virtual environment reduces the risk of infecting your main OS with malware that targets older operating systems.
- Accessibility: Limbo x86 opens the door for users with older hardware to experience Windows 7 with minimal system requirements.
System Requirements for Limbo x86
Before you begin the installation process, it’s crucial to check if your device meets the necessary system requirements:
- Processor: x86 or ARM processor (minimum 1 GHz recommended)
- RAM: At least 1 GB of RAM (2 GB recommended for better performance)
- Storage: Minimum of 16 GB of storage space for the Windows 7 installation
- Operating System: Compatible with Android, Linux, or other operating systems that support Limbo x86
How to Install Limbo x86 on Your Device
Now that you’re familiar with Limbo x86’s purpose and requirements, let’s walk through the installation process. This guide assumes you’re installing Limbo x86 on an Android device, but similar processes apply to other platforms.
Step 1: Download Limbo x86
Visit the official Limbo x86 website or an approved app store to download the latest version. Ensure you’re getting the correct version for your device.
Step 2: Prepare Your Windows 7 ISO
You’ll need a legitimate Windows 7 ISO file to proceed with the installation. If you don’t have one, you can create an ISO from a Windows 7 DVD using software like ISODisk.
Step 3: Install Limbo and Open It
Once you’ve downloaded Limbo x86, install it on your device and open the app to begin the setup process.
Step 4: Create a New Virtual Machine
To create a new virtual machine:
- Click on «Load Machine.»
- Select «New» to create a new virtual machine.
- Assign a name to your machine.
- Select the architecture as «x86.» This is crucial for running Windows 7.
Step 5: Configure the Virtual Machine Settings
You need to adjust some settings to optimize the performance of your virtual machine:
- Memory Size: Allocate at least 1 GB of RAM.
- CPU Cores: Depending on your device, select 1-2 cores.
- Graphic Mode: Set to «Auto» for optimal performance.
Step 6: Load Windows 7 ISO
Find the option for the CD-ROM drive, and then load your Windows 7 ISO file. This step is vital for the installation process to begin.
Step 7: Start the Virtual Machine
Once everything is set up, click on «Start» to boot into the Windows 7 installer. Follow the on-screen instructions to complete the installation.
Common Troubleshooting Tips
While using Limbo x86, users may encounter several issues. Here are some common problems and how to fix them:
- Error during boot: Ensure you’ve selected the correct ISO and that the file is not corrupted.
- Sluggish performance: Adjust the allocated resources (RAM, CPU) in the settings menu.
- Graphics issues: Experiment with different graphics configurations for better results.
Use Cases for Limbo x86 with Windows 7
Limbo x86 combined with Windows 7 can be applied in various scenarios, including:
- Software Development: Developers can emulate Windows 7 environments to test compatibility.
- Educational Purposes: A fantastic tool for students learning about operating systems without needing physical machines.
- Data Recovery: If you have software specifically designed for Windows 7, Limbo x86 allows for data recovery from old systems.
Why Windows 7 is Still Relevant
Despite Microsoft ending support for Windows 7, it remains a beloved OS for many due to its user-friendly interface, stability, and wide range of software compatibility. By using Limbo x86, users can harness the power of Windows 7 even on devices that no longer support it.
Conclusion
Limbo x86 is an excellent solution for anyone looking to run Windows 7 in a virtual environment. With its ease of use, compatibility, and potential for legacy software support, it addresses crucial needs for developers, testers, and general users alike. This guide provides you with all the necessary information to get started with Limbo x86 and Windows 7, allowing you to delve into the world of virtualization with confidence.
FAQs
1. Can I run Limbo x86 on any device?
Limbo x86 is primarily designed for ARM and x86-based devices. Always check compatibility before installation.
2. Is it safe to run Windows 7 on Limbo x86?
While there may be security concerns regarding Windows 7’s end of support, running it in a virtual environment like Limbo x86 adds an additional layer of security compared to running it directly on your main OS.
3. Will my performance be limited using Limbo x86?
Performance may vary based on your device’s specifications. Allocating appropriate resources will help improve the overall performance.
With this comprehensive guide to Limbo x86 and Windows 7, you’re now equipped with the knowledge to set up and run this fantastic combination. Embrace the power of virtualization today!
Don’t forget to follow us for more insightful articles on informative topics like this. #LimboX86 #Windows7 #Virtualization #Emulation #TechGuide
How To Run Windows 7 on Android Phone: Hello friends, if you want to run windows 7 on android, you are at the right place. This post will provide you a complete guide on how to run windows 7 on android phone.
To do so, we need a Limbo emulator for android and also a windows 7 image or iso file. Don’t worry; all the links are provided for every file.
how to run windows 7 on android using limbo pc emulator
Contents
- 1 how to run windows 7 on android using limbo pc emulator
- 2 Windows 7 setup and First Boot:
- 3 What you can do on windows 7 emulator on Limbo:
- 3.1 How to check windows version
- 3.2 Watch YouTube video for better understanding:
- 3.3 Related
Step 1. Friends, first you have to download the Limbo pc emulator, So click on this link and you will be redirected to another website (4shared).
Step 2. Now you will see a download button under limbo pc emulator apk, but if you are unable to see the download button, sign in using your Google account. Then the button will appear. So, download the apk file.
Note: if the x86 version of limbo apk crashes on your android device, you can also try the x64 version of the limbo application. Both the versions of this app are added to the download folder.
Step 3. After download, click on the install button to start the installation; if you see the application installation blocked message, click on the got button.
Now go to system settings>application manager>Google Play Store> now disable it, but you can enable it after this installation.
After that again try to install limbo apk and it will be installed successfully but don’t open it yet.
Step 4. Now you need a iso or img file of windows 7 to run windows 7 on android.
Click on this link to download that file. It will be sized around 1 to 1.8 GB in size.
Step 5. After downloading iso file, it’s time to open limbo pc emulator.
Open it and allow all permissions such as storage, etc.
Step 6. Now we have to setup all settings to run windows 7 on android.
Let’ start:
Name of the Machine:
- First, click on None button at the top right side of the screen and select New
- Name it as Windows 7
CPU/BOARD:
- Architecture: select x86 bit
- Machine Type: PC
- CPU Model: Core Duo
- CPU Cores: 4
- RAM Memory: 1000 MB
Note: if your phone has low ram like 1-1.5 gb, you have to select low size of ram like 512 or lower size.
Storage:
- Select Hard Disk A: Click on None and it will open your file manager. Now select the iso or img file of windows 7, that you have just downloaded.
Removable Storage:
No need to setup Removable Storage settings.
Misc:
- VGA Display: here you have to select std option but if you are unable to see the running windows on emulator, you can try other settings as well like VMware.
- Sound Card: None
- Network: User
- Network Card: ne2k_pci
Boot Settings:
- Boot from Device: select Hard Disk option
- Kernel: None
- Initrd: None
User Interface:
- User Interface: select VNC and you can also try other settings if the emulator failed to run.
- Orientation: select Landscape
- Keyboard Layout: English
- Fullscreen: you have to tick mark the fullscreen option
Advance:
- High Priority: you have to tick mark high priority setting, but this uses high ram and cpu. If your phone heats up, disable this option.
Now Limbo PC Emulator settings are done. Scroll up and now it’s time to start the emulator.
You will see a Play button, click on it and it will start windows 7.
Note: If the emulator crashed, just lower the ram and it will run properly.
Windows 7 setup and First Boot:
Step 7. Now you will see windows starting setup.
Here you have to select Start Windows Normally option.
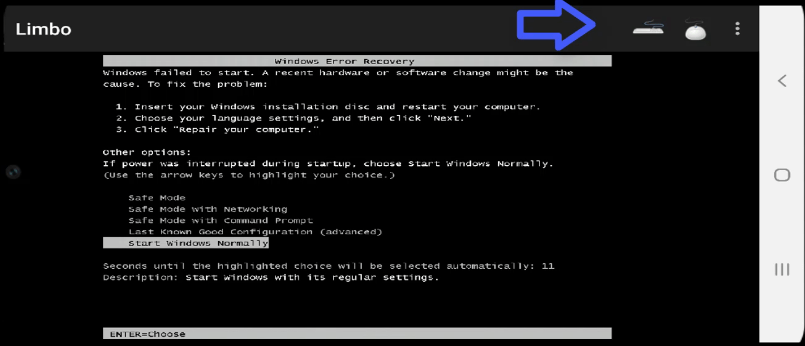
To select it:
- Press back key on your android phone.
- A new menu will pop-up above the screen
- Select the keyboard option
- Now press the enter key on keyboard
Step 8. Now wait until you see a booting screen and after that a user icon.
When you see a user icon, click on it.
Now you are successfully logged in to windows 7 on android emulator.
What you can do on windows 7 emulator on Limbo:
This is a light version of windows 7 and you will see less programs as compared to original windows for pc.
- You can connect a USB mouse via OTG cable.
- You can open and manage My Computer on it.
- You can open and access the control panel.
- You can Paint in it.
- You can access the internet in it.
How to check windows version
You can check windows version on this emulator easily. You will see a shortcut on the desktop names as About Windows, click on it.
Now you will see the version of this windows 7, as shown in the image below its Windows Embedded Standard 7.
So, Friends, I hope now you are able to run windows 7 on android. If not feel free to comment below, I will do my best to help you.