
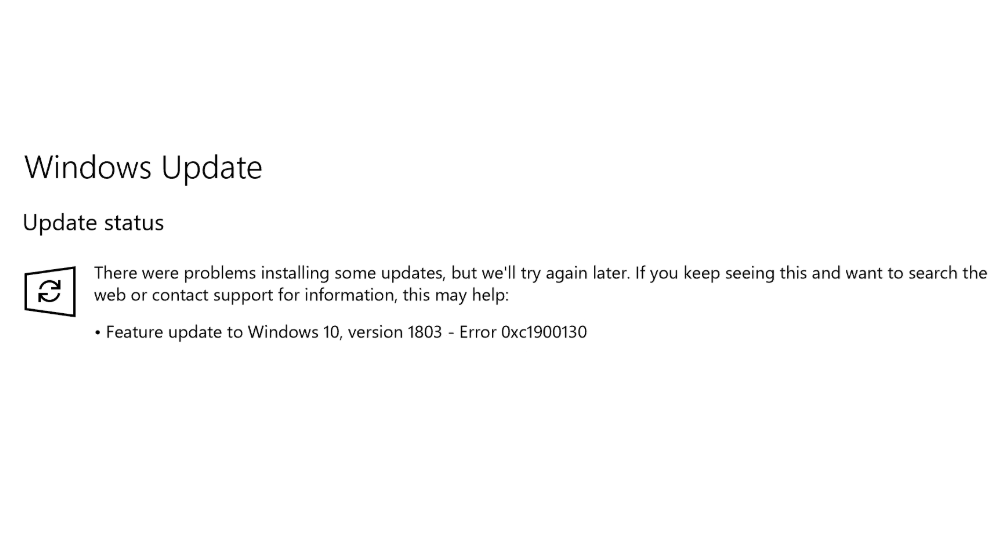
Ошибка 0xc1900130 возникает в тот момент, когда сетевое соединение между компьютером пользователя и серверами Центра обновления Windows прерывается, вследствие чего дальнейшая загрузка и установка обновления для системы становится невозможным.
Если вы сталкиваетесь с этой проблемой во время установки какого-то крупного обновления для Windows, то мы рекомендуем проверить вам свое сетевое подключение и попытаться провести установку еще раз. Если же это не принесло никаких плодов, то ниже вы сможете найти несколько полезных решений.
Решаем ошибку 0xc1900130 при обновлении Windows
В данной статье будут рассмотрены решения для ошибки 0xc1900130, которые были проверены на деле множеством пользователей по всему миру. Мы советуем вам придерживаться порядка выполнения, указанного в статье.
Решение №1 Очистка папки SoftwareDistribution
Чтобы попытаться избавиться от ошибки 0xc1900130, вам необходимо очистить папку SoftwareDistribution. Делается это не так просто, как вам кажется. Для начала вам нужно открыть Командную строку от Администратора (Windows+X) и выполнить в ней следующие две команды:
- net stop wuauserv;
- net stop bits.
Введенные команды остановят работу служб Фоновой интеллектуальной службы передачи и Центра обновления Windows. Теперь вам нужно перейти в директорию :\Windows\SoftwareDistribution и удалить все файлы, находящиеся в этой папке.
Как только вы очистите папку SoftwareDistribution от ее содержимого, снова откройте Командную строку от Администратора и выполните в ней следующие две команды для запуска ранее отключенных служб:
- net start wuauserv;
- net start bits.
Попробуйте провести обновление системы еще раз. Ошибка 0xc1900130 могла исчезнуть, если дело заключалось в файлах папки SoftwareDistribution.
Решение №2 Сброс папки catroot2
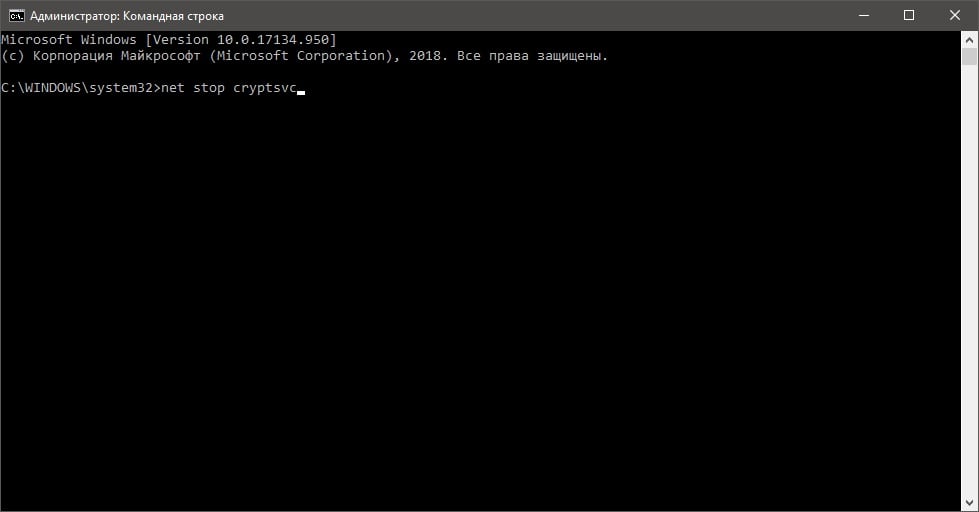
Еще для решения ошибки вы можете попробовать сброс папки catroot2. Как и случае предыдущего решения, не все так просто. Нажмите на клавиатуре Windows+X и выберите пункт «Командная строка (администратор)». Выполните теперь в ней следующий набор команд:
- net stop cryptsvc;
- md %systemroot%\system32\catroot2.old;
- xcopy %systemroot%\system32\catroot2 %systemroot%\system32\catroot2.old /s.
Теперь пройдите в директорию C:\Windows\System32\catroot2 и удалите все из этой папки. Потом снова откройте Командную строку от Администратора и выполните эту команду:
- net start cryptsvc.
Открываем Центр обновления Windows и смотрим, была ли решена ошибка 0xc1900130.
Решение №3 Настройка параметров служб, относящихся к Центру обновления
Возможно, вся проблема возникла из-за некорректных настроек некоторых служб, имеющих отношение к Центру обновления Windows. Если это действительно так, то вы можете быстро исправить ситуацию, выполнив следующее:
- нажмите комбинацию Windows+X и выберите пункт «Командная строка (администратор)»;
- теперь выполните в Командной строке следующий набор команд:
- SC config wuauserv start= auto;
- SC config bits start= auto;
- SC config cryptsvc start= auto;
- SC config trustedinstaller start= auto;
- закройте Командную строку и перезагрузите компьютер.
Выставив автоматический тип запуска для необходимых служб, проверьте, появляется ли ошибка 0xc1900130 или же она была решена.
Решение №4 Загрузка обновления вручную
Вы всегда можете обойти ошибку 0xc1900130, загрузив и установив нужно обновление вручную. Но как понять, какое именно обновление не смогло установиться? Перейдите в Параметры системы, нажав комбинацию клавиш Windows+I.
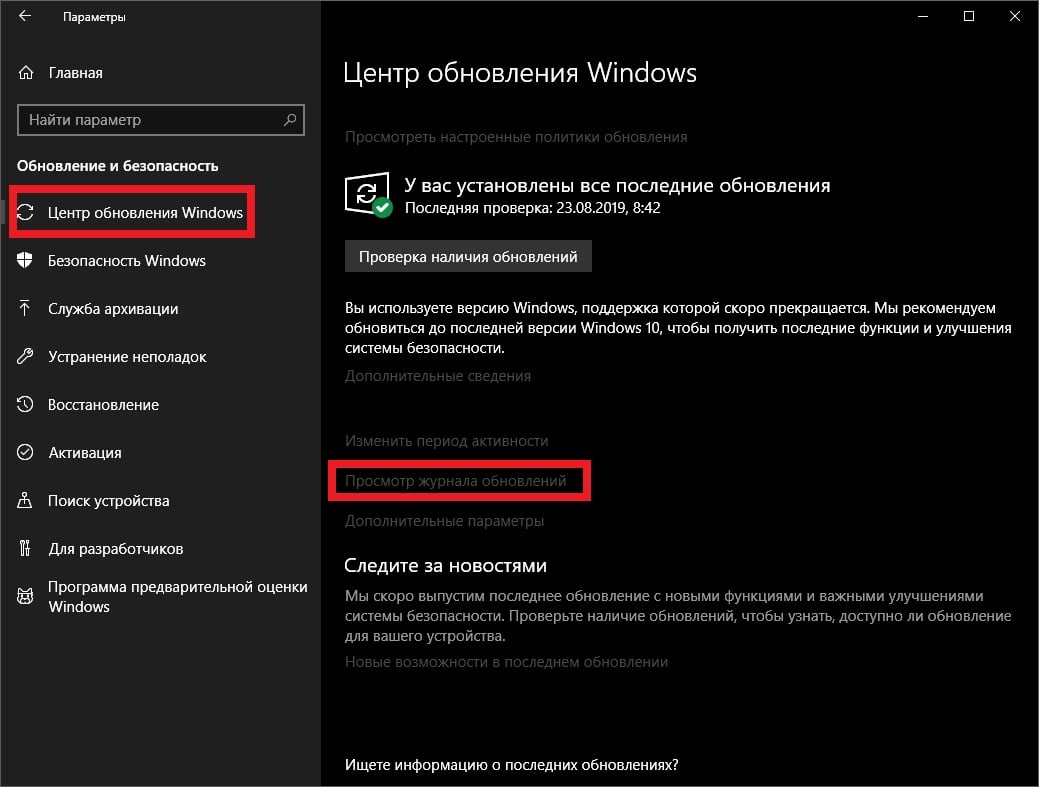
Перейдите в раздел под названием «Обновление и безопасность». Далее перейдите в подраздел «Центр обновление Windows». Кликните на пункт «Просмотр журнала обновлений». Тут вы должны увидеть ошибку 0xc1900130 и обновление, с которым возникли проблемы. Скопируйте номер обновления, а затем перейдите по этой ссылке в Каталог обновлений Майкрософт.
Пропишите в поисковую строку скопированный ранее номер обновления и нажмите «Найти». Найдите в списке необходимо обновление и нажмите напротив него кнопку «Загрузить». После загрузки файла обновления запустите его и следуйте инструкциям на экране.
Решение №5 Запуск средства устранения неполадок Центра обновления
В некоторых случаях помочь в подобной ситуации может системное средство устранения неполадок Центра обновления Windows. Чтобы запустить его, нажмите на клавиатуре Windows+S, пропишите в поисковую строку «Устранение неполадок», выберите найденный результат, кликните на пункт «Центр обновления Windows» и нажмите на кнопку «Запустить средство устранения неполадок».
Далее вам просто нужно следовать инструкциям на экране и применить решение, предложенное средством устранения неполадок. Затем перезагрузите свой компьютер и проверьте, исчезла ли ошибка 0xc1900130. Стоит отметить, что подобное средство помогает не так уж и часто, но попытаться все же стоило.
Решение №6 Очистка кэша DNS
И последнее, что мы попробуем — это очистка кэша DNS вашего сетевого подключения. Нажмите на клавиатуре комбинацию Windows+R, а затем пропишите в появившемся окошке значение «cmd» и нажмите комбинацию Ctrl+Shift+Enter. Далее выполните в Командной строке следующую команду:
- ipconfig /flushdns.
Теперь перезагрузите компьютер и попробуйте запустить процесс обновления Windows еще раз. Возможно, у вас получилось избавиться от ошибки 0xc1900130.
,
If you cannot install a particular update in Windows 10 because the downloading or the installing process is stuck resulting in the error 0xc1900130 or 0x80240034, then follow the steps in this guide to resolve the problem.

In this tutorial you’ll find detailed instructions to solve the error 0xc1900130 or the error 0x80240034 when updating Windows 10.
How to fix Windows 10 Update error(s) 0xc1900130 or 0x80240034.
Update errors 0xc1900130 and 0x80240034 in Windows 10 are usually caused because the Internet connection was interrupted during the download process and therefore the updates were not downloaded correctly.
Another cause of errors 0xc1900130 and 0x80240034 during the Windows 10 update is that there is not enough free disk space for downloading (or installing) the updates.
So, before proceeding to troubleshoot the update problems 0x80240034 and 0xc1900130 in Windows 10, make sure that your Internet connection operates normally and you have enough free space on your disk to perform the update.
Method 1. Run the Windows 10 Update Troubleshooter.
Method 2. Force Windows to re-create the Windows Update Store folder.
Method 3. Disable the Windows Developer Mode.
Method 4. Download and install the Update Manually.
Common Methods to fix Update Problems in Windows 10.
Method 1. Run the Windows 10 Update Troubleshooter.
The first method to fix update errors 0x80240034 & 0xc1900130 is to run the Microsoft’s Windows 10 Update Troubleshooter tool in Administrator mode. To do that:
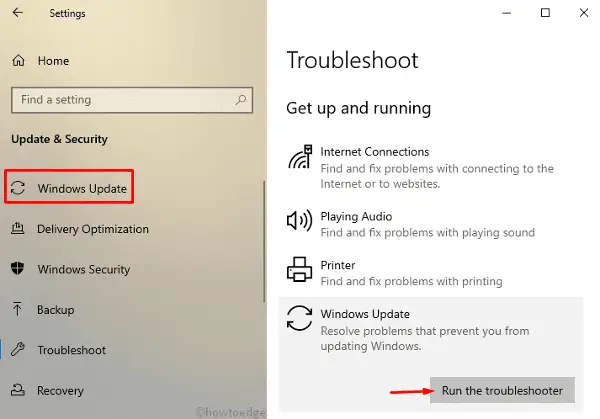
1. Go to Start > Settings > Update & Security > Troubleshoot > Windows Update.

2. Restart your computer.
3. Try to install the update.
Method 2. Force Windows to re-create the Windows Update Store folder.
The second method to fix the error 0xc1900130 on Windows 10 Update is to recreate the Windows Update Store folder («C:\Windows\SoftwareDistribution«), in order to force Windows to download the available updates from scratch. To do that:
1. Simultaneously press the Windows + R keys to open run command box.
2. In run command box, type: services.msc and press Enter.

3. Right click on Windows Update service and select Stop.

4. Open Windows Explorer and navigate to C:\Windows folder.
5. Select and Delete the “SoftwareDistribution” folder.*
(Click Continue at «Folder Access Denied» window).
* Note: The next time that Windows Update will run, a new empty ‘SoftwareDistribution’ folder will be automatically created by Windows to store updates.

6. Restart your computer.
7. Download and run the Windows Update Troubleshooter for Windows 10.
8. Reboot your computer.
9. Check and install Windows updates.
Method 3. Turn Off the Windows Developer Mode.
Another method to resolve to Windows 10 update errors 0x80240034 or 0xc1900130, to to disable the developer mode until you install the update. To do that:
1. Go to Settings > Update and Security and select For developers on the left.
2. Choose Sideload Apps on the right.

3. Click Yes at Turn on app sideloading.

4. Then go to Settings –> Apps -> Apps & Features > Manage optional features.

5. Click at Windows Developer Mode and click Uninstall.

6. Restart your computer and try to install the update again.
Method 4. Download and install the Update Manually.
The next method to resolve the Windows 10 update errors 0xc1900130 or 0x80240034 is to download and install the failed update manually. To do that, follow the instructions below according to your case:
Case A: If you want to upgrade your Windows 10 version to the latest build (e.g. from 1709 to 1803):
1. Navigate to Windows 10 download site and click the Update now button.

2. When asked, click to Run the downloaded file in order to start the installation immediately, or click the Save button to run the installer later.

3. Finally click the Update Now button and follow the on screen prompts to install the Update.

Case B: If you have problems when installing a standalone update:
1. Go to Settings –> Update & Security and open the Update History
2. Find out the KB number of the failed update. (e.g. «KB4025339»)
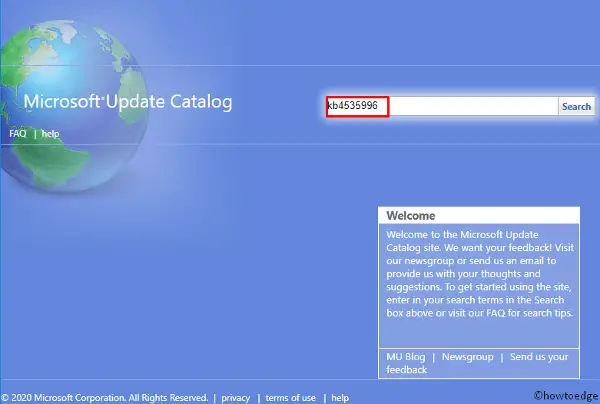
3. Navigate to Microsoft Update Catalog.
4. Type the KB number of the failed update in the search field and click search.

5. Download and then install the failed update.
That’s it! Let me know if this guide has helped you by leaving your comment about your experience. Please like and share this guide to help others.
If this article was useful for you, please consider supporting us by making a donation. Even $1 can a make a huge difference for us in our effort to continue to help others while keeping this site free:
- Author
- Recent Posts
Konstantinos is the founder and administrator of Wintips.org. Since 1995 he works and provides IT support as a computer and network expert to individuals and large companies. He is specialized in solving problems related to Windows or other Microsoft products (Windows Server, Office, Microsoft 365, etc.).
-
Технические форумы
-
Microsoft
-
Windows
-
Автор темы
Автор темыLera
-
Дата начала
Дата начала -
-
Теги
Теги -
windows update
обновления windows
-
Lera
Активный участник
-
-
#1
Добрый день! На получается обновить windows. Появляется сообщение «Пришло время обновить ваше устройство» и при попытке обновления появляется ошибка 0xc1900130
Помогите разобраться в чем дело..
-
-
#3
Эээ.. а это windows 10 или windows 8.1 ?
-
-
#4
1. Это может быть из-за повреждения компонентов Windows Update
2. Плохой или медленный интернет
3. Конфликт драйвера Intel RST Driver и Windows 10
4. Антивирус
-
-
#5
Как вариант остановить службу центр обновления и фоновую интеллектуальную службу передачи.
Удалить папку C:\Windows\SoftwareDistribution
Потом запустить службы, каталог создастся заново. Попробовать обновиться.
Если не сработает нужно смотреть C:\Windows\SoftwareDistribution\ReportingEvents.log
Lera
Активный участник
-
-
#6
Помогла очистка диска и удаление антивируса касперского
-
Технические форумы
-
Microsoft
-
Windows
-
На данном сайте используются cookie-файлы, чтобы персонализировать контент и сохранить Ваш вход в систему, если Вы зарегистрируетесь.
Продолжая использовать этот сайт, Вы соглашаетесь на использование наших cookie-файлов.
The Windows Update Error Code 0xc1900130 occurs when the user tries to install a pending update using the automated WU component. This particular error code is signalling that the network connection between the client machine and the Windows Update server is somehow interrupted.

What’s causing the Windows Update Error Code 0xc1900130?
- 3rd party AV interference – As it turns out, an overprotective AV suite or firewall can be responsible for freezing the relations between the client machine and the Windows Update server. AVG is most commonly reported for facilitating the apparition of this error code. If this scenario is applicable, you should be able to fix the issue either by disabling the real-time protection while the update installation is taking place or by uninstalling the 3rd party suite altogether.
- Conflict between Intel RST Driver and Windows 10 – There’s one driver (iastorac.sys) file that is often reported for blocking communications with the update server. This Intel RST file is known to conflict with older Windows 10 builds, specifically with builds 1900 and older. In this case, you can fix the issue by renaming the iastora.sys driver, forcing your Windows installation to disregard it.
- Corrupted WU component – As it’s been confirmed, this particular error code can also occur due to a glitch or a corrupted dependency that ends up breaking the updating process. If this scenario is applicable, you should be able to resolve the issue by using the Automated WU agent to reset all relevant components or by doing it manually from an elevated CMD prompt.
- Different 3rd party conflict – It’s also possible that a recent system change caused by a partially incompatible driver or application ends up interfering with the updating component. In this case, you should be able to fix the issue by using the System Restore to restore your system to a healthy state when this problem was not occurring.
Method 1: Preventing the 3rd party interference (if applicable)
As it turns out, one of the most common culprits that will spawn this error code is AVG. We managed to identify a lot of users’ reports claiming that their free AVG installation was blocking the update from being installed.
Note: There might be other 3rd party AV suite that might also cause the same kind of behaviour.
Affected users have reported that they were finally able to install the update without getting the 0xc1900130 error only after they disabled the real-time protection. However, other users have confirmed that the issue only went away after they uninstall the security suite altogether.
If you’re using a 3rd party suite and you suspect that it might be responsible for this issue, you should start by disabling the real-time protection and seeing if the problem is persisting. With most security suites, you will be able to do this directly from the taskbar menu:

Once you do this, restart your computer and see if the issue is persisting by trying to installing the problematic update once again
If the 0xc1900130 error is still being triggered, proceed to uninstall the security suite altogether and ensure that you’re not leaving behind any leftover files that might still cause this type of behaviour. If you’re not exactly sure how to do this, follow this article (here) for step by step instructions on getting rid of your 3rd party security suite along with any leftover files.
In case this method wasn’t applicable or you followed it to no success, move down to the next potential fix down below.
Method 2: Renaming the iastorac.sys driver
As it turns out, the most common reason why this issue will occur in the first place is a software incompatibility between Microsoft and Intel. An issue with the iastorac.sys driver might end up effectively blocking the Windows Update component on Windows 10 PCs using Intel RST drivers.
If this scenario is applicable, you should be able to fix the problem by accessing the location of the conflicting driver iastorac.sys and renaming it with the ‘.old‘ extension to force your operating system to disregard it.
Several affected users have confirmed that after doing this and restarting their computer, they were finally able to install every pending update without issues.
Here’s a quick guide on doing this:
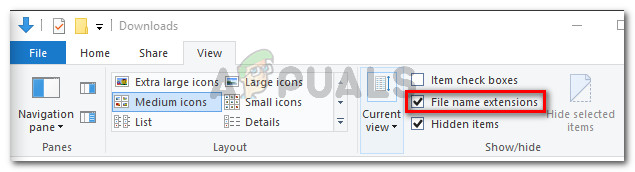
- Open File Explorer and ensure that extensions are visible by going to View and checking if the box associated with File name extensions is enabled. If it isn’t yet, enable it now.

Enabling File Name Extensions from File Explorer - Next, navigate to the following location:
C:\Windows\System32\drivers
- Once you get to this location, scroll through the list of drivers and locate iastora.sys.
- When you manage to locate the correct driver, right-click on it and choose Rename from the context menu.
- Rename the iastora.sys to iastora.sys.old to force Windows to disregard it.
- At the UAC (User Account Control), click Yes to grant admin access to allow the editing to take place.
- Restart your computer and wait for the next startup to complete.
- Once the booting sequence is complete, attempt to install the problematic Windows Update again and see if the issue is now resolved.
If you’re still encountering the same Error Code 0xc1900130 when trying to install the update, move down to the next method below.
Method 3: Resetting the Windows Update component
As it’s been confirmed by several affected users, this issue can also occur due to some glitch or corrupted dependency that ends breaking the updating process altogether. This issue is much more common on Windows 8.1, but it can also occur on Windows 10.
If this scenario applies to your current situation, you should be able to fix the problem by resetting all relevant WU components that are involved in the updating process. When it comes to doing this, you have two ways forwards:
- Resetting WU via Automated WU agent
- Resetting WU manually via elevated CMD window
We’ve explained both methods below, so feel free to follow whichever guide you feel more comfortable with:
Resetting WU Via Automated WU agent
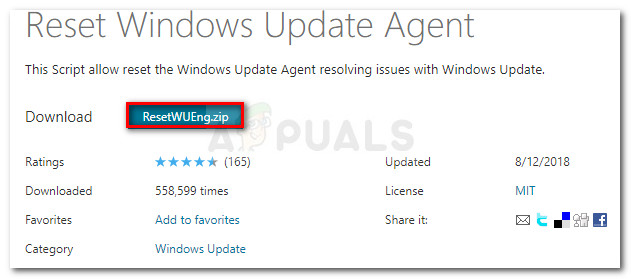
- Visit this official Microsoft Technet page (here) and click the Download button to download the Reset Windows Update Agent script.

Download Windows Update Reset Agent - Once the archive is downloaded, use a utility like WinRar, WinZip or 7Zip to extract its contents.
- Next, double-click on ResetWUENG.exe file, click Yes at the UAC (User Account Prompt) to grant administrative privileges.
- Follow the on-screen prompts to run the script on your computer. Once the operation is complete, restart your computer and see if you can install the update after the next startup sequence is complete.
Resetting Windows Update manually via elevated CMD window
- Press Windows key + R to open up a Run dialogue box. Next, type ‘cmd’ and press Ctrl + Shift + Enter to open up an elevated CMD Prompt. Once you see the UAC (User Account Control), click Yes to grant administrative privileges.
Running Command Prompt - Once you’re inside the elevated CMD prompt, type the following commands in order and press Enter after each command to stop all relevant Windows Update services:
net stop wuauserv
net stop cryptSvc
net stop bits
net stop msiserver
Note: Just so you understand what we’re doing, these commands will temporarily stop the Windows Update Services, MSI Installer, Cryptographic services, and BITS services.
- Once all relevant services are frozen, run the following commands to clear the two folders that are being used by the WU component (SoftwareDistribution and Catroot2):
ren C:\Windows\SoftwareDistribution SoftwareDistribution.old
ren C:\Windows\System32\catroot2 Catroot2.old
- Once the two folders have been removed, run the following commands and press Enter after each one to re-enable the previously disabled Windows services once again:
net start wuauserv
net start cryptSvc
net start bits
net start msiserver
- Restart your computer once again and see if the issue is resolved at the next computer startup.
If you’re still encountering the same 0xc1900130 error while trying to install a pending update, move down to the next potential fix below.
Method 4: Using system restore
If the Windows updating component only started breaking recently after a driver or 3rd party app installation, it’s very likely that whatever you install is currently interfering with your operating system ability to install new pending updates.
Several affected users have reported that in their case, iastorac.sys (a loaded driver) was blocking the installation of new updates. If this particular scenario is applicable, you should be able to fix the issue by using System Restore to restore your computer state to a healthy state when this conflict wasn’t occurring.
It’s essential to keep in mind that by default, all recent Windows versions (Windows 7, Windows 8.1 and Windows 10) are designed to save new restore snapshots regularly (at important system events). Unless you modified this default behaviour, you should have plenty of restore snapshots to choose from.
Note: Before you start following the instructions below, remember that any changes you made after the snapshot was created will be lost once you mount that snapshot using the System Restore utility. Any applications, games, or other system changes that you made during that time will be reverted.
If you prepared to go this step and you understand the consequences, start following the instructions below to use the System Restore utility:
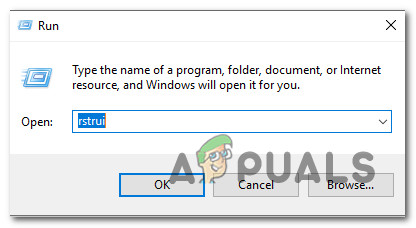
- Open up a Run dialogue box by pressing Windows key + R. After you manage to get inside, type ‘rstrui’ and press Enter to open up the System Restore menu.

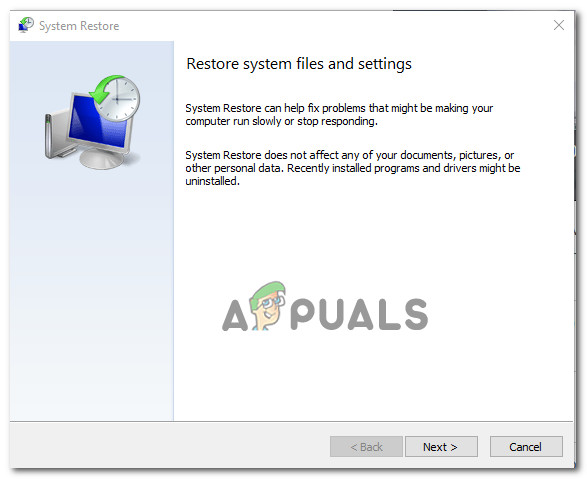
Opening the System Restore wizard via Run box - Next, once you’re at the initial System Restore screen, click Next to advance forward from the first menu.

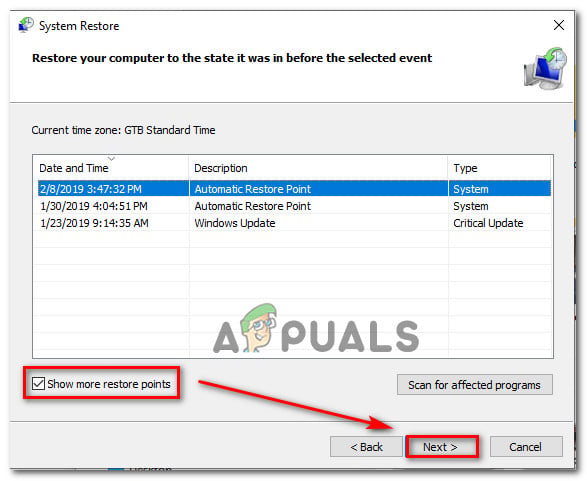
Using System Restore - Once you’re at the next screen, start the operation by checking the box associated with Show more restore points. Next, begin comparing the dates of each saved restore point and select the one that is older than the apparition of the issue.

Restoring your system to a previous point in time - Once the correct system restore point is selected, click on Next o advance to the next menu.
- When you get this far, the utility is ready to go. All you need to do now is click on Finish to start this restoring procedure.
- During the next startup, the next old machine state will be enforced. Once the booting part is complete, attempt to install the update that was previously failing with the WU component and see if the issue is now resolved.
In case you’re still encountering the same Windows Update 0xc1900130 Error Code, move down to the next potential fix below.
Kevin Arrows
Kevin Arrows is a highly experienced and knowledgeable technology specialist with over a decade of industry experience. He holds a Microsoft Certified Technology Specialist (MCTS) certification and has a deep passion for staying up-to-date on the latest tech developments. Kevin has written extensively on a wide range of tech-related topics, showcasing his expertise and knowledge in areas such as software development, cybersecurity, and cloud computing. His contributions to the tech field have been widely recognized and respected by his peers, and he is highly regarded for his ability to explain complex technical concepts in a clear and concise manner.
Did you recently tried upgrading the Windows 10 OS to newer Builds, however, failed due to the Update Error 0xc1900130. If yes, then follow our six approaches to get rid of this persisting error message. This bug pops in when there is some ongoing network connection issue between the Windows Update Server and the Client Machine. Owing to this, when you attempt to update your OS, you encounter an error message that reads – “MOSETUP_E_INSTALL_HASH_MISSING – 0xc1900130“.
Before proceeding to the solutions, you need to first ensure that you are having proper network connectivity with moderate downloading speed. If this doesn’t help, visit the Update Catalog and manually download/install the latest cumulative update. Most probably, the error gets resolved by now. However, if not, you should try the other five workarounds – Flush DNS Cache, Rename iastorac.sys driver, etc. Let’s explore the solutions in detail –
Ways to Resolve the Update Error 0xc1900130 on Windows 10
To fix the Update Error 0xc1900130 on Windows 10 PC, use the following workarounds –
1. Manually Download & Install the Recent Cumulative Update
If you face difficulty while upgrading the current OS version on your device, you should manually download and install the recent Standalone package. To do so, go to the Microsoft Update Catalog and type the exact KB number in the search bar. Usually, the company releases new patches every second Tuesday of the month. Here, is the list of Latest Cumulative Updates for different Windows 10 versions.
Note: Make sure to check your system architecture (32 or 64 bit) and download the related update accordingly.
Alternatively, you can find the failed cumulative update visiting the “View Update History”. Just browse to the below location and note down the exact KB number that failed to install on your PC.
Settings > Update and Security > View Update History
You may now go back to the update catalog webpage and type the KB number at the search bar. On the forthcoming window, hit Download next to the specific patch.
2. Use Windows Update Troubleshooter
In general, manually upgrading your operating system does resolve several bugs and issues. However, if you are still receiving the Error 0xc1900130, take the help of Windows Update Troubleshooter. Here’s how to proceed –
- Jointly press Win+I keys together to launch the Settings window.
- Select Update & Security thereafter Windows Update on the next screen.
- Head over to the right pane, scroll down and select Windows Update again.
- When it expands, hit Run the Troubleshooter.
- This tool will then look for any problems and resolve the same.
- Wait for a while as this takes few minutes to complete.
Once this gets over, check whether it solves the underlying causes behind error 0xc1900130 or not. If not, follow the next solution –
3. Rename the iastorac.sys driver
The compatibility issue between Microsoft and Intel often leads to update errors. Error 0xc1900130 is one such bug that you can fix by renaming the iastorac.sys driver. To do so, just add a “.old” extension at the end of the above driver. Performing this will block Windows Update components from using the Intel RST drivers. Here’s how to proceed –
- Press Win+E together to launch the File Explorer.
- Head over to the top bar, click View and tick the checkbox prior to the File Name Extensions.
- Next, copy/paste the below path at its address bar –
C:\Windows\System32\drivers
Note: If you have installed the operating system on some other drive, replace the C: with that drive name.
- On the succeeding window, scroll down and locate iastora.sys.
- Once found, make a right-click on the same and select the Rename option.
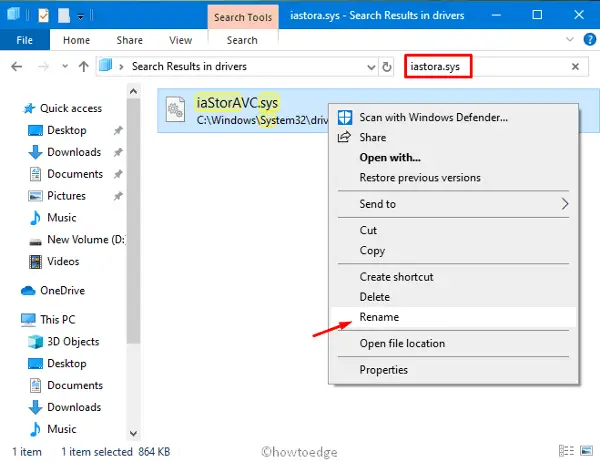
- Now, rename this file to iastora.sys.old so that Windows 10 simply disregard this file.
- When the UAC window pops in, tap Yes to provide your consent.
- Close all of the running windows, and restart your PC.
- When Windows 10 boots up, try installing the problematic update again and see whether you receive the error 0xc1900130 or not.
4. Flush DNS cache
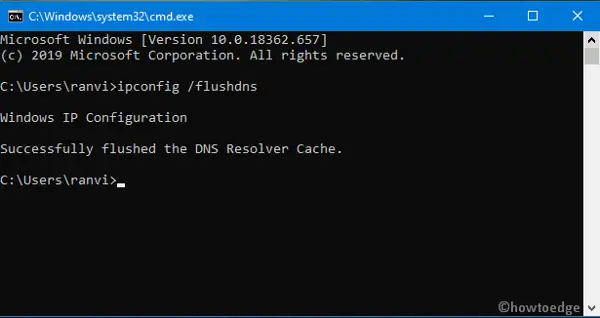
In certain cases, we found flushing DNS cache indeed resolve the Update Error 0xc1900130 on Windows 10 PC. All you need is to launch the Windows Console as an Admin and run the following command –
ipconfig /flushdns
Note: If the above code works, you will receive a message that reads – “Windows IP Configuration, Successfully flushed the DNS Resolver Cache”.
5. Reset Windows Update Services
If any of the update services become corrupt somehow may also lead to the update error 0xc1900130 on your PC. This is why we suggest reconfigure the windows services running a few codes on the command prompt. Just open the Windows console as an Admin and execute the following codes one after another. Make sure to press the Enter key after each command line –
SC config wuauserv start= auto
SC config bits start= auto
SC config cryptsvc start= auto
SC config trustedinstaller start= auto
Note: Running the above command lines re-enable all of the Update Services.
6. Manually Reset Windows Update Components (WUC)
The presence of corrupt windows components can also prevent your system from being updated. If that’s the case, you need to disable and re-enable such components on your computer. Here’s how to manually reset the update components –
- Click the Win icon and type “cmd” in the text bar.
- When the well-matching result pops in, make a right-click and select Run as Administrator.
- If the UAC window prompts, tap Yes to go ahead.
- On the elevated console, run the following commands one by one and hit Enter key at the end of each line.
net stop bits
net stop cryptsvc
net stop wuauserv
net stop msiserver
Note: Executing the above codes will temporarily stop the following services – Updates, Cryptographic, and BITS along with the MSI Installer.
Now, run the following two codes to empty the contents inside the WU components -Software Distribution and Catroot2 folder.
Ren C:\Windows\SoftwareDistribution SoftwareDistribution.old
Ren C:\Windows\System32\catroot2 Catroot2.old
Note: You should now re-enable the previously stopped services running the following commands –
net start bits
net start cryptsvc
net start wuauserv
net start msiserver
After you complete the above steps successfully, Reboot your PC to save the changes performed so far.
7. Use System Restore Point
If you had previously created a System Restore point, it’s time to revert back the current operating system to the state when it was working completely fine. Here’s how to proceed –
- Click the Windows button and type rstrui.
- Make a click on the top result to launch System Restore thereafter tap Next.
- This will automatically enlist the available restore points on your device.
- Tick the box left of Show more restore points.
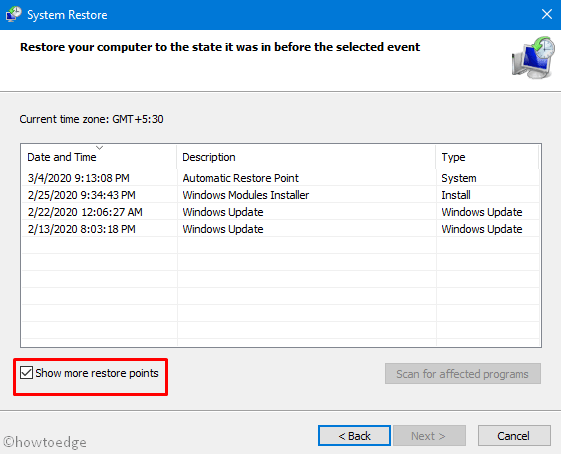
- Select the recently created Restore Point on your computer.
- In the end, hit Next then Finish initiating this task
That’s it, we hope the above article indeed helps you to get rid of the update error 0xc1900130 on Windows 10.