
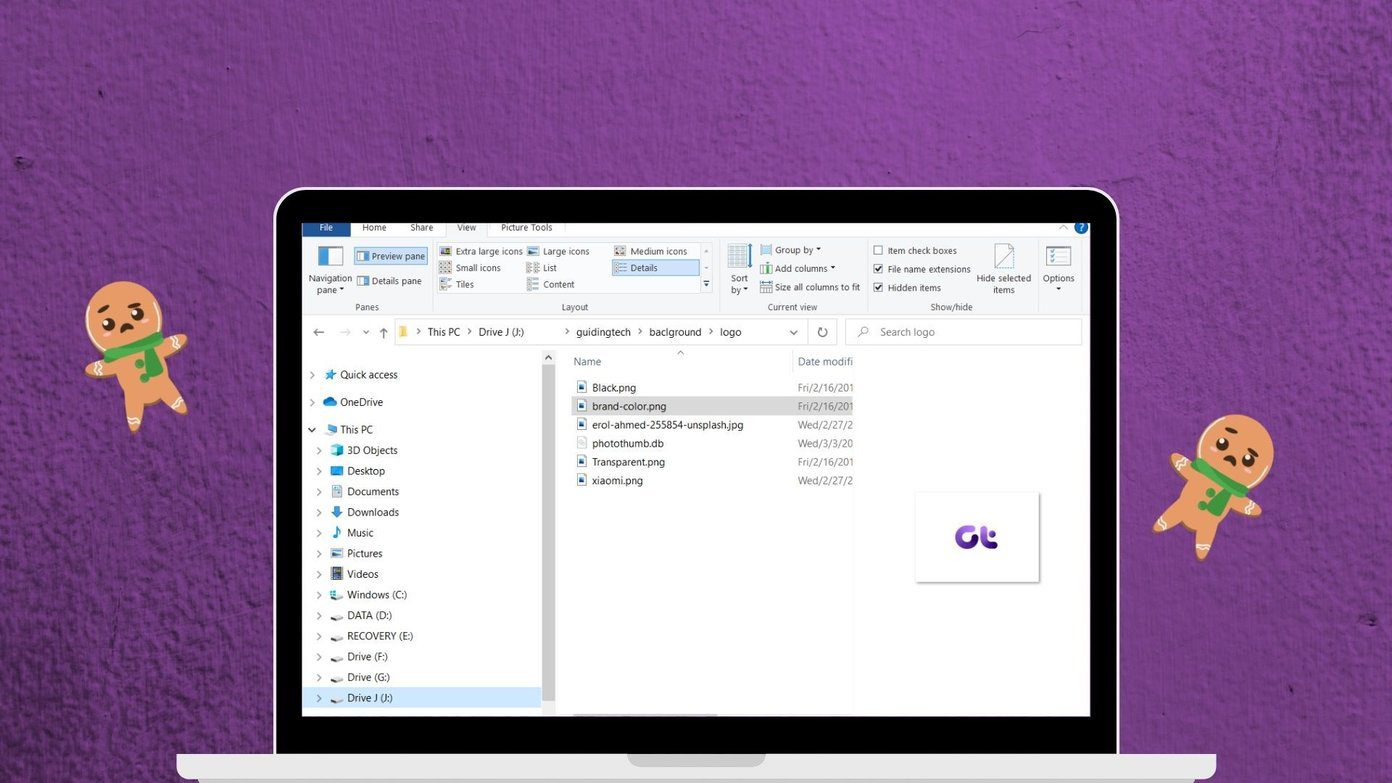
Microsoft’s Windows Explorer lets you take a peek at a file with the Preview Pane. That way, you get a preview of the file’s content without actually opening it. Explorer offers preview for images, text, PDF files, videos, and documents related to Microsoft Office. However, some Windows 10 users are unable to see a preview of their files in Explorer. For them, the Preview pane option is either grayed out or doesn’t show a preview for specific files.
If the Preview pane isn’t working in the Explorer on your Windows PC, try out the solutions below. Let’s start.
1. Enable Preview Pane
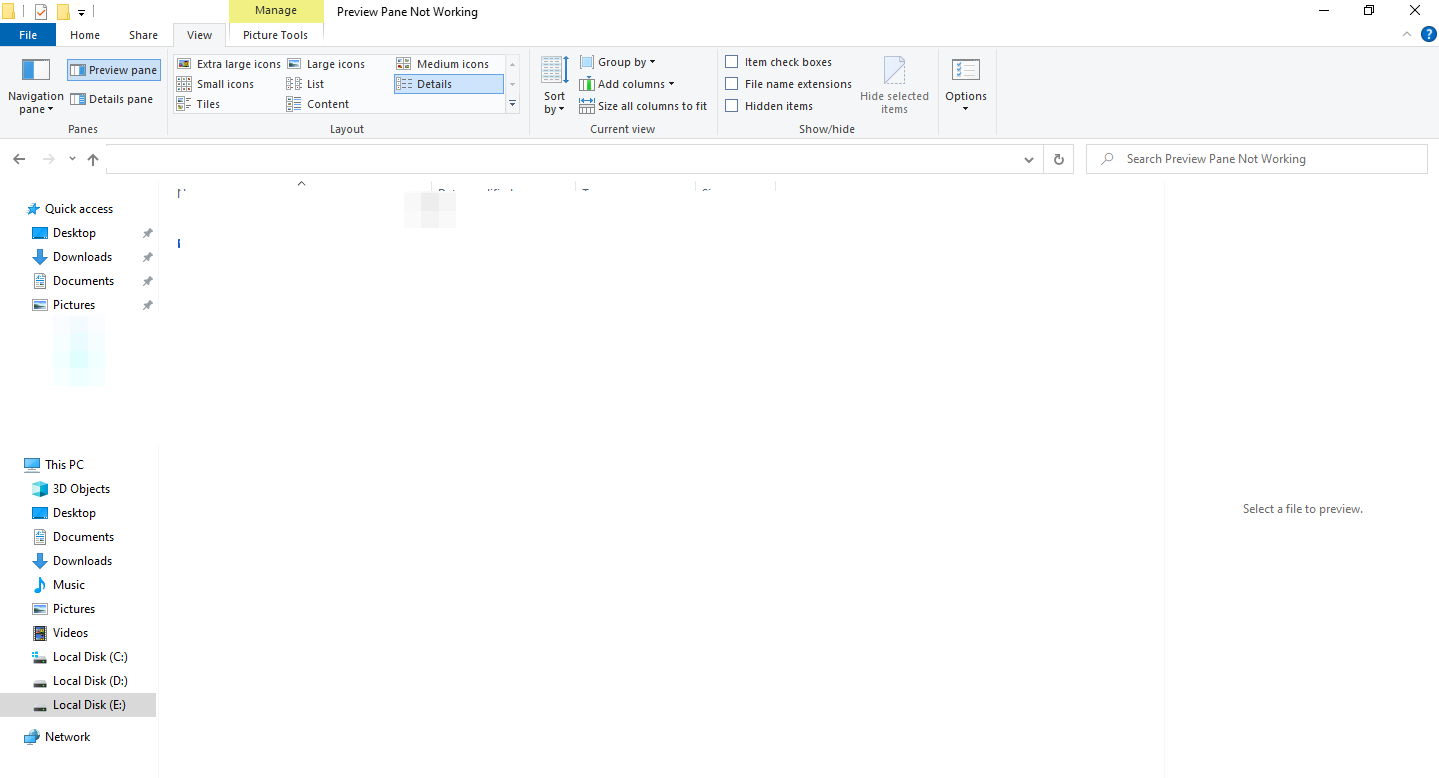
You might have accidentally turned off the Preview pane in File Explorer. You need to check and enable it. For that, open File Explorer using the Windows key + E keyboard shortcut and maximize it to take the full screen.
Click on the View tab at the top. Check if the Preview Pane option appears highlighted to ensure it is enabled. In case it’s not, click on the Preview pane option to enable it. As soon as you turn it on, you should see the Preview pane on the right side of the File Explorer.

To ensure the Preview pane works properly or not, use the Windows Explorer in maximized mode or ensure it’s wide enough to see the options in the View ribbon at the top.
2. Enable Show Preview Handlers
From the Folder Options, you need to enable the ‘Show preview handlers in preview pane’ setting for the proper functioning of the Preview pane. For that, follow these steps:
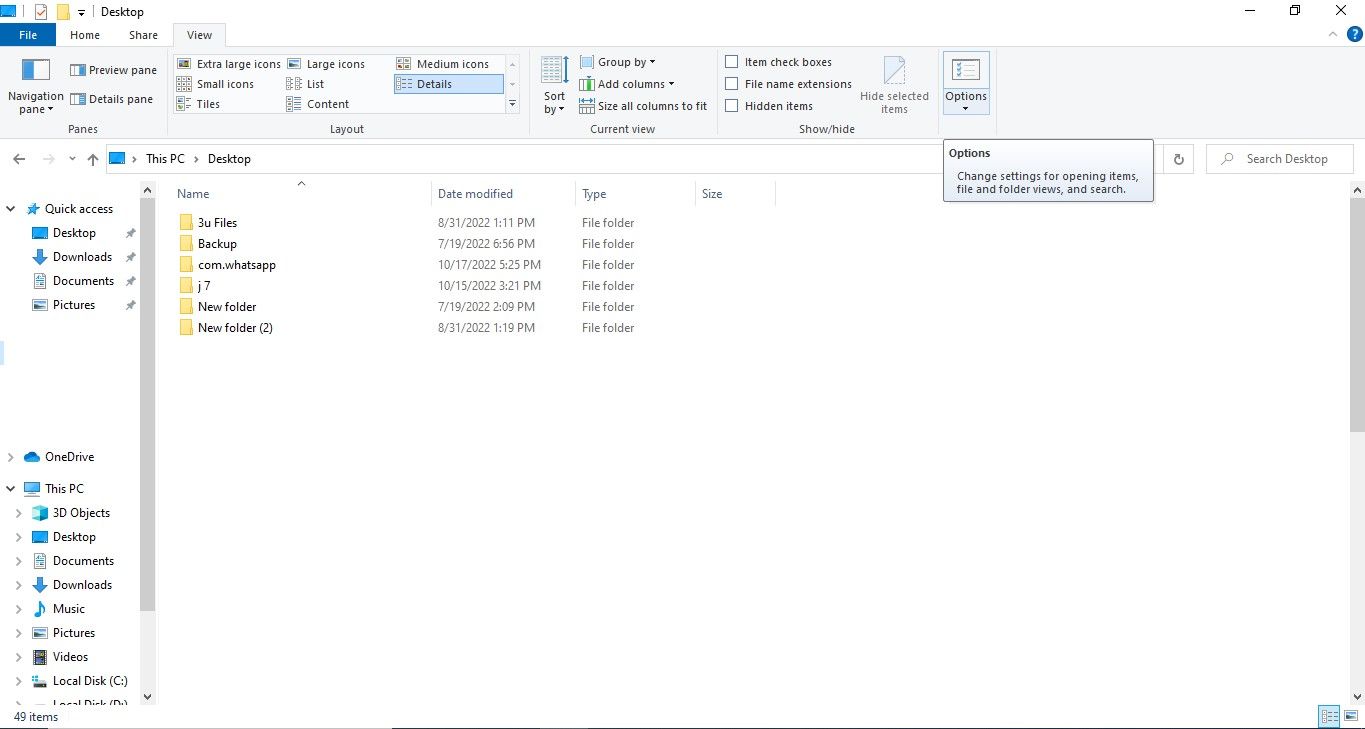
Step 1: Open File Explorer and click on the View tab. Click on Options.

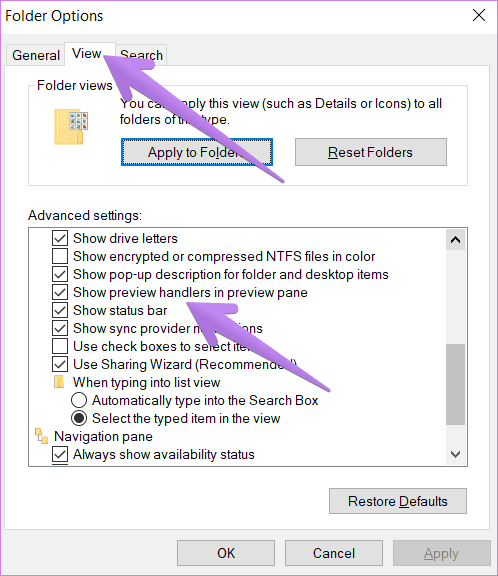
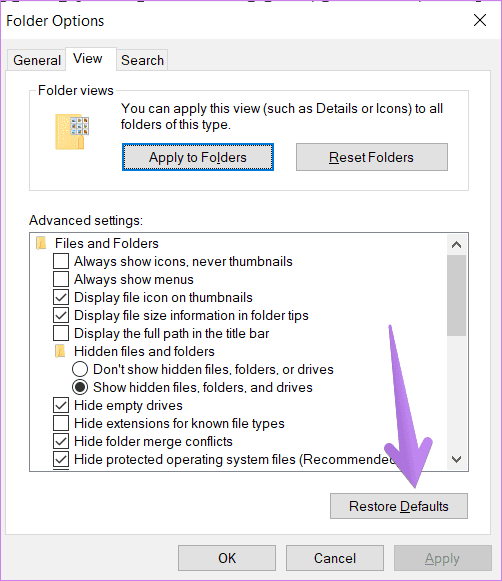
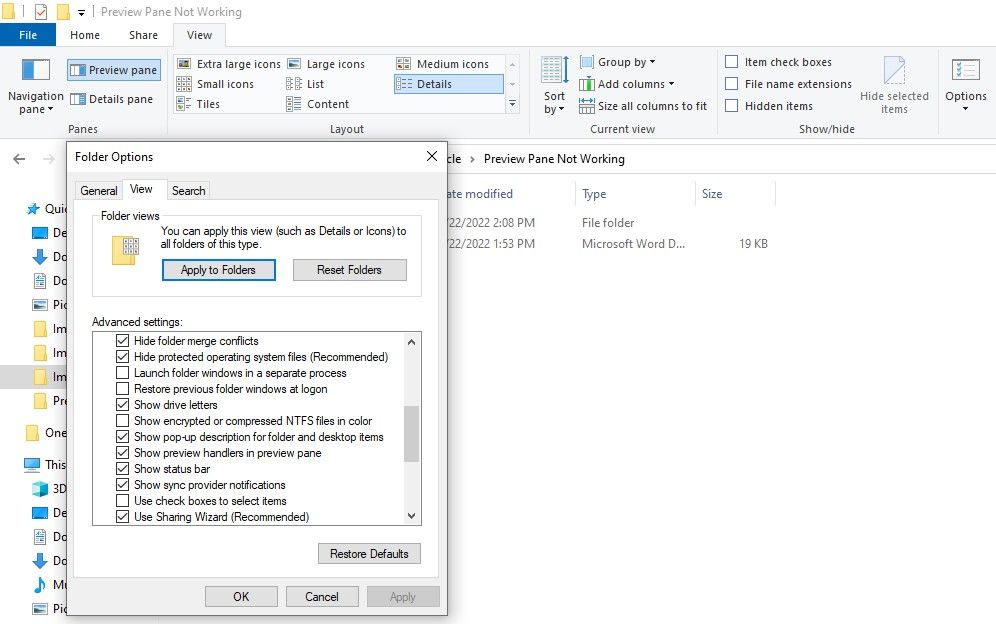
Step 2: The Folder options window will open. Go to the View tab.
Step 3: Under Advanced settings, check the box next to ‘Show preview handlers in preview pane’.
Step 4: Click on Apply followed by Ok.
Step 5: Relaunch File Explorer. The Preview pane should show you a preview of the relevant files.
3. Disable Always Show Icons Setting
In the Folder Options, you will find the ‘Always show icons, never thumbnails’ setting. If that is enabled, the Preview pane will not show anything. You need to disable it for the Preview pane to show content. Here’s how to do that:
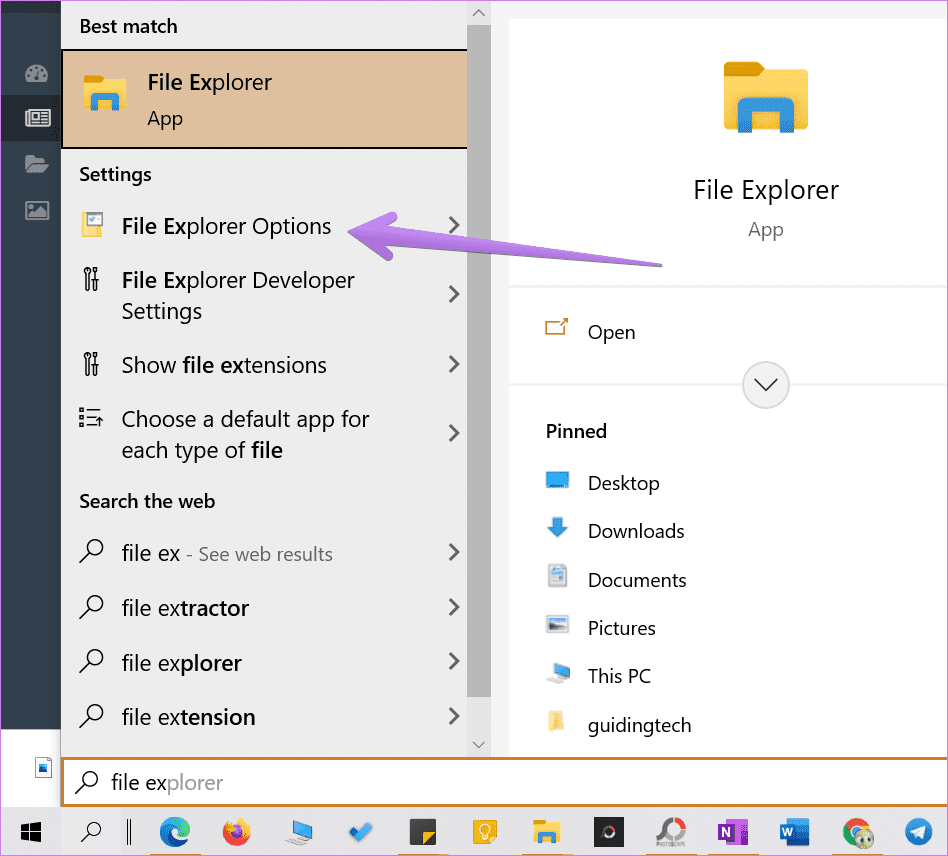
Step 1: Open File Explorer. Click on the View tab at the top, and then click on the Options icon at the end of the ribbon. Alternatively, search for File Explorer options in Windows search.
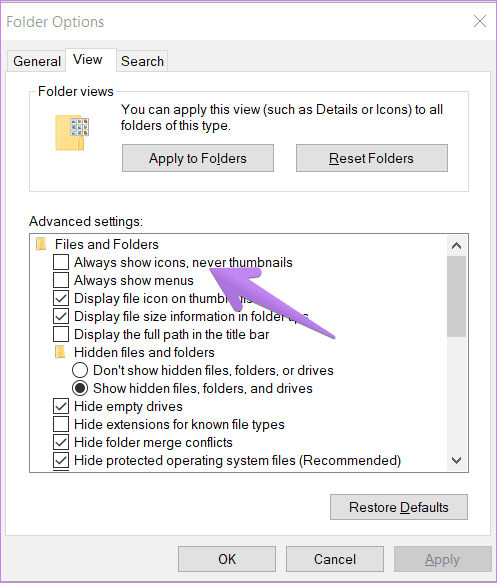
Step 2: When the Folder Options open, click on the View tab.
Step 3: Uncheck the box next to ‘Always show icons, never thumbnails.’
Step 4: Click on Apply to save the changes. Relaunch File Explorer.
The issue should be resolved now.
4. Change File Explorer Startup Mode
One of the solutions at Microsoft Forum suggests that making File Explorer open to This PC instead of Quick Access fixes the issues with the Preview pane.
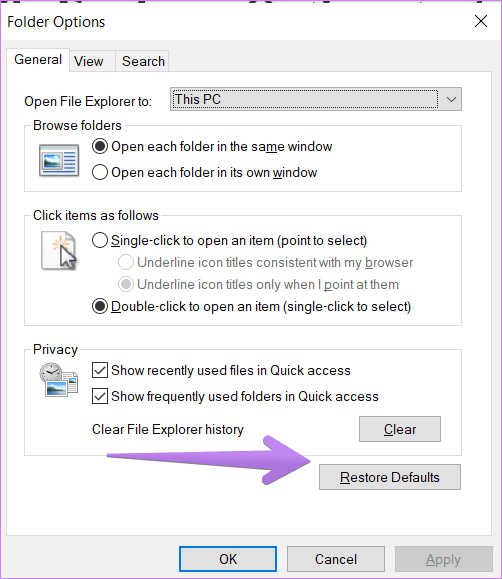
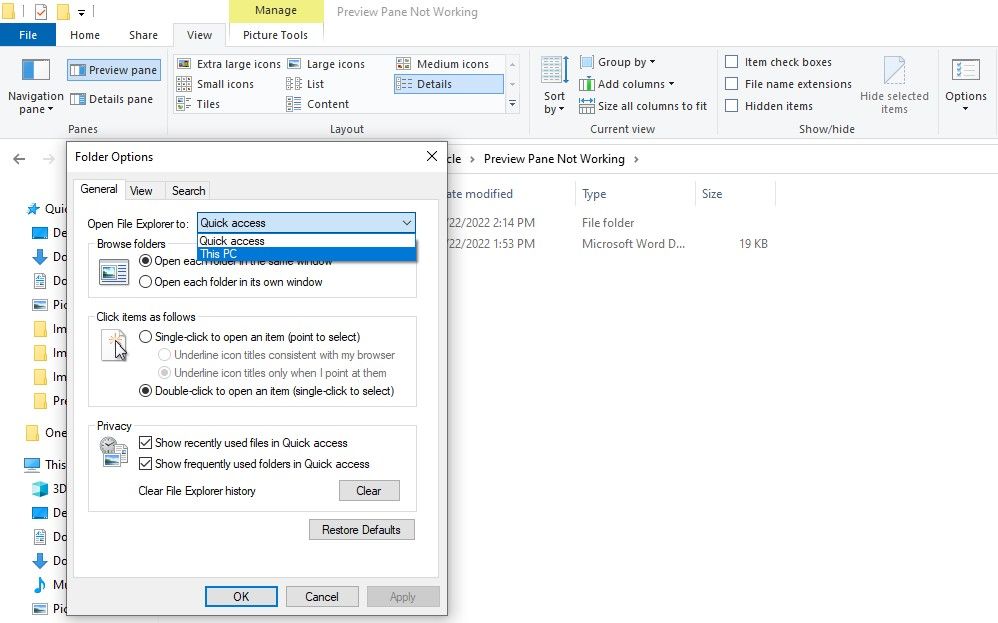
For that, open the File Explorer Options window either from File Explorer or using search as we did above. When the Folder Options window opens, click on the drop-down box next to ‘Open File Explorer to’ under the General tab.
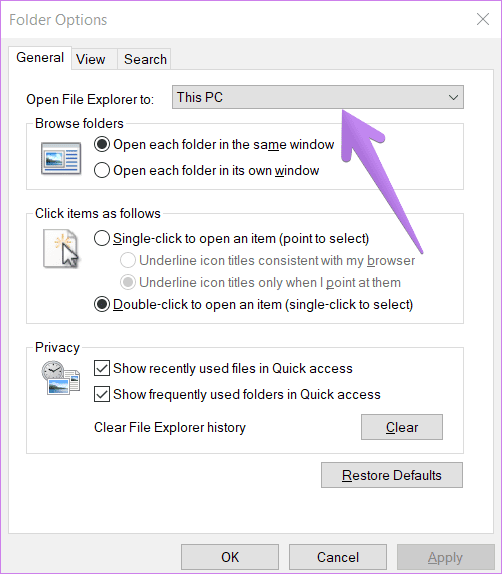
Select This PC. Click on Apply to save the changes.
5. Change Performance Mode
Another solution that has helped users is changing the Performance mode from ‘Let Windows choose what’s best for my computer’ to ‘Adjust for best appearance.’ Here are the steps to achieve that:
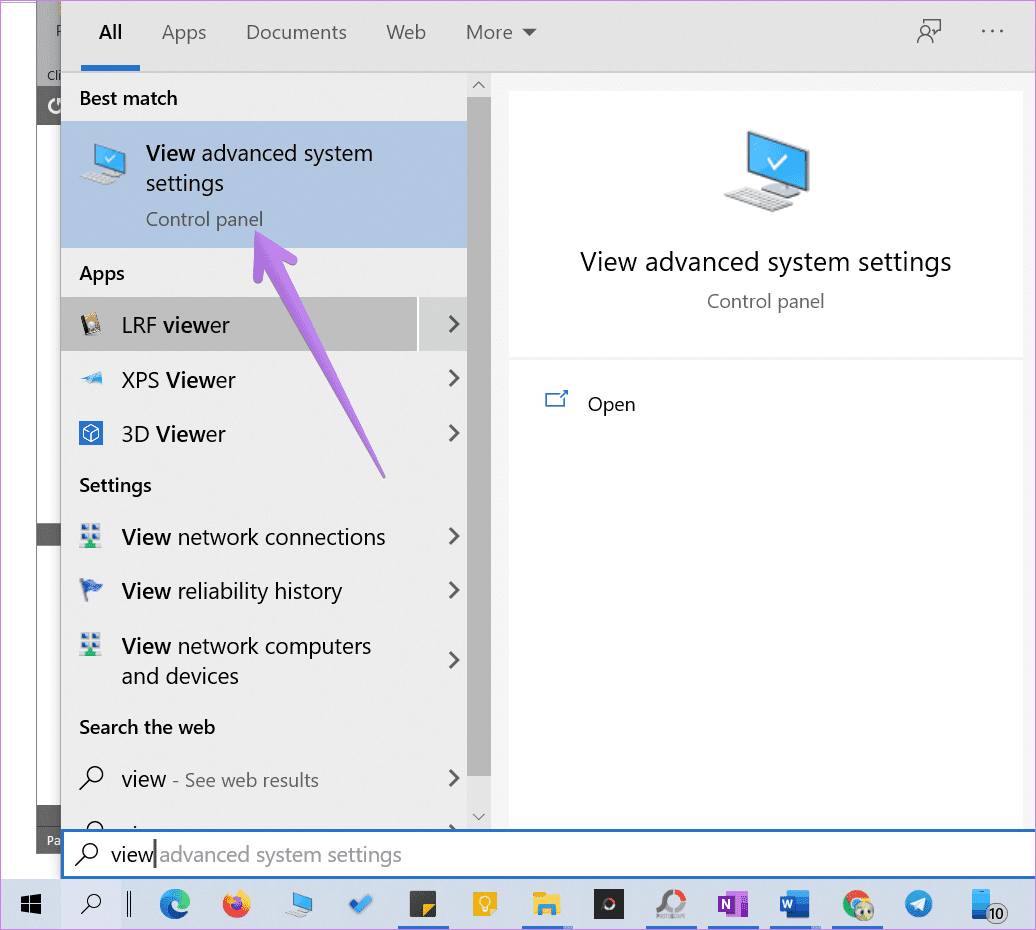
Step 1: Open Windows Search on your PC. You can use the Windows key + S keyboard shortcut to open search.
Step 2: Type View Advanced system settings. Click on it.
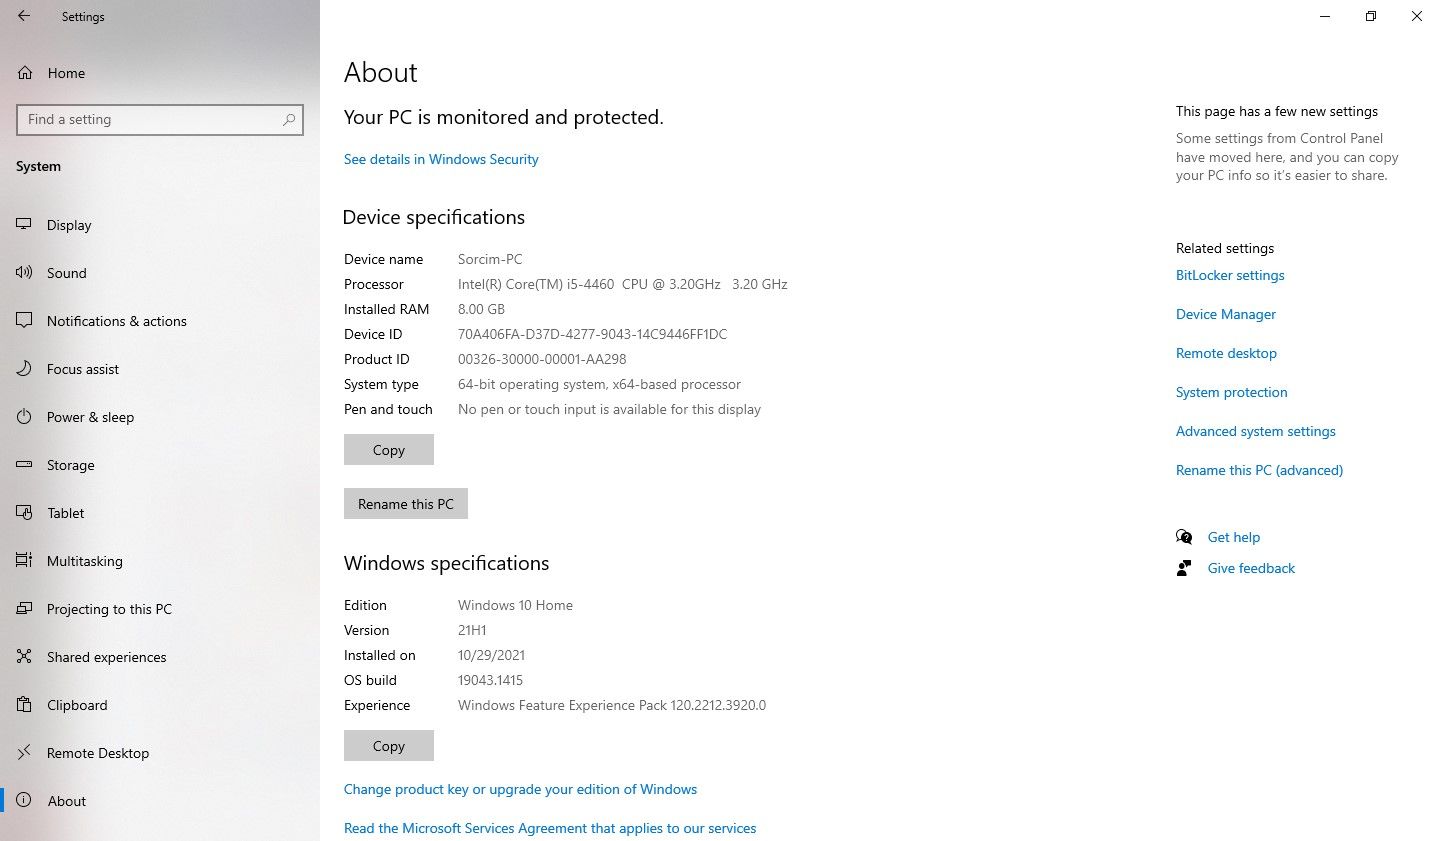
Tip: You can open the Advanced system settings from Settings > System > About. Under Related settings, click on Advanced system settings.
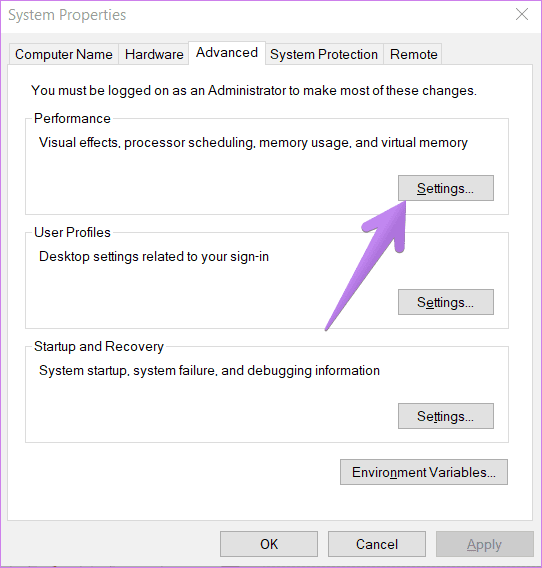
Step 3: Under the Advanced tab, click on Settings next to Performance.
Step 4: Choose ‘Adjust for best appearance.’

Step 5: Click on Apply.
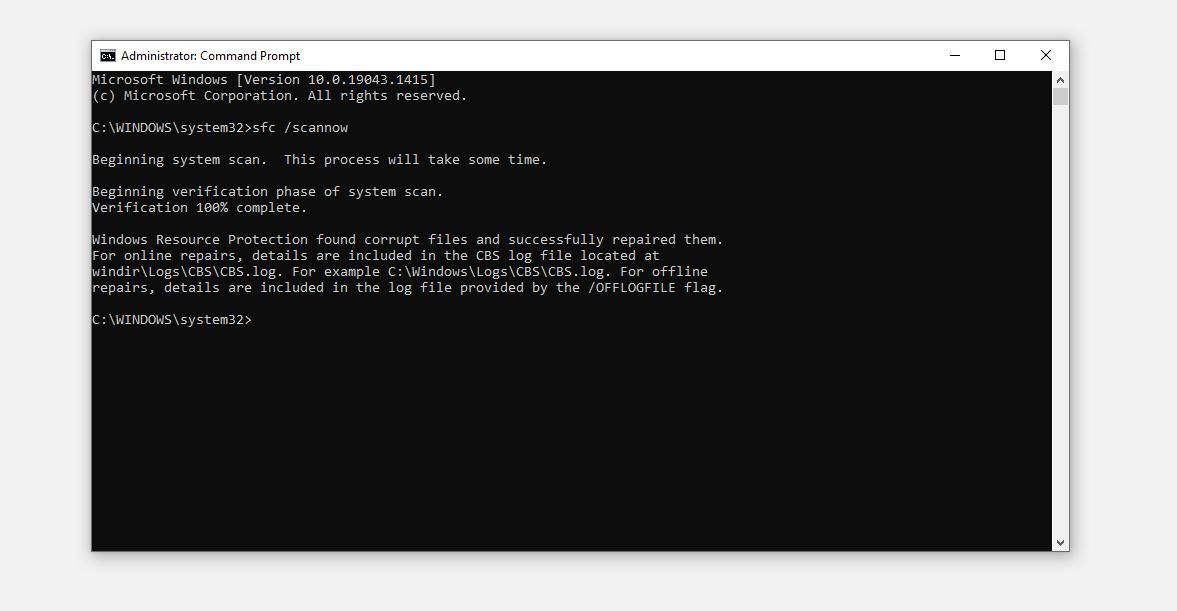
6. Run SFC Scan
Sometimes, problems in Windows 10 can occur if system files are corrupt. You can easily fix them by running an SFC scan. Here are the steps for the same:
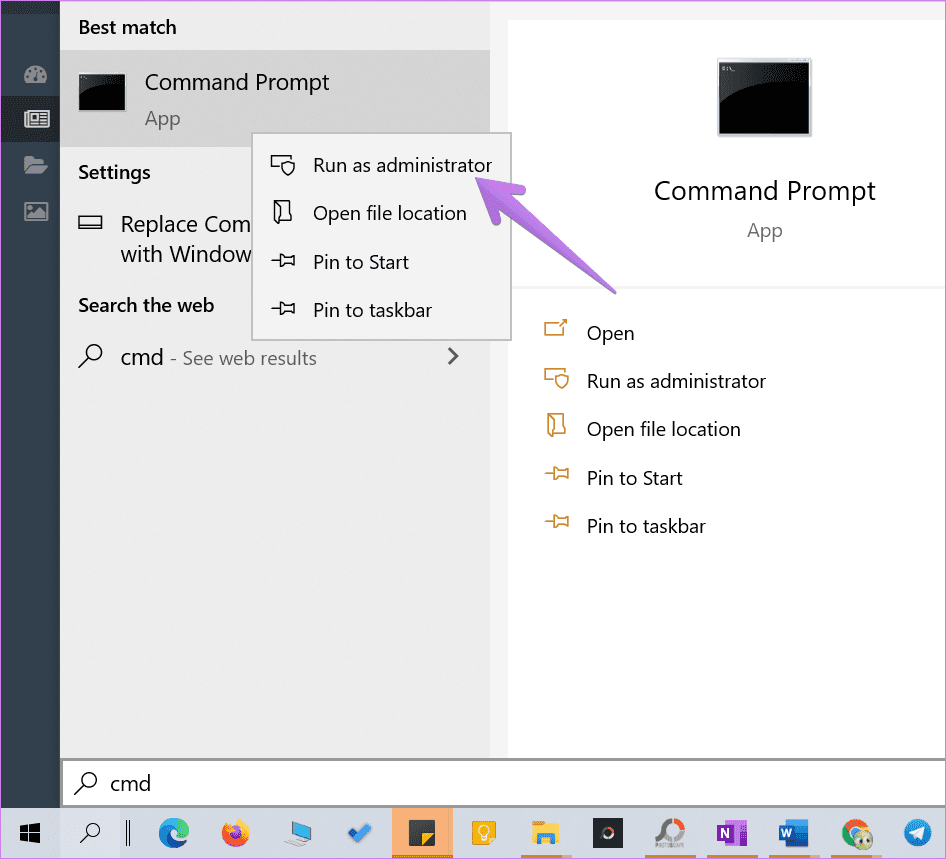
Step 1: Open Command Prompt on your computer. For that, type CMD or Command Prompt in Windows search. Right-click on the Command Prompt icon and select Run as administrator.
Step 2: Type sfc /scannow in the Command Prompt window and hit the Enter key. Windows will now scan your computer and fix any corrupted files.
Note: The scan may take at least 15 minutes to complete. Kindly be patient and do not close the window.
Step 3: Restart the computer after the scan has finished.
7. Reset File Explorer
If nothing seems to help, you must try to reset File Explorer settings to default. Here’s how to do so:
Step 1: Open File Explorer Options as shown above.
Step 2: Click on the Restore defaults button under the General tab.
Step 3: Go to the View tab and click on Restore defaults.
Step 4: Hit apply to save the changes.
Tip: Resetting File Explorer also comes in handy if File Explorer is loading slowly.
8. Use Third-Party App
In case resetting File Explorer also doesn’t come to the rescue, you can use the QuickLook app for the same purpose. It’s a third-party app that shows the file’s preview when you hit the spacebar. Interestingly, it supports more file formats as compared to the Preview feature in Windows 10.
Download QuickLook from Microsoft Store
Previews Can Be Helpful
Some files take a bit longer to appear in the Preview pane. You should wait for a few seconds before picking holes in the Preview pane, especially if you are using an old PC.
Was this helpful?
Thanks for your feedback!
The article above may contain affiliate links which help support Guiding Tech. The content remains unbiased and authentic and will never affect our editorial integrity.
Windows File Explorer comes preloaded with exciting features to make navigating files and folders a snap. One of its features is the preview pane, which shows you a preview of the selected file before opening it.
While it often works as expected, there are times when you don’t see a preview option despite the preview pane being enabled, when it fails to show a preview of all the files, or if it is slow to respond. We’ve compiled a list of fixes that you can try if you have these issues.
1. Ensure the Preview Pane Isn’t Disabled
The absence of the preview option in File Explorer indicates that the feature has been disabled. Your first step should be to enable it. To do so, follow these steps:
- Right-click on the Windows Start button in the bottom-left corner.
- Open File Explorer.
- Go to the View tab.
- Select the Preview pane option in the ribbon.
You’ll see the Select a file to preview option in the right-hand pane. If you disabled this previously, enabling it will immediately resolve the problem.
Here are the steps you need to take if you are running Windows 11 on your device:
- From the taskbar, open File Explorer.
- Click the View tab.
- Go to the Show menu.

If there is a small tick before the Preview Pane, the feature is enabled. In the absence of a tick mark, click the Preview Pane option to re-enable it.
If you do not see this option despite the preview option being enabled, close the File Explorer and open it again. Continue implementing the below fixes if doing so does not resolve the issue.
2. Rule Out the File Specific Issues
In cases where the preview pane displays a preview of specific files but is unable to fetch a preview of others, that indicates that those formats aren’t supported. Therefore, you are unable to preview them.
Furthermore, if the file is too large and loaded with text and graphics, the preview pane may take some time to load, so don’t hurry and let it load properly.
If the preview pane does not preview any files, the problem is most likely caused by some OS issues requiring further investigation.
3. Restart Windows Explorer
Windows Explorer provides a graphical user interface for Windows utilities. Thus, a minor issue with this feature can lead to the preview pane not working correctly. To eliminate this possibility, you should restart the process in Task Manager. Follow these steps to do that:
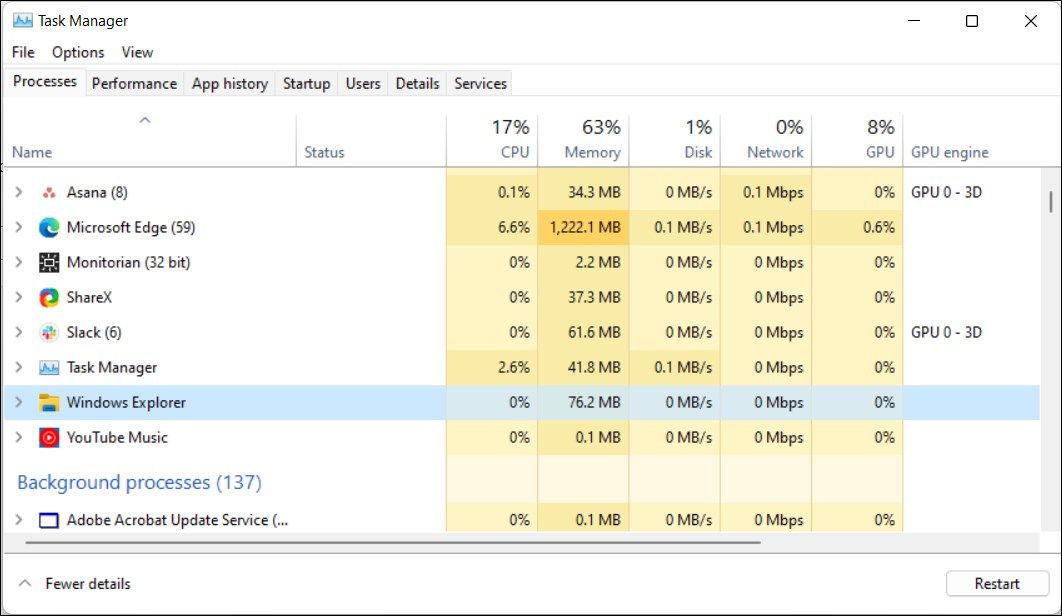
- Open Task Manager by right-clicking the Start button.
- Navigate to the Processes tab and look for the Windows Explorer process.
-
Click on the Windows Explorer process and hit Restart.

Hopefully, restarting Windows Explorer will solve the problem. If not, continue implementing the remaining fixes.
4. Tweak Folder Options Settings
Before moving on to other OS fixes, making three changes to the File Explorer folder options is imperative.
You can access Folder Options settings by navigating to File Explore > View tab and clicking Options on the right end of the ribbon.
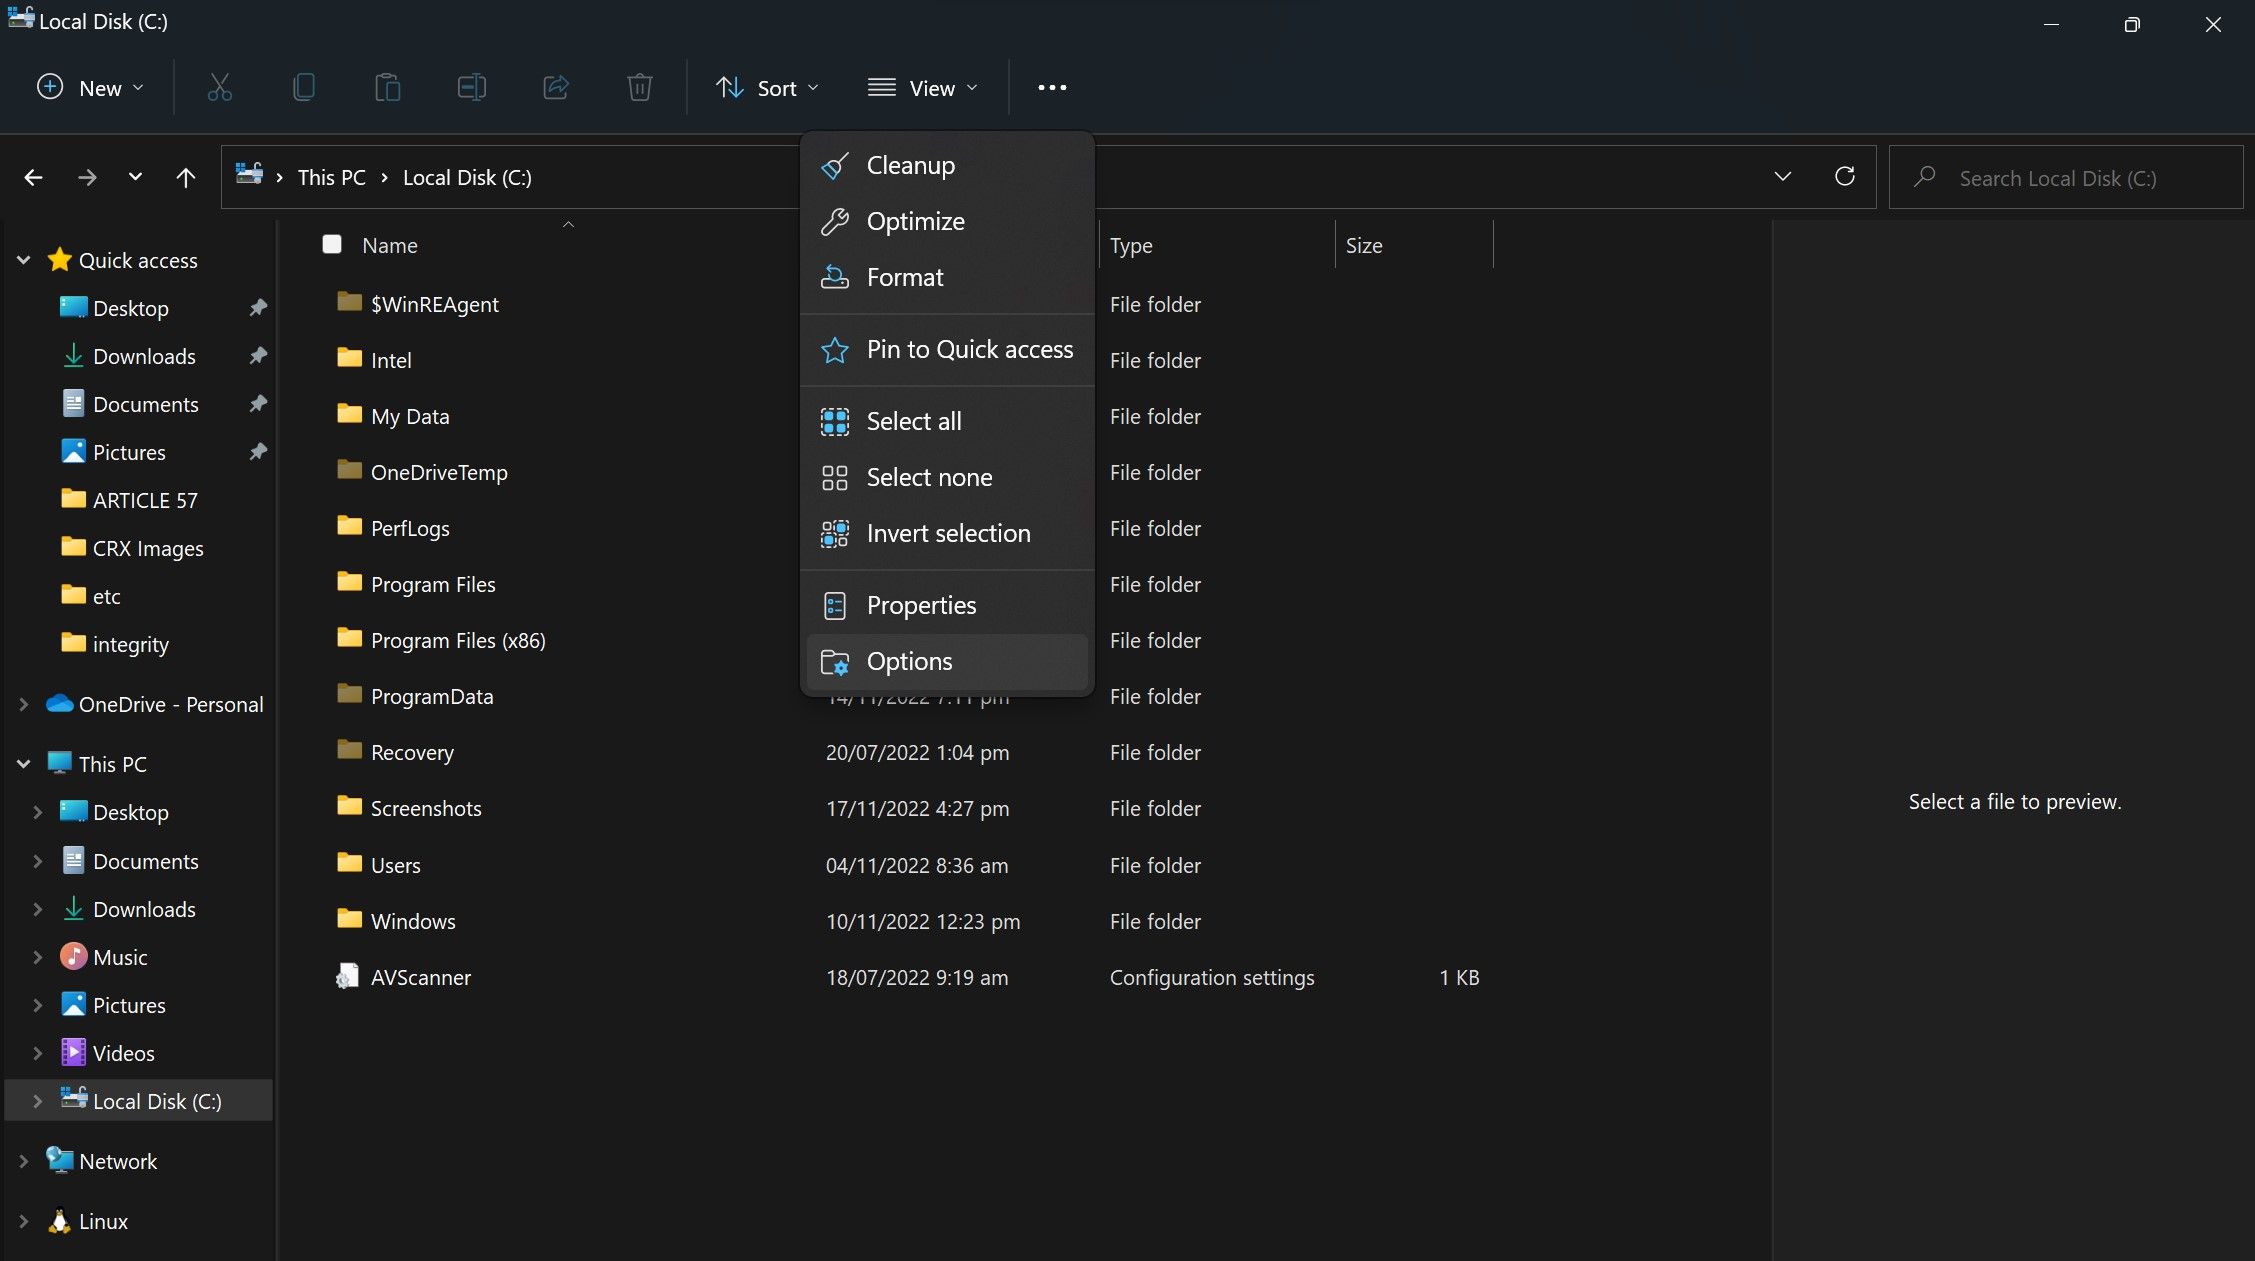
To open the Folder Options dialog in Windows 11, open File Explorer, click on the three horizontal dots at the right end of the ribbon and click Options.
Here’s what you need to check in the Folder Options window:
-
Verify that the Show preview handlers in preview pane checkbox is checked.

-
Make sure the checkbox Always show icons, never thumbnails is unchecked.

-
In the Open File Explorer to dropdown under the General tab, choose This PC instead of Quick Access.

After you have customized the above settings, click Apply and OK. Consider relaunching the File Explorer after changing the folder options settings. If these tweaks do not resolve the issue, it is time to rule out other possible problems with the operating system.
5. Check Hard Disk Response Issues
If you’re using an HDD instead of an SSD, there may be response delays from the hard drive that cause delays in previewing files or prevent it from doing so at all. Although rare, it is essential to rule out hard disk problems by running a CHKDSK scan.
For that, follow the steps below:
- In the Windows Search box, type «Command Prompt.»
- Right-click on the Command Prompt app and select Run as administrator.
-
Enter the following command
Chkdsk
-
Press Enter.

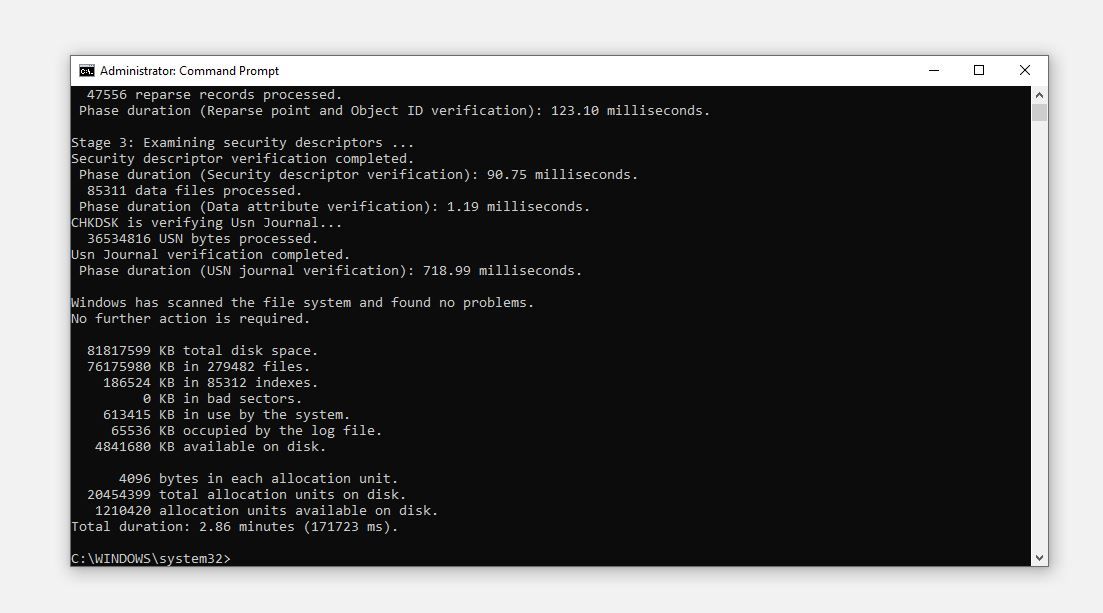
Depending on how loaded your hard disk is, the process may take some time. If there is no error reported, you can move on to the next fix since the issue does not originate from the hard drive. If it reports an error, follow the on-screen instructions to fix it.
Check out how to run CHKDSK on Windows for more tips on this tool.
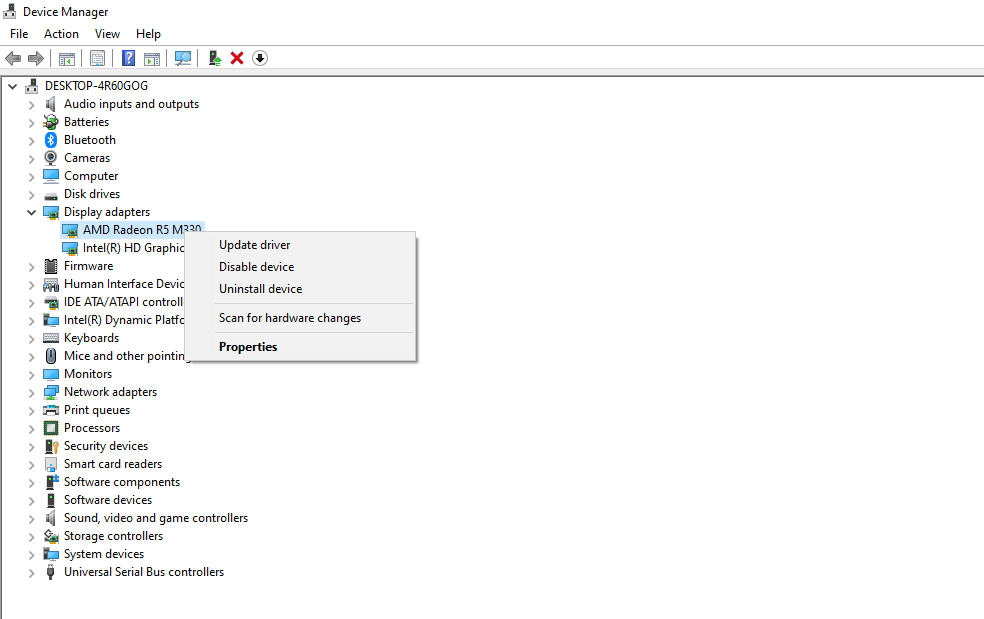
6. Update Graphics Driver
If you’re having trouble previewing graphics-intensive images or documents containing high-graphics images, it may be an issue with your graphics driver. To rule this out, update your graphics driver.
Follow these steps to update the graphics driver:
- Go to the Device Manager by right-clicking on the Start button.
- Expand the category for Display adapters.
-
Right-click the relevant display driver and select Update driver.

When updating the graphics driver does not make a difference, adjust visual effects settings in advanced system properties.
7. Tweak Advanced System Properties
Windows lets users control how the system handles visuals. You can choose to display them with the best appearance or optimize them for the best performance.
So, if you have already selected the best performance, it’s best to change the settings to the best appearance to enable the operating system to load graphics efficiently.
To do that, follow these steps:
- Right-click on the Start button and go to the Settings app.
- Navigate to the System Settings.
- Scroll down to the About section.
-
Click on the Advanced system settings.

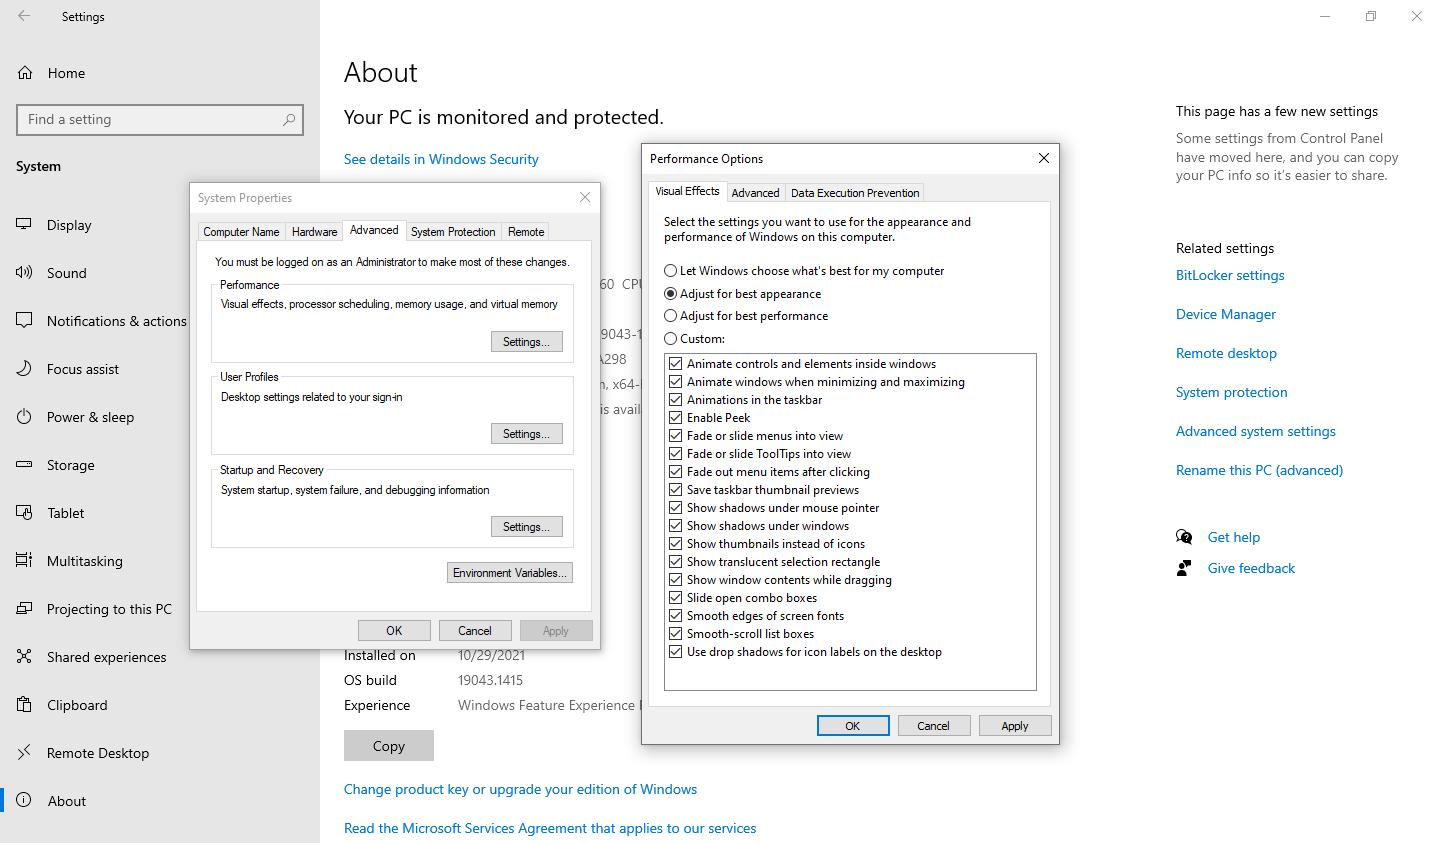
- Click on the Settings button in the Performance option under the Advanced tab in the System Properties window.
- Change the Performance Options window settings to Adjust for best appearance.
-
Hit OK after clicking Apply.

If this fix doesn’t resolve the issue, change the setting to Let Windows choose what’s best for my computer or revert to the previous Adjust for best performance option.
8. Run a Malware Scan
If tweaking settings doesn’t resolve the issue, we recommend running a malware scan to check whether the hidden virus is causing response delays on the operating system’s side, impacting its functionality.
There are many options for scanning malware, but the best way is to use Windows Defender’s offline scan to remove the malware.
9. Run an SFC Scan
If a malware scan does not resolve the issue, it is best to run an SFC scan as a last resort to ensure there are no corrupt files behind Windows File Explorer not showing the preview pane correctly.
Follow the steps below to run an SFC scan:
- Type «cmd» in the Windows search box.
- Right-click on the Command Prompt app and select Run as administrator.
-
Enter the «sfc /scannow» command and hit Enter.

Nothing Worked? Try an Alternative App
Whenever none of the fixes work and you’re still unable to preview files in the preview pane, you can try some third-party apps that achieve the same goals.
You will find File Viewer Plus 4 the best app to fulfill your document previewing needs out of various options. File Viewer Plus makes navigation a breeze, featuring support for 200 file formats in the free version and 400 in the premium version.
Download: File Viewer Plus 4
Preview Files in the File Explore Preview Pane With Ease
Hopefully, your preview pane feature will be back on track with these fixes. If all else fails, consider resetting your operating system. Alternatively, use File Viewer Plus 4 for all your navigation needs.
When your File Explorer does not respond, what should you do? There are several ways to fix it, from clearing File Explorer history to changing Windows display settings.
Способ 1: Правка реестра
Основной причиной нерабочего состояния панели предварительного просмотра в Windows 10 является повреждение, отсутствие или некорректное значение параметров реестра, отвечающих за отображение содержимого файлов конкретного типа. Устранить проблему можно вручную, внеся в реестр соответствующие изменения.
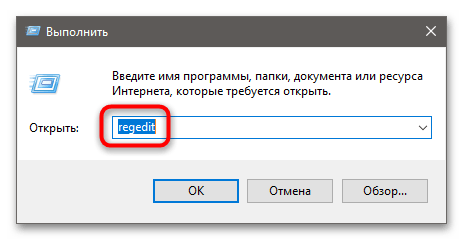
- Откройте «Редактор реестра» командой
regedit, выполнив ее в вызванном нажатием клавиш Win + R окошке. - Разверните ключ
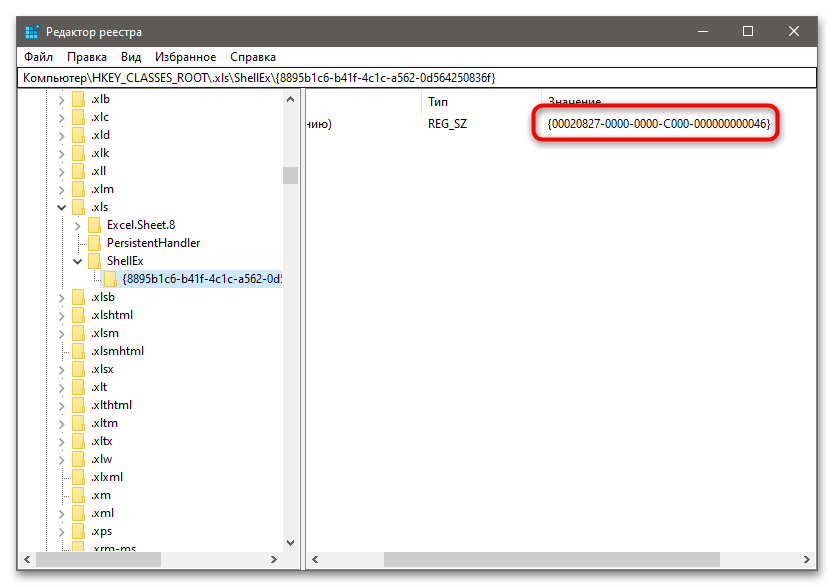
HKEY_CLASSES_ROOTи отыщите в нем подраздел с названием расширения файла, который не отображается в области предпросмотра «Проводника». Пусть для примера это будет .xls. - Раскройте этот раздел вплоть до папки с 32-значным названием в фигурных скобках, в данном случае это
HKEY_CLASSES_ROOT\.xls\ShellEx\{8895b1c6-b41f-4c1c-a562-0d564250836f}. Внутри будет располагаться строковый параметр по умолчанию, в нашем случае со значением {00020827-0000-0000-C000-000000000046}. Его надо скопировать в буфер обмена для дальнейшего использования. Если вместо Excel работа будет вестись с другим типом документов, 32-значное название параметра, естественно, будет другое. - Далее раскройте ветку реестра
HKEY_CLASSES_ROOT\CLSIDи найдите в ней подраздел, называющийся как найденное на предыдущем шаге значение. Для удобства можете воспользоваться встроенным в «Редактор реестра» поиском, вызвав его нажатием клавиши F3. Подраздел содержит параметр, в качестве значения которого указывается название программы, используемой по умолчанию для открытия файлов, недоступных для предпросмотра. В случае с Excel это будет «Средство предварительного просмотра Microsoft Excel» или «Microsoft Excel previewer». Если в указанном расположении раздела не окажется, пропустите этот шаг. Он не является обязательным. - Затем откройте в «Редакторе реестра» ветку
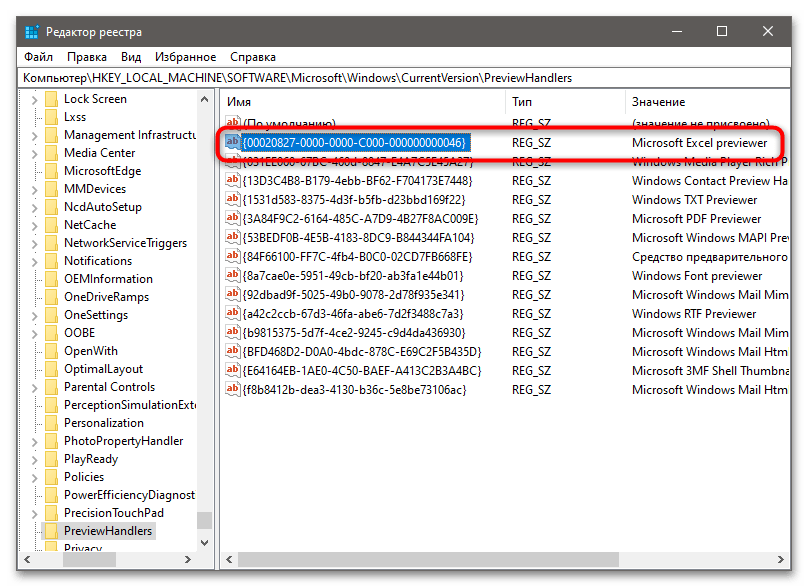
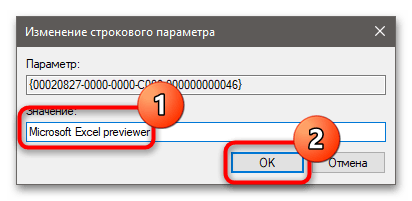
HKLM\SOFTWARE\Microsoft\Windows\CurrentVersion\PreviewHandlersи посмотрите, имеется ли в правой колонке строковый параметр с тем же названием (у нас это все тот же {00020827-0000-0000-C000-000000000046} из шага 3) и, если имеется, какое у него значение. - При отсутствии создайте, использовав вариант «Строковый параметр» из контекстного меню.
- В качестве значения параметра введите названия приложения для просмотра, у нас это будет текст «Средство предварительного просмотра Microsoft Excel» или «Microsoft Excel previewer». Если название модуля неизвестно, оставьте значение пустым. Главное, чтобы присутствовал сам параметр.

После этого можно будет проверять работу панели предварительного просмотра.
Способ 2: Точки восстановления
Если предварительный просмотр перестал работать после сбоя или использования твикеров, можно откатить систему к ближайшей точке восстановления.
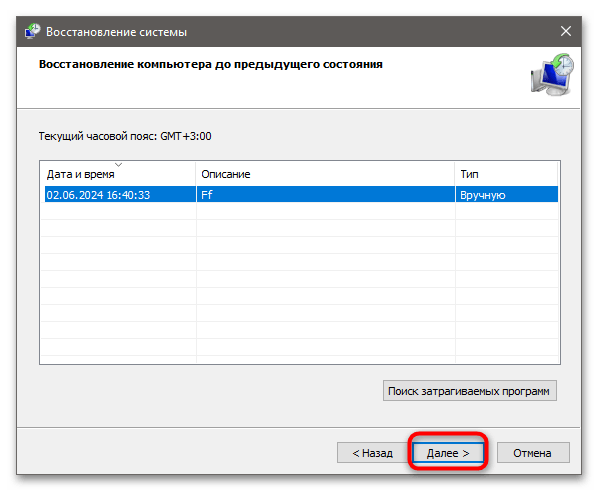
- Запустите мастер отката, выполнив в вызванном нажатием Win + R окошке команду
rstrui. - Нажмите «Далее», выберите точку восстановления, снова нажмите «Далее» и проследуйте указаниям мастера.

Реестр будет восстановлен после перезагрузки компьютера.
Подробнее: Откат Windows 10 к точке восстановления
Наша группа в TelegramПолезные советы и помощь

I ran into a problem in Microsoft Windows 10 where the “Preview pane” option was grayed out in the File Explorer. I could not preview images or documents on the right pane. The options to change icon sizes was also missing.
To fix this issue, try the following steps:
- Download PreviewConfig.zip from WinHelpOnline.
- Run the PreviewConfig.exe file.
- Select the file type you are having problems with, select the “Preview type“, then select “Apply“. I had problems with “.jpg” files. So I selected “.jpg“, then selected “Media file” > “Apply“. These steps actually fixed preview problems with all my files.
Author Mitch Bartlett
Through my career that spans over 20 years I have become an expert in Microsoft Systems Administration, Android, and macOS. I started this site as a technical guide for myself and it has grown into what I hope is a useful knowledgebase for everyone.
The “Preview Pane” is one of the coolest features on Windows File Explorer that allows you to quickly view the file’s content without having to open it. You can use the preview pane to review the selected file’s contents without opening it. The Preview Pane feature can preview different files, including photos, documents, PDFs, videos, and so on.

Image source: TechNet
Although, if you are facing some difficulties in accessing the preview pane feature on Windows 11, we’re here to help you.
Preview pane not working on File Explorer? In this post, we have listed a bunch of solutions you can use to resolve this issue. You can use any of the below-listed methods for troubleshooting this glitch and resume using the preview pane on Windows 11.
Let’s get started.
Also read: How To Fix Preview Not Working on Mac (6 Solutions)
How to Manually Enable the Preview Pane on File Explorer?
To ensure that the preview pane is enabled on File Explorer, follow these quick steps:
Launch the File Explorer app on your Windows 11 PC.
Tap the “View” option on the top menu bar and select Show> Preview Pane.

Once you manually enable this option, you can view and access the Preview Pane on Windows File Explorer. However, if you cannot use the preview pane feature on Windows 11, you can refer to the below-listed troubleshooting methods.
How to Fix the “Preview Pane not working” Issue on Windows 11?
Solution 1: Enable Preview Handlers
Launch the File Explorer app on your device. Tap on the three-dot icon placed on the top and select “Options.”

The Folder Options window will now appear on the screen. Switch to the “View” tab.
Scroll down through the “Advanced Settings” section to look for the “Show preview handlers in preview pane” option. Check on it to enable it.

Hit on the OK and Apply buttons to save the recent changes.
Also read: How to Sort and Preview Duplicate Files Before Removing Them Permanently?
Solution 2: Modify the Startup Mode of the File Explorer App
Here comes another solution to fix the “preview pane not working” issue on Windows 11. Here’s what you need to do:
Launch the File Explorer app and tap on the three-dot icon on the top menu bar. Select “Options” to launch the Folder Options window. Switch to the “General” tab.

Now, tweak the “Open File Explorer to:” value from “Quick Access” to “This PC.”
Hit on the OK and Apply buttons to save changes. After making the above-listed change, relaunch the File Explorer app to check if the issue was resolved.
Solution 3: Change System Performance Mode
Press the Windows + R key combination to open the Run dialog box. Type “sysdm.cpl” in the textbox and hit Enter.

The “System Properties” window will now appear on the screen. Switch to the “Advanced” tab.

Hit on the “Settings” button placed in the “Performance” section.
You will now see the Performance Options window on the screen. Switch to the “Visual Effects” tab.

Check on the “Adjust for best performance” option.
Hit on the OK and Apply buttons to save the recent changes.
Solution 4: Run an SFC Scan
A corrupt system file or setting can also affect File Explorer’s functioning. You can use the SFC (System File Checker) command, a built-in utility that scans and replaces corrupt system files on your device. Follow these steps to run an SFC scan on Windows 11:
Tap on the search icon placed on the Taskbar and type “Command Prompt.” Select “Run as administrator.”

In the Terminal window, type the following command and hit Enter to execute it:
sfc/scannow

Once the SFC scan is complete, reboot your device and relaunch File Explorer to check if the preview pane is working.
Also read: How to Fix “Couldn’t Preview File” Error on Google Drive.
Solution 5: Reset File Explorer
Press the Windows + R key combination to open the Run dialog box. Type “Control Folders” and hit Enter.

Switch to the “General” tab.

Hit on the “Restore Defaults” button placed at the bottom.
Now, jump to the “View” tab. Tap on the “Restore Defaults” button.

Hit on the OK and Apply buttons to save the recent changes. Relaunch the File Explorer app and check that the issue was resolved.
Conclusion
Here are a few simple solutions to fix the “Preview pane not working on Windows 11” issue. We hope the above-listed troubleshooting methods help you in resolving the issue.
Do let us know which method did the trick for you in getting the preview pane back on track. Feel free to share your thoughts in the comments section.
Follow us on social media – Facebook, Instagram and YouTube.