

Nginx — веб-сервер с открытым исходным кодом, разработанный Игорем Сысоевым в 2004 году. Nginx стал очень популярным, потому что он быстр, универсален и может использоваться в качестве веб-сервера и обратного прокси-сервера.
Одной из ключевых целей разработки Nginx является обеспечение высокой производительности и обработка большого количества одновременных подключений с минимальным использованием ресурсов. Nginx достигает этого за счет использования архитектуры, управляемой событиями, которая позволяет ему эффективно управлять подключениями без необходимости в большом количестве выделенных рабочих процессов. Кроме всего прочего, Nginx служит отличным выбором для отображения статического контента, а также изображений и других медиафайлов.
Nginx поддерживает широкий спектр протоколов, включая HTTP, HTTPS, WebSocket и другие. Такая гибкость позволяет использовать данный веб-сервер в самых разных приложениях, от обслуживания традиционного веб-контента до управления взаимодействием в режиме реального времени между клиентами и серверами.
В данном руководстве рассмотрим процесс установки и запуска веб-сервера Nginx на VDS, работающем под управлением Windows Server 2016.
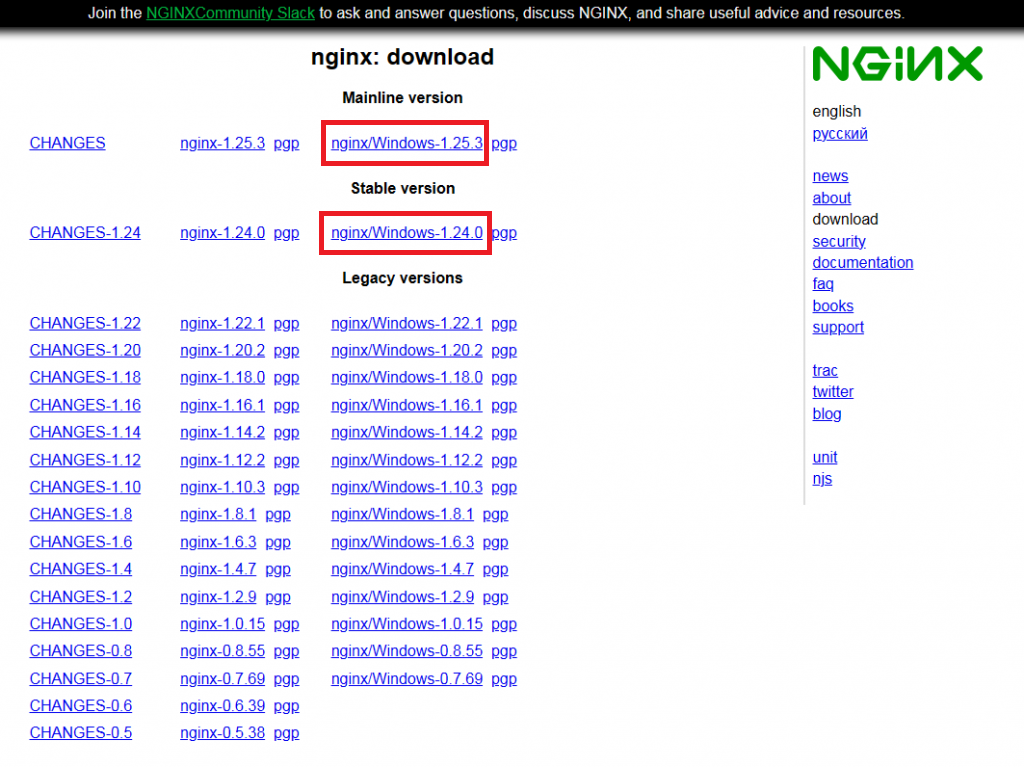
Для установки Nginx перейдите на страницу загрузок и выберите либо актуальную стабильную, либо актуальную основную версию веб-сервера.
После окончания загрузки распакуйте архив, например, в каталог C:\nginx. Затем откройте командную строку и перейдите в этот каталог.
cd C:\nginx
Далее, запустите Nginx при помощи следующей команды:
start nginx
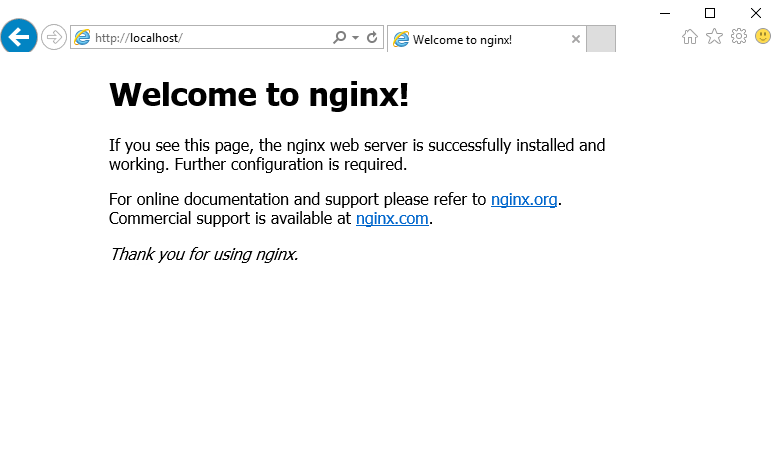
Чтобы проверить работоспособность веб-сервера, откройте браузер и перейдите на страницу http://localhost. При этом вы должны будете увидеть стартовую страницу Nginx. Если это так, значит, ваш веб-сервер работает.
Запуск Nginx как службы
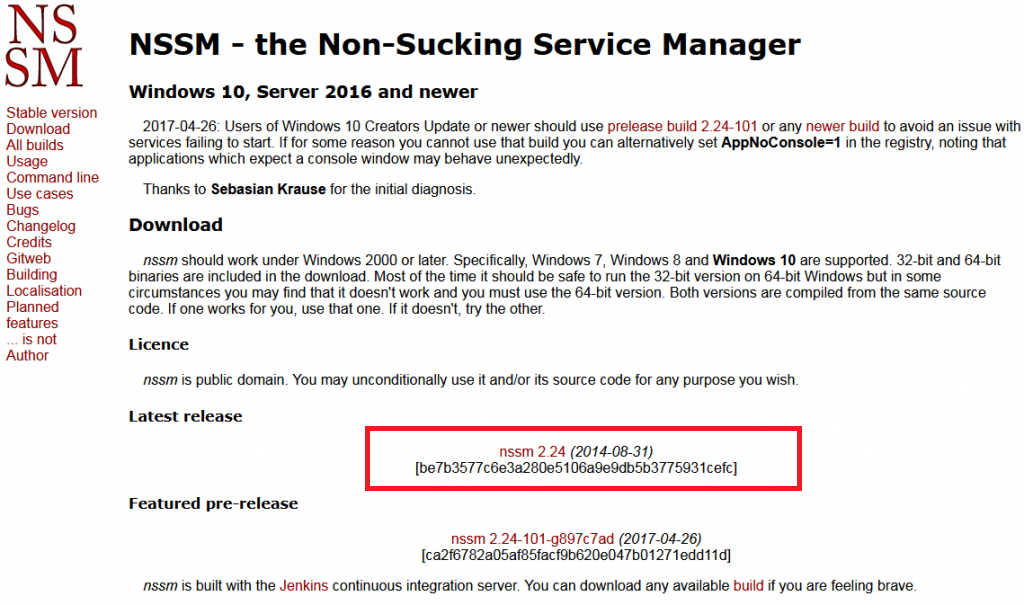
По умолчанию, веб-сервер Nginx не функционирует в операционной системе как служба. Это означает, что при перезагрузке вашего VPS веб-сервер не запустится автоматически. Для запуска Nginx как службы необходимо будет воспользоваться сторонним ресурсом NSSM (Non-Sucking Service Manager).
Дистрибутив NSSM доступен по ссылке на странице загрузки.
Загруженный архив распакуйте, например, в каталог nssm на диске C:\ виртуального сервера. После чего откройте командную строку и перейдите в каталог, в котором расположен файл nssm.exe:
cd C:\nssm\win64
Затем установите Nginx в качестве сервиса при помощи следующей команды:
nssm install nginx C:\nginx\nginx.exe
После чего запустите установленный сервис:
nssm start nginx

Подключение к веб-серверу удалённо
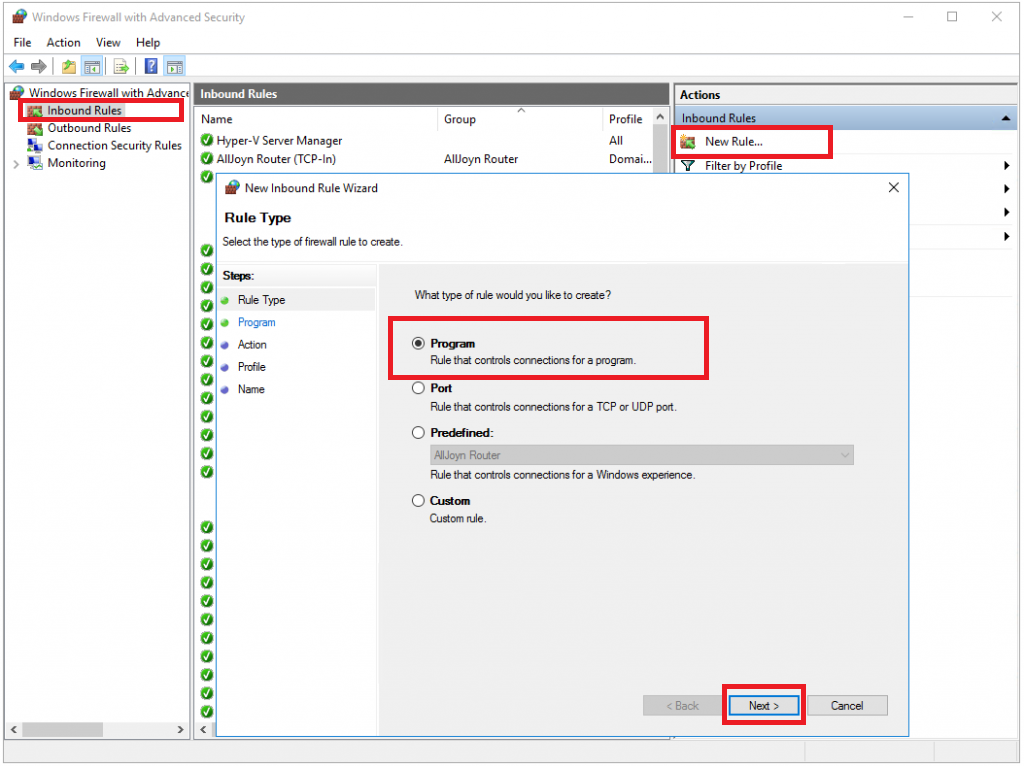
Если вам нужно, чтобы веб-страница, запущенная с помощью Nginx открывалась не только с локального хоста, но и с любого другого узла, имеющего доступ в интернет, необходимо на виртуальном сервере добавить соответствующее правило в брандмауэр Windows. Для того, чтобы войти в настройки брандмауэра, в строке поиска наберите firewall и запустите Windows Firewall with Advanced Security.
В открывшемся окне брандмауэра перейдите в Inbound Rules, затем кликните в New Rule... После чего укажите тип создаваемого правила Program и нажмите Next.
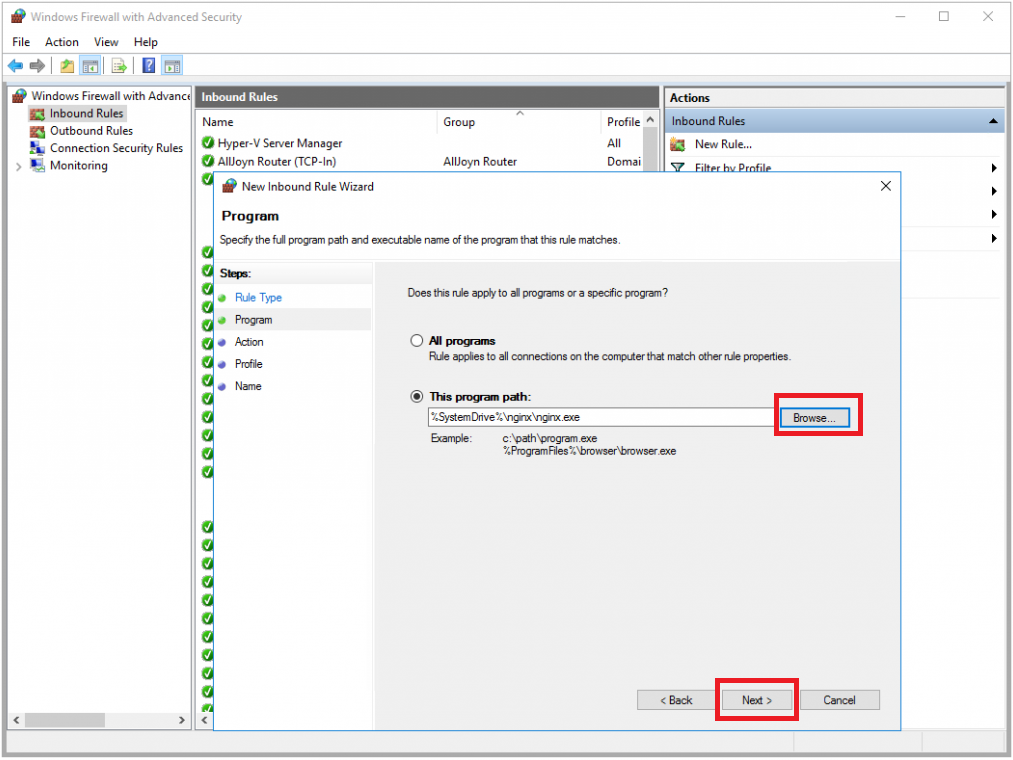
Далее, в строке This program path при помощи кнопки Browse выберите файл nginx.exe, после чего нажмите Next.
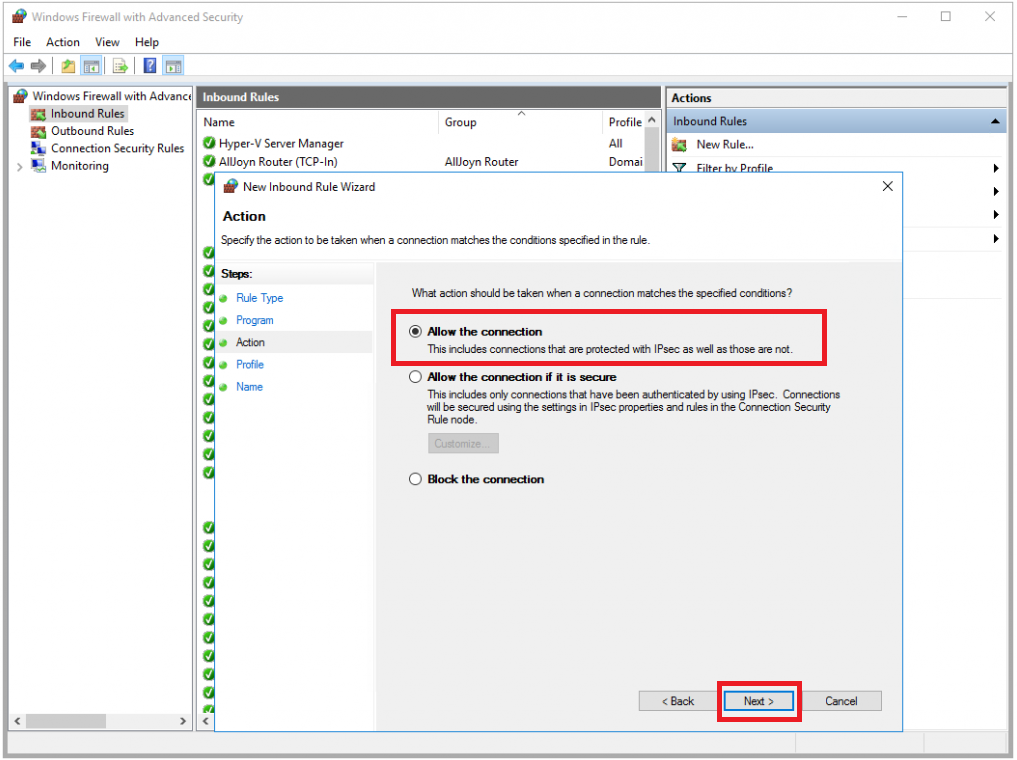
В следующем окне укажите Allow the connection и нажмите Next.
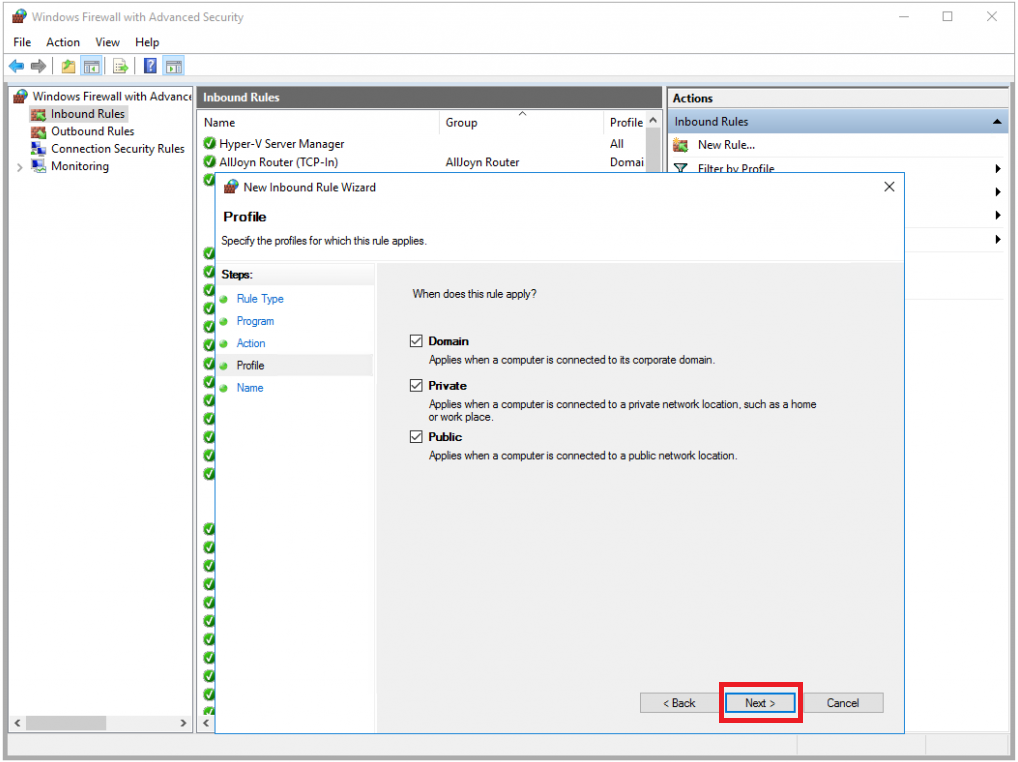
Затем снова нажмите Next перед этим отметив галочками все опции.
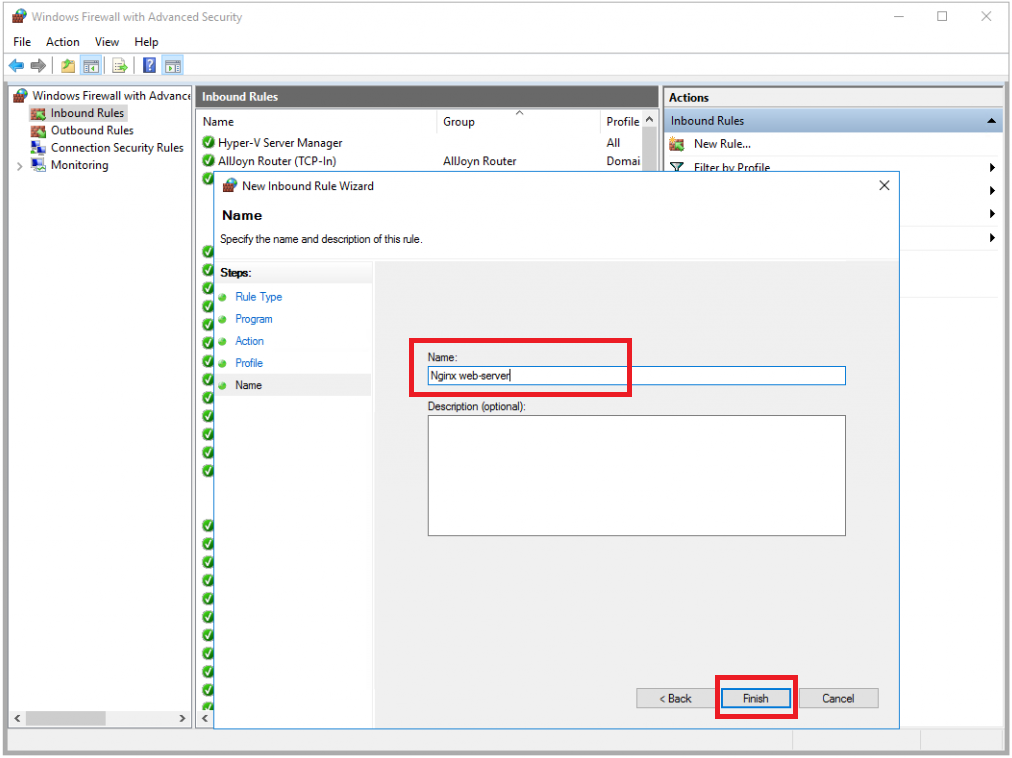
В строке Name укажите имя создаваемого правила. В нашем примере мы назвали его Nginx web-server. И для того, чтобы закончить настройку, нажмите Finish.
После этого созданное правило появится в списке брандмауэра Windows.

Теперь вы сможете открыть вашу веб-страницу с любого компьютера, который имеет выход в интернет. Для этого достаточно набрать в браузере IP-адрес вашего VPS.
Nginx используется как реверс-прокси для WebApi и как стандартный веб-сервер для отдачи статических файлов UI Оркестратора.
Nginx настраивается при помощи файла nginx.config, который идет в комплекте поставки. Работа Nginx по https также настраивается в nginx.config.
Файлы SSL-сертификата (самоподписанный, не валидный) также идут в комплекте поставки.
-
Скачайте и установите nginx. Также ознакомьтесь с информацией на сайте продукта .
-
Перейдите в папку с nginx (в общем случае — C:\Primo\nginx…)
Если для приема логов роботов не используется внешний сервис RobotLogs, нужно удалить из конфига nginx.conf проксирование в RobotLogs:

- При помощи cmd запустите nginx:
- Перейдите в папку с установленным nginx:
cd C:\Primo\nginx-1.21.1 - Создайте папку temp
md temp - Выполните команду запуска:
start nginx - Убедитесь, что nginx запущен, командой:
tasklist /fi "imagename eq nginx.exe"
- Перейдите в папку с установленным nginx:

- После каждой перезагрузки Windows требуется вручную запускать nginx. Чтобы этого не делать каждый раз, приложение nginx нужно поставить в автозагрузку.
- Cоздайте bat-файл C:\orch_start.bat со следующими командами:
cd C:\Primo\nginx-1.21.1 start nginx- Внесите созданный файл в автозагрузку Windows командой:
REG ADD HKCU\Software\Microsoft\Windows\CurrentVersion\Run /v orch_start /t REG_SZ /d "C:\orch_start.bat"
Добавится соответствующее значение в системный реестр:

-
Откройте порт 44392 на файерволе. В PowerShell выполните команду:
New-NetFirewallRule -DisplayName 'Primo Orchestrator (44392)' -Profile 'Private, Domain, Public' -Direction Inbound -Action Allow -Protocol TCP -LocalPort 44392 -
При необходимости перезапустите nginx:
nginx -s reload
Установка MS SQL SERVER 2019 и MS SQL Management StudioУстановка Notifications
1. Download Nginx
Official website address:
http://nginx.org/
Download:
http://nginx.org/en/download.html

2. Download the Windows Service Wrapper
official website address:
https://github.com/kohsuke/winsw/
Download:
http://repo.jenkins-ci.org/releases/com/sun/winsw/winsw/


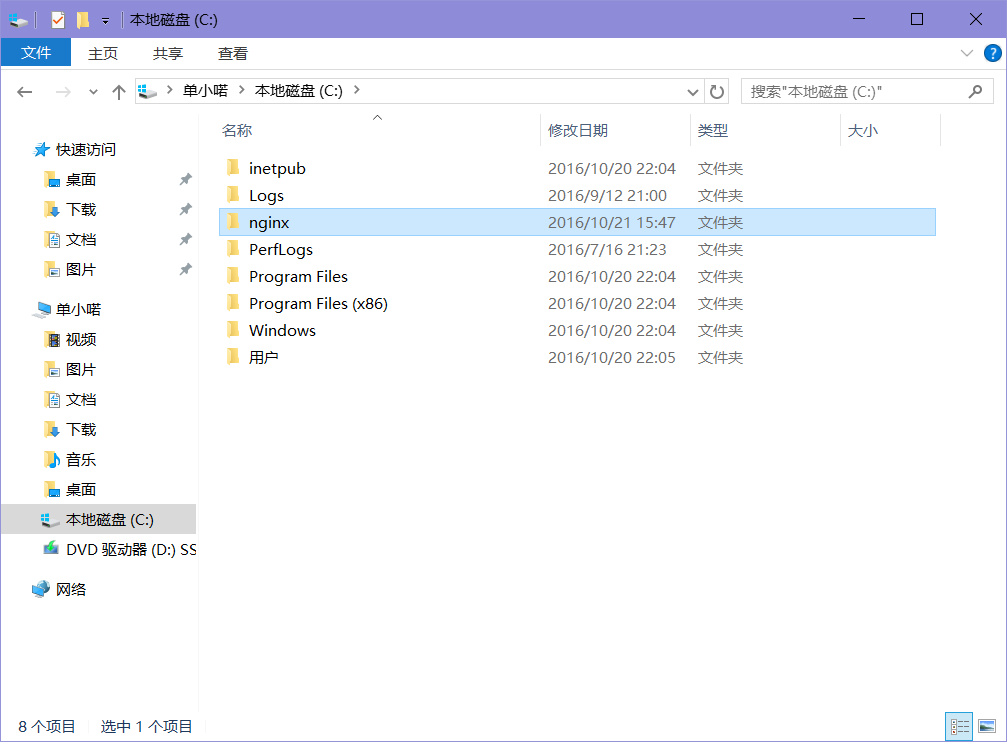
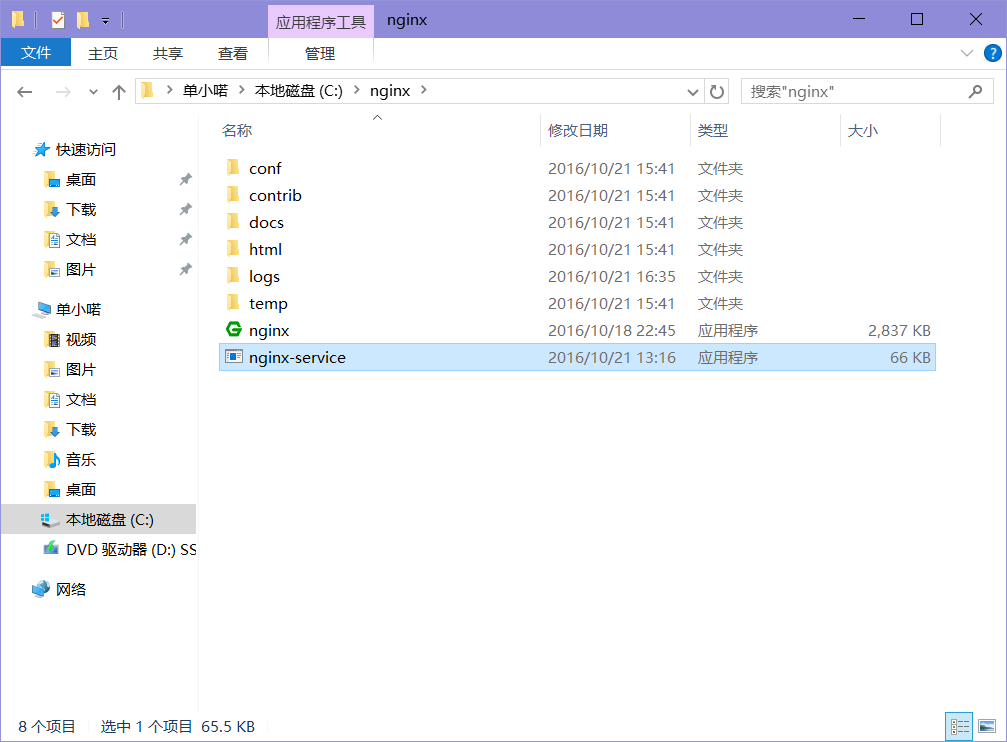
3, extract the compressed file to the C Nginx root directory, rename and nginx
4, the «winsw-1.19-bin.exe» rename «nginx-service.exe», and copied to the root directory nginx
5, write nginx-service.xml file in the root directory of nginx
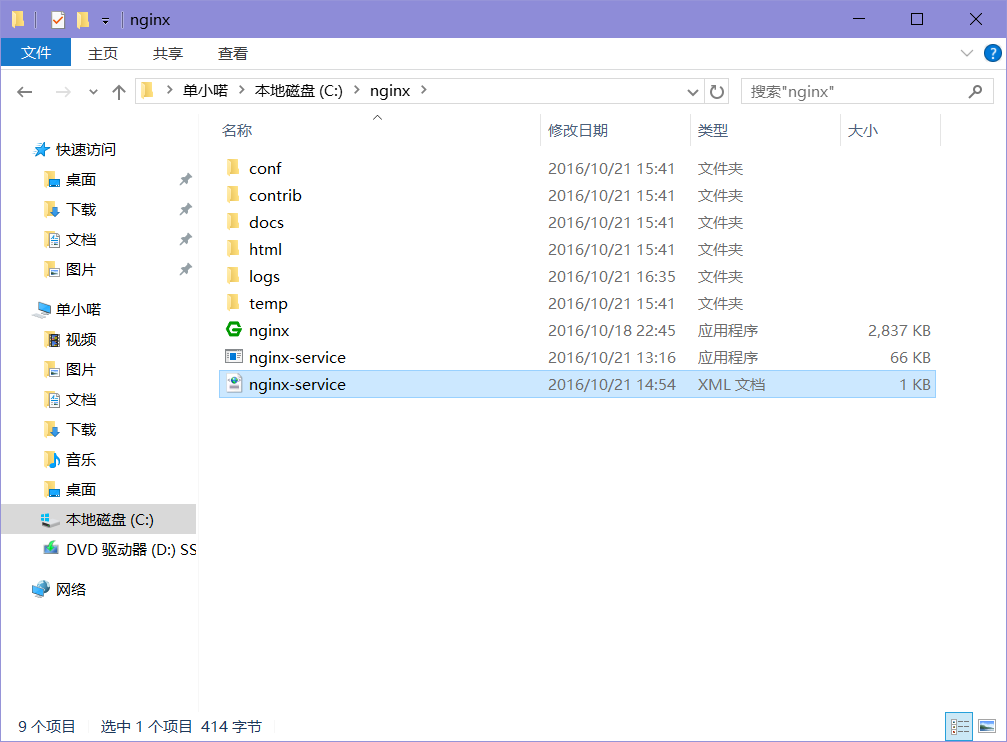
nginx-service.xml file contents
?
|
1 2 3 4 5 6 7 8 9 10 11 12 |
|
6, install or uninstall Nginx Nginx System Services System Services
6.1, install Nginx system services
Press Win + X + A key
command prompt Open (administrator)
Input:C:\nginx\nginx-service.exe install

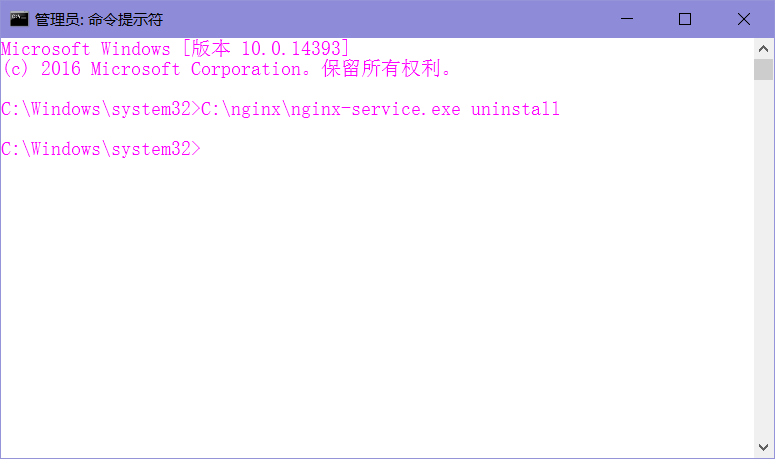
6.2, uninstall system service Nginx
Press Win + X + A key
command prompt Open (administrator)
Input:
C:\nginx\nginx-service.exe uninstall
7, see System Services
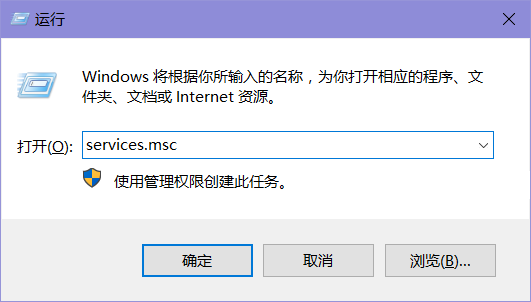
7.1, enter the service
Run Win + R Input:
services.msc
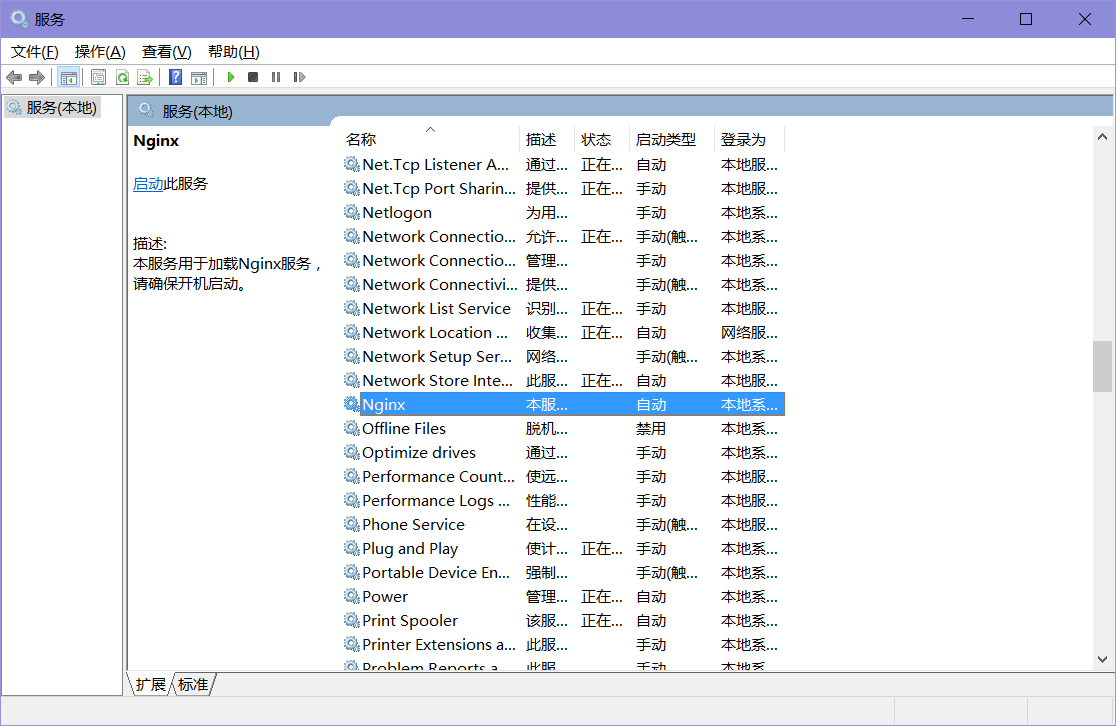
7.2, start Nginx service

8, after a successful start in the IE browser, enter:http://localhost/

9, with the command mode startup, shutdown, Nginx service
9.1, service start Nginx
Press Win + X + A key
command prompt Open (administrator)
Input: net start nginx

9.2, Close service Nginx
Press Win + X + A key
command prompt Open (administrator)
Input: net stop nginx

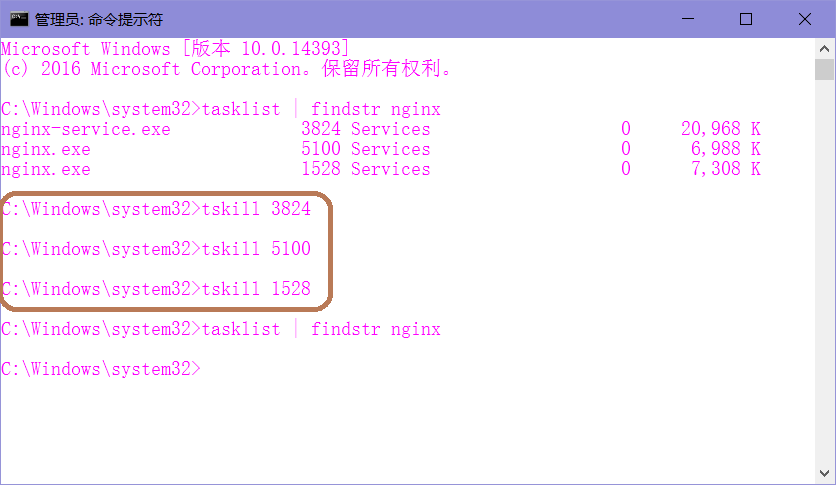
10, Windows to view the process and kill the process
10.1, view process ID Nginx
tasklist | findstr service name
Press Win + X + A key
command prompt Open (administrator)
Input:
tasklist | findstr nginx

10.2, using tskill command to kill the process (tskill PID)
11, the configuration file Nginx
Nginx profile directory:
C:\nginx\conf

11.1, edit Nginx core profile nginx.conf
?
|
1 2 3 4 5 6 7 8 9 10 11 12 13 14 15 16 17 18 19 20 21 22 23 24 25 26 27 28 29 30 31 32 33 34 35 36 37 38 39 40 41 42 43 |
|
11.2, edit Nginx virtual host configuration file vhosts.conf
?
|
1 2 3 4 5 6 7 8 9 10 11 12 13 14 15 16 |
|
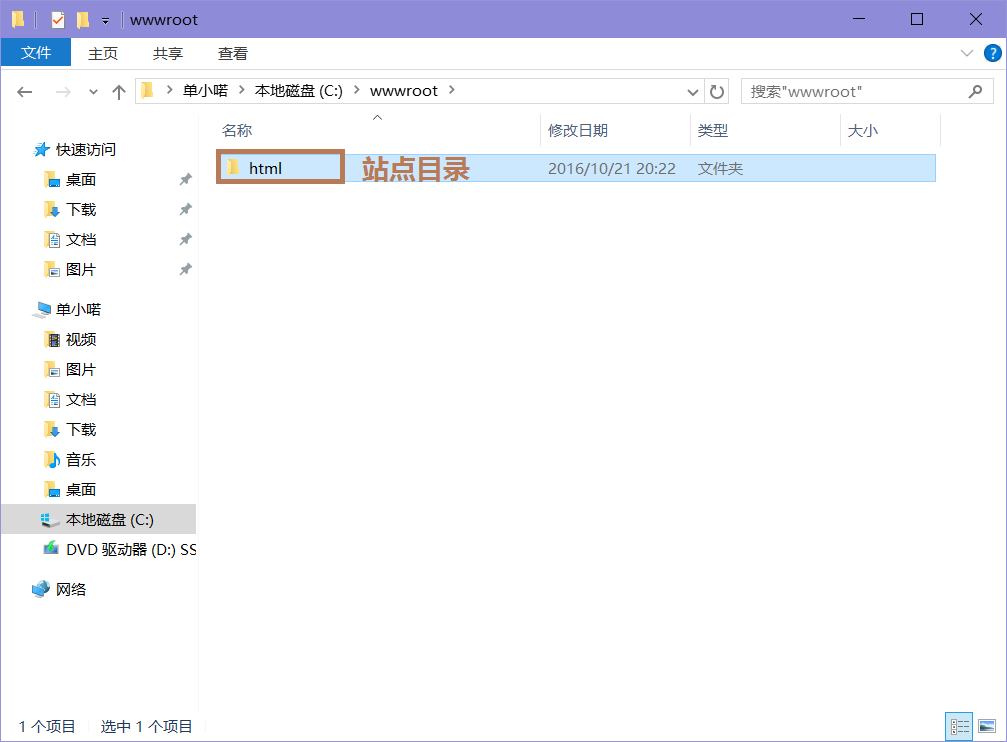
12, it creates a site root directory
12.1, to create a site directory in the root directory C, named «wwwroot».
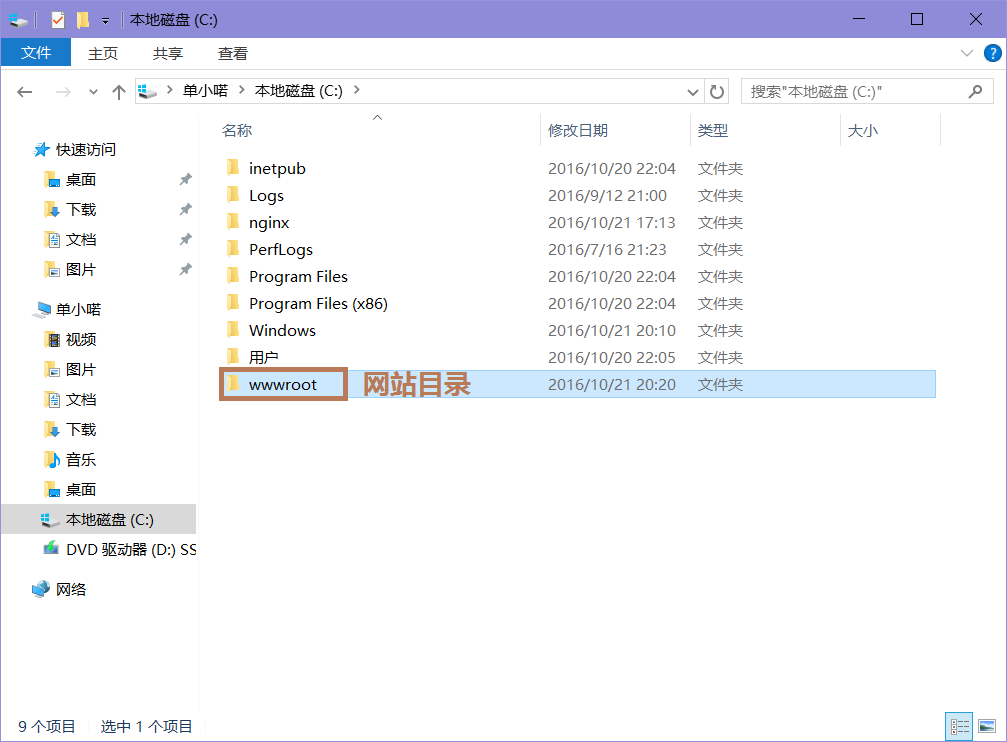
12.2, placed the site in your site’s root directory named «html».
12.3, web browsing

NginX is performance and stability. NginX’s is the ability to efficiently serve static content such as HTML and media files.
This is a quick deployment and ready-to-run image.
Simple and rapid installation. Easy to maintain.
The guide how to work with the NginX – Web Server on Windows Server 2016
- After purchasing and starting the VM you should know its IP address. You can find it in the personal account of Azure. (You should select the virtual machine from the list. By clicking the item “Overview”, your IP is displayed in the line of “Public IP Address”).

- You will find 3 files for starting, stopping, and restarting the server on the desktop.

- All other configuration files are in the path C:\nginx\conf
- TCP ports (80, 443) must be opened for work.
If you have any questions concerning working with the server, go to the official website of the product and read the documentation:
http://nginx.org/en/docs/
Disclaimer: This solution is built using Nginx, Inc. and its contributors, an opensource software. This solution is Licensed under the 2-clause BSD license. This software is provided by the author and contributors “as is” and any express or implied warranties, including, but not limited to, the implied warranties of merchantability and fitness for a particular purpose are disclaimed. In no event shall the author or contributors be liable.
For any direct, indirect, incidental, special, exemplary, or consequential damages (including, but not limited to, procurement of substitute goods or services; loss of use, data, or profits; or business interruption) however caused and on any theory of liability, whether in contract, strict liability, or tort (including negligence or otherwise) arising in any way out of the use of this software, even if advised of the possibility of such damage.
https://store-images.s-microsoft.com/image/apps.57908.fee48651-086b-404e-80e8-04594949bc3d.173891eb-eb78-4554-8bd3-bba8578e92be.1626e950-cc21-4f3e-a5c3-8fdde926bd6e
Get Nginx web server on Microsoft Windows Server 2016 by Apps4Rent
Nginx is an open-source web server that offers high concurrency with low memory use. It is also used a load balancer, HTTP cache, and reverse proxy server. Instead of creating new processes for each web request, Nginx uses an event-driven approach asynchronously where requests are handled in a single thread.
Nginx is known for its performance optimization under scale, which is why it is used by top companies as a server host. It outperforms other servers in many benchmark tests with static content or high concurrent requests.
Nginx has been tested by Apps4Rent engineers and it works well on Microsoft Windows Server 2016.
Features of Nginx on Windows Server 2016:
- Reverse proxy with caching
- IPv6
- Load balancing
- FastCGI support with caching
- WebSockets
- Handling of static files, index files, and auto-indexing
- TLS/SSL with SNI
Disclaimer: Apps4Rent does not offer commercial licenses of any of the products mentioned above. The products come with open source licenses.
Default ports: TCP/UDP 3389 for RDP and TCP 1433 on Private Network is open.
Learn more:
Managed Azure services
Solutions on Microsoft Azure