
Sara Alsaqaf
Are you unable to Switch Users? Learn how to fix the Switch User option in Windows 10 to easily switch between different users on your computer.
Are you experiencing issues with the Switch User option not showing up in Windows 10? This article focuses on fixing the error and allowing you to easily switch between different users on your device.
One of the features that make Windows 10 convenient for everyone is the ability to quickly switch between users. This has been part of the operating system for decades, but utilizing the power of new devices, it’s better and faster than ever. However, we’ve received numerous reports of this option missing from Windows 10.
In reality, the option is still there. Many users are able to access it via complicated methods, such as restarting the entire computer to access the login screen. What most likely happened is one of the following:
- You don’t have another local user account, or
- Fast User Switching has been disabled on your computer.
Table of Contents
- How to fix “Switch User” Option missing in Windows 10
- Method 1. Create a new user on your computer
- Method 2. Enable Fast User Switching manually
- Method 3. Enable Fast User Switching using a BAT file
- Final thoughts
How to fix “Switch User” Option missing in Windows 10
To fix either of these causes, follow the guides below and enjoy the convenience of user switching on Windows 10.
Method 1. Create a new user on your computer
If your account is the only user account currently present on your computer, Windows 10 will automatically recognize this and hide the Switch User option. To fix this, you’ll need to create another user account first, then check if the option is available afterwards.
- Click on the Start menu in your taskbar. This icon has the Windows 10 logo on it. If you’re not familiar with the Windows 10 interface, we recommend reading the How to Get Started with Windows 10 article on our website.
-
Select the Settings icon, indicated by a gear. Alternatively, you can use the Windows + I keyboard shortcut to reach this application quicker.
-
Click on the Accounts tile.
- Switch to the Family & other users category using the panel on the left-side of the screen. You should see a list of all the current users on your computer.
-
Click on the Add someone else to the PC button.
-
To add a new local user, select the I don’t have this person’s sign-in information option.
-
Click on the Add a user without a Microsoft account option.
-
Enter the desired username. If needed, you can also include a password and a password hint. This will give extra privacy to the user of the account. In the future, you’re always able to change all of this information.
- Click Next to finalize the new account.
After successfully creating a new local account, check if the Switch User option is available in the Start menu.
Method 2. Enable Fast User Switching manually
As mentioned above, the other, more likely cause for the Switch User option to be missing is if the Fast User Switching feature is disabled. This could’ve been done on error by you or another person using the device, or changed without your knowledge by an application or service.
You can manually fix this by going into the Registry Editor and altering a simple setting, or by skipping to Method 3 for an automated approach.
-
The first thing we need to do is open the Registry Editor. You can do this by pressing the Windows and R keys on your keyboard at the same time. This shortcut will launch a utility called Run.
- Type in the word regedit and hit the OK button. The Registry Editor should be open within a few seconds.
-
You can navigate in the registry by pressing the arrow icon next to the name of a folder, officially called a Registry Key. Using this, navigate to the following key:
Computer\HKEY_CURRENT_USER\Software\Microsoft\Windows\CurrentVersion\Policies\System - Alternatively, paste the string into the Registry Editor’s address bar and press Enter.
-
If the System folder is missing from Policies, you need to create it. Right-click on any empty space in the right pane, then choose New → Key from the context menu. Name the folder System and proceed with the steps below.
-
Go into the System key, and right-click any empty space in the right pane. Choose New → DWORD (32-bit) value. Name it HideFastUserSwitching.
- Double-click on the new DWORD value, and change the Value data to “0” to force the Switch User option to display.
- Click OK and restart your computer. Upon loading, you should be able to see that the Switch User option is now visible.
Method 3. Enable Fast User Switching using a BAT file
A .bat file published by Shawn Brink allows you to automate the process of enabling the Fast User Switching option. This spares you from having to go into the Registry Editor yourself, making this a better option for users not technically advanced.
- Download the Enable_Fast_User_Switching.bat file and save it somewhere on your computer.
- Navigate to the .bat file you just downloaded, and double click on it to open it.
- If prompted by the User Account Control (UAC), click Yes to allow the file to run and make changes on the device. This is required in order to change settings in the Registry Editor.
- You will notice your screen flicker. This is caused by a Command Prompt quickly opening and closing to apply the registry changes and restart the Explorer process.
- You may delete the .bat file now.
- Restart your computer. Upon loading, you should be able to see that the Switch User option is now visible.
Final thoughts
If you need any further help, don’t be afraid to reach out to our customer service team, available 24/7 to assist you. Return to us for more informative articles all related to productivity and modern day technology!
Would you like to receive promotions, deals, and discounts to get our products for the best price? Don’t forget to subscribe to our newsletter by entering your email address below! Receive the latest technology news in your inbox and be the first to read our tips to become more productive.
If your Windows computer has more than one user account, then you will probably see the “Switch User” option in the Start menu. This option lets you quickly change your user account when needed. In a situation where you have one account set up for work and another for home, this option is a seemingly convenient way to switch between them instantly.
That said, there have been reports that the “Switch User” option has been missing for some Windows users, even when they have multiple accounts on their system. Some have even reported that the option is only visible when all accounts are explicitly logged out.
That shouldn’t be the case. In this article, we show you how to fix this error on a Windows computer without having to repair or reinstall your operating system.
Table of Contents
Why the Switch User Option is Missing?
There can be several reasons for the “Switch User” option to be missing in the start menu. Here are the most common reasons:
- You only have one account enabled on your computer.
- Your domain administrator has disabled the option.
- The “Switch User” option is disabled from the Group Policy or the Windows Registry.
- A Windows update has disabled the option.
Whatever the reason, you can always fix it and get the “Switch User” option back and instantly switch to another user account.
Restore Missing “Switch User” Option
Create Another User Account
This is not a proper solution, but a workaround to get the “Switch User” option in the Start menu or the Alt + F4 shutdown menu. You may not see the “Switch User” option in either of these menus if there is no user account to switch to.
There are multiple ways to create a new user account on a Windows PC. You can create an administrative account, enable the built-in Administrator account, or create a standard account. You can create an account from the Settings app, the Local Users and Groups console, and the Computer Management console.
Here, we show you how to create a local, standard account from the Settings app:
-
Go to the following:
Settings app >> Accounts >> Other users
-
Click “Add account.”

Create a new user account from the Settings app -
From the popup, click “I don’t have this person’s sign-in information.”

Don’t have the sign-in information -
Now click “Add a user without a Microsoft account.”
Create a local account from Settings app -
Next, enter a name for the user account, set a password, set up recovery questions and answers, and click Next.
Enter the details for the account


The new account will now be created. Now, you should be able to see the name of the new account in the Start menu or the “Switch user” option in the Alt + F4 shutdown menu.
As we mentioned earlier; this is not a solution, but a simple workaround. If you already have multiple accounts set up and still can’t see the “Switch user” option, then implement the following fixes given below.
Enable Fast User Switching from Group Policy
The “Switch User” option may be disabled from the Group Policy. If your computer is part of an organization/domain, then this solution won’t help you. Instead, proceed to make the changes at a registry level, shared in the next section of this post.
However, if your system administrator has disabled it explicitly for your computer while it is not part of a domain, then you can try and re-enable the “Switch user” option from Group Policy. Here is how:
-
Open the Group Policy Editor by typing in “gpedit.msc” in the Run Command box.

Open the Group Policy Editor -
Now navigate to the following path from the left pane:
Computer Configuration >> Administrative Templates >> System >> Logon
-
Double-click the Group Policy “Hide entry points for Fast User Switching” on the right.

Open policy for Fast User Switching -
Select “Disabled” and then click Apply and Ok.

Enable entry points to switch users using Group Policy -
Now run the following cmdlet in an elevated Command Prompt to enforce the new policies:
GPUpdate /Force
Enforce Group Policy


This should bring back the “Switch User” option. If this doesn’t work, you can use the steps in the next section to enable the option directly from Windows Registry.
Enable “Switch User” Option from Windows Registry
If none of the solutions above have worked for you, you can try out this method to restore the “Switch user” option from the Windows Registry.
You can download and run the batch file to instantly make the necessary changes to the Windows Registry, or perform the steps below manually.
Enable Fast User Switching (unknown, 323 hits)
To use the .bat file, download it and extract the contents. Then, run the .bat file as an administrator.
Alternatively, you can perform the steps yourself using these steps:
Note: Misconfiguration of critical values in the system’s registry could be fatal for your operating system. Therefore, we insist that you create a system restore point or a complete system image backup before proceeding forward with the process.
You can also use our top selection of disk imaging and backup software so you never lose your data or operating system again.
-
Open the Registry Editor by typing in “regedit” in the Run Command box.
Open the Registry Editor -
Paste the following in the navigation bar and hit Enter for quick navigation:
Computer\HKEY_CURRENT_USER\Software\Microsoft\Windows\CurrentVersion\Policies

Navigate to the Policies Key -
Right-click the Policies key, expand New, and then click Key from the context menu. Name this key “System“.
Create the System key under Policies -
Right-click the System key, expand New, and then click DWORD (32-bit) Value from the context menu. Name this DWORD “HideFastUserSwitching“.
Create the HideFastUserSwitching DWORD -
Double-click the DWORD “HideFastUserSwitching” and set its Value Data to “0“.
Enable Fast User Switching from Windows Registry -
Now restart the computer for the changes to take effect.


Once the computer restarts, and you have more than one user account on the computer, then the “Switch User” option should be visible in the Start menu as well as the Alt + F4 shutdown menu.
Conclusion
The “Switch User” option isn’t mandatory for you to be able to sign into a different user account. However, it is a convenient option to have. This way, you do not have to sign out of your current account and close all the apps, and instantly sign into another account.
If you have multiple users created and activated on your Windows PC, enable the “Switch User” option today and easily change your working profiles.
Все способы:
- Методы переключения между учетными записями в Windows 10
- Способ 1: При помощи меню «Пуск»
- Способ 2: Комбинация клавиш «Alt+F4»
- Способ 3: Комбинация клавиш «Windows+L»
- Вопросы и ответы: 57
Если одним компьютером либо ноутбуком пользуются несколько человек, то стоит задуматься о создании разных учетных записей пользователей. Это позволит разграничить рабочие пространства, так как у всех пользователей будут различные настройки, расположение файлов и т.д. В дальнейшем достаточно будет переключиться с одной учетной записи на другую. Именно о том, как это сделать в операционной системе Windows 10 мы и поведаем в рамках данной статьи.
Методы переключения между учетными записями в Windows 10
Достичь описанной цели можно несколькими разными способами. Все они простые, а конечный результат будет одинаковым в любом случае. Поэтому можете выбрать для себя наиболее удобный и пользоваться им в дальнейшем. Сразу отметим, что указанные способы можно применять как к локальным учетным записям, так и к профилям Microsoft.
Способ 1: При помощи меню «Пуск»
Начнем, пожалуй, с самого популярного метода. Для его использования вам нужно будет выполнить следующие действия:
- Найдите в левом нижнем углу рабочего стола кнопку с изображением логотипа «Windows». Нажмите на нее. Как вариант, можно использовать клавишу с таким же рисунком на клавиатуре.
- В левой части открывшегося окна вы увидите вертикальный перечень функций. В самом верху такого списка будет находиться изображение вашей учетной записи. Необходимо кликнуть на нее.
- Появится меню действий для данной учетной записи. В самом низу списка вы увидите другие имена пользователей с аватарами. Нажимаем ЛКМ на той записи, на которую необходимо переключиться.
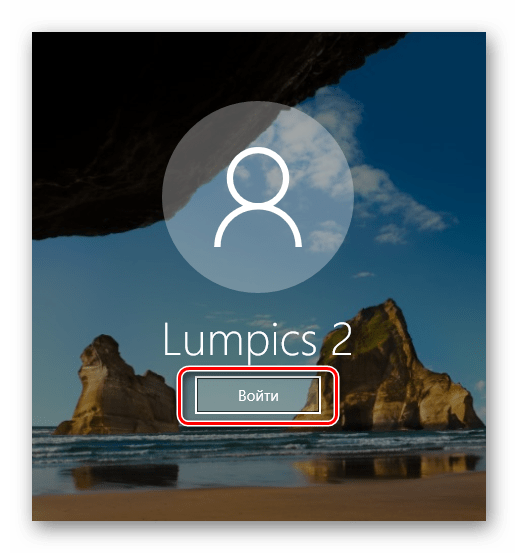
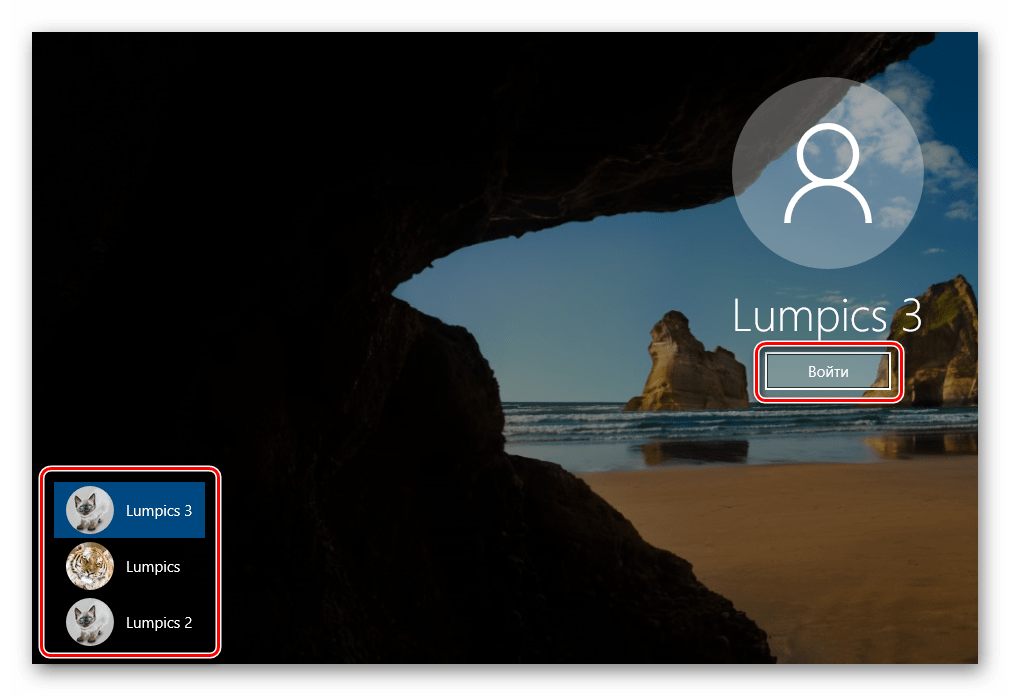
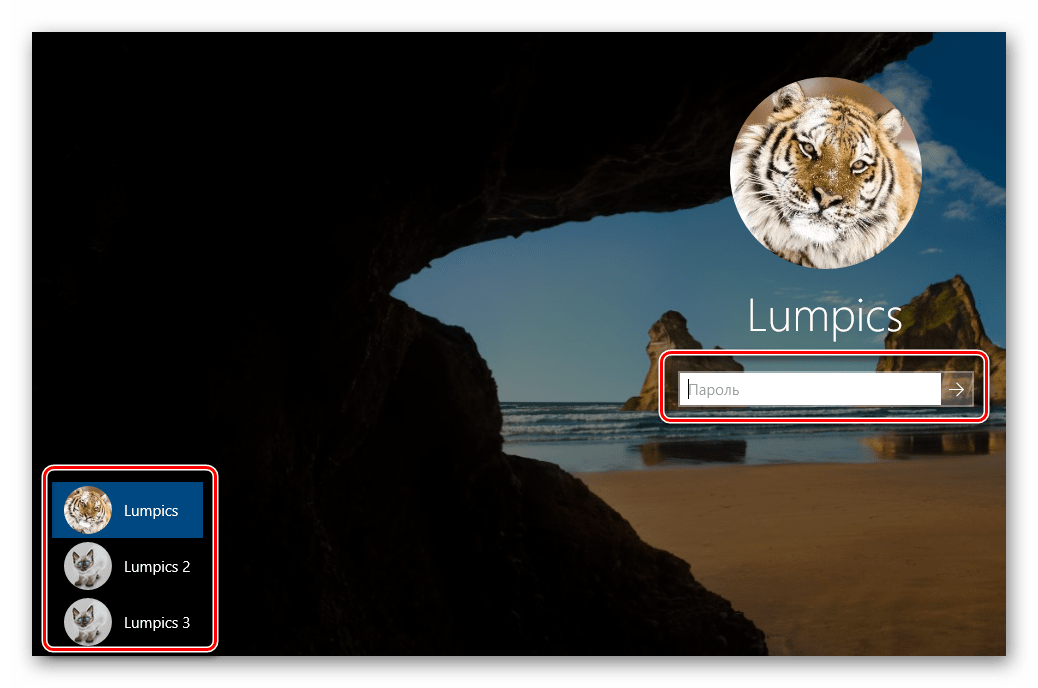
- Сразу после этого появится окно входа в операционную систему. Тут же вам предложат войти в выбранную ранее учетную запись. Вводим при необходимости пароль (если он установлен) и жмем кнопку «Войти».
- Если вход от имени другого пользователя осуществляется впервые, тогда придется немного подождать, пока система произведет настройку. Это занимает буквально несколько минут. Достаточно дождаться, пока исчезнут уведомляющие надписи.
- Спустя некоторое время вы окажетесь на рабочем столе выбранной учетной записи. Обратите внимание, что настройки ОС будут возвращены в исходное состояние, для каждого нового профиля. В дальнейшем можно их изменить так, как вам нравится. Они сохраняются отдельно для каждого пользователя.


Если он по каким-то причинам вам не подходит, тогда можете ознакомиться с более простыми методами переключения профилей.
Способ 2: Комбинация клавиш «Alt+F4»
Этот метод более простой по сравнению с предыдущим. Но из-за того, что о различных комбинациях клавиш операционных систем Windows знают не все, он менее распространен среди пользователей. Вот как это выглядит на практике:
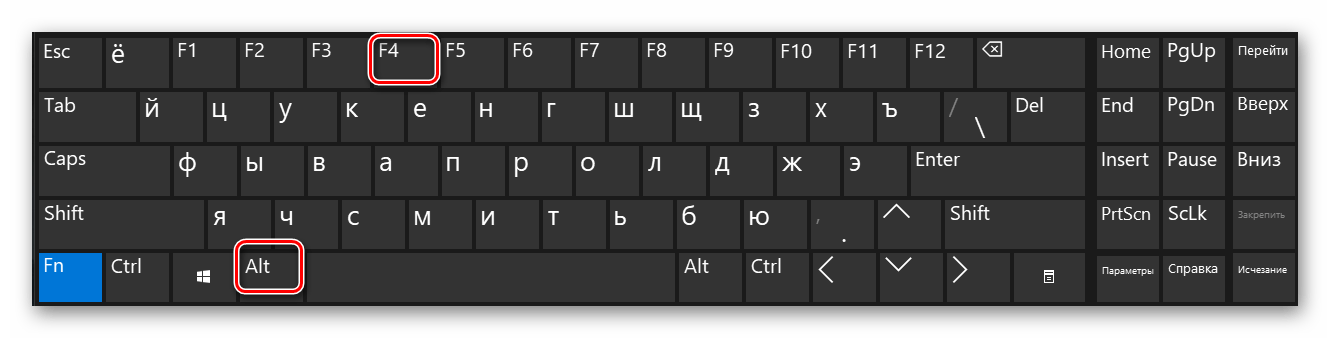
- Переключаемся на рабочий стол операционной системы и нажимаем одновременно клавиш «Alt» и «F4» на клавиатуре.
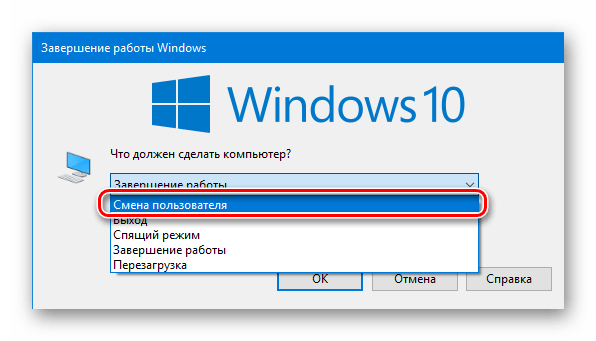
- На экране появится небольшое окно с выпадающим списком возможных действий. Открываем его и выбираем строчку под названием «Сменить пользователя».
- После этого нажимаем кнопку «OK» в этом же окошке.
- В результате вы окажетесь в начальном меню выбора пользователя. Список таковых будет находиться в левой части окна. Нажимаем ЛКМ на названии нужного профиля, после чего вводим пароль (при необходимости) и жмем кнопку «Войти».
Обратите внимание, что эта же комбинация позволяет закрыть выбранное окно практически любой программы. Поэтому использовать ее необходимо именно на рабочем столе.

Через несколько секунд появится рабочий стол и можно будет приступать к использованию компьютера или ноутбука.
Способ 3: Комбинация клавиш «Windows+L»
Описываемый далее способ — самый простой из всех упомянутых. Дело в том, что он позволяет переключаться с одного профиля на другой без всяких выпадающих меню и прочих действий.
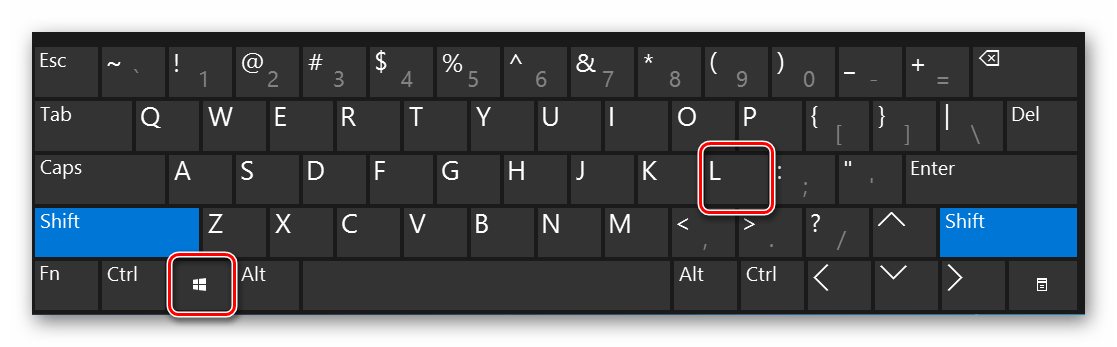
- На рабочем столе компьютера или ноутбука нажмите вместе клавиши «Windows» и «L».
- Эта комбинация позволяет моментально выйти из текущей учетной записи. В результате вы сразу же увидите окно входа и перечень доступных профилей. Как и в предыдущих случаях, выбираем нужную запись, вводим пароль и жмем кнопку «Войти».
Когда система загрузит выбранный профиль, появится рабочий стол. Это значит, что можно приступить к использованию устройства.
Обратите внимание на следующий факт: если вы завершите работу от имени пользователя, учетная запись которого не требует пароль, тогда при следующем включении ПК или перезагрузке система запустится автоматически от имени такого профиля. Но если же у вас установлен пароль, то вы увидите окно входа, в котором его нужно будет ввести. Тут же при необходимости можно и сменить саму учетную запись.
Вот и все способы, о которых мы хотели вам поведать. Помните, что лишние и неиспользуемые профили можно в любой момент удалить. О том, как это сделать, мы рассказывали детально в отдельных статьях.
Подробнее:
Удаление учетной записи Microsoft в Windows 10
Удаление локальных учетных записей в Виндовс 10
Наша группа в TelegramПолезные советы и помощь
If you have more than one user account on your PC then using Fast User Switching you can easily switch between different user account without needing to sign out from any user account. But to do that you need to learn different methods to switch between user accounts in Windows 10 and this post, we will learn how to do so exactly. If you don’t have Fast User Switching enabled by default, then head over here to learn How to Enable or Disable Fast User Switching in Windows 10.

Once you have enabled Fast User Switching, then you can continue with this guide. Just make sure to save any work which you might be doing before switching user. The reason behind this is that you might lose your open word document or any other work as Windows doesn’t automatically save them for you. So without wasting any time let’s see How to Switch User in Windows 10 with the help of the below-listed tutorial.
Table of Contents
Make sure to create a restore point just in case something goes wrong.
Method 1: How to Switch User from the Start Menu
If you are already signed into Windows 10 with your user account, then don’t worry you can still switch to the different user account from Start Menu. Click on the Start button from the bottom-left then click on your user account picture and from the context menu select the user account you want to switch to.

You will be directly taken to the log-in screen of the user account you selected, enter the password or PIN, and you would successfully sign-in to this user account. You can again switch back to your original user account by following the same steps.
Method 2: How to Switch User using Windows Key + L
If you want to switch to a different user account while you have already sign-in into another user account, don’t worry press the Windows Key + L combination on the keyboard.

Once you do that, you would be directly taken to the lock screen, and in the process, you will be locked from your user account. Click anywhere on the lock screen, and you would be shown the login screen from where you can choose any user account that you wish to sign into.

Method 3: How to Switch User from Login Screen
The first thing you see when you start your PC is the sign-in screen, where by default the most recent user account you used to sign-in is selected and you could directly login by entering the password or PIN.
But if you want to select another user account from the sign-in screen, click on the available user accounts from the bottom-left corner of the screen. Select the account then enter password or PIN to sign-in to that particular account.
Method 4: How to Switch User using ALT + F4
Note: Make sure you have saved all of your work and close any open application before following this method, or pressing ALT + F4 will close all your apps.
Make sure you are on the desktop, if not then go to the desktop and make sure you click in an empty area on the desktop to make it your current focused (active) window once you have done that, press and hold ALT + F4 key combination together on your keyboard. This will show you the shut down prompt, from the shutdown drop-down select “Switch User” and click OK.

This will take you to the login screen where you can select any user account you want, enter the correct login information and you are good to go.
Method 5: How to Switch User using CTRL + ALT + DELETE
This method only works if you are already logged in with a user account, and you want to switch to another user account. Now press CTRL + ALT + DELETE key combination on your keyboard then you would be taken to a new screen, click “Switch user“. Again, this would take you to the login screen where you can select any user account you wish to switch to.

Method 6: How to Switch User from Task Manager
If you are already signed into Windows 10 with your user account, don’t worry, you can still switch to Task Manager’s different user account. To open Task Manager, simultaneously press CTRL + SHIFT + ESC key combination on your keyboard.

Now make sure to switch to Users tab then right-click on the already signed in the user account that you want to switch to and then click Switch user account. If this doesn’t work, select the already signed user that you want to switch to and click on the Switch user button. You will now be directly taken on the sign-in screen of the selected user account, enter the password or PIN to successfully sign-in to the particular user account.

Recommended:
- Fix Realtek High Definition Audio Driver Issue
- Fix Start Menu Not Working in Windows 10
- Enable Enhanced Anti-Spoofing for Windows Hello Face Authentication
- Fix Bluetooth can’t turn off on Windows 10
That’s it you have successfully learned How to Switch User in Windows 10 but if you still have any questions regarding this tutorial then feel free to ask them in the comment’s section.
Как сменить пользователя на компьютере или ноутбуке
Андрей Логинов
Мастер Pedant.ru
7 лет опыт ремонта
Удобная фишка на компьютере – создание разных учетных записей на одном устройстве. Это нужно, когда ноутбуком пользуются несколько людей или чтобы разделять свои данные. В каждом аккаунте хранится своя информация, настройки под себя, а пароль защищает от чужих глаз.

Имея права администратора, вы можете удалять и устанавливать программы. Обычному пользователю такие привилегии не доступны, а у гостя еще меньше полномочий. Такие опции используют, например, для сотрудников офиса (или родители для детей).
Как сменить пользователя на компьютере на Windows?
На 10 версии:
- меню Виндоус: самый верхний значок над выключением/перезагрузкой и параметрами (шестеренки). Кликайте – появится список аккаунтов.
- Alt+F4: находясь на рабочем столе, нажмите эти кнопки.
- Завершение работы Windows – Сменить пользователя.
- Alt F4 еще и закрывает открытые программы, поэтому важно использовать эту команду при закрытых окнах (не в прямом смысле);
- Win+L: сразу же переключает на экран смены пользователей без лишних вопросов (меню, окон и так далее).
На 8 версии:
- значок Виндоус на экране или Win+Shift. В правом верхнем углу щелкайте на аватарку юзера и выбираете нужный аккаунт;
- Ctrl+Alt+Del: из предложенных команд выбираете Сменить пользователя и необходимый аккаунт.
На 7 версии:
- пуск – завершить работу – сменить пользователя.
- Ctrl+Alt+Del: на системной экране выбираете Сменить пользователя.
- Win+L также работает и на 7-ке. Появится экран с аватаркой и плашка Сменить пользователя.
Для всех версий винды
Если у учетной записи нет пароля, то при следующем включении ПК, сразу же загрузится рабочий стол. Когда установлен пароль, то первым загружается экран с аватаркой юзера и требованием пустой строкой для пароля.
А как вообще создать нового пользователя в Виндоус?
На разных сериях ОС создание записи похоже. Немного может отличаться название разделов или способ открытия окна.
Важно: создавать нужно от имени Администратора.
- Пуск – значок шестеренки (или Панель управления);
- Учетные записи;
- Семья и другие люди (либо сразу попадаете в Управление учетными записями);
- Добавить пользователя (в 7-ке появляется окно с именем пользователя, строкой пароля и уровнями доступа);
- У меня нет данных для входа этого человека;
- Добавить пользователя без учетной записи Microsoft;
- Придумываете имя и пароль.
Другие способы:
- Win+Х – Учетные записи пользователей – Изменение типа учетной записи – Добавить нового пользователя – далее алгоритм тот же;
- Win+R – окно Выполнить – команда «control userpasswords2» – Добавить – окно Добавление нового пользователя или Вход без учетной записи – Локальная учетная запись.
Как создать и менять учетную запись на Mac OS?
«Про Виндоус интересно, но у меня вообще-то Mac», – скажите вы.
Создание
- Меню (значок яблока) – Системные настройки – Пользователи и группы – Добавить – Новая учетная запись (администратор, стандартная, общий доступ) – Имя, пароль – Создать пользователя.
- В окне Пользователи и группы может появиться значок замка, щелкните по нему и разблокируйте.
Смена
- меню быстрого доступа: нажмите на изображение или имя пользователя – введите пароль и нажмите Return;
- пункт управления: меню – пункт управления – значок аккаунта – пароль – кнопка Return.
Личную или рабочую информацию полезно хранить под паролем, либо просто разграничивать с родственниками и коллегами. И тут разные аккаунты на одном ПК или ноутбуке подходящая опция.
Сервисы Pedant.ru помогут решить вашу проблему!
677 сервисов в 168 городах России