
Introduction
With the rise of MQTT as a standard messaging protocol for the Internet of Things (IoT), the MQTT desktop client is becoming an essential tool for developers to debug, test and develop IoT applications.
This blog post will explore the top 3 MQTT desktop clients in 2023 based on their features, project activity, and user experience.
- MQTTX
- MQTT Explorer
- MQTT.fx
Comparison At a Glance
First, we compare the 3 top MQTT desktop clients in the following chart.
| MQTTX | MQTT Explorer | MQTT.fx | |
|---|---|---|---|
| License Mode | Open Source (Apache License 2.0) | Open Source (CC BY-ND 4.0) | Commercial |
| GitHub Project | MQTTX GitHub | MQTT-Explorer GitHub | N/A |
| GitHub Stars | 2.6k | 2.3k | N/A |
| Latest Release | v1.9.2 (Apr 29, 2023) | 0.4.0-beta1 (Apr 28, 2020) | N/A |
| MQTT 5.0 Support | Yes | Yes | Yes |
| MQTT Connectivity | Excellent | Good | Moderate |
| MQTT over TCP | Yes | Yes | Yes |
| MQTT over TLS/SSL | Yes | Yes | Yes |
| MQTT over WebSocket (WS) | Yes | Yes | No |
| MQTT over Secure WebSocket (WSS) | Yes | Yes | No |
| Multiple Connections | Yes | No | No |
| Authentication (SSL) | Excellent | Good | Good |
| Payload Format/Codec | Hex, Base64 and JSON | JSON | N/A |
| User Interface | Excellent (chat style) | Good (topic tree) | Moderate |
| Ease of Use | Excellent | Good | Good |
| Compatibility | Good | Good | Good |
| Community Support | Excellent | Moderate | Moderate |
| Pricing | Free | Free | Start from € 49,90 inc. VAT |
Free Public MQTT Broker
Before diving into the MQTT client desktop tools, we need an MQTT Broker to communicate and test. We choose the free public MQTT broker available on broker.emqx.io.
MQTT Broker Info
- Server: broker.emqx.io
- TCP Port: 1883
- WebSocket Port: 8083
- SSL/TLS Port: 8883
- Secure WebSocket Port: 8084
For more information, please check out: Free Public MQTT Broker.
Try Serverless MQTT Broker
Get forever free under 1M session minutes/month.
Start Free →
1. MQTTX
MQTTX is an elegant cross-platform MQTT 5.0 desktop client that runs on macOS, Linux, and Windows. Its user-friendly chat-style interface enables users to easily create multiple MQTT/MQTTS connections and subscribe/publish MQTT messages.
MQTTX fully supports MQTT versions 5.0 and 3.1.1, MQTT over TLS, MQTT over WebSocket, and one-way and two-way SSL authentication. In addition to these essential features, MQTTX offers advanced functionality, such as customizable scripts for MQTT Pub/Sub simulation and support for codecs like Hex, Base64, and JSON payloads.
MQTTX is an open-source project developed with Electron and maintained by the EMQX team. The latest release is version 1.9.2 by the end of April 2023.
Official Website: https://mqttx.app/
GitHub Project: https://github.com/emqx/mqttx
Features
- User-friendly and easy-to-use UX design
- Chatbox for sending/receiving MQTT messages
- Fully support for MQTT versions 5.0 and 3.1.1
- Support MQTT over TLS, and MQTT over WebSocket
- Support for one-way and two-way SSL authentication
- Hex, Base64, JSON, and Plaintext payload codec
- Customized colors for different MQTT subscriptions
- Customized script for MQTT Pub/Sub scenario simulation
- Cross-platform, running on Windows, macOS, and Linux
Homebrew
brew install --cask mqttx
Download
- https://mqttx.app/
- https://github.com/emqx/MQTTX/releases
User Experience
MQTTX offers a great user experience with a clean, intuitive chat-style interface and support for advanced features.
2. MQTT Explorer
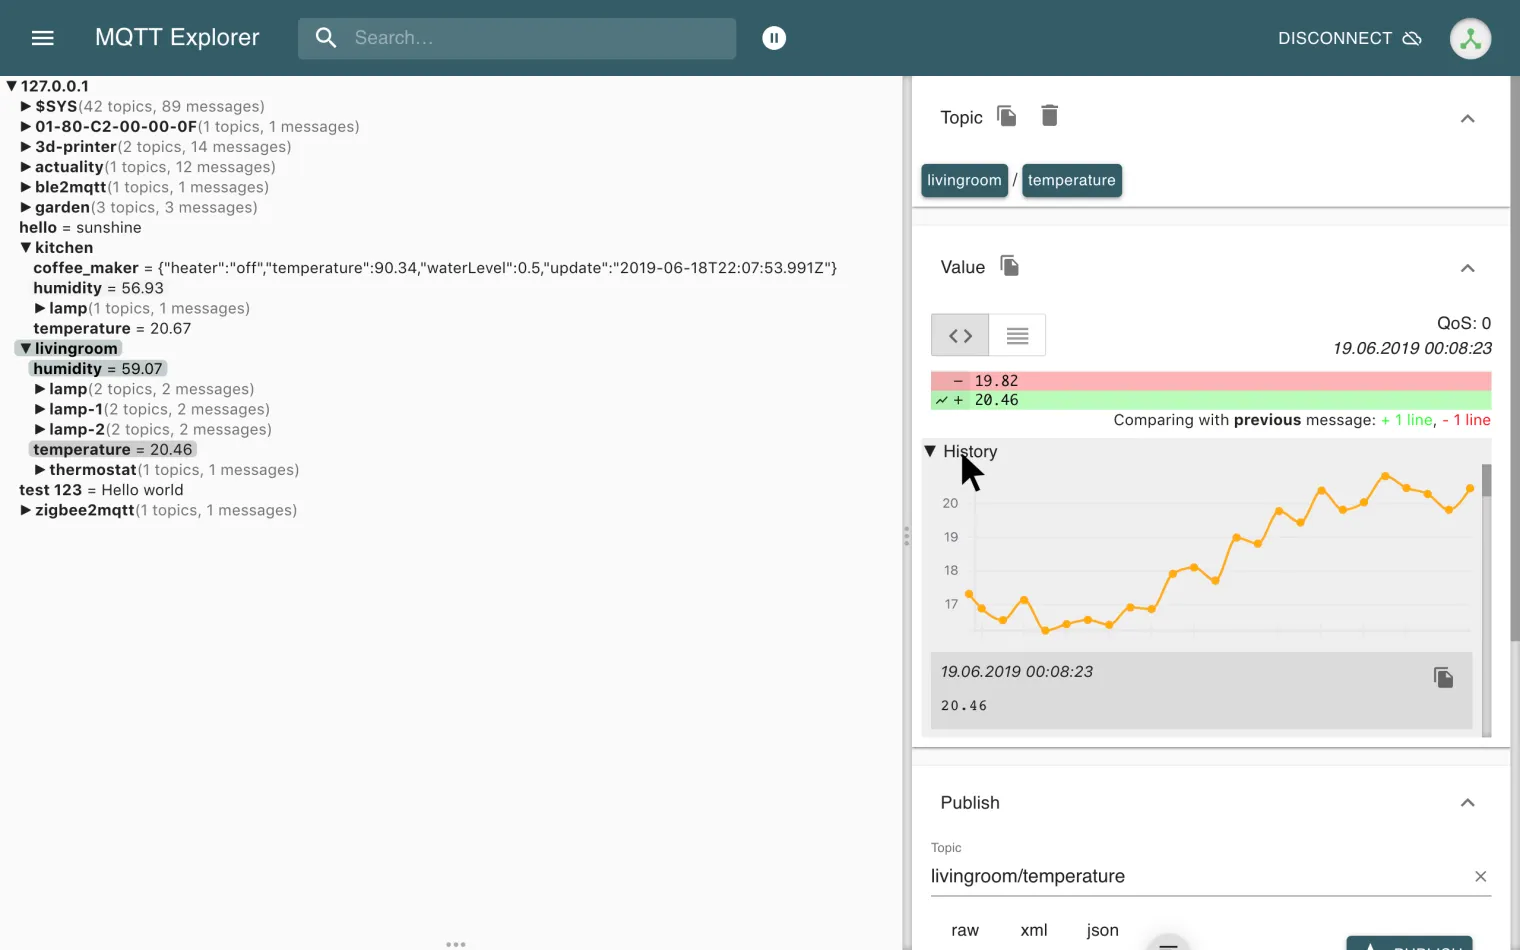
MQTT Explorer is an open-source MQTT client tool that provides an easy-to-use graphical user interface (GUI) with a structured topic overview. It adopts a hierarchical main view and supports a visual chart display of received payload messages.
MQTT Explorer supports MQTT 5.0 and 3.1.1 protocols and allows developers to simultaneously create one MQTT/MQTTS connection.
MQTT Explorer is written in Typescript and developed by Thomas Nordquist. It’s cross-platform and can run on Windows, macOS, and Linux. It’s a pity that the project has been out of development since the last release of version 0.4.0-beta1 on April 28, 2020.
Official Website: https://mqtt-explorer.com/
GitHub: https://github.com/thomasnordquist/MQTT-Explorer

Features
Quote from MQTT Explorer
- Visualize topics and a dynamic preview of the change of topic
- Delete the retained topics
- Search/filter topics
- Recursive delete topics
- Difference view of current and previously received messages
- Publish topics
- Draw digital topics
- Retain the historic record of every topic
- Dark/Light topic
Download
- https://mqtt-explorer.com/
- https://github.com/thomasnordquist/MQTT-Explorer/releases
User Experience
MQTT Explorer offers an impressive experience with a user-friendly GUI, structured topic tree, and payload data visualization.
Developed by Softblade GmbH, MQTT.fx is a commercial client tool commonly used to test IoT routes during development. It supports MQTT versions 3.1.1 and 5.0 and provides advanced features such as TLS/SSL encryption and extensive configuration options for MQTT connections.
However, while MQTT.fx has many powerful features, and it has some limitations to consider. For example, it only allows users to establish one MQTT connection at a time and lacks support for MQTT over WebSocket.
MQTT.fx is written in JavaFX and provides native installation packages for platforms including Windows, MacOS, and Linux. The price of MQTT.fx starts from € 49,90 inc. VAT, with a 3-month free trial period.
Official Website:
https://softblade.de/en/welcome/
Features
- Predefined message template
- Easy monitoring of broker status through system topic
$SYS - Support for JavaScript scripts through Nashorn Engine
- Support log display, display log information in the connection
- Cross-platform desktop with support for Windows, macOS, and Linux
Download
- https://softblade.de/en/download-2/
User Experience
MQTT.fx provides a good user experience with an intuitive GUI with rich features. You can download the trial version and try it out for yourself.
Conclusion
In summary, a desktop client is critical for troubleshooting and developing MQTT. However, while MQTT Explorer is no longer maintained and MQTT.fx is a commercial and expensive option, other alternatives are available.
Among these, the MQTTX open-source project stands out as a fast-growing client tool that offers a modern chat-style interface, full MQTT 5.0 support, and a rich set of features that provides a great user experience. As a result, MQTTX is a top pick for the best MQTT desktop client in 2023.
Try EMQX Cloud for Free
A fully managed MQTT service for IoT
Get Started →
With the rapid development of the Internet of Things (IoT), the MQTT protocol is being widely used by many companies and developers. In the journey of learning and using MQTT, MQTT client tools are used to connect to MQTT brokers for publishing, subscribing, and messages sending and receiving.
A handy client tool can greatly facilitate developers to explore MQTT features and debug IoT applications, shortening the development cycle. Given the variety of MQTT client tools available with different functional focuses, choosing a suitable MQTT client tool is challenging for beginners and even MQTT experts.
We have selected seven of the most useful MQTT client tools in 2023 and listed them by Desktop, Browser, Command Line, and Mobile categories. We hope this article will help you quickly find a suitable one for MQTT development.
«Given the variety of MQTT client tools available with different functional focuses, choosing a suitable MQTT client tool is challenging for beginners and even MQTT experts.»
How to Choose an MQTT Client
A good MQTT client tool should possess the following key features.
-
Support for one-way and two-way SSL authentication.
-
Support for MQTT 5 features.
-
Maintain ease of use on a full-featured basis.
-
Support for multiple clients online at the same time.
-
Cross-platform, available under different operating systems.
-
Support MQTT over WebSocket.
-
Advanced features: Customized script, logging, payload format conversion, etc.
MQTT Desktop Client Tools
MQTTX
MQTTX is an elegant cross-platform MQTT 5.0 desktop client that runs on macOS, Linux, and Windows. Its user-friendly chat-style interface enables users to easily create multiple MQTT/MQTTS connections and subscribe/publish MQTT messages.
MQTTX fully supports MQTT versions 5.0 and 3.1.1, MQTT over TLS, MQTT over WebSocket, and one-way and two-way SSL authentication. In addition to these essential features, MQTTX offers advanced functionality, such as customizable scripts for MQTT Pub/Sub simulation and support for codecs like Hex, Base64, and JSON payloads.
MQTTX is an open-source project developed with Electron and maintained by the EMQX team. The latest release is version 1.9.2 by the end of April 2023.
GitHub Project: https://github.com/emqx/mqttx
Features
-
User-friendly and easy-to-use UX design
-
Chatbox for sending/receiving MQTT messages
-
Fully support for MQTT versions 5.0 and 3.1.1
-
Support for one-way and two-way SSL authentication
-
Hex, Base64, JSON, and Plaintext payload codec
-
Customized colors for different MQTT subscriptions
-
Customized script for MQTT Pub/Sub scenario simulation
-
Cross-platform, running on Windows, macOS, and Linux
Installation
-
Homebrew
brew install --cask mqttx
MQTT Explorer
MQTT Explorer is an open-source MQTT client tool that provides an easy-to-use graphical user interface (GUI) with a structured topic overview. It adopts a hierarchical main view and supports a visual chart display of received payload messages.
MQTT Explorer supports MQTT 5.0 and 3.1.1 protocols and allows developers to simultaneously create one MQTT/MQTTS connection.
MQTT Explorer is written in Typescript and developed by Thomas Nordquist. It’s cross-platform and can run on Windows, macOS, and Linux. It’s a pity that the project has been out of development since the last release of version 0.4.0-beta1 on April 28, 2020.
GitHub: https://github.com/thomasnordquist/MQTT-Explorer
Features
-
Visualize topics and a dynamic preview of the change of topic
-
Delete the retained topics
-
Search/filter topics
-
Recursive delete topics
-
Difference view of current and previously received messages
-
Publish topics
-
Draw digital topics
-
Retain the historic record of every topic
-
Dark/Light topic
Download
http://mqtt-explorer.com/
MQTT Online Client Tools
MQTTX Web
MQTTX Web is a user-friendly, browser-based tool for online debugging, developing, and testing MQTT applications. It connects to an MQTT broker via a WebSocket client and offers an intuitive interface.
Developed by the EMQX team, MQTTX Web is an open-source tool that supports MQTT 3.1.1 and MQTT 5.0 protocols and WebSocket transports. It is licensed under Apache Version 2.0.
GitHub Project: https://github.com/emqx/MQTTX/tree/main/web
Try Now: http://www.emqx.io/online-mqtt-client
Additionally, MQTTX Web supports private deployment using Docker, which is beneficial when only a browser is available, or for testing in restricted intranet environments. Deploy from Docker Image:
docker pull emqx/mqttx-web
docker run -d --name mqttx-web -p 80:80 emqx/mqttx-web
MQTT.Cool Test Client
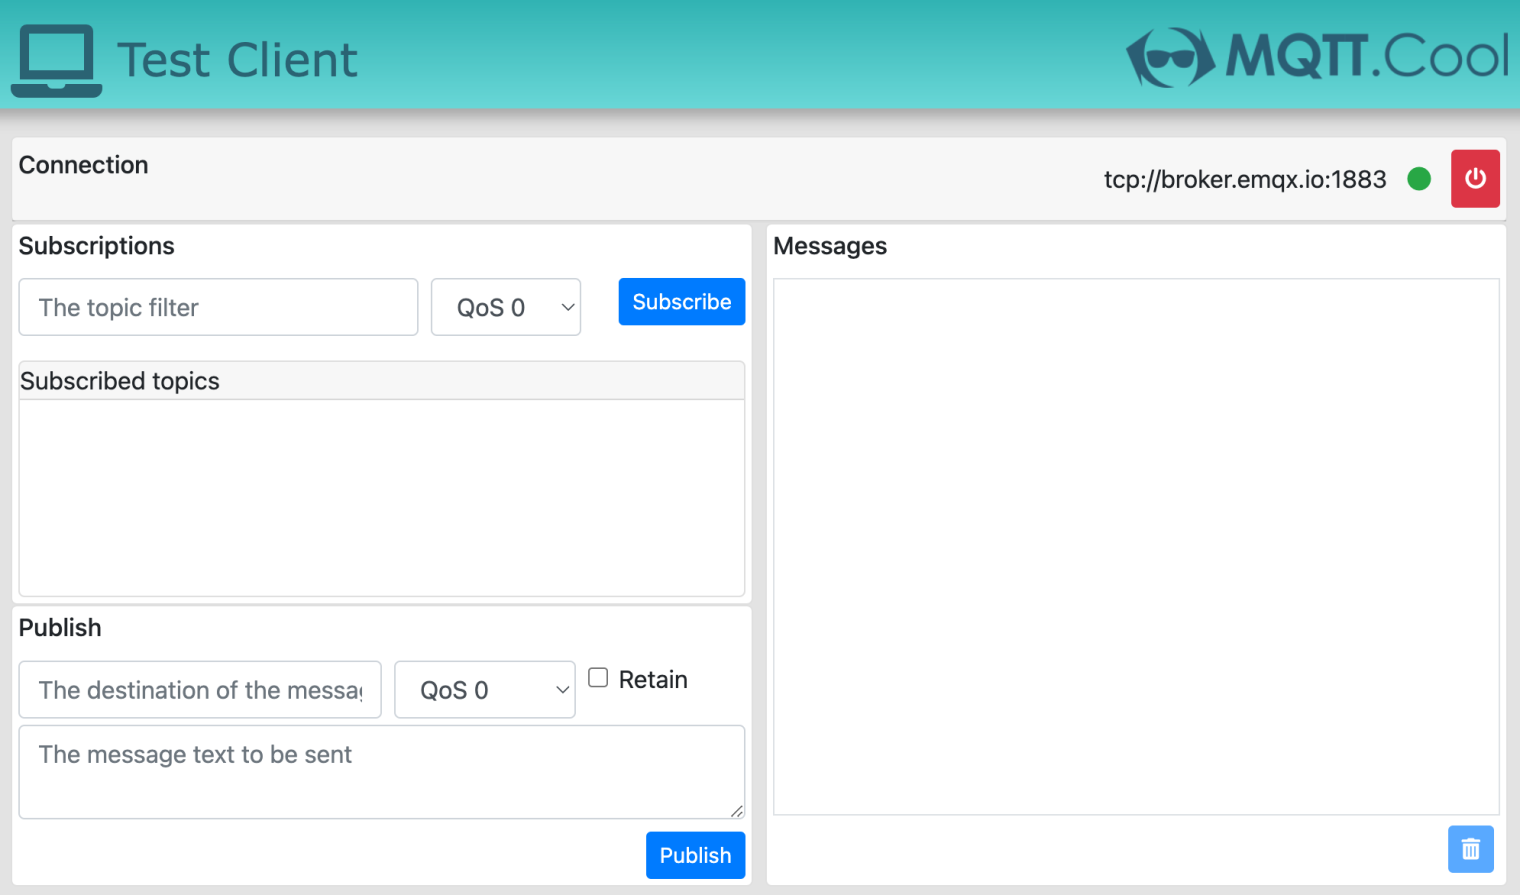
MQTT.Cool Test Client is a very simple and linear GUI (based on the MQTT.Cool API) through which you can test the interaction between the MQTT.Cool server and MQTT brokers. It supports connecting to the broker via MQTT TCP in the browser.
Try Now: https://testclient-cloud.mqtt.cool/
MQTT CLI Tools
MQTTX CLI
MQTTX CLI is a lightweight and easy-to-use MQTT 5.0 command line tool. With various commands for MQTT publishing, subscribing, benchmarking, and IoT data simulation, it is one of the most powerful tools for MQTT development.
MQTTX CLI is an open-source project written in Node.js and developed by the EMQX team. It’s cross-platform and can work on Windows, macOS, and Linux.
GitHub Project: https://github.com/emqx/MQTTX/tree/main/cli
Features
-
Fully support for both MQTT v3.1.1 and MQTT v5.0
-
Cross-platform compatibility with Windows, MacOS, and Linux
-
Dependency-free setup allowing for quick installation without prerequisites
-
Supports CA, self-signed certificates, and one-way and two-way SSL authentication
-
Performance testing capabilities for quickly evaluating MQTT service performance.
Installation
MQTTX CLI is compatible with Windows, macOS, and Linux. For additional installation options, please consult the documentation.
-
Docker
docker pull emqx/mqttx-cli docker run -it --rm emqx/mqttx-cli
-
Homebrew
brew install emqx/mqttx/mqttx-cli
Usage Example
-
Connect
Test connecting to an MQTT broker:
mqttx conn -h 'broker.emqx.io' -p 1883 -u 'test' -P 'test'
-
Subscribe
Subscribe to an MQTT topic:
mqttx sub -t 'topic/#' -h 'broker.emqx.io' -p 1883
-
Publish
Publish a QoS1 message to an MQTT topic:
mqttx pub -t 'topic' -q 1 -h 'broker.emqx.io' -p 1883 -m 'Hello from MQTTX CLI'
-
Publishing multiple messages
The MQTTX CLI also supports publishing multiple messages. Add a -M parameter and a -s parameter to the command in the editor, and newline it after each entry.

-
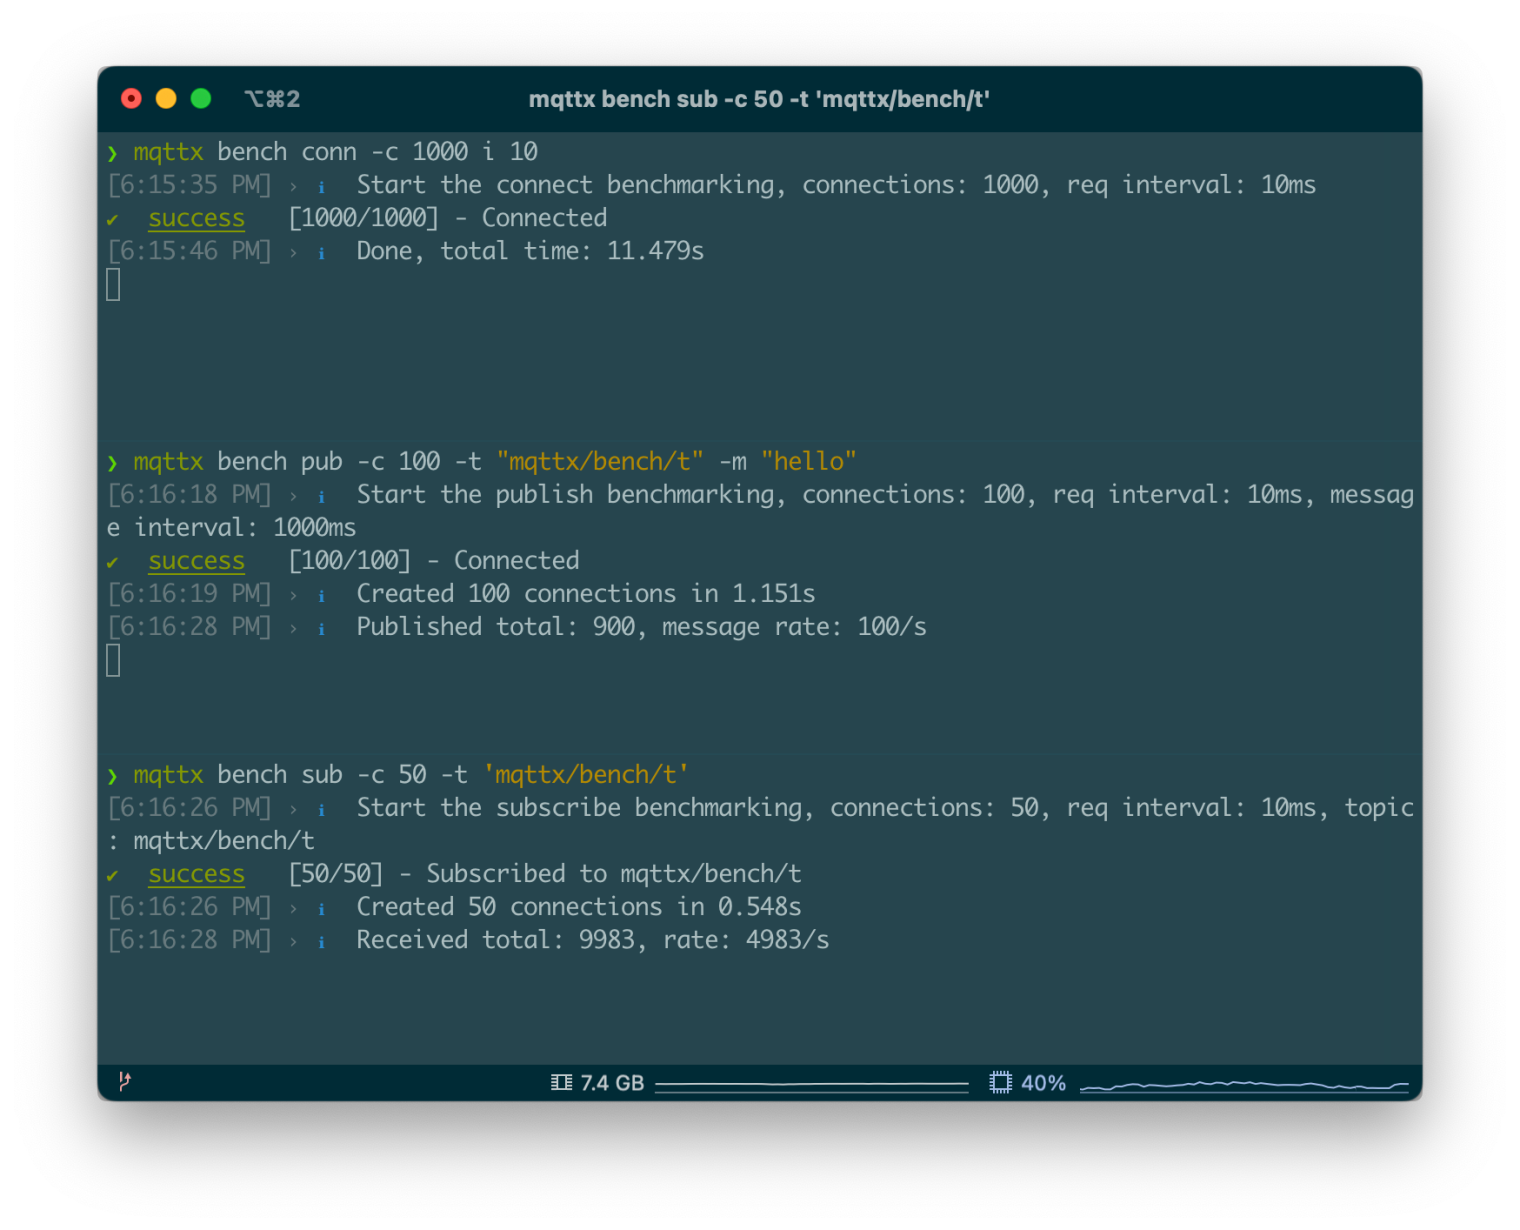
Benchmark
For MQTTX CLI, the
benchcommand is easy to use and concise in its content output. For a large number of connections, subscriptions, and publications, the display method has been optimized by dynamically updating the real-time numbers to avoid being overwhelmed by a large number of output logs during use.

Mosquitto CLI
Mosquitto is a widely used open-source MQTT broker with the popular mosquitto_pub and mosquitto_sub command line clients. These CLI tools offer a wide range of options to connect, subscribe to, and publish messages to an MQTT broker.
The Mosquitto project is written in C/C++ and maintained by the Eclipse Foundation. Mosquitto is highly portable and can be deployed on various platforms, including Linux, Mac, Windows, and Raspberry Pi.
GitHub Project: https://github.com/eclipse/mosquitto
Features
-
Lightweight and easy to use
-
Support for MQTT v3.1.1 and v5.0 protocols
-
Extensive command-line parameters
-
Support for SSL/TLS encryption/authentication
-
MQTT v5.0 request/response functionality
Installation
-
Docker
docker pull eclipse-mosquitto -
Homebrew
Usage Example
-
Publish
Publish a QoS1 message to an MQTT topic:
mosquitto_pub -t 'topic' -q 1 -h 'broker.emqx.io' -p 1883 -m 'Hello from Mosquitto CLI'
-
Subscribe
Subscribe to an MQTT topic:
mosquitto_sub -t 'topic/#' -h 'broker.emqx.io' -p 1883
-
Request/Response
mosquitto_rr -t 'req-topic' -e 'rep-topic' -m 'request message' -h 'broker.emqx.io' mosquitto_pub -t 'rep-topic' -m 'response message' -h 'broker.emqx.io'
MQTT Mobile Client Tools
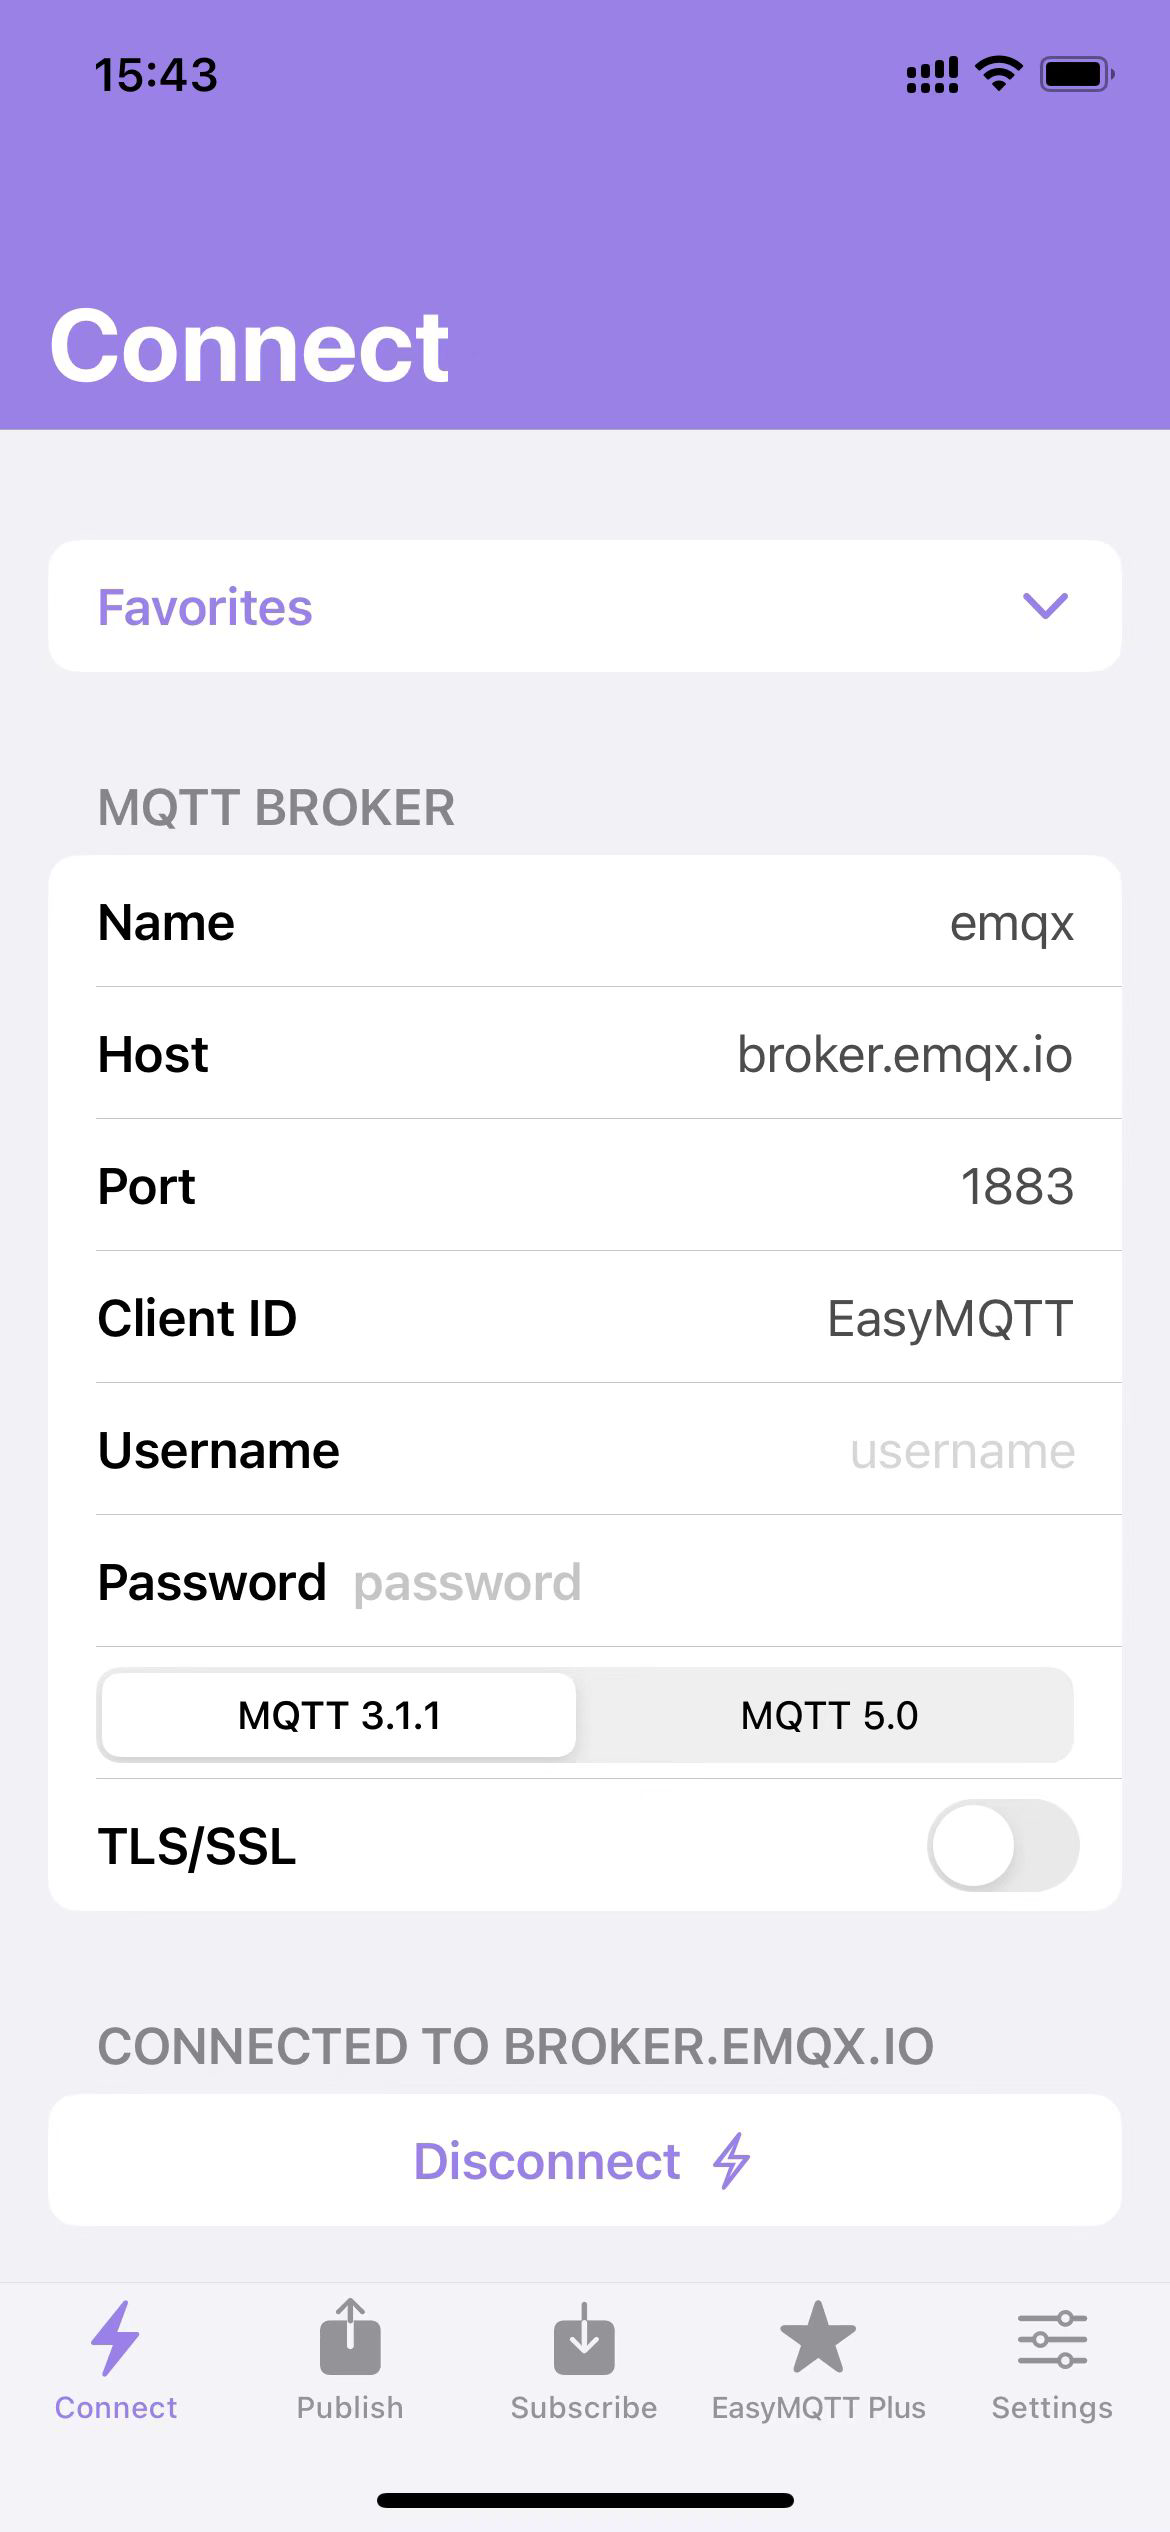
EasyMQTT
EasyMQTT is an MQTT client for iPhone, iPad, and macOS, allowing you to interact with any MQTT Broker. Use it to manage your setup at home, control things like Zigbee2MQTT or monitor a remote broker. It features a simple, user-friendly interface, supporting both light and dark modes.
EMQ TEchnologies
Download
https://apps.apple.com/us/app/easymqtt/id1523099606?platform=iphone
Want to monitor Windows computers in your Home-Assistant setup? Maybe even control them to some degree? Then IOT Link is probably the easiest and fastest way to do it. It is a background service that is communicating with Home-Assistant (or other) by MQTT.
I have tested this on Windows 10 and 11, and it works the same way on both, might even work on other versions of Windows.
In this post I will go trough the full setup, but I will not go trough all the more advanced features of the software. This is a little how-to/demonstration.
MQTT Broker
Before following this guide you will need a MQTT broker and MQTT configured with auto discovery in Home-Assistant. If this is in place you can ignore this step.
The easiest way to set this up is with the Mosquitto Add-On in Home-Assistant.
- Go to Supervisor -> Add-on Store
- Select Mosquitto broker under Official add-ons
- Click INSTALL
- You can set a username/password in the Configuration tab, this is optional.
- Click START
- Go to Configuration -> Integrations.
- MQTT will show as “Discovered” (If not add a new integration and search for “MQTT”).
- Select CONFIGURE
Done.
IOT Link: Download and installation
- Go to https://iotlink.gitlab.io/downloads.html and downlaod the last version of IOT link, At the time of writing this post the last version is IOT Link – v2.2.2 (released 2020-10-08)
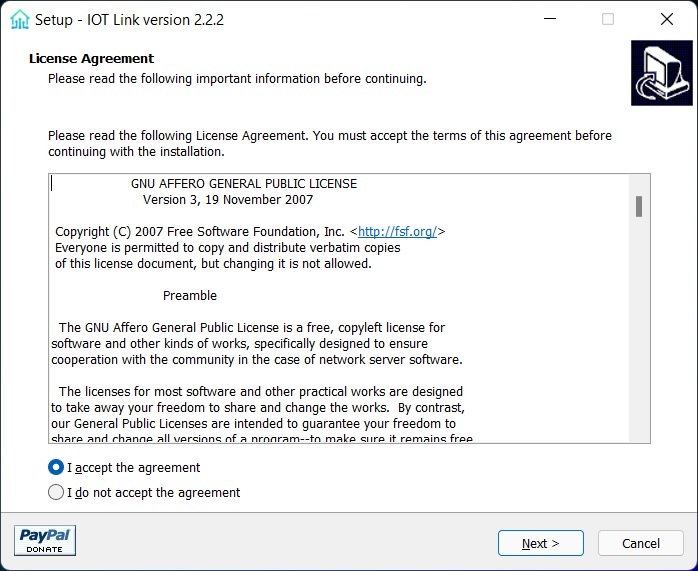
- When the download is complete right-click the setup file and select “Run as administrator” (input Windows administrator credentials if prompted for)
- Microsoft Defender SmartScreen will pop up and block the installation, click “More info” and then “Run anyway”
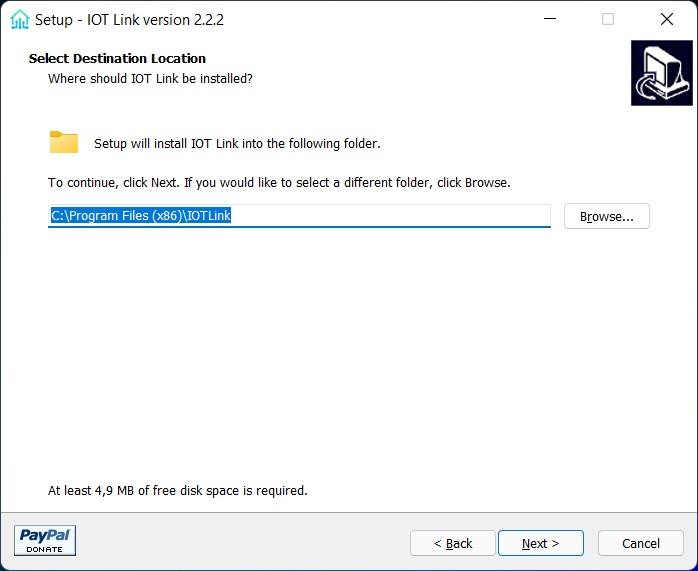
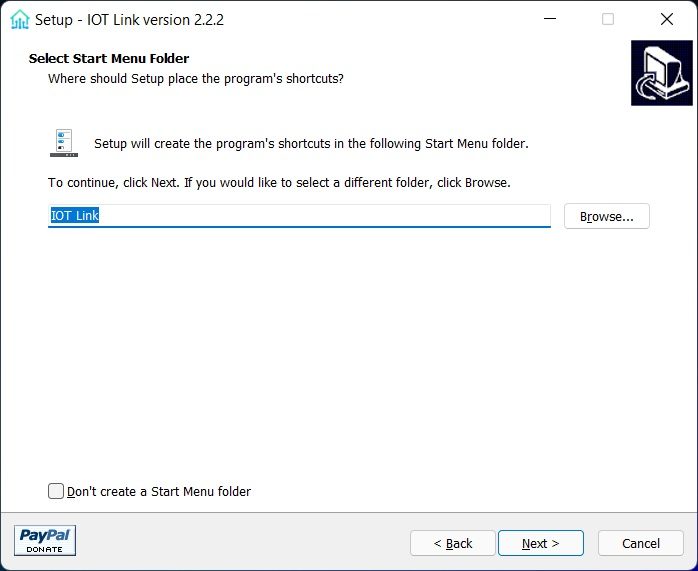
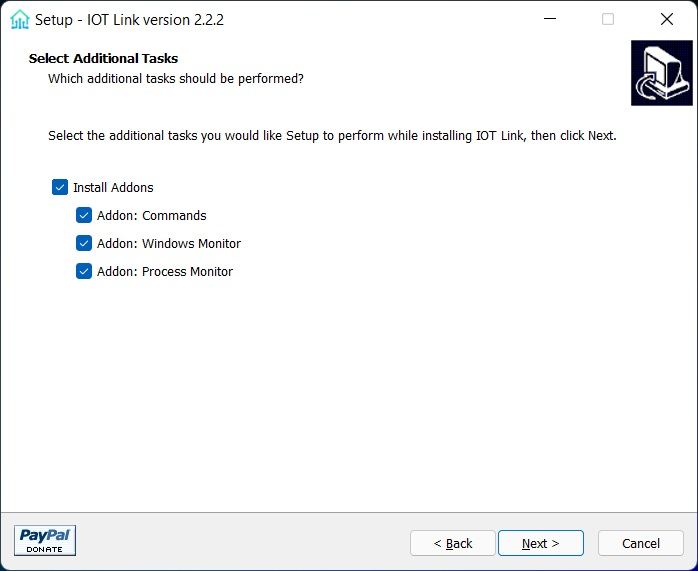
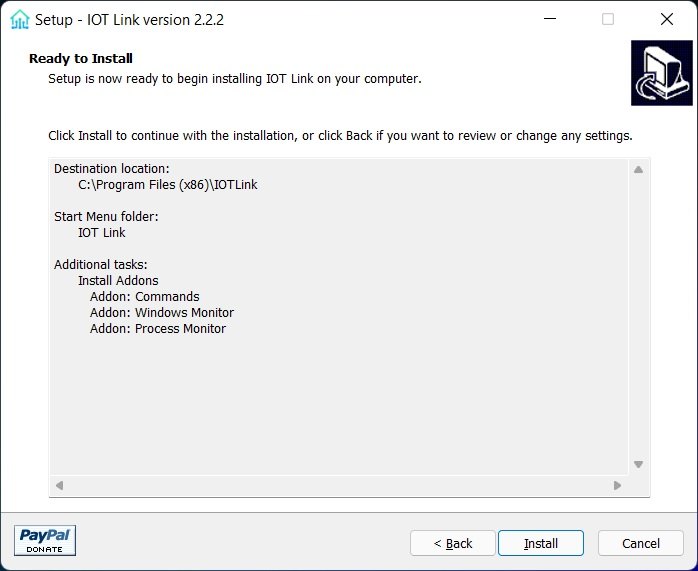
- During installation just keep alt default and complete the setup like in the pictures below.
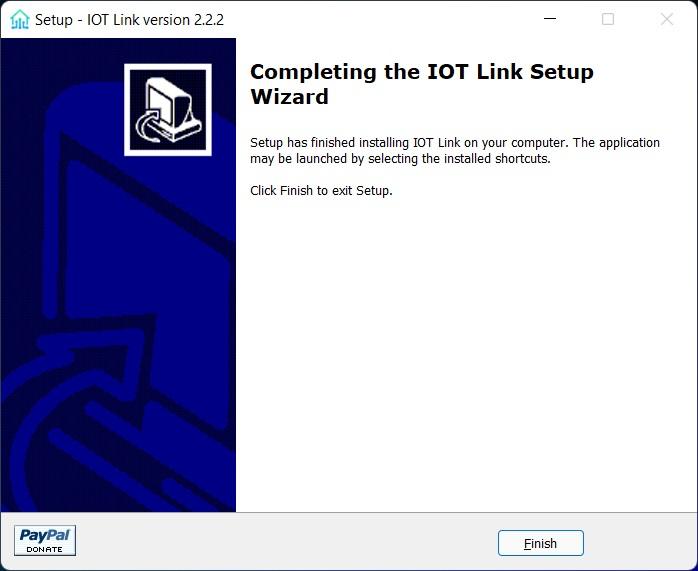
When the setup is done and the message “Service is installed successfully.” comes up click OK, the installation is complete.
A Windows service called IOT Link is now installed, this is now running, and it will automatic start with windows.
It can be found and managed by running services.msc in Windows. (Not needed if there is no issue)
IOT Link: Basic configuration
The installation is done, it is time to connect it to the MQTT, and in the same process to Home-Assistant (Here I assume M MQTT configured with auto discovery is up and working in Home-Assistant).
Open the mine configuration file, C:\ProgramData\IOTLink\Configs\configuration.yaml in a text-editor, (eg notepad).
Most of the settings can be default (or changed at your own preference), but the following options should be edited:
- Under
mqtt:->credentials:->username:andpassword:set MQTT broker user/password (if there is a user set up, else leave blank). - Under
mqtt:->tcp:setenabled:totrue,hostname:to the ip of your MQTT broker (Same as Home-Assistant if Add-On), andport:to the MQTT port,1883is default in Mosquitto. - Under
mqtt:->messages:setretain:totrue.
When done, save the file. IOT Link will Automatic ly import the new settings and start to publish to MQTT. If there is no issue Home-Assistant should be populated with new entities pretty fast.
Service Calls
One of the other nice features of IOT Link is the ability to control the remove Windows computer in different ways. This can be done by sending mqtt.publish service calls in Home-Assistant. There is a whole lot of things that can be accomplished but here I have a few examples. This is in Home-Assistant done under Developer Tools -> Services.
Change “workgroup” and “flemming-laptop” according to too actual values.
Reboot the remote computer:
service: mqtt.publish
data:
  topic: "iotlink/workgroup/flemming-laptop/commands/reboot"
  payload: ""
Run Windows Media Player on the remote computer:
service: mqtt.publish
data:
  topic: "iotlink/workgroup/flemming-laptop/commands/run"
  payload: '{ "command": "C:\\Program Files (x86)\\Windows Media Player\\wmplayer.exe", "path": "C:\\Program Files (x86)\\Windows Media Player\\", "user": "", "visible": true, "fallback": true }'
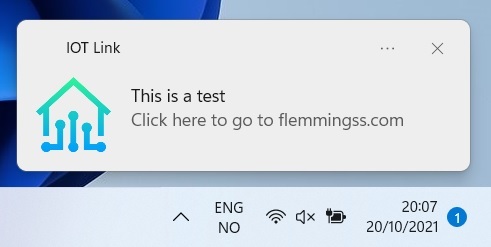
Send a notification, and a link to this website to the remote computer:
service: mqtt.publish
data:
  topic: "iotlink/workgroup/flemming-laptop/commands/notify"
  payload: '{ "title": "This is a test", "message": "Click here to go to flemmingss.com", "launchParams": "toast://open/http://flemmingss.com" }'
More can be found at this page: https://gitlab.com/iotlink/iotlink/-/wikis/Addons/Commands
That’s It. I hope the post was useful 🙂
I recently decided to try an add-on called IOTlink. I was looking for a way to remotely monitor and control my main workstation pc. IOTlink seemed to be just the answer. In layman’s terms, it appears to install an MQTT client in Windows which continually publishes relevant sensor data to a particular topic which you can then pick up using your home automation platform. In my case that’s Home-Assistant/Node-red. I’ll walk you through the set up.
I downloaded and installed the application from here. Note you need to run the installer as Admin. After a couple of moments, all that was left was a folder in my start menu called IOTlink:
Open the configuration files and basically input the data that will allow this app to communicate with your MQTT broker. These are pretty self explanatory and a lot of the mqtt related stuff is already pre-filled in for you in terms of logging, retain, discovery etc. I had to change the following:
- username
- password
- host
- port
- ssl
- topicprefix i.e. “homeassistant”
- prefix “IOTlink”
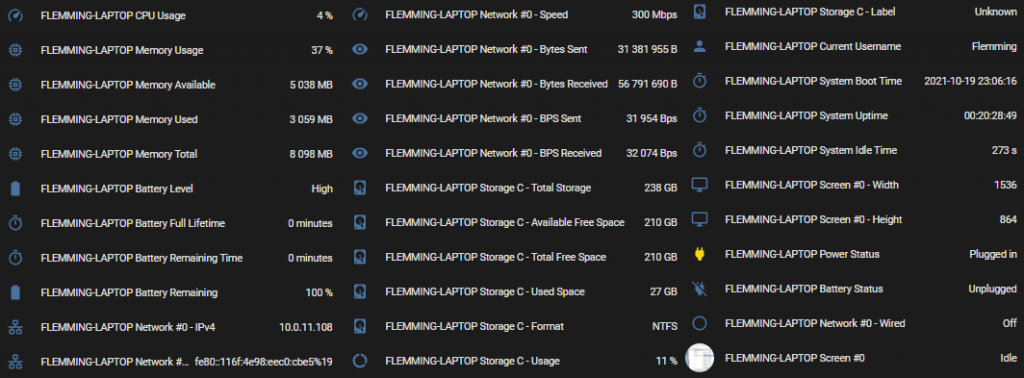
Once changed, I saved the configuration file and started the “windows service.” A command prompt window appeared momentarily but that was it. There was nothing visibly running on my workstation. I wasn’t even sure it was working. I switched over to the HA side of things. I’m using hassio (or core or whatever they call it now) and so I went to the integrations page and the MQTT section. IOTlink was already enabled under MQTT discovery, so it was just a matter of adding the discovered items into lovelace.

So far so good. I now had all the incoming sensor data I wanted from my main machine (IP addresses redacted). Now to set up a way I can control the workstation from HA.
This was as simple as copying a script into my scripts.yaml. For example to reboot and shutdown the machine I added these:
my_computer_shutdown:
alias: Shutdown
sequence:
– service: mqtt.publish
data:
topic: iotlink/workgroup/ryzen/commands/shutdown
payload: ”
my_computer_reboot:
alias: Reboot
sequence:
– service: mqtt.publish
data:
topic: iotlink/workgroup/ryzen/commands/reboot
payload: ”
I also wanted a way of launching applications at will. The idea behind this was that I am a gamer/streamer and wanted to issue a voice command to Alexa to enable stream mode. This would wake the machine, and load up a series of specific applications that I use (I also partnered this with node-red to also turn on the stream lights as well as turn off any music that was playing in the background). Here’s an example of a scriptto run a specific application.
my_computer_restream:
alias: restream.io
sequence:
– service: mqtt.publish
data:
topic: iotlink/workgroup/ryzen/commands/run
payload: ‘{ “command”: “C:\\Users\\XXX\\AppData\\Local\\Programs\\restream-chat\\Restream
Chat.exe”, “args”: “/AUTO”, “path”: “C:\\Users\\XXX\\AppData\\Local\\Programs\\restream-chat\\”,
“user”: “”, “visible”: true, “fallback”: true }’
The scripts work. This is a powerful tool and you can customise these as much as you like. A full list of script examples can be found here in the official documentation. Note also on this page it shows you how to manually configure the sensor data I showed you above (useful if you’re not using MQTT discovery).
Now for the fun stuff. Here’s some examples of my inner geek in action.
When any of my guys are online (Steam) I get an announcement via HA notification on my phone and GoogleTTS provided the time is between 18.45-23.45pm.

I then tell Alexa it’s streamtime and she switches on the various apps, sets the computer audio level and turns off Sonos (in case am listening to music already, the internet loves dishing out DCMA takedowns at the moment). Note I am able to use Home-Assistant service calls or directly use MQTT. I use pushover to send a quick message to my friends to see if they’re interested in joining me for a game.

How to turn your monitors off:
Node-red:


Home-Assistant:
place in scripts.yaml
my_computer_monitor_off:
alias: My Computer – Displays Off
sequence:
– service: mqtt.publish
data:
topic: iotlink/workgroup/ryzen/commands/displays/off
payload: ”

As you can see, using node-red and home-assistant it’s possible to make automations quite quickly and easily. Other ideas for the future:
- I can have google home or alexa notify me via voice (as well as phone notification) when:
- my harddrive is getting dangerously full
- my network speed drops below a certain level or disconnects
- my computer temperature is getting too warm or cold (remote server monitoring?)
- If someone else logs onto my pc (state change on username field)
- If my computer is turned on whilst I’m not there
Literally the possibilities are endless.
Hope this helps. The documentation for IOTlink was surprisingly good, and you really can be up and running in a short amount of time. All the commands and scripts are basically there waiting to be copy pasted. Just remember to change your topic/prefix as needed. If you do start to experience any issues with MQTT such as ghosting (randomly turning on and off) then this post might be of use for you. If you like this post and it’s useful, maybe you might like my other posts and if you’re considering making your home smart and looking for somewhere to start, then my book might also be of use.
Let me know in the comments if you have any questions or thoughts.
Cheers!