
- IT
- Cancel
Я уже написала длинную заметку про установку типографской раскладки Ильи Бирмана для Линукс, а тут из воспоминаний про работу в Фотошопе насторожило: есть ли у Линукса шрифты Виндовые в системе? А то таскать кракозябры не очень хочется, помимо проблем с кодировкой… Я , помнится, в фотошопе постоянно свою флешку со шрифтами держала, чтоб неповадно было показывать проект на другом компе, а всё поплыло при редактировании.
Проверить для начала: в системе эти шрифты точно есть? (Программы > Стандартные > Шрифты) Если нет, то попробуйте
sudo apt install ttf-mscorefonts-installer
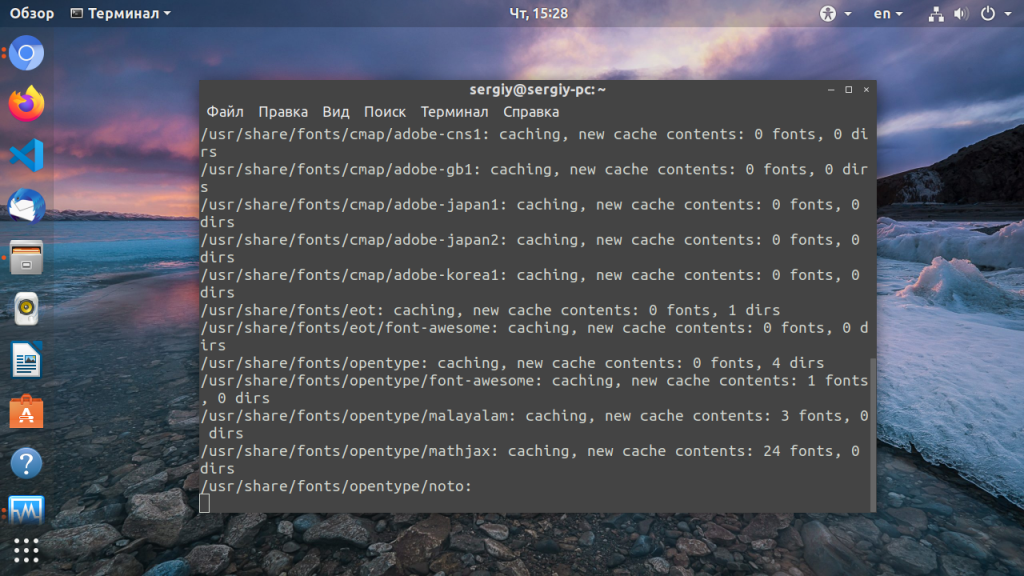
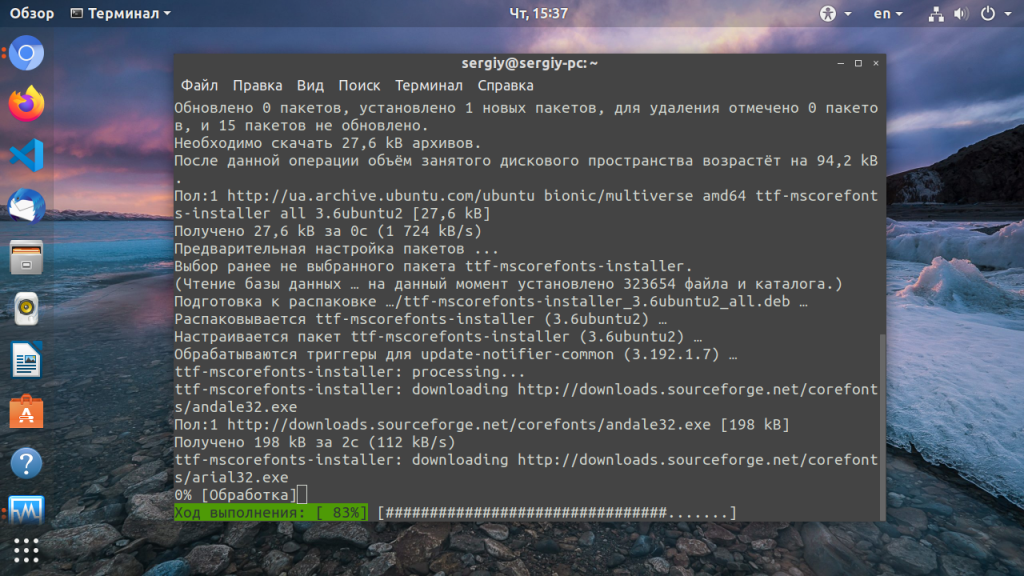
Так в процессе установки происходит скачивание шрифтов с майкрософтовских дебрей:


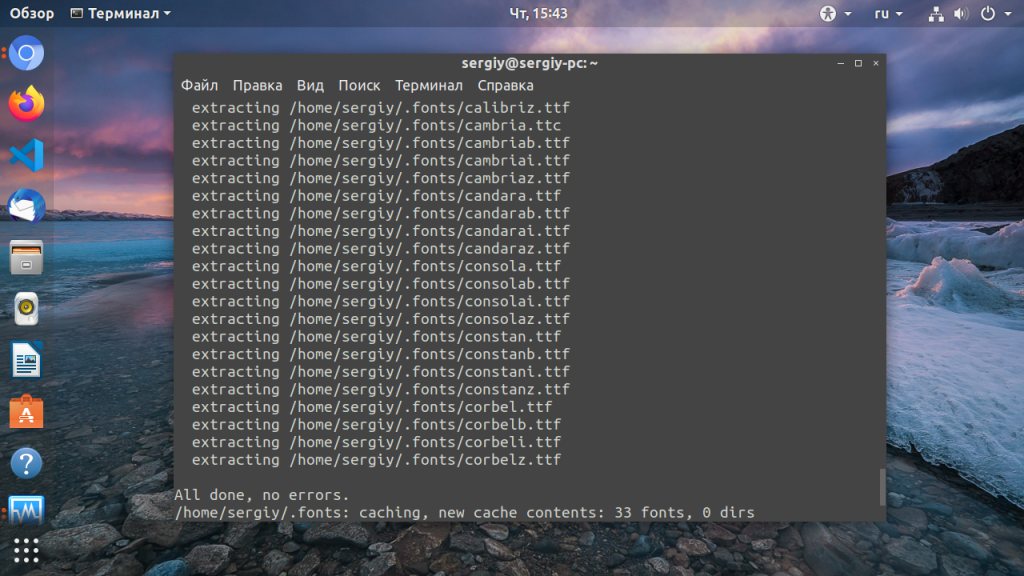
Как видим: шрифты теперь есть, Ариалы всякие и прочее:

System-wide Installation
To install fonts to your system for use by all users, (as root) you can place the font files somewhere under /usr/share/fonts or /usr/share/fonts/truetype. Alternatively, if the fonts reside elsewhere on your system, as root, you can also link to the directory.
Method 1
gksu nautilus
* create /usr/share/fonts/truetype/
* copy font files to new location.
* then update your font cache.
sudo fc-cache -fv
Method 2
sudo ln -s /path/to/fontfiles /usr/share/fonts/fontfiles
* then update your font cache.
sudo fc-cache -fv
Per-user Installation
* in your home directory, create .fonts/
mkdir .fonts
* copy font files to the new location
* update your font cache
fc-cache -fv
*Alternatively, you can use the linking method (2) above.
Installing Microsoft Fonts
sudo apt-get install ttf-mscorefonts-installer
Все мы хотим чтобы наша система выглядела идеально. Но не всегда поставляемые в дистрибутиве шрифты выглядят красиво, или хотя бы даже приемлемо. Вы можете очень просто установить и использовать любой понравившийся вам шрифт. С другой стороны, для работы с официальными документами в офисных приложениях нам нужны такие шрифты, как Times New Roman, Colibri и многие другие. Но эти шрифты разработаны корпорацией Microsoft и не могут быть включены по умолчанию в дистрибутив Linux.
В этой статье мы рассмотрим как происходит установка шрифтов в Linux на примере Ubuntu, как установить шрифт, который вам понравился, а также как поставить все шрифты от Microsoft, используемые в системе Windows.
Содержание статьи
- Установка шрифтов в Linux
- Установка шрифтов TrueType от Microsoft в Linux
- Установка шрифтов ClearType от Microsoft в Linux
- Установка других шрифтов Windows в Linux
- Выводы
Шрифты можно найти на просторах интернета в различных форматах. В основном все шрифты можно поделить на два типа: растровые и векторные. Растровые шрифты быстрее и проще, но они не поддерживают масштабирование. В отличие от них векторные шрифты можно спокойно масштабировать без потери качества.
Растровые шрифты чаще всего распространяются в форматах PCF, BDF. А векторные шрифты: TrueType (ttf), Type1, Type3, OpenType, MetaFont.
Вообще говоря, при работе со шрифтами вы, скорее всего, не заметите разницы растровый это шрифт или векторный, да и встречаются чаще всего только векторные шрифты.
1. Установка вручную
Для хранения шрифтов в Linux используются две основных папки: /usr/share/fonts — для глобальных шрифтов и папка ~/.fonts для шрифтов доступных только для пользователя. Фактически установка шрифтов в Linux заключается в скачивании файла и копировании его в одну из этих папок.
Создайте папку ~/.fonts если она еще не существует:
mkdir ~/.fonts
А чтобы установить шрифт в Linux, просто копируем его в созданную папку. Например, для шрифта под названием AmazS.T.A.L.K.E.R.v.3.0.ttf команда будет выглядеть так:
cp ~/Загрузки/AmazS.T.A.L.K.E.R.v.3.0.ttf ~/.fonts
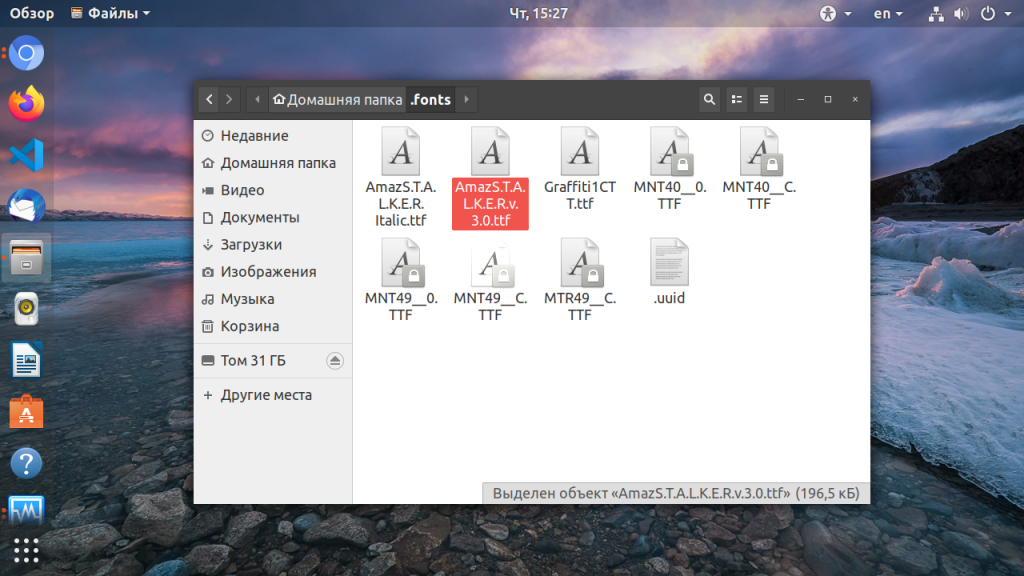
Аналогично можно скопировать шрифт файловым менеджером, только нужно использовать сочетание клавиш Ctrl+H, чтобы включить просмотр скрытых папок. Если шрифт поставляется в архиве, то его нужно распаковать и копировать уже сами файлы шрифта.
После того как все шрифты были скопированы нужно обновить кэш шрифтов системы:
fc-cache -f -v
Чтобы шрифт появился в нужной вам программе, её надо перезапустить после добавления шрифта и обновления кэша:

2. Установка с помощью пакетного менеджера
Также много шрифтов можно установить с помощью менеджера пакетов. Рассмотрим на примере Ubuntu, допустим, нам нужно установить шрифт terminus, сначала попробуем найти пакет с таким шрифтом:
sudo apt search terminus

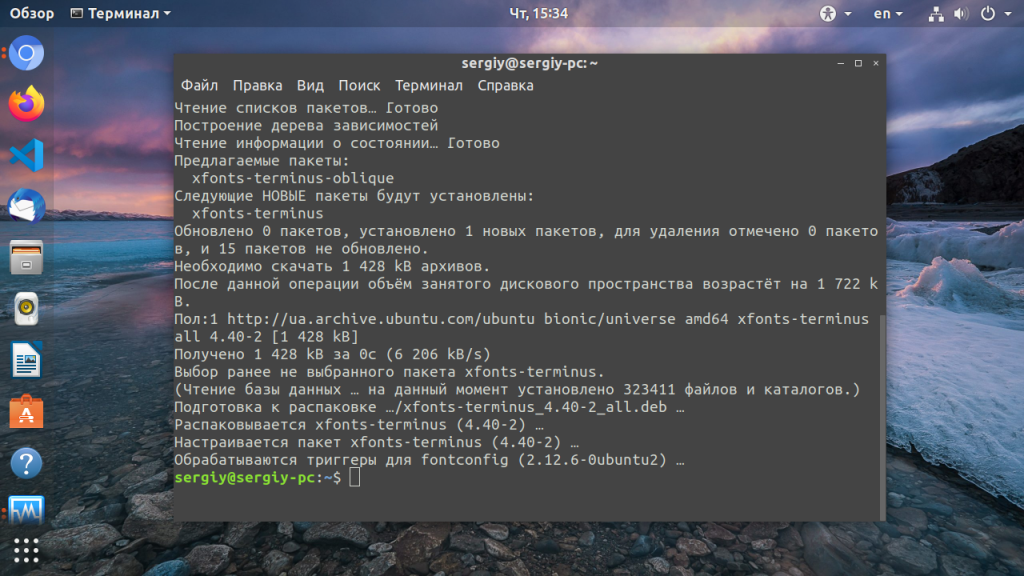
Да, видим что он существует. Теперь устанавливаем:
sudo apt install xfonts-terminus
После этого кеш обновлять уже необязательно поскольку он был обновлен при установке пакета. Шрифты от Windows устанавливаются подобным образом, но мы рассмотрим эту тему немного подробнее.
Установка шрифтов TrueType от Microsoft в Linux
Microsoft выпустила пакет основных TrueType шрифтов для веб-сайтов в 1996 году. Эти шрифты получили очень либеральную лицензию, поэтому их может установить любой желающий. Microsoft отдала их, потому что хотела чтобы они были стандартны во всех браузерах. Этот проект был закрыт еще в 2002 году, но установить и использовать их можно до сих пор.
Пакет содержит такие шрифты: Andale Mono, Arial, Arial Black, Comic Sans MS, Courier New, Georgia, Impact, Times New Roman, Trebuchet, Verdana, и Webdings. Times New Roman был шрифтом по умолчанию для всех документов, пока не вышел в 2007 году Collibri.
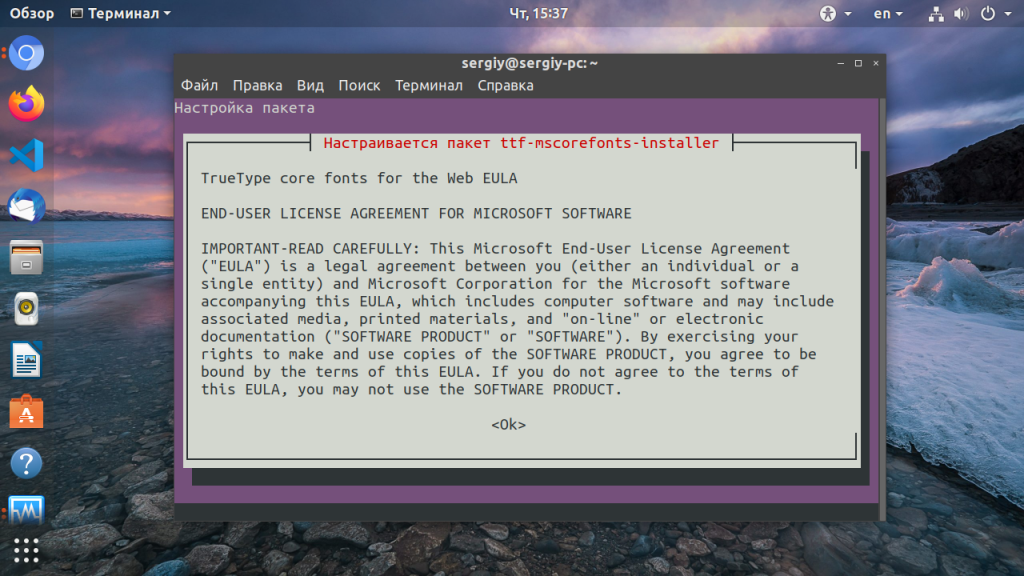
Этот пакет можно очень просто установить в Ubuntu. К сожалению, установка шрифтов Ubuntu не может быть выполнена через центр приложений. Установка просто зависнет и не достигнет завершения потому, что нужно принять лицензию. Поэтому для установки используйте терминал.
В Ubuntu выполните в терминале вот такую команду:
sudo apt install ttf-mscorefonts-installer
Перед тем, как начнётся установка шрифтов, вам нужно принять лицензию ELUA. Когда появится запрос лицензионного соглашения используйте стрелки вверх / вниз чтобы прокрутить его. Затем нажмите кнопку Tab чтобы переместить курсор на позицию Yes и нажмите Enter.
Только после этого начнётся установка шрифтов:
Таким образом, вы принимаете лицензионное соглашение Microsoft. Программа установки загрузит шрифты в вашу систему и сделает их сразу доступными для всех приложений. В других дистрибутивах установка шрифтов Linux отличается только менеджером пакетов.
Установка шрифтов ClearType от Microsoft в Linux
Microsoft добавила группу новых ClearType шрифтов для Windows начиная с Windows Vista и Office 2007. Это такие шрифты, как: Constantia, Corbel, Calibri, Cambria, Candara, and Consolas. Collibri стал шрифтом по умолчанию в Office 2007.
Компания не выпустила эти шрифты доступными для всех, как они сделали с предыдущим пакетом. Тем не менее Microsoft позволяет загрузить эти шрифты как часть бесплатного приложения Microsoft PowerPoint Viewer 2007. Если у вас нет установленной Windows, вы можете воспользоваться скриптом, который загрузит это приложение, извлечет шесть нужных ClearType шрифтов и установит их в вашей системе. Скрипт устанавливает шрифты только для вашего пользователя, а не глобально в отличие от предыдущего пакета.
Проще всего все сделать через терминал. Команды очень просты и вам не нужно выполнять много действий. Установка шрифтов Winodws Ubuntu, выполняется простым копированием и вставкой.
Если вы не устанавливали TrueType шрифты, то необходимо выполнить такую команду для установки утилиты cabextract:
sudo apt install cabextract
Создайте папку с локальными шрифтами если еще не сделали этого:
mkdir ~/.fonts
Выполните команду, для загрузки и выполнения скрипта чтобы установить шрифт в linux:
wget -qO- http://plasmasturm.org/code/vistafonts-installer/vistafonts-installer | bash
Установка других шрифтов Windows в Linux
Вышеописанные способы установки шрифтов Windows, скорее всего, дадут все что вам нужно. Они установят большинство стандартных шрифтов Windows и Microsoft Office, таких, как True Type и ClearType. Но не все шрифты включены в эти пакеты. Tahoma не входит в пакет основных шрифтов TrueType, а Segoe UI и другие новые шрифты не включены в пакет ClearType.
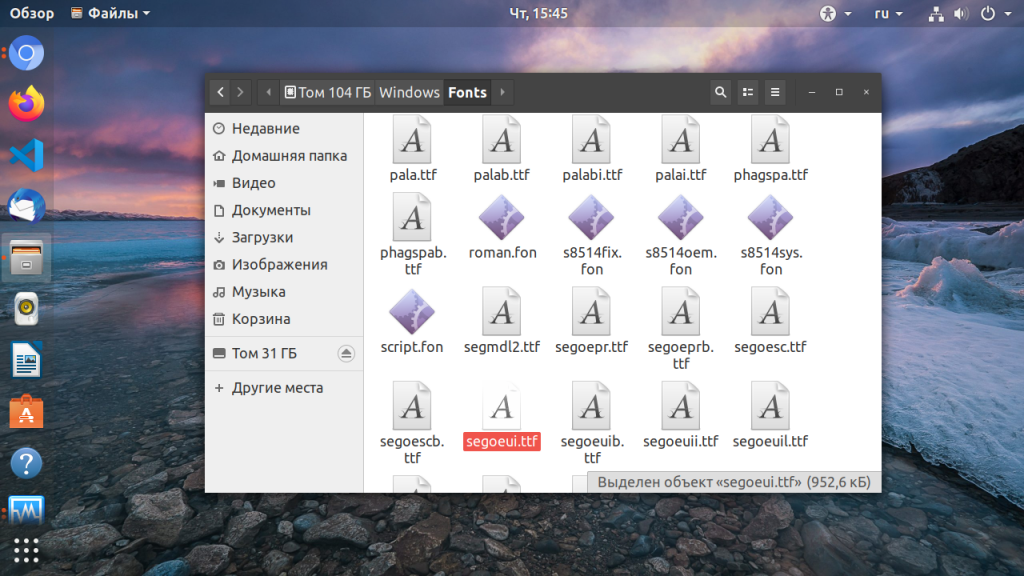
Если у вас есть система Windows на том же компьютере, то установить эти шрифты очень просто. Например, если вы используете двойную загрузку, Windows рядом с Linux, то просто найдите в файловом менеджере раздел, на который установлена Windows. Раздел можно выбрать на боковой панели. Затем перейдите в папку Windows/fonts и вы увидите там все шрифты, установленные в вашей WIndows, в том числе стандартные.
В Ubuntu вы можете дважды щелкнуть по файлу шрифта и в открывшимся окне нажать кнопку Установить:
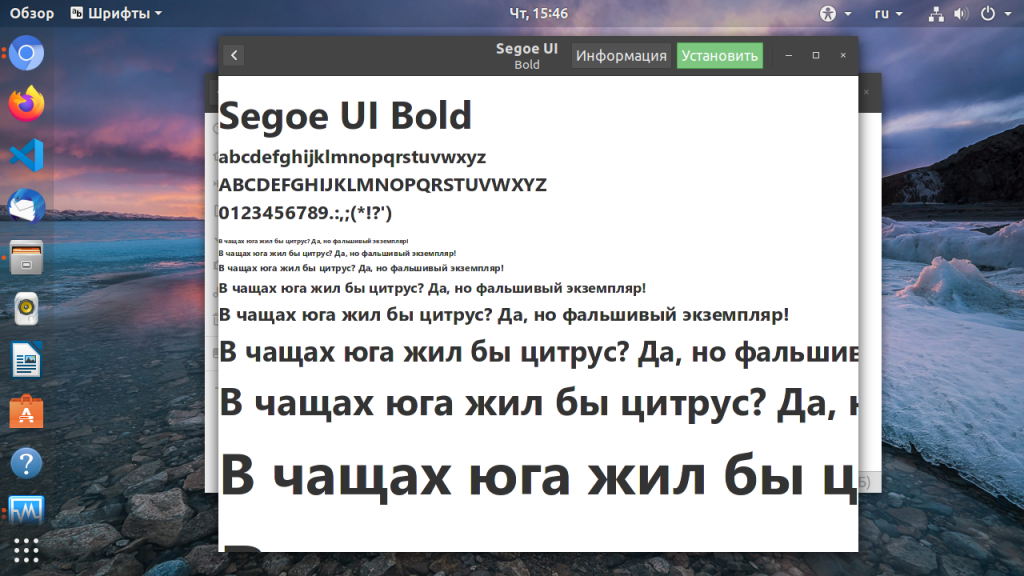
Так вы можете установить шрифт Linux только для текущего пользователя. Таким образом, вы можете очень быстро установить любые шрифты из Windows, в том числе Tahoma и Segoe UI. Можно даже не использовать предыдущие команды и скрипты и потянуть Times New Roman и Collibri вот таким вот способом.
Если Windows на другом компьютере, вы можете скопировать нужные шрифты на внешний носитель и установить их таким же образом, или просто скопировать в папку ~/.fonts.
Выводы
Теперь вы знаете как установить шрифты в Linux и сможете настроить свою систему так как нужно. Со шрифтами в документах все еще более просто. В Ubuntu да и в других дистрибутивах используется набор свободных шрифтов Red Hat, которые были разработаны для замены Arial, Arial Narrow, Times New Roman и Courier New. Они имеют ту же ширину, что и шрифты от Microsoft. Поэтому если документ составлен с помощью Times New Roman, то в офисном пакете будет использоваться альтернативный шрифт из свободных шрифтов той же ширины, поэтому структура документа не будет нарушена. Поэтому устанавливать шрифты от Microsoft только ради просмотра документов совсем необязательно. Но выглядят они совсем не так как оригинал. Так что если вы хотите получить наибольшую совместимость с Microsoft Office желательно все же установить эти шрифты.
Microsoft fonts are widely used in professional documents, web pages, and multimedia projects. Many users rely on them for consistency across platforms, ensuring their files look the same whether opened on Windows, macOS, or Linux. However, out of the box, Linux Mint 22 does not include these proprietary Microsoft fonts by default. This can sometimes cause formatting issues when you open a Microsoft Office file with LibreOffice or another application. The missing fonts can affect layout, spacing, and readability.
Installing Microsoft fonts on Linux Mint 22 not only makes it easier to view and edit documents that were originally created in Microsoft Office but also helps ensure consistent cross-platform support. In some cases, these fonts may be required to display websites correctly, especially ones that rely on fonts like Arial, Times New Roman, or Verdana. The process is straightforward and can be done in multiple ways, from using a package manager to manually placing fonts on the system.
Understanding Microsoft Fonts
To understand why Microsoft fonts are so important, it is helpful to break down some of the most commonly used typefaces. Popular ones include Arial, Times New Roman, Verdana, Tahoma, Calibri, and Cambria. These fonts are frequently utilized in business communications, educational materials, and personal documents. Operating systems like Windows ship with them by default, ensuring universal availability and display consistency.
Linux Mint, in contrast, typically offers free and open-source font families, such as DejaVu, Liberation, and Noto. While these are excellent choices, they do not always match the original Microsoft fonts when it comes to spacing, size, and overall layout. Consequently, opening or creating files designed around Microsoft fonts can lead to minor or even major differences in how the text appears. Additionally, certain specialized fonts are associated with Microsoft Office, especially newer ones like Calibri and Cambria. These can be considered proprietary, governed by specific licenses that restrict how and where they can be bundled.
Installing Microsoft fonts bridges this compatibility gap, giving creators, designers, and students a more consistent experience across multiple platforms. By making the right fonts available on Linux Mint 22, files from different sources remain visually uniform, boosting professional presentation quality and user satisfaction.
Prerequisites
Before proceeding with the installation of Microsoft fonts, a few prerequisites ensure a smooth process:
- Updated System: Update packages and repositories on Linux Mint 22. This involves running
sudo apt updateandsudo apt upgradein the terminal to ensure all existing packages are up to date. - Backups: Although installing fonts is generally low-risk, it is wise to back up critical files. Having your system backed up provides peace of mind in case of any unexpected conflicts.
- Terminal Access: For most methods described below, a terminal will be used. Familiarity with basic Linux commands is beneficial.
- Internet Connection: An active network connection is required to download necessary font packages or move files from external sources.
Having these prerequisites in place will make the process of installing Microsoft fonts as seamless as possible. The steps outlined below cater to varying skill levels, from new Linux users to those who prefer advanced manual control.
Installation Methods
There are three primary methods to install Microsoft fonts on Linux Mint 22. The first uses the package manager, which is easy for beginners. The second is a manual installation that allows for more control, suitable for users who need a customized environment or have access to a Windows machine from which to directly copy fonts. The third method explores high-quality alternatives that are often used as substitutes for proprietary fonts, giving you free-libre options that can fulfill most layout requirements.
Method 1: Using Package Manager
The simplest approach to installing Microsoft fonts on Linux Mint 22 typically involves downloading a package from the official repositories or from a third-party repository maintained by the community. Many Linux distributions use a package known as ttf-mscorefonts-installer, which installs core Microsoft fonts like Arial, Times New Roman, and Verdana.
Below is a step-by-step guide:
- Open a Terminal: Press
Ctrl + Alt + Tto launch a new terminal. - Update Your System: Type:
sudo apt update
sudo apt upgrade
This updates the package list and upgrades existing packages.
- Install the Microsoft Fonts Package: Type:
sudo apt install ttf-mscorefonts-installerThis begins the installation of core Microsoft fonts. During installation, you might be prompted to accept the End User License Agreement (EULA). Read it carefully, then press
Tabto select “OK,” and pressEnter. - Wait for Download and Installation: The script will download and install the requested fonts, placing them in the appropriate directories.
- Verify Installation: After the process completes, open a text editor or an office suite like LibreOffice. Check the font list to see if Arial, Times New Roman, and other Microsoft fonts appear.
Using the package manager is highly recommended for novice users. It handles dependency checks, licensing displays, and file placement, minimizing manual steps or errors. Once completed, the newly installed fonts are immediately available across system applications.
Method 2: Manual Installation
Some users prefer taking full control of where fonts reside, or they have access to original font files from a Windows environment. Manual installation is relatively straightforward and suits those who only want specific fonts, or must handle multiple font packs. Follow these steps:
- Obtain the Font Files: Font files typically end in
.ttfor.otf. One way is to copy them from a Windows partition. Another is to use official Microsoft Office media, though verifying license compliance is essential. - Create a Local Fonts Folder (Optional): While system-wide font installations can be placed in
/usr/share/fonts/, personal fonts go in~/.local/share/fonts. To create the folder, type:mkdir -p ~/.local/share/fonts - Copy Fonts: Copy the desired
.ttfor.otffiles into your chosen folder. For a system-wide installation, place them in/usr/share/fonts/(requires root privileges). - Update Font Cache:
sudo fc-cache -fvThis command forces the font cache to rebuild, ensuring newly added fonts appear in applications.
Manual installation offers more granularity. It is helpful if only certain Microsoft fonts are needed or if multiple font versions call for organization across different directories.
Method 3: Alternative Fonts
While installing genuine Microsoft fonts is common, some prefer entirely free-libre alternatives that replicate the look and feel of proprietary fonts. Two notable examples are Carlito and Caladea, which are metric-compatible stand-ins for Calibri and Cambria, respectively.
To install Carlito and Caladea, open a terminal and type:
sudo apt update
sudo apt install fonts-crosextra-carlito fonts-crosextra-caladea
These fonts match the metrics of their Microsoft counterparts, ensuring text layout remains mostly consistent when sharing documents with Windows users. Many Linux distributions also provide Liberation Fonts as close substitutes for Arial, Times New Roman, and Courier New. While these fonts may not be pixel-perfect clones, they are frequently good enough for day-to-day usage. They also carry the advantage of open licenses, making them a compelling choice for users wary of restrictive EULAs.
Post-Installation Steps
After installing Microsoft fonts—whether through the package manager or manual methods—it is wise to conduct a few checks and minor adjustments. These post-installation steps confirm that the fonts are functioning properly and recognized throughout the operating system.
- Verify the Font List: Launch a text editor, LibreOffice, or another office suite. Create a blank document, then open the font selection dropdown. Ensure the newly installed Microsoft fonts, such as Arial, Times New Roman, and Verdana, appear on the list.
- Restart Any Open Applications: Some applications only scan for new fonts at startup. If new fonts do not appear, close and reopen the relevant program to refresh its internal font cache.
- Confirm System-Wide Availability: If the fonts are placed in system directories (e.g.,
/usr/share/fonts/), they should be usable by all user accounts. A quick way to test this is to log in as another user and see if the fonts are available. - Check Browser and Web Pages: Open a few websites known to use Microsoft fonts. Inspect how text is rendered, ensuring it aligns with the typical presentation. Some sites specify fallback fonts, yet the presence of official Microsoft fonts generally secures a better match.

Completing these actions helps confirm that the installation process was successful. Once the fonts are properly configured, Linux Mint 22 can handle Microsoft-centric documents and websites without formatting discrepancies.
Troubleshooting Common Issues
Despite being a routine task, a few hiccups can occur when installing proprietary fonts on Linux Mint 22. Below are some common problems and their solutions:
- Permission Denied Errors: When placing fonts in
/usr/share/fonts/, superuser privileges are necessary. If aPermission deniederror appears, usesudoor place fonts in~/.local/share/fontsfor a local installation. - Font Cache Not Updated: Sometimes fonts do not appear after copying them to the correct directory. Running
sudo fc-cache -fvforces the system to rebuild the font cache and will typically resolve this issue. - Missing EULA Acceptance: For users installing through the package manager, the process may stall if the EULA prompt is missed. Rerun the command and ensure the license agreement is confirmed, or run
sudo dpkg-reconfigure ttf-mscorefonts-installerto trigger the EULA acceptance prompt again. - Inconsistent Rendering: Different applications may interpret or scale fonts slightly differently. Check font settings in each application (e.g., scaling factor or hinting). Adjust these in the system’s Font Settings or application preferences for consistent appearance.
- Conflict with Existing Fonts: If an older version or a conflicting variant is present, uninstall or move the conflicting fonts to avoid duplication or confusion in the system’s font library.
In most cases, these issues are minor and easy to fix. A quick check of permissions and an update of the font cache typically gets Microsoft fonts up and running smoothly.
Font Compatibility Tips
Once Microsoft fonts are installed, ensuring maximum compatibility across different applications and file types is a top priority for many users. Here are a few recommendations to keep in mind:
- LibreOffice and MS Office Documents: When opening Microsoft Word or Excel files in LibreOffice, check the document’s Font Replacement settings under Tools > Options > Fonts. Assign replaced fonts if needed, ensuring the correct fonts are used for viewing and editing.
- Exporting to PDF: If a PDF is exported from LibreOffice or another tool, embedded fonts prevent font-related issues when sharing. Make sure your PDF export settings include the option to embed fonts whenever possible.
- Cross-Platform Collaboration: If working on a project with colleagues using Windows or macOS, keep the same version of fonts to avoid unintentional differences. This is particularly important if design files, marketing materials, or other highly formatted documents are frequently exchanged.
- Use Styles Instead of Manual Formatting: In office documents, leverage styles for headings, paragraphs, and titles. This approach makes it simpler to swap out fonts or refine designs without reformatting each piece of text.
Applying these tips often helps maintain a consistent look and feel, preventing font mismatches that could disrupt the professional appearance of shared documents.
Congratulations! You have successfully installed Microsoft Fonts. Thanks for using this tutorial for installing the latest version of Microsoft Fonts on Linux Mint 22. For additional help or useful information, we recommend you check the official Microsoft website.
VPS Manage Service Offer
If you don’t have time to do all of this stuff, or if this is not your area of expertise, we offer a service to do “VPS Manage Service Offer”, starting from $10 (Paypal payment). Please contact us to get the best deal!
🔍 Простой поиск по базе знаний
При переходе на Linux системы — Linux Mint или Ubuntu иногда начинает раздражать вид некоторых сайтов в браузере — шрифты становятся совсем другими и не всегда радуют глаз. Чтобы решить проблему необходимо добавить Windows шрифты в Ununtu или Linux Mint.
Если необходимо добавить только несколько,самых любимых шрифтов, то лучше подключить их в систему вручную. Для этого необходимо создать папку (если её нет) /usr/share/fonts/truetype:
sudo mkdir /usr/share/fonts/truetype/msttcorefonts
Затем скопировать шрифты в консоле или файловым менеджером в эту папку и выполнить команду:
sudo defoma --reconfigure
Выбранные Windows True Type шрифты — в системе.
Есть и второй способ — установить Windows true type шрифты из репозитория Ubuntu. Правда в этом случае установится достаточно много шрифтов и большую часть из них нигде никогда использоваться не будет. На мой взгляд основные шрифты, которые в первую очередь нужны для комфортной работы — Arial, Georgia, Times New Roman, Verdana.
Для установки Windows шрифтов в Linux Mint или Ubuntu из репозитория необходимо выполнить команду:
sudo apt-get install msttcorefonts
Во время установки спросят согласны ли Вы с лицензионным соглашением (EULA) с компанией Microsoft. Текст EULA здесь: http://corefonts.sourceforge.net/eula.htm.
Чтобы система Ubuntu или Linux Mint сразу увидела шрифты Windows true type, нужно выполнить следующую команду в консоли:
sudo fc-cache -fv
Шрифты Windows True Type — в системе.