
Под GNU/Linux-дистрибутивы создано огромное количество полезных и удобных инструментов и приложений для обычных пользователей и разработчиков. Далеко не всё из этого доступно на Windows, но, к счастью, для ОС от Microsoft есть решения, исправляющие эту проблему.
WSL — официальная подсистема Linux внутри Windows
В Windows 10 существует крайне полезная вещь под названием Windows Subsystem for Linux (WSL). Она позволяет использовать GNU/Linux-среду прямо в Windows и запускать не только команды, но и, например, Bash-скрипты. Для использования WSL необходимо следовать инструкции ниже.
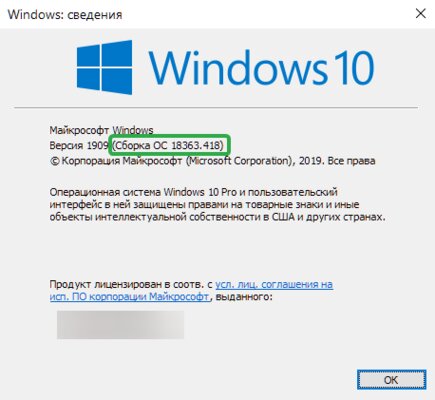
Шаг 1. Проверьте, подходит ли текущая версия Windows требованиям. Для этого нажмите сочетание клавиш Win+R, затем введите winver. Найдите строку «Сборка ОС» — она должна быть свежее версии 14316.
Шаг 2. Запустите стандартную утилиту PowerShell от имени администратора и введите в ней команду для включения WSL:
dism.exe /online /enable-feature /featurename:Microsoft-Windows-Subsystem-Linux /all /norestart
Шаг 3. Если версия Windows, определённая в первом пункте, свежее 18362, вы можете установить WSL 2, который в разы быстрее первой версии и обладает доработанным ядром. Введите команду ниже, если нужно установить WSL 2:
dism.exe /online /enable-feature /featurename:VirtualMachinePlatform /all /norestart
После этого скачайте и установите пакет обновления с официального сайта.
Шаг 4. Перезагрузите компьютер. Если была произведена установка WSL 2, введите в PowerShell от имени администратора следующую команду:
wsl —set-default-version 2
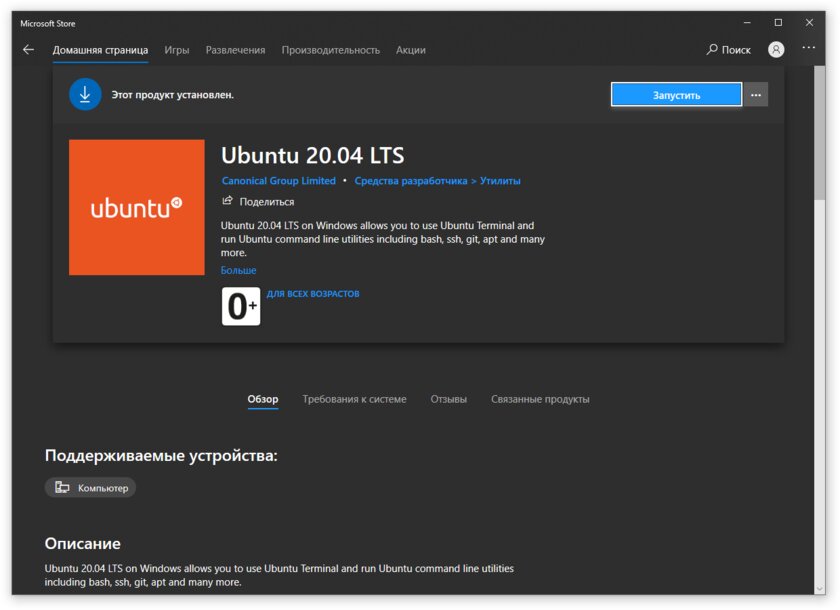
Шаг 5. После перезагрузки откройте фирменный магазин приложений Microsoft Store и найдите подходящий GNU/Linux-дистрибутив. Самым популярным является Ubuntu — вы можете установить любую версию из представленных в Microsoft Store.
Шаг 6. Как только установка завершится, найдите дистрибутив в меню «Пуск» и запустите его.
Шаг 7. Пройдите этап первоначальной настройки, введя имя нового пользователя и придумав пароль.
Шаг 8. Теперь различные GNU/Linux-команды можно выполнять, запустив дистрибутив, либо введя в командной строке wsl <команда>. Например, для просмотра всех файлов в текущей директории достаточно в командной строке выполнить wsl ls -a.
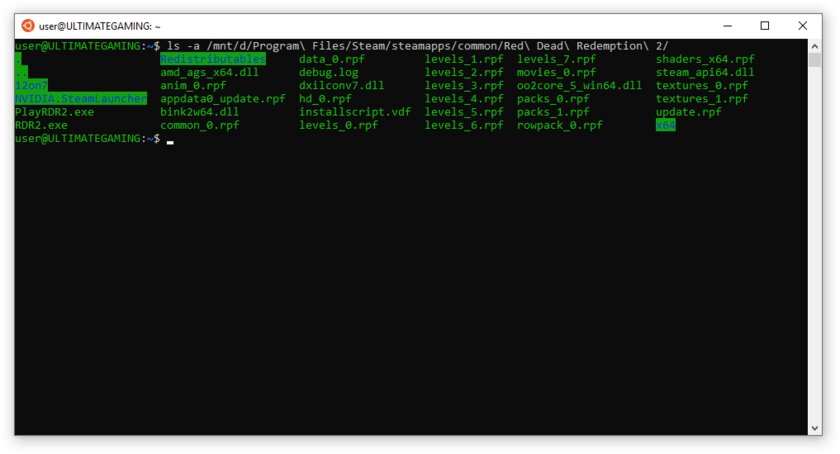
Обращу внимание на то, что путь к дискам в WSL отличается от такового в Windows. Вместо привычного C:/ используйте /mnt/c/. Также не забывайте про экранирование пробелов с помощью символа \ — это также пригодится при вводе путей к файлам.
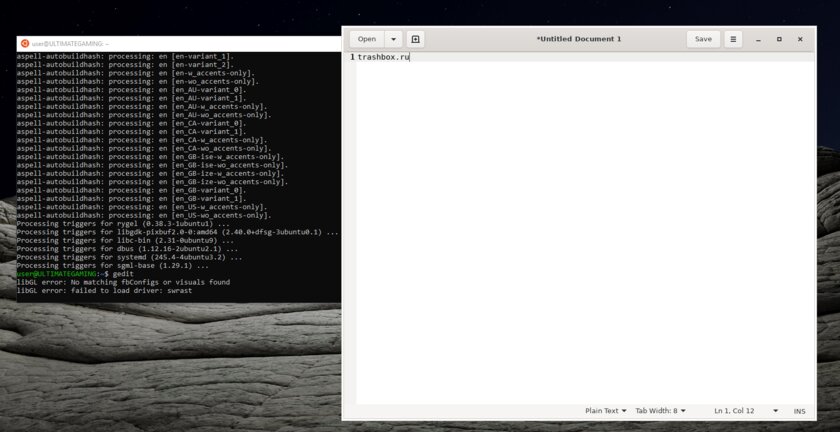
Помимо выполнения базовых команд, с помощью WSL можно даже запускать приложения с графическим интерфейсом. Правда, рассчитывать на большое количество поддерживаемых подобных программ не стоит.
Шаг 1. Загрузите X-сервер и установите его.
Шаг 2. Запустите его с помощью ярлыка на рабочем столе. В открывшемся окне выберите вариант Multiple windows, затем Start no client. Завершите настройку кнопкой Finish.
Шаг 3. Откройте дистрибутив через меню Пуск и выполните команду export DISPLAY=:0
Шаг 4. Запустив приложение с графическим интерфейсом в WSL, вы увидите новое окно прямо в Windows.
CoreUtils — лёгкий инструмент для запуска базовых команд
Плюс данной утилиты — возможность запуска не только на Windows 10, но и на более старых версиях ОС. Кроме того, она легка и не занимает много места. Не обошлось без недостатков — программа скудна на функционал и не обновлялась очень давно. Она не только не умеет запускать скрипты и приложения с GUI, но и поддерживает лишь самые базовые GNU/Linux-команды. Установка CoreUtils весьма проста.
Шаг 1. Скачайте утилиту с официального сайта.
Шаг 2. Следуйте инструкциям установщика.
Шаг 3. Откройте «Панель управления», в разделе «Система и безопасность» выберите пункт «Система». На панели слева откройте «Дополнительные параметры системы». Нажмите кнопку «Переменные среды» и в открывшемся окне найдите область с заголовком «Системные переменные». В случае, когда там есть переменная Path, выберите её, нажмите «Изменить» и далее создайте новую строку. Содержимым этой строки должен быть путь к папке, который был указан при установке. Если вы ничего не меняли, то введите следующее:
C:\Program Files (x86)\GnuWin32\bin
Переменной Path нет? Тогда для начала создайте её кнопкой «Создать», затем в поле имени введите Path, а в поле значения — строку выше.
Шаг 4. Запустите командную строку и выполняйте команды прямо там.
Cygwin — запуск команд и Bash-скриптов
Ещё одна утилита, схожая с CoreUtils, но обладающая более широким функционалом — в том числе и возможностью запуска скриптов. Из минусов — немалый вес и более сложная установка. Разумеется, не идёт ни в какое сравнение с максимально удобным WSL, но для базовых команд вполне подойдёт.
Шаг 1. Загрузите Cygwin и запустите установку.
Шаг 2. Выберите Install from Internet, укажите директории для установки и загрузки пакетов, а также любой подходящий сайт из списка для скачивания файлов.
Шаг 3. В процессе установки можете выбрать необходимые пакеты, либо сразу нажать «Далее», оставив базовый набор.
Шаг 4. Откройте «Панель управления», в разделе «Система и безопасность» выберите пункт «Система». На панели слева откройте «Дополнительные параметры системы». Нажмите кнопку «Переменные среды» и в открывшемся окне найдите область с заголовком «Системные переменные». В случае, когда там есть переменная Path, выберите её, нажмите «Изменить» и далее создайте новую строку. Содержимым этой строки должен быть путь к папке, который был указан при установке. Если вы ничего не меняли, то введите следующее:
C:\cygwin64\bin
Переменной Path нет? Тогда для начала создайте её кнопкой «Создать», затем в поле имени введите Path, а в поле значения — строку выше.
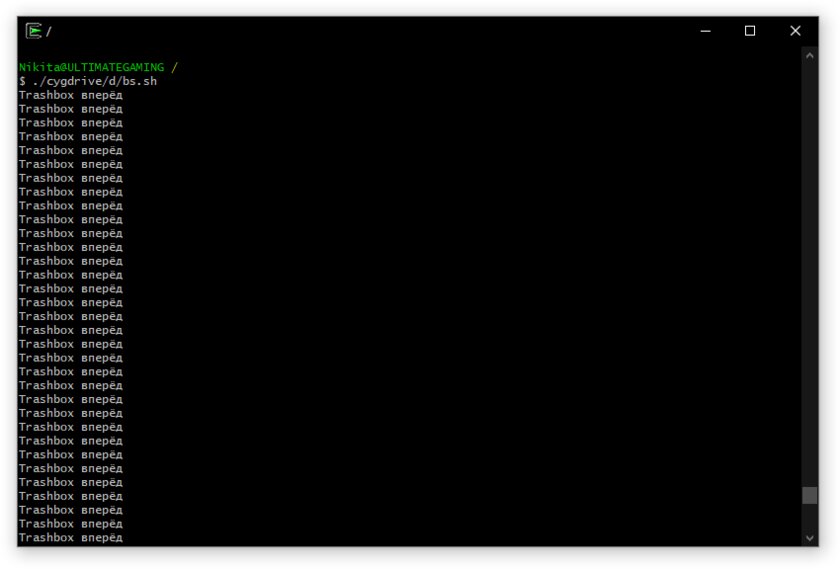
Шаг 5. Команды можно выполнять как через командную строку, так и через специальный терминал.
Шаг 6. Для удаления Cygwin достаточно удалить папку, в которую программа была установлена, а также (по желанию) значение из переменной Path по методу, обратному тому, что был описан в 4 шаге (не удаляйте саму переменную).
Last Updated :
29 Jun, 2022
It is a dilemma when you want to switch from one operating system to another. This is a common case when you switch from Windows to Linux. Either you store your data and then uninstall Windows to install Linux and then transfer your data or you can have a dual boot system where you encounter an option as to which OS to choose in the beginning. Don’t you think that both methods require a lot of work? No worries! What if you practice Linux commands on Windows itself? Yes, it will save a lot of work! Here are some ways to run Linux commands on Windows.
Windows Subsystem for Linux(WSL)
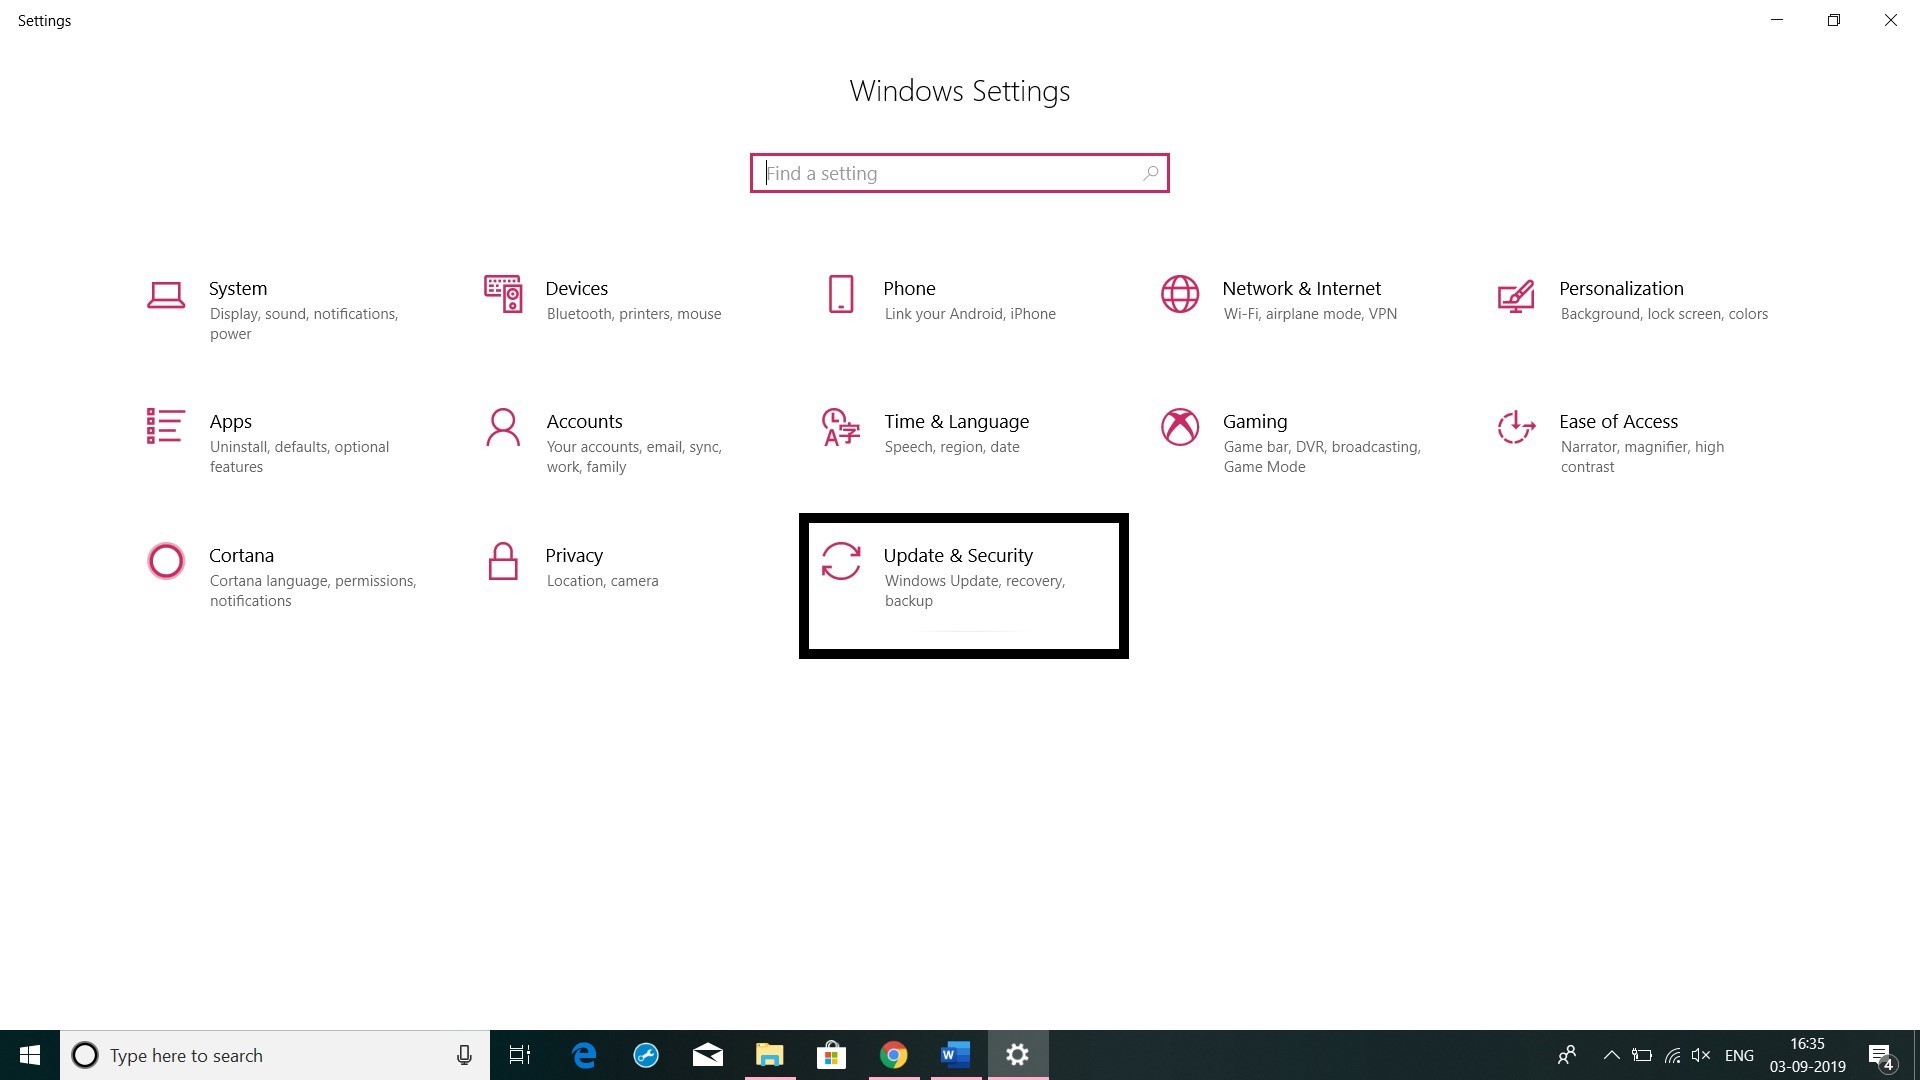
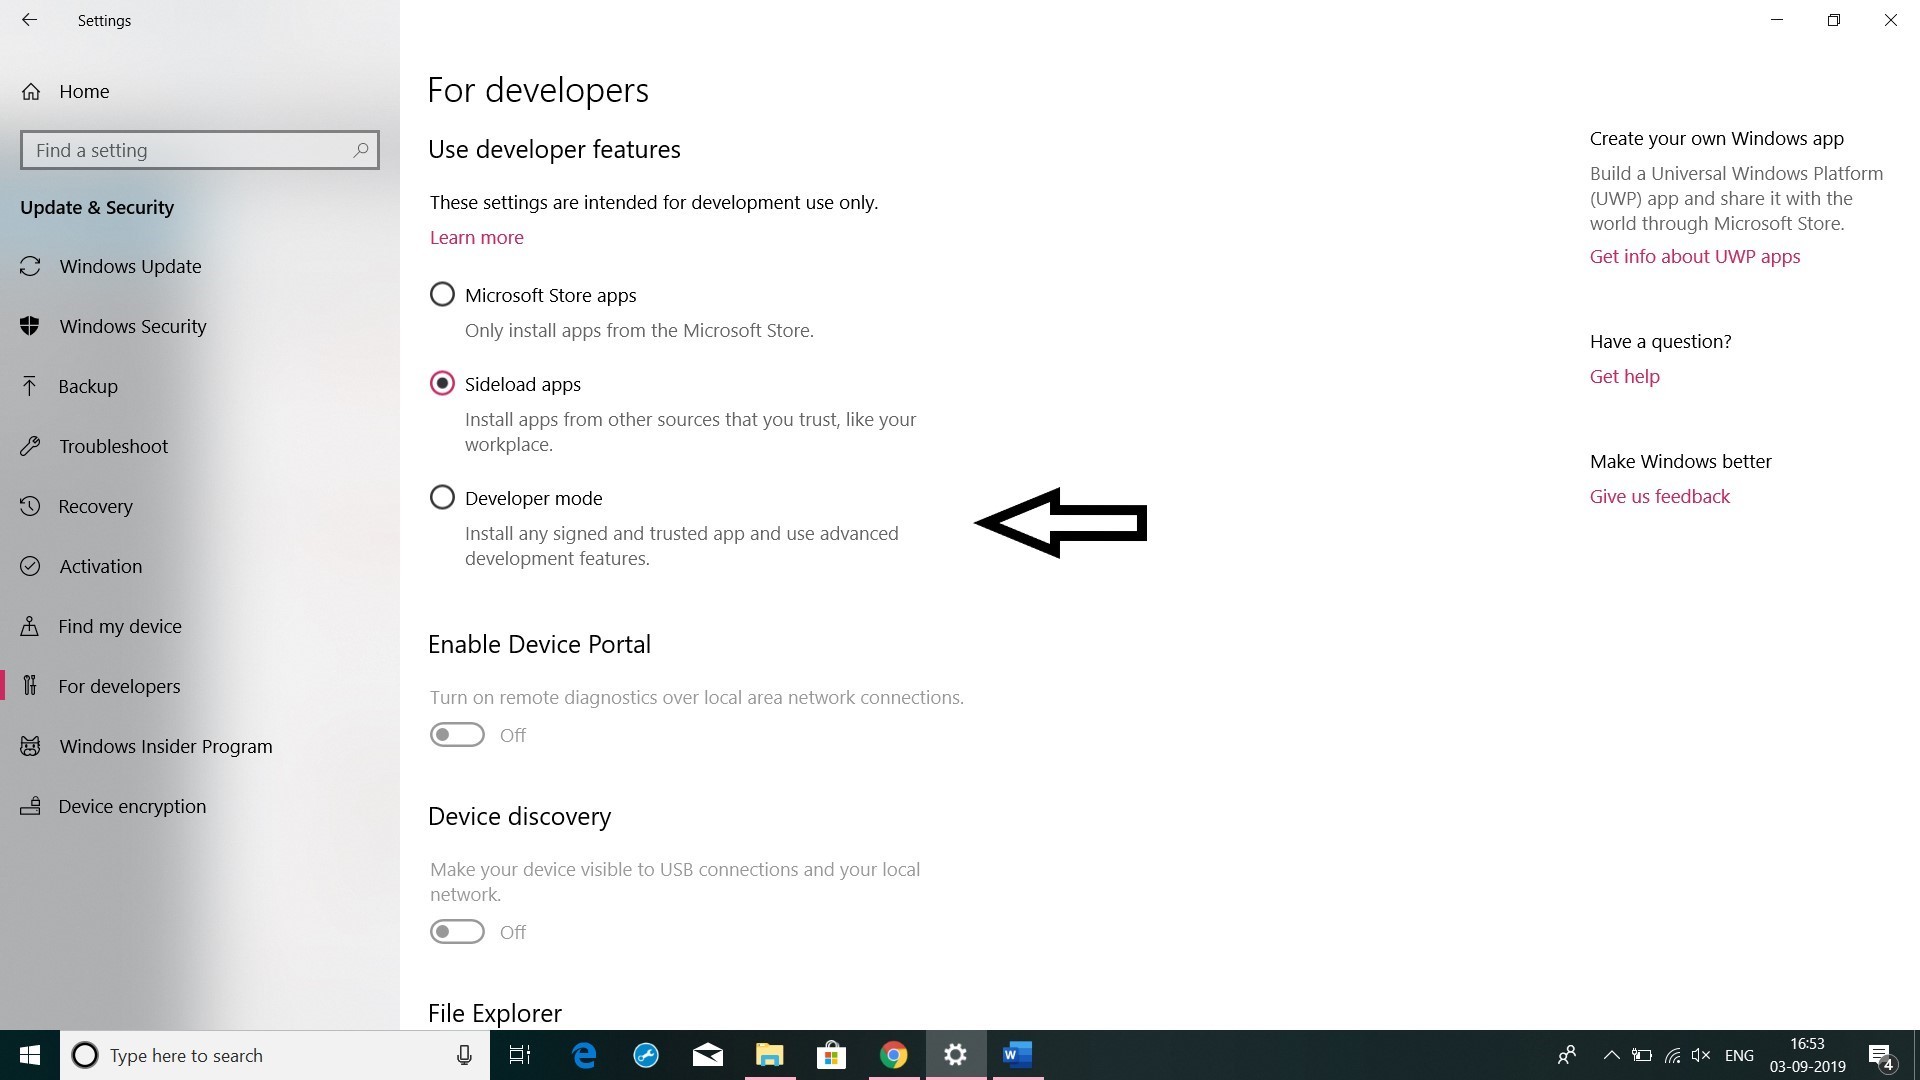
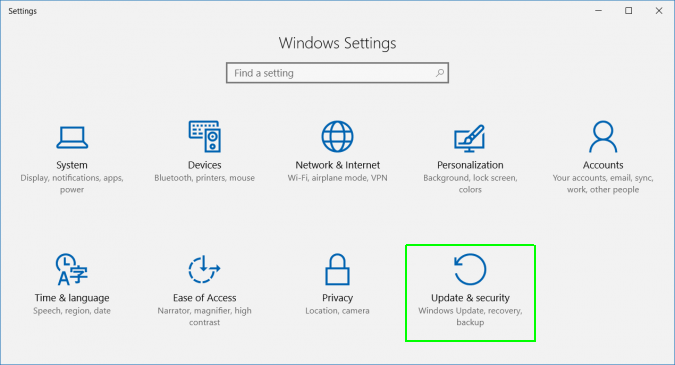
Step 1: Go to Update and Security in Settings.
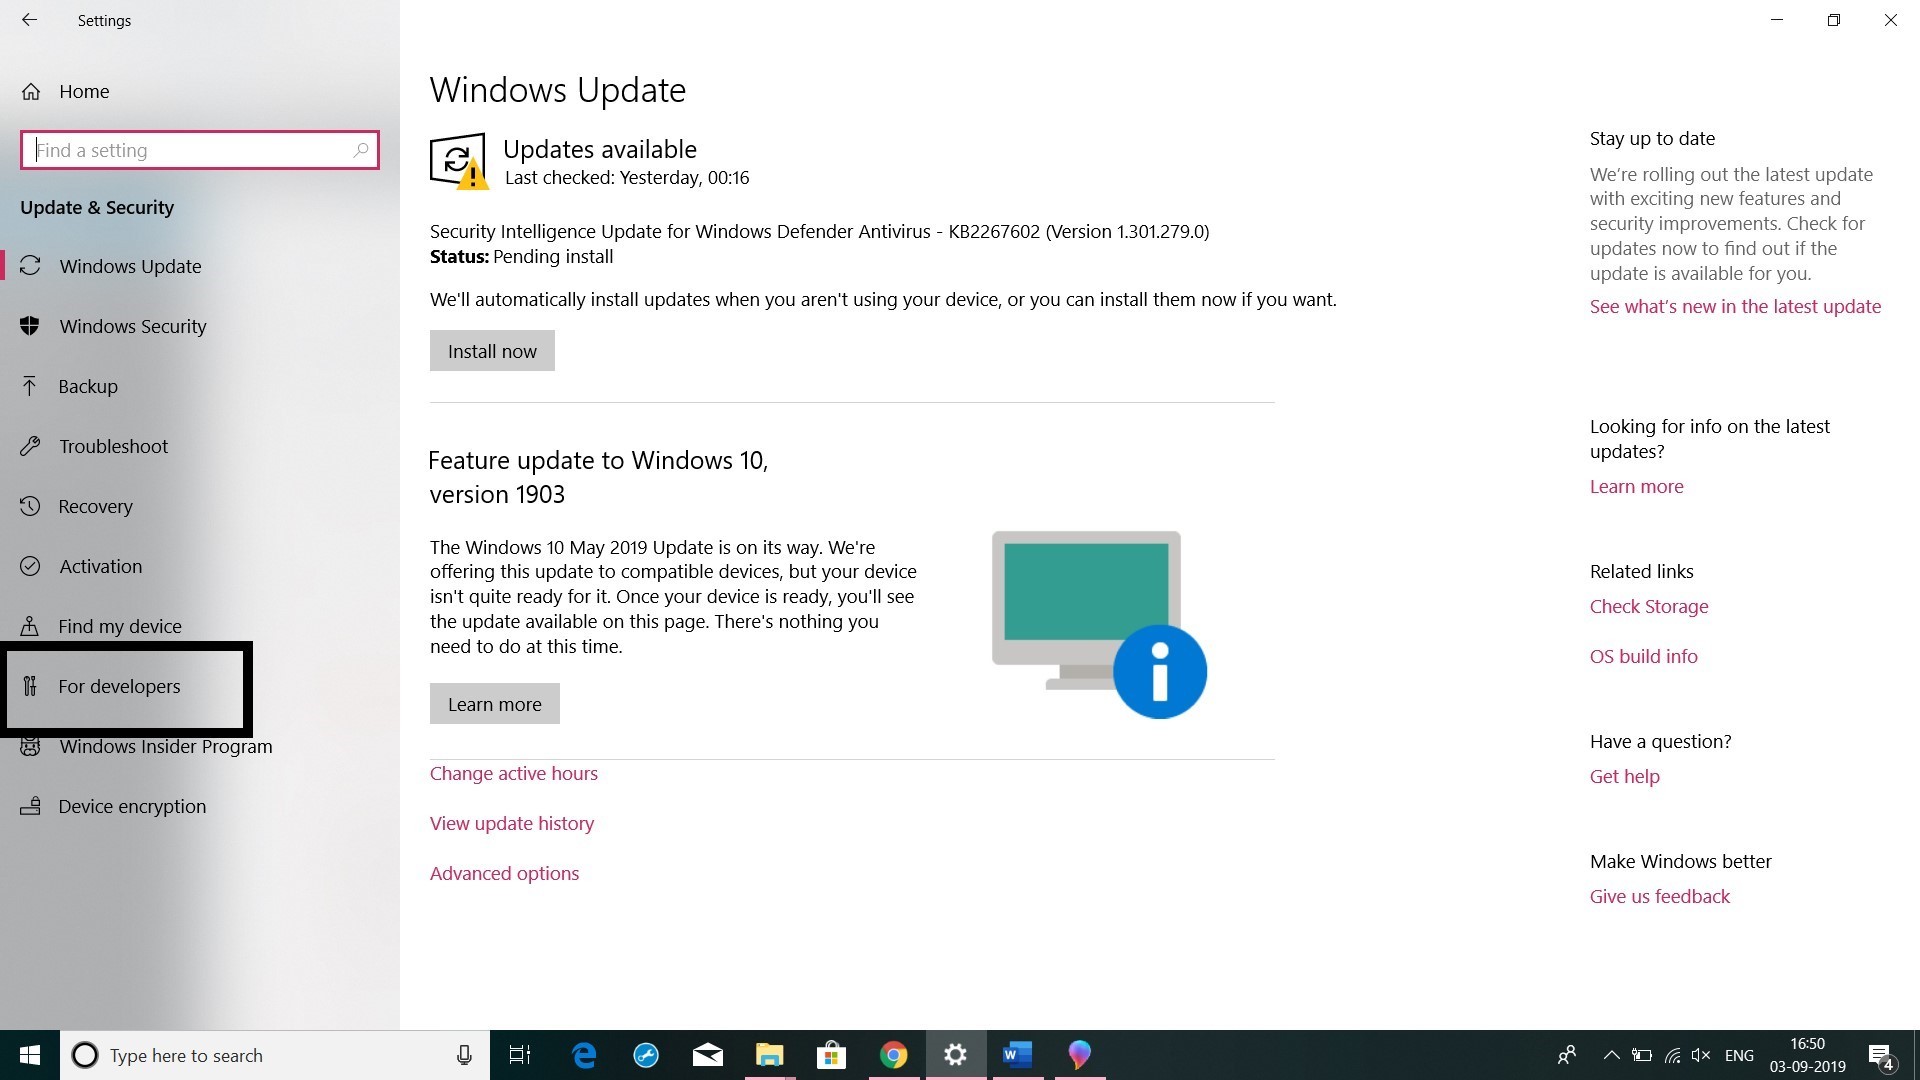
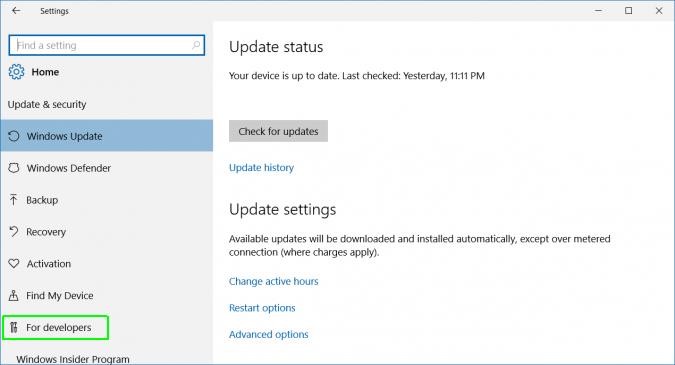
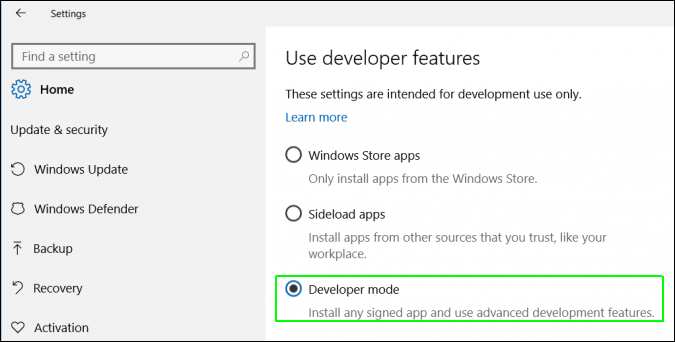
Step 2: Go to the Developer’s Mode and Select the Developer’s Mode option.
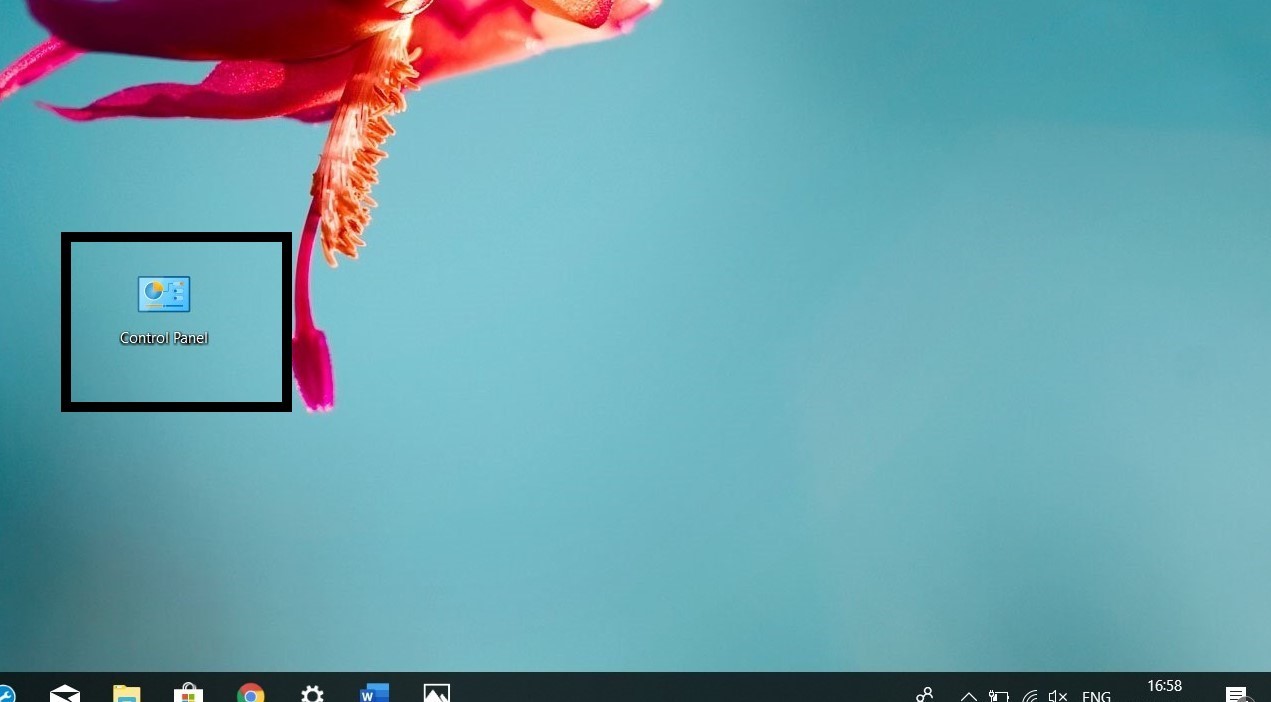
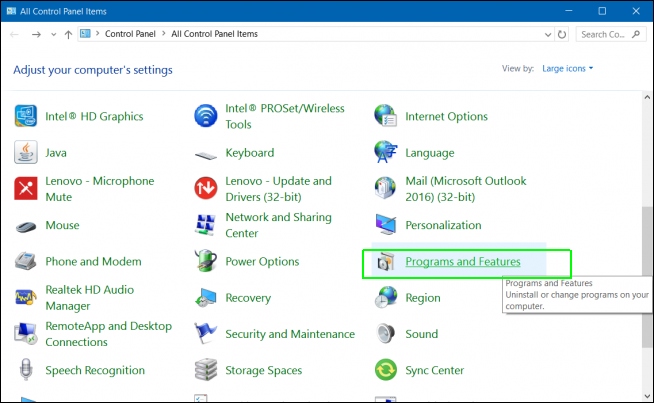
Step 3: Open the Control Panel.
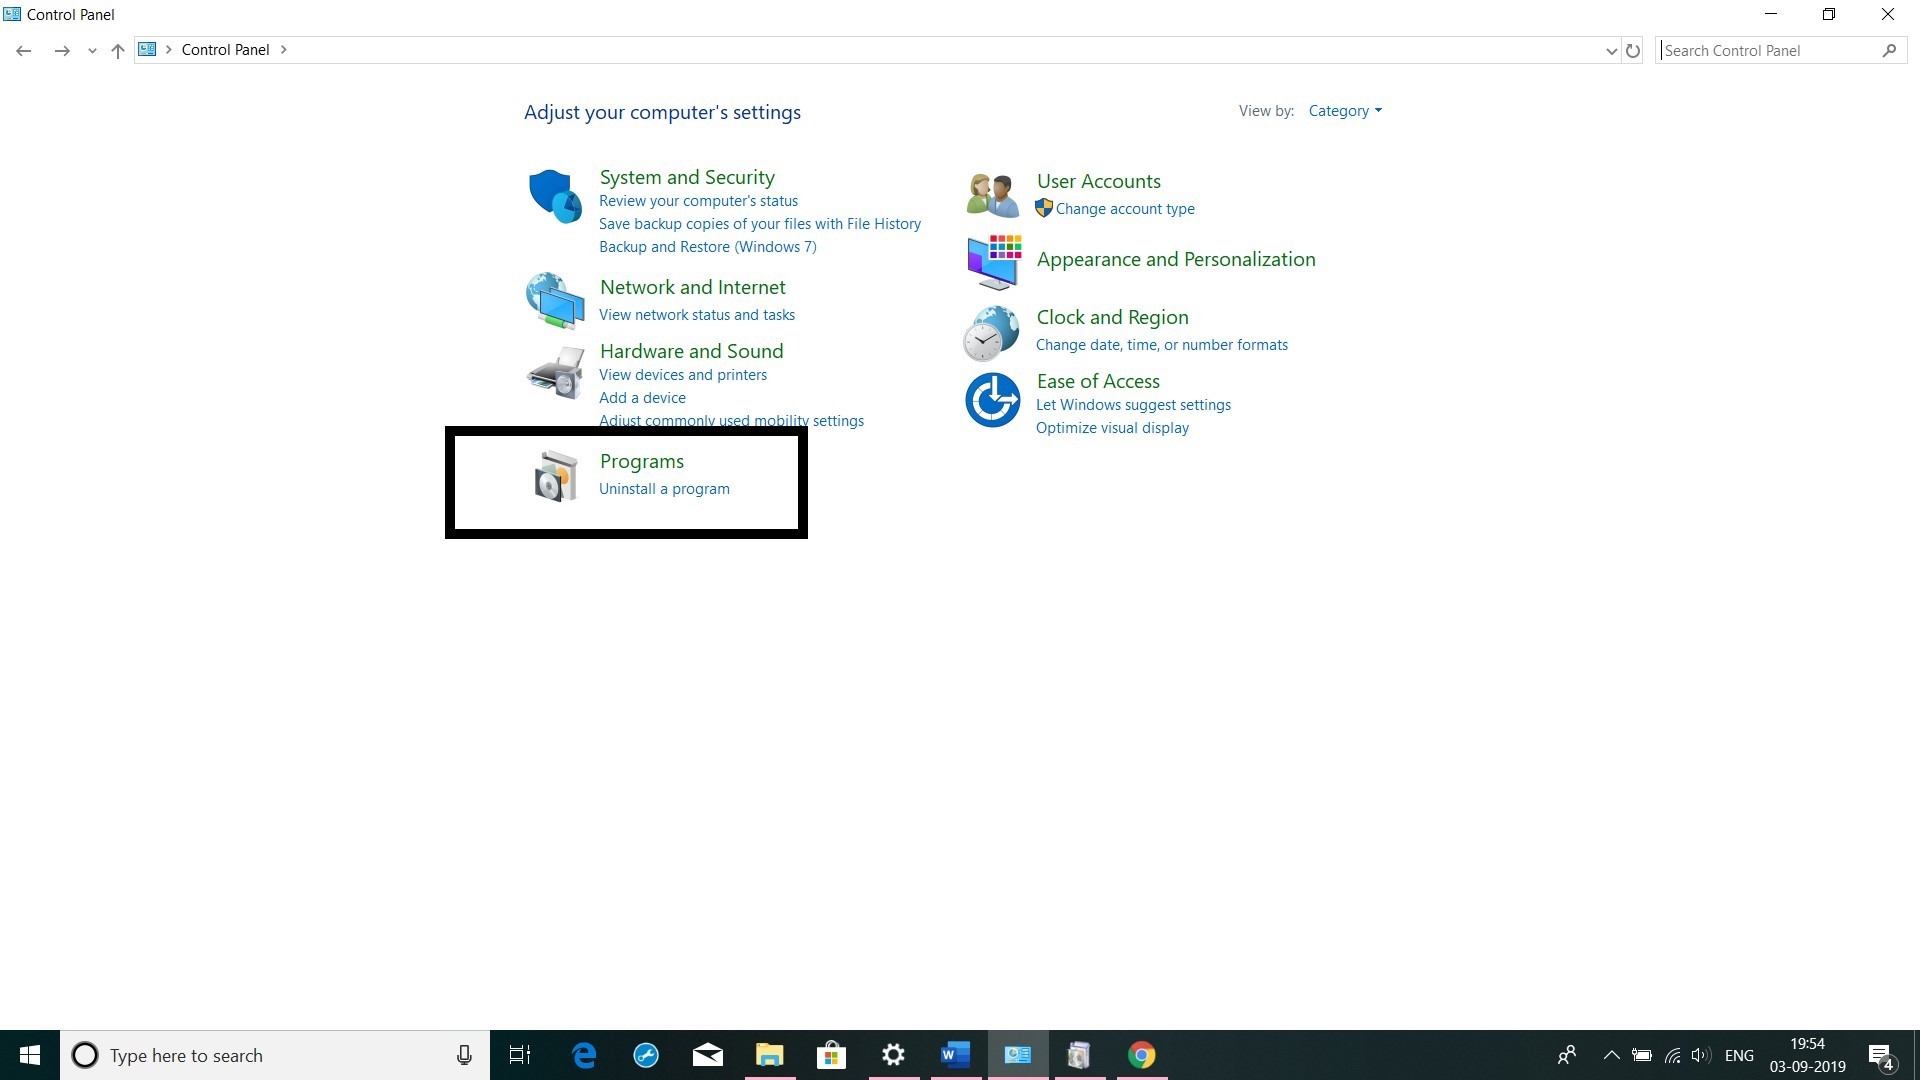
Step 4: Click Programs and Features.
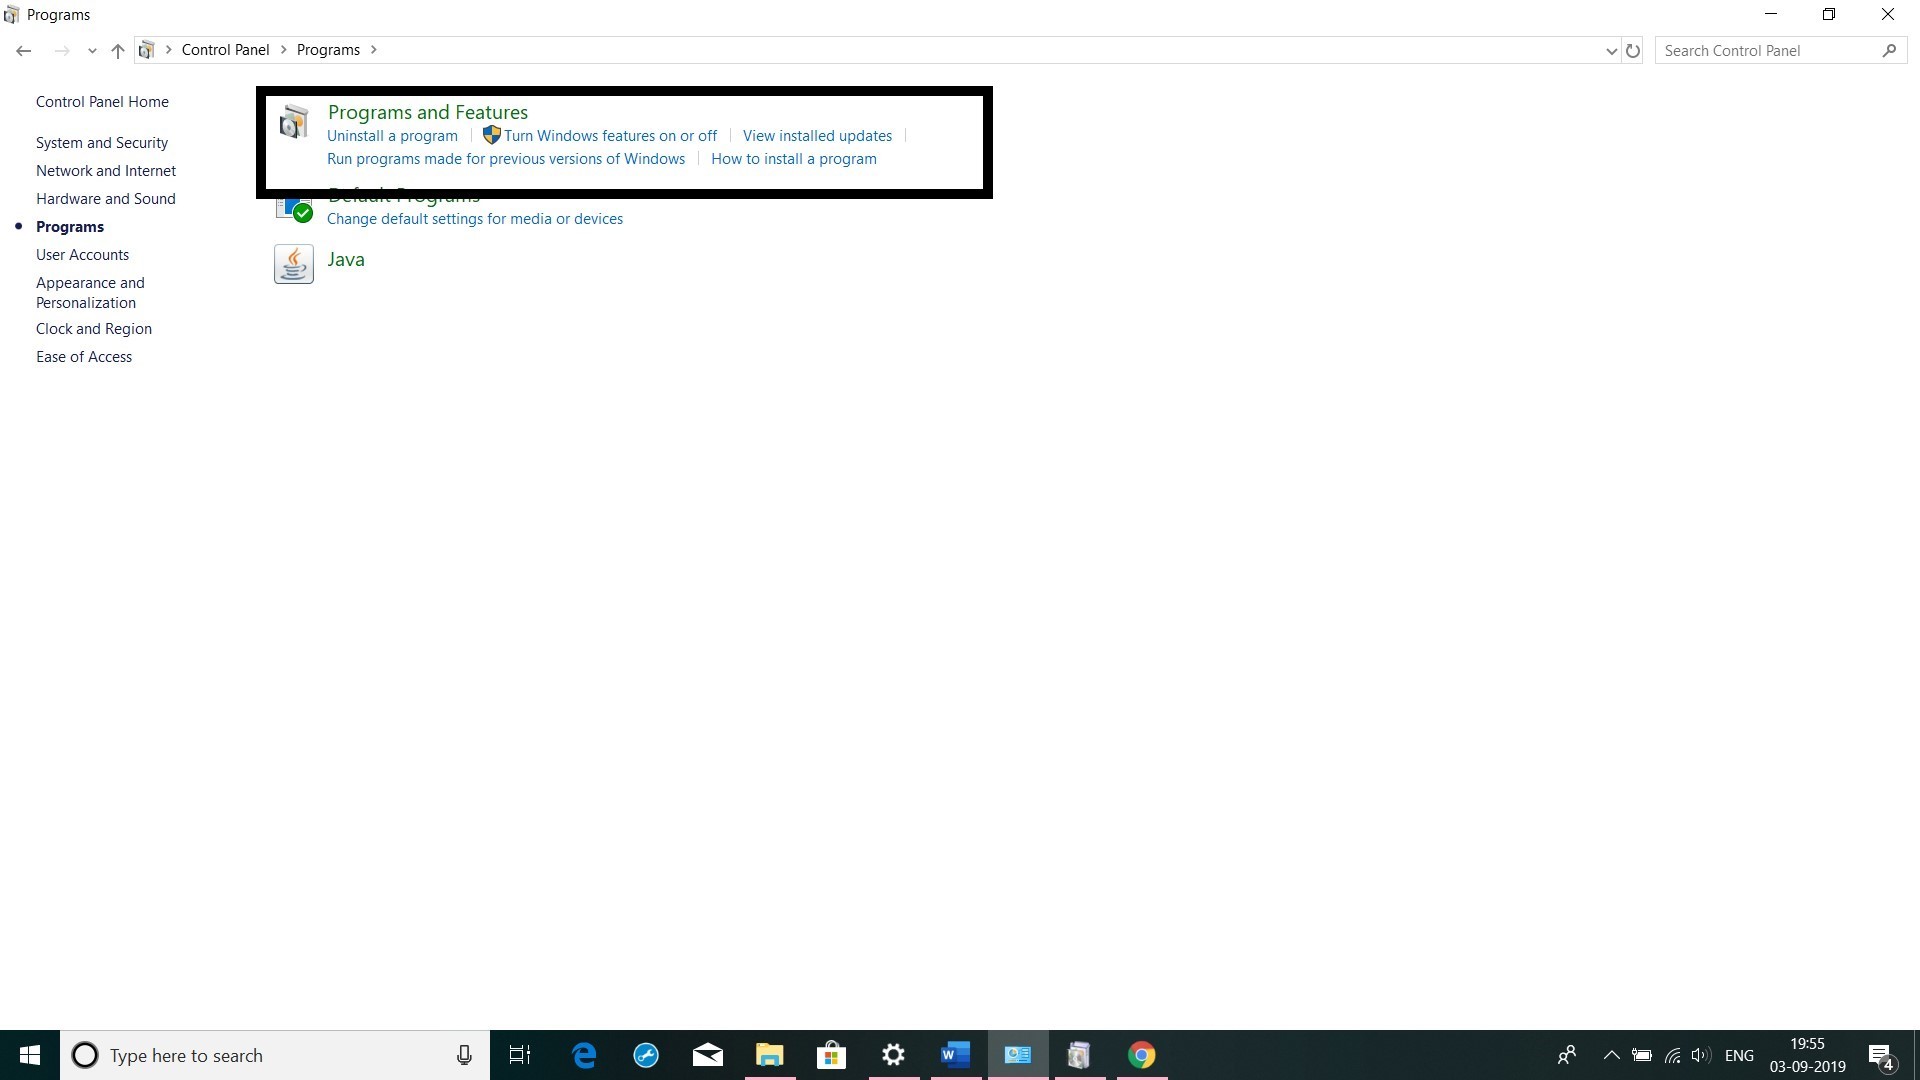
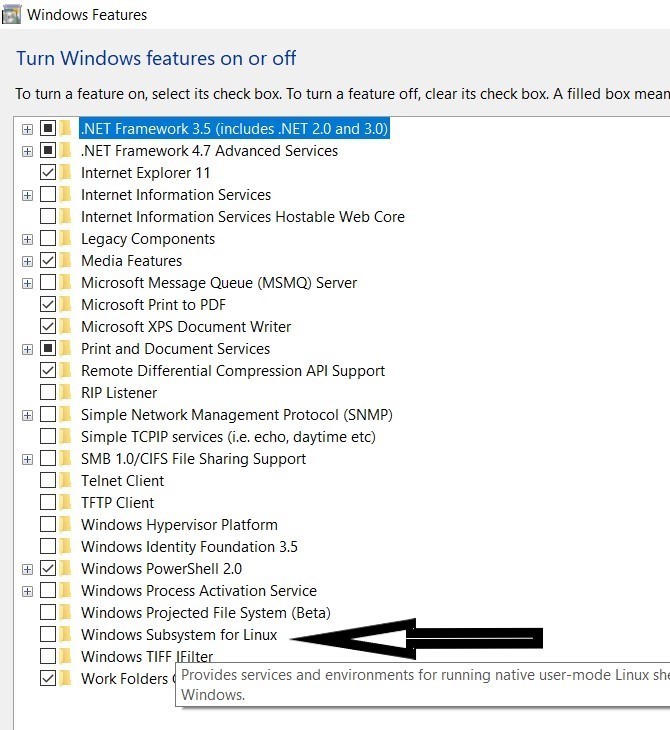
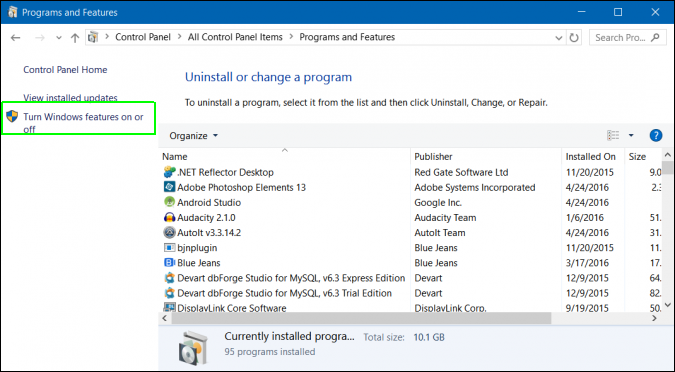
Step 5: Click Turn Windows Features On or Off.

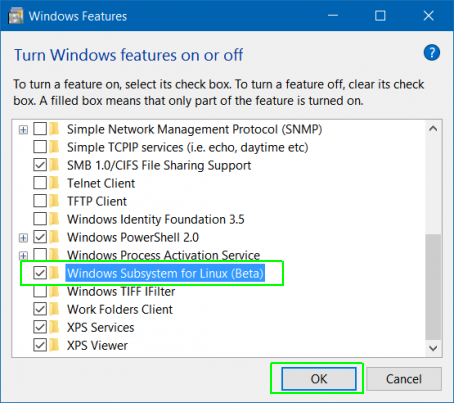
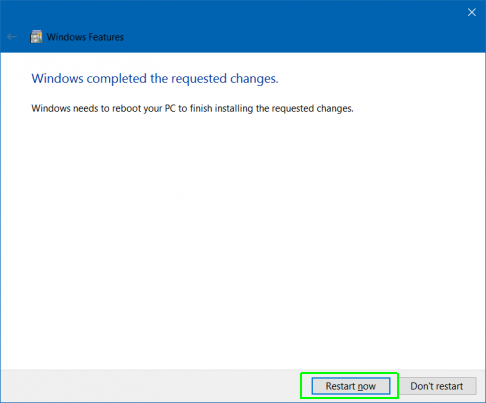
Step 6: Enable the Windows Subsystem for Linux Option in the List. Click OK. Click Restart Now to Reboot your Computer.
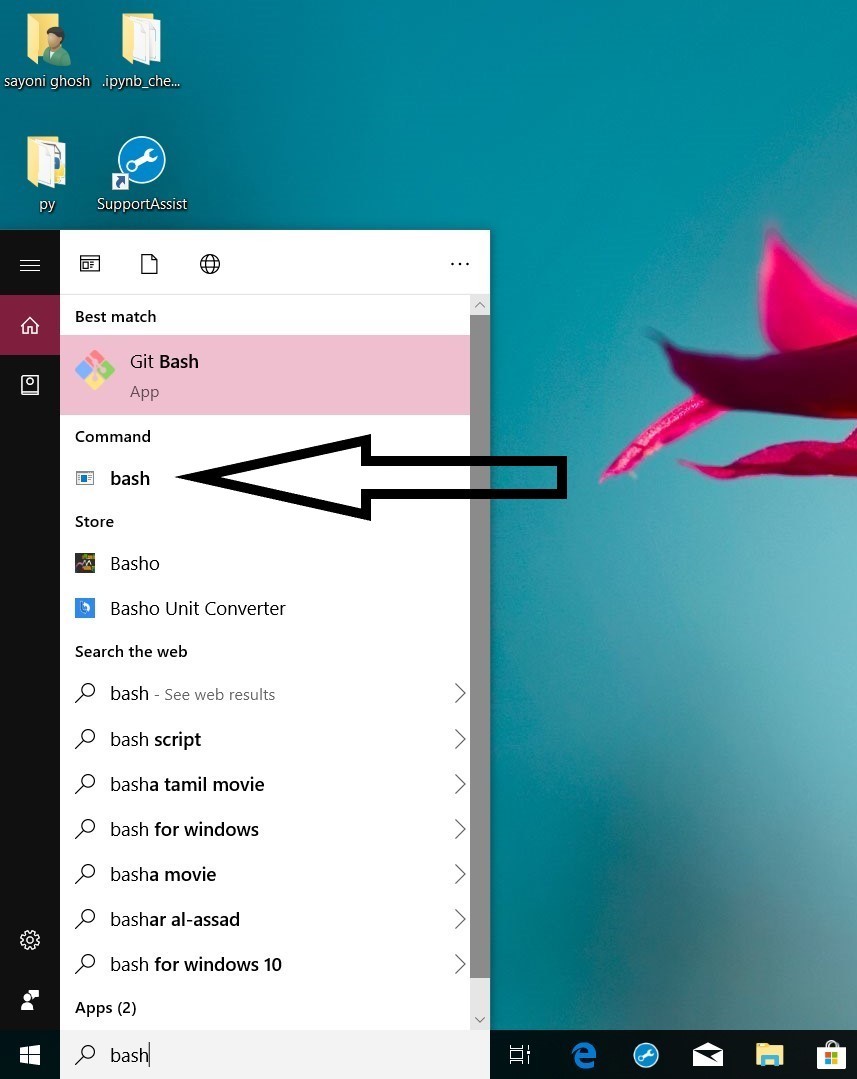
Step 7: Click the Start button (or press the Windows key), type bash, and press Enter.
Note: There are two problems that you might face after this step:
1. If you are seeing a message like:
“Windows Subsystem for Linux has no installed distributions. Distributions can be installed by visiting the Microsoft Store: https://aka.ms/wslstore
Press any key to continue…”
Then open command prompt and type “lxrun /install“. This will install Ubuntu on Windows.
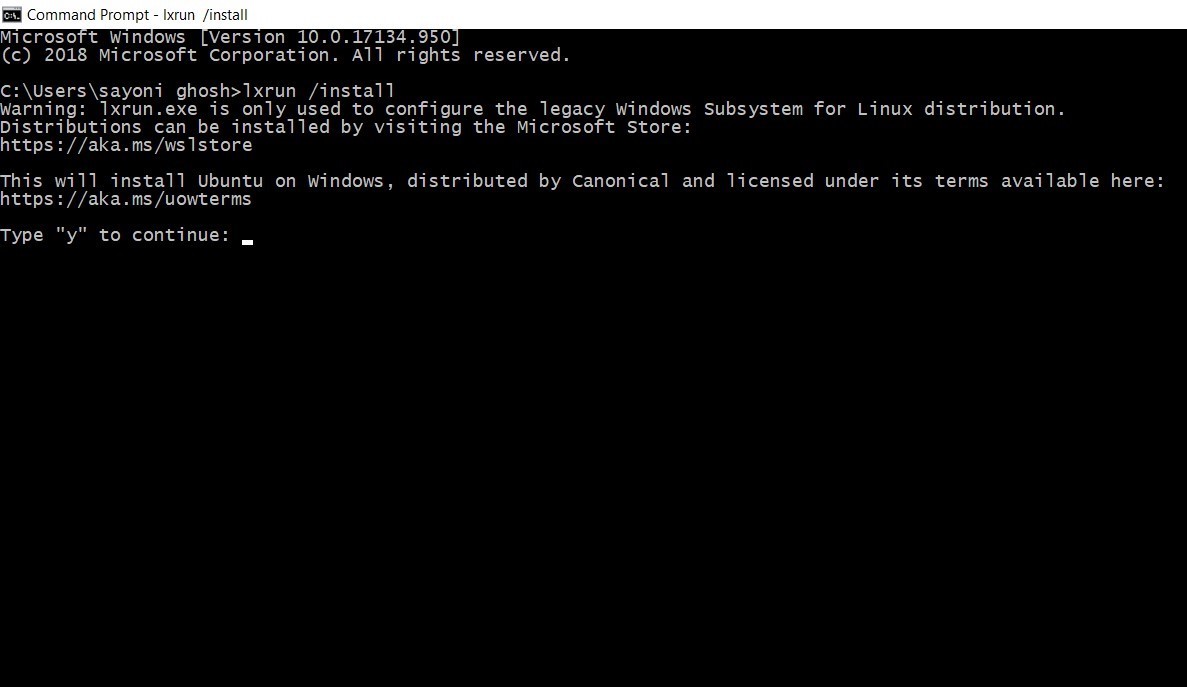
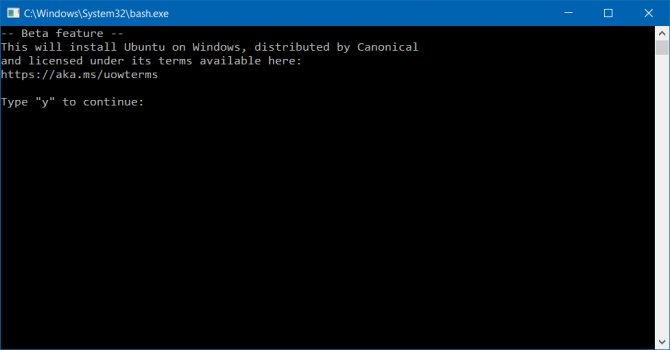
Accept the terms after which Ubuntu bash will be downloaded from Windows store
2. If the bash is not opening or above solution not working then you can open Microsoft Store. Download and Install Ubuntu. Or click here to download and install the Ubuntu for Developer Tools Utilities.
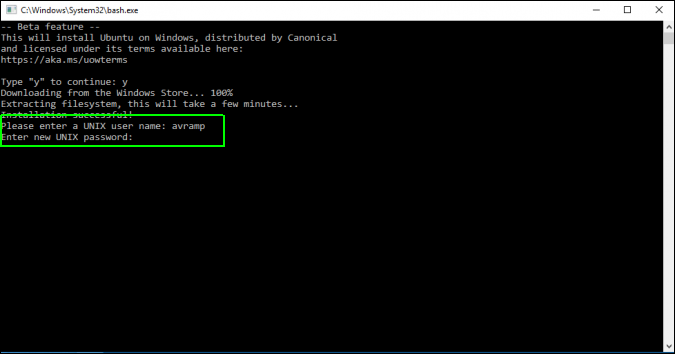
Step 8: Create user Account and Password to use bash. Again click the Start button (or press the Windows key), type bash, and press Enter.
Уровень сложностиПростой
Время на прочтение2 мин
Количество просмотров38K
Для пользователя Linux командная строка Windows кажется чем-то непривычным и неудобным. С появлением WSL казалось, что проблема использования Bash решена, но запуск виртуальной машины требует времени, да и пути в WSL отличаются от Windows. Плюс скорость файловых операций на виртуальной машине хуже.
Ещё есть возможность использовать Bash через MSYS2, но мне хотелось найти что-то более компактное и легковесное, а также простое в настройке и установке.
Так как я часто использовал Linux на роутерах, то познакомился с BusyBox, набор UNIX-утилит командной строки, используемой в качестве основного интерфейса во встраиваемых операционных системах. Оказалось, есть версия BusyBox для Windows. В 2020 году появился Windows Terminal, а в нем есть возможность создавать вкладку с запуском конкретной программы.

Сложив эти два факта, пришла очевидная мысль, использовать BusyBox, содержащий в себе Bash, в Windows Terminal как отдельную консоль.

Для этого необходимо скачать BusyBox 64, и я, например положил файл в C:/Program Files/Busybox. А дальше создать новый профиль Windows Terminal и поменять его имя на Bash и указать команду для запуска как C:/Program Files/Busybox/busybox64.exe bash

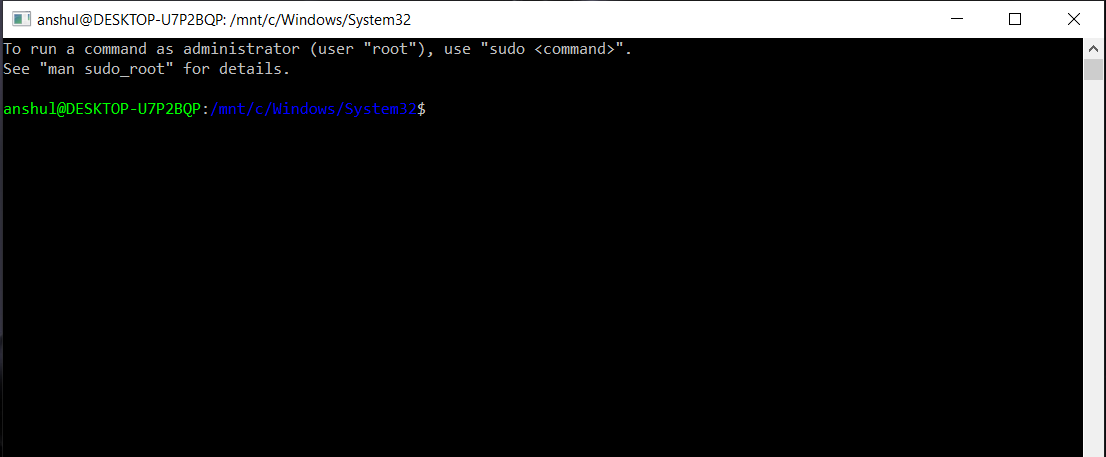
У этого подхода был один минус, при запуске терминала не из конкретной папки, а из ярлыка на рабочем столе или из панели задач.
То адрес рабочей папки был C:/Windows/System32, и если случайно ввести команду удаления или создания файла, то мы портим важную системную папку. Обойти возможно используя аналог .bashrc или /etc/profile или .profile.

Но просто создать файл .profile мало, BusyBox для Windows их не считывает, для этого необходимо добавить путь к этому файлу в ENV в “Переменные среды”.

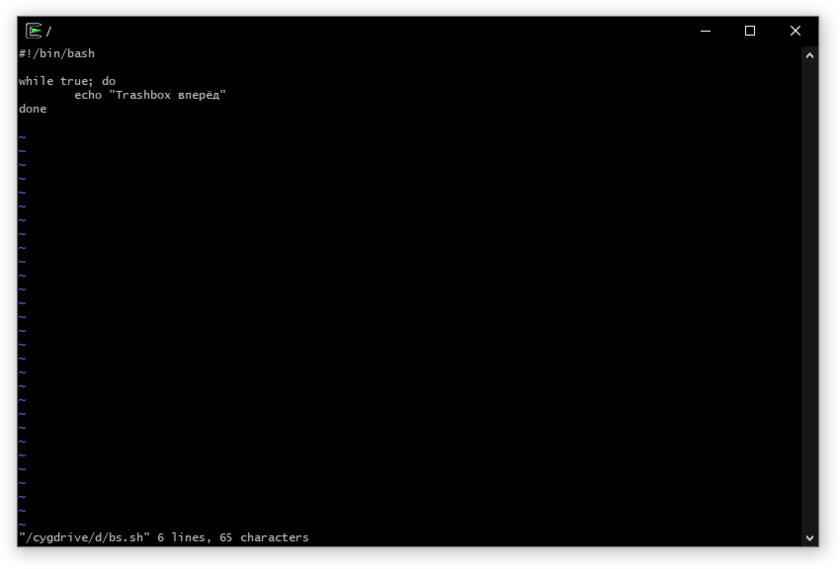
Теперь мы можем написать скрипт, который будет настраивать рабочую директорию при запуске консоли.
#!/bin/bash

domain=$(echo $PWD | tr '[:upper:]' '[:lower:]')

if [ $domain = "c:/windows/system32" ]; then
    cd $HOME
fi
Теперь если мы запустили терминал из ярлыка или панели задач, то рабочей директорией по умолчанию становится домашняя папка пользователя, а если мы запускаем из конкретной папки то, она и становится рабочей директорией.
Мы получили Bash в Windows Terminal с удобной начальной директорией.
Linux geeks rejoice. As of build number 14328, Windows 10 allows you to run a special flavor of the Bash shell (on Ubuntu) in a window. Using Bash, you can navigate around the file system, install and run Linux command line apps like the vi text editor or, with some unofficial tweaks, try to load windowed programs. However, before you can use Bash in Windows 10, you have to turn it on. Here’s how.
1. Navigate to Settings. You can get there by clicking the gear icon on the Start menu.

2. Click Update & security.
3. Select For Developers in the left column.
4. Select Developer Mode under «Use developer features» if it’s not already enabled.
5. Navigate to the Control Panel (the old Windows control panel). You can get there by hitting Windows Key + X and selecting Control panel from the pop-up menu that appears.
6. Select Programs and Features. If it’s not visible, make sure you select «Large icons» from the «View by» menu.
Sign up to receive The Snapshot, a free special dispatch from Laptop Mag, in your inbox.
7. Click «Turn Windows features on or off.»
8. Toggle «Windows Subsystem for Linux» to on and click Ok.
9. Click the Restart Now button.
10. Search for Bash in the Cortana / Search box and click its icon.
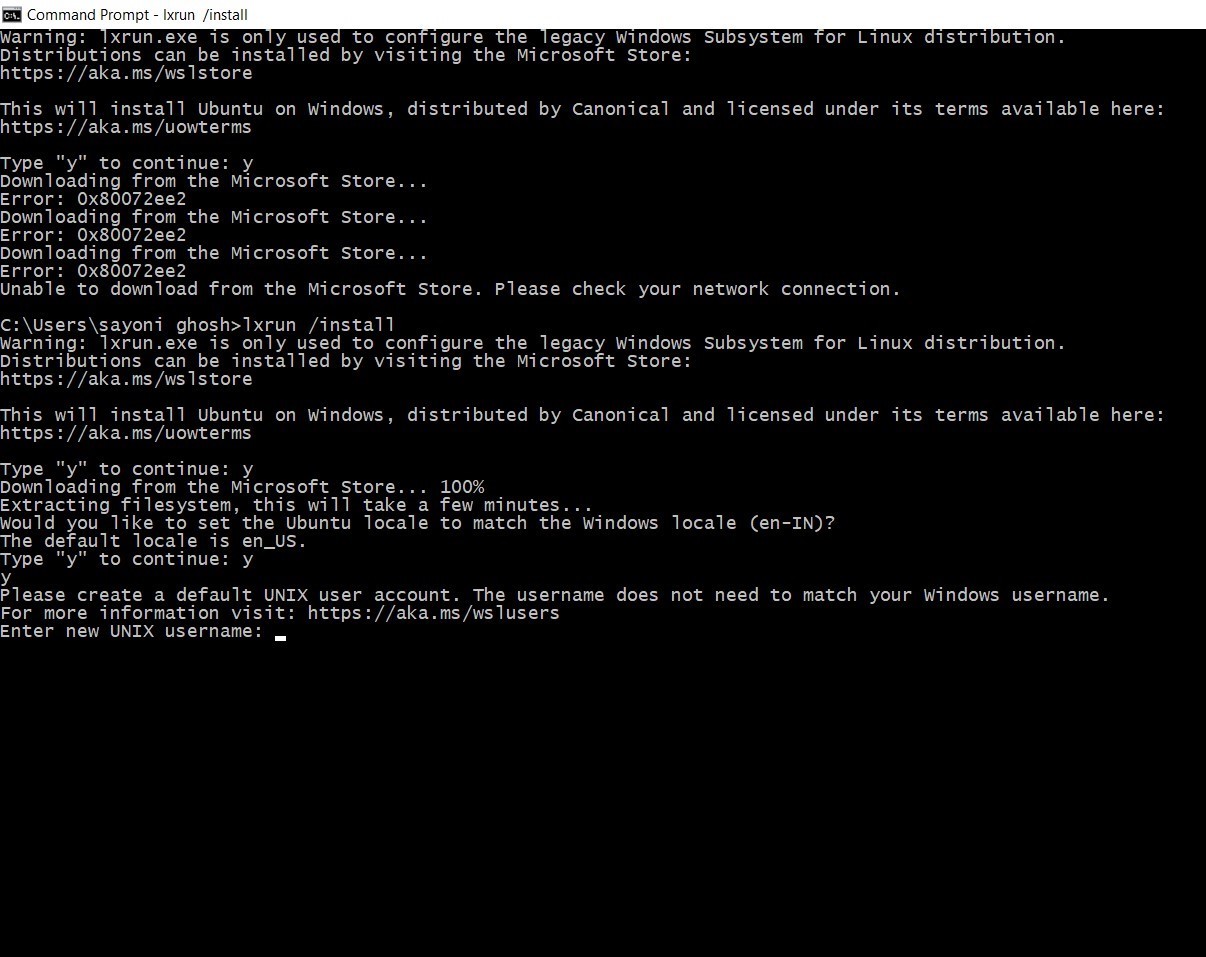
11. Type «y» and hit Enter when promoted to install Ubuntu. The system will then take a few minutes to install Ubuntu in the command prompt window.
12. Create a username and password.
You can now use the Bash shell as if you were on a a computer with Ubuntu installed as its primary OS. There are a few command line apps built-in, including the vi and pico text editors, and you can add more by using the apt-get command. There’s also a program which allows you to run windowed Ubuntu apps in Windows 10.
Windows 10 Performance and Productivity
- Previous Tip
- Next Tip
- Best Windows 10 Keyboard Shortcuts
- MIrror Your Screen to a TV or Monitor
- Speed Windows 10 Boot Time
- Get Superfast Mouse, Touchpad Speeds
- Calibrate Your Monitor
- Activate ‘God Mode’
- Defragment Your Hard Drive
- Measure the Time it Takes for Apps to Load at Boot
- Use Maximum CPU Power
- Enable Swipe to Delete in Email
- Copy and Paste at the Command Prompt
- How to record your screen in Windows 10
- Use Offline Maps
- Get the Full Layout in Windows 10’s Touch Keyboard
- Create a .Reg File for Easy Registry Hacks
- Record PC Gameplay on the Xbox App
- Perform a Clean Install of Windows 10
- Uninstall Windows 10 and Roll Back to 7 or 8
- Enable the Linux Bash Shell
- Generate a Detailed Battery Report
- Turn a PC into a Wireless Display
- Open Folders in the Taskbar
- Open Sites in the Taskbar
- Import Gmail Contacts
- Get Android Notifications
- Use Multiple Desktops
- Use Eye Control
- Use the Timeline Feature to Resume a Task
- Send Web Pages from Phone to PC
- All Windows 10 Tips
- Increase your Battery Life
In the first chapter of Cybersecurity Ops with bash we go over some of the ways you can leverage the power of the Linux command line directly from the Windows environment.
One of my favorite ways of doing this is by using the Windows Subsystem for Linux or WSL.
WSL was introduced as part of Windows 10, and it allows you to run an emulated or virtualized version of Linux natively within Windows.
There are several Linux distributions to choose from including Ubuntu and Kali.
How to Install WSL in Windows 10
In order to use WSL you will first need to install it.
1. Using the Windows Start Menu, search for «Windows Features»
2. Select «Turn Windows features on or off»
3. Check the box next to «Windows Subsystem for Linux» and select «OK»
4. After the installation completes select «Restart now»
5. Once the system is restarted use the Windows Start Menu to search for «Microsoft Store»
6. In the Microsoft Store, search for «Linux» and select the Linux distribution you would like to install
7. Click the «Install» button and then «Get»
8. After the Linux distribution is done installing click the «Launch» button.
You are now ready to start using the Windows Subsystem for Linux!
How to Run WSL
Once the Windows Subsystem for Linux is enabled and you have installed a Linux distribution you can start it by opening the Windows Command Prompt and typing wsl
C:\>wsl

Welcome to Ubuntu 20.04.2 LTS (5.4.72-microsoft-standard-WSL2 x86_64)
$
Error Message — No Installed Distributions
Sometimes when running WSL for the first time you may receive the following error:
C:\>wsl

Windows Subsystem for Linux has no installed distributions.
Distributions can be installed by visiting the Microsoft Store:
To resolve this, perform a search using the Windows Start Menu for the name of the Linux distribution you installed from the Microsoft Store. For example, search for «Ubuntu»:
Click the program to launch it and that should finish the installation on your system. You should not longer receive the error message when running wsl from the Command Prompt.
Once inside the WSL Linux distribution you can do things you normally would such as run Linux commands and install packages.
You can also directly run Linux commands from the Windows Command Prompt by using the wsl command and providing the Linux command as an argument. The command will execute in the WSL Linux distribution and the results will be returned back to the Windows command prompt.
In the example below you can see the Linux cowsay command run directly from the Windows Command Prompt:
Note that you must precede the Linux command with wsl, if you do not you will receive an error. Here is the incorrect method:
C:\>grep

'grep' is not recognized as an internal or external command,
operable program or batch file.
And here is the correct method:
C:\>wsl grep

Usage: grep [OPTION]... PATTERNS [FILE]...
Try 'grep --help' for more information.
Piping and Redirection
You can also use input/output piping and redirection when using the wsl command, but you need to be careful how you do it to ensure it occurs within the correct operating system environment. Let’s see what happens if you run the following command pipeline from the Windows command prompt:
C:\>wsl ps -e | grep ps

'grep' is not recognized as an internal or external command,
operable program or batch file.
Note that the output states that the grep command is not recognized. That is because Windows executes the ps -e command from within the WSL environment, but then returns the result back to the Windows environment. Windows then tries to pipe that output into the grep command, which of course does not exist in the Windows environment. To overcome this, simply add the wsl command again after the pipe so the grep command runs in the Linux environment.
C:\>wsl ps -e | wsl grep ps
    7 tty1     00:00:00 ps
I/O redirection works the same way. Here is an example:
Here the ps -e command is executed in the Linux environment using wsl and the results are returned to the Windows environment. Windows then redirects the output to the file ps.txt.
WSL and Windows PowerShell
Running WSL works exactly the same way from the Windows PowerShell. That means you are able to access your favorite Linux commands, bash scripts, and programs from directly within PowerShell scripts!
WSL 2
In mid-2020 Microsoft released WSL version 2. WSL 2 provides a more full-featured virtualized environment allowing for complete access to system calls. That means you can now install the complete array of Linux applications including Docker and similar programs.
Recent releases of WSL also supports running Linux programs that have graphical user interfaces.
Links and Resources
-
Installing WSL
-
Command reference for Windows Subsystem for Linux
-
WSL Version 2