-
Home
-
News
- How to Uninstall Program Using CMD/PowerShell Windows 10/11
By Alisa |
Last Updated
This post teaches you how to uninstall programs using CMD (Command Prompt) or PowerShell in Windows 10 or Windows 11 computer. Force uninstall the program that cannot be uninstalled. For more computer tips and tricks, you can visit the News library of MiniTool Software website.
To delete unwanted apps on Windows 10/11, you can not only use the Add or Remove Programs feature but also use Command Prompt or PowerShell. This post mainly introduces how to uninstall programs by using CMD or PowerShell. This is useful if you can’t uninstall a program or the program doesn’t show in Control Panel.
Quick Video Guide:
How to Uninstall Programs Using CMD (Command Prompt) in Windows 10/11
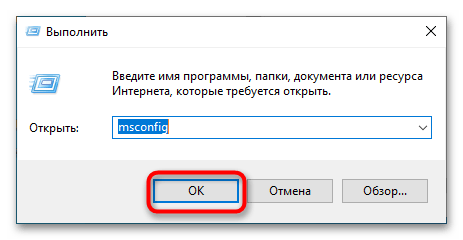
Step 1. Press Windows + R, type cmd, and press Ctrl + Shift + Enter to open elevated Command Prompt on Windows 10/11.
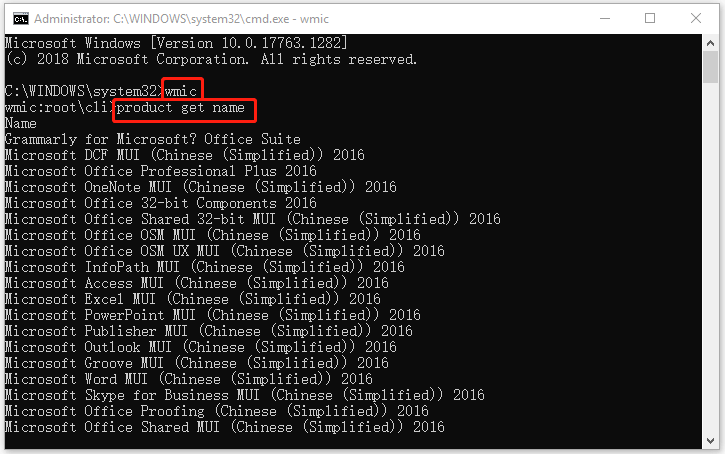
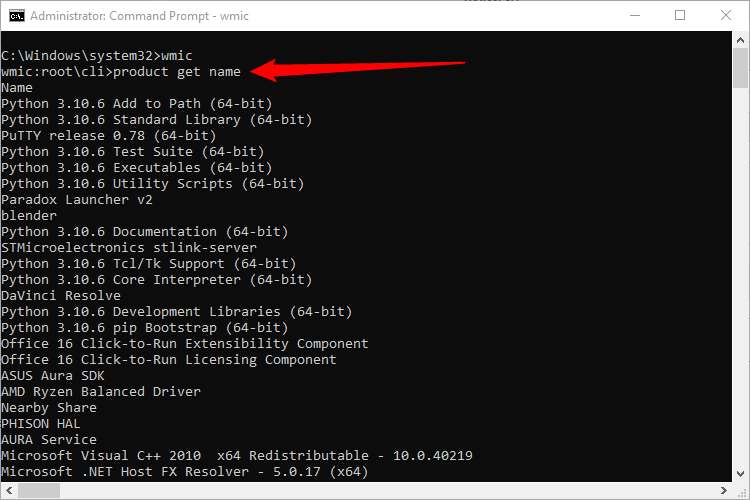
Step 2. In Command Prompt window, type wmic command and press Enter. Then type product get name command and press Enter. You will get a list of programs that are installed on your computer. Find and note the name of the product that you want to uninstall.
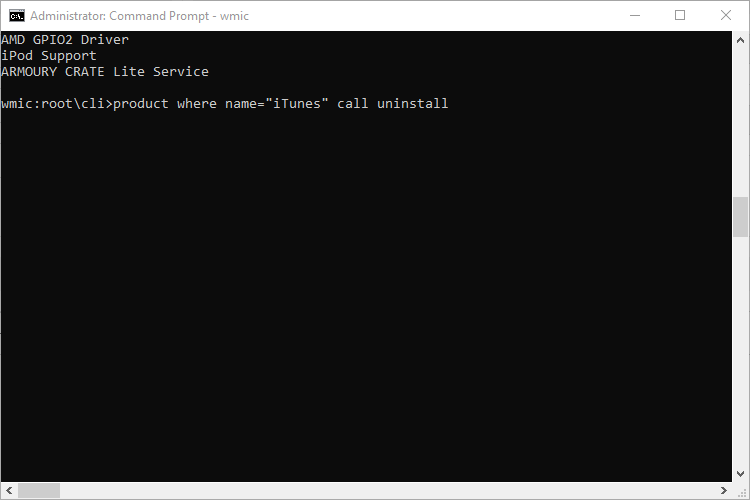
Step 3. Next type the following command product where name=”program name” call uninstall, e.g. product where name=”Google Update Helper” call uninstall. Press Enter to execute the command.
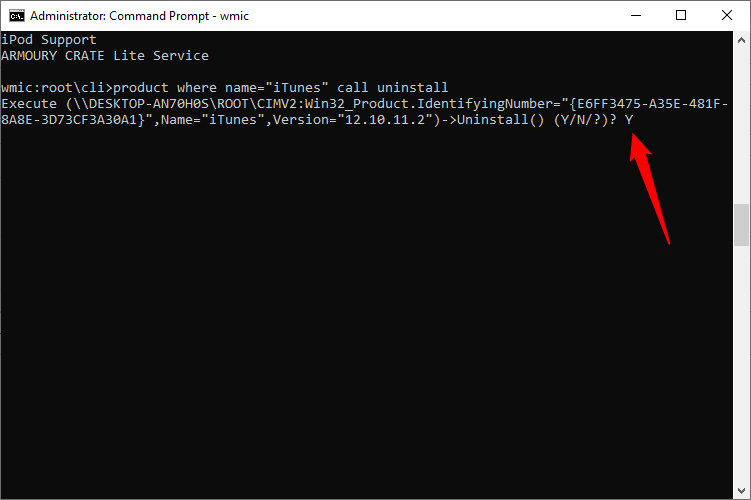
Then you will be asked to confirm if you really want to uninstall the program, if yes, type Y and press Enter. After a while, you will receive a message saying that “Method execution successful”. You have uninstalled the program with Command Prompt in Windows 11/10
Tips:
Experience a faster system with MiniTool System Booster – your solution to effortless program uninstallation.
MiniTool System Booster TrialClick to Download100%Clean & Safe
How to Uninstall a Program Using PowerShell in Windows 10/11
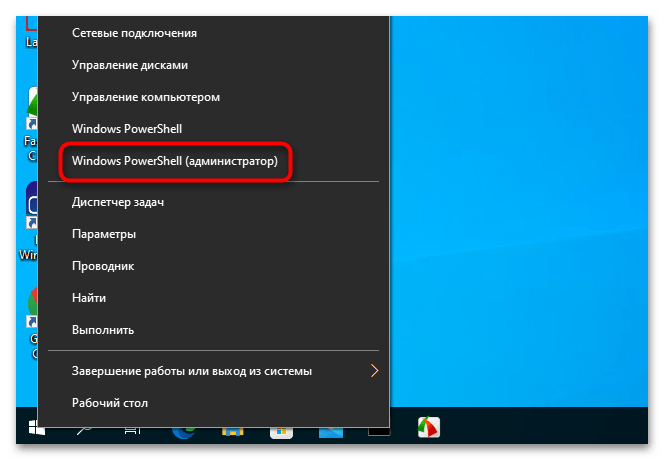
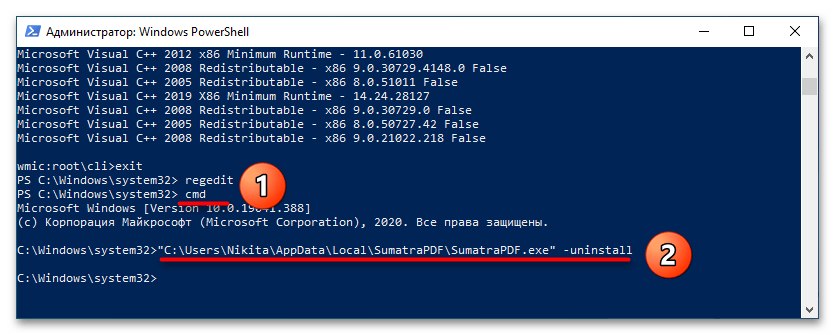
Step 1. Press Windows + X and select Windows PowerShell (Admin) to open PowerShell utility on your Windows 10 or Windows 11 computer.
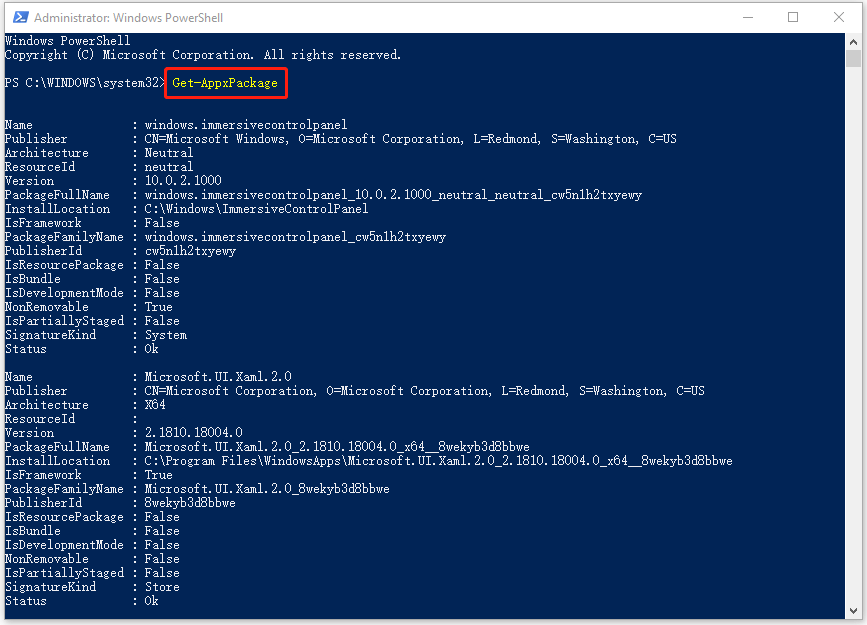
Step 2. In Windows PowerShell window, you can type the command Get-AppxPackage, and press Enter. This will display all the apps installed on your Windows 10/11 computer.
Scroll down to find the target program that you want to uninstall. Check and take down the program name next to Name option.
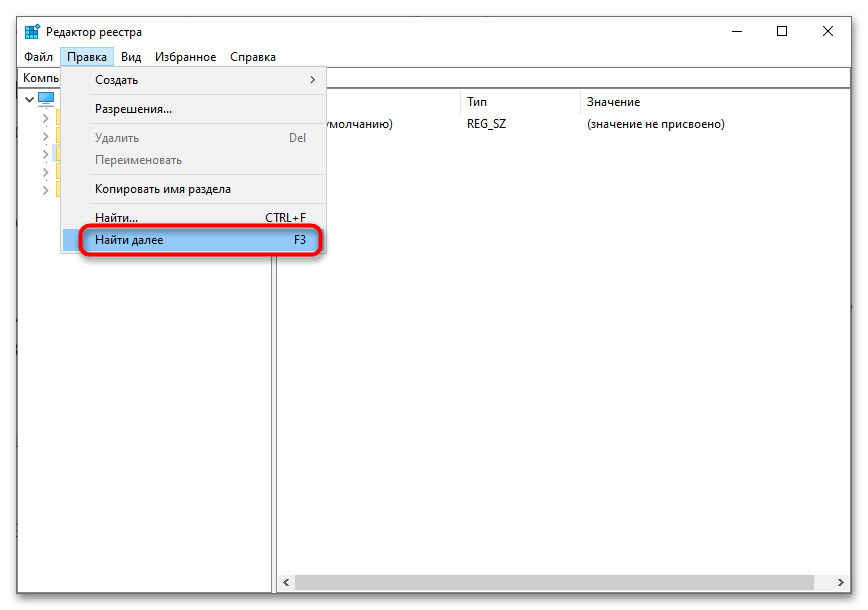
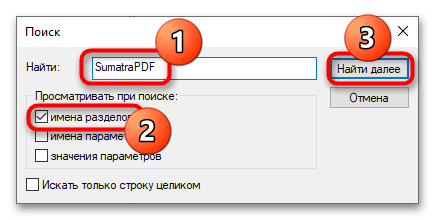
You can also right-click on the title bar of PowerShell utility and select Edit -> Find, type a part of the app name and click Find Next until you find the target app.
Step 3. Next, type the command Remove-AppxPackage <App Name>, e.g. Remove-AppxPackage Microsoft.Print3D. Press Enter to uninstall the program using PowerShell.
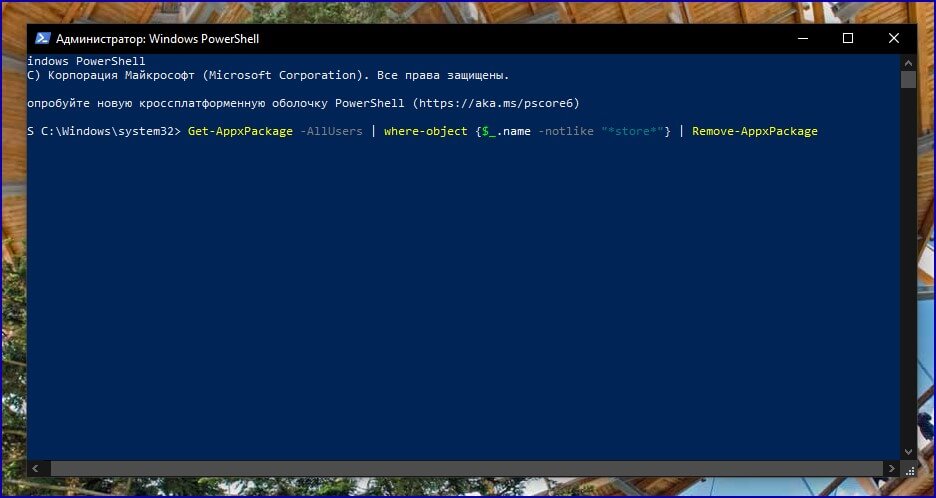
Alternatively, you can also use a simpler way to remove unwanted apps with PowerShell on Windows 10/11.
In PowerShell window, you can type the command Get-AppxPackage *program name* | Remove-AppxPackage and press Enter to directly remove the target program. For instance, type Get-AppxPackage *3dbuilder* | Remove-AppxPackage and press Enter will uninstall 3D Builder program from your Windows 10/11 computer.
Related tutorials:
How to Uninstall, Restore, Reinstall Windows 10 Built-in Apps
How to Recover Uninstalled Programs on Windows 10 (2 Ways)
Bottom Line
This post includes a detailed guide for how to uninstall programs using CMD (Command Prompt) or PowerShell on Windows 11 or Windows 10 computer. If you have trouble with uninstalling a program on your PC, you can try to force to uninstall the program with CMD or PowerShell.
MiniTool Software, a top software developer, has developed MiniTool Power Data Recovery, MiniTool Partition Wizard, MiniTool ShadowMaker, MiniTool Video Converter, and some other products. If you are interested in these products, you can find and try them from MiniTool Software official website.
About The Author
Position: Columnist
Alisa is a professional English editor with 4-year experience. She loves writing and focuses on sharing detailed solutions and thoughts for computer problems, data recovery & backup, digital gadgets, tech news, etc. Through her articles, users can always easily get related problems solved and find what they want. In spare time, she likes basketball, badminton, tennis, cycling, running, and singing. She is very funny and energetic in life, and always brings friends lots of laughs.
Sign in to your How-To Geek account
If you’re using Windows 10 and need to free up some disk space, you can uninstall apps you no longer use straight from the Command Prompt. Here’s how it’s done.
First, you’ll have to run Command Prompt as an administrator to uninstall a program. In the Windows Search box, type «cmd» or «Command Prompt» then click «Run as Administrator» in the menu that appears.
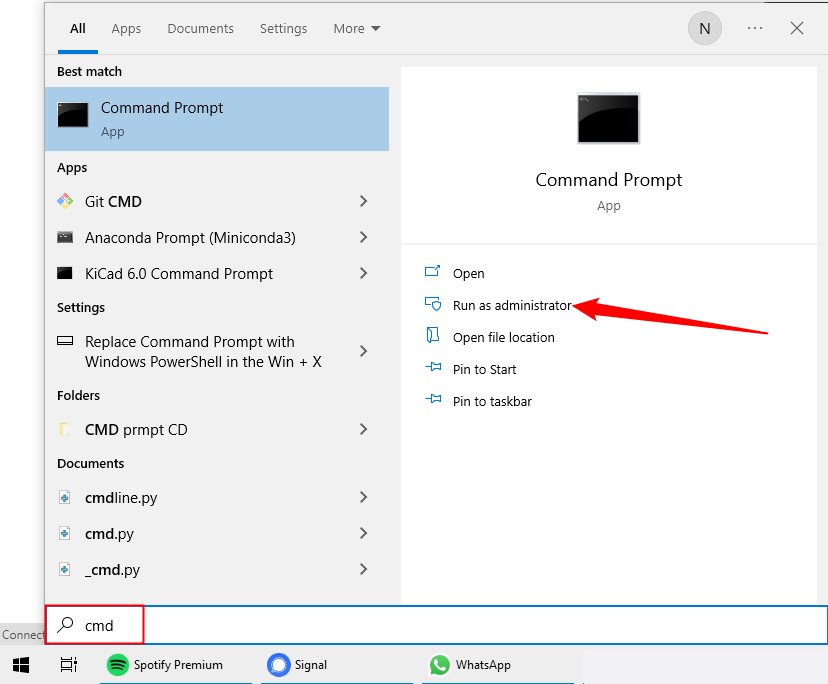
Command Prompt will now launch with administrator permissions. To uninstall a program using Command Prompt, you have to use the Windows Management Instrumentation Command-line (WMIC) software utility.
At the prompt, type the following command, and then press Enter:
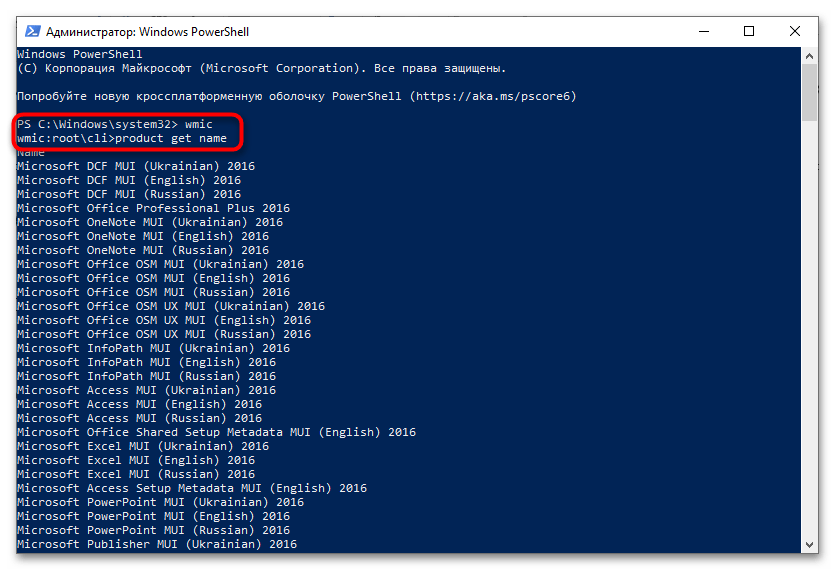
wmic
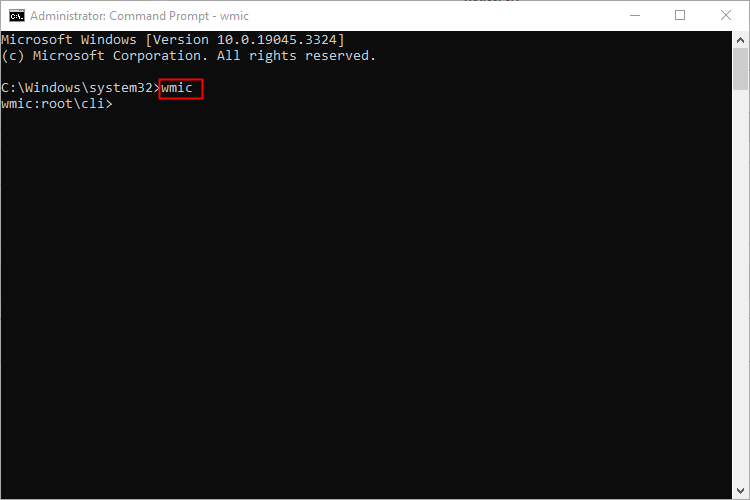
You’ll see the wmic:root\cli> prompt in the console once you run the WMIC command. This means you can now use Windows Management Instrumentation (WMI) operations.
Next, you’ll want a list of the programs installed on your computer. Getting this list is essential because you must provide an accurate product name to successfully execute the uninstall command.
Type the following command to get the list:
product get name
You can also run wmic commands directly from the standard command line, without running «wmic» and entering the WMIC prompt first. To do so, prepend them with «wmic.» For example, «wmic product get name» works the same as running «wmic,» and then «product get name.«
Find the name of the program you want to uninstall from the list. You can uninstall the program by running this command:
product where name="program name" call uninstall
Just replace program name with the name of the program you want to install. For example, if we want to uninstall the iTunes App, we would type this command:
product where name="iTunes" call uninstall
You’ll then be asked to confirm if you really want to execute the command. Type Y to confirm, and then press Enter. Type N to cancel the operation.
After a few moments, you’ll receive a message telling you the method was successfully executed.
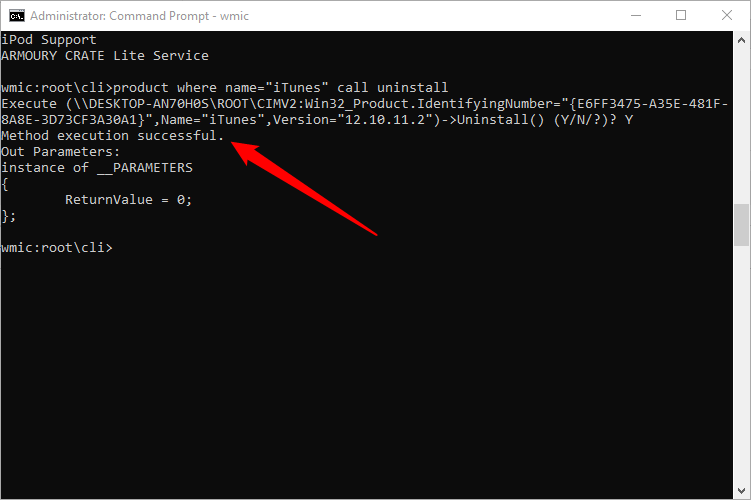
The application has now been uninstalled from your computer.
This is just one of the many ways you can uninstall an application on Windows 10. You can also do so from the Control Panel, Start menu, or Settings window.