
Enabling the Print Screen function in Windows 10 is a simple, step-by-step process that allows you to capture screenshots of your desktop or active windows. By following a few easy steps, you’ll be able to take quick snapshots of your screen, whether for work, school, or personal use.
These steps will guide you through enabling the Print Screen function on your Windows 10 computer. By the end, you’ll be able to use the Print Screen key to capture screenshots effectively.
Step 1: Open the Settings Menu
Click on the Start button and select the gear icon to open the Settings menu.
Navigating to the Settings menu is the first step in making any changes to your system. The gear icon, located just above the power icon, is straightforward to spot.
Step 2: Select Ease of Access
In the Settings menu, scroll down and click on “Ease of Access.”
Ease of Access contains various settings to improve the usability of your computer. It’s a treasure trove for customizing your experience.
Step 3: Choose Keyboard
Within Ease of Access, scroll down on the left-hand side and select “Keyboard.”
The Keyboard section is where you can adjust settings related to your keyboard, including enabling the Print Screen key.
Step 4: Enable Print Screen Shortcut
Find the setting labeled “Use the PrtScn button to open screen snipping” and toggle it on.
Turning this setting on will allow you to use the Print Screen key to open the Snip & Sketch tool, making taking screenshots a breeze.
Step 5: Test the Print Screen Key
Press the Print Screen (PrtScn) key on your keyboard to ensure it works.
Testing the key is essential to confirm that the setting change was successful. Your screen should dim briefly, indicating a screenshot has been taken.
After completing these steps, your Print Screen key should be fully functional. You can now capture screenshots quickly and efficiently.
Tips for Enabling Print Screen in Windows 10
- Explore Snip & Sketch: Learn more about the Snip & Sketch tool, which offers various screenshot options.
- Custom Shortcuts: Consider creating custom shortcuts for other screenshot needs.
- Update Drivers: Ensure your keyboard drivers are up to date for smooth functionality.
- Check Permissions: Confirm that any screen capture software you use has the appropriate permissions.
- Backup Settings: Before making any changes, it’s good practice to back up your settings.
Frequently Asked Questions
How do I know if my Print Screen key is working?
Press the Print Screen key and see if your screen dims briefly. If it does, the key is working.
Can I customize the screenshot format?
Yes, you can customize it using the Snip & Sketch tool or third-party software.
What if my Print Screen key isn’t working?
Ensure the key is enabled in the Ease of Access settings and that your keyboard drivers are up to date.
Can I take screenshots without using the Print Screen key?
Yes, you can use tools like Snip & Sketch, or shortcuts like Windows + Shift + S.
Does Print Screen work for multiple monitors?
Yes, it captures the entire display setup. You can crop the image later using an image editor.
Summary
- Open the Settings Menu.
- Select Ease of Access.
- Choose Keyboard.
- Enable Print Screen Shortcut.
- Test the Print Screen Key.
Conclusion
Enabling the Print Screen function in Windows 10 is straightforward, but it opens up many possibilities for productivity and convenience. Once enabled, this feature allows you to capture any part of your screen with a simple press of a button.
Screenshots are invaluable for documenting issues, saving important information, or creating guides. If you haven’t already, give it a try and see how much easier your digital life can be. Happy screenshotting!
For further reading, you might want to explore additional Windows 10 features that can enhance your user experience. Stay tuned for more tips and tricks on mastering your tech tools.
Matt Jacobs has been working as an IT consultant for small businesses since receiving his Master’s degree in 2003. While he still does some consulting work, his primary focus now is on creating technology support content for SupportYourTech.com.
His work can be found on many websites and focuses on topics such as Microsoft Office, Apple devices, Android devices, Photoshop, and more.
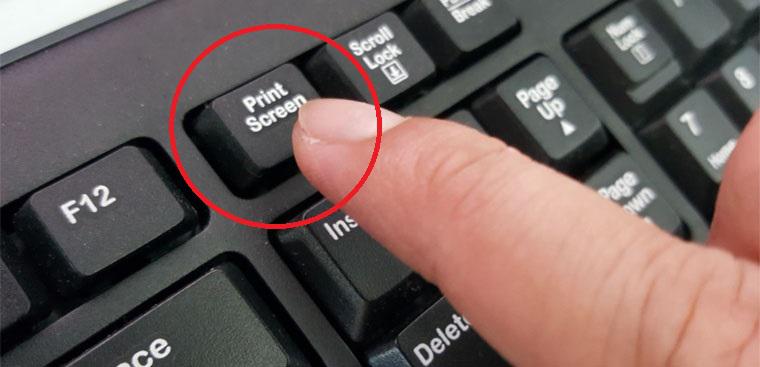
If you look at your keyboard, you will find a button, probably on the right side of your screen, that says «Print Screen,» or «Prnt Scrn,» or some other variation of the spelling. This was the button that used to actually be used to print what you were looking at on your monitor. The button still works, but in a different way.
Step 1
Notice that it is probably on a button that has two options, the Print Screen on the top and another beneath it, usually in light blue print. Now look down below at the left bottom of your keyboard. There is a white Ctrl button and a blue printed Fn button. One is Control and is for the top option in the two option buttons and the other is for the bottom options.
Step 2
Make sure you have an image or picture editing software on your computer. Something as simple as the normal Paint software almost always included with computer’s software works great.
Step 3
Look at your screen and center the picture or file that you want to copy. If you are sending a copy of what is on your screen to someone, check to make sure that you don’t have any personal information showing down below on your taskbar.
Step 4
Hold down the Control button (Ctrl) and then the Print Screen (Prnt Scrn) button. This will tell your computer to copy the screen information as a picture to your Clipboard.
Step 5
Open the picture software you wish to use and then either place your cursor on the open template, right-click your mouse and hit «Paste.» Alternatively, you can hit «Edit» and then «Paste.» An exact replica of your screen should appear.
Step 6
Save the image to your picture file and give it a name. You can now send it as an email attachment or do whatever you want with it.
If the printscreen key (PrtScn or PrtSc) on your keyboard is broken or if there is simply no printscreen button on your keyboard, you can use other keyboard shortcuts or screenshot apps to take screenshot on Windows 11 or Windows 10 without the need of the printscreen button.
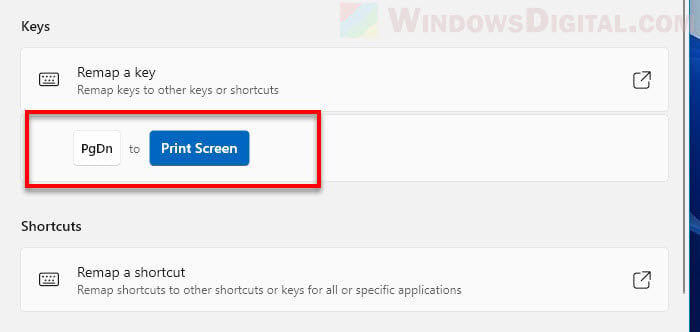
Alternatively, you can also remap a key you don’t use to the printscreen key. For example, you can change the PgDn key (or any key you prefer) to become the PrtScn key, so that when you press the PgDn key, it will act as the PrtScn key.
This guide outlines all the possible ways to print screen on a laptop or desktop computer without the printscreen button.
Also see: How to Screenshot Games on Windows 11
How to screenshot without printscreen button
Keyboard shortcut for print screen without printscreen button
Fn + Windows + Space Bar
If you are using a laptop (e.g. HP, Dell, Lenovo, Asus or Toshiba) with a Function (Fn) key, try to use the Fn + Windows + Space Bar keyboard shortcut to take a screenshot in Windows 11 or Windows 10.
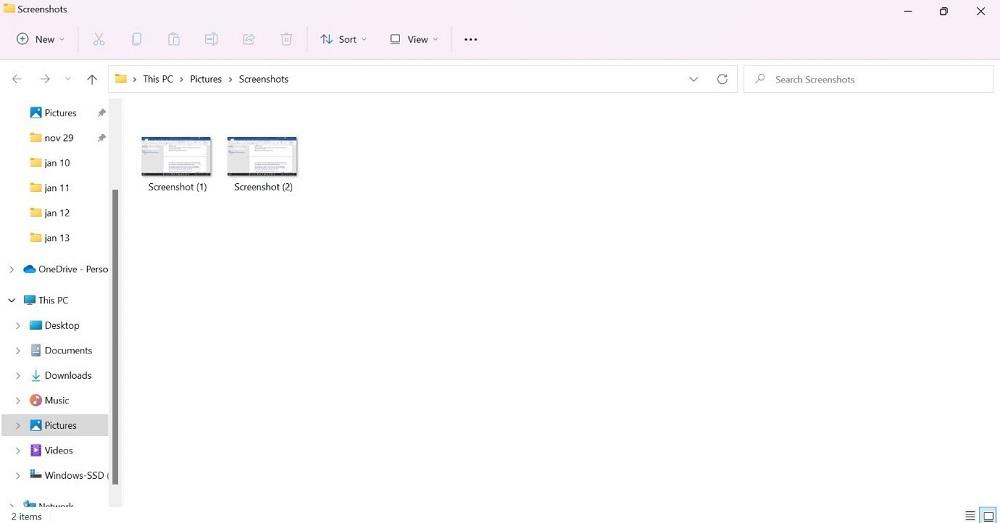
This keyboard shortcut works similar to the Windows + PrtScn key. Once pressed, a screenshot of your entire screen will be taken and automatically saved into the Pictures > Screenshots folder.
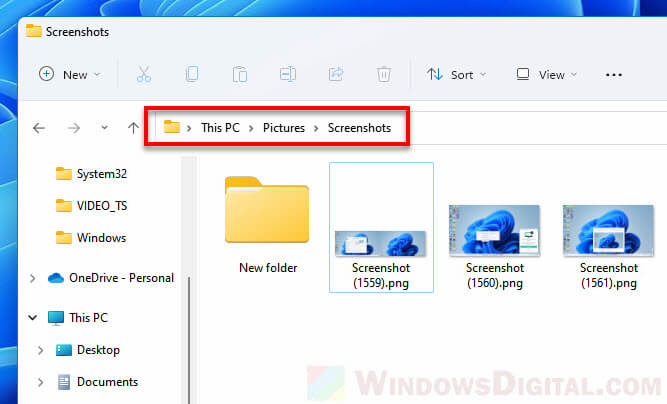
You can access this folder by first opening File Explorer from the taskbar (or from Start menu). On the left pane, select Pictures, and then open a folder called “Screenshots“. All screenshots taken using the keyboard shortcuts mentioned above will be automatically saved into this folder.
Suggested Guide: How to Crop Screenshot on Windows 11
Windows + Shift + S
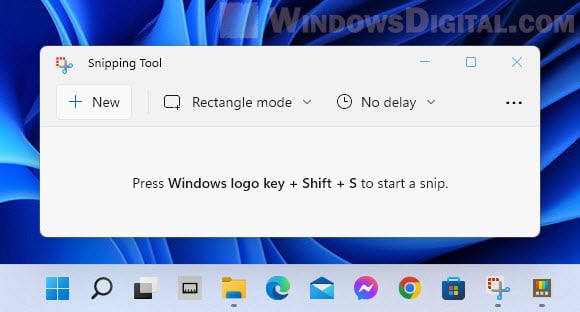
Another useful keyboard shortcut to take a screenshot in Windows is the Win + Shift + S hotkey. It works universally with all keyboards on both laptop or desktop computers since it doesn’t require the Fn key.
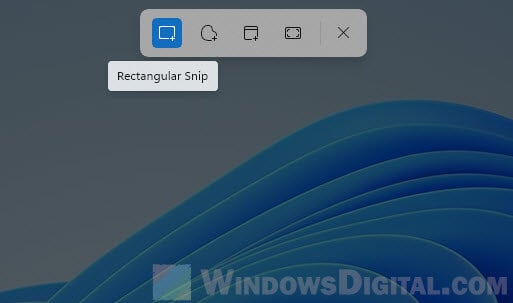
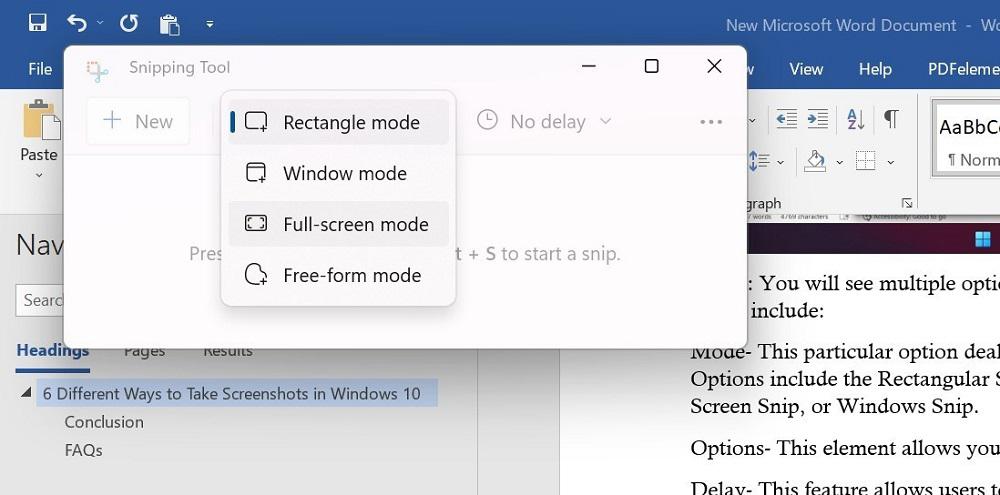
Pressing the Win + Shift + S keyboard shortcut will immediately bring up the Snipping Tool’s (Windows built-in screenshot taking app) interface where you get to select how the screenshot should be taken. By default, the “Rectangle mode” is selected where you can draw a shape and create a screen snipe instantly.
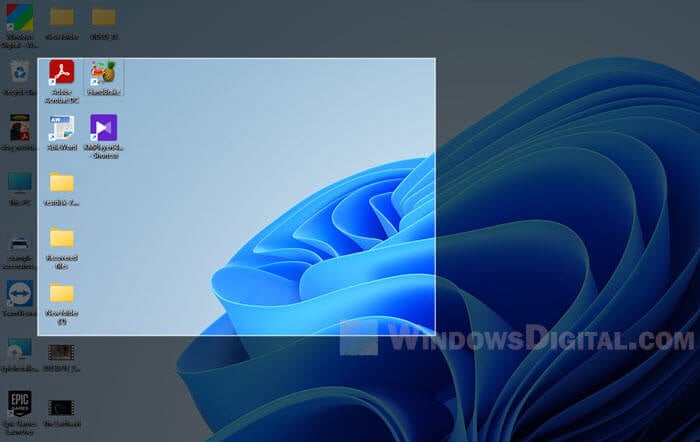
Optionally, you can select other mode such as Freeform mode (freely drawing the part of the screen you want to snipe), Window mode (screenshot only the selected window), or Fullscreen mode (print screen your entire screen).
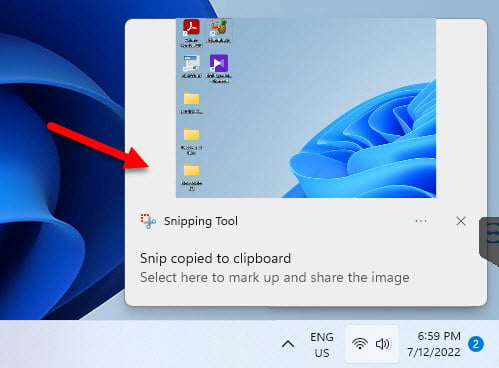
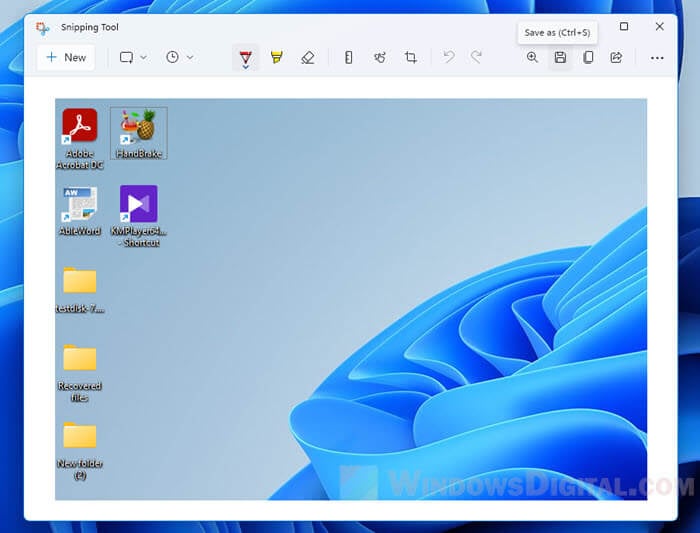
Once you have taken a screenshot, a pop up dialog will appear at the bottom right corner of the desktop, telling you that a snip has been copied to the clipboard. Click on the pop up to open the screenshot with Snipping Tool. Alternatively, you can paste (Ctrl + V) the screenshot to other apps such as Paint.
In the Snipping Tool, you can (optionally) edit your screenshot however you want, and then click the Save icon or press Ctrl + S to save the screenshot to wherever you want.
Related: How to Screenshot Only One Monitor on Windows 11
Use Snipping Tool to take screenshot without PrtScn button
As mentioned above, Snipping Tool is a built-in print screen app that comes preinstalled in Windows 11 or 10. Since the app exists on Windows by default, you don’t need to install it. Besides, you certainly don’t need the printscreen button to use Snipping Tool.
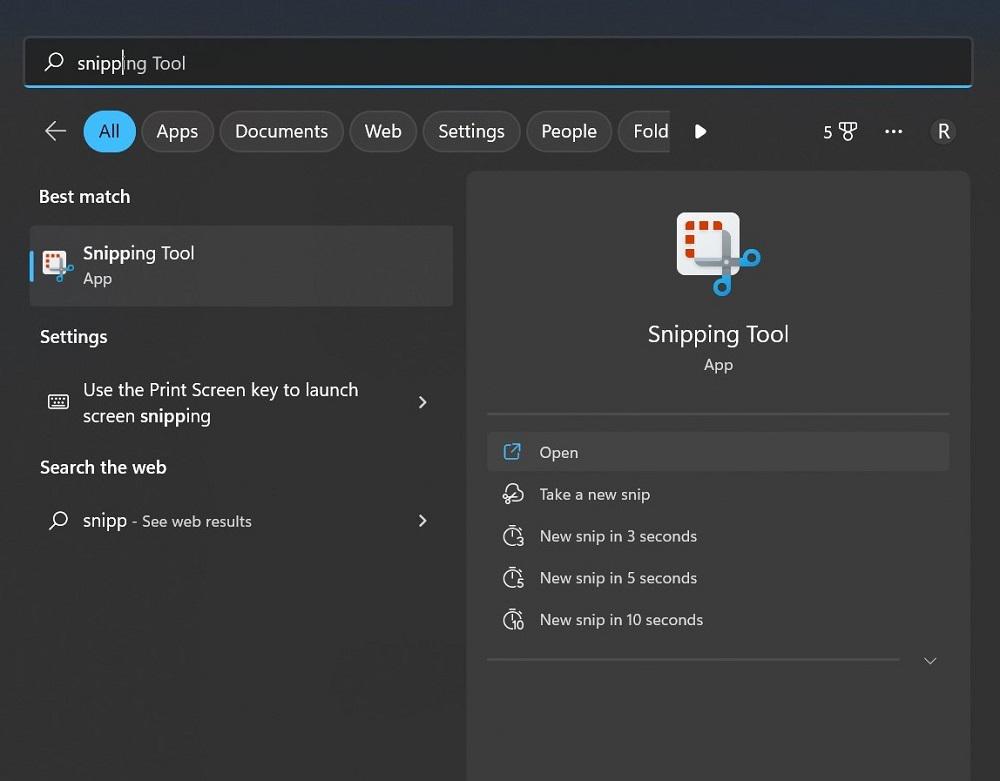
You can either use the keyboard shortcut as outlined above to immediately start a snipping session with Snipping Tool, or you can manually open the Snipping Tool app from the Start menu (Go to Start and search for “Snipping Tool”).
Optionally, if you find yourself using Snipping Tool very often, you can pin the app to the taskbar, so that you can launch the app quickly by single-clicking the Snipping Tool icon from the taskbar.
Remap the print screen key
If you insist to use the printscreen key when there is no PrtScn key on your keyboard or if the key is broken, you can use a keyboard manager tool to remap a key you don’t use to the printscreen key.
This means that you can make a key on your keyboard to act as the printscreen key. For example, you can remap the PageUp key to printscreen key so that when you press PgUp, it will execute the PrtScn key’s function instead. Note that doing so will also nullify the function of the key you remap, meaning that the PgUp key will no longer have the PgUp function until you remove the mapping.
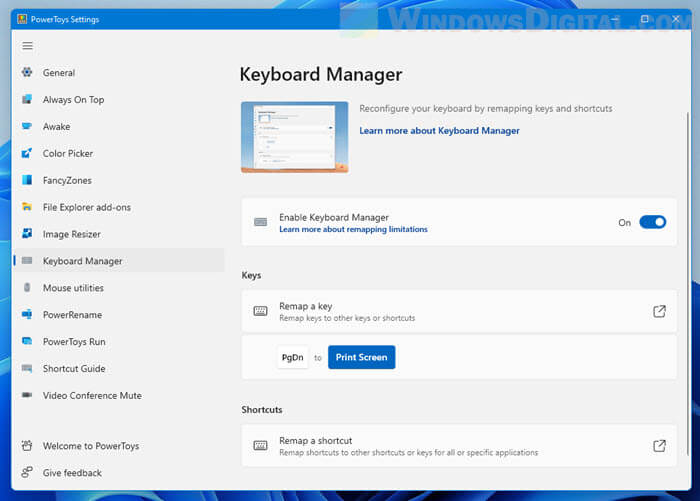
There are plenty of keyboard manager or keyboard companion apps that can remap keys on Windows. We will be using a tool called Microsoft PowerToys. PowerToys is a utility tool developed by Microsoft for power users. Keyboard manager is just one of its many features. To learn how to remap the printscreen key, go to: How to remap a key in Windows 11.
Quick Preview to Take Screenshot on Windows 10:-
- Use the CTRL + PRT SC Keys to take a quick screenshot.
- Use ALT + PRT SC Keys to take a Screenshot of any application window.
- Use Windows + Shift + S Keys to access the Xbox Game Bar.
- Use Snip & Sketch Application as well to take screenshot
Taking Screenshots has become one of the necessary components of our daily life. Whatever device, we are using, we face the need to take screenshots there. Also no doubt, the Screenshots help to describe any action more clearly than any other means. Keep in mind that, Windows comes up with different Methods to Take Windows Screenshots.
In earlier times, there was only one way to Capture Screenshots on Windows. That is the using Windows Keyboard Shortcuts. But as the demand is increasing, there are more new ways introduced to Grab Screenshot on Windows 10. We can enlist 7 different methods to Get the Windows Screenshot.
This article is going to be a detailed guideline about the Ways to Take Screenshots in the Windows 10 operating system.

Methods to Take Screenshots on Windows 10
To Take Screenshots of the Windows Screen, the following methods can be used. In this guideline, we will start with the PRT SC Key execution.
Method 1: Take Screenshots on Windows using the Print Screen Button to Capture Full Screen
Step 1: When you have decided what you want to capture as a screenshot, tap on the PrtSc key on your keyboard immediately.
Step 2: The previous step will automatically get a screenshot of the screen and store it in the clipboard of your Windows PC. Since it will not save directly as an image, you can open another editor app, like Paint.
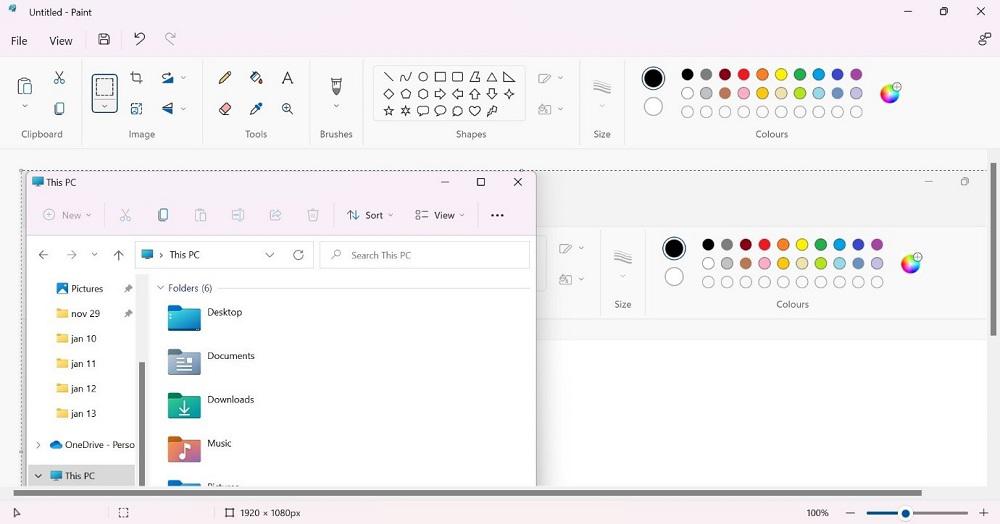
Step 3: On the clear white canvas of the Paint app, put the cursor on the page and press Ctrl + V keys. This will drop the image from the clipboard onto the page.
Step 4: Click on File > Save As. Name the screenshot and choose the location to save it in. Then, press the Save button.
Method 2: Take Screenshots on Windows of a Specific Window
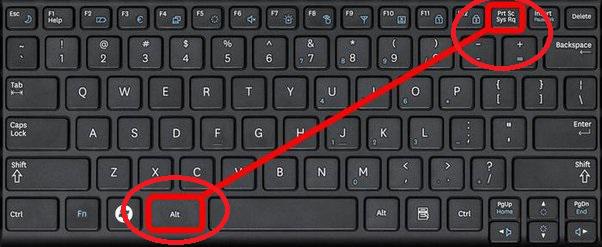
Step 1: When you have many windows open on your device, press the Alt + Win + PrtSc keys together.
Step 2: The screenshot will be stored immediately in the folder named Videos > Captures once you press the Alt + Win + PrtSc keys.
Method 3: Take Screenshots on Windows Whole Screen
If you want to take a quick and accurate screenshot on your screen and avoid saving it into the clipboard, you can press the Windows and PrtScn keys together. This will bring up the thumbnail on the screen at the bottom-left side when the screenshot capture step is done.
You will find the screenshot in your device’s Pictures/Screenshots folder, accessible through the File Manager.
Method 4: Take Screenshots on Windows using the Snipping Tool
Step 1: When you need to screenshot something on the screen, tap on the Windows button (⊞ ) from the taskbar below.
Step 2: Type in the Snipping tool in the search field. Click on the first app option that comes in the result to open it.
Step 3: You will see multiple options in the app when it opens on your Windows 10 PC. These include:
- Mode — This particular option deals with the style of screenshot you choose. Options include the Rectangular Snip, a default option, Free-Form Snip, Full-Screen Snip, or Windows Snip.
- Options — This element allows you to switch between the options for the Snipping Tool.
- Delay — This feature allows users to delay the screen capture for 1-5 seconds.
Step 4: After setting up the features for the Snipping Tool to take the screenshot, press the New Option. The screen will appear with a white overlay showcasing the uncaptured area.
Step 5: The screenshot will appear in the Spinning Tool after you capture one.
Step 6: Tap on the File tab and choose the «Save As» option to move the screenshot to your preferred location on the hard drive. The app does not automatically save the screenshots anywhere.
Method 5: Take Screenshots on Windows using the Snip & Sketch Tool
Step 1: Go to the window or page you will capture. Press Win + Shift + S keyboard shortcut or click the Start menu from the taskbar > type Snip & Sketch > tap the option.
Step 2: After the tool opens, you will see many options as icons, like:
- Freeform— For drawing a custom shape that you create to screenshot.
- Rectangle— Capture a screenshot of the screen within a rectangle shape you expand or decrease with your mouse.
- Full-screen Snip— The screenshot of the entire PC screen or the screens of multiple monitors (if you are using many of them).
- Window Snip— This mode captures only the screenshot of the window you are currently using.
If you want to change your choice, tap on X to close the tool.
Step 3: After capturing the screenshot, the image will be saved in the clipboard. Click on it from the notification that pops up on your screen. Tap on it for markup/file sharing.
Step 4: If the popup notification does not appear, go to the Notifications bar at the right part of the screen to access the Snip & Sketch tool.
Step 5: Save the file in the Paint app to cut the screen size. Then save the file.
Method 6: Take Screenshots on Windows using the Game Bar
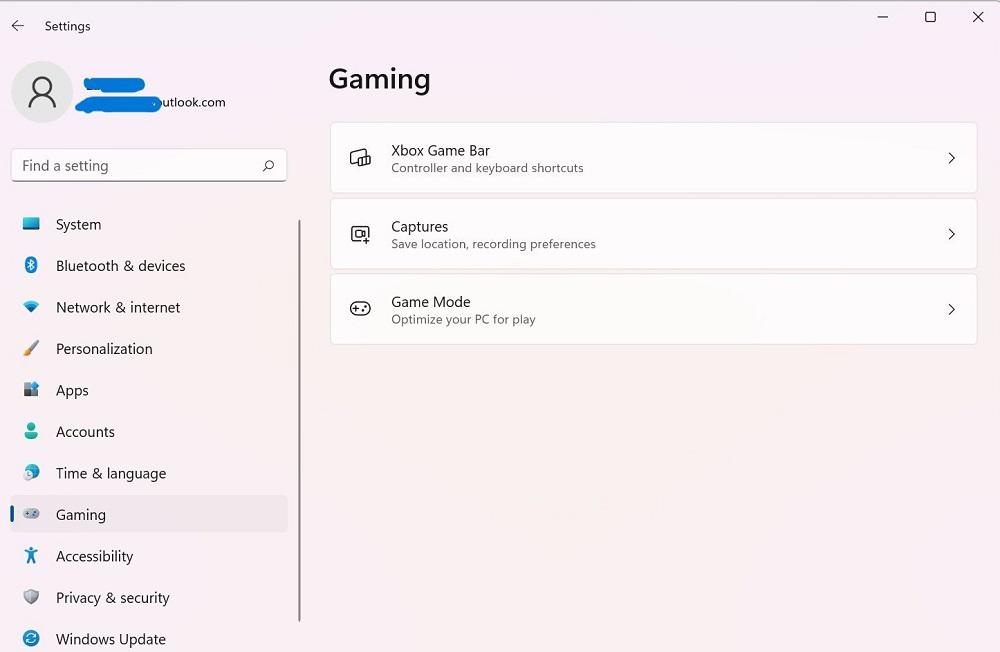
Step 1: For this app to work for screenshotting, you have to activate the Game Bar feature on your PC first. For that, go to Settings > Gaming. Then, activate the slider for the Game Bar operation in the next window.
Step 2: On your PC, tap the Win + G keys to access the Game Bar.
Step 3: Then tap on the Capture option. Or, press Win + Alt + PrtSc.
Step 4: The full-screen screenshot of the window you capture automatically saves into Videos > Captures. Click on it from File Manager to find and use it later.
Method 7: Take Screenshots on Windows using the Alt + Prt Sc
Step 1: Go to the desired screen of which you’re looking to take the screenshot and hit Alt + Prt Sc (Print screen) at the same time.
Step 2: You will be required to select the desired area in which you want to take the screenshot, click, the and save it as required.
Step 3: An image will be copied and can be pasted simply on the Paint app.
Taking a Screenshot on PC isn’t a tough task, even if you aren’t a tech-savvy person. All you need to do is follow this step-by-step Guide to Take Screenshots of anything on your PC. Use the simple PrtSc key for this process or different tools available on the device. Follow the steps correctly to avoid errors with this function on a Windows PC.
Also Read
- How to Take Screenshots Using Python?
- How to Install Windows 10 From a USB Flash Drive?
- How to Boost Performance in Windows 10?

UPDATE 8/1/2023: On Windows 10, Snip & Sketch is the default app for taking screenshots of the entire screen, active window, or region of the screen. Usually, you can open the screen snipping tool from the Start menu or with the “Windows key + Shift + S” keyboard shortcut, but if you want more direct access, it’s also possible to map the app to the “Print Screen” (PrtScrn) key on the keyboard.
This guide will teach you the steps to set the Print Screen key on your keyboard to open the screen snipping tool on Windows 10.
Take screenshots using the ‘Print Screen’ key on Windows 10
To open the Snip & Sketch app to take screenshots with the “PrtScrn” key on Windows 10, use these steps:
-
Open Settings on Windows 10.
-
Click on Ease of Access.
-
Click on Keyboard.
-
Under the “Print Screen shortcut” section, turn on the “Use the PrtScn button to open screen snipping” toggle switch.


Once you complete the steps, if you have another application currently mapped to use the Print Screen button, you may need to restart the computer to apply the settings.
After applying the changes, you can press the “PrtScrn” key on the keyboard to bring up the tool to take a snip or full-screen capture of anything that you’re running on the desktop.
Mauro Huculak is a
Windows How-To Expert and founder of
Pureinfotech
(est. 2010). With over 21 years as a technology writer and IT Specialist,
Mauro specializes in Windows, software, and cross-platform systems such as Linux, Android, and macOS.
Certifications:
Microsoft Certified Solutions Associate (MCSA),
Cisco Certified Network Professional (CCNP),
VMware Certified Professional (VCP),
and
CompTIA A+ and Network+.
Mauro is a recognized Microsoft MVP and has also been a long-time contributor to Windows Central.
You can follow him on
YouTube,
Threads,
BlueSky,
X (Twitter),
LinkedIn and
About.me.
Email him at [email protected].