
Swagger Editor Installation is almost similar the way IBM API designer installation(local) describes in one other article. but there are some tricks I would like to key-down here which i struggle while installing and running Swagger locally, sorry Swagger-Editor 🙂
Install node.js
Install node.js to your local machine as an admin. Follow the steps in installer. Once installed successfully, cross check the path variable updated with node installed location e.g. “C:\NODE_INSTALLED_DIR\nodejs”
Install node.js dependency
After nodejs installation, open new nodejs command prompt and prefebly close the one opened.
Run following command to install npm dependency
–> npm install -g npm
installed version by running command
–> npm -v
if any issue or error installing npm , reinstall node and then try to install npm again.
Install swagger dependency
This is not mandatory but could be useful when creating project from command prompt using swagger commands.
-> npm install -g swagger
Running Swagger Editor locally.
Swagger docs site has given how to run swagger editor locally but it bit confusing, it’s confusing to me, not sure about other’s but have seen lots of guys asking the same question how to install and run it.
Simple steps
Download latest version of Swagger-Editor from git-hub, current stable version is Swagger-Editor-v2.9.8
To run editor tocally http server is needed and you can use http-server Node.js module
Install nodejs http-server
Run the following command to install http-server
-> npm install -g http-server
once http server installed, unzipped and copy the swagger-editor directory in http-server folder at – C:\Users\urUserName\AppData\Roaming\npm\node_modules\http-server
it should be like – http-server\swagger-editor\….
All done, now its time to run editor
Run the following command to run editor
-> http-server swagger-editor -o (-o will open the Editor into default browser)
I got some issue running it. the first one i found that http-server runs on default 8080 port. If 8080 is in use in you machine, then force http-server to start at another port using -p xxxx option.
-> http-server swagger-editor -p 9080 -o
for first few time you can get blank page with 404 error. Try for few more time or sometime http-server command without swagger works.
http-server-p 9080 -o
In one of the machine, the default url was appended with extra slashes causing 404 error like
http:////127.0.0.1:9080/#/, look for that and modify it to run it.
The other good option could be not to use -o option while starting http-server and wait for few seconds to run editor on browser.
feel to reach me if any issue, i will try my best to answer asap.
Provide feedback
Saved searches
Use saved searches to filter your results more quickly
Sign up
First, create a environment
Need separate creation files to avoid conflicts with other files,
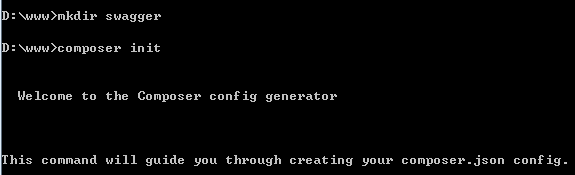
Second, pull the project
Pull the two project files and use composert to install Swagger-PHP dependence,
Swagger-ui is the front-end rendering project, and swagger-php is a tool for crawling your project annotation.
Domestic network issues, this is the address of the code cloud, fast
swagger-ui: https://gitee.com/adk/swagger-ui.git
swagger-php: https://gitee.com/techdoge/swagger-php.git
This is the address of abroad
git clone https://github.com/swagger-api/swagger-ui
git clone https://github.com/zircote/swagger-php
Enter the Swagger-PHP folder to perform the following command, loading dependence
composer update Swagger-PHP inside the Vendor folder, this is the dependence, which has a generated document case
position:
D:\WWW\swagger\swagger-php\Examples\example-objectThis is based on the file address generated by the environment.
Third, production notes document
Test whether Swagger-PHP generates a comment document
Create 2 folders
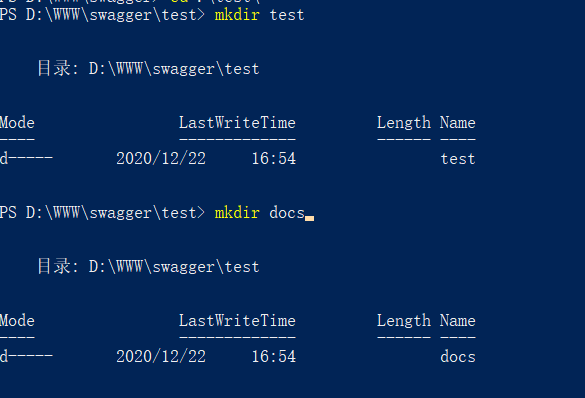
Put the template file
D:\WWW\swagger\swagger-php\Examples\example-object\example-object.php Copy to Test files
Execute the command to generate a file:

No report, generate file openapi.yaml
Files are stored in DOCS
Note: TEST needs to scan all files ./DOCS stores the location of the document generated by the document
Fourth, UI rendering
Domain name resolution address
D:\WWW\swagger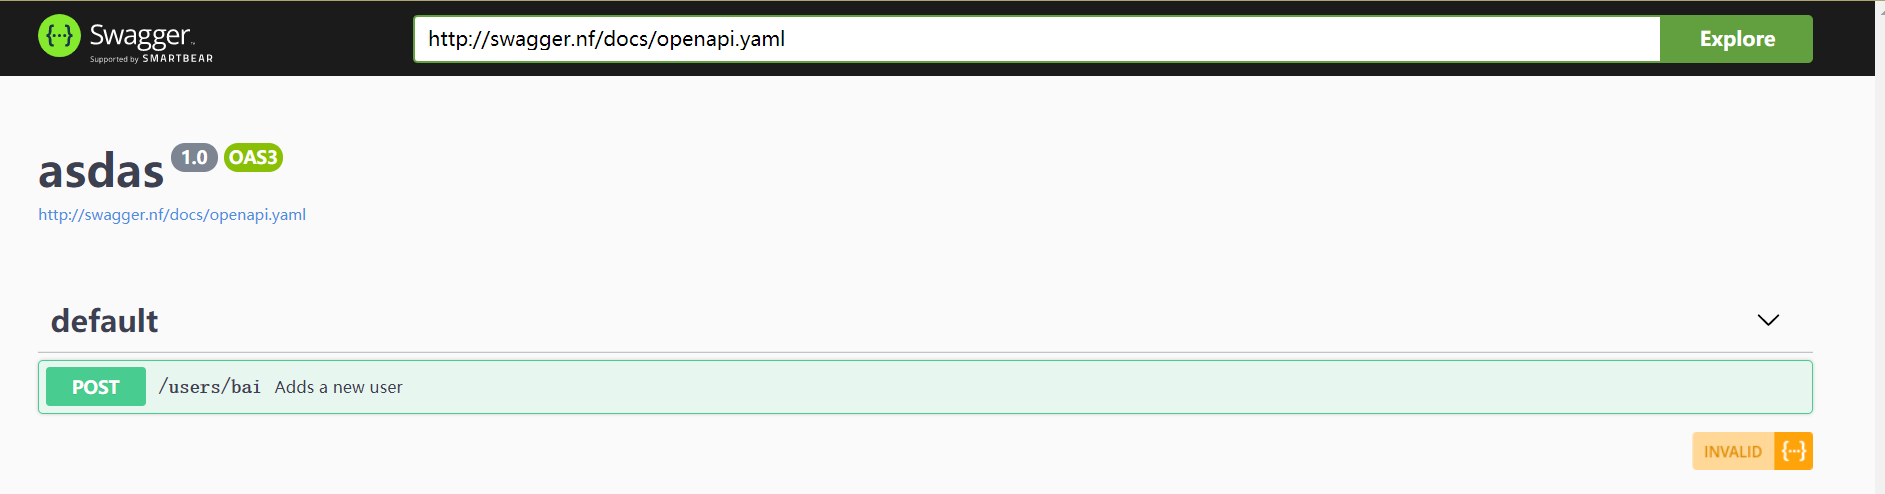
http://swagger.nf/swagger-ui/dist/#/Find in the INDEX.html file according to the project address
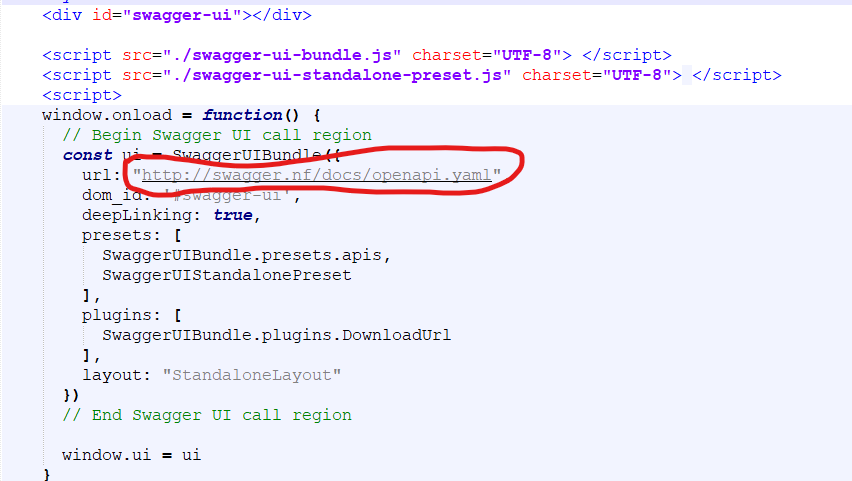
Modify the address to the address of the generated file
D:\WWW\swagger\docs\openapi.yamlView
http://swagger.nf/swagger-ui/dist/#/The address can be seen, which is completed.
I didn’t have a few friends. I want to say that I am also a slag. I don’t know how to write everyone will be easily understood. I can only write steps to write the steps, write more points, I hope to help everyone.
Swagger UI is a tool that allows you to view the API documentation generated in Swagger specification (OpenAPI Specification). Swagger UI also provides offline and online versions for you, but for various reasons, you may need to open the generated Swagger specification file with Swagger UI locally. In this article, we will show you how to run Swagger UI locally, if you encounter some problem in this process, follow up.
💡
We also recommend Apidog, an easier-to-use API client tool than Swagger UI, to manage your APIs more efficiently. This tool can also generate cleaner API specifications than Swagger UI and also has very powerful testing and mocking capabilities.
button
What is Swagger UI?
Swagger UI is a tool that allows you to interactively display and verify API definitions written in the OpenAPI Specification (formerly Swagger Specification). By setting up a Swagger UI in a local environment and importing the API definition, developers can develop while checking the API specifications in real time.
Why use Swagger UI locally?
While Swagger UI offers a SaaS version, many users prefer to install it on their local machines and set up a local web server. Consequently, many users are accessing Swagger UI on their localhost. So, what are the advantages of using Swagger UI locally? Let’s explore these benefits in detail.
The primary reasons for utilizing Swagger UI in a local environment include:
- Real-Time API Development: When developing an API locally, it’s essential to have the capability to check the API definition in real time.
- Offline Documentation Reference: Local usage allows you to reference API documentation offline, eliminating the need for a network connection.
- Enhanced Privacy: Local usage ensures that your in-development API remains private, without the need for external publication, keeping it away from third-party access.
- Mock Server Testing: You can set up and test a local Mock server to verify your API’s functionality.
- Iterative API Definition: Local usage enables you to make iterative changes to the API definition and check its impact each time.
- CI/CD Pipeline Validation: Local validation becomes a part of your CI/CD pipeline, ensuring the reliability and quality of your API during development.
Advantages of using Swagger UI locally
The advantages of using Swagger UI in a local environment are listed below, but it is best to decide whether to use a cloud-based service or use it locally depending on the specific situation.
- Can be used offline as it does not depend on the internet environment
- Easy development because you can check local API definitions in real time
- There is no need to expose the API under development to the outside world.
- You can set up a mock server locally, so you can check the operation.
- The response is fast because it does not depend on the specifications of the development machine.
- Increase productivity by developing at your own pace
- More secure than using a shared server
- Easy to synchronize API definition and implementation
How to Use Swagger UI Locally?
So what should I do if I want to use Swagger UI locally? Next, I will explain in detail how to use Swagger UI locally.
Install Swagger UI and setup the Dev environment
First, you need to download Swagger UI and install it on your local machine. The latest version is prefer. The Swagger UI repository is managed on GitHub, so please install it using the following command.
git clone https://github.com/swagger-api/swagger-ui.git
Then set up your Dev environment using commands like:
cd swagger-ui
npm run dev
The Swagger UI will be launched by accessing http://localhost:3200/ in your browser.
Set up a local web server
Next, in order to launch Swagger UI, you need to prepare a web server using the following command line. Here we will use Node.js’ http-server module.
npm install -g http-server
Start HTTP-server and launch Swagger UI
Navigate to the directory where the Swagger Specification file is located, start http-server in that directory, and enable CORS using a command like the following:
cd {your-oas-document-dir}
http-server --cors
Then, http://localhost``:8080when you access it in your browser, the Swagger UI will launch.
Prepare the Swagger specification file
Next, prepare the Swagger Specification file. Generally, Swagger specification files are written in Json or Yaml format. For example, swagger.yaml suppose you write it in a file called. The URL of Swagger’s spec file is http://localhost:8080/swagger.yaml.
Also, if you want to know more about Swagger Spec files or change the default path of Swagger UI URL, please refer to the following articles:
How to Change Swagger UI URL Defauth Path
Swagger UI is a great tool for visualizing and interacting with OpenAPI specs. As you work with Swagger UI, you’ll notice URLs play an important role in configuring and accessing the API documentation. In this post, we’ll demystify Swagger UI URLs to help you use them more effectively.
Ahmed Waheed

Enter the URL of the Swagger specification file and open it in the Swagger UI
Then, on the Swagger UI screen, enter the swagger.yaml URL in the above SPEC URL in the input box at the top, and click the Explore button to display the local API definition document.
Apidog: Manage Your APIs more efficiently
When using Swagger UI, you need to build a server and set a URL, which can be quite a pain. If you’re looking for an easier solution, we recommend using Apidog, an easy-to-use API management tool.
button
Apidog can read Swagger Json and Yaml files directly and quickly test your API. You can also use its sharing feature to generate and share beautiful API documentation.
Easily import JSON and YAML into Apidog
Apidog supports importing data with YAML and JSON, so you can fully parse these files and fully import your API’s data into Apidog for testing.
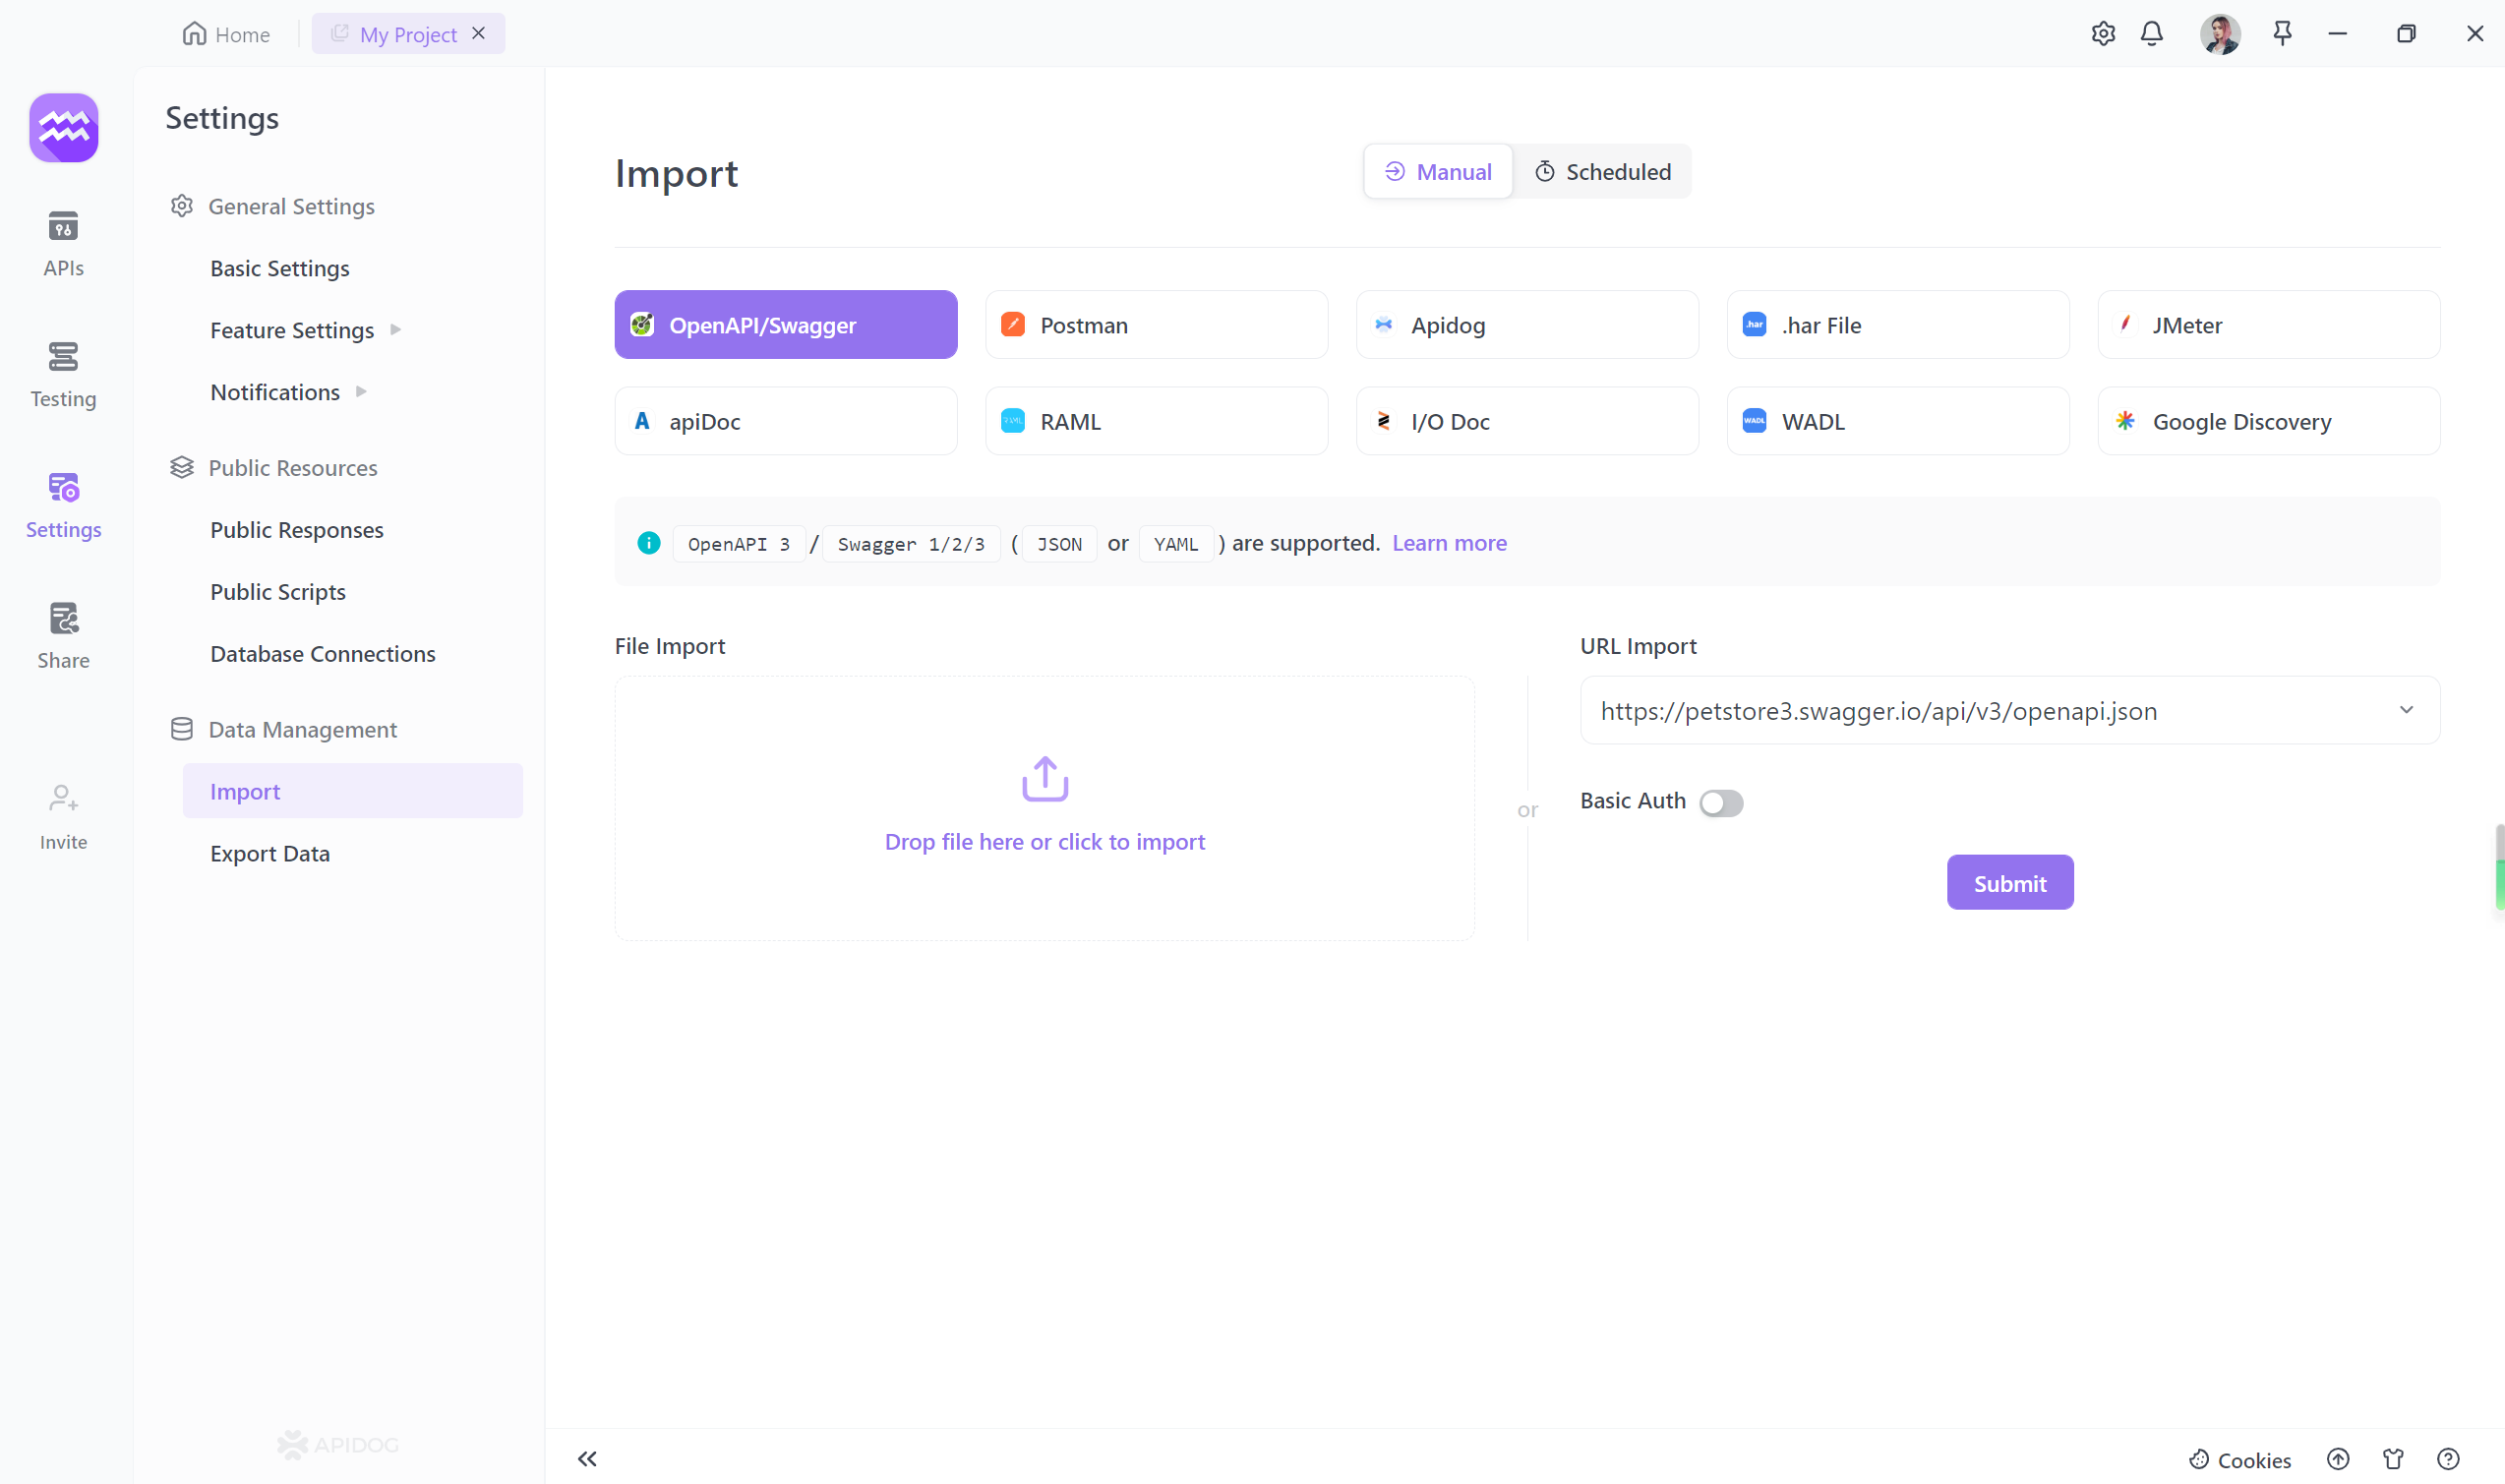
Open your project settings in Apidog, click Import Data, select OpenAPI/Swagger, and drag the YAML file into Apidog.
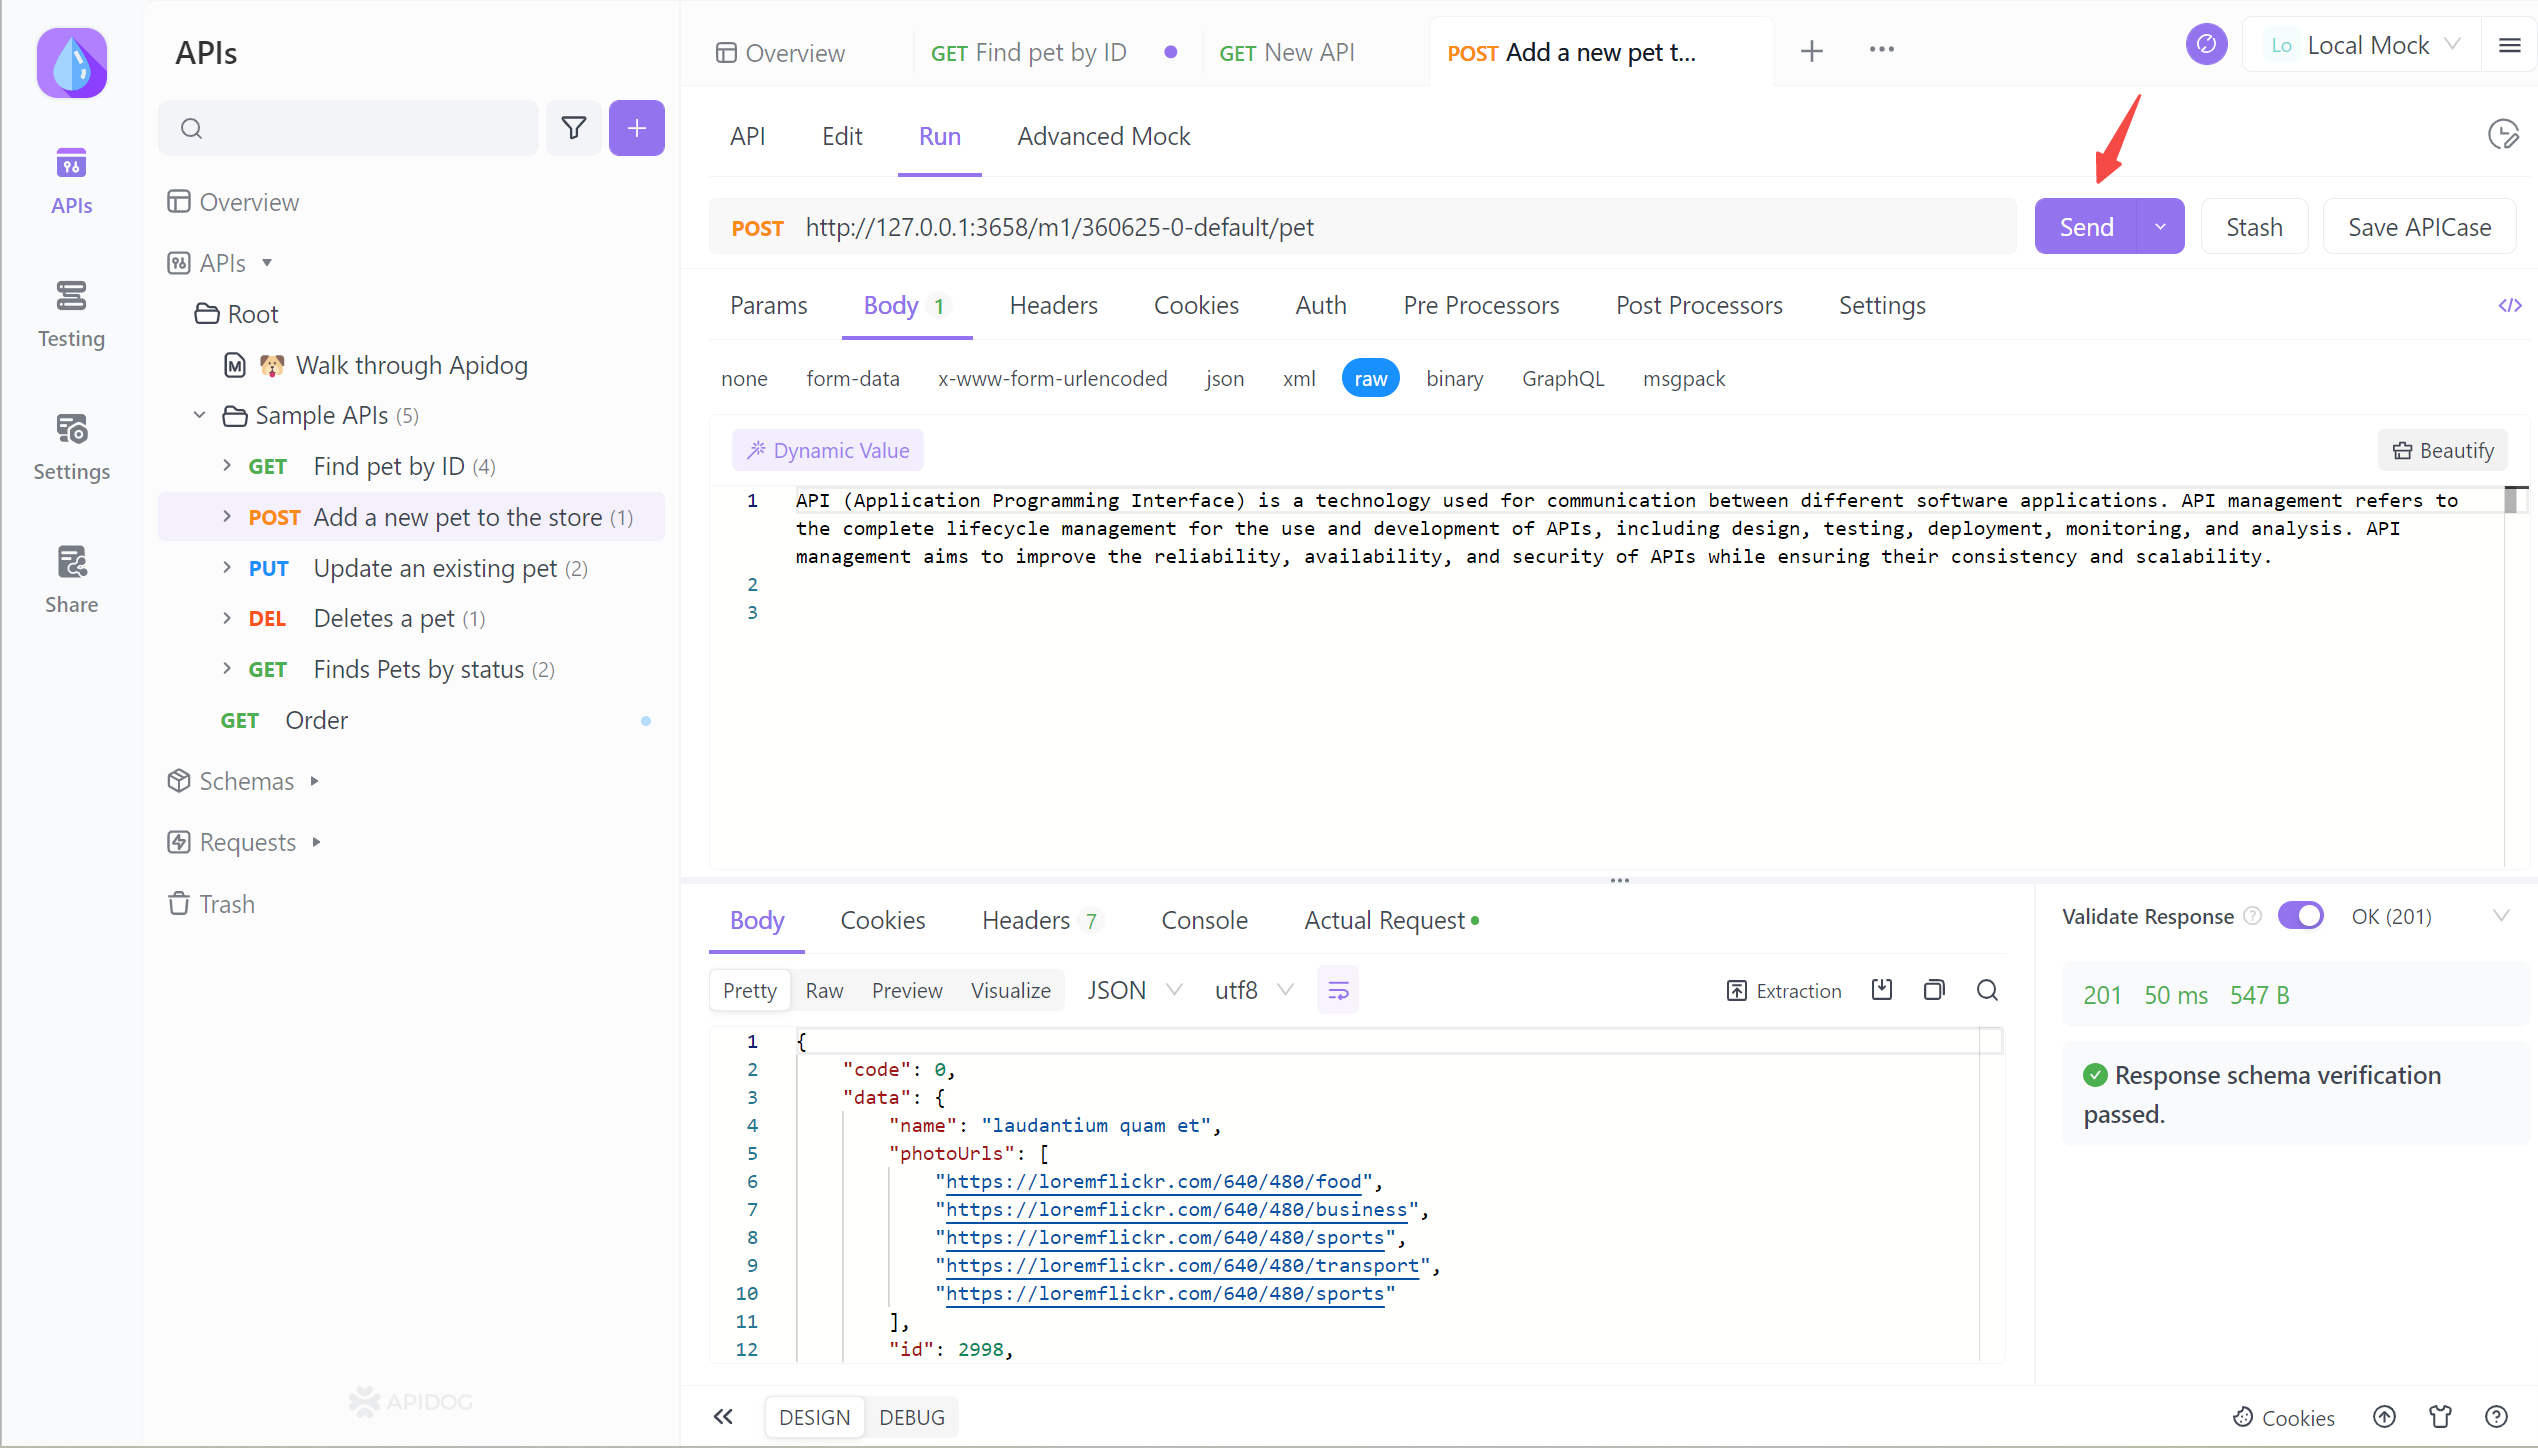
Test your API with Apidog
Once you have imported your API’s data into Apidog, you can view the imported API by clicking the APIs tab on the left. If you want to test a specific API endpoint, you can click on it, fill in the parameters in an intuitive UI, «send» the request, and get the response.
Generating and sharing API documentation is also very easy using Apidog. The following is a sample API documentation generated by Apidog:
How to Generate API Documentation Using Apidog
API documentation plays a pivotal role in contemporary software development, serving as a vital resource for understanding how to effectively utilize a RESTful API.
Apidog BlogKim Haewon

FAQs about Swagger UI Localhost
How to access Swagger UI on localhost?
- Run your API project locally, then navigate to
http://localhost``:<port>/swaggerin your browser. The port is usually 5000 or 5001.
What is the URL for the Swagger local host?
- The default URL is http://localhost:/swagger where the port your API is running on locally.
How do you host Swagger documentation locally?
- Enable Swagger in your startup code, launch the API project, and navigate to the /swagger endpoint to view the UI.
What is the Swagger URL for localhost .NET core?
- For .NET Core APIs, the Swagger URL is typically http://localhost:/swagger/v1/swagger.json
Summary
Swagger UI is a useful tool when developing APIs, but it has limitations for more advanced API lifecycle management. Apidog provides one-stop functionality for API development, such as API definition, automatic document generation, testing, monitoring, and sharing.
Apidog allows you to import Swagger and OpenAPI specification files and interactively test your API. Share features allow you to create beautiful documents and share them with your team. If you want to streamline your API development process, Apidog is the solution for you. By using it in conjunction with Swagger UI, you will be able to achieve more powerful API lifecycle management.
button
Prerequisite
Since Swagger applications are written in node.js, we need to install node.js in the system.
I would recommend you to go through this post and install node.js
Download source code of swagger UI and Editor
Step 1: Go to ‘https://github.com/swagger-api’

You can able to see ‘swagger-ui’ and ‘swagger-editor’ repositories.
Step 2: Navigate to swagger-ui repository.
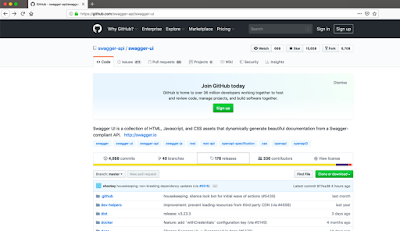
Step 3: Click on ‘Releases’ and download the latest source code.

Step 4: Similarly download the source code for swagger editor.
Step 5: Extract the downloaded zip files.
Install http-server
‘http-server’ module is required to sun swagger editor and ui.
Open terminal or command prompt and execute below statement to install http-server.
npm install -g http-server
Installing Swagger Editor
Navigate to the directory where you extracted swagger editor source code.
$cd swagger-editor-3.6.31
$
$ls
Dockerfile    docs     swagger-editor-dist-package
LICENSE     index.html    test
README.md    make-webpack-config.js   webpack-dist-bundle.config.js
build-tools    nginx.conf    webpack-dist.config.js
cypress.json    package-lock.json   webpack-hot-dev-server.config.js
dev-helpers    package.json    webpack-standalone.config.js
dist     release     webpack.check.js
docker-run.sh    src     webpack.config.js
Execute the command ‘npm install’ to install all the dependencies of swagger editor.
Once the dependencies are installed, you can start the editor application by executing below command.
http-server {SWAGGER_EDITOR_FOLDER} -a 127.0.0.1 -p 8080
$ls
swagger-editor-3.6.31   swagger-ui-3.23.3
$
$http-server swagger-editor-3.6.31 -a 127.0.0.1 -p 8080
Starting up http-server, serving swagger-editor-3.6.31
Available on:
  http://127.0.0.1:8080
Hit CTRL-C to stop the server
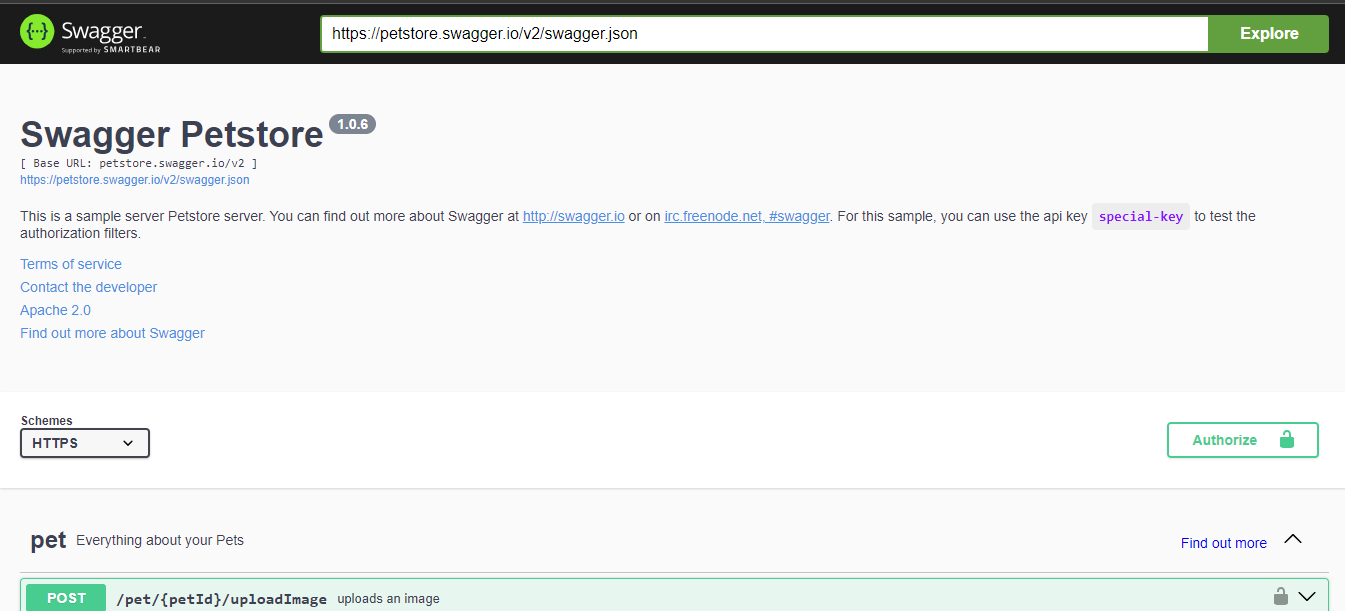
Open the url ‘http://localhost:8080/’ in browser, you can see below kind of screen.

Installing Swagger UI
Navigate to the directory where you extracted swagger UI source code.
$ls
swagger-editor-3.6.31   swagger-ui-3.23.3
$
$cd swagger-ui-3.23.3
$
$ls
CONTRIBUTING.md     composer.json       docker          package.json        src         webpack
Dockerfile      cypress.json        docs            release         swagger-config.yaml
LICENSE         dev-helpers     flavors         renovate.json       swagger-ui-dist-package
README.md       dist            package-lock.json   snapcraft.yaml      test
Execute the command ‘npm install’ to install all the dependencies of swagger editor.
Once the dependencies are installed, you can start the editor application by executing below command.
http-server {SWAGGER_UI_FOLDER} -a 127.0.0.1 -p 9090
$cd ..
$ls
swagger-editor-3.6.31   swagger-ui-3.23.3
$
$http-server swagger-ui-3.23.3 -a 127.0.0.1 -p 9090
Starting up http-server, serving swagger-ui-3.23.3
Available on:
  http://127.0.0.1:9090
Hit CTRL-C to stop the server

Open the url ‘http://127.0.0.1:9090/dist/’ in browser, you can see below kind of screen.
Previous
Next
Home