
Provide feedback
Saved searches
Use saved searches to filter your results more quickly
Sign up
Appearance settings
Installing PowerShell on Windows 10 is a straightforward process that can be done directly from the Microsoft Store or by manually downloading the installer package from Microsoft’s website. This guide will walk you through both methods, ensuring you have PowerShell up and running in no time.
Installing PowerShell in Windows 10 will give you access to a powerful command-line and scripting language developed by Microsoft. These steps will ensure you have the latest version installed on your system.
Step 1: Open Microsoft Store
Open the Microsoft Store app from your Start menu.
To find the Microsoft Store, click on the Start button (the Windows icon) in the bottom-left corner of your screen, then type «Microsoft Store» into the search bar. Click on the app when it appears.
Step 2: Search for PowerShell
Type «PowerShell» into the search bar in the Microsoft Store.
The search bar is located at the top-right corner of the store window. Once you type «PowerShell» and press enter, the store will display a list of related apps.
Step 3: Select PowerShell App
Click on the PowerShell app from the search results.
Make sure to select the app developed by Microsoft Corporation. This ensures you are installing the official version.
Step 4: Install PowerShell
Click the «Get» button to download and install PowerShell.
The «Get» button should be clearly visible on the app page. Clicking it will start the download and installation process. You may need to sign in with your Microsoft account.
Step 5: Open PowerShell
Once installed, open PowerShell from the Start menu.
After the installation is complete, you can find PowerShell by clicking the Start button and typing «PowerShell» into the search bar. Click on the app to open it.
After completing these steps, you will have PowerShell installed on your Windows 10 machine, ready for use.
Tips for Installing PowerShell in Windows 10
- Check Compatibility: Ensure your Windows 10 version supports the PowerShell version you are installing.
- Keep Updated: Regularly check for updates to ensure you have the latest features and security patches.
- Use Administrative Rights: For certain commands, you might need to run PowerShell as an administrator.
- Learn the Basics: Familiarize yourself with basic PowerShell commands to get the most out of it.
- Take Advantage of Scripting: PowerShell is powerful for scripting. Start with simple scripts to automate repetitive tasks.
Frequently Asked Questions
What is PowerShell?
PowerShell is a task automation and configuration management framework from Microsoft, consisting of a command-line shell and associated scripting language.
Do I need administrative rights to install PowerShell?
No, you do not need administrative rights to install PowerShell from the Microsoft Store, but some commands may require you to run PowerShell as an administrator.
Can I install multiple versions of PowerShell?
Yes, you can have multiple versions of PowerShell installed on your system without any conflicts.
Is PowerShell free to use?
Yes, PowerShell is free to download and use.
How do I update PowerShell?
You can update PowerShell through the Microsoft Store or by downloading the latest version from the official PowerShell GitHub page.
Summary of Steps
- Open Microsoft Store.
- Search for PowerShell.
- Select PowerShell app.
- Install PowerShell.
- Open PowerShell.
Conclusion
Installing PowerShell in Windows 10 is a simple and effective way to enhance your system’s capabilities. Whether you’re a novice or an experienced user, PowerShell offers robust tools for automation, configuration, and management. By following the steps outlined above, you’ll have PowerShell installed and ready to use. For further reading, consider diving into PowerShell’s extensive documentation available on Microsoft’s website. Don’t forget to explore online communities and forums where you can learn from other users’ experiences and share your own. Now that you know how to install PowerShell in Windows 10, why not start experimenting with some basic commands and scripts to see what this powerful tool can do for you?
Kermit Matthews is a freelance writer based in Philadelphia, Pennsylvania with more than a decade of experience writing technology guides. He has a Bachelor’s and Master’s degree in Computer Science and has spent much of his professional career in IT management.
He specializes in writing content about iPhones, Android devices, Microsoft Office, and many other popular applications and devices.
Read his full bio here.
В этом материале разберёмся как инсталлировать или обновить PowerShell. В десятой и одиннадцатой винде изначально установлен PowerShell серии 5.1. Редакция является окончательной и обновляться больше не будет, но взамен ей вышел PowerShell Core, который на данный момент развивается. Это не значит что если вы захотите инсталлировать серию Core, то она установится вместо старого PowerShell. На самом деле они будут работать параллельно, то есть у вас будет в наличии и тот и другой. Начинается Core с версии 6.0. На данный момент наиболее актуальная релизная версия 7.3.4, а бета — 7.4.0.3. Главное отличие двух видов PowerShell в том, что Core можно установить практически на любую платформу в противовес стандартному, который был доступен исключительно на Windows.
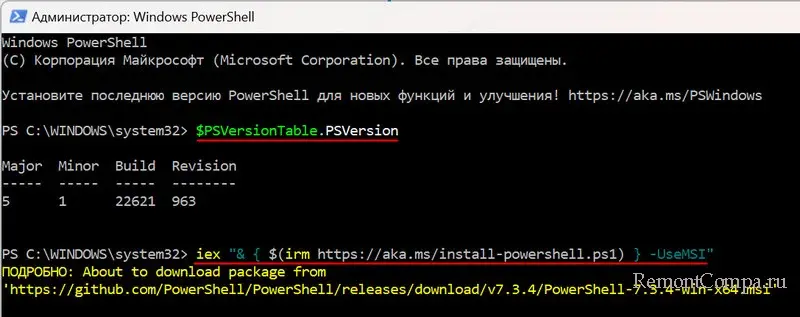
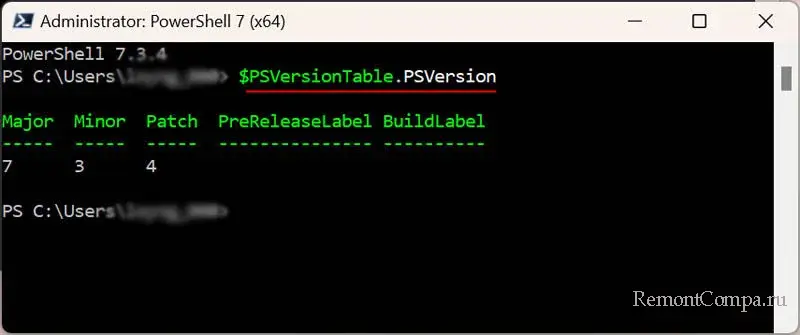
Прежде чем приступить к обновлению необходимо определить какой редакцией сейчас обладаете вы. С этой целью в самом PowerShell вводим строчку
$PSVersionTable.PSVersionУ меня установлена последняя версия 5.1, значит устанавливаю отдельно 7.3.4.
Есть команда, которая позволяет установить новейшую версию PS через само приложение либо cmd.
iex "& { $(irm https://aka.ms/install-powershell.ps1) } -UseMSI"
Прописав строки вам просто нужно подождать пока будет найден и инсталлирован новый PowerShell.
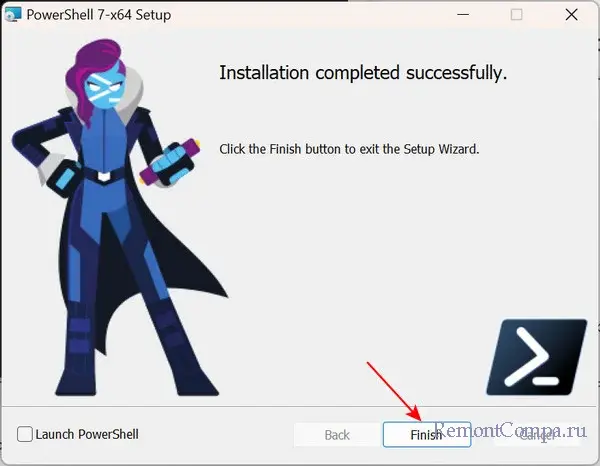
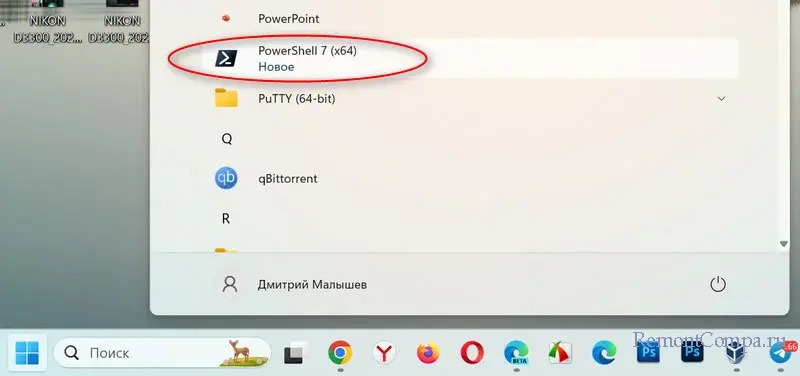
PowerShell 7.3.4 установлен, запускаем его из установленных приложений.
Проверяем версию командой «$PSVersionTable.PSVersion».
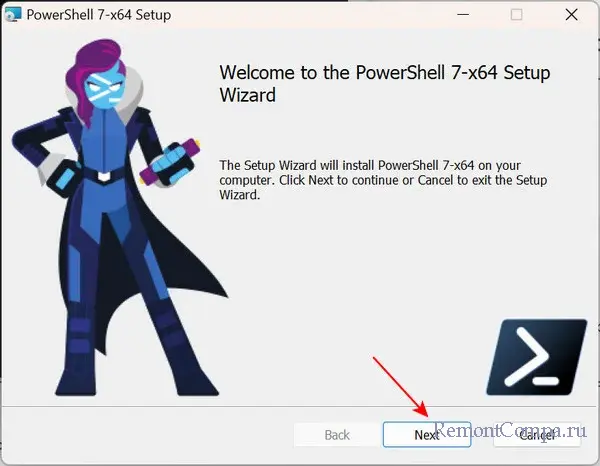
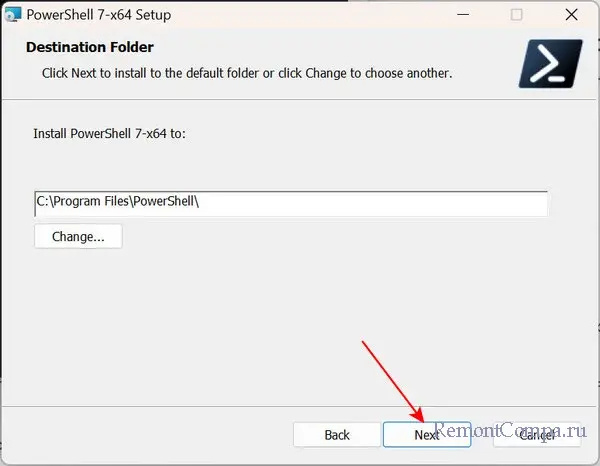
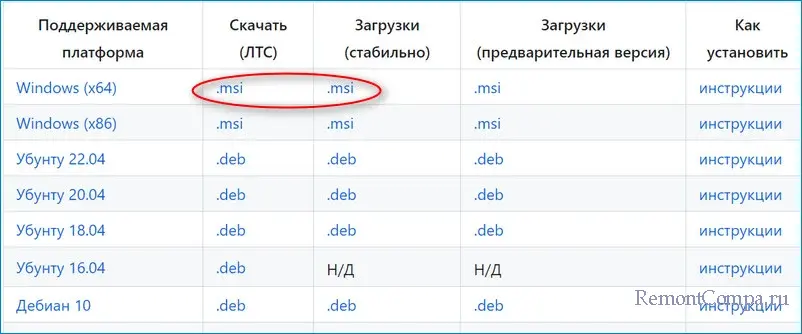
Установить PowerShell реально и другими способами, например использовать MSI-файл. Для этого нужно просто перейти на сайт https://github.com/PowerShell/PowerShell и выбрать файл, соответствующий вашей системе. Далее просто открываем скачанный установочный файл. Откроется установщик, нажимаем «Next», выбираем каталог для установки и опять щелкаем «Next». Теперь будет предложено включить дополнительные функции.
Первый пункт позволяет запускать PowerShell из других оболочек.
Второй разрешает регистрировать события.
Третий разрешает удалённый запуск команд.
Четвёртый добавляет PowerShell в контекстное меню, которое можно вызвать щёлкнув ПКМ на папке и в ней его открыть.
Пятый также добавляет в контекстное меню функцию, которая для соответствующих PowerShell файлов предлагает запустить скрипт в PowerShell Core.

В следующем окне мы можем выбрать обновлять ли PS через службу Windows Update. Опять нажимаем «Next» и «Install». По окончанию остаётся нажать «Finish».
В случае если вы при установке поставили отметки напротив первого и четвёртого пункта, то новый PowerShell можно открыть из cmd с помощью команды «pwsh». Такой же командой можно воспользоваться просто напечатав её в поиске Windows. Также можно щёлкнуть на любую директорию ПКМ и нажать PowerShell 7 — Open here.
PowerShell 5.1 является мощным инструментом, некоторые считают что даже мощнее 7.4.0.3. Однако мир не стоит на месте и те кто будут обновлять PS наверняка знают зачем это делают.
UPDATED 9/13/2024:On Windows 10, PowerShell 7.4.5 is the next major refresh of the Microsoft command-line shell and scripting language designed for advanced users and administrators to automate tasks and change settings.
Version 7.4.5 was released on November 8, 2021, and it brings some new improvements, such as support for automatic updates through the Microsoft Update. The ability to update the app is enabled automatically, no matter how you install it, but you can always disable the functionality.
The app also introduces enhanced support for ANSI escape sequences for text decoding support. Microsoft is even adding a new $PSStyle variable to make it easy to add decoration to your scripts or cmdlets and control the use of ANSI escape sequences. Furthermore, version 7.4.5 has a new feature to use your history to predict what you may be typing.
Since it’s a cross-platform application, you can download and install the new version of PowerShell on Windows 10, Windows 8.1, Windows Server (2012 R2 and later), Ubuntu, Debian, CentOS, Fedora, and Alpine for Linux, and macOS. The app is also available for ARM-based devices, including for Windows, Ubuntu, Debian, and Alpine.
In this guide, you will learn the steps to install PowerShell 7.4.5 on Windows 10 using the manual installer or Microsoft Store.
- Install PowerShell 7.4.5 on Windows 10
- Install PowerShell 7.4.5 using Microsoft Store
- Install PowerShell 7.4.5 using winget command
To install PowerShell 7.4.5 on Windows 10, use these steps:
-
Open PowerShell 7.4.5 on GitHub.
-
Under the “Assets” section, click the PowerShell-7.4.5.0-win-x64.msi.

-
Save the file on the device.
-
Double-click the downloaded file launch the installer.
-
Click the Next button.
-
(Optional) Select the installation folder.
-
Click the Next button.
-
(Optional) Check the Add ‘Open here’ context menu to Explorer option.
-
(Optional) Check the Add ‘Run with PowerShell 7 context menu’ for PowerShell files option.

-
Click the Next button.
-
Check the Enable updating PowerShell through Microsoft Update or WSUS option.
-
Check the Use Microsoft Update when I check for updates option.
-
Click the Next button.
-
Click the Install button.
-
Click the Finish button.


Once you complete the steps, the new version of PowerShell will install on your device, and it’ll be available from the Start menu, and desktop and File Explorer right-click context menu.
Install PowerShell 7.4.5 using Microsoft Store
To install PowerShell 7.4.5 on Windows 10 using the Microsoft Store, use these steps:
-
Open Microsoft Store on the web.
-
Click the Get button for PowerShell 7.4.5.
-
Click the Open button.
-
Click the Get button from the Microsoft Store.


After you complete the steps, you can click the Launch button or open the app from the Start menu to start using PowerShell.
Install PowerShell 7.4.5 using winget command
To install PowerShell 7.4.5 through Command Prompt, use these steps:
-
Open Start.
-
Search for Command Prompt, right-click the top result, and select the Run as administrator option.
-
Type the following command to install PowerShell 7.4.5 on Windows 10 with winget and press Enter:
winget install --id Microsoft.PowerShell


Once you complete the steps, the Windows Package Manager will download and install the latest version of PowerShell on your computer.
You can learn more about PowerShell, check out this Microsoft documentation website. Also, these instructions focus on Windows 10, but they should also work to install the new version of PowerShell on Windows 8.1 or Windows 10.
Update September 13, 2024: This guide has been updated to ensure accuracy and reflect changes to the process.
Today in this tutorial, you will learn how to install PowerShell 7 on Windows 10/11 and Windows Server.
The PowerShell version built into Windows 10 (and later) is called Windows PowerShell (version 5.1). The latest version is called PowerShell Core or simply PowerShell. Both versions can co-exist on the same computer.
You can check the PowerShell version by running the following command:
$PSVersionTableThere are a couple of different ways to install PowerShell 7. One method is to download the MSI installer. Another way is to install PowerShell using the Winget package manager. In this tutorial, we cover both methods.
Installing PowerShell using the MSI Installer
You can download the latest version of the PowerShell installer from the following URL: https://github.com/PowerShell/PowerShell.
Scroll down to the Get PowerShell section, and download the stable version of the MSI package.

Now, complete the MSI wizard with the default options, and you are done.

After the installation is complete, you will find the shortcut to the PowerShell 7 console in the PowerShell folder in the Start menu.

The old version, Windows PowerShell (v5.1), will run side-by-side with PowerShell 7. Both versions will be available in the Windows Terminal app.

To make PowerShell 7 the default version on Windows Terminal, Go to Settings > Startup, choose PowerShell from the Default profile drop-down menu, and click Save.

Installing PowerShell 7 Using the Winget Package Manager
The fastest and easiest way to install PowerShell 7 is to use the Winget package manager. Winget is available on computers with Windows 10 or above; but not on Windows Server.
To install PowerShell 7, open a Command Prompt (CMD or PowerShell) as an Administrator and execute the following command:
winget install --id Microsoft.Powershell --source wingetThe above command will install the latest version of PowerShell on your computer.
Remarks
The name of the executable for PowerShell 7 is pwsh.exe. The older version uses the powershell.exe process.
One thing about PowerShell 7 is that there is no ISE (Integrated Scripting Environment); It has been discontinued. From now on, you will use Visual Studio Code for scripting and development.