We all have backup folders on our computers. As a result, there can be two backup folders with similar names, and you won’t know what’s what. When this happens, it is difficult to decide which folders to keep and which to discard. You can verify both folders manually, but the problem may occur if there are too many files with similar names. To avoid unnecessary hard work, you need a tool to compare folders in Windows 10.
The comparison tools can give you similarities and differences between the folder based on different factors. Once you know the differences, you can share files directly from the File Explorer to the hard drive, flash drive, emails or simply discard them.
There are Windows 10 tools, inbuilt options, and third-party software to compare the contents of two folders, be it file sizes, file formats or backed-up files. We have listed some easy ways to compare folders in Windows 10.
1. Command Prompt
Let’s go with the inbuilt way first. You can use Command Prompt to compare folders in Windows 10. Windows 10 provides commands for everything, and if you are comfortable with the command line, you can go with it this way.
You can use Robocopy to compare folders in Windows 10. It comes inbuilt in Windows 10.
Press Windows key + S and type cmd in the search bar of the Start menu. Open Command Prompt from the search results.
In the Command Prompt terminal, type the below command and press Enter.
robocopy “Folder 1 Path” “Folder 2 Path” /L /NJH /NJS /NP /NSYou need to add both the location of the folders in the command.
The command will look like this:
robocopy "C:UsersUrviDesktopFolder 1" "C:UsersUrviDesktopFolder 2" /L /NJH /NJS /NP /NS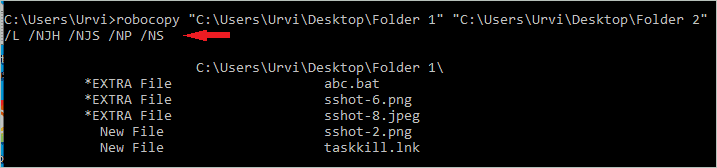
Make sure you type in the right path of the folder/directory; otherwise, you will get errors while executing the command.
The output of this command will be as below.
C:UsersUrviDesktopFolder 1
*EXTRA File abc.bat
*EXTRA File sshot-6.png
*EXTRA File sshot-8.jpeg
New File sshot-2.png
New File taskkill.lnk
Here, abc.bat, sshot-6.png, and sshot-8.png are present in Folder 2 and not in Folder 1. Similarly, sshot-2.png and taskkill.lnk are present in Folder 1 and not Folder 2.
The files which are present in both folders are not displayed in the output. Therefore, some users may find the output very simple and not that informative as comparison tools. Well, if you just want to know missing files in the source and destination folder, the robocopy command is perfect.
You can compare two files as well with the Command Prompt. This can be useful for the developers and writers with files with different versions to know the difference between two files.
In the terminal window, go to the location where the files are saved using the CD command.
For example,
cd C:UsersUrviDesktopFolder 1 You can use the fc command to compare both the files, as shown below. We have compared text files.
fc file1.txt file2.txt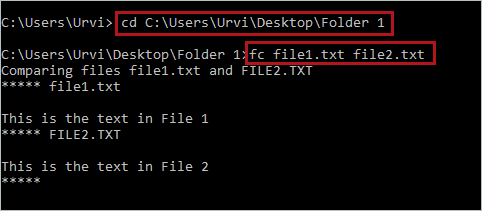
You will see the lines which are different in the output below. If the files are at different locations you can add the file path before the file name, just as shown below.
fc C:UsersUrviDesktopFile1.txt C:UsersUrviDesktopFile2.txtMake sure you add the file extension to the command and file names are correct; otherwise, the command won’t be able to find the file in the mentioned folder.
2. WinDiff
If you want a graphical interface to compare folders in Windows 10, you can use WinDiff. It is developed by Windows and is available for download on the website. The app is straightforward to use with no extra icons and features.
Firstly, download the WinDiff app and then extract it. As the installation process completes, the app will be downloaded in the zip file. Make sure you extract it before using it.
Open the extracted folder and double-click on the RunWinDiff.exe file to run it. Now, add the path of the windiff.exe file and ensure it is in the right location; otherwise, you won’t be able to compare the folders. Once the path is added, click on the three dots to add the folder. The other icon next to the three dots is to add a file for comparison.
Lastly, click on the search icon to compare folders in Windows 10.
The comparison of files will be displayed on the new window. You will see detailed file comparison – identical files as well as differences between files.
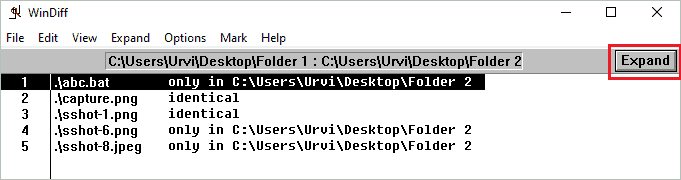
Click on Expand button to see the file contents.
You can change the result’s view and make changes to what should be visible under the Options menu.
You can play around with the option to see different results of the comparison and differences in files. WinDiff can be used as a file comparison tool as well.
3. WinMerge
You can use a third-party app called WinMerge to compare folders in Windows 10. The app is safe and easy to use.
Step 1: Download WinMerge from its official website and double-click on the installation file to start with the install. Click on Run.
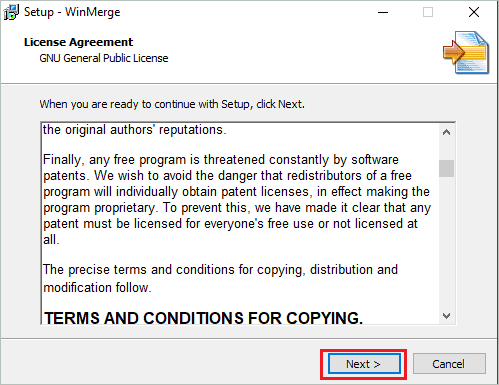
Step 2: Click on Next after reading the license agreement.
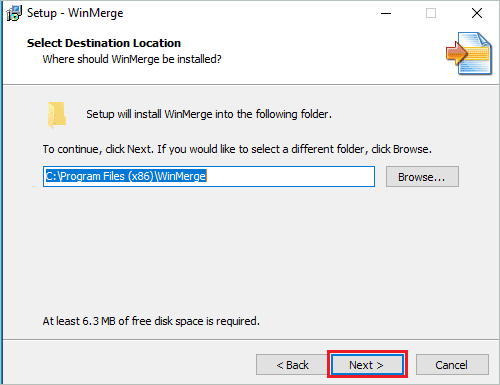
Step 3: Select the location where you want to save program files of WinMerge. If you are not sure about the location, let it be as it is. Click on Next.
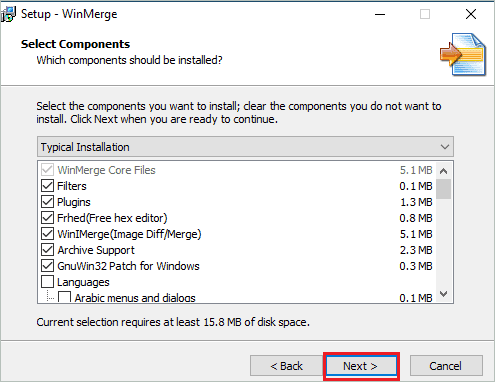
Step 4: Keep the plugins and features getting installed with WinMerge as it is. You can install the languages package if you want.
Once everything is done, click on Next.
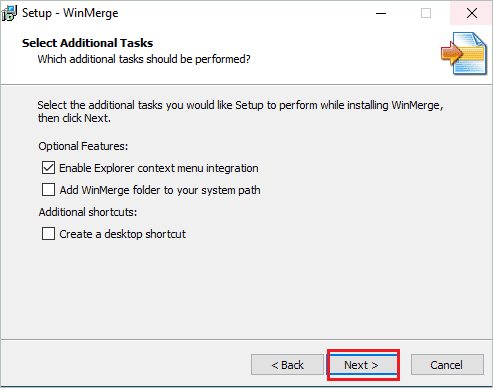
Step 5: Select Additional tasks as per your wish. We recommend enabling Explorer context menu integration. And then click on Next.
Step 6: Once you reach the Ready to Install window, check all the settings and click on Install.

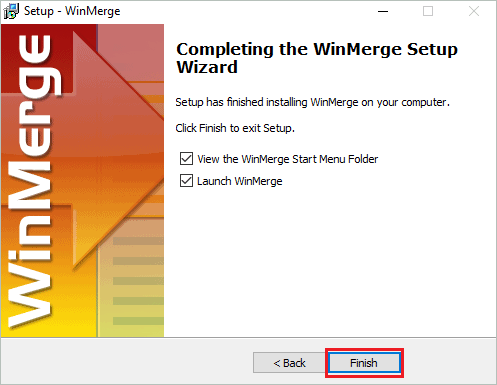
Step 7: Lastly, click on Finish to complete the installation and launch the WinMerge application on your computer.
Step 8: Once the WinMerge is installed, press Ctrl + O keys simultaneously to launch a new comparison window.
Step 9: You can click on the Browse button to add the folder/directory location. Also, check the checkbox next to Read-only for both the folders.
The Folder Filter should be set to *.* and tick the checkbox next to Include Subfolders.
Click on Compare to start the comparison. If the folder contains 100s of files and subfolders, the comparison output may take time.
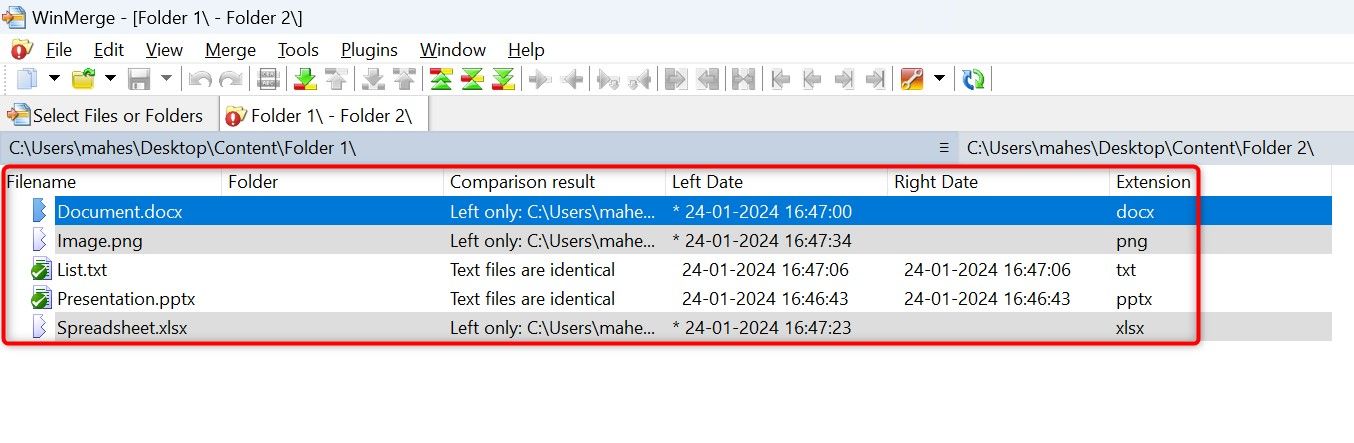
Now, you have the comparison result in the next tab. You can see the right and left file dates along with filenames and extensions. The extension column can help you know file types.

If you want to compare files, you can double-click on the file and see the difference. If it is a text file, you will see file content in two side-by-side windows. The view of the comparison result can be changed easily from the View option in the menu bar.
4. PowerShell
If you love writing PowerShell scripts, you will like this way of comparing folders in Windows 10. Scripts are fun only if we know how to work with them; otherwise, they can get annoying to understand. You can try out the below script in PowerShell and check if you find it comfortable or not.
Press Windows key + X to open the quick link menu and click on Windows PowerShell to open it.
In the PowerShell window, type the following script and press Enter.
$fso = Get-ChildItem -Recurse -path C:UsersUrviDesktopFolder1$fsoBU = Get-ChildItem -Recurse -path C:UsersUrviDesktopFolder2Compare-Object -ReferenceObject $fso -DifferenceObject $fsoBUScript Credit
Here, change the folder1 and folder2 paths as per your requirement.

The output of the comparison means abc.bat, sshot-6.png, and sshot-8.png are present in Folder 2 but missing in Folder 1. On the other hand, file1.txt, file2.txt, sshot-2.png, and taskkill.ink are present in Folder 1 and not in Folder 2.
You can map your output according to the above analysis.
5. Third-party Applications
WinMerge is a famous third-party application for comparing folders in Windows 10. However, if you want more options for third-party apps, you can go through the list below.
Total Commander
Total Commander is all in one when it comes to files and folders. You can use it as a file manager or folder comparison tool. If there are differences in the files/folders, you can also synchronize it with Total Commander. The tool is easy to use and has too many features to help you with files and folders.
Download Total Commander
Meld
Meld is a tool for developers and coders who want to compare folders, directories, and version control projects. It is a perfect tool for developers who work with multiple files and need constant updates on code changes. You can compare files two and three ways with Meld. The tool supports Git, Subversion, Bazaar, and much more. The code comparison can be made easy with this tool.
Download Meld
DiffMerge
DiffMerge can be used on Windows, macOS, and Linux operating systems to compare and merge files visually. You can use it for folder and file comparison. The advanced tool makes it easy to check duplicate files and folders. There is an option to integrate this tool in File Explorer. The tool is easy to use and customizable as per the user’s needs.
Download DiffMerge
FreeFileSync
FreeFileSync is a free and open-source tool that can help you compare folders in Windows 10. It is an intelligent tool that can help you take backup of your files intelligently. You can create backup copies of all the essential files on your computer using this tool. In addition, FreeFileSync helps you in the synchronization of files on Windows, Mac, and Linux.
Download FreeFileSync
Conclusion
Comparing document files and folders visually can be a lot of unwanted hard work. If you have 100s and 1000s of subfolders and files in a particular folder, it becomes impossible to check them manually. There are tools, commands, and scripts that can help you compare folders in Windows 10.
The third-party tools can help you compare, merge, and synchronize folders. You can also use Command Prompt terminal and PowerShell to compare folder contents. If you want a user interface for comparing tools like WinMerge and WinDiff is perfect. There are many ways to compare folders in Windows 10; you can choose the method you are comfortable with.
Quick Links
-
Compare Folders From Properties
-
Compare Folders Using Command Prompt
-
Compare Folders With WinMerge
Summary
- One way to compare folders is to right-click your folders one at a time and choose «Properties» for each. Then compare the Properties window of each folder.
- The robocopy command is a command-line tool that can be used to view the differences between folder.
- Use WinMerge to compare the contents and details of folders if you want a graphical tool.
Do you want to compare the number of files or folders or simply visualize the difference between two folders? If so, you have two graphical and one command line method to do that. We’ll show you how to perform the folder comparison task on your Windows 11 or Windows 10 PC.
Compare Folders From Properties
To compare the number of files, subfolders, the size, and the creation date of two folders, use the Properties option in Windows File Explorer. This lets you quickly glance at the main attributes of a folder.
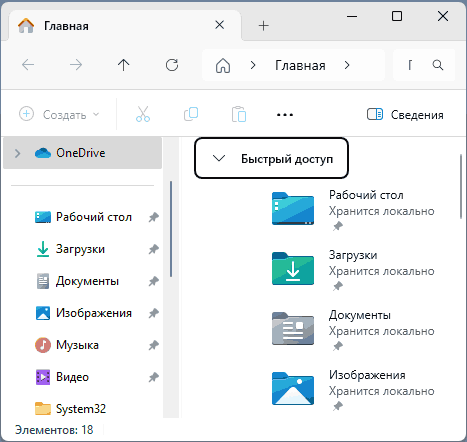
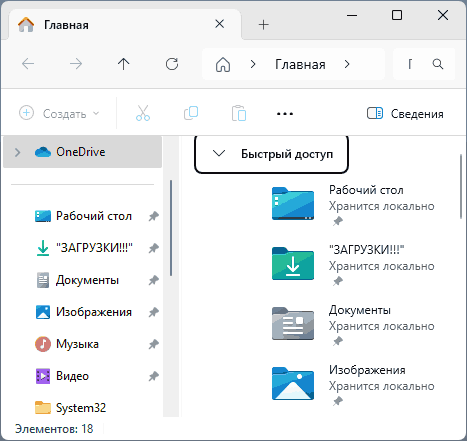
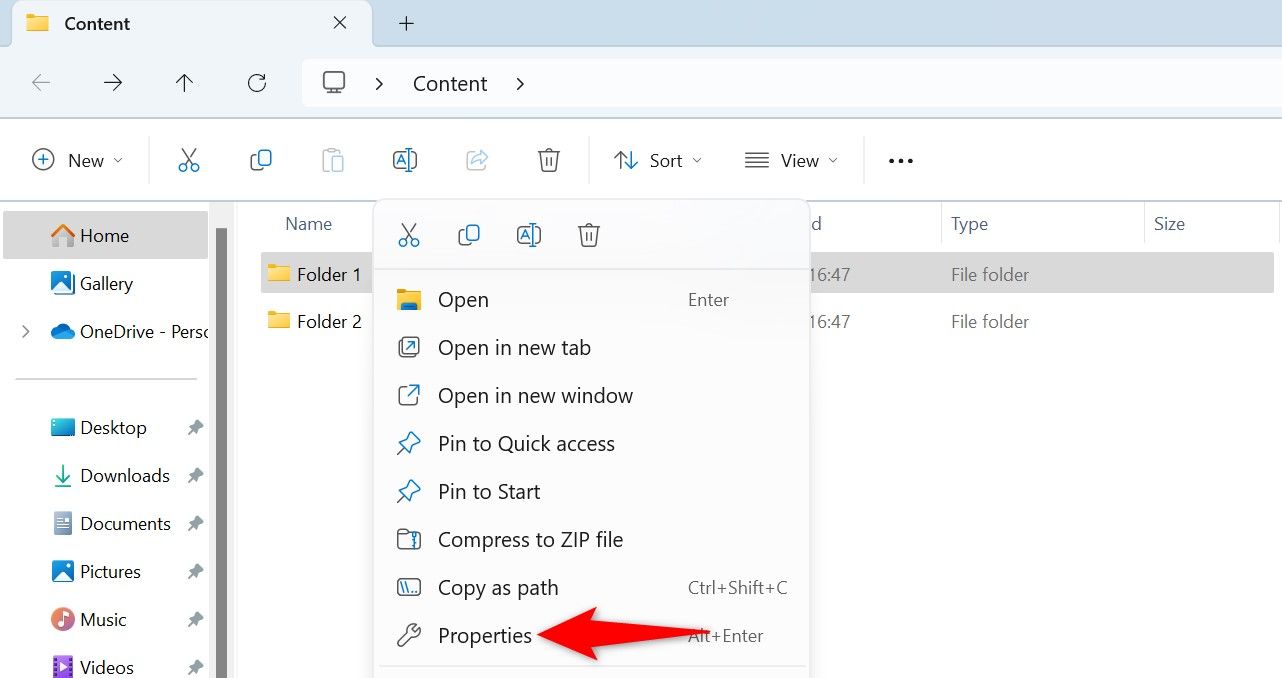
To start, launch File Explorer using Windows+E. Find the first folder, right-click it, and select «Properties.»
Keep the first folder’s «Properties» window open. Then, find the second folder, right-click it, and select «Properties.»
You now have the «Properties» window open for both your folders. Bring these windows side-by-side by dragging them, and you can see the differences in the contents of these folders. For example, you can see how many files both folders have, what size these folders are, and so on.
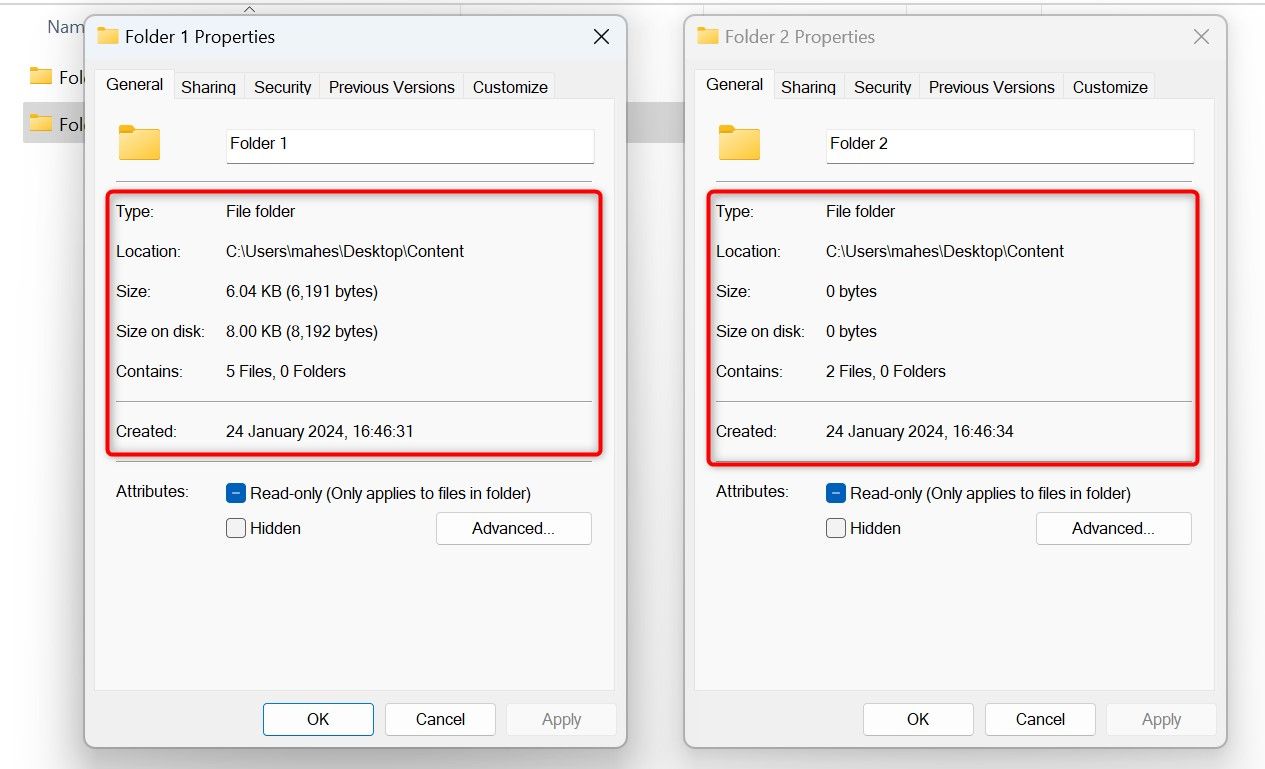
That gives you a general overview of the differences between your folders.
Compare Folders Using Command Prompt
If you prefer command line methods over graphical ones, use the robocopy command in Command Prompt to see the differences between the two folders. This command is actually for copying files from one folder to another, but you can make it show the differences between two specified folders and not copy any files.
To use robocopy, first open the Start Menu, search Command Prompt, and launch it.
In Command Prompt, type the following command. Replace «Folder1» with the path to your first folder and «Folder2» with the path to your second folder. Ensure both folder paths are enclosed in double quotes.
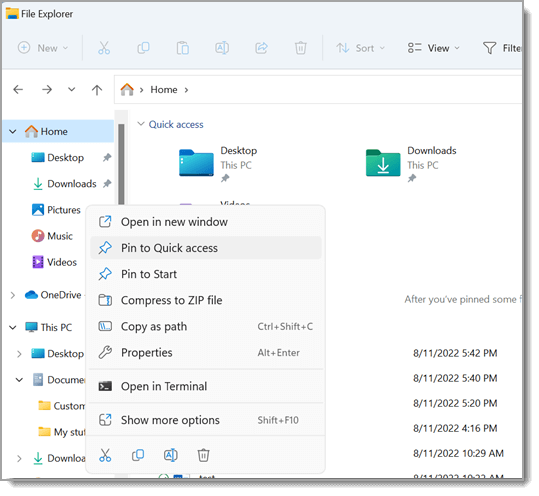
To copy a folder’s full path along with double quotes around the path, hold down the Shift key on your keyboard, right-click your folder, and choose «Copy as Path.»
robocopy "Folder1" "Folder2" /L /NJH /NJS /NP /NS
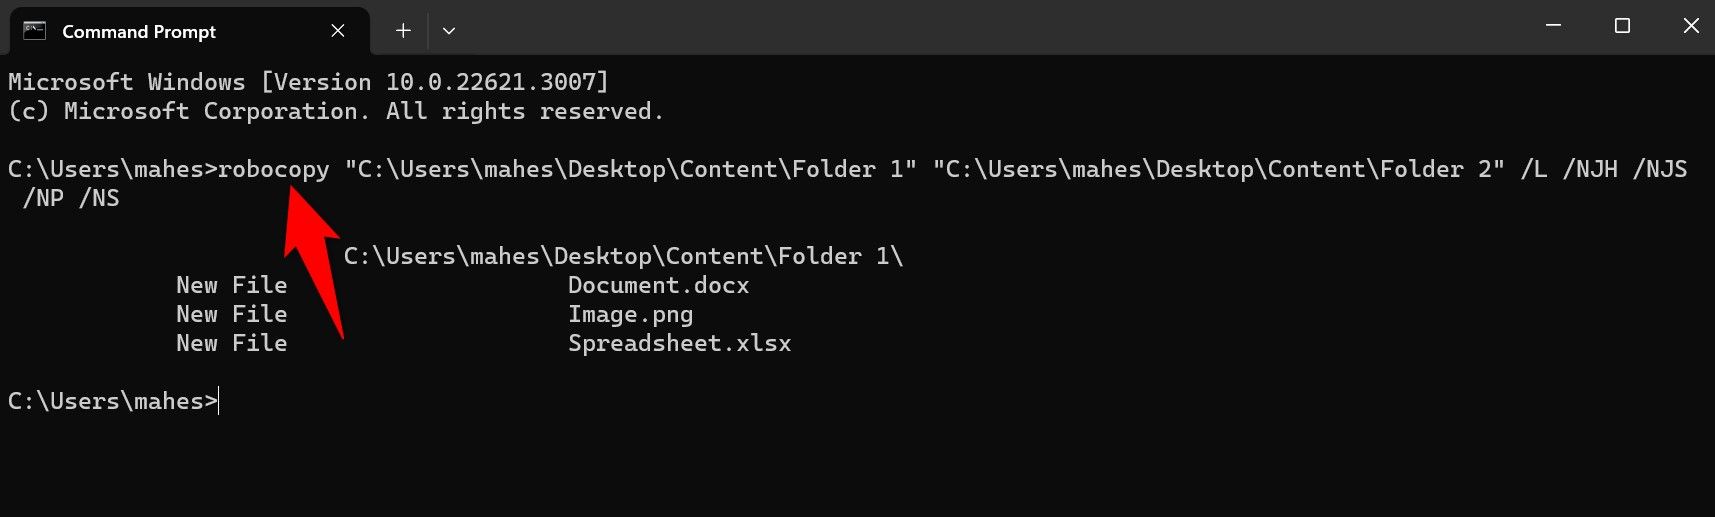
You’ll see the differences between your folders.
If you’re curious as to what the robocopy command does, here’s an explanation of each flag we used with the command:
- L: This tells the command not to copy files but show the log of the files in the specified folder.
- NJH: This flag excludes junctions, hard links, and reparse points from consideration. This way, the command focuses on the regular files in the specified folders.
- NJS: This flag excludes symbolic links from the process.
- NP: This flag excludes folder timestamps.
- NS: This flag excludes file security information.
Compare Folders With WinMerge
If you want more details about the differences in your folders, Windows doesn’t have a built-in tool to help you with that. However, you can use a free third-party app called WinMerge to compare multiple folders.
To use it, launch a web browser on your PC, head to the WinMerge site, and download and install the app. Make sure to download the app’s executable and not the ZIP version.
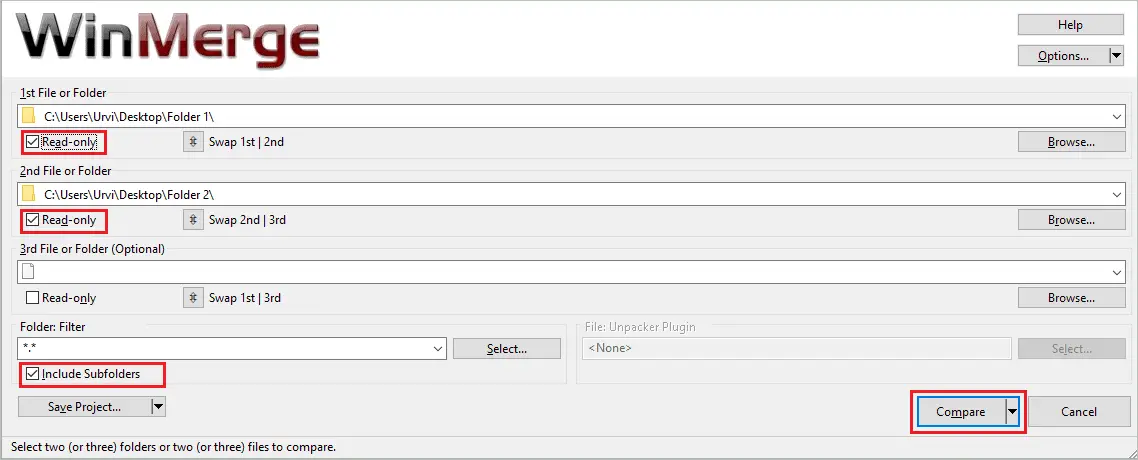
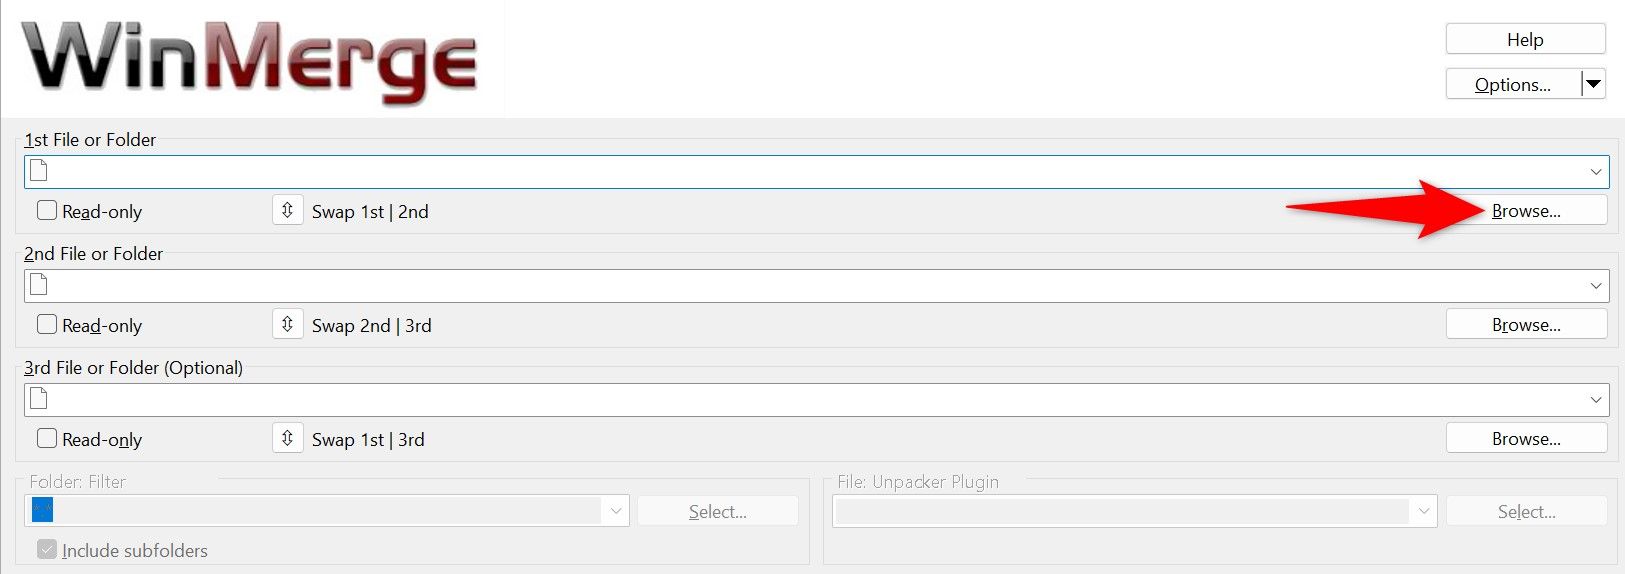
Open the WinMerge app, then select File > Open in the Menu Bar or press Ctrl+O.
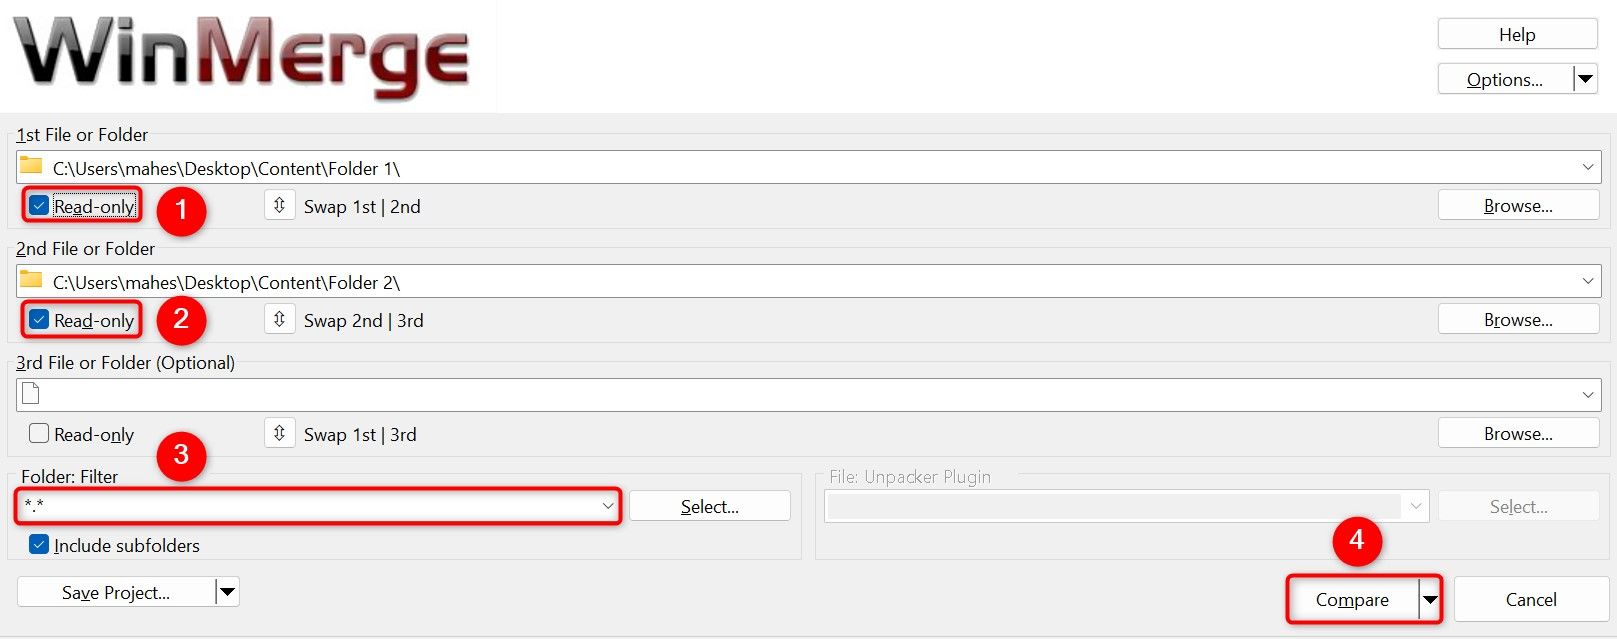
For the «1st File or Folder» field, select «Browse» and choose the first folder to compare.
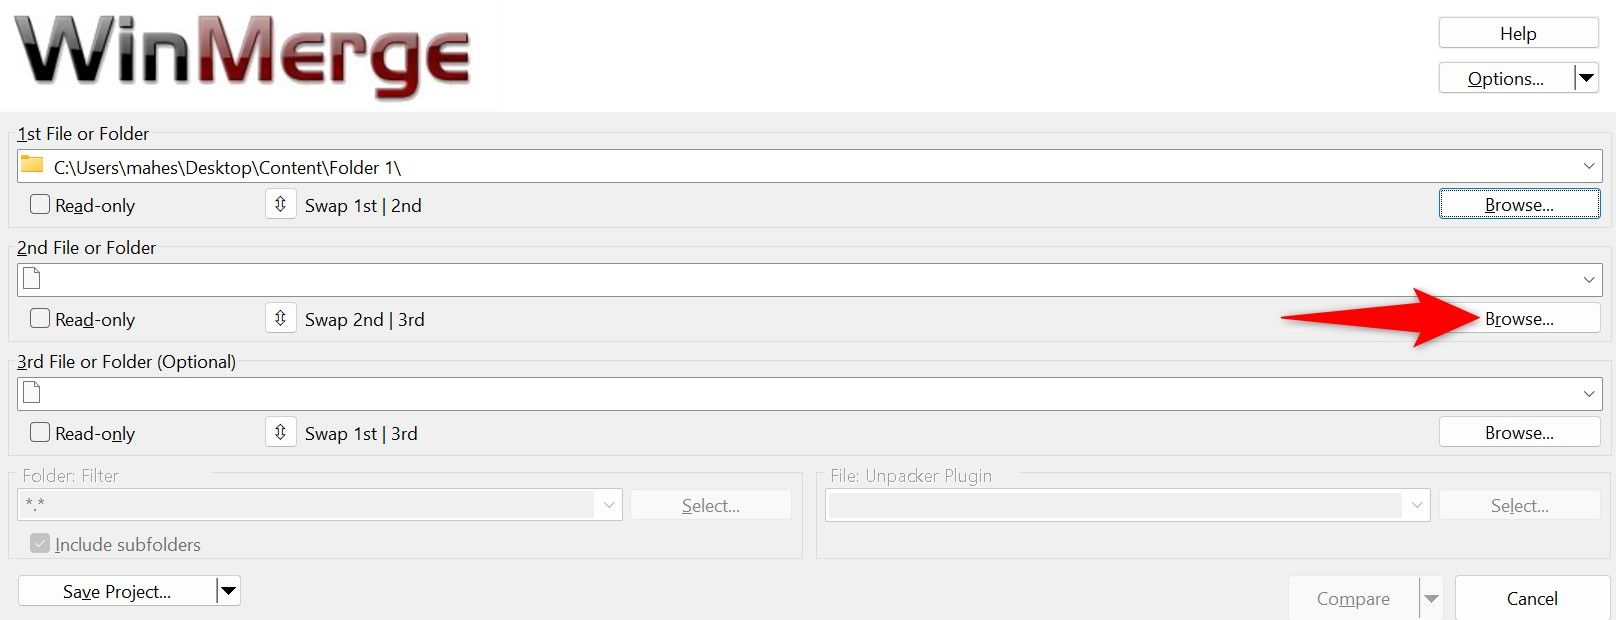
For the «2nd File or Folder» field, click the «Browse» button and choose the second folder to compare.
In both fields, enable the «Read-Only» option. Click the «Folder: Filter» field and type *.* if it isn’t already there. This ensures the app compares all the files in both the specified folders. Then, at the bottom, click «Compare.»
On the following screen, you’ll see the comparison of the specified folders. You’ll see information like identical files in both folders, files missing from one folder, and so on.
And that’s how you know what one folder has that another doesn’t. This can be really useful if you’re trying to quickly compare different versions of the same folder, like you’d have when you create a backup.