
Applies ToOutlook для Microsoft 365 Outlook для Microsoft 365 для Mac Outlook 2024 Outlook 2024 для Mac Outlook 2021 Outlook 2021 для Mac Outlook 2019 Outlook 2016
Если вы хотите скачать копию контактов из iCloud, выполните следующие действия. Скачав копию контактов в файл, вы можете импортировать контакты в Outlook.
-
Войдите в iCloud.com с учетными данными для входа.
-
Выберите Контакты
-
Щелкните значок шестеренки, а затем выберите Выбрать все , чтобы пометить все контакты для экспорта.
-
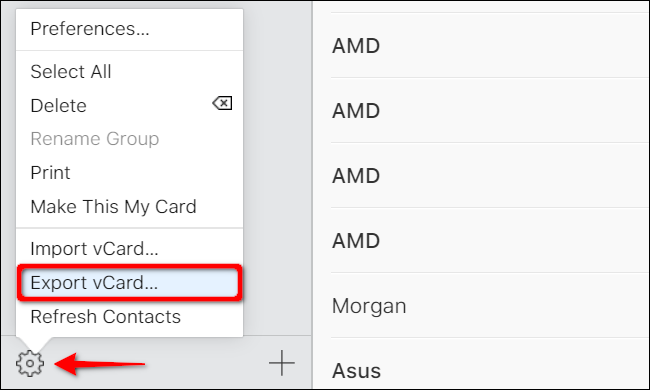
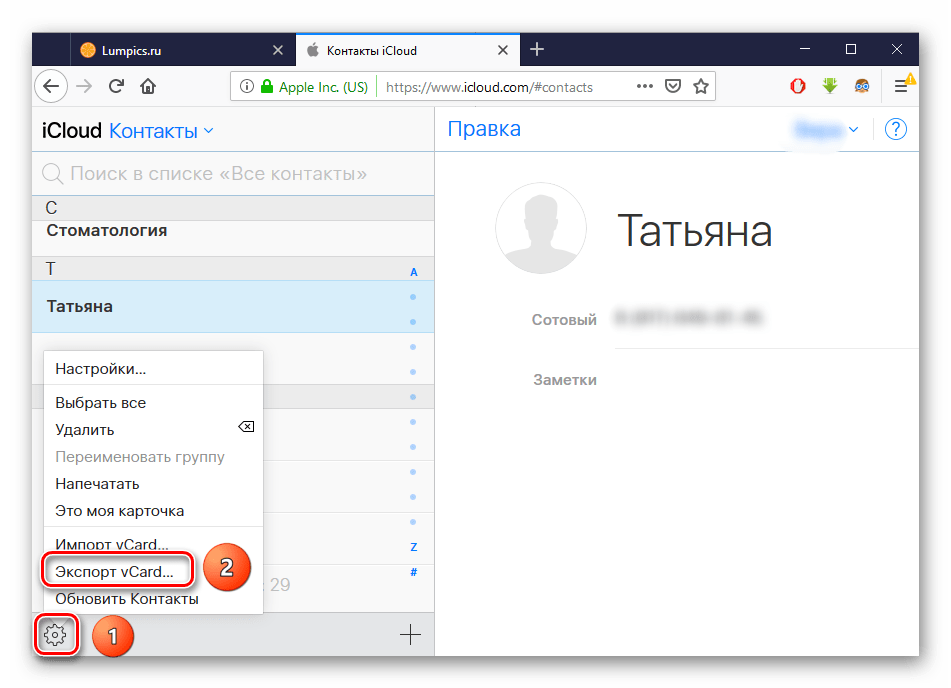
Снова щелкните значок шестеренки и нажмите кнопку ЭкспортvCard , чтобы скопировать контакты в файл .vcf. (Ваши контакты по-прежнему будут доступны в вашей учетной записи iCloud.)
-
Теперь, когда контакты копируются в VCF-файл, их можно преобразовать в CSV-файл, а затем импортировать в Outlook для Windows.
См. также
Импорт контактов из iCloud (VCF-файла vCard) в Outlook
Нужна дополнительная помощь?
Нужны дополнительные параметры?
Изучите преимущества подписки, просмотрите учебные курсы, узнайте, как защитить свое устройство и т. д.
Quick Links
-
Export Contacts via iCloud
-
Export via the Contacts App
Sharing contacts between your iPhone and a Mac is easy, given that both devices synchronize in Apple’s cloud. But did you know you can share your iPhone contacts with a Windows 10 PC, too? We’ll walk you through it!
For this guide, we didn’t use third-party tools developed specifically to export contacts. Instead, we’ll show two methods that are readily available on your iPhone and Windows 10. The first method involves Apple’s iCloud service, which is the better option if you need to export more than one contact.
The second method relies on email. You don’t need a specific email client—Gmail, Yahoo, iCloud, Outlook, and so on, all work just fine. We’ll show you how to retrieve and download contacts via the Windows 10 Mail app.
To use this method, your contacts must be synced with iCloud. It’s the best way to export contacts in bulk.
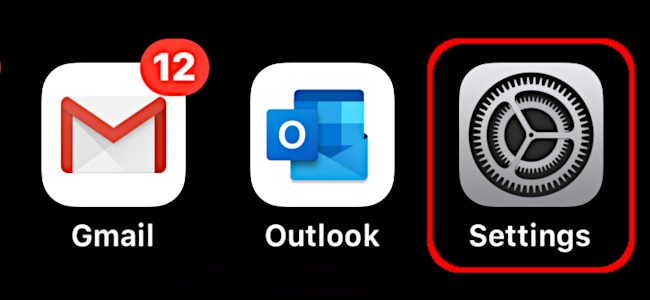
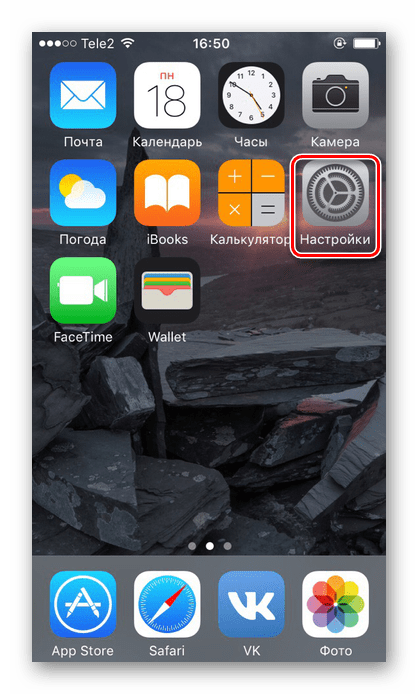
To get started, open the «Settings» app on your iPhone. Its location on your phone might be different than what’s shown below; use the Spotlight Search if you can’t locate it.
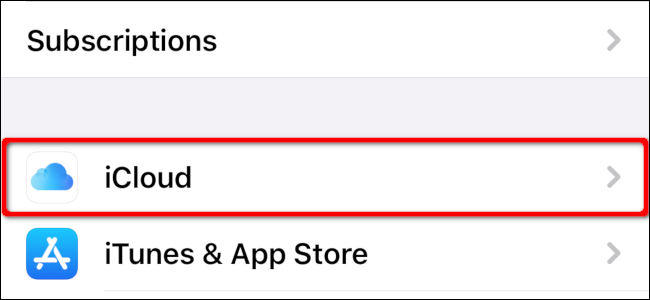
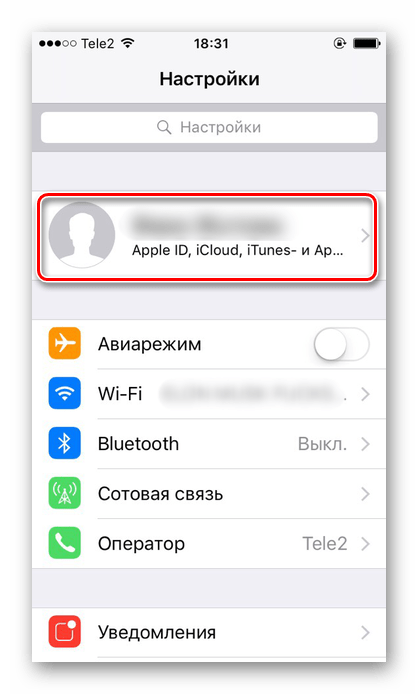
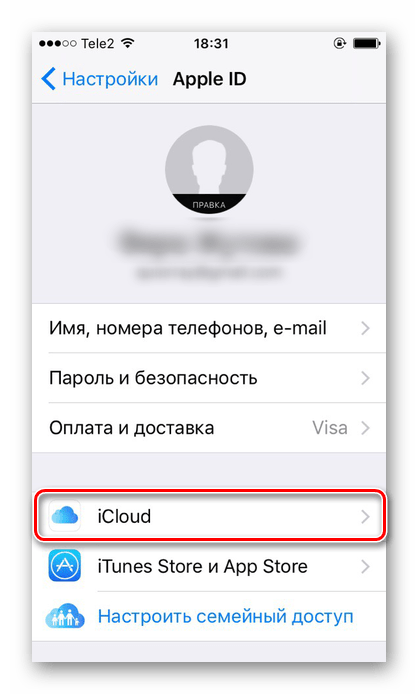
In the «Settings» app, tap your name at the top of the screen, and then tap «iCloud» on the following screen.
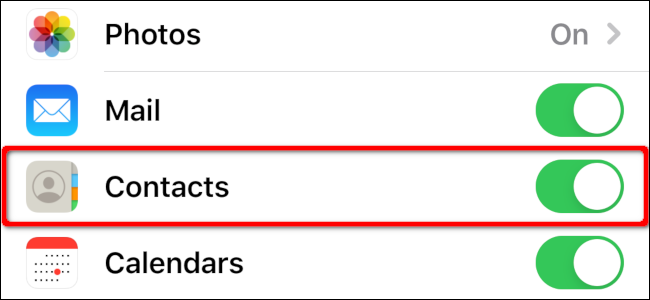
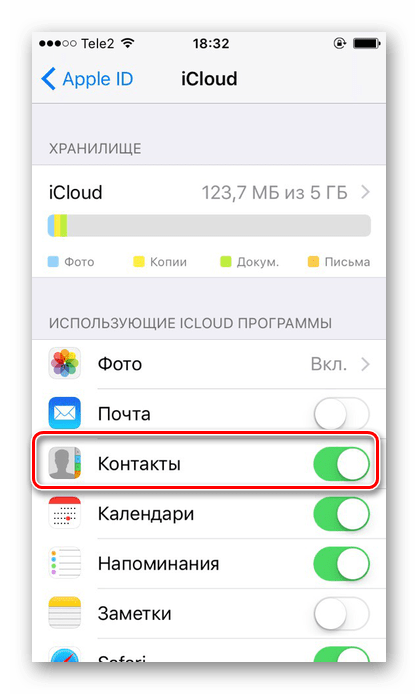
Verify that «Contacts» is toggled-On (green) and syncing to the cloud. If not, tap the toggle to enable it and sync your contacts.
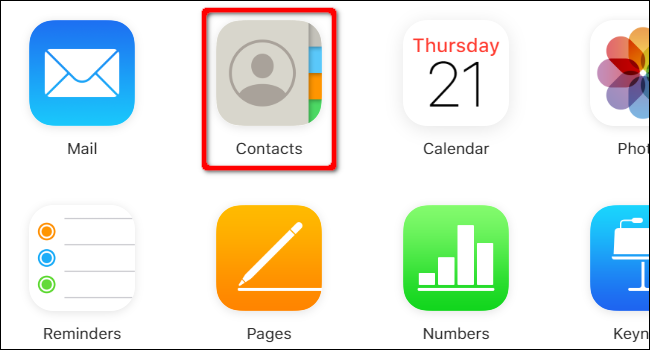
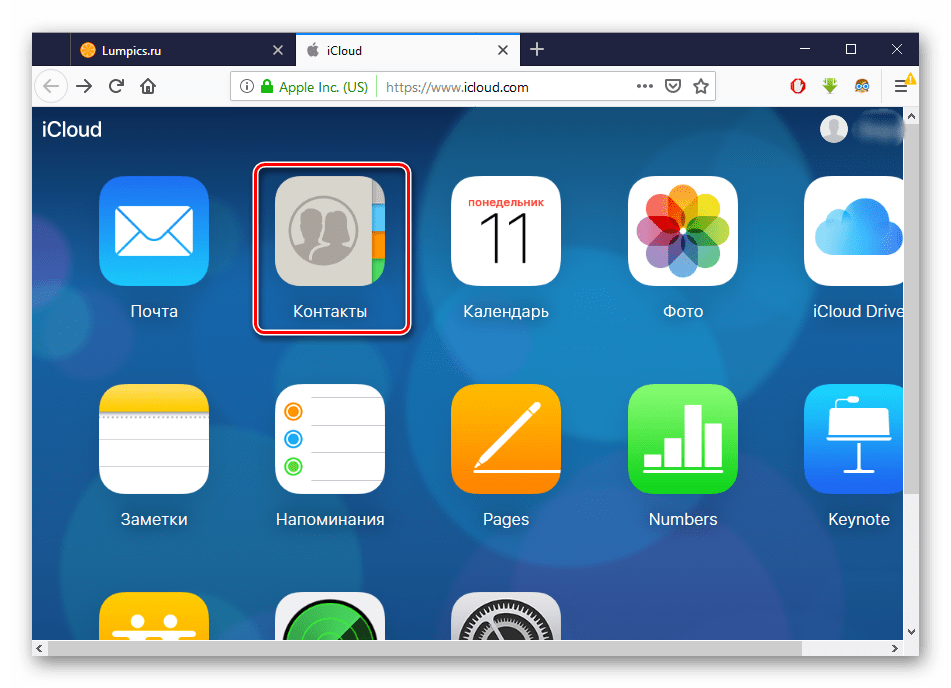
Next, open a browser on your Windows 10 PC and log in to the iCloud website with your Apple ID. Click «Contacts.»
Select a contact on the following screen. If you only want to export one contact, click the gear icon in the bottom-left corner, and then select «Export vCard» in the pop-up menu.
If you want to export multiple contacts, click a single name first. Then, place your mouse cursor over the final contact you want to export, press and hold the Shift key, and then click the last contact. Click the gear icon, and then select «Export vCard» in the pop-up menu.
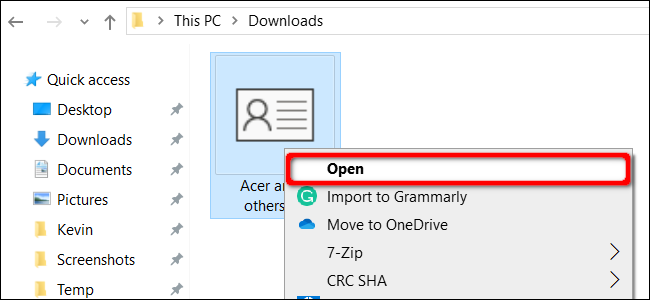
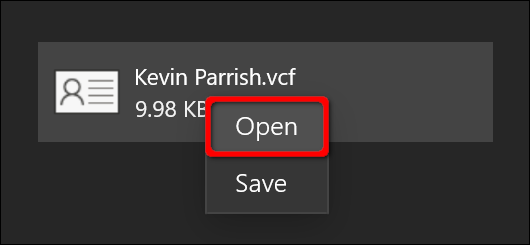
By default, the VCF file downloads to the «Downloads» folder on your PC. Right-click the file and select «Open» in the pop-up menu.
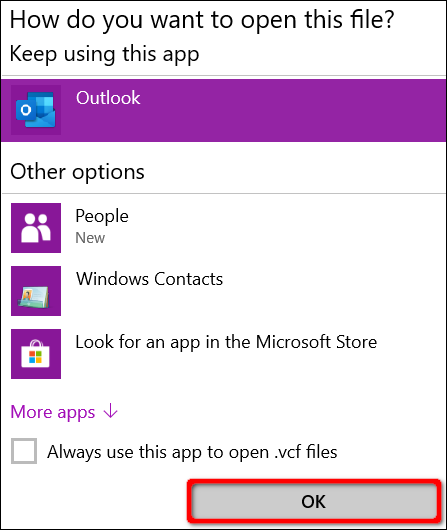
Next, select where you want to install your contacts. Your choices include Outlook, the People app, and Windows Contacts. After you make your selection, click «OK» to import your contacts.
This method sends your contacts to your Windows 10 PC via email. The major drawback, though, is you can only export one contact at a time.
Tap «Contacts» on your iPhone to open the «Contacts» app (it might be in a different location on your phone than what’s shown below).

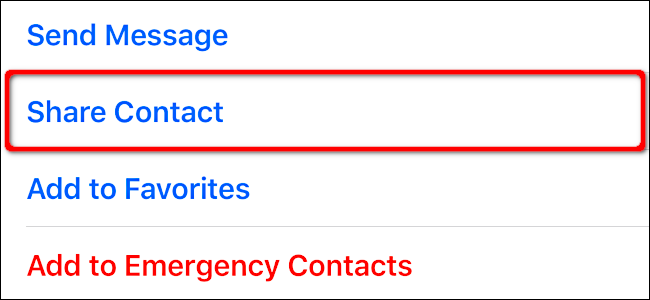
Next, tap the contact you want to export. After the details load, tap «Share Contact.»
Tap an email app in the pop-up menu that appears to send the contact to your Windows 10 PC. Fill in the email details, and then send it to yourself.
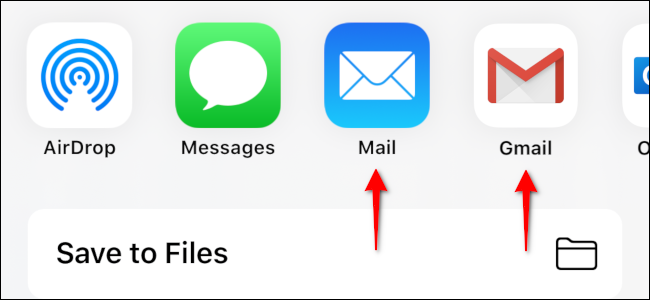
When you receive the email on your Windows 10 PC, right-click the VCF attachment, and then click «Open» on the pop-up menu. Again, your choices are Outlook, the People app, and Windows Contacts.
Repeat these steps for each additional contact you want to import into Windows 10.
Download Article
Learn to sync your iPhone contacts with your computer using iCloud, iTunes, and more
Download Article
- Using iCloud
- Using iTunes
- Using Finder (Mac Only)
- Using AirDrop (Mac Only)
- Using Third Party Apps
- Video
- Q&A
|
|
|
|
|
|
You can use iCloud or iTunes to transfer your iPhone contacts to your computer. If you’re using iTunes, contacts will be synced like your other iTunes content. If you’re using iCloud, contacts will be updated automatically on your computer when they’re updated on your iPhone, and vice versa. You can also transfer contacts to a Mac using Finder or AirDrop. For more advanced options, consider using a third-party app. We’ll talk you through the best options in this article.
Things You Should Know
- The easiest way to sync your iPhone contacts across multiple devices is to turn on Contacts in iCloud.
- You can import your contacts directly from iCloud into the Contacts app on a Mac or save them as a vCard on Mac or PC.
- If you’d rather not use iCloud, sync your contacts using iTunes (on a PC) or Finder (on a Mac).
- There are also several third-party apps you can use to transfer your contacts.
-

iCloud makes it easy to sync your contacts between all your Apple devices. You can also use it to download your contacts in the form of a vCard onto a Mac or a Windows PC. To start syncing your contacts with iCloud, open

on your phone.[1]
-
It’s at the top of the Settings menu. If you aren’t already signed in with an Apple ID, tap Sign in to your iPhone and enter your Apple ID and password.[2]
Advertisement
-
You’ll find this near the top of the Apple ID menu, in the second group of options.[3]
-
You may need to tap Show All under the APPS USING ICLOUD header in order to see the Contacts option. Once you find it, tap the slider to set it to the

On position.[4]
-
Any duplicates from your iPhone’s storage will be combined with the contacts already stored on your iCloud account.[5]
-
The process for this varies for Mac and Windows:
-
Mac: Click the

Apple menu and select System Preferences or System Settings (depending on which version of MacOS you’re using). Then:
- Click your Apple ID. If you haven’t already done so, sign in with the same Apple ID and password that are linked to your iPhone.
- Click iCloud. Scroll down and make sure Contacts is toggled on.
-
Windows: Visit https://www.icloud.com/ in any browser. Click Sign In and log in with the Apple ID that’s linked to your iPhone.
- You can also download the iCloud app for Windows if you’d rather use it on your desktop.
- If you have two-factor authentication set up, a code may appear on one of your trusted devices that you’ll have to enter to complete the sign-in process.
-
Mac: Click the
-
If you’re on a Mac, your work is done! Your contacts should appear in the Contacts app. However, if you’re using a Windows PC, you’ll need to take a couple of extra steps:[6]
- Click the menu button in iCloud (it looks like a rectangular grid of 12 squares in the top right corner of the screen).
- Select Contacts. It’s at the top of the menu, under the Apps header.
- Open Settings. It’s a gear-shaped icon on the lower left corner of the screen.
- Click Select All. You can also select individual contacts to export by clicking on them, or Ctrl-click several contacts to bundle them into a group.
- Click Export vCard…. Select the location where you’d like to save your vCard file.
- You can also download your contacts as a vCard on your Mac, if you want. Log into iCloud in a browser and follow the same steps you would take on a Windows PC.
-
The location of your contacts will depend on what kind of computer you’re using and how you chose to sync your contacts. On your Mac, you’ll find them in the Contacts app. If you decided to save them as a vCard, they’ll likely be in your Downloads folder. In Windows, you’ll find them in the location you selected when you saved them as a vCard.
-
If you want, you can change your vCard to a CSV file and import your contacts into Outlook on your Windows PC. Here’s how to do it:[7]
- Open a File Explorer window and go to Local Disk (C:) > Users > your username > Contacts. Click Import, then select vCard (VCF file).
- Navigate to the location where you saved the vCard from iCloud and select it, then click Open. Click OK on each contact you want to import. Unfortunately, you’ll have to keep doing this for all of them. Click Close when you’re done.
- Select Export at the top of the File Explorer window, then select CSV (Comma Separated Values) and click Export again.
- Click Browse next to the Save exported file as: field. Type in a name for your file (something like “Contacts from iCloud”) and click Save. Pay attention to where the file is going (e.g., Documents).
- Check the boxes next to any fields you want to export for each contact (such as Name, E-mail Address, Home City, etc.). Click Finish. Click OK on the popup telling you that the file has been exported.
- Open Outlook and select File > Open & Export > Import from another program or file. Click Next. Choose Comma Separated Values, then click Next again.
- Click Browse in the Import a File popup, navigate to where your CSV file is saved, and double-click it. Select whether you want to allow duplicates or replace duplicate contacts, then click Next.
- Click on Contacts in the Select a destination folder menu, click Next, then click Finish. You should be able to find your contacts by clicking the People icon in Outlook.


Advertisement
-
If you’re using a Windows PC or an old version of MacOS (Mojave or earlier), iTunes is a good solution for importing your contacts from your iPhone to your computer. To get started, connect your iPhone to your computer. There are a couple different ways to do this, but the easiest method is to plug your iPhone into your computer with a USB cable.
- If an alert pops up on your phone asking if you want to trust the computer, select Trust.
- If you’d rather connect your iPhone to your computer wirelessly, you’ll need to set up Wi-Fi syncing in iTunes first.
- Use this method if you’d rather not use iCloud. You’ll need to turn off Contacts in your iCloud settings in order for this to work.
-
iTunes may launch automatically when you connect your phone to your computer. If it doesn’t, go ahead and open it now.
-
You’ll find this at the top of the iTunes window. It looks like a tiny icon of an iPhone.[8]
-
This is located under Settings in the device menu.
-
This will not be available if your iPhone is set to sync contacts with your iCloud account. See the Using iCloud method for details.
-
You can sync with Windows contacts, Outlook, Google, or any other account you may have set up on your computer.
-
If you want to sync all your contacts at once, click the radio button next to All contacts. This option may be selected by default. Click Selected groups instead if you only want to sync certain contacts.
-
Your contacts will be transferred from your iPhone to your chosen contacts location on your computer.[9]
-
You’ll be able to access your contacts from whatever program you synced them to. For example, if you added them to Outlook, you’ll find them in the Contacts section of Outlook.


Advertisement
-
If you’re using a Mac with a more recent version of MacOS (Catalina or later), you can sync your contacts using the Finder. This option will only work if you don’t have your contacts synced with iCloud (see Using iCloud for more information). To get started, use a USB cable to connect your iPhone to your computer.[10]
- You can also connect your iPhone to your Mac over Wi-Fi, but you’ll need to enable Wi-Fi syncing first. To do this:
- Plug your iPhone into your computer with a USB cable, then select your iPhone from the Devices group in the Finder sidebar.
- Click the General tab at the top of the window, then check the box next to Show this iPhone when on Wi-Fi.
- Navigate to Info to turn on your Sync settings (see below), then click Apply.
- You can also connect your iPhone to your Mac over Wi-Fi, but you’ll need to enable Wi-Fi syncing first. To do this:
-
Once your phone is plugged in, open a Finder window by clicking the

icon in the dock. Locate your phone in the Devices group in the Finder sidebar and click on it.[11]
-
You may see a pop-up on your phone asking if you want to trust your computer, and vice versa. Select Trust on both devices. Enter the passcode on your iPhone if prompted to do so.
-
You’ll see this option in the tabs at the top of the window.[12]
-
If you don’t already have your contacts set to sync with iCloud, you’ll see the option to Sync Contacts to iPhone. Check the box next to this option. Then, select whether you want to sync all contacts or just select groups.
-
Once you’ve made your selection, click Apply or Sync at the bottom of the window to start the process. You’ll be able to find your contacts in the Contacts app.


Advertisement
-
If you only need to send one or two contacts to your computer, you can use the AirDrop feature on your iPhone to share contacts individually. This will only work if you’re using a Mac computer.
- You’ll need to make sure AirDrop is enabled on both your iPhone and your Mac.
-
To get started, open the Contacts app. The icon looks like a gray square with colorful tabs along the side and an icon of a person in the middle.
-
Open the list of contacts you’d like to use. Search for the contact you want to share or scroll down until you find it. Tap the contact’s name to open the contact menu.
-
This option is near the bottom of the screen.[13]
-
Once the Share menu opens, tap on AirDrop. The icon looks like a group of concentric blue rings with a triangular wedge missing from the bottom.[14]
-
When the AirDrop a Copy screen opens, tap your computer in the list of available devices. It may take a moment for the transfer to complete. The contact will appear as a VCF file (or vCard) in your Downloads folder.
- Tap Done in the top right corner of the screen on your iPhone when you’re finished.


Advertisement
-
If you don’t want to use up space on your iCloud, or if you’re looking for an app with more advanced data transfer options than iTunes, there are several third-party options on the market. Keep in mind that many of these apps cost money, although they might have a free version or a limited free trial.
-
These apps offer full-featured iPhone content management tools that you can use to back up and transfer your contacts, messages, files, and other data. In some cases, you’ll need to download an app for your desktop as well as a companion app for the iPhone. Typically, you’ll need to pay a one-time license fee for access to all the features of these apps. Some popular options include:
- Dr.Fone – Phone Manager (iOS)
- iTransfer
- Syncios Manager
- Xilisoft iPhone Transfer
- AnyTrans
-
If you’re not interested in paying a fee for a fancy iPhone data transfer app, there are some more limited free options available. With some of these apps, you can easily back up and store your contacts online and download them to another device (such as your computer or another phone or tablet) later. Some options include:
- NQ Contacts Sync for iOS
- Contacts Backup + Transfer
- My Contacts Backup


Advertisement
Add New Question
-
Question
Why do phone companies make transferring contacts so hard? They made the SIM card; can’t they make a user card?
It is very easy to transfer contacts from one Apple device to another. You just need to turn on Contact Sync in Settings -> iCloud -> Storage and Backup. Make sure Contacts is on, and click Backup.
Ask a Question
200 characters left
Include your email address to get a message when this question is answered.
Submit
Advertisement
Video
Thanks for submitting a tip for review!
About This Article
Thanks to all authors for creating a page that has been read 379,303 times.
Is this article up to date?
Потерять контакты в экосистеме Apple достаточно сложно, ведь они дублируются на всех ваших устройствах да еще и в облаке. Тем не менее, бывают ситуации, когда контакты нужно перенести на другое устройство, экспортировать в адресную книгу или менеджер контактов на другом компьютере или вообще другой платформе. Это очень легко сделать с помощью веб-версии iCloud.
Процесс переноса предельно прост и состоит всего из нескольких шагов:
- Открываем в браузере iCloud.com и входим в свой аккаунт.

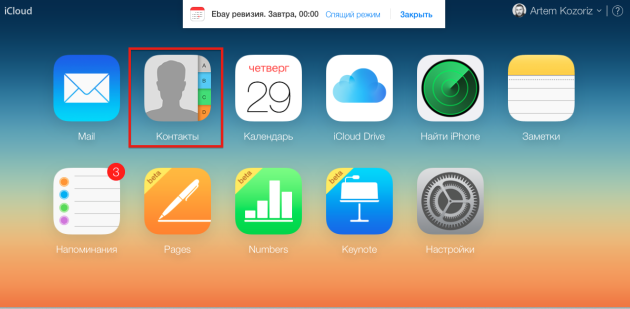
- Запускаем «Контакты», кликнув на соответствующую иконку.

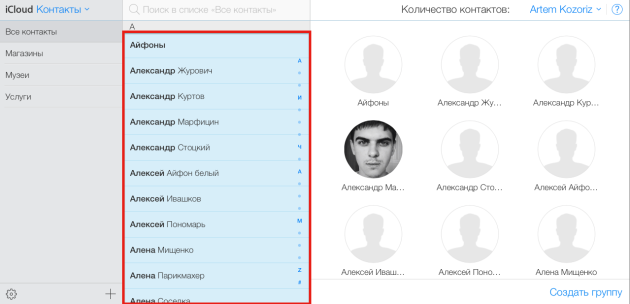
- Выделяем любой контакт из списка, а затем нажимаем сочетание клавиш ⌘A для выбора всех контактов.
- Нажимаем иконку настроек в левом нижнем углу и выбираем пункт Экспорт vCard…
- Все ваши контакты будут собраны в один файл, который сохранится в “Загрузки”.
- В OS X этот файлик автоматически откроется в приложении «Контакты» для экспорта. Если какие-либо из экспортируемых контактов будут иметь дубликаты в вашей адресной книге, система предупредит вас об этом и предложить пропустить их или объединить с существующими.
Поскольку контакты экспортируются в стандартный формат VCF, впоследствии его можно будет использовать для импорта в других приложениях, на других компьютерах и платформах.
Все способы:
- Копируем контакты на компьютер
- Способ 1: iCloud
- Способ 2: iTunes
- Способ 3: Резервная копия
- Способ 4: iTools
- Вопросы и ответы: 1
Сохранение важных данных на своем телефоне волнует многих пользователей. Поэтому часто возникает необходимость скопировать контакты на свой компьютер, чтобы не потерять их или случайно не удалить. В iPhone это можно реализовать по-разному.
Копируем контакты на компьютер
Чтобы скачать файл со всеми контактами, вовсе не обязательно подключать устройство к компьютеру. Для этого можно использовать и фирменное программное обеспечение от Apple. Загруженный файл с контактами будет иметь формат VCF. Если вы захотите его открыть, узнать, как это сделать, можно из другой нашей статьи.
Подробнее: Открываем файл в формате VCF
Способ 1: iCloud
Облако iCloud довольно популярно у владельцев Айфонов. Оно позволяет хранить все файлы, а также их резервные копии не в памяти смартфона, а на фирменных серверах компании. Доступ к ним можно получить также и на сайте iCloud, войдя под своим Apple ID. Но для начала нужно включить синхронизацию контактов.
Читайте также: Как пользоваться iCloud на iPhone
- Откройте «Настройки» Айфона.
- Перейдите в ваш профиль Apple ID.
- Найдите подраздел «iCloud».
- Передвиньте ползунок вправо напротив пункта «Контакты». После этого все данные из вашей телефонной книги будут автоматически синхронизироваться с веб-версией iCloud.
Теперь перейдём к работе с сайтом и к экспорту контактов на компьютер. Для этого мы рекомендуем использовать любой браузер кроме Google Chrome, так как в нём часто не открывается нужное окно и невозможно скачать файл с контактами к себе на ПК.
- Откройте сайт веб-версию iCloud. Если потребуется, введите Apple ID и пароль для входа. Перейдите в раздел «Контакты».

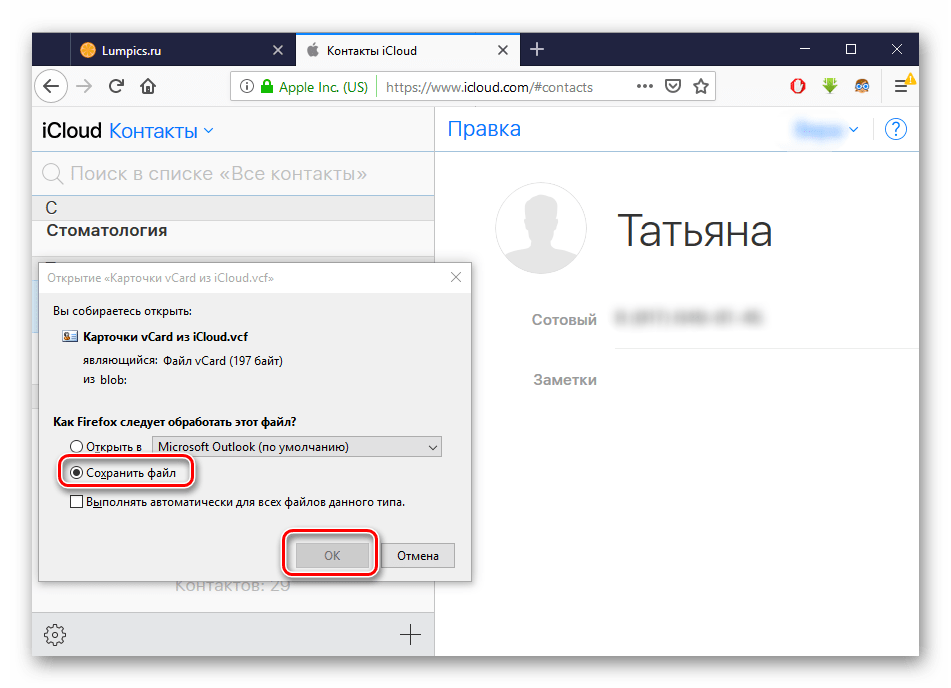
- Перед вами будет весь список синхронизированных контактов. Нажмите на значок шестерёнки в левом нижнем углу экрана и выберите «Экспорт vCard…».
- В появившемся окне выберите «Сохранить файл» и нажмите «ОК». Контакты сохранятся в папку «Загрузки» браузера.
Читайте также:
Как восстановить контакты на iPhone
Способ 2: iTunes
Стандартная программа для работы с устройствами от компании Apple. Чтобы выгрузить контакты с помощью iTunes без создания резервной копии, необходимо отключить функцию синхронизации с iCloud на своём устройстве. Как это сделать, мы описали в Способе 1 данной статьи.
Читайте также: Как пользоваться iTunes
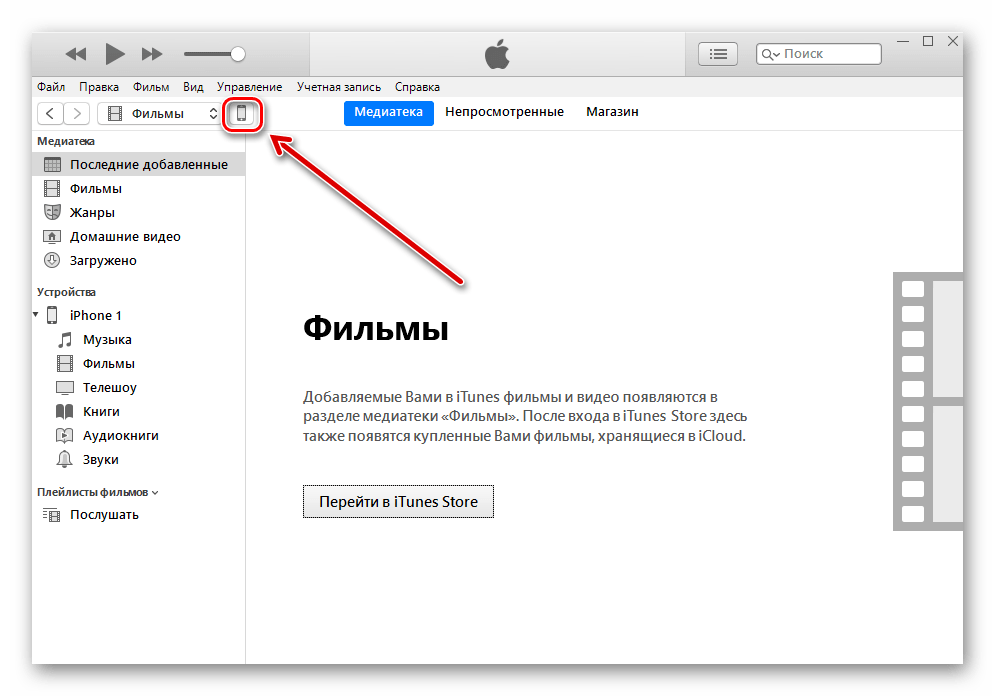
- Подключите Айфон к компьютеру, откройте iTunes и найдите значок устройства на верхней панели.
- Перейдите в раздел «Сведения». Поставьте галочку напротив «Синхронизировать контакты с:». В следующем поле выберите, в какую именно программу выгрузятся данные – Windows Contacts или Outlook. В окне ниже также можно указать, какая именно группа контактов будет скачана. Нажмите «Применить».

Читайте также: Как импортировать контакты в Outlook
Способ 3: Резервная копия
Перенести все свои данные на компьютер можно и с помощью резервной копии iTunes. Однако этот способ подойдёт только в том случае, если телефон был утерян или продан. Кроме того, достать контакты отдельным файлом из копии не получится. Для этого придётся использовать сторонние программы. Как сделать резервную копию в Айтюнс, вы можете узнать из нашего отдельного материала.
Подробнее: Как создать резервную копию iPhone, iPod или iPad
Способ 4: iTools
ПО, очень напоминающее iTunes по своим функциям и интерфейсу. iTools предлагает инструменты для работы практически со всеми файлами устройства, в том числе и с телефонной книгой.
В этой статье мы разобрали основные способы скачивания контактов с iPhone на компьютер. Каждый из способов окажется более предпочтительным в зависимости от программ, используемых юзером.
Наша группа в TelegramПолезные советы и помощь