В этой статье мы разберемся, как создать специальную UEFI загрузочную USB флешку (диск) для последующей установки Windows 8 или Windows Server 2012 на оборудовании в нативном режиме UEFI.
Мы ранее уже описывали, как создать загрузочную флешку с Windows 8, однако дело в том, что подобную флешку нельзя использовать для установки ОС системы с UEFI (подробнее про UEFI и Windows 8). Данная флешка, хотя и определится в системе, но загрузка с нее будет невозможной.
Проблема заключается в том, что большинство утилит, создающих загрузочные флешки (в том числе созданные с помощью Windows 7 USB/DVD Download Tool) форматируют устройство в файловой системе NTFS, а UEFI не поддерживают загрузку с носителя с NTFS (также и c файловой системы exFat), такие системы грузятся только с FAT32.

Поэтому нам нужно создать загрузочный диск с FAT32 и скопировать на него дистрибутив Windows.
Что нам понадобится для создание загрузочной UEFI флешки:
- USB флешка или диск, размером не менее 4 Гб
- Дистрибутив Windows 8 или Windows Server 2012 на DVD или в iso образе
- Процедура выполняется с помощью утилиты diskpart на компьютере с Windows 7/8/2008/2012
Подключите флешку в свободный USB порт компьютера (чтобы не было путаницы, все остальные USB устройства хранения лучше отключить ). Откройте командную строку с правами администратора и выполните следующие команды:
- Запустите утилиту управления разделами Diskpart:
diskpart
- Выведите список дисков в системе командой
list disk
- Выберите диск, соответствующий вашей флешке (можно сориентироваться по размеру диска)
select disk 1
- Удостоверьтесь, что на предыдущем шаге вы выбрали именно флешку, т.к. сейчас мы удалим на ней все данные
clean
- Создайте первичный раздел
create partition primary
- Выберите его
select partition 1
- Сделаем его активным
active
- Отформатируйте флешку в файловой системе FAT32 (напомним, что в системе UEFI загрузка возможна только с FAT32, но не с NTFS)
format fs fat32 quick
- Задайте букву созданному диску
assign
- Завершите работу с DiskPart
exit

Далее нам нужно скопировать файлы дистрибутива Windows 8 x64 на созданную нами загрузочную флешку. Для этого монтируем диск с образом Windows 8 (допустим это будет диск H:, а флешке присвоена буква F:) и с помощью команды xcopy копируем все его содержимое на флешку
xcopy H:\* F:\ /s /e
Если вы делаете загрузочную флешку UEFI для 64-битных Windows Vista SP1, Windows 7 или Windows Server 2008 R2, нужно на флешке создать каталог EFI и скопировать каталог boot в нее. Подробно процесс создания загрузочной usb флешки с Windows 7 под UEFI
Теперь с данного носителя можно установить операционную систему в режиме UEFI. Не забудьте перед началом установки отключить Security Boot в параметрах загрузки системы (в UEFI — ex BIOS). После окончания установки Windows Security Boot можно включить (более подробно о режиме Secure Boot в Windows 8).
Hi Windows connoisseurs! (wiki)
(This is essentially a remake of my Create a bootable Windows 8.1 installation USB flash drive post.) The setps are the same so you can easily follow that post or use this slightly updated version.
In this guide I will help you find a way to install Windows Server 2012 R2 quick and easy, from a simple USB flash drive. It’s really easy, but you still need to Think about a few things.
I’ll list them here and if you want, you can follow the step by step guide below.
Quicksteps:
1. Get a USB Flash drive formatted with FAT32, it has to be AT LEAST 8GB! (The Windows Server 2012R2 installation bits will not fit on a 4GB USB drive…)
2. Download and install the Windows 7 USB/DVD Download tool from Microsoft Store here or Codeplex here (It is an official Microsoft tool, totally wierdly named from the Windows 7 release but still very much valid!)
3. Download or locate a ‘Windows Server 2012 R2’ .iso file and store it locally on your harddrive.
4. Start the Windows 7 USB/DVD Download tool (from startbutton or ‘windows 8/Metro’ style startmenu’?)
5. Complete the steps 1-4
6. Insert the USB flash drive into the powered off PC to install, Power on and boot from USB drive (F9 at HP logo on HP Machines).
7. Install Windows Server as you would normally.
8. Done!
This guide in its entirety works just as well if you replace the Windows Server 2012 R2 .iso file with Windows 8.1, Windows 7, Windows Server 2012 or plain Windows 8 (Windows Server 2008 R2 not verified but willmost likely also work)
Step by step:
1. USB Flash Drive
Prepare a USB flash drive for installation, is has to be at least 8 GB in size and it has to be formatted with FAT32. It does not have to be erased, the tool will do that for you if needed.
Before
2. Download and install the Windows 7 USB/DVD Download tool from Microsoft Store or Codeplex. The Links are as follows:
http://images2.store.microsoft.com/prod/clustera/framework/w7udt/1.0/en-us/Windows7-USB-DVD-tool.exe
or
http://wudt.codeplex.com
Run the .exe file, you will have to be a local administrator on your machine for it to install properly.

Click Next

Click Install

Click Finish
3. Locate a Windows Server 2012 R2 .iso file. This file should be placed on a local harddrive. It does not matter where you put it, as long as it is on a local HD and it is accessable to you when running the tool, meaning that you have access to where the file is stored in the filesystem.
4. After the installation of the tool has completed, you will suddenly notice this tile:
You can also just use the search function, in ‘metro mode’ simply type Windows 7 and you will see it and its uninstall app.
Start the tool
Click Ok at the User Account Control popup dialog
The first screen should now look like this:

5. Hit the Browse button to locate your Windows Server 2012 R2 installation iso file.

In my test, I’m using an .iso file downloaded from TechNet Subscriber downloads (soon to be no more)
It does not have to be from TechNet, it can be MSDN or Volume Licensing or really any form of Windows Server 2012 R2 installation iso.
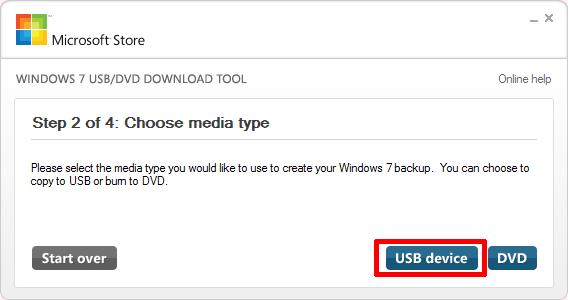
Click ‘Next’

Click on ‘USB device’
If you see the window below, that means that the USB drive is either not plugged in properly, or it has the wrong formatting or insufficient storage or similar. Make sure that you have a USB flash drive that meets: 4GB minimum+FAT32.

Insert a USB drive that meets the requirements and press the refresh button
Now, click on the ‘Begin copying’ button.
If the USB drive was ok, the copying will begin, but if not, if it still had files still on it, you will see this dialog:

Click Erase to continue

Click Yes and the formatting and copying process will begin.

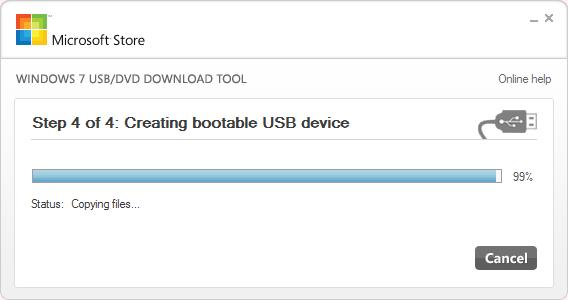
Let it do its thing until it reaches 100%
When it has finished formatting and copying files, you are done.
After!
6. Next step, is to insert the USB drive into the PC you want to install Windows Server 2012 R2 on, Power it off completely and Power on again.
Use BIOS settings to select ‘boot from USB’ or like on a HP machine, hit F9 at the HP logo screen to boot directly from USB.
7. Let the Installation begin! The Windows installation is pretty much standard. A Clean install is described here. The setup of Windows 8, which is pretty much the same, is described here
8. Done!
References:
Install and Deploy Windows Server 2012 (R2)
http://technet.microsoft.com/en-us/library/hh831620.aspx
Thanks to:
Herakles and Gutke!
___________________________________________________________________________________________________
Enjoy!
Regards
Twitter | Technet Profile | LinkedIn
Published by Thomas Balkeståhl
Yup, this is me!
View all posts by Thomas Balkeståhl
Published
VMware and Virtualization Consultant
EE Fellow, MVE, Expert of the Year 2021,2017-11, Scribe 2016-2012, Author of the Year 2018-6,2013-2012 VMware vExpert Pro, vExpert 2022-2011
Published:
Browse All Articles > HOW TO: Create a Bootable USB Flash Drive for Installation of Windows Server 2012
With the announcement of Microsoft Windows Server 2012 release in a few days time, I thought I would write an article on HOW TO: Create a Bootable USB Flash Drive of Microsoft Windows Server 2012 I have seen many internet articles on how to create a bootable copy of Windows Server, that seem very long winded and involved. This is the «Andy-method», which is quick and easy, with free software provided by Microsoft.
This can help speed up a server installation, and does not require a blank DVD to be written with the DVD ISO that has been downloaded from Microsoft Technet or MSDN. The same procedure can be used for Windows 7 or Windows Server 2008 R2.
Prerequisites
Windows 7 USB/DVD Download Tool
Microsoft Windows Server 2012 ISO
4GB USB Flash or Thumb Drive (minimum)
1. Download the Windows 7 USB/DVD Download Tool
Using an Internet browser of your choosing download the Windows 7 USB/DVD Download Tool from HERE. Although this software product is designed to work with Windows 7, I have also tested with Windows Server 2008 R2 and Windows Server 2012 to create a bootable USB flash drives of Windows Server 2008 R2 and 2012.
2. Install the Windows 7 USB/DVD Download Tool
Double Click the Windows7-USB-DVD-tool.exe in your download folder and proceed to install the software product.
3. Start the Windows 7 USB DVD Download Tool application
Start the Windows 7 USB DVD Download Tool application by double clicking the following icon on your Desktop
4. Choose the ISO file you have downloaded
The following screen will appear, browse to the location of the Windows Server 2012 ISO file you have downloaded from Microsoft.
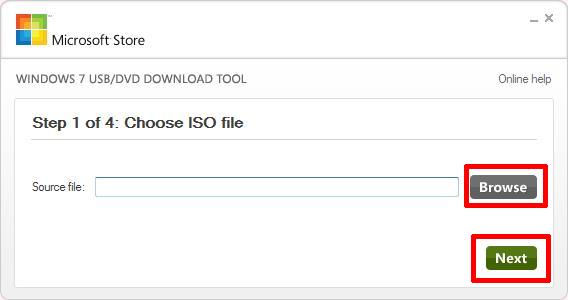
Select Next to continue,

5. Choose media type
Ensure the USB flash or thumb drive is connected to the computer and select USB device.
6. Insert USB flash or thumb drive
Select the USB flash or thumb drive you want to prepare as a bootable copy of Windows Server 2012. Please exercise caution when selecting the USB device, the device will be formatted, and all the information will be lost.
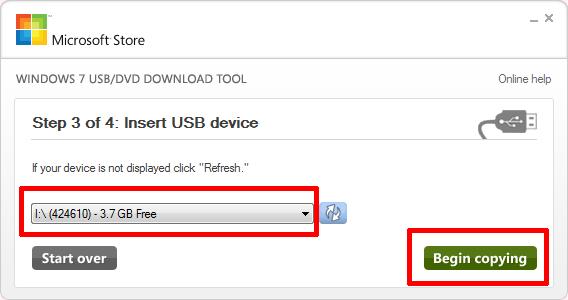
Select Begin copying
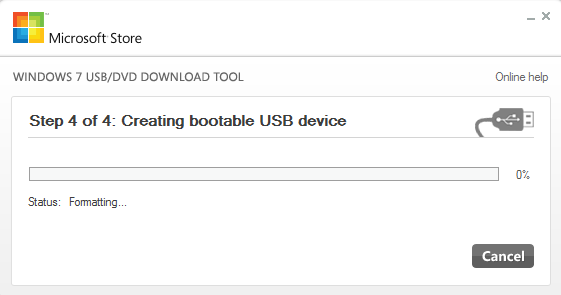
7. Creating bootable USB device
Sit back, grab a cup of coffee, whilst the USB flash or thumb drive is formatted, and the files are extracted from the ISO and copied to the flash drive.
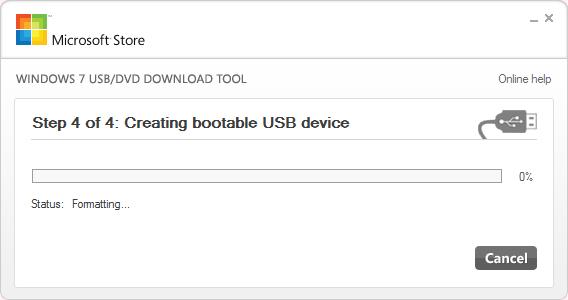
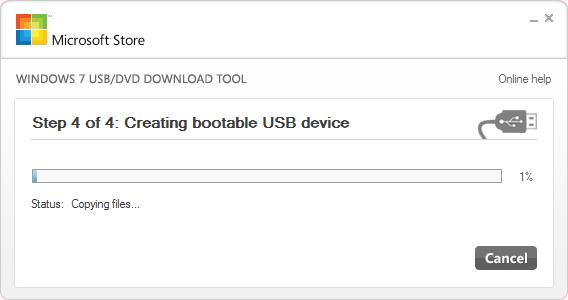
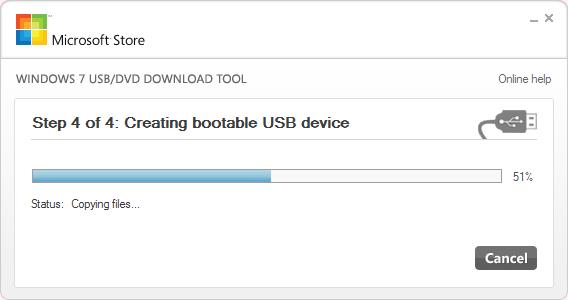
The process takes approximately 5 minutes to complete for a 3.5GB ISO.
8. Bootable USB device created successfully
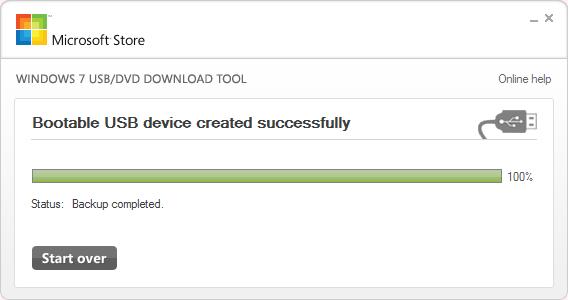
Safely Remove the USB flash or thumb drive from your computer.
You have successfully created a Windows Server 2012 bootable usb flash drive to install your operating system.
**************************
Thank you for reading my article, please leave valuable feedback. If you liked my Windows Server 2012 article and would like to see more Articles from me, please click the Yes button near the: Was this article helpful? at the bottom of this article just below and to the right of this information. Thank You. Do not forget if you have a question about this article or another VMware, Virtualisation, Windows Server 2012 question, why not post a Question for Me and the other Experts Exchange Experts in the VMware, Virtualisation, Windows 2008 Zones. I look forward to hearing from you. — Andy
**************************
EE Fellow, MVE, Expert of the Year 2021,2017-11, Scribe 2016-2012, Author of the Year 2018-6,2013-2012 VMware vExpert Pro, vExpert 2022-2011
В данной статье пошагово со скриншотами рассмотрим процесс установки Windows Server 2012r2, в зависимости от версии Standard или Datacenter процесс установки не отличается.
Первое, что нам нужно сделать — это скачать сам дистрибутив. Скачать оригинальный дистрибутив Windows Server 2012r2 версий Standard и Datacenter можете в нашем каталоге.
Далее, данный дистрибутив нужно записать на флешку, сделав ее загрузочной. Ознакомиться с инструкцией как это сделать можете на следующей странице.
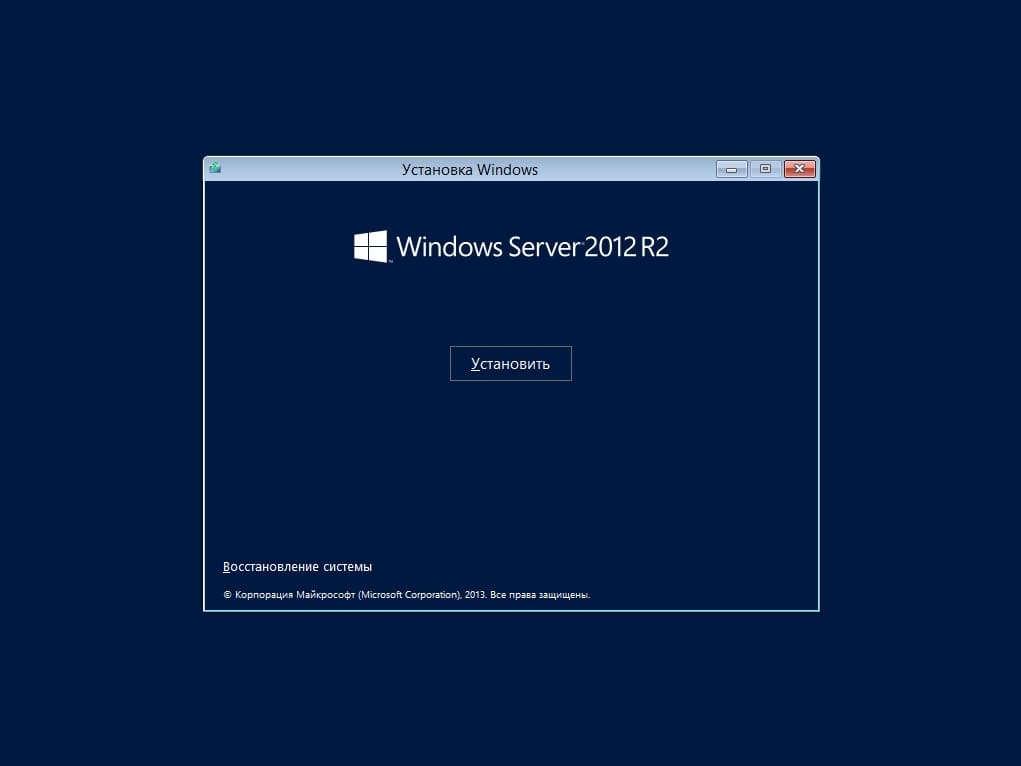
После загружаемся на загрузочную флешку из под Bios/UEFI и начинаем установку. Первое окно установки будет с выбором языка и пр. языковых настроек.
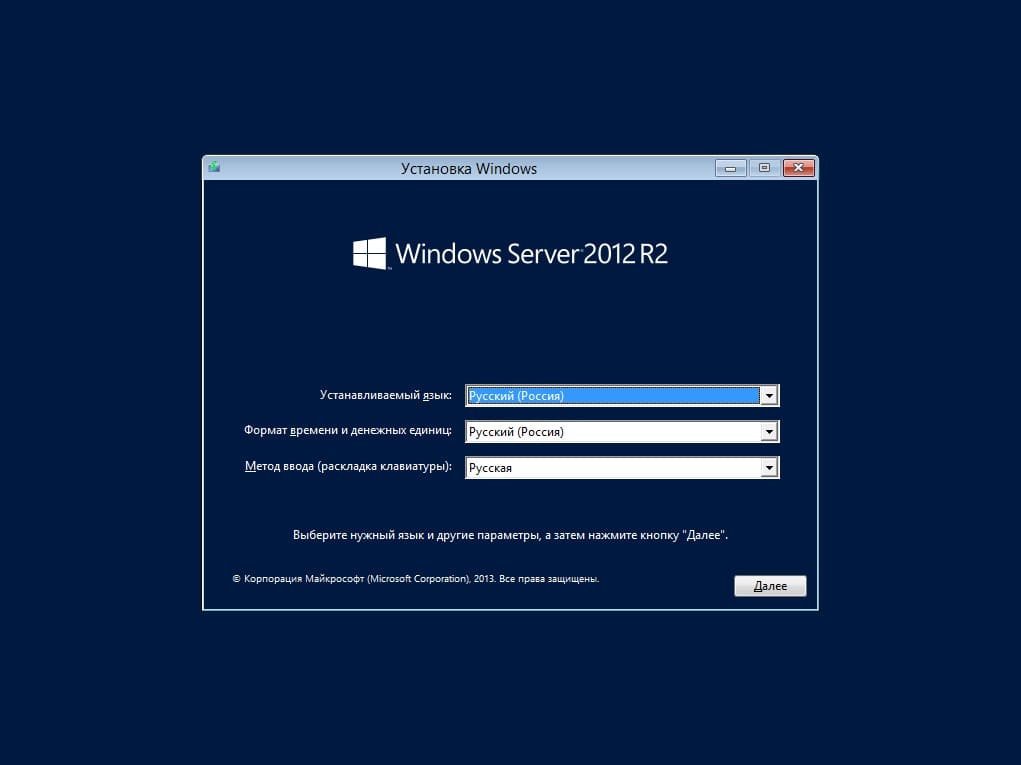
Нажимаем «Установить».
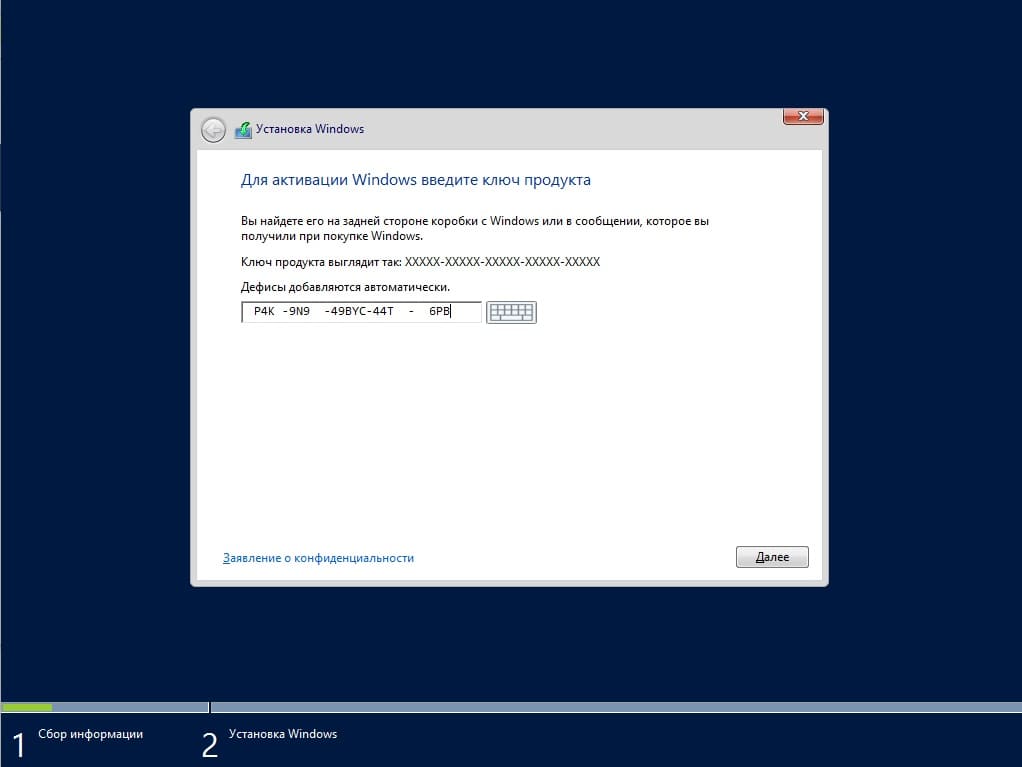
Далее, при установке у Вас запросят ввести лицензионный ключ активации. Если у Вас нет ключа активации, то приобрести его можете в нашем интернет-магазине, версии Standard и Datacenter, всего лишь от 1390 ₽. Доставка ключа активации на Вашу электронную почту в течении нескольких часов. Ознакомиться со всеми версиями Windows Server в продаже можете в нашем каталоге.
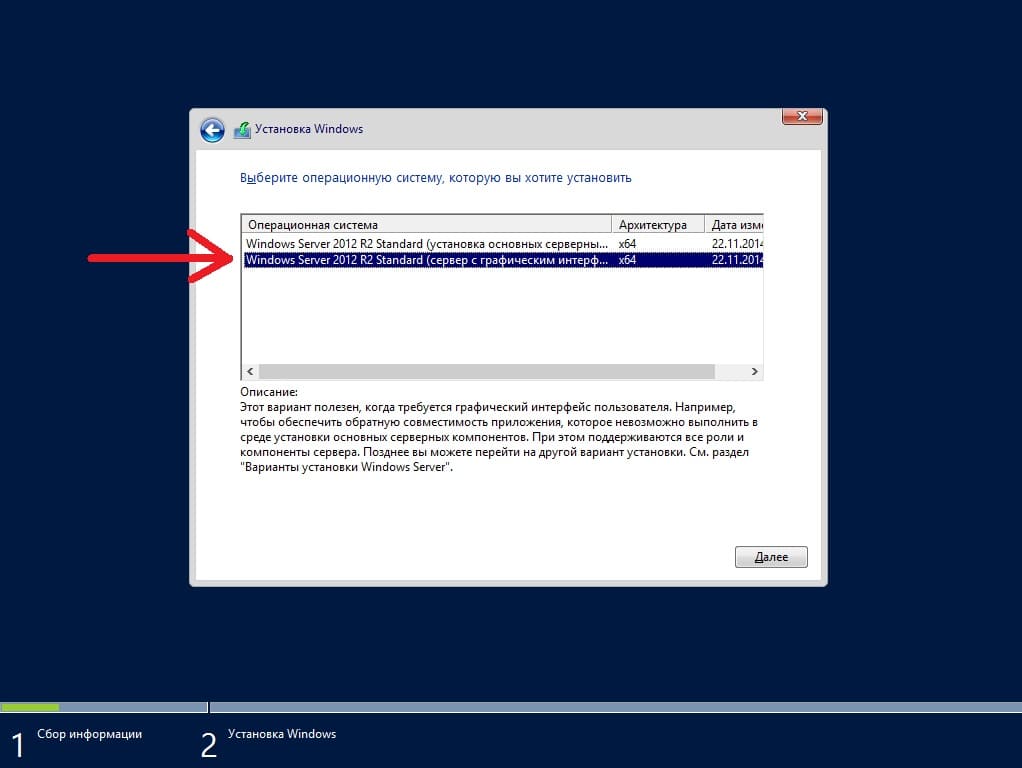
После ввода ключа (в нашем случае автоматически определилось, что ключ был Standard версии), у Вас будет выбор установки. С графическим интерфейсом, или без. Выбираем для удобства «С графическим».
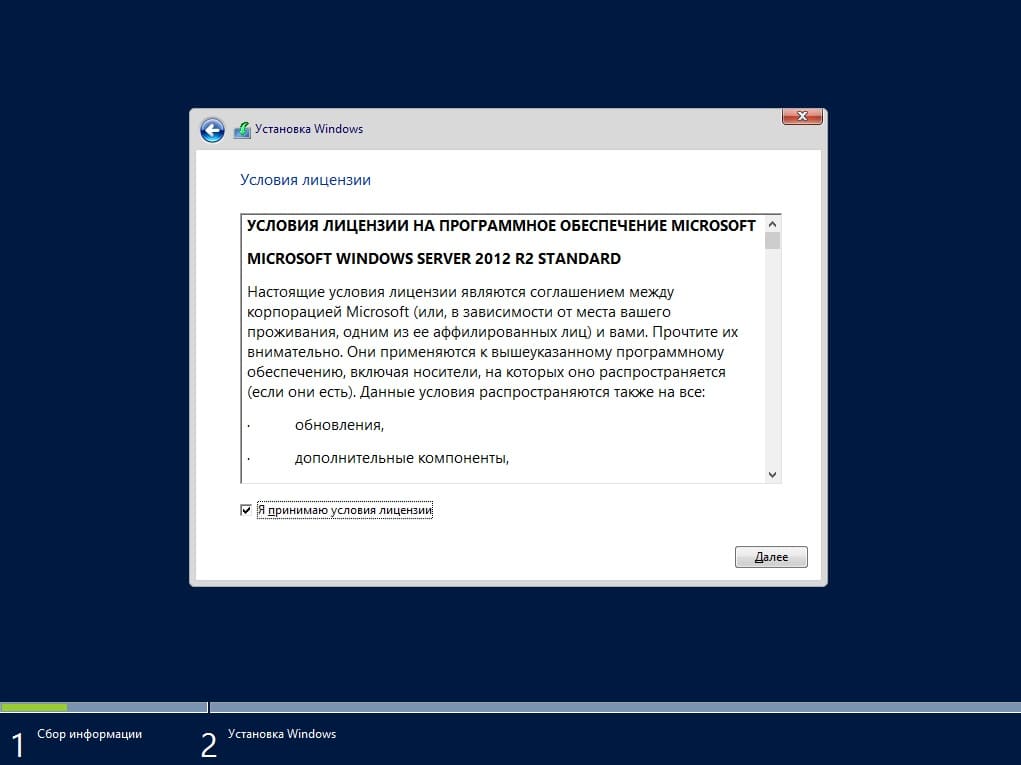
Соглашаемся с лицензионным соглашением.
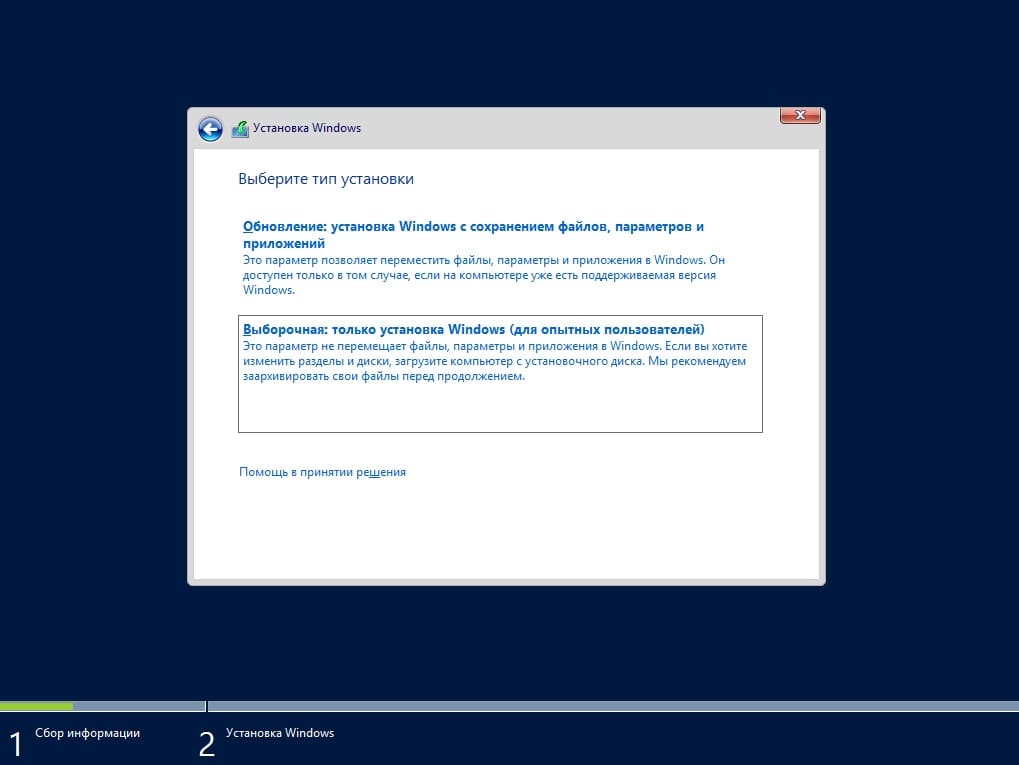
Далее выбираем пункт «Выборочная установка». Т.к мы устанавливаем с нуля, чистую операционную систему.
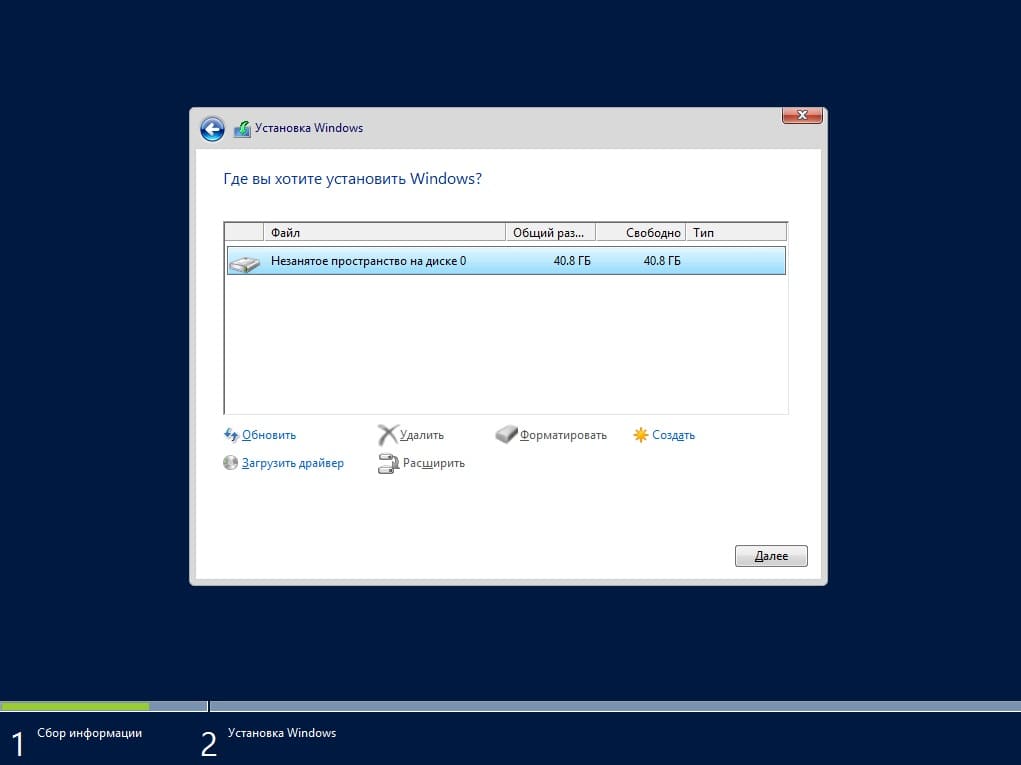
Выбираем Ваш целевой жесткий диск, на который будет установлена система. В нашем случае диск один, выбираем его и жмем «Далее».
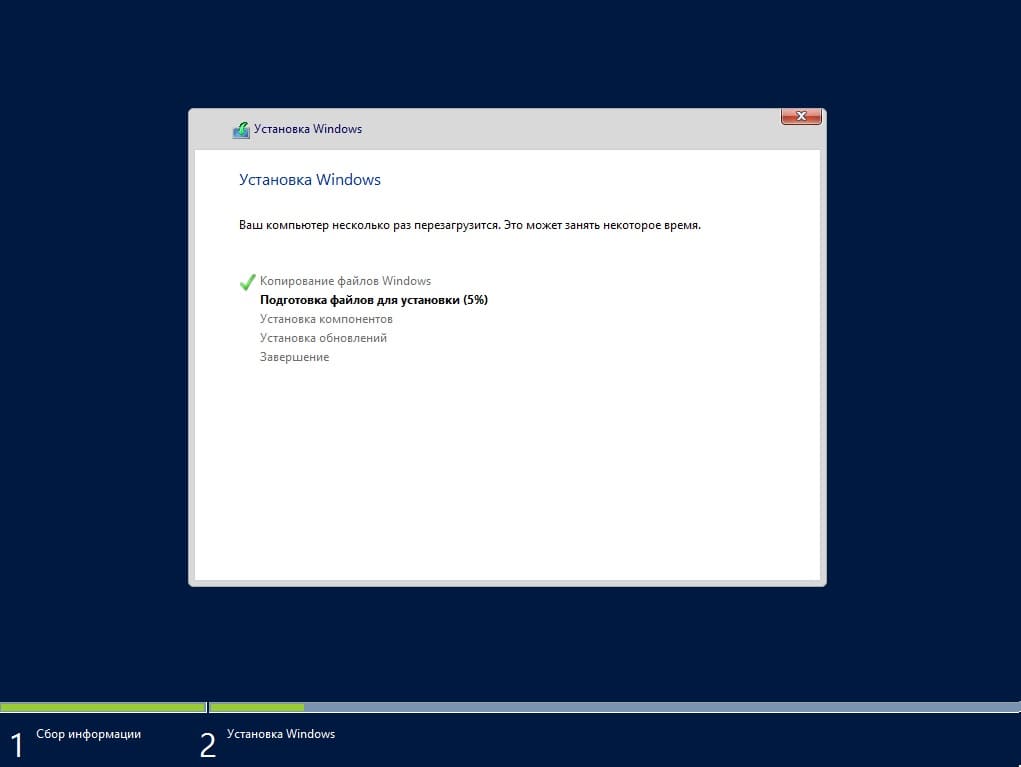
Ждем завершения копирования файлов и установки. Во время установки, Ваш ПК перезагрузится несколько раз.
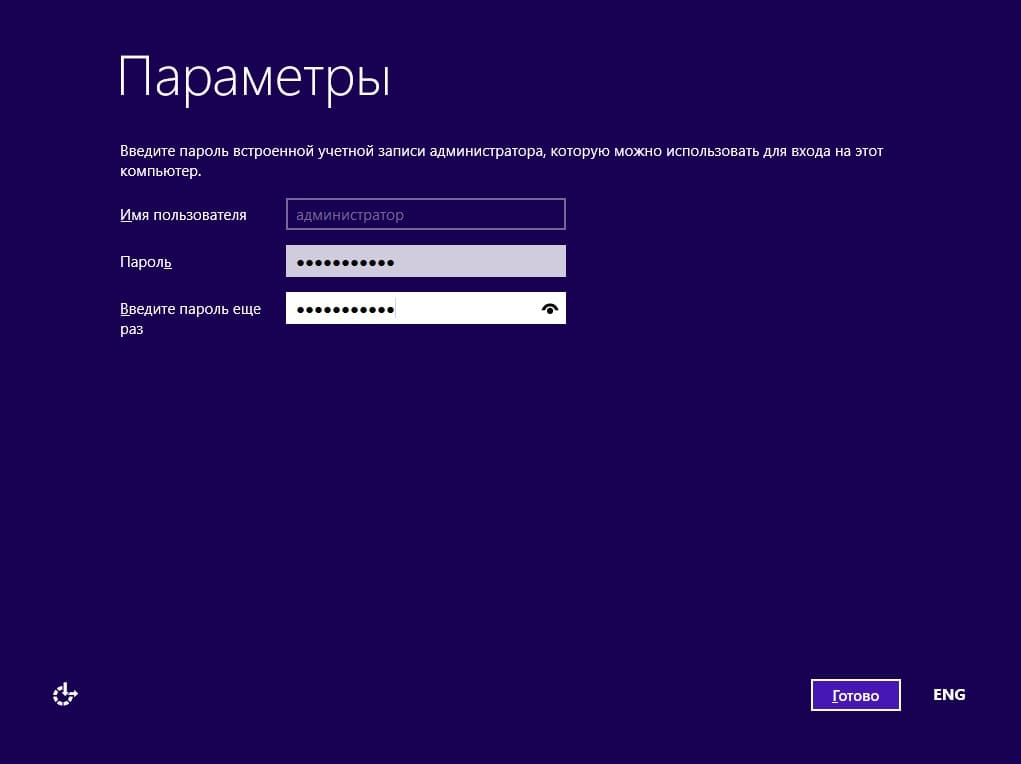
После установки у Вас запросят в обязательном порядке придумать Ваш пароль администратора. Вводите его два раза и нажимаете «Готово».
После будет последняя подготовка параметров, которая занимает несколько минут.

На этом все. Теперь можете зайти в меню «Свойства системы» и проверить Вашу ОС. А так же, проверить активирована ли она. Если Вы в начале установки системы ввели Ваш ключ корректно, то все должно пройти успешно.
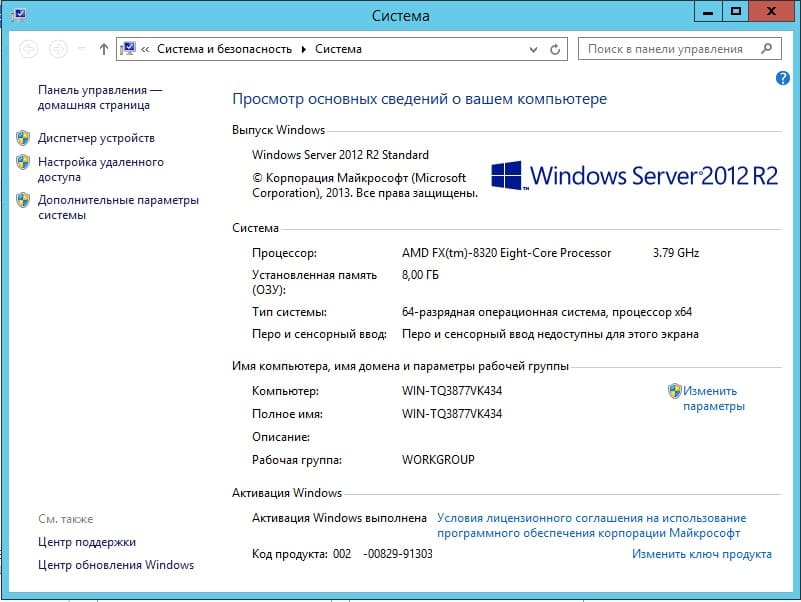
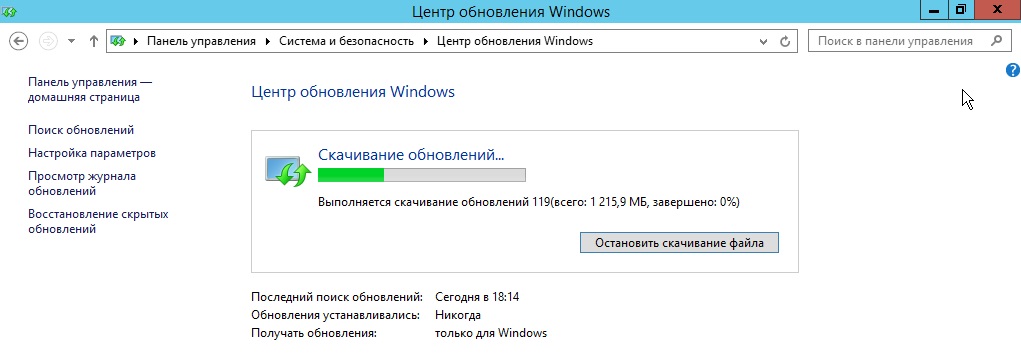
А так же, после завершения установки рекомендуем сразу найти, загрузить и установить все актуальные обновления для Windows Server 2012r2. Сделать это можете в меню «Панель управления» => Система и безопасность => Центр обновления Windows.
Лицензионный ключ активации Windows Server 2012 от
Once you’ve downloaded the installation file (Windows Server 2012 R2 .iso), create a bootable USB drive (pendrive) to perform the installation.
Note: You will need a USB device with a minimum of 16 GB of memory.
The application you can use for this process is:
Rufus
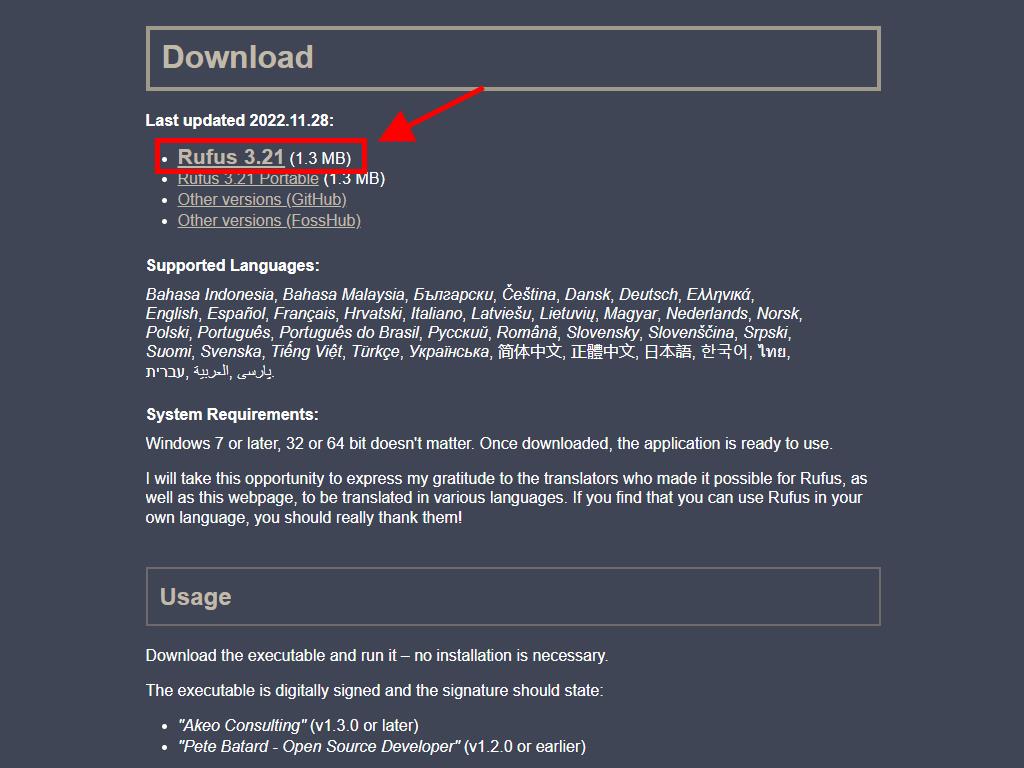
- Download it for free here.
- Scroll down and download the most up-to-date version of Rufus in the Download section.
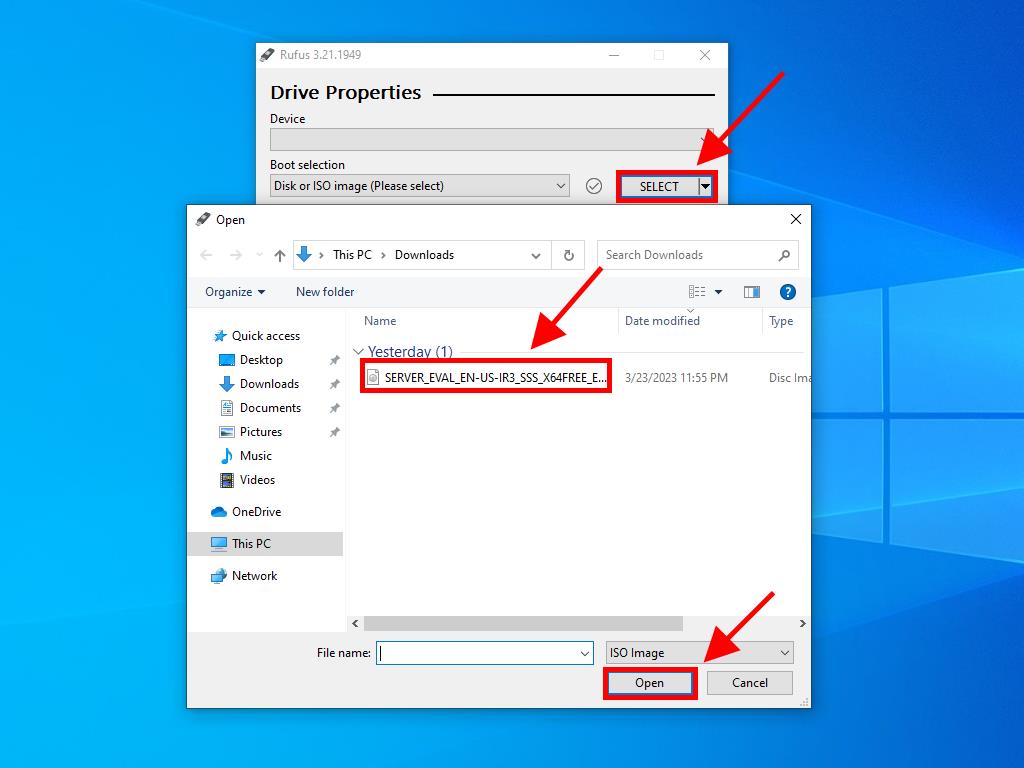
- Connect the USB and then open the Rufus program.
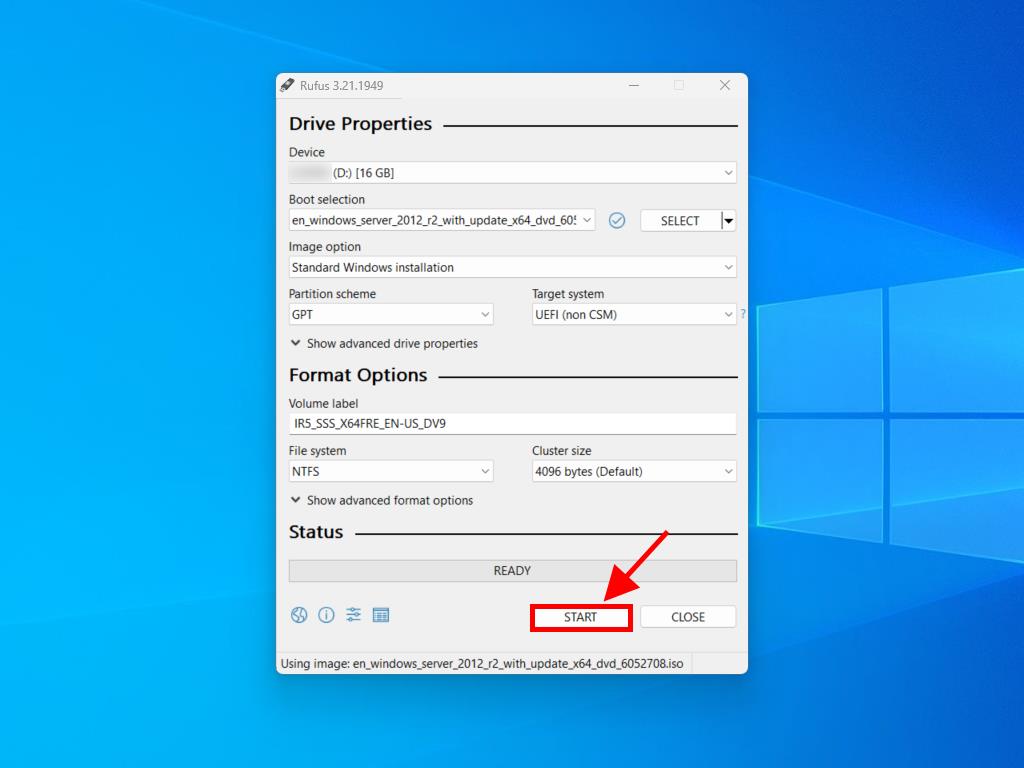
- Click on Select and find the Windows Server 2012 R2 .iso file you want to configure.
- Finally, click on Start and wait for the program to create the bootable USB drive.
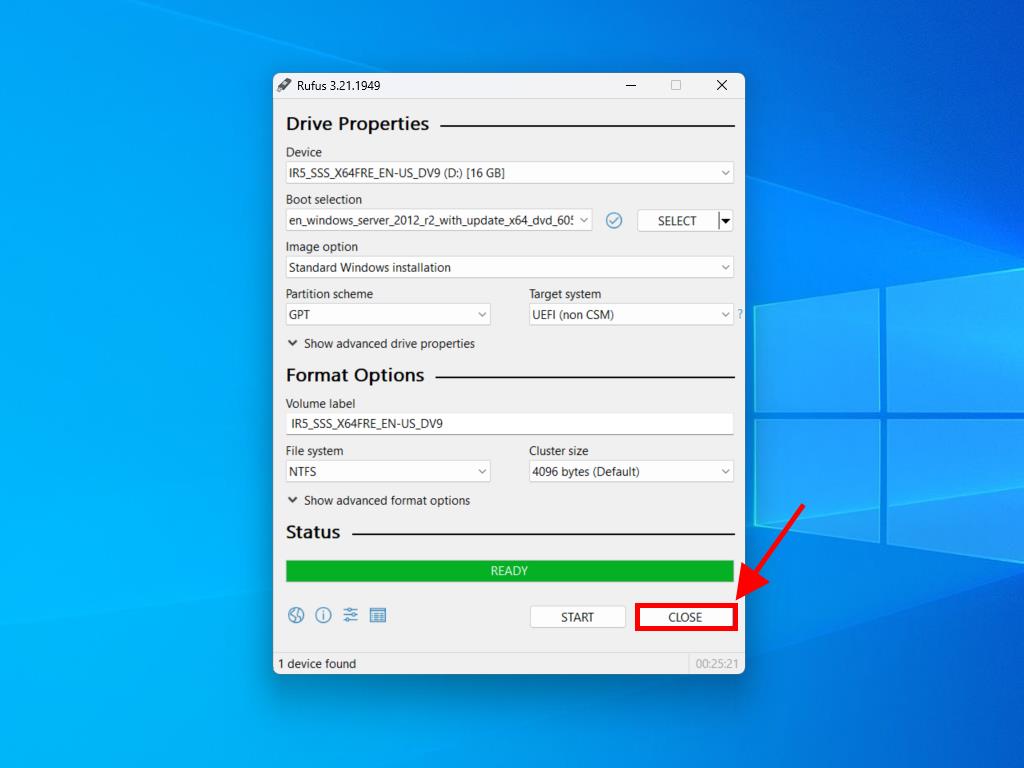
- Once the configuration is complete (progress bar showing Ready), click on Close and you’ll be ready to install Windows Server 2012 R2.
Note: A popup window called Customise Windows Installation will appear, select the Disable Data Collection option and wait for the program to create the bootable USB drive.