Вариант 1: Иконки системных приложений
Основные иконки – это системные значки «Этот компьютер», полная или пустая «Корзина», «Сеть». Изменить их можно через «Параметры» Windows 10:
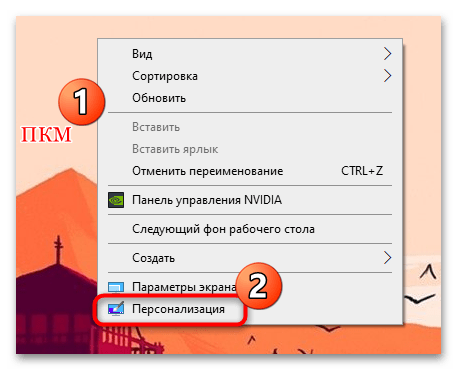
- Щелкните правой кнопкой мыши по свободной области на рабочем столе и из контекстного меню выберите пункт «Персонализация».
- В окне «Параметров» перейдите на вкладку «Темы», затем щелкните по строке «Параметры значков рабочего стола».
- В новом окошке выделите ту иконку, которую нужно сменить, затем нажмите на соответствующую кнопку ниже.
- Подберите понравившийся значок, затем подтвердите действие, нажав на кнопку «ОК».


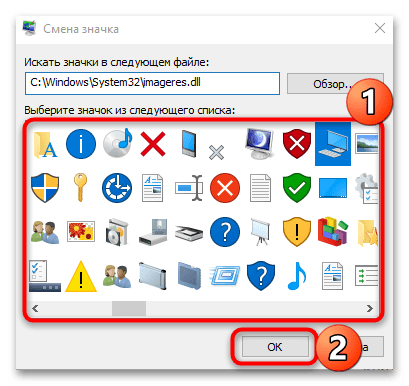
Также можно найти любые другие значки через «Проводник», если нажать на кнопку «Обзор» и указать путь к файлам. Значки должны быть в формате ICO.

Вариант 2: Иконки пользовательских программ
Обычно на рабочем столе используются ярлыки приложений, поскольку исполняемый файл всегда находится в корневой папке программы и изменять его не следует. Поставить другую иконку для ярлыка можно с помощью штатных средств и сторонних решений. Сперва расскажем о первом методе:
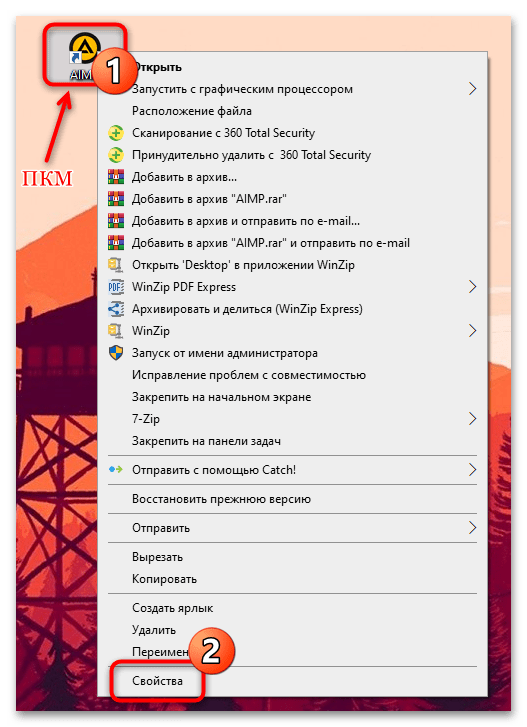
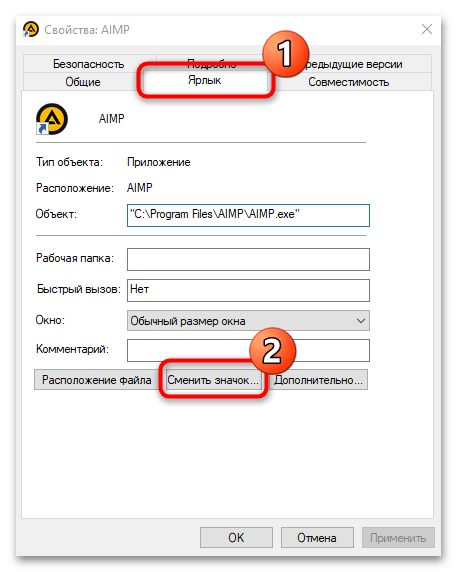
- Щелкните правой кнопкой мыши по ярлыку приложения и из контекстного меню выберите пункт «Свойства».
- Перейдите на вкладку «Ярлык» и нажмите на кнопку «Сменить значок».
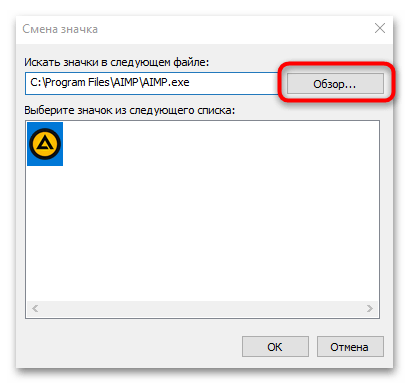
- Если приложение подразумевает другие иконки (эта возможность есть далеко не у каждой программы), которые можно применить, то в окне отобразятся варианты. В другом случае нажмите на кнопку «Обзор». Укажите через «Проводник» путь к изображению и выберите его.
- Нажмите на кнопку «ОК», чтобы изменения вступили в силу.
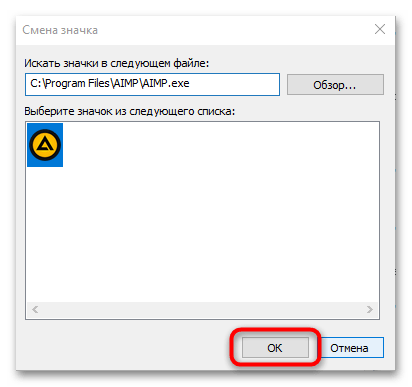
После этого на рабочем столе или в папке ярлык приложения будет тот, который выбрал пользователь через его свойства.
Читайте также: Изменение значков папки на ПК с Windows 10
Если штатное средство не подходят, можно воспользоваться специальными программами, предназначенными для кастомизации ОС, а именно — для установки новых иконок. В нашем отдельном материале есть более подробное описание таких приложений, инструкции по их использованию, а также ссылки на скачивание.
Подробнее: Устанавливаем новые иконки в Windows 10
Наша группа в TelegramПолезные советы и помощь
Applies ToWindows 11 Windows 10
Support for Windows 10 will end in October 2025
After October 14, 2025, Microsoft will no longer provide free software updates from Windows Update, technical assistance, or security fixes for Windows 10. Your PC will still work, but we recommend moving to Windows 11.
Learn more
Your desktop is the first thing you encounter when you sign in to Windows, and having it organized to your liking can significantly enhance your productivity and overall experience. This article describes how to customize the default desktop icons, add new shortcuts, adjust their size to suit your preferences, and show or hide all icons as needed.
Customize the default desktop icons
By default, Windows includes the Recycle Bin icon on the desktop. Essential icons that you can customize include:
-
This PC: Provides access to the computer’s drives and connected devices
-
Recycle Bin: Where deleted files are temporarily stored
-
Network: Allows you to view and connect to network resources
-
User’s Files: A shortcut to your personal folders
Additional shortcuts can be added to suit individual preferences and enhance productivity.
To customize the default desktop icons:
-
In the Settings app on your Windows device, select Personalization > Themes or use the following shortcut:
Themes
-
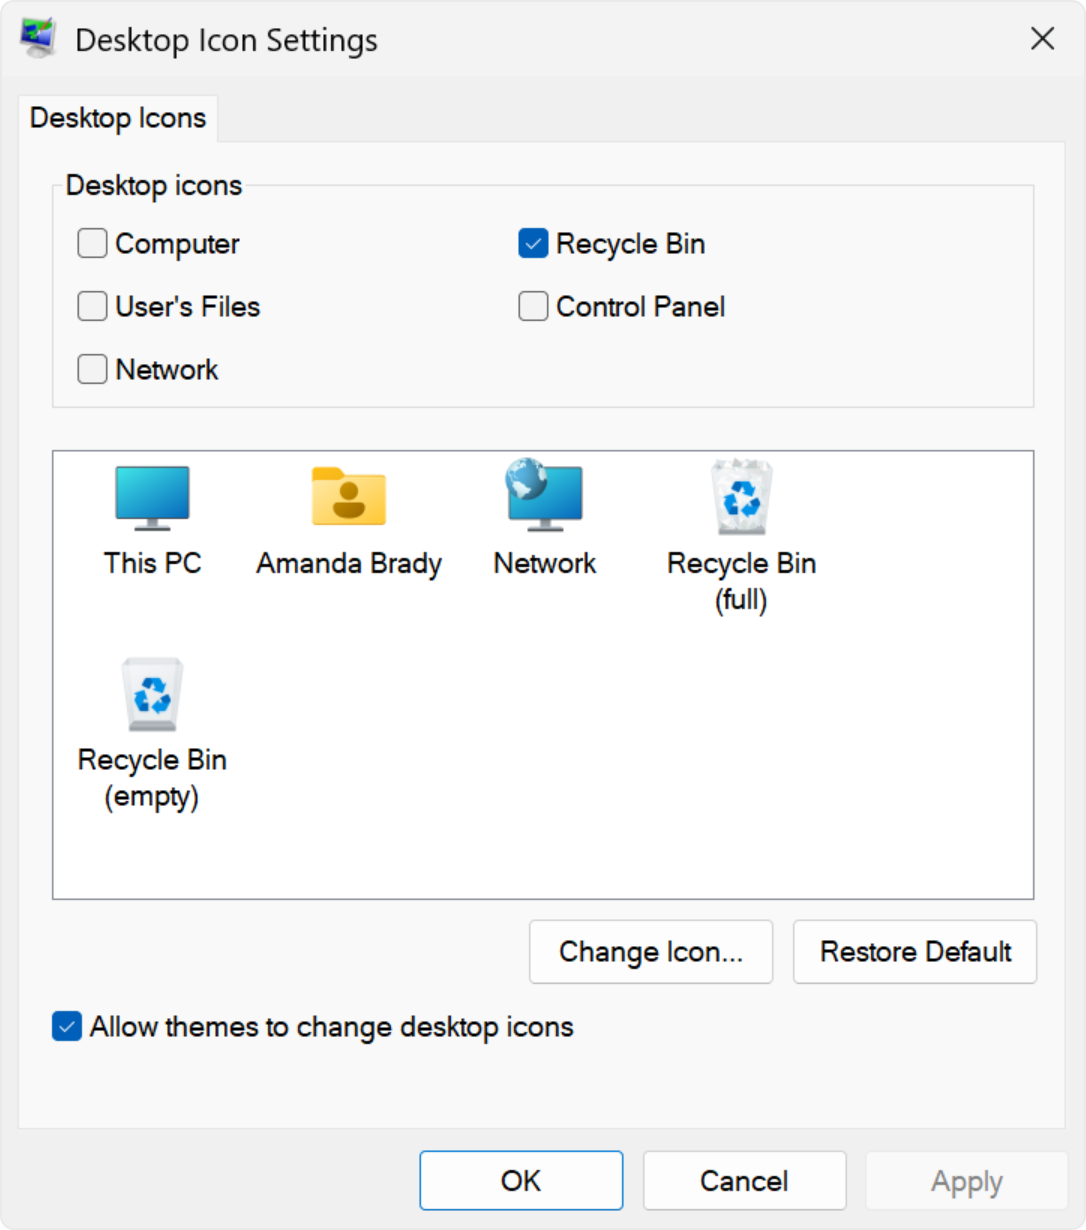
Select Desktop icon settings
-
Select the icons you would like to have on your desktop, then select OK
Note: The option Allow themes to change desktop icons allows or prevents themes from changing the icons used for common desktop shortcuts such as This PC, User’s Files, Network, and Recycle Bin. By default, themes are allowed to change these icons. However, if you have customized these icons to your preference, you might not want them to be altered whenever you change your theme.
Add shortcuts to your desktop
By placing frequently used applications, files, and folders directly on your desktop, you can access them quickly without navigating through multiple menus or folders. This can save time and reduce the effort needed to perform routine tasks.
To add shortcuts to your desktop, you can use one of these options:
-
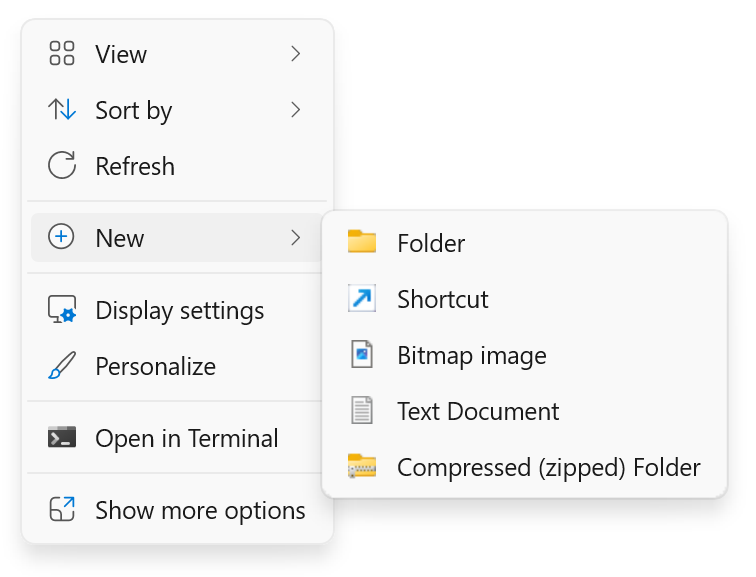
Right-click on an empty area of the desktop
-
Select New > Shortcut
-
Follow the prompts to create a shortcut to a specific file, folder, or web page
-
Select Start and select All to display a list of all installed applications
-
Scroll through the list to find the app for which you want to create a shortcut
-
Drag and drop the app you want to create a shortcut for to the desktop
-
Navigate to the file or folder you want to add
-
Right-click on the file or folder and select Show more options > Send to > Desktop (create shortcut)
-
Open your web browser and navigate to the web page you want to add
-
Click and drag the padlock icon (next to the URL) to your desktop
Resize the desktop icons
Resizing desktop icons can be useful for improving accessibility and organization. For example, if you have a high-resolution monitor, the default icon size might appear too small, making it difficult to identify and click on the icons. By increasing the icon size, you can make them more visible and easier to interact with. Conversely, if you have many icons on your desktop and want to fit more on the screen without scrolling, reducing the icon size can help you manage your workspace more efficiently.
-
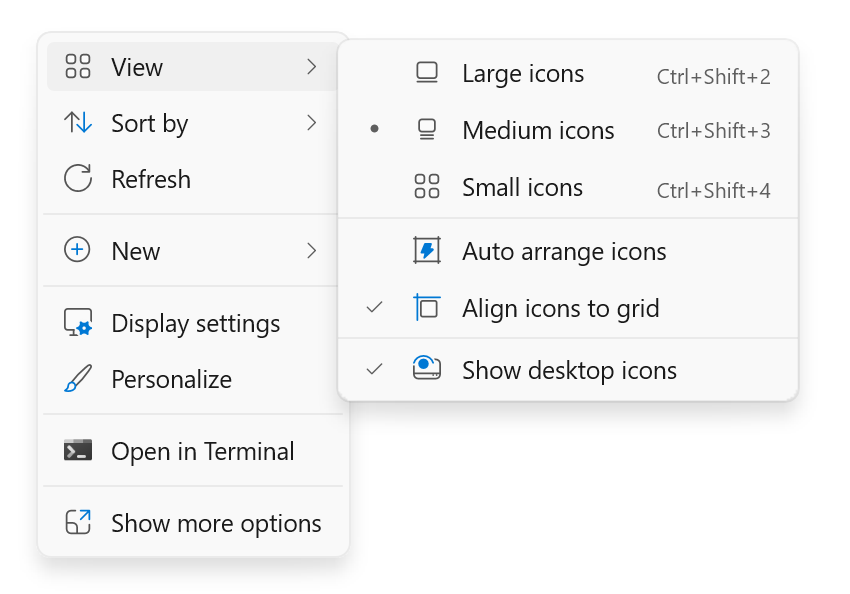
Right-click on an empty area of the desktop
-
Select View and then choose between Large icons, Medium icons, or Small icons to adjust their size.
Tip: You can also use the scroll wheel on your mouse to resize desktop icons. On the desktop, press and hold Ctrl while you scroll the wheel to make icons larger or smaller.
Show or hide all desktop icons
Hiding desktop icons can be useful in various scenarios. For instance, if you’re giving a presentation or sharing your screen during a meeting, hiding desktop icons can help create a cleaner and more professional appearance. It can also be beneficial if you want to focus on a specific task without the distraction of numerous icons cluttering your desktop.
-
Right-click on an empty area of the desktop
-
Select View, and then uncheck Show desktop icons. This will temporarily hide all icons, and you can easily show them again by rechecking the same option.
Tip: If you hide your desktop icons and need to access the desktop, you can do so through File Explorer. Simply open File Explorer , and select Desktop in the navigation pane.
Need more help?
Want more options?
Explore subscription benefits, browse training courses, learn how to secure your device, and more.