
How to Use WordPad in Windows 11/10
WordPad is a basic word processor that comes included with Windows operating systems. It provides more features than Notepad but less functionality than more complex word processors like Microsoft Word. Since its debut, WordPad has been a favorite for users looking for a quick way to create and edit text documents without the full capabilities (and complexity) of a more robust application. In this article, we’ll explore how to use WordPad in Windows 10 and Windows 11 effectively.
Getting Started with WordPad
Accessing WordPad
-
Using the Start Menu:
- Click on the Start menu icon on the taskbar (Windows logo).
- Type «WordPad» in the search bar.
- Click on the WordPad app when it appears in the search results.
-
Using Run Command:
- Press
Windows Key + Rto open the Run dialog box. - Type
wordpadand hit Enter.
- Press
-
Using the File Explorer:
- Open File Explorer.
- Navigate to
Windows Accessoriesin theAll Appslist. - Click on WordPad to launch the application.
User Interface Overview
Once you open WordPad, you’ll see a minimalistic interface that is clean and intuitive. Here’s a breakdown of its main components:
- Title Bar: Displays the name of the document you are working on.
- Ribbon: This is where most of the tools and options are located. It’s divided into various tabs, such as Home, Insert, Page Layout, and View.
- Document Area: This white space is where you type your text.
- Status Bar: At the bottom, you can see the number of pages and the word count.
Creating a New Document
To create a new document in WordPad:
- Open WordPad as described above.
- Click on the File tab in the upper left corner.
- Select New or simply press
Ctrl + Non your keyboard.
You’ll then have a blank document to start typing in.
Saving Your Document
To save a document:
- Click the File tab.
- Select Save As.
- Choose the location where you want to save your file.
- Enter a file name and choose a file format (the default is RTF, but you can also save it in other formats like .docx or .txt).
- Click Save.
To save an existing document quickly, you can use Ctrl + S.
Formatting Text
Formatting text is one of the core functionalities of WordPad. Here’s how to format your text:
Font Options
- Select the text you want to format.
- Under the Home tab, you will find font options such as:
- Font Type: Choose from the dropdown list to change font style.
- Font Size: Adjust the size using the dropdown menu.
- Bold, Italics, Underline: You can make text bold, italicized, or underlined with the respective buttons or by using the shortcuts (
Ctrl + B,Ctrl + I,Ctrl + U). - Text Color: Change the color of your text by clicking the Text Color button and choosing a color.
Paragraph Formatting
- Highlight the paragraph you wish to format.
- In the Home tab, you’ll see options for:
- Alignment: Choose left, center, right, or justified alignment.
- Line Spacing: Set the spacing for your paragraphs.
- Bulleted and Numbered Lists: Easily create lists with either bullets or numbers.
Borders and Shading
You can also add borders and shading to your paragraphs:
- Select the paragraph or the text.
- In the Home tab, look for the Borders button.
- Choose the type of border you’d like to apply.
Inserting Elements
WordPad allows you to enhance your documents by inserting various elements.
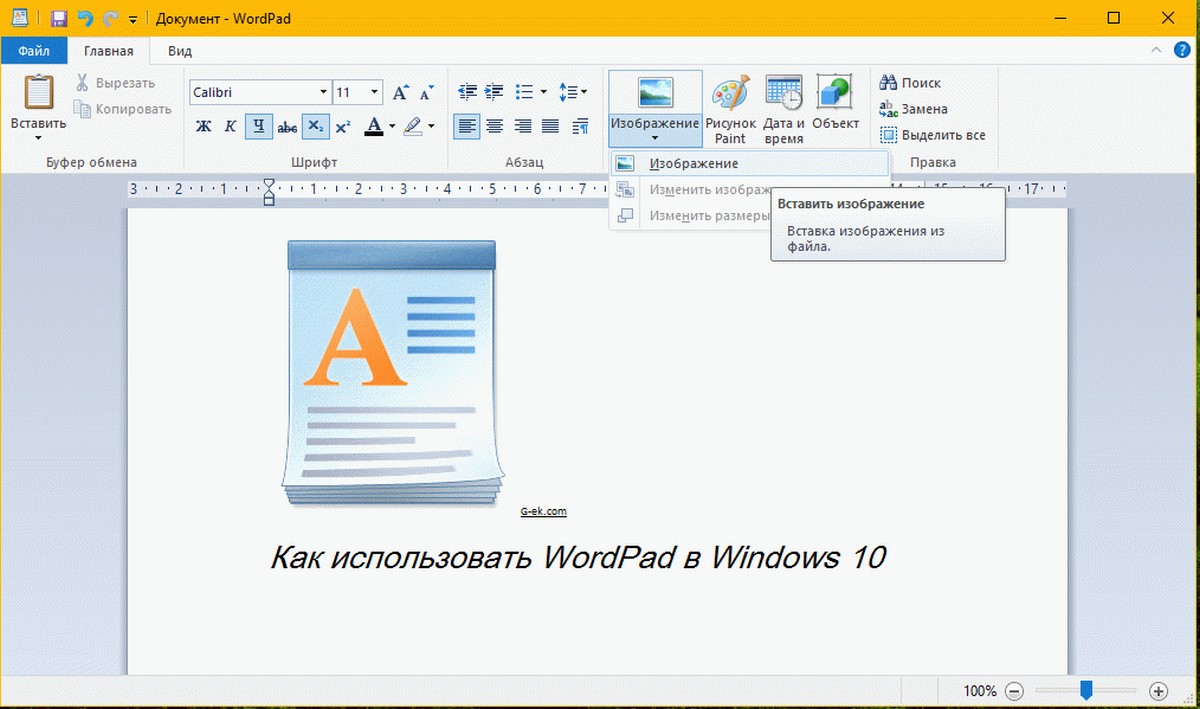
Inserting Images
- Click on the Insert tab in the Ribbon.
- Click on Picture.
- Browse and select the image file you want to insert and click Open.
- Resize or position the image as needed.
Inserting Links
To add a hyperlink in your document:
- Highlight the text you want to turn into a hyperlink.
- Right-click and select Hyperlink.
- Enter the URL address and click OK.
Inserting Tables
WordPad doesn’t directly allow you to create tables like other word processors, but you can manually create one with tabs and spaces or by copying from a simple Excel sheet.
Inserting Symbols
To insert common symbols:
- Click on the Insert tab.
- Click on Symbol.
- Choose the symbol you want from the list.
Printing Your Document
To print your document:
- Go to the File tab.
- Select Print or press
Ctrl + P. - Choose your printer and adjust settings as necessary.
- Click Print to send the document to the printer.
Customizing WordPad
You can customize WordPad to enhance your user experience:
Changing Default Font
To change your default font settings:
- Click on the File tab.
- Select Options.
- In the Options dialog, go to the Font tab.
- Here, you can select the default font type and size. This will apply to all new documents created after this setting change.
Setting Margins and Page Orientation
To adjust margins and page orientation:
- Click on the Page Layout tab.
- Here, you can change the Margins to narrow, normal, or wide.
- Under the Size dropdown, you can select the page size.
- Explore the Orientation option where you can switch between portrait and landscape modes.
Using WordPad for Special Needs
Accessibility Features
WordPad supports various accessibility features:
- Narrator: Use the integrated Narrator tool to read the text aloud.
- Screen Magnifier: Bring the screen closer using the Magnifier.
- High Contrast Mode: Enhance readability by using the high-contrast mode in Windows settings.
User-Friendly for Beginners
For those who are new to computing, WordPad’s interface is straightforward, making it easy for beginners to learn word processing without the overwhelming features of more complex software.
Advanced Features of WordPad
While primarily a basic word processor, WordPad boasts several advanced features that users might find helpful:
Spell Check
WordPad has a built-in spell-checking feature that underlines misspelled words in red.
- To check spelling, right-click the underlined word to view suggested corrections.
Undo and Redo Actions
You can easily undo and redo actions in WordPad using the following shortcuts:
- Undo:
Ctrl + Z - Redo:
Ctrl + Y
Keyboard Shortcuts
Familiarizing yourself with keyboard shortcuts can significantly enhance your productivity. Here are some commonly used shortcuts in WordPad:
- New Document:
Ctrl + N - Open Document:
Ctrl + O - Save Document:
Ctrl + S - Print Document:
Ctrl + P - Copy:
Ctrl + C - Cut:
Ctrl + X - Paste:
Ctrl + V
Common Issues and Troubleshooting
While using WordPad, users might encounter certain common issues. Here’s how to troubleshoot some of them:
WordPad Not Opening
- Ensure that Windows is fully updated and that there are no pending updates. Sometimes bugs in the system software can hinder programs from launching.
- Try running a system file check. Open Command Prompt as an administrator and type
sfc /scannow. This command scans for corrupted files in the Windows system.
Compatibility Issues
If you’re having trouble opening RTF files, check if the files have been corrupted. Try opening them in another word processor and saving them in a different format.
Printing Problems
If your document won’t print, ensure:
- The printer is connected and turned on.
- Your printer driver is up to date by visiting the manufacturer’s website or through Windows Update.
Conclusion
WordPad is a simple yet effective tool for users who require basic word processing capabilities without the complexity of heavier software. Whether you’re writing a quick note, creating a report, or formatting a simple document, WordPad provides the essential features needed for efficient document management. By mastering the functionalities laid out in this guide, you will be well-equipped to make the most of WordPad in Windows 10 and 11.
As technology continues to evolve, remember that the key to efficient work is not the tools you use, but how effectively you use them. And with WordPad, you hold a tool that, while modest in features, can still cater to a wide range of word processing needs. Happy writing!
Пользователи последних версий Windows 10 могут столкнуться с тем, что стандартные программы Блокнот и WordPad отсутствуют в системе, а некоторым они нужны. В такой ситуации вы можете легко скачать и установить эти программы, причем использовать какие-то сторонние сайты для этого не требуется: всё можно сделать системными средствами.
В этой простой инструкции подробно о том, как скачать Блокнот или WordPad в Windows 10 в случае, если этих программ не оказалось в системе.
Установка стандартных Блокнота и WordPad как дополнительных компонентов Windows 10
Прежде чем приступать, на всякий случай проверьте: а найдётся ли нужная вам программа, если использовать поиск в панели задач — возможно, она уже установлена, просто вы её не нашли.

Если поиск не дал результатов, то для того, чтобы скачать Блокнот Windows 10 или редактор WordPad, выполните следующие простые действия:
- Зайдите в Параметры (клавиши Win+I или через меню Пуск) — Приложения.
- В разделе «Приложения и возможности» нажмите по пункту «Дополнительные компоненты».

- Нажмите кнопку «Добавить компонент».

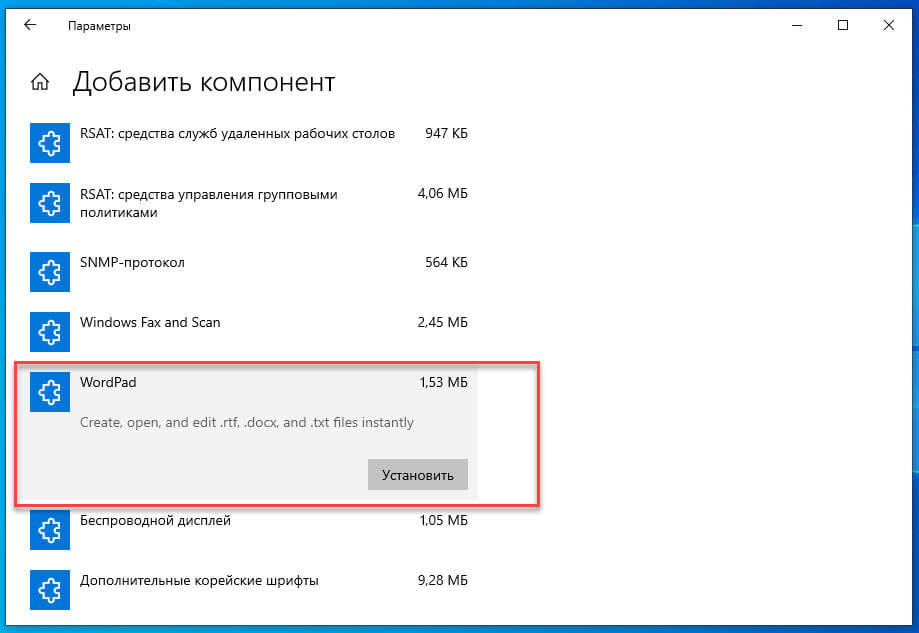
- Найдите в списке нужную программу, например, Блокнот, отметьте её и нажмите «Установить».


Останется дождаться загрузки и установки стандартного Блокнота или WordPad, и они будут работать так же, как и в предыдущих версиях Windows, а найти программы можно будет в меню Пуск или с использованием поиска в панели задач Windows 10.
Видео инструкция
Кстати, в том же разделе параметров, среди дополнительных компонентов вы можете найти и другие полезные элементы, например — «Беспроводный дисплей», для того, чтобы передать изображение с телефона на компьютер или ноутбук.
-
Home
-
News
- How To Open WordPad On Windows: 6 Ways With Pictures
By Sarah |
Last Updated
Just as the name suggests, WordPad is a word processing application which is easy to use. You can find it in all Windows systems expect for the versions older than Windows 95. Its basic functions are the same as that of Notepad. In this article, I will show you how to open WordPad in different ways on a Windows computer.
What Is WordPad?
WordPad is a basic word processor built in all modern Windows operating systems (starting from Windows 95). The features of WordPad are similar to that of Microsoft Notepad and Microsoft Word; they are all used to process word information. The Microsoft WordPad is between Notepad and Word: simpler than Word but advanced than Notepad. (MiniTool has provided you with solutions to protect & recover a word file.)
4 Ways To Recover Notepad File On Win 10 Quickly!
The following content will teach you how to open WordPad and how to use WordPad in detail.
How to Open WordPad in Windows 10
The following methods work on all Windows 10 devices.
Way 1: Open from Start Menu
- Click on the Start button from the lower left corner of screen or by pressing Start on the keyboard.
- Scroll down to find the Windows Accessories folder and expand it (the list is in alphabetical order).
- Select WordPad from the list (the Notepad is also included here).
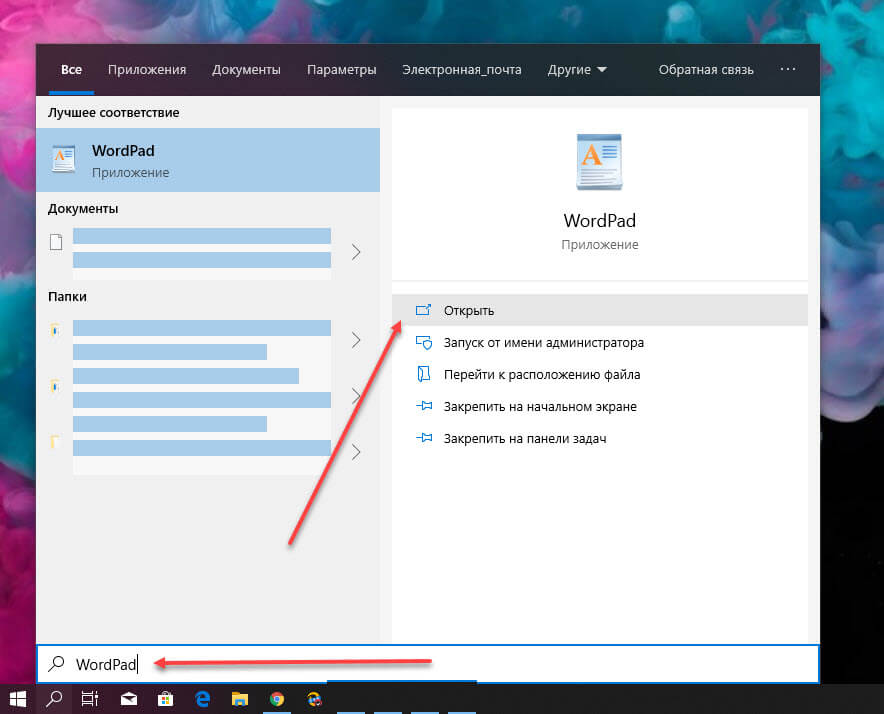
Way 2: Use Windows Search
- Click on the search box or search icon on the taskbar.
- Type wordpad into the search box.
- Select WordPad App from the Best match result or just press Enter on the keyboard.
Please click here if your taskbar on Windows 10 stops working.
Way 3: Open from Run Dialog Window
- Press Start + R buttons to open the Run dialog window (you can also click on the Start button > scroll down to expand Windows System > select Run).
- Type wordpad, write, or %SystemDrive%/Program Files/Windows NT/Accessories/WordPad.exe into the text box.
- Click on the OK button or press Enter on the keyboard.
Way 4: Use Command Prompt
- Type cmd into the search box and select Command Prompt from the result (you can also click on the Start button > scroll down to expand Windows System > select Command Prompt).
- Type write or exe into it and hit Enter.

Please read this page if you’d like to know how to recover files by using Command Prompt:
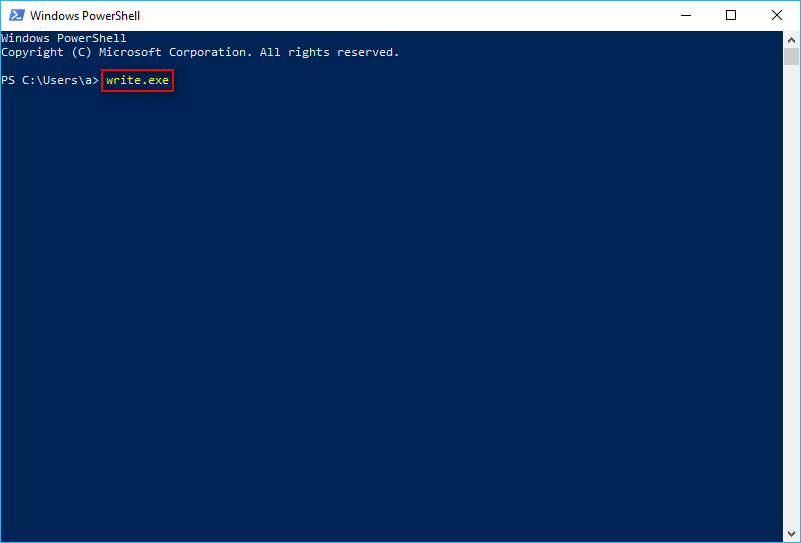
Way 5: Open through Windows PowerShell
- Right click on the Start button and choose Windows PowerShell (you can also type powershell into the search box and choose Windows PowerShell App from the result).
- Wait a few seconds until you see this message: Copyright (C) Microsoft Corporation. All rights reserved.
- Type exe and hit Enter.
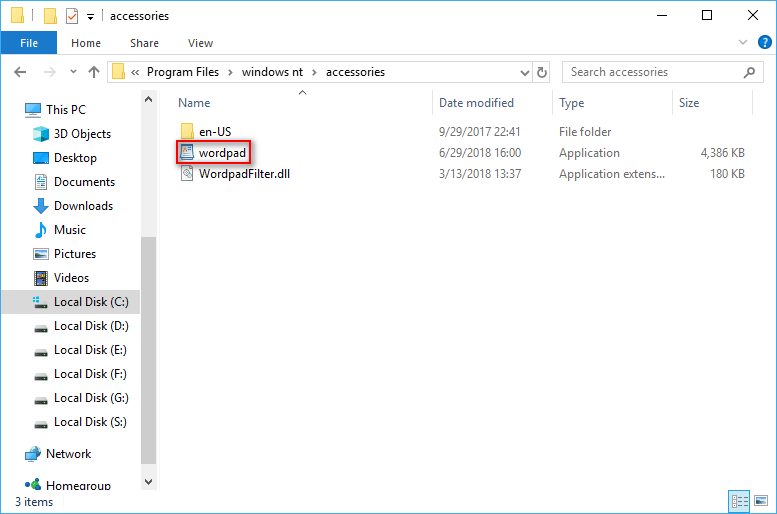
Way 6: Open with File Explorer
- Open File Explorer by clicking on its icon on the taskbar or pressing Start + E on the keyboard.
- Type %SystemDrive%/Program Files/Windows NT/Accessories into the address bar; then, hit Enter or click on the right arrow button (you can also navigate to This PC/Local Disk (C:)/Program Files/windows nt/accessories manually).
- Double click on wordpad application from the list.
Click to learn how to fix when File Explorer is not working or responding.
That’s all about how to open WordPad in common ways.
How to Use WordPad
Basic functions of WordPad are: create, edit, save, open, view, and print text documents.
What does Microsoft WordPad allows you to do exactly?
- Create bulleted lists.
- Insert images.
- Insert paint drawing.
- Change font type color and size.
- Increase/decrease indent.
- Adjust line spacing.
- Add text highlight color.
- Center or left/right justify content.
- Use bold, underline, and italics formatting
- …
Sometimes, you may want to convert a WordPad file to PDF or Word:
- Convert WordPad to PDF
- Convert WordPad to Word
How to Fix When WordPad Won’t Open
The following 3 methods are used widely to fix the WordPad not starting problem.
- Scan your PC for virus and malware.
- Run System File Checker.
- Try to open WordPad from the installation folder.
About The Author
Position: Columnist
Sarah has been working as an editor at MiniTool since she graduated from university. Sarah aims at helping users with their computer problems such as disk errors and data loss. She feels a sense of accomplishment to see that users get their issues fixed relying on her articles. Besides, she likes to make friends and listen to music after work.
Могу поспорить, многие из вас не слышали о WordPad. Если вы слышали о нем, вы не использовали его, или вы просто забыли о его существовании. Почему? Что ж, если нам нужен базовый текстовый редактор, мы используем Блокнот. Если нам нужен продвинутый текстовый редактор, мы используем Microsoft Word. Но где — то по середине, с более широкими возможностями, чем скромный блокнот, но меньшими возможностями, чем могучий Word, стоит Wordpad — который совершенно бесплатен!
WordPad – текстовый редактор с основными параметрами форматирования, и он входит в состав всех версий ОС, начиная с Windows 95 и заканчивая Windows 10. WordPad всегда был там, но практически никогда не используется. В этой статье, давайте разберемся, как использовать Wordpad в Windows 10 и сбросить настройки WordPad, если что — то пойдет не так.
Ниже представлены несколько советов, которые помогут освоить WordPad.
WordPad в Windows 10
Чтобы использовать Wordpad в Windows 10, введите «WordPad», в строку поиска на панели задач и нажмите на полученный результат. Это позволит открыть WordPad.
Также, вы можете также использовать команду Выполнить.
Нажмите Win + R, и напишите в строке write.exe или wordpad.exe и нажмите Enter.
Исполняемый файл Wordpad — wordpad.exе, и он находится в следующем месте:
C:\Program Files\Windows NT\Accessories
Ярлык программы можно найти в следующих местах:
C:\ProgramData\Microsoft\Windows\Start Menu\Programs\Accessories
Wordpad позволяет создавать, редактировать, сохранять, открывать, просматривать и печатать текстовые документы. Вы можете использовать полужирный шрифт, подчеркивание и курсив, форматирование изменить цвет и размер шрифта, создавать маркированные списки, вставлять изображения, и многое другое. Просто поиграйте с помощью простого меню ленты.
WordPad, наряду с другими встроенными инструментами, в настоящее момент доступны в Магазине Windows в качестве универсального приложения. Теперь вы можете загрузить текстовый редактор Wordpad из Магазина Windows и легко открывать и редактировать документы созданные в microsoft Word.
Какое расширение файла для Wordpad?
Wordpad использует расширение файла .rtf или Rich Text Format, для сохранения файлов по умолчанию. Но он может сохранять документы в .docx (Office Open XML), .odt (Open Document), .txt (текст).
Как удалить WordPad с помощью приложения «Параметры»
Поскольку вы можете использовать MS Office бесплатно с помощью Интернет или купить подписку на Office 365, или другие решения для обработки текста, такие как Документы Google, большинство пользователей больше не используют WordPad. В результате вместо полного удаления приложения Microsoft делает его дополнительной функцией, которую можно удалить или переустановить с помощью приложения «Параметры».
Используйте эти шаги для удаления редактора WordPad из Windows 10:
Шаг 1: Откройте «Параметры» нажав сочетание клавиш Win I.
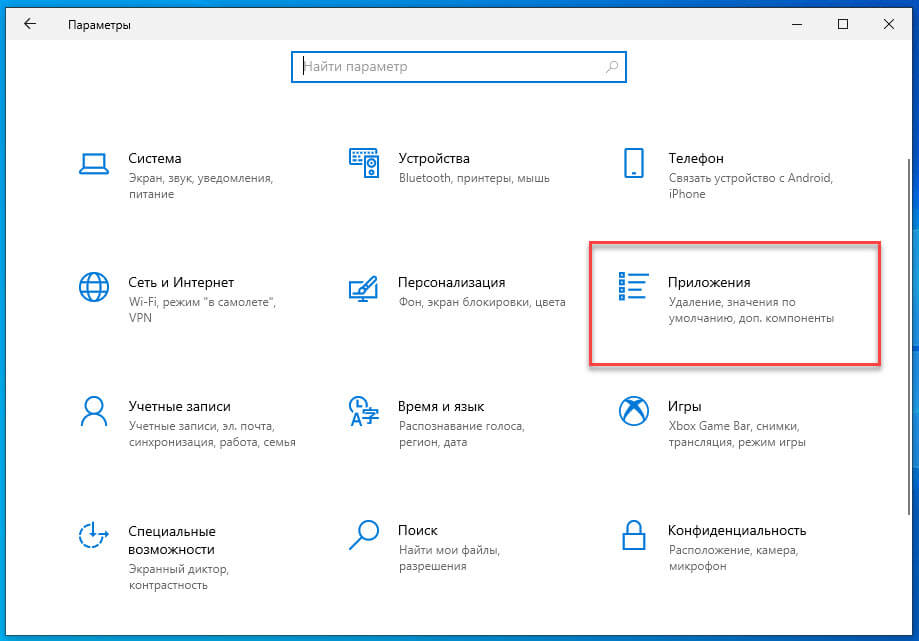
Шаг 2: Перейдите в группу настроек «Приложения».
Шаг 3: В левой части окна нажмите «Приложения и возможности».
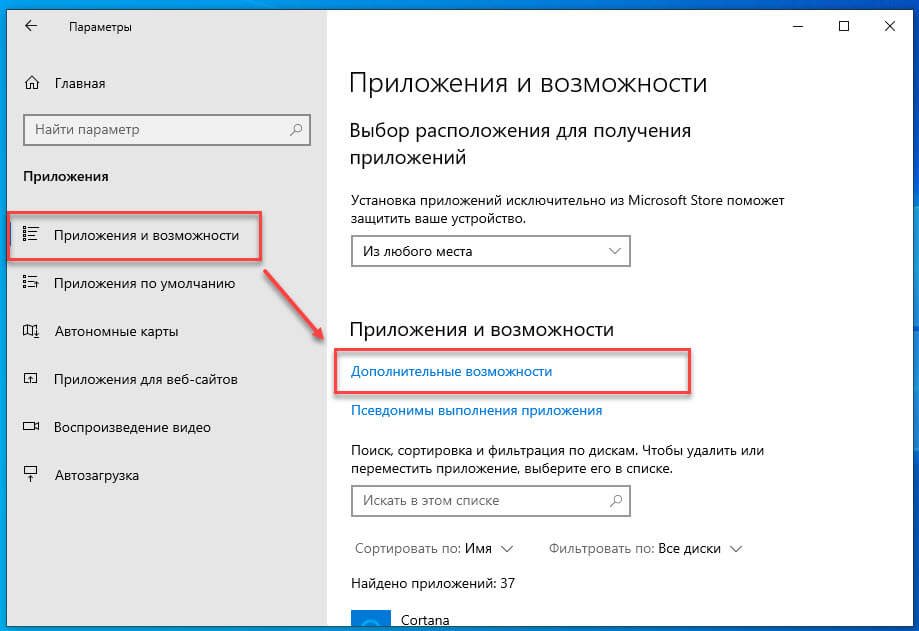
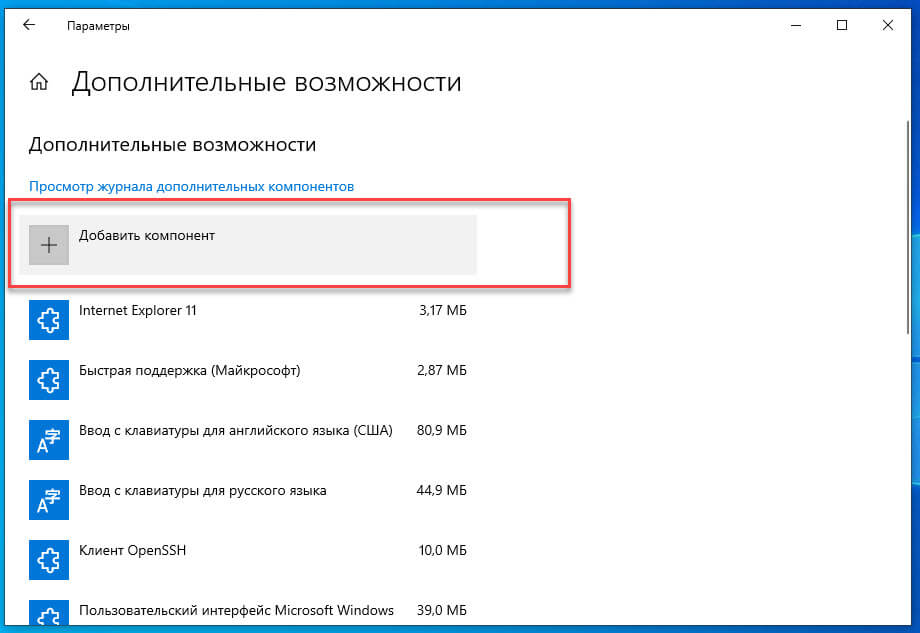
Шаг 4: В разделе «Приложения и возможности» выберите параметр «Дополнительные возможности».
Шаг 5: Выберите элемент WordPad и нажмите кнопку Удалить.
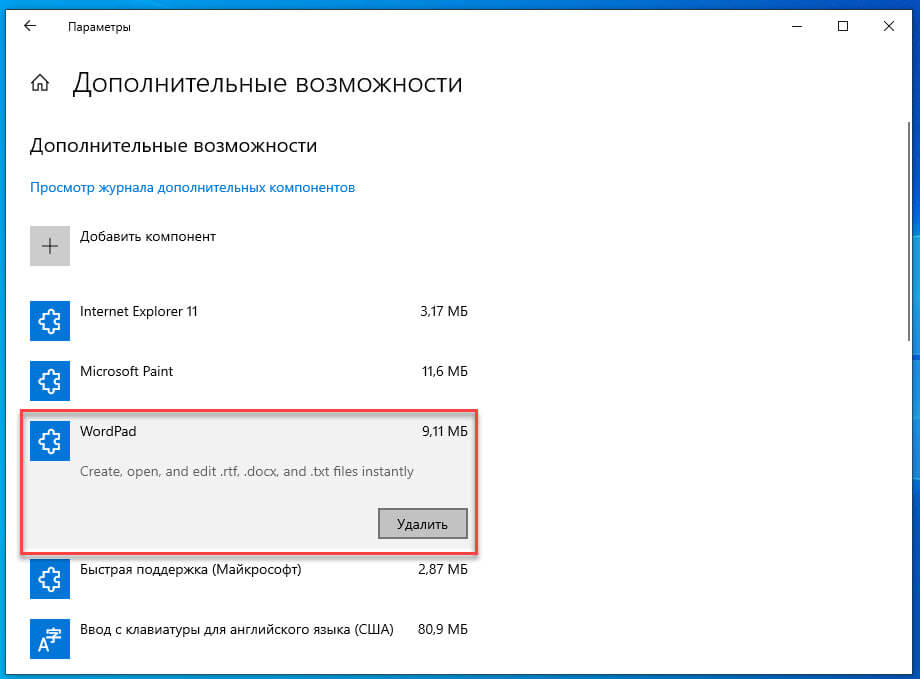
Шаг 6: Перезагрузите компьютер.
После выполнения этих шагов основное приложение для обработки текста будет удалено с вашего компьютера.
Как установить WordPad с помощью приложения «Параметры»
Используйте эти шаги для установки WordPad с использованием дополнительных функций в Windows 10:
Шаг 1: Откройте «Параметры» нажав сочетание клавиш Win I.
Шаг 2: Перейдите в группу настроек «Приложения».
Шаг 3: В левой части окна нажмите «Приложения и возможности».
Шаг 4: В разделе «Приложения и возможности» выберите параметр «Дополнительные возможности».
Шаг 5: Нажмите кнопку «Добавить компонент».
Шаг 6: Выберите элемент WordPad.
Шаг 7: Нажмите кнопку Установить.
После выполнения приложение WordPad будет установлено на вашем устройстве.
В случае, если вы можете найти параметры для установки или удаления, скорее всего, вы не используете версию Windows 10 (20H1), в которой WordPad является дополнительной функцией.
Как вернуть настройки WordPad по умолчанию?
Теперь давайте посмотрим, как сбросить настройки по умолчанию для WordPad в ОС Windows 10. Но прежде чем начать, вы можете создать точку восстановления системы или резервную копию реестра.
Сброс настроек WordPad с помощью реестра Windows
- Нажмите сочетание клавиш Win + R и в окне Выполнить введите Regedit, чтобы открыть редактор реестра.
- Перейдите к следующему разделу:
HKEY_CURRENT_USER\SOFTWARE\Microsoft\Windows\CurrentVersion\Applets\Wordpad
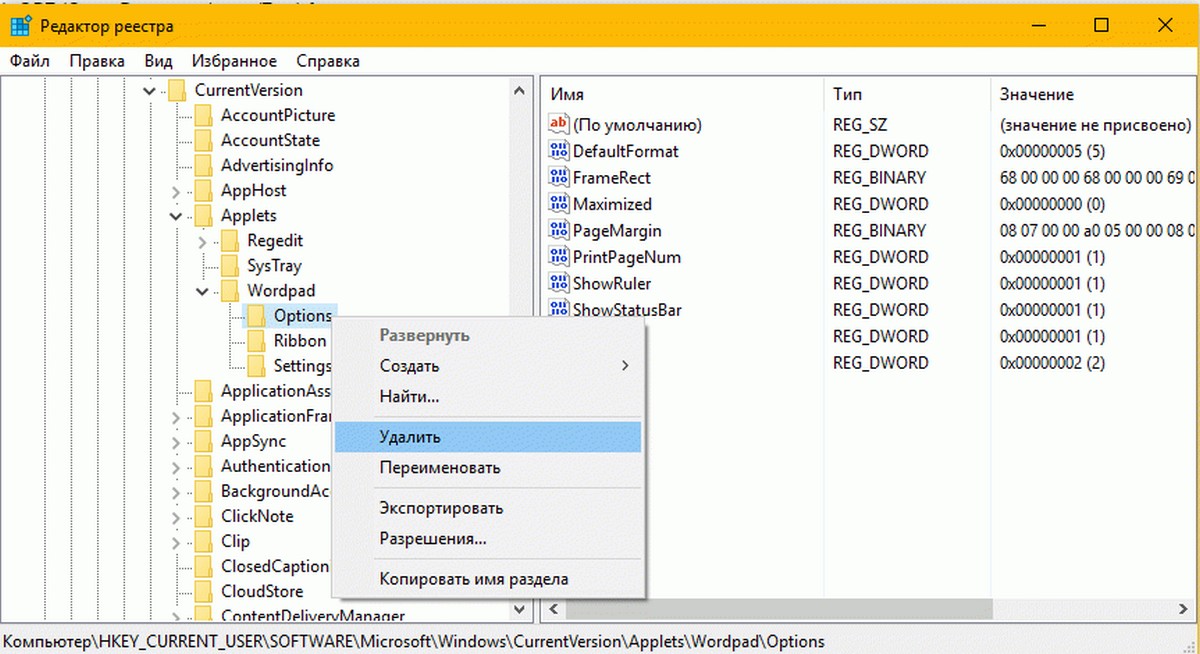
- В левой панели, найдите раздел «Options», и Удалите его.
Теперь, когда вы открываете Wordpad, вы увидите его с настройками по умолчанию.
Дайте нам знать, используете вы Wordpad или нет – в комментариях ниже.
You will come to see here how to install WordPad on Windows 10 from Optional features Settings section and CMD. Previously, the app came as a built-in tool but after Windows 10 Build 18980 Microsoft shifted it into Windows Settings. So now you can add and remove the text editor from the Optional features area.
Microsoft WordPad is basic well-to-do text editor available since Windows 95 till now. This editor allows you to perform much more than common operations such as formatting text, changing the font color, and inserting pictures in documents.
How to Install WordPad on Windows 10
Here is how to install WordPad on Windows 10 –
1] Using Optional Features in Windows Settings
Step-1: Open Windows Settings.
Step-2: When appears, select Apps.
Step-3: On the subsequent page, click Optional features link in the right pane.
Step-4: Next, click Add a feature + icon.
Step-5: The system will present a list of available Optional features. Scroll down to search WordPad and when found click the checkbox located against it.
Step-6: Finally, Select Install button to head over.
2] Install WordPad on Windows 10 Through CMD
- Click the Start button and type cmd.exe.
- When the result becomes visible, click Run as administrator from the right column.
- A UAC will turn up, click Yes to permit the change.
- On the black panel, type the following syntax and hit Enter to execute the command –
DISM /Online /Add-Capability /CapabilityName:Microsoft.Windows.WordPad~~~~0.0.1.0
See more posts on relevant to the topic Wordpad and Apps Settings –
1) How to Create Keyboard Shortcut to Notepad on Windows 10
2) Windows 10, 8 Best Free Text Editor: Notepad Classic
3) How to Organize Apps Settings in Windows 10
4) How to Create Shortcut to Apps Settings on Windows 10
5) How to Manage App Execution Aliases in Windows 10
Methods:
1] Using Optional Features in Windows Settings
2] Through CMD
That’s all!!