On December 7th 2017 DIPSAUS (Floris) asked the following question and received many answers that were unhelpful, misleading or just plain wrong. His question was :
Hey,
I made a backup of my iPhoto Library. Now, I want to open my backup iPhoto Library on Microsoft computer. It seems not possible to open the Library on Windows. Also, I don’t have any Apple computer anymore. I cannot open the Library.
Is someone familiar with this issue?
Do you know how to solve this issue?
Is there some software which I can use to open the Library with?
Thanks in advance,
Thanks for reading,
Kind regards,
Floris
The real answer is that you can get to your photos easily on a Windows computer and copy them easily to any folder (directory) you want. People who say you cannot do it are wrong.
On a Windows computer the iPhoto library will appear in Windows Explorer as a Folder with the same name as the iPhoto library. When you open that Folder you will find many sub-folders. You will find a sub-folder called either Originals or Masters (depending on which version of iPhoto was used to create the iPhoto library). Your photos will be in sub-folders under the Originals folder or the Masters folder. If you edited any photos they will be in a folder called Modified, or some other name that is similar to Modified, but means the same thing.
HOWEVER, the File System of the external drive where you made your Backup is important. If the drive that contains the backup is formatted to Fat32 or ExFat, Windows should be able to read the drive as soon as you plug it in, BUT if the Backup drive is formatted to the Mac default File System of HFS-Plus, you will need to install other software to enable Windows to read the HFS+ file system. Paragon makes a very good HFS+ file system reader.
OR. If you have a computer with Linux installed, Linux will be able to read the HFS+ drive easily.
I have used both Windows and Linux to read many different iPhoto libraries and restore all of the photos that they contained, and save them to other places.
Michael ***
[Edited by Host]
Navigating through your digital photos should be one of the easiest things to do. Fortunately, the Photos app in Windows 10 and Windows 11 is designed to make that happen. It doesn’t matter if you want to see, organize, or edit your pictures, you can do it with this app’s user-friendly interface and handy tools. If you’ve ever found yourself asking “Where is the Photos app on my computer?” or searching for the Windows photo app location, you’re in the right place. In this guide, I’ll show you all the ways to access the Photos app on your laptop or desktop PC. So if you want to learn them all, read on:
1. How to open Photos using search
One of the fastest and most straightforward methods to open the Photos app is through the built-in search feature.
1.1. How to use search to open Photos in Windows 10
On Windows 10, the first thing you have to do is find the search box on your taskbar: right next to the Windows logo button. Click or tap it, type the word photos, and wait for the search results to appear. Once they do, click or tap the Photos result or choose Open in the right-hand pane.
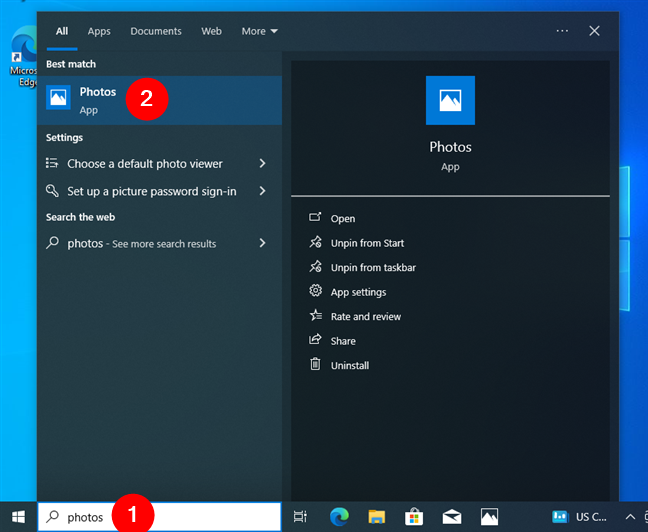
Search and open the Photos app in Windows 10
It should only take a second for the Photos app to launch, and you can then start browsing and editing your pictures.
1.2. How to use search to open Photos in Windows 11
If you’re using Windows 11, the search box looks a bit different, but the procedure involves the same steps. Click or tap inside the Search box on the taskbar, type the word photos, and you see a list of results. In this list, click or tap Photos. Alternatively, you can also select Photos and click or tap Open in the right hand pane.
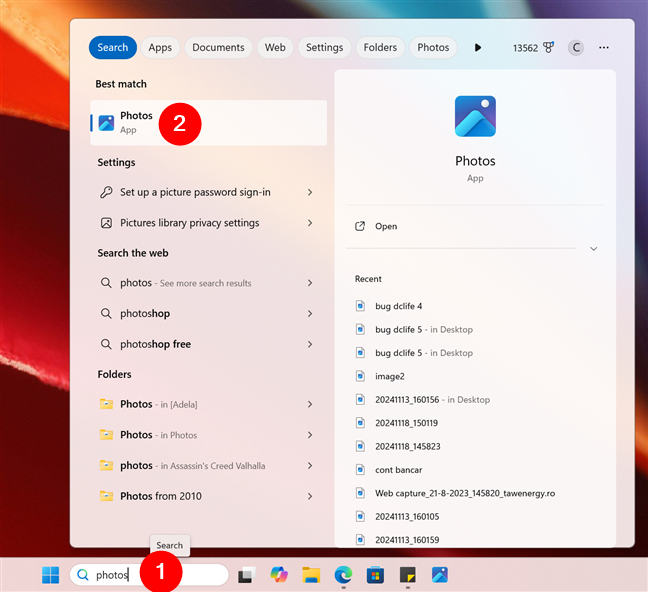
Search and open the Photos app in Windows 11
The Photos app will then immediately open on your Windows 11 laptop, desktop computer, or 2-in-1 device.
TIP: Are you having trouble opening pictures with the Photos app? You double-click them, and they don’t open or they open in a different app? If that’s the case, here’s how to use the Open with option from the right-click menu.
2. How to open the Photos app from the app list in Start Menu
The Start Menu offers another reliable and familiar way to access Photos, especially if you prefer a more structured way of finding your apps. Here’s how it goes:
2.1. How to launch Photos from Windows 10’s list of apps in the Start Menu
If you have a Windows 10 computer or device, start by clicking or tapping the Windows logo button on the taskbar. It’s usually found in the bottom left corner of the screen and pressing it opens the Start Menu. On the left side of the Start Menu, you find an alphabetical list of all the apps on your computer or device. Scroll down until you reach the letter P, and then click or tap the Photos to launch it.
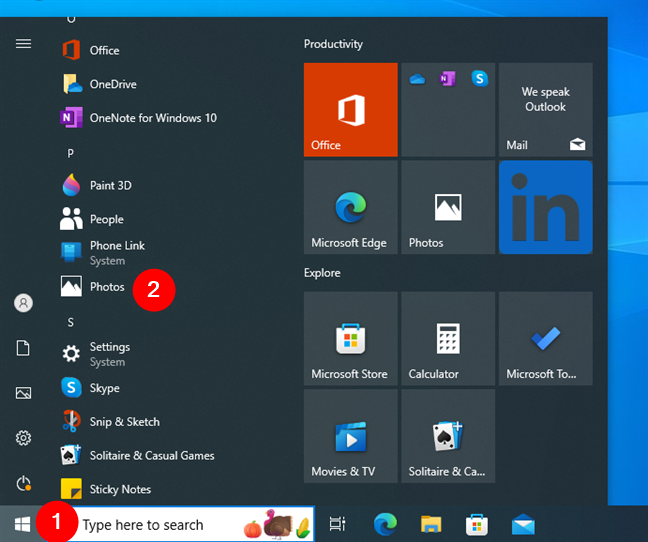
The Photos shortcut from the Start Menu All apps list in Windows 10
TIP: If the Photos app is not the default one for opening pictures anymore, read our guide to setting the default apps in Windows 10.
2.2. How to launch Photos from Windows 11’s list of apps in the Start Menu
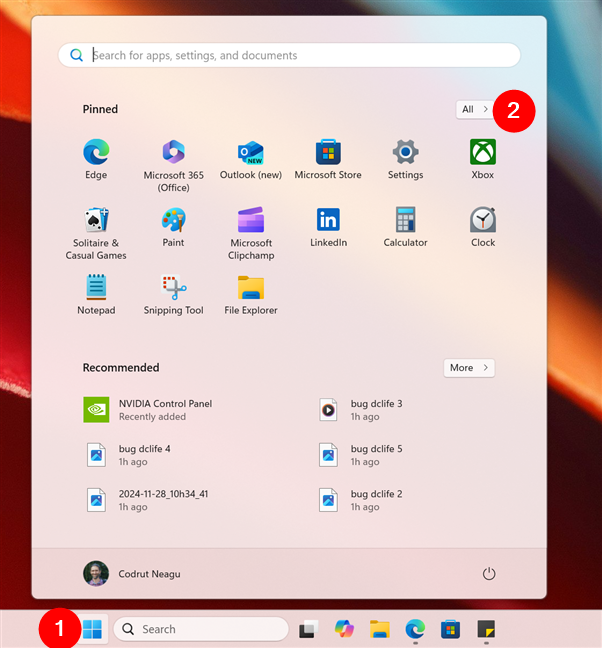
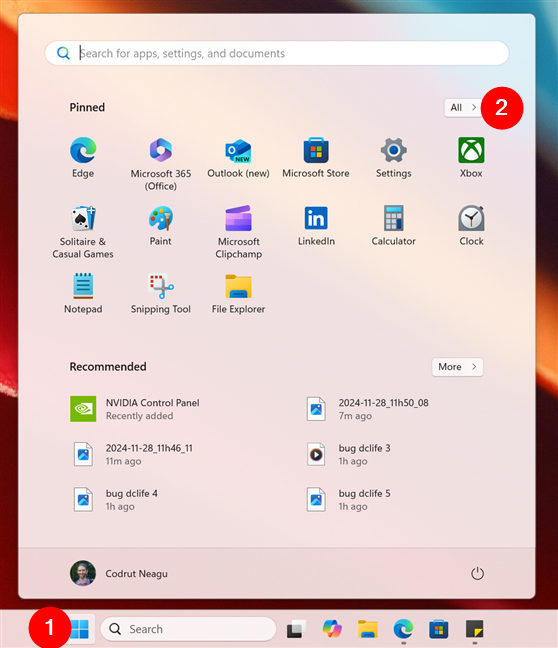
In Windows 11, the Start Menu looks and acts slightly differently, but opening the Photos app is just as easy. Start by clicking or tapping the Start button on the taskbar: its icon is the Windows logo. Note that, unlike in Windows 10, the taskbar icons in Windows 11 are aligned to the center, so that’s where you find the Start button too. In the Start Menu, click or tap the All button in the top-right corner.
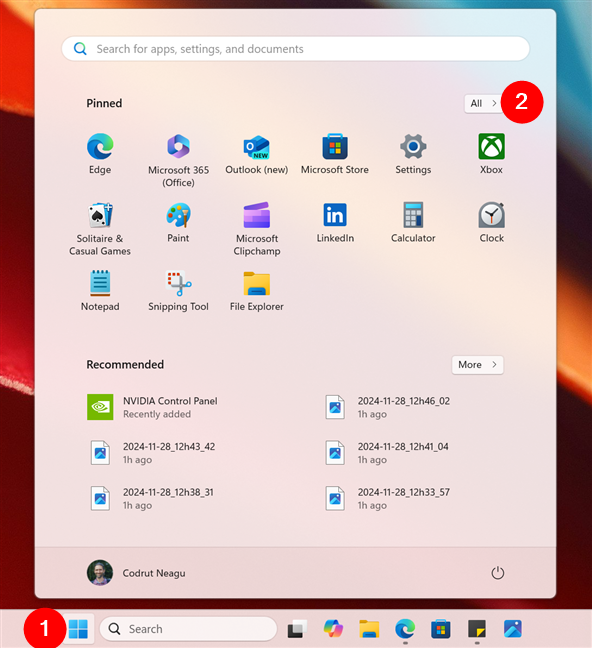
Access the list of All apps in Windows 11
The All list is organized alphabetically. Scroll down to the apps that start with the letter P to find the Photos app. Click or tap it.
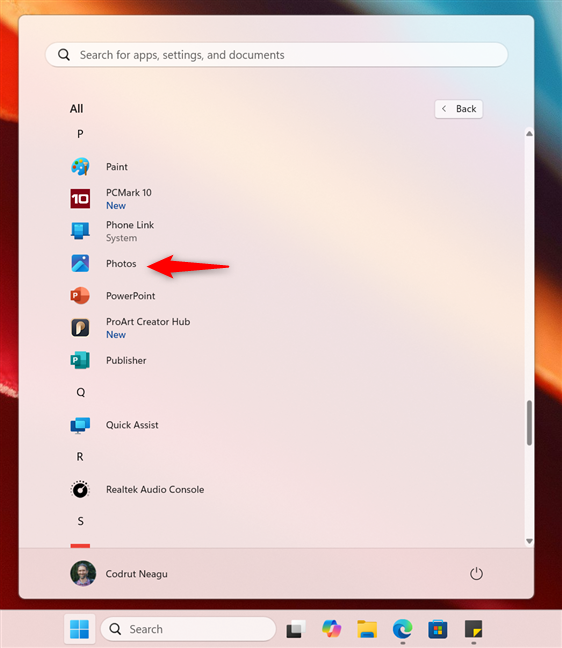
The Photos shortcut from the Start Menu All list in Windows 11
As you’d expect, this makes your Windows 11 PC start the Photos app.
TIP: If another app is set as the default for opening pictures on your Windows 11 computer, here’s how to set the default apps in Windows 11.
3. How to start the Windows Photos app with its desktop shortcut
If you often use the Photos app, you may want to keep it handy. And what could be more handy than a Photos desktop shortcut? Here’s how create one:
3.1. How to add a Photos shortcut to your desktop in Windows 10
If you have a Windows 10 computer, creating a Photos shortcut on your desktop couldn’t be easier. First, open the Start Menu and locate Photos in the list of apps. Then, drag and drop the Photos app onto your desktop.
How to create a Photos shortcut on the Windows 10 desktop
This instantly creates a Photos desktop shortcut that you can double-click or double-tap to open the app anytime you want to.
A Photos shortcut on the Windows 10 desktop
TIP: While this is the easiest way to create a Photos shortcut in Windows 10, there are many other methods you can use. Find them all here: How to create shortcuts for files, folders, apps, and web pages in Windows.
3.2. How to add a Photos shortcut to your desktop in Windows 11
Creating a Photos shortcut on your desktop in Windows 11 is just as easy as it is in Windows 10. Start by opening the Start Menu with a click/tap on the Windows logo from the taskbar, and then press All in the top-right corner.
Open the Start Menu and go to the All apps list
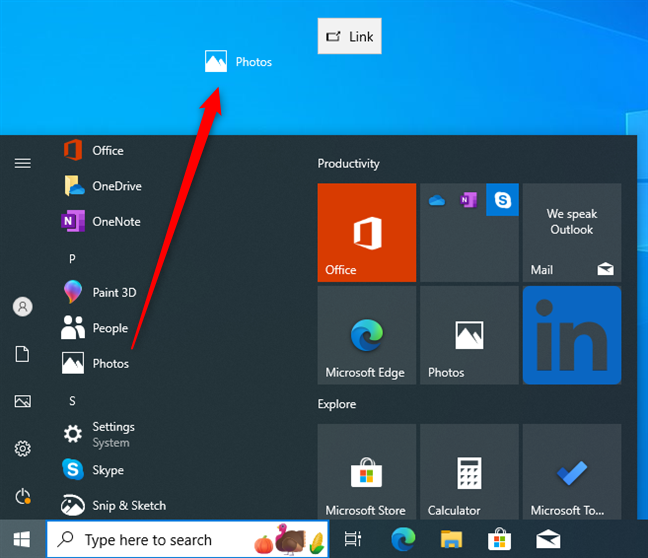
Now, locate Photos in the list of apps. Once you find it, click or tap and hold it, then drag it onto your desktop. Once you drop it by releasing the mouse button or by lifting your finger from the screen, the Photos shortcut is created.
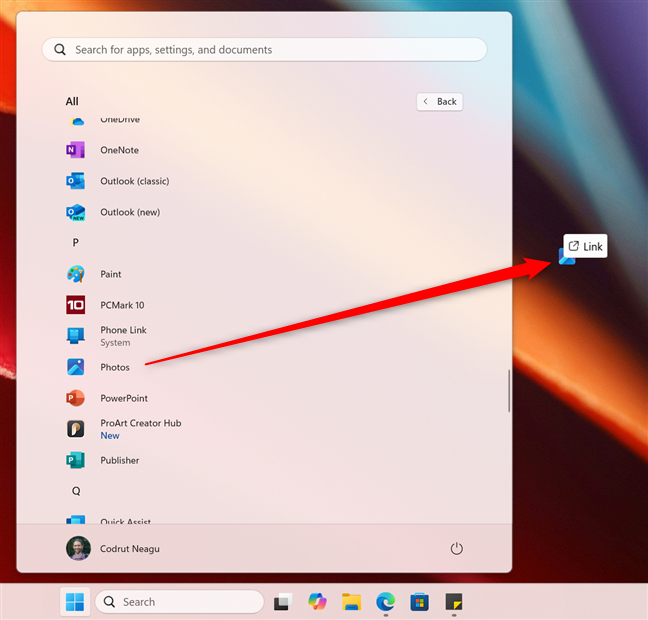
How to create a Photos shortcut on the Windows 11 desktop
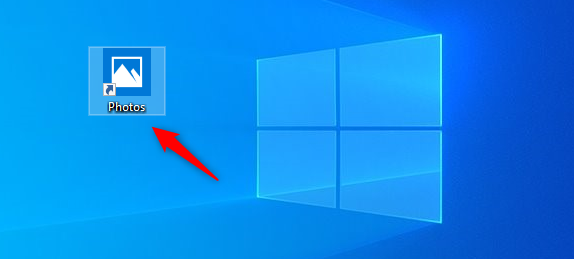
You can then simply double-click or double-tap it to open Photos in Windows 11.
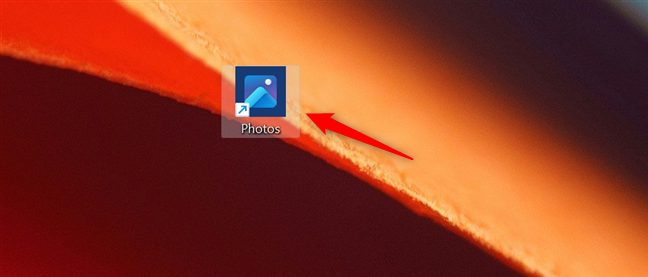
A Photos shortcut on the Windows 11 desktop
This method guarantees that the app is always just a click or tap away, so you don’t have to dig through menus every time you want to open Photos.
4. How to open Photos in Windows from the taskbar
Pinning an app to the taskbar in Windows 10 or Windows 11 also lets you access it quickly, with just one click or tap. Here’s:
4.1. How to pin Photos to Windows 10’s taskbar
If you’re using Windows 10, open the Start Menu and locate Photos in the list of apps on the left. Then, right-click or press-and-hold it and in the context menu, choose More > Pin to taskbar.
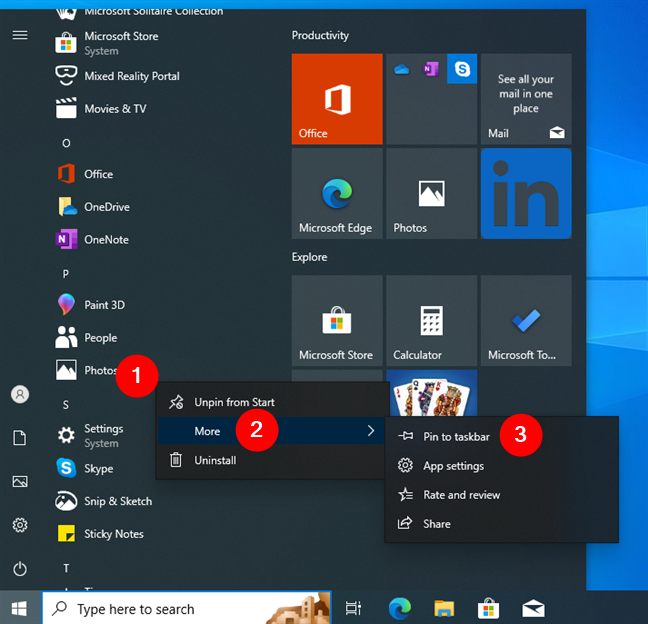
Right-click Photos and go to More > Pin to taskbar
This action places the Photos icon directly on your taskbar, allowing you to open the app with a single click or tap whenever you need it.
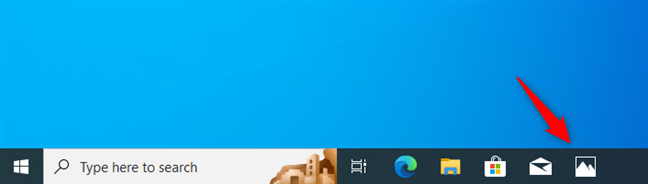
Use the Photos shortcut on the taskbar
4.2. How to pin Photos to Windows 11’s taskbar
In Windows 11, the steps are similar. First, open the Start Menu and select All in the top-right corner.
Open the Start Menu and access the All list
Now, scroll to find the Photos app in the list. Once you do, right-click or press and hold it, and in the context menu, choose More > Pin to taskbar.
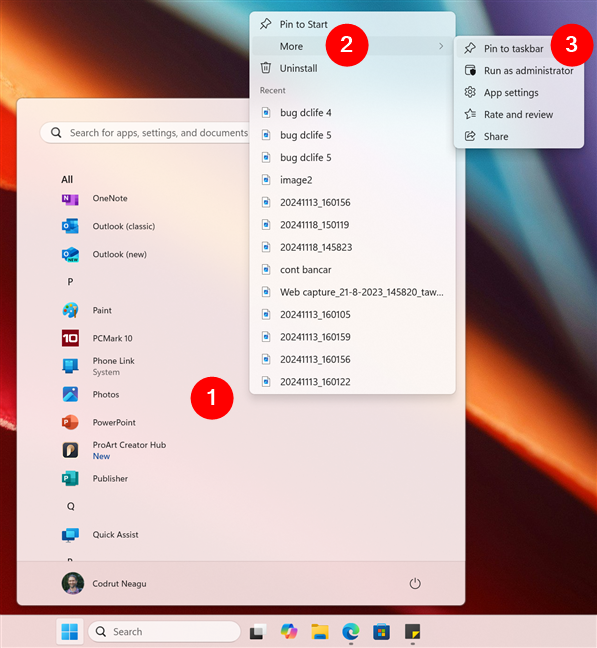
Right-click Photos and go to More > Pin to taskbar
Photos is then instantly added to the taskbar, from where you can easily launch it anytime you need it.
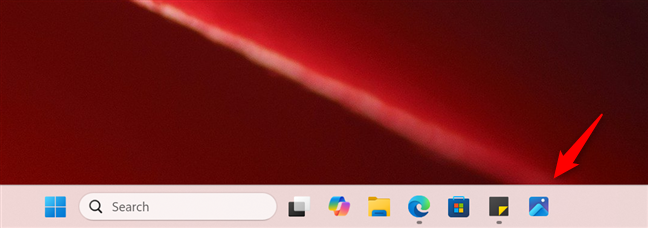
Photos shortcut pinned to the taskbar in Windows 11
This method is a great way to keep Photos within easy reach.
5. How to open Photos with its Start Menu pinned shortcut or tile
By default, Photos is already pinned to the Start Menu of both Windows 10 and Windows 11, so it should be very easy to use its tile or shortcut to launch it. Here’s what to expect in both operating systems:
5.1. How to launch Photos in Windows 10 using its tile on the Start Menu
In Windows 10, the tile of the Photos app is displayed in the Productivity group on the right hand pane. With a single click or tap on it, you can launch the app in no time.
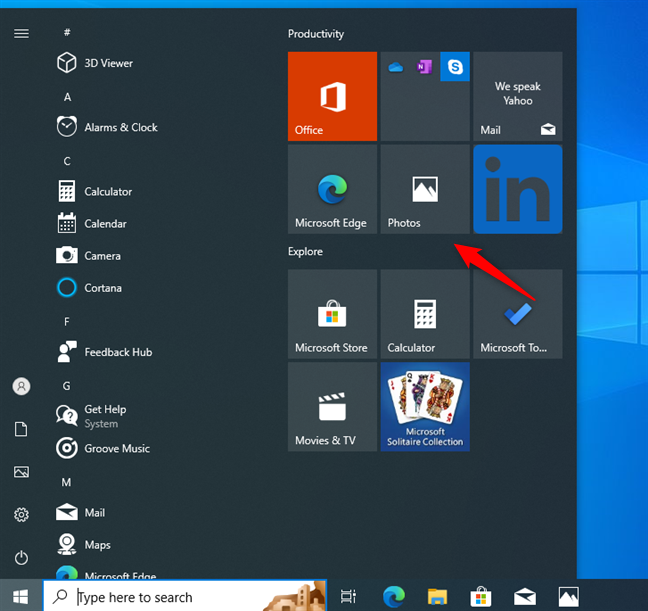
Click or tap the Photos tile in the Windows 10 Start Menu to open the app
In case the Photos tile is missing on your Windows 10 computer or device, you can easily recreate it by following our guide on pinning to Start Menu.
5.2. How to launch Photos in Windows 11 using its Start Menu pinned shortcut
In Windows 11, the Start Menu replaced tiles with a Pinned section for shortcuts. This section is always displayed at the top of the Start Menu, and by default, it includes a shortcut for the Photos app. Look through the icons in this list, and when you find Photos, click or tap it to launch the app.
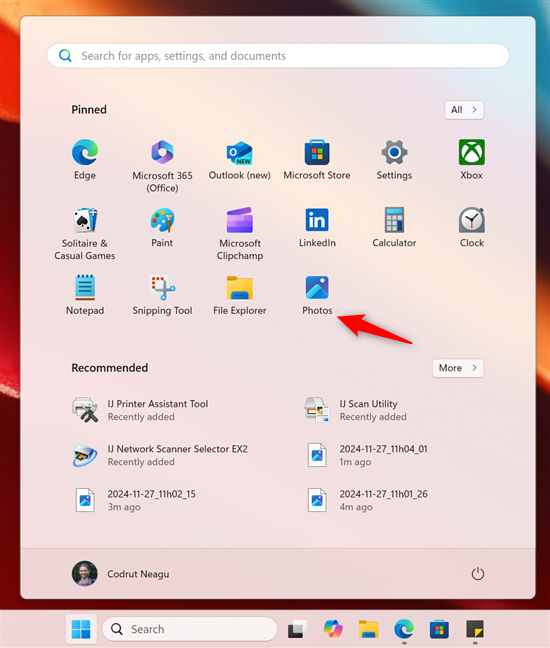
Press the shortcut to open Photos in Windows 11
If Photos isn’t pinned to your Start Menu, you probably deleted it at some point. In case you want to add the Photos app back to this section, you can find all the details in this guide on pinning to Start Menu in Windows 11.
6. How to start the Photos app in Windows from File Explorer
File Explorer can also be used to open the Photos app in Windows 10 or Windows 11. Although its executable file can not be easily accessed by browsing to its location due to security settings, you can launch it using a special command in the operating system’s default file manager. This is:
6.1. How to start Photos in Windows 10 from File Explorer
In Windows 10, open File Explorer, click or tap the address bar, and enter the command:
ms-photos:
Then, you can either press Enter on your keyboard, or click or tap the Go to arrow next to the address bar, and the Photos app opens.
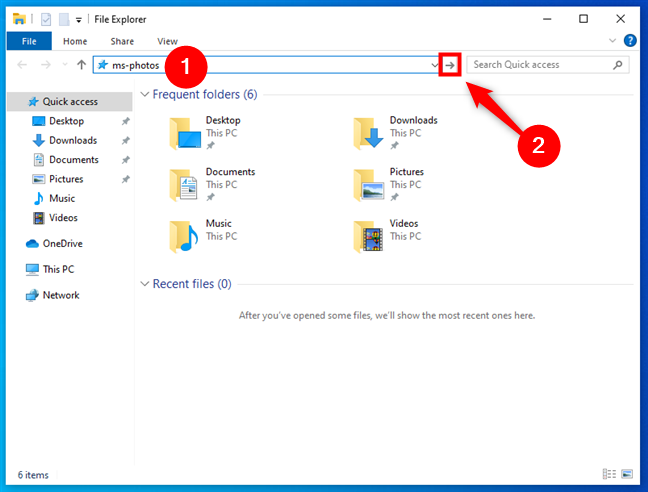
How to open Photos from File Explorer in Windows 10
6.2. How to start Photos in Windows 11 from File Explorer
Except for what File Explorer looks like, things are the same in Windows 11. Open File Explorer, and at the top of the window, click or tap the address bar where the current folder path is displayed. In it, type the same command:
ms-photos:
Then, press Enter on your keyboard and Windows 11 instantly opens the Photos app.
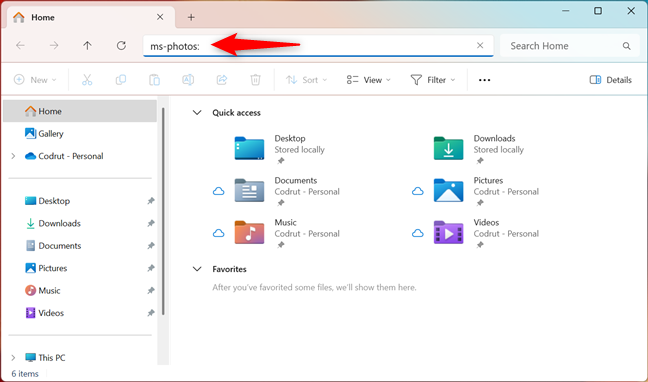
How to access Photos from File Explorer in Windows 11
You’ve now instantly switched from managing your files in File Explorer to viewing and editing your photos in the Photos app. With just one simple command! 🙂
7. How to open Photos in Windows using the Run window
For some users, the Run window can be the fastest method to open apps in Windows 10 and Windows 11. You can also use it to open the Photos app. Use the keyboard shortcut Windows + R to open Run, enter the command ms-photos: and then either press the Enter key, or click or tap the OK button.
This is what the whole process looks like in Windows 10:
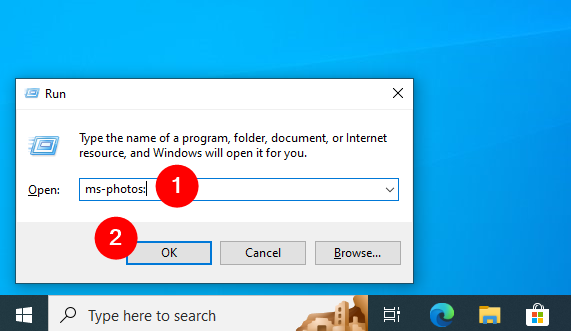
How to open Photos from the Run window in Windows 10
And this is what everything looks like in Windows 11:
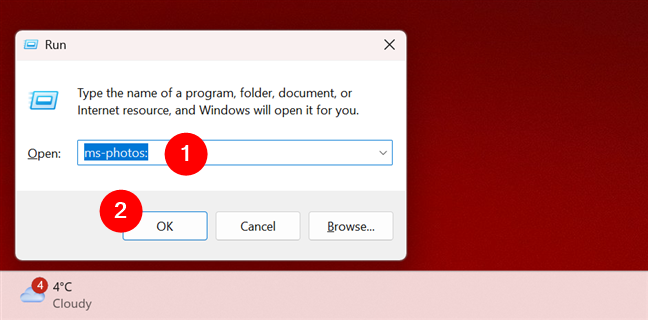
How to open Photos from the Run window in Windows 11
Whether you’re using Windows 10 or Windows 11, the Photos app opens right away, allowing you to access your photos without having to navigate through menus first.
8. How to start the Windows Photos app using the Task Manager
You can also open the Photos app from the Task Manager in both Windows 10 and Windows 11. Here’s how it goes:
8.1. How to open Photos in Windows 10 using Task Manager
This is a more cumbersome method, but some users might like it. Start by launching the Task Manager (press Ctrl + Shift + Esc on your keyboard), and if it opens in its compact view, click or tap More details.
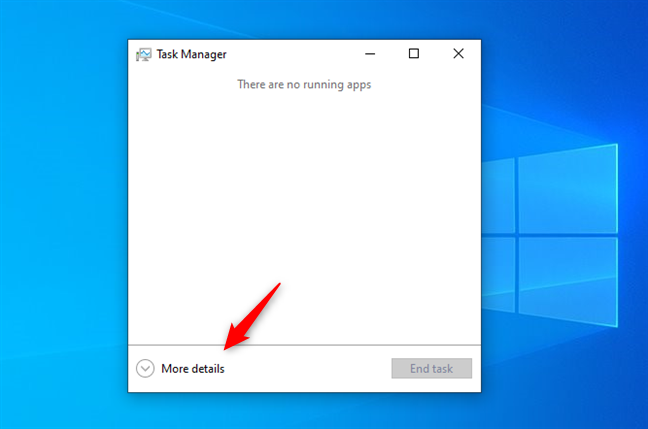
Click or tap More details
In the expanded view of the Task Manager, click or tap File and then press Run new task.
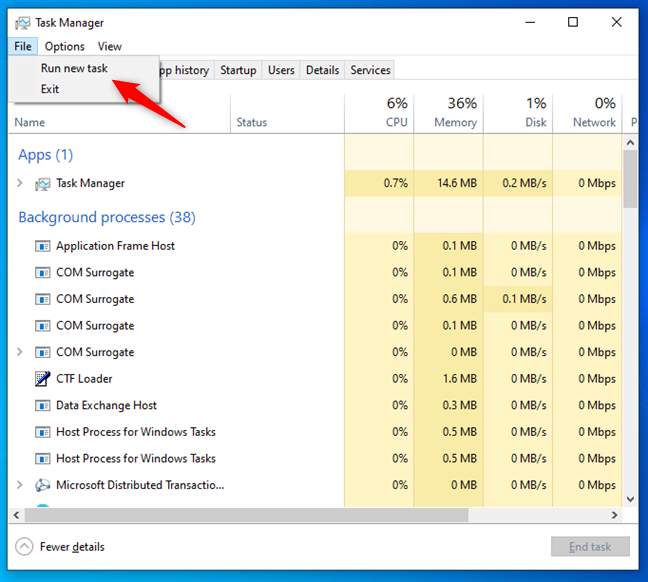
Click or tap Run new task in Windows 10’s Task Manager File menu
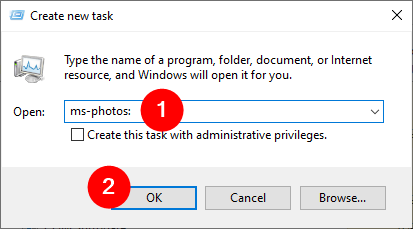
A new window opens, and it’s named Create new task. Type in ms-photos: and then press Enter on your keyboard or click or tap OK.
Open the Photos app in Windows 10 from Task Manager
This immediately launches the Photos app on your Windows 10 PC.
8.2. How to open Photos in Windows 11 using Task Manager
If you’re using Windows 11, launch the Task Manager by pressing Ctrl + Shift + Esc on your keyboard. Then, click or tap the Run new task button in the top-right. Note that this button is displayed on every page of the Task Manager so it really doesn’t matter whether its starting view is set to be the Processes, Performance, or any other tab.

Click or tap Run new task in Windows 11’s Task Manager
A window called Create new task then opens. Inside it, type ms-photos: and press Enter on your keyboard or click or tap OK.

Open the Photos app in Windows 11 from Task Manager
The Photos app then opens, no further questions asked.
9. How to open Photos in Windows from the command-line
If you are working with Windows Terminal, Command Prompt, or PowerShell, you can type this command and press Enter:
start ms-photos:
This is what launching Photos from CMD looks like in Windows 10:
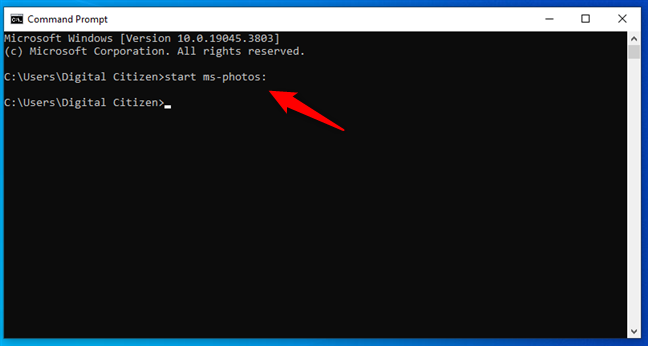
Open Photos from CMD in Windows 10
And if you’re curious about it, it’s pretty much the same in Windows 11:
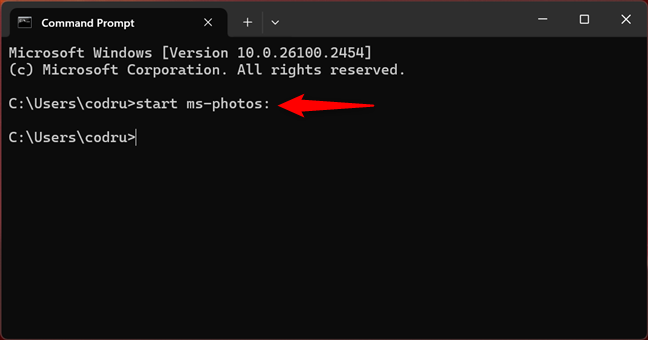
Open Photos from CMD in Windows 11
In either operating system, the Photos app starts as soon as you press Enter on your keyboard.
P.S. What’s the Photos app location?
Photos is an app is a built into Windows. More precisely, it’s a Universal Windows Platform (UWP) app. These apps are stored and run from a protected folder inside the operating system. In the case of the Photos app, no matter if you’re using Windows 10 or Windows 11, its executable is located at this path:
C:\Program Files\WindowsApps\Microsoft.Windows.Photos_<number>_x64__8wekyb3d8bbwe
…where <number> depends on the version of Photos installed on your computer.
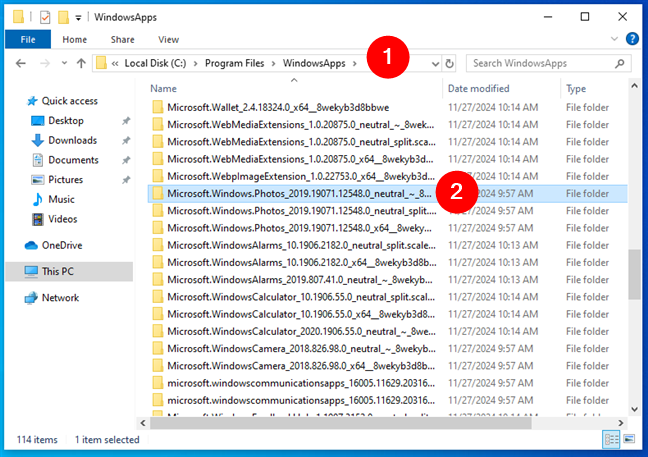
The location of the Photos app in Windows
Accessing this folder is restricted for security purposes. Opening it requires administrative permissions, and you may need to take ownership of the folder to view its contents. Thus, accessing the executable file directly through File Explorer is strongly not recommended! Instead, it’s far better to use one of the methods mentioned above to open the app.
How do you prefer to open the Windows Photos app?
There are many options available, so you can choose how to open photos on your laptop or desktop PC running Windows 10 or Windows 11. Whether you fancy the speed of the search bar, the structured approach of the Start Menu, the handiness of a desktop shortcut, or the concise ways of the command-line, you now know a lot of ways to launch Photos.🙂 If you stumble upon any other methods or if you have any tips and tricks to share, feel free to leave a comment below.