
Формат XPS был разработан компанией Microsoft в 2006 году как альтернатива формату PDF. Файлы данного типа основаны на XML (английская аббревиатура XPS расшифровывается как «XML Paper Specification») и представляют собой формат для работы с графическими документами. По сравнению с популярным форматом PDF файлы XPS проще и легче, а еще считаются более безопасными, так как не поддерживают скрипты.
Ввиду того, что XPS не самый распространенный формат документов, у многих пользователей возникает вопрос: в какой программе можно открыть файл этого типа? Мы расскажем о стандартных средствах для просмотра XPS-файлов, имеющихся в операционной системе Windows 10, а также рассмотрим, какими сторонними приложениями можно воспользоваться для этих целей.
Формат XPS поддерживается по умолчанию во всех версиях Microsoft, включая Windows 10. Просмотреть файл этого формата проще всего при помощи стандартного приложения «Средство просмотра XPS».
- Для его открытия воспользуемся системным поиском. Нажимаем иконку с лупой в панели задач или клавиши «Windows» + «S». В строке ввода начинаем набирать название программы и, когда оно появится в результатах поиска, кликаем на него.
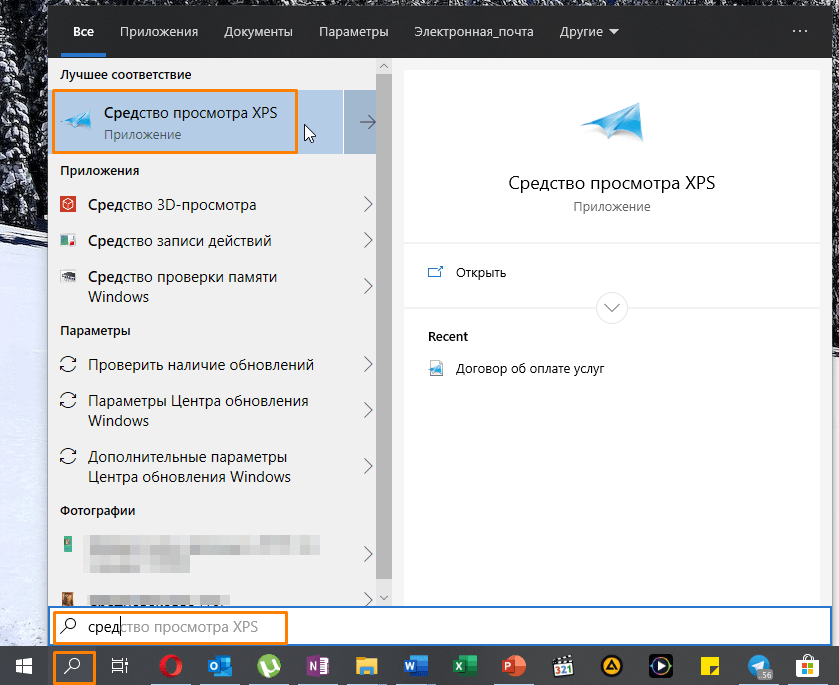
Ищем «Средство просмотра XPS» в Windows 10
- После запуска программы выбираем команду «Файл» — «Открыть».
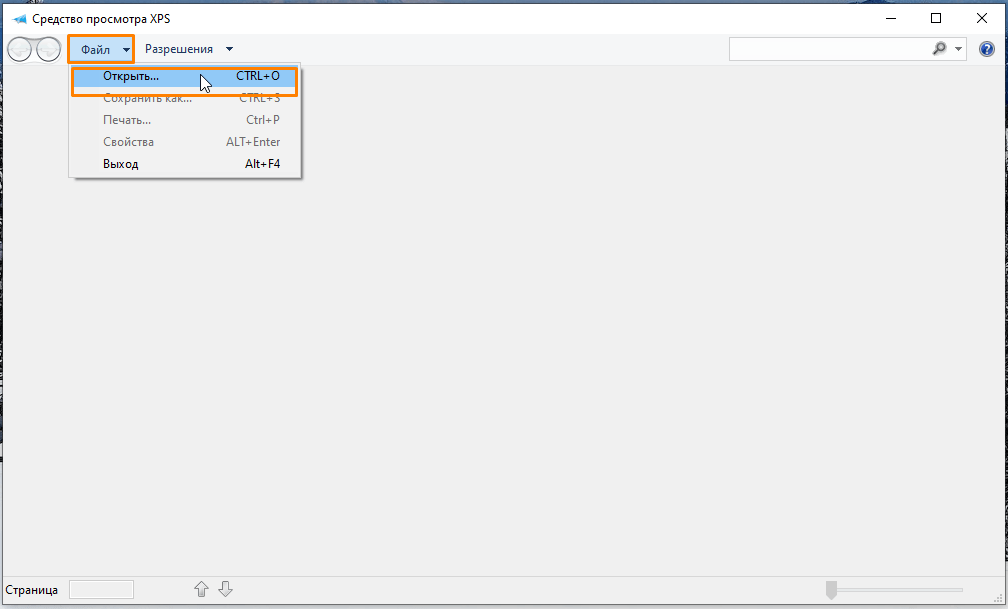
Выбираем команду для открытия документа
- В окне «Открытие» переходим на нужный диск и открываем папку, где хранится искомый XPS-файл, выделяем его и нажимаем кнопку «Открыть».
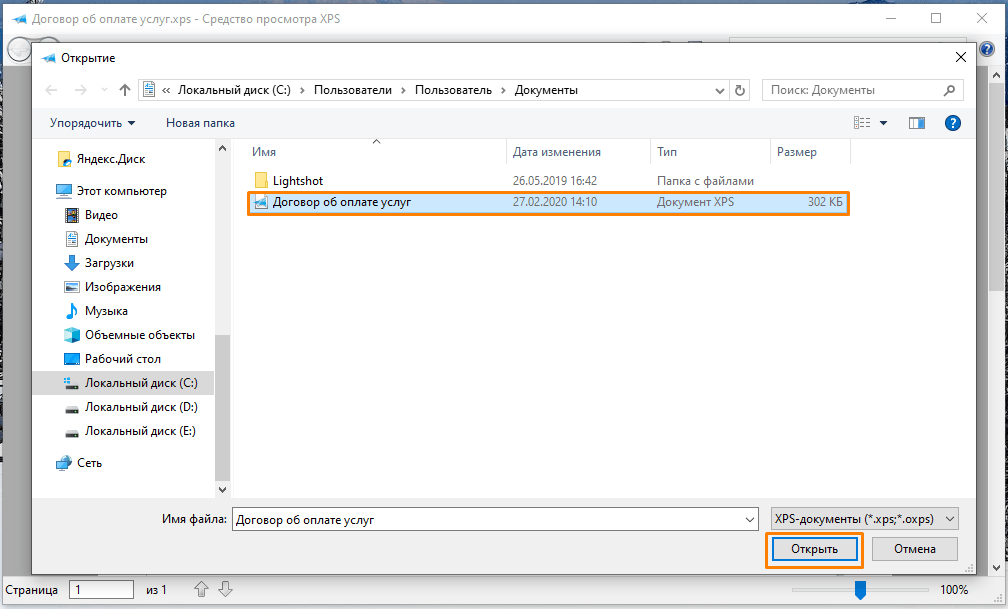
Находим и открываем файл XPS
- Выбранный файл отобразится в окне программы «Средство просмотра XPS».
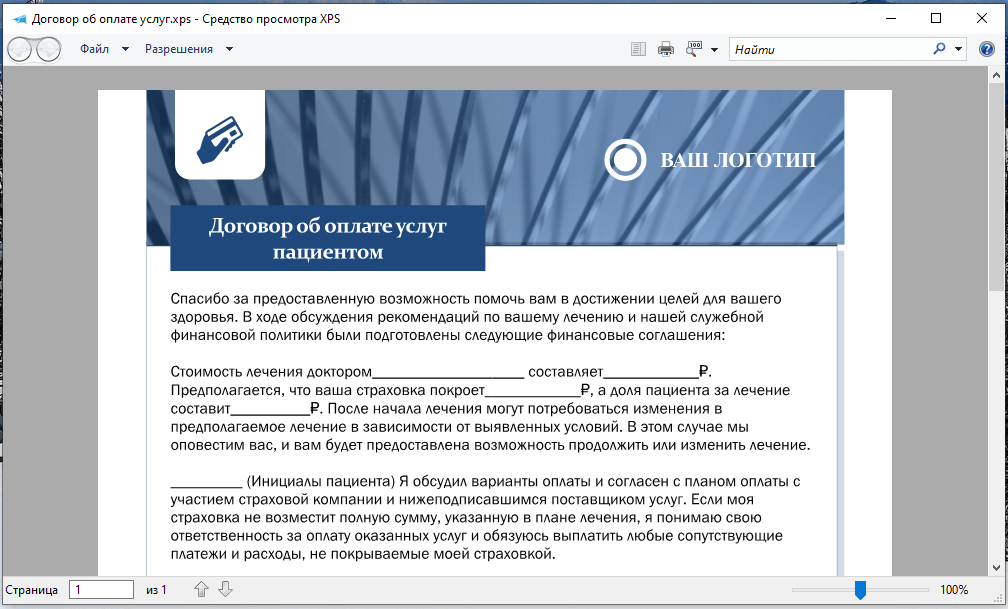
Файл XPS открыт для просмотра
- Если на этапе 1 вам не удалось найти приложение «Средство просмотра XPS», нужно установить его в «Параметрах» Windows. Кликнем правой клавишей мыши на кнопку «Пуск» и выберем в списке пункт «Приложения и возможности».
Открываем «Приложения и возможности»
- В открывшемся окне жмем на ссылку «Дополнительные возможности».
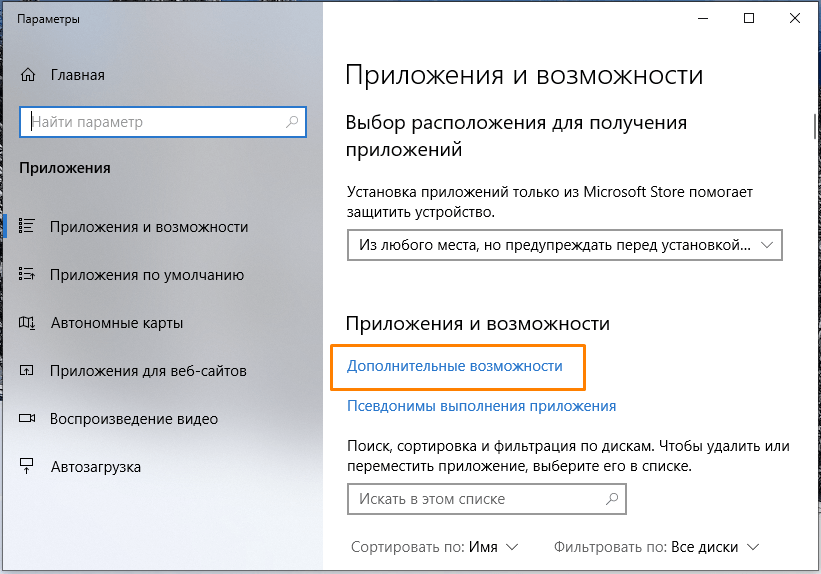
Переходим в категорию настроек «Дополнительные возможности»
- Пролистываем список до пункта «Средство просмотра XPS», кликаем на него и нажимаем кнопку «Установить». Теперь приложение «Средство просмотра XPS» будет доступно.
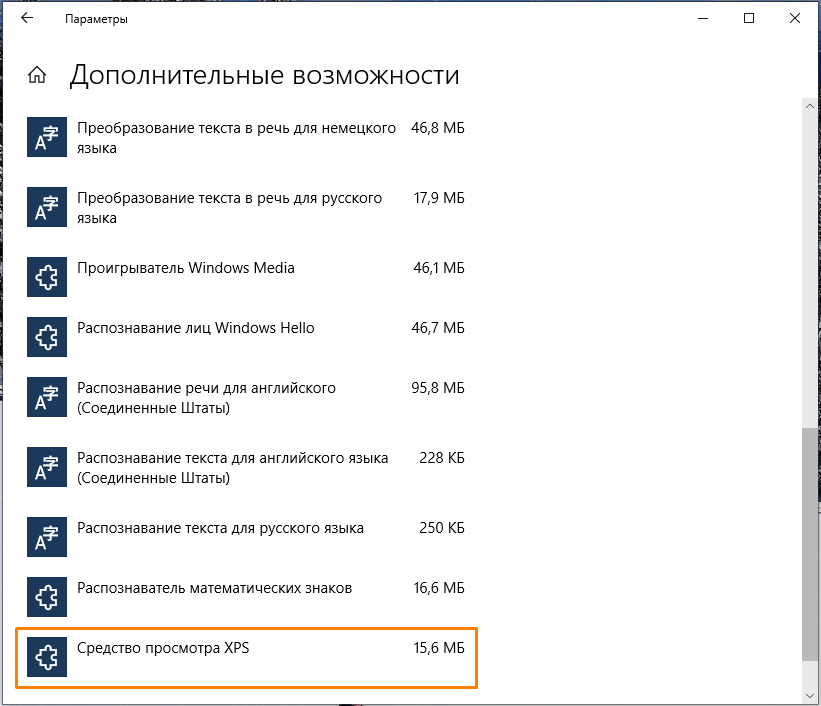
Находим и устанавливаем приложение «Средство просмотра XPS»
Браузер «Internet Explorer»
Во всех версиях Windows имеется стандартный веб-браузер «Internet Explorer», который при наличии в системе установленного компонента «.NET Framework» версии 3 или выше также можно использовать в качестве средства просмотра файлов XPS.
- Ищем «Internet Explorer» через системный поиск, описанным ранее способом, и запускаем браузер.
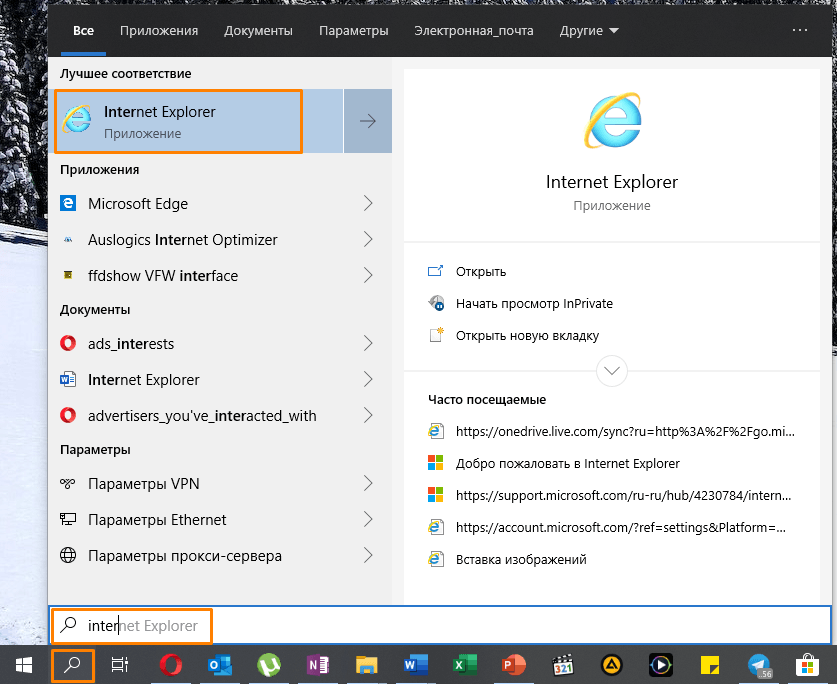
Находим «Internet Explorer» через системный поиск
- Вы можете просто перетащить XPS-файл из окна «Проводника» Windows в окно браузера.
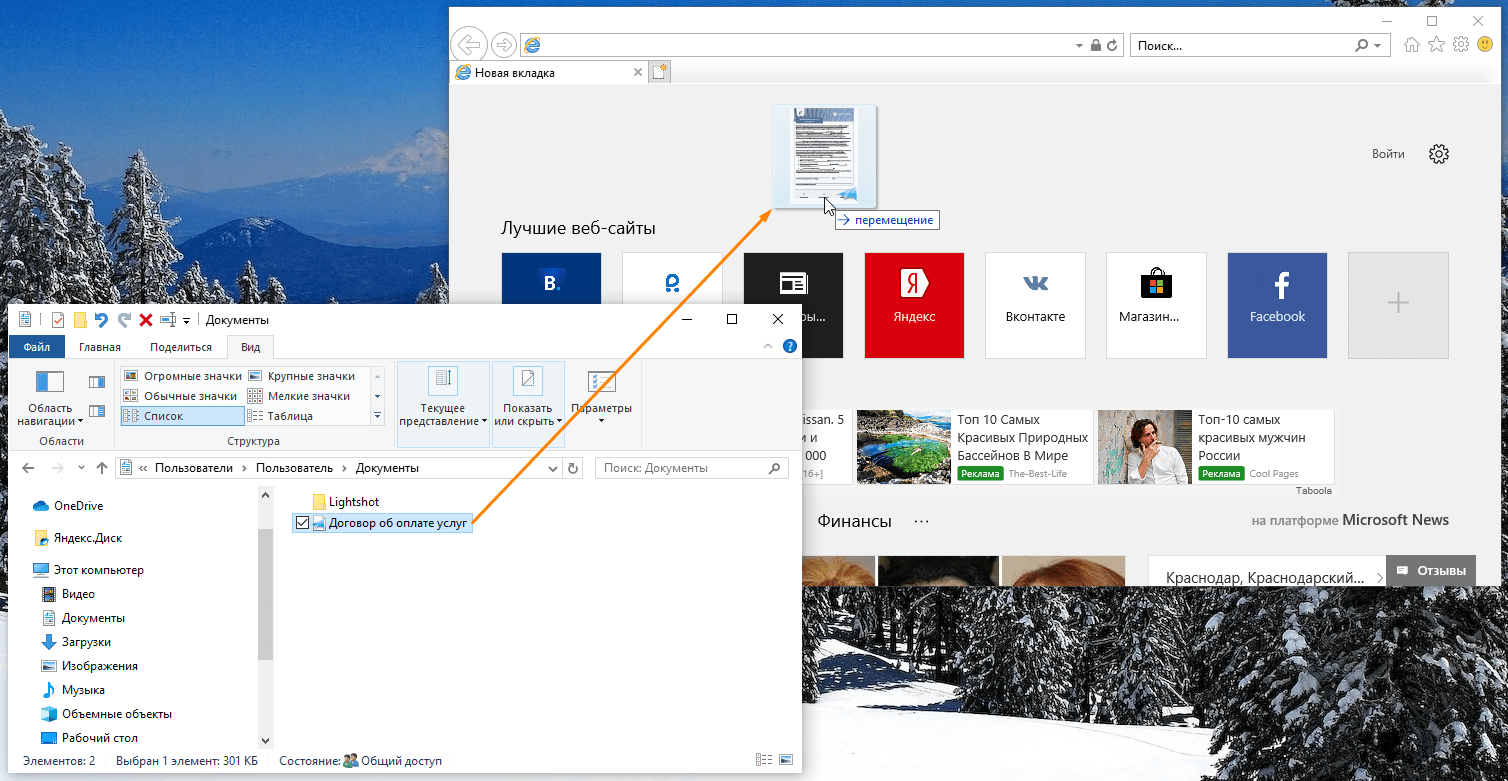
Открываем XPS-файл в «Internet Explorer»
Просматриваем файл XPS в браузере
Программы из магазина приложений «Microsoft Store»
Многие приложения для работы с форматом PDF позволяют открывать и XPS-файлы. Большой выбор таких программ представлен в официальном магазине приложений Windows 10 «Microsoft Store».
- Кликаем на файл XPS в «Проводнике» Windows правой кнопкой мыши и выбираем в его контекстном меню команду «Открыть с помощью».
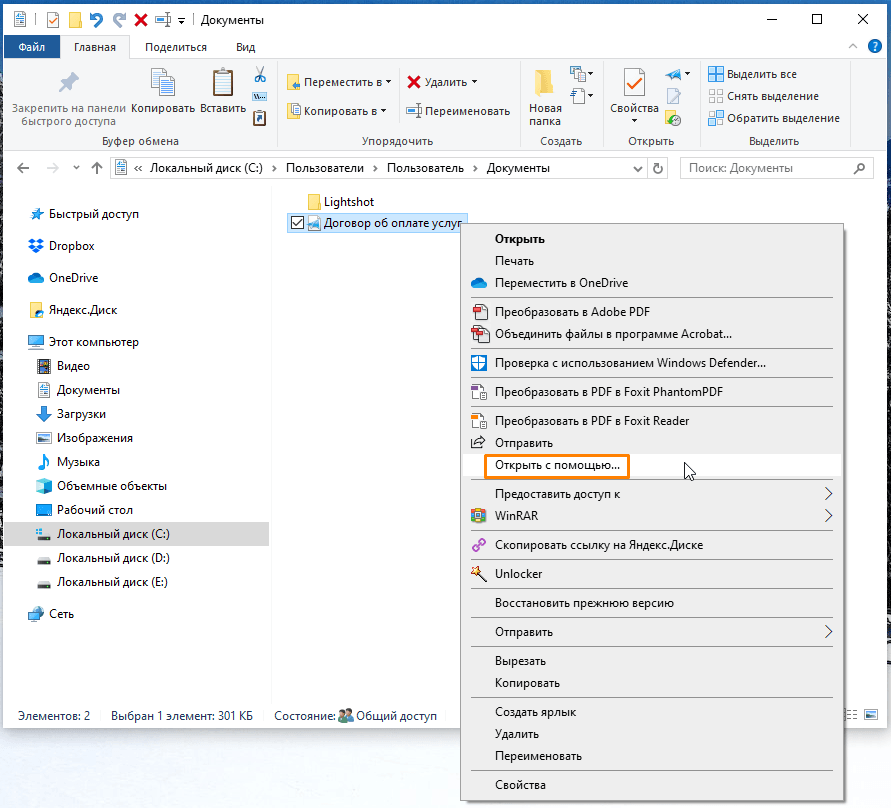
Кликаем команду «Открыть с помощью»
- Далее указываем, что для открытия этого файла мы хотим найти приложения в «Microsoft Store», и нажимаем кнопку «ОК».
Выбираем «Поиск приложения в Microsoft Store»
- Запустится магазин приложений с подборкой программ, поддерживающих формат XPS. Выбираем одну из них, например, «Perfect PDF Reader».
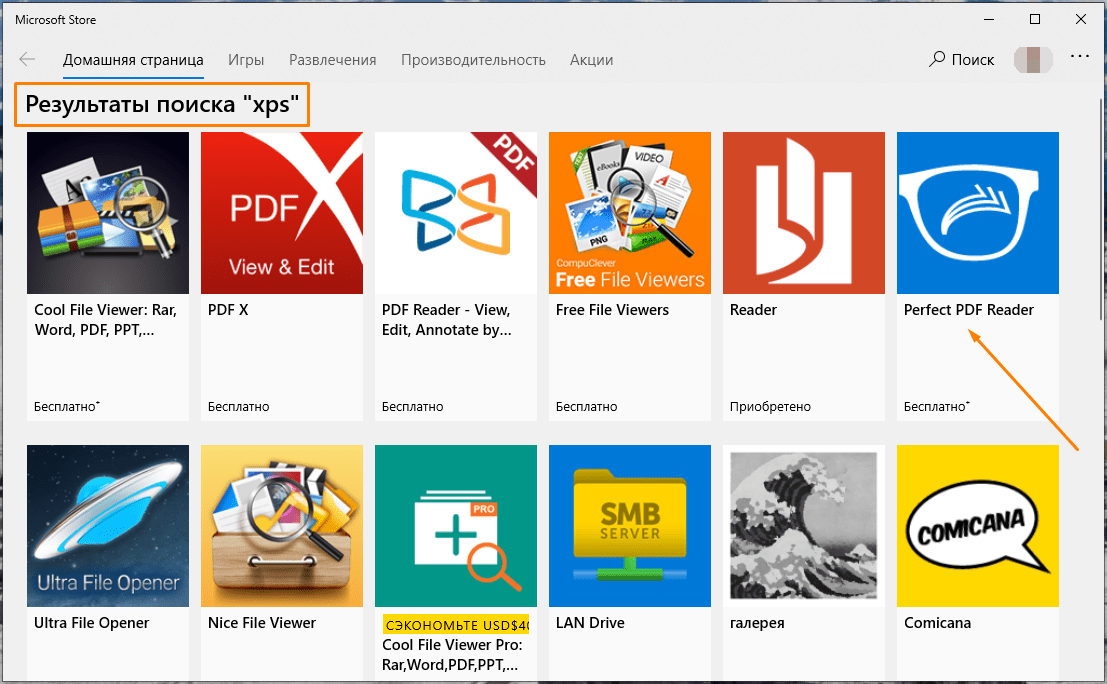
Выбираем одну из программ из результатов поиска «XPS»
- В описании программы указаны форматы, с которыми она работает. Для установки приложения нажимаем кнопку «Получить».
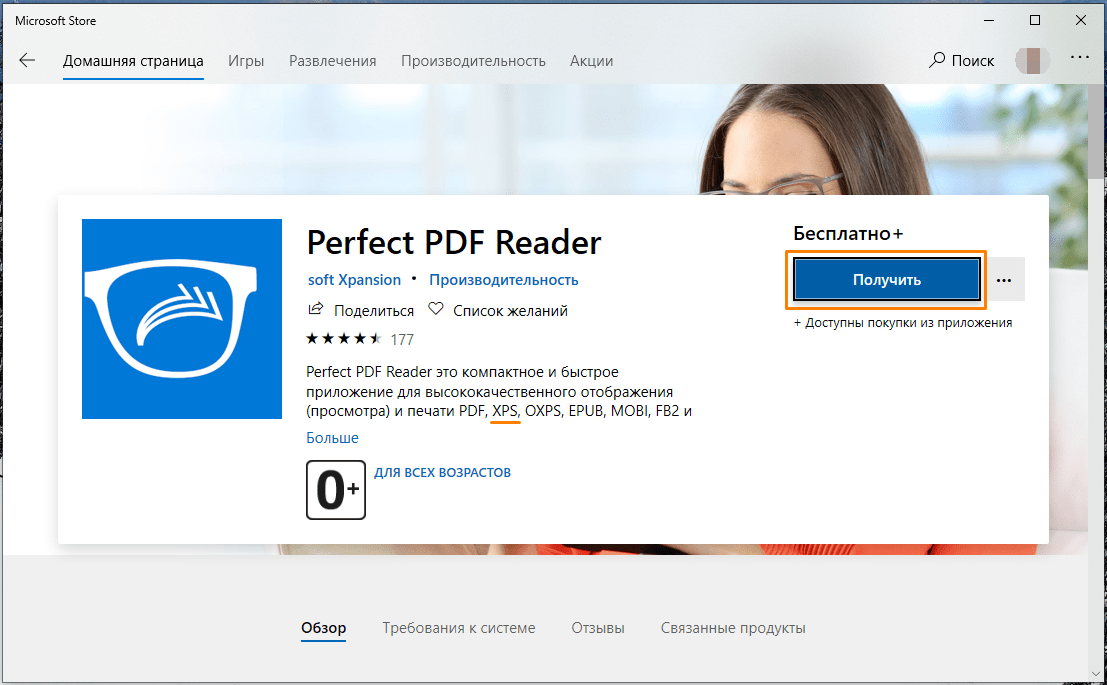
Жмем на кнопку «Получить» для скачивания и установки приложения
- После окончания установки становится доступной кнопка «Запустить».
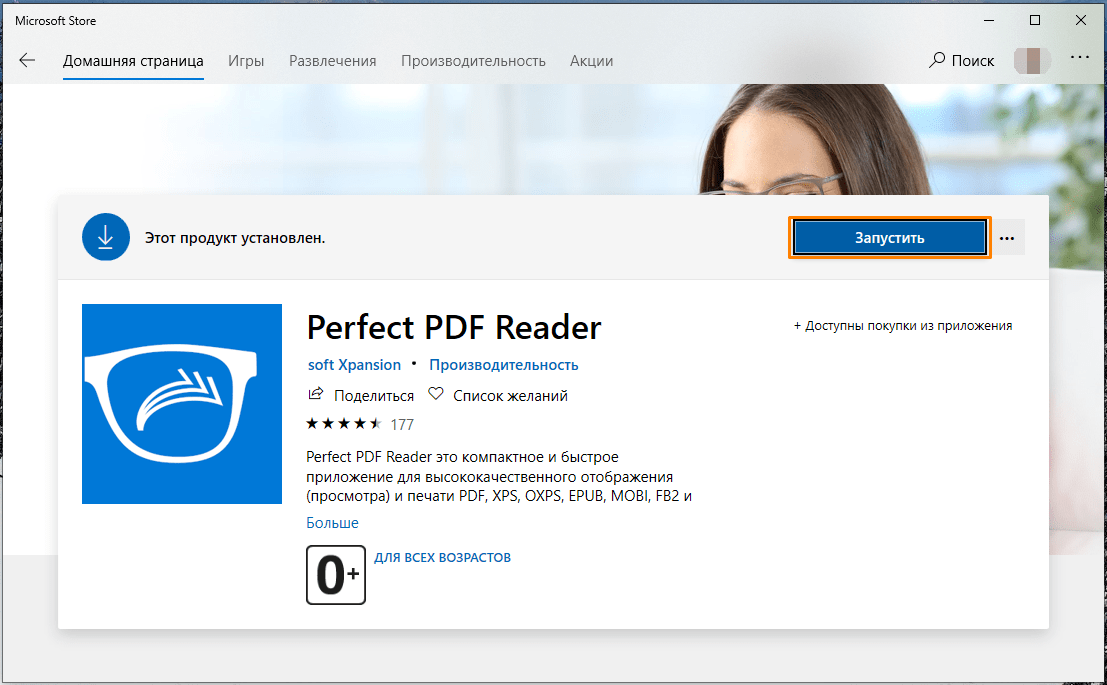
Запускаем установленное приложение
- В окне программы «Perfect PDF Reader» кликаем на стрелку в кружке, а затем на появившейся слева панели выбираем команду «Открыть».
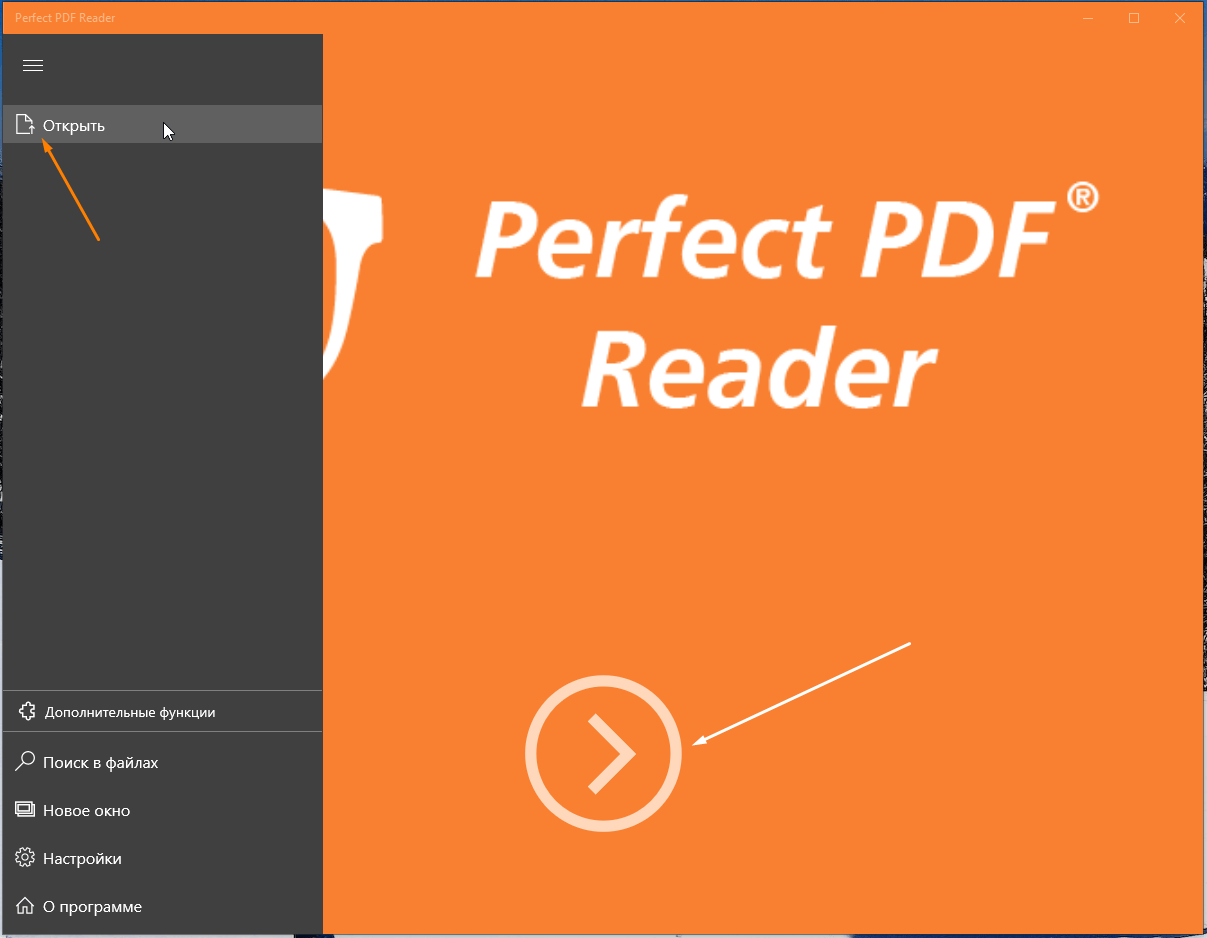
Выбираем команду «Открыть»
- Переходим к расположению нужного файла в формате XPS и дважды кликаем по нему. Файл откроется в окне программы «Perfect PDF Reader».
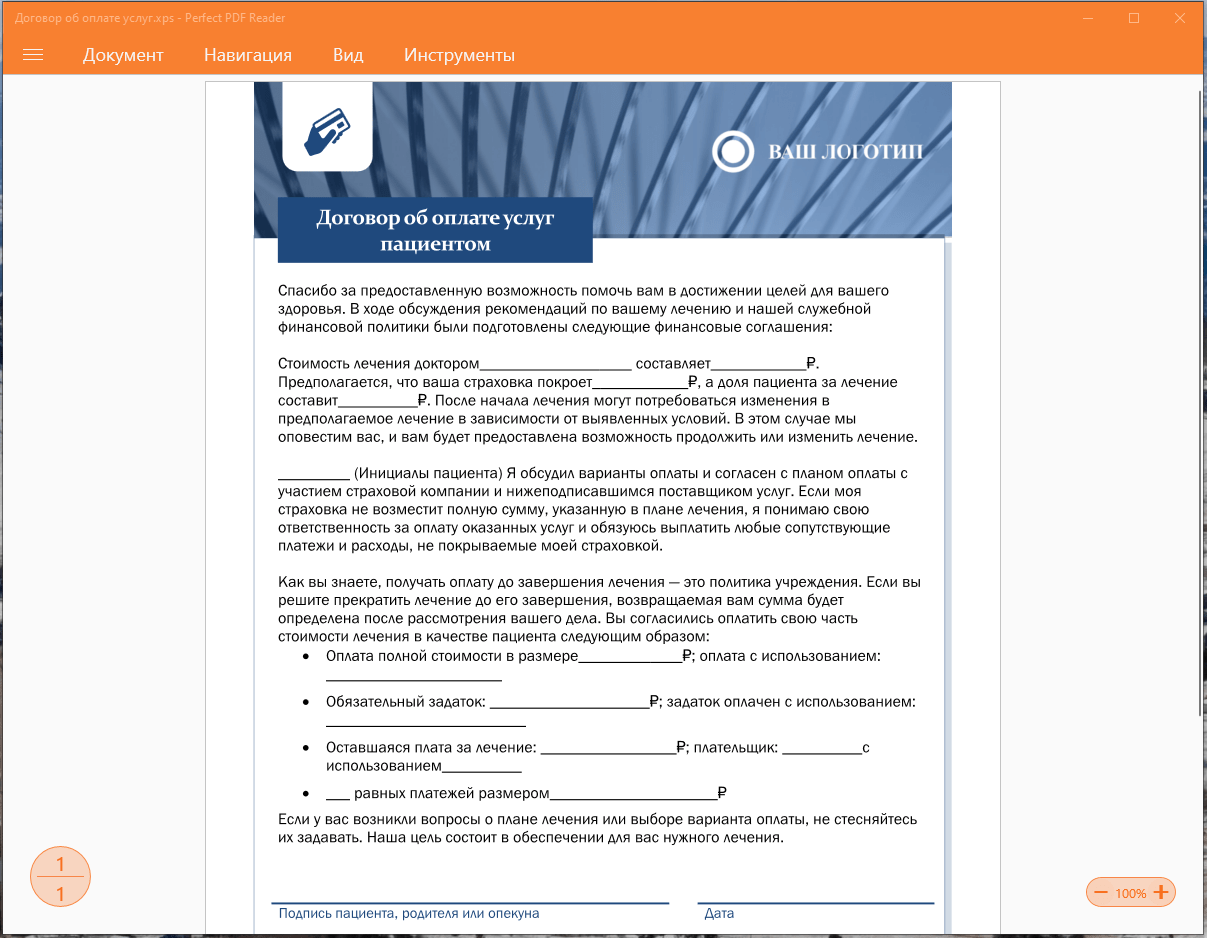
Просматриваем XPS-файл в приложении «Perfect PDF Reader»
Мы разобрали три способа открытия файлов XPS в Windows 10 — в вашем распоряжении как стандартные средства просмотра, так и сторонние приложения.
Загрузка …
Post Views: 41 174
Пять проверенных способов на все случаи жизни.
Формат XPS разработан Microsoft и, по сути, является более простым, лёгким и безопасным аналогом PDF. Он предназначен для обмена документами и их печати. XPS входит в состав .NET Framework и полностью поддерживается Windows, начиная с версии Vista.
Поскольку этот формат «родной» только для Windows и не получил такого широкого распространения, как PDF, с тем, чтобы просмотреть его в других ОС, могут возникнуть сложности. Рассмотрим возможные варианты решения проблемы.
Как открыть XPS-файл на компьютере с Windows
Во всех современных версиях этой ОС есть встроенное средство просмотра XPS, поэтому скачивание и установка каких-либо дополнительных программ не потребуется.

Откройте поиск и введите XPS, а затем запустите «Средство просмотра XPS».

Перетащите в окно программы документ или воспользуйтесь меню «Файл» → «Открыть» и выберите его в проводнике.
Как открыть XPS-файл на компьютере с macOS
В операционных системах от Apple по умолчанию нет поддержки XPS, а значит, придётся прибегнуть к помощи сторонних приложений. Как вариант, можно воспользоваться онлайн-просмотрщиком или «Google Диск» — об этом читайте далее.
XPS Reader & Converter
群群 刘Цена: Бесплатно
Загрузить
Установите приложение по ссылке выше и запустите его.

Перейдите в меню File → Open и укажите расположение документа.

Файл откроется в просмотрщике.
Как открыть XPS-файл на компьютере с Linux
Стандартное средство просмотра во всех популярных дистрибутивах Linux имеет поддержку XPS из коробки. Дополнительно ничего устанавливать не нужно.

Просто перейдите в папку с XPS-документом и откройте его.
Как открыть XPS-файл на смартфоне с Android или iOS
Мобильные устройства не понимают формат XPS, и для чтения такого документа нужен сторонний инструмент. Приложения, доступные в Google Play и App Store, откровенно слабые: не всегда справляются с файлами, содержат много рекламы или дорого стоят. Гораздо проще воспользоваться «Google Диском» онлайн или через приложение — он поддерживает все форматы документов, включая XPS.
Google Drive – хранилище
GoogleЦена: Бесплатно
Загрузить
Google Диск
Google LLCЦена: Бесплатно
Загрузить
Установите приложение «Google Диск» по ссылкам выше.
Попытайтесь открыть файл и в стандартном меню «Поделиться» выберите «Google Диск». Тапните «Загрузить» и дождитесь завершения процесса.
Запустите «Google Диск» и откройте загруженный файл. Он будет отображаться в самом верху.
Как открыть XPS-файл на любом устройстве онлайн
На случай, когда нет возможности или желания использовать программы, — есть онлайн-просмотрщики, которые работают в любом браузере. Например, простой и бесплатный XPS Viewer.

Перейдите по ссылке, нажмите Select XPS File и выберите нужный документ.

Поставьте галочку в блоке капчи и кликните View XPS File Now.

Через несколько секунд ваш документ загрузится, и его можно будет просмотреть.
Online document publishing is dominated by the PDF format. Regardless of what type of file you download; a brochure, a magazine, a report, a prospectus, chances are high that it will be in the PDF format. A PDF document will look the same no matter what device or app you view it on and it will print the same no matter what device you print it from.
PDF isn’t the only format that does this. There is also the XPS file format.
XPS files
Microsoft developed the XPS file format to rival PDF. The format didn’t quite take off but that’s not to say you will never run into an XPS file ever. To create an XPS file, you need a document editor that can save to this format. Microsoft Office apps can all save to the XPS format but they cannot read it once the file has been created. Neither can any modern browser but you will find that some PDF readers support the format.
XPS viewer – Sumatra PDF reader
A good PDF reader will support the XPS format. There are lots of great third-party PDF readers that you can try. We suggest you give Sumatra PDF Reader a try. It’s free, has an installable and portable version, and it supports the XPS file format.
- Download Sumatra PDF reader (select any version of your choice).
- Install and run Sumatra PDF reader.
- Drag & drop the XPS file onto the app and it will open.
XPS viewer – Google Drive
If you do not want to install an app to view an XPS file, go with Google Drive. You can upload the XPS file to Google drive and it will display its contents.
- Visit Google Drive and sign in with your account.
- Click the New button and select File Upload.
- Select the XPS file and wait for it to upload.
- Double-click to open the file in Google Drive and it will open.
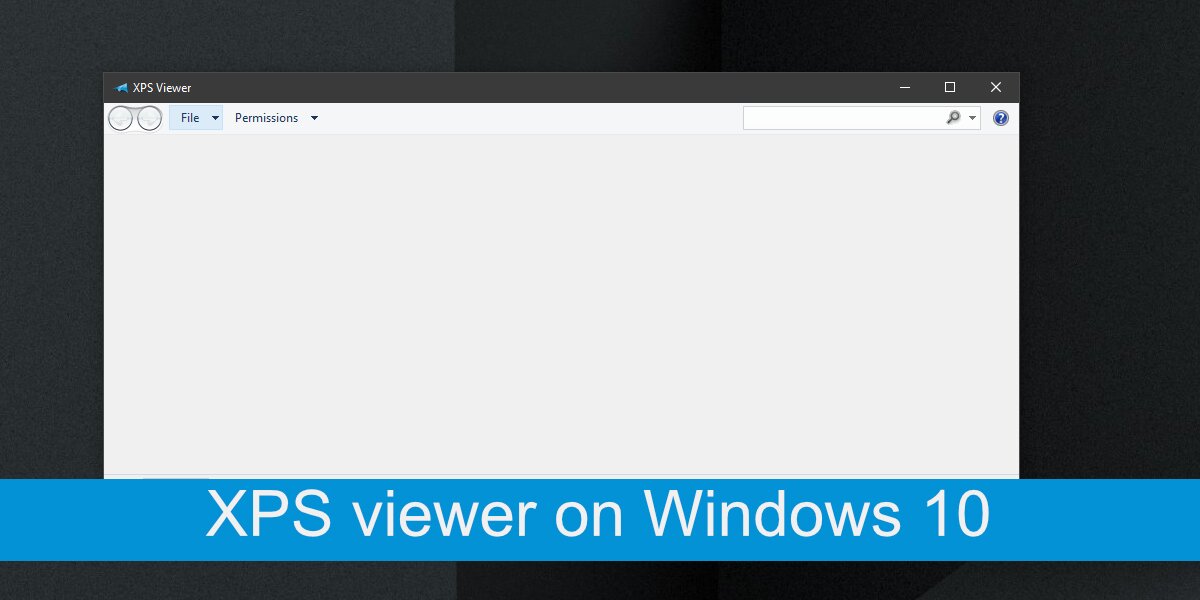
XPS viewer – Windows 10 stock app
Windows 10 used to come with its own XPS viewer app. Unfortunately, Microsoft decided to discontinue it. Newer versions of Windows 10 won’t have the app installed out of the box but you can still install it.
- Open the Settings app with the Win+I keyboard shortcut.
- Go to Apps.
- Select the Apps & Features tab.
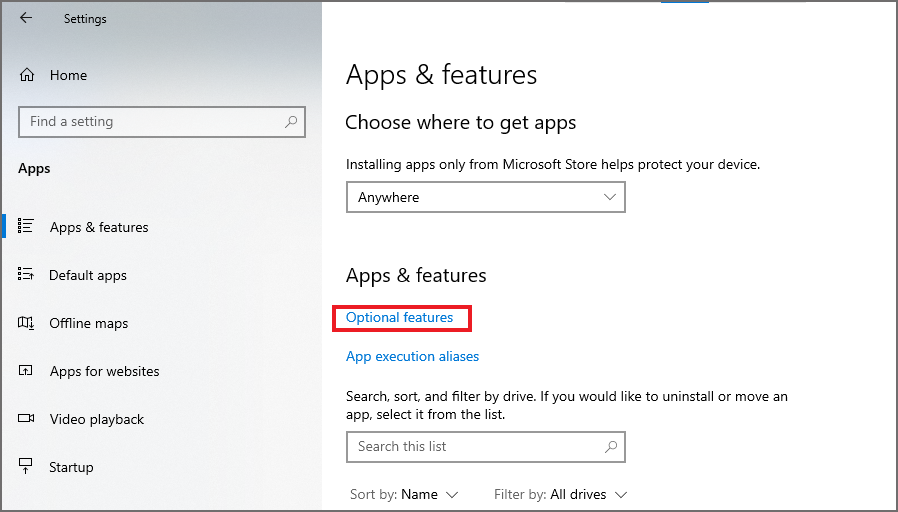
- Click Optional features.
- Click Add a feature.
- Select XPS viewer from the list.
- Select Install (installation takes some time).
- Once installed, right-click an XPS file and select Open with.
- Select XPS viewer from the context menu to open the file.
Conclusion
XPS doesn’t enjoy wide support, not even with Microsoft’s own products. Unless this changes, the format is unlikely to become more common. With our tests, we found that the stock Windows 10 XPS viewer was often unable to open certain types of XPS files, even those that were created in Microsoft Word. Sumatra PDF reader on the other hand was able to handle the format without issue, regardless of what the document contained. If you’re looking to open an XPS file, and you don’t want to use the suggested apps here, look for a good PDF viewer and it should be able to do the job.

Fatima Wahab
Fatima has been writing for AddictiveTips for six years. She began as a junior writer and has been working as the Editor in Chief since 2014.
Fatima gets an adrenaline rush from figuring out how technology works, and how to manipulate it. A well-designed app, something that solves a common everyday problem and looks
The XPS file format was developed by Microsoft as opposed to the PDF file format. It is quite possible that many of you have encountered an XPS file that cannot be used, or even opened. For those who wish to create or use XPS documents, this post may prove useful for understanding what XPS is, what XPS Viewer is, and how to use it.
Table of Contents
You may have tried using an XML file, but are unable to open it since your operating system does not find a supporting application, and may see something like this:

Allow us to shed some light on what XPS is all about.
What is XPS file
XPS stands for XML Paper Specification. Microsoft developed this format in order to compete with Portable Document Format (PDF). However, it was not as popular as expected. The XML documents can contain regular text as well as additional information about the content, such as its layout and appearance.
The purpose behind the creation of XPS was to eliminate the use of paper in an attempt by Microsoft to go green.
An XPS file may have an extension .xps or .oxps (OpenXPS).
What is XPS Viewer
XPS Viewer is a free-to-use application by Microsoft for using and viewing XPS files and documents. It used to come preinstalled with Windows 10 up until version 1803 was released. Since it was not in demand, it was given as an optional application that users can install manually when and if required.
With XPS Viewer, you can save copies of a file, digitally sign them, manage permissions, and search through them. The application supports a number of file formats:
- .XPS
- .OXPS
Download and Install XPS Viewer on Windows 11/10
Installing the XPS Viewer on Windows 11 and 10 is pretty much the same; some layouts may be a bit different.
Here is how you can install XPS Viewer on Windows 11:
You have now successfully installed XPS Viewer.
How to use XPS Viewer
You can launch the application by searching for it in Windows Search, or the Start menu.

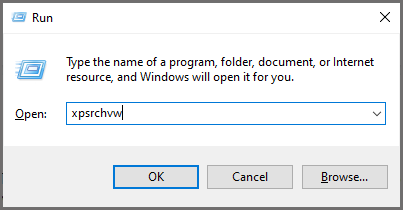
Alternatively, you can also type in xpsrchvw in Run or Command Prompt to launch XPS Viewer.
To open an XPS document, click on File from the top menu in the XPS Viewer, and click Open. You can then browse the saved XPS file and select it to open it in XPS Viewer.

Once a document is open, you can then save its copies, or change its permissions by clicking on the Permissions menu from the top, and then clicking Set permissions.

You can also convert an XPS file to PDF format. To do so, simply click on the Print button at the top of the app, and then select Print to PDF. Click OK to save the document as a PDF file.

Since XPS Viewer is a tiny application, it cannot do much of anything else, except for what we have already discussed.
How to remove XPS Viewer
If you are no longer in need of the XPS Viewer, you can just as easily remove it from your computer. Here is how:
- Open the Settings app, click App on the left, and then click Optional features on the right side of the window. Here, scroll down and click on XPS Viewer in the right-side pane. Once expanded, click Uninstall.

- The XPS Viewer app will then be immediately uninstalled. You can confirm this by running through the installed applications list on the Optional features page.

Microsoft XPS Document Writer (MXDW)
Microsoft XPS Document Writer is another hidden gem in both Windows 11 and 10. Similar to the method of creating a PDF document while printing and selecting the option Print to PDF, MXDW provides the same option, but for XPS.

This feature has to be enabled manually through Optional Features. To do so, type in appwiz.cpl in Run, and then click Turn Windows features on or off on the left.

In the pop-up window, scroll down and check the box next to “Microsoft XPS Document Writer,” then click Ok.

MXDW will now be installed in a few seconds. You should now be able to see the option to Print to XPS on the print pages, which you can select to save files in .xps format.
In case you8 ever feel like turning off the feature, simply uncheck the box next to “Microsoft XPS Document Writer” on the Windows Features page.
XPS Viewer alternatives
There are other methods available on the internet that can be used instead of XPS Viewer. Some are applications that can be installed, whilst others provide an online web view.
GroupDocs
GroupDocs is a quick and free online tool to help you view your XPS and OXPS files. All that is required is for you to drag and drop your file, and it will convert and display it for you.
To use GroupDocs, open their webpage in any browser and simply drop your file over the given area.

SumatraPDF
SumatraPDF is a downloadable application that can be used to view almost any document. This includes .xps, .oxps, and .pdf.

Google Drive
Google Drive is an excellent tool as it also supports XPS formatting. All you need to do is upload the file to Google Drive and you can then view it easily.
Open Google Drive, click New, and then click File Upload from the drop-down menu.

Now browse to upload the XPS file. Once uploaded, click on it to view it within the browser directly from Google Drive.

Verdict
Not many people use the XPS format anymore. However, there can be certain scenarios where you already have an XPS document but have no idea how to access its content.
We hope that this blog post helps you understand everything there is to know about XPS and its associated applications.
Microsoft has finally retired its support for the XPS file format and removed the XPS Viewer app on new installations. Since Windows 10 April 2018 Update (version 1803) the XPS Viewer app is no longer available on Windows. In simple words, Windows 10 and 11 do not support XPS file viewer.
People come to me asking: How do I open an XPS file in Windows? What programs can open XPS files?
Most people probably don’t even know what XPS files are all about and why they’re used. So let’s start from the basics.
Table of Content:
- What is an XPS File?
- What is an XPS Viewer?
- How do I Open an XPS File in Windows 10/11?
- How Do I Convert An Xps File To Pdf?
- How to Use Google Drive to Convert XPS File to PDF on Mac?
What is an XPS File?
XPS( XML Paper Specification ) is a file format introduced by Microsoft as a competitor for Adobe’s PDF files. XPS file format was introduced with Windows Vista and despite not being very popular, it continued to ship with Windows 7 and Windows 8.1.
A .xps file contains information about a document’s structure and content, including its layout and appearance. An XPS file can contain one or more pages.
What is an XPS Viewer?
The Windows XPS Viewer is a tool that lets you view and edit XPS file formats. This software can be used in a variety of formats and can be easily created on any Windows-based computer program.
How do I Open an XPS File in Windows 10/11?
However, if you still deal with XPS files or have one saved in XPS format, Windows 10/11 still comes with a default XPS viewer. So, in this article, we will show you how to view XPS files and documents on a Windows 10/11 computer. Let’s check out.
Method 1: Enable XPS Viewer on Windows 10
Method 2: Install XPS Viewer Using RUN Command
Method 3: Try Installing XPS Files Reader
Method 4: Open XPS Files Using Google Drive
Method 5: Convert XPS Files to PDF Format
Method 1: Enable XPS Viewer on Windows 10
- Open the Settings app.
- Go to Apps, and click the Optional features link.
- Choose to Add a feature.
- Select XPS Viewer from the list.
- Click the Install button.
Method 2: Install XPS Viewer Using RUN Command
If you are unable to access Windows 10’s settings page, you can try implementing this method. In this method, we will be using the RUN Dialog box on Windows 10 to install the XPS viewer application.
Step 1: Click on the ‘Windows + R’ button to open the Run dialog box from the list.
Step 2: Type in ‘xpsrchvw’ and hit the Enter button.
That’s it! Now you can directly open the XPS files using the above command. This command will activate the XPS viewer of your Windows 10/11 computer.
Method 3: Try Installing XPS Files Reader
You can install a third-party application to open an XPS file in Windows 10/11. Here is a list of applications that will open XPS files.
- Free XPS Viewer
- XPS Annotator
- Sumatra PDF
- MuPDF
- Danet Studio
Method 4: Open XPS Files Using Google Drive
If you are not willing to install a third-party app to view an XPS file, go with Google Drive. Just by uploading the XPS file to Google Drive, you can access the contents of the XPS file.
Step 1: Open Google Drive and sign in with your account.
Step 2: Click the New button and select File Upload.
Step 3: Select the XPS file and wait for it to upload.
Step 4: Double-click to open the file in Google Drive and it will open.
Method 5: Convert XPS Files to PDF Format
In case you are still not able to view the XPS file, you can convert XPS files to PDF. Next, let’s learn how to convert an XPS file to a PDF.
How Do I Convert An Xps File To Pdf?
You can print from the drop-down menu in the XPS view application by clicking on File.
Step 1: Click on Microsoft Print to PDF in the dialogue box to print.
Step 2: Print by clicking on the Print button.
Step 3: Your new PDF should be located where you want it.
If you are using a Mac and need to convert XPS to PDF, then follow the next method.
How to Use Google Drive to Convert XPS File to PDF on Mac?
Using Google Drive, you can easily convert XPS files to PDF files on Mac by using the following steps.
Step 1: Go to Google Drive.
Step 2: Upload the XPS or OXPS file to your Google Drive.
Step 3: Double-click the document, and now you can preview it.
Step 4: Click the Print icon in the top right corner, which will take you to a new tab. There is also a Print icon on the page opened in the new tab. Click the icon.
Step 5: Now you should find the Save as PDF option. Choose to save all or selected pages of your XPS or OXPS document to PDF format.
Step 6: Click Save.
Step 7: In the dialogue box that appears, click Save.
This method is a little bit complicated, but it does work.
Hope this article helped you in viewing the XPS file. If you are a regular user of XPS files you might face a situation like deletion of XPS or if you have already deleted or lost your XPS file due to any reason, and want to recover deleted XPS files. Don’t worry there are various software’s to restore XPS files but the most suggested software by industry experts to get back lost XPS documents is the Yodot Files Recovery tool.