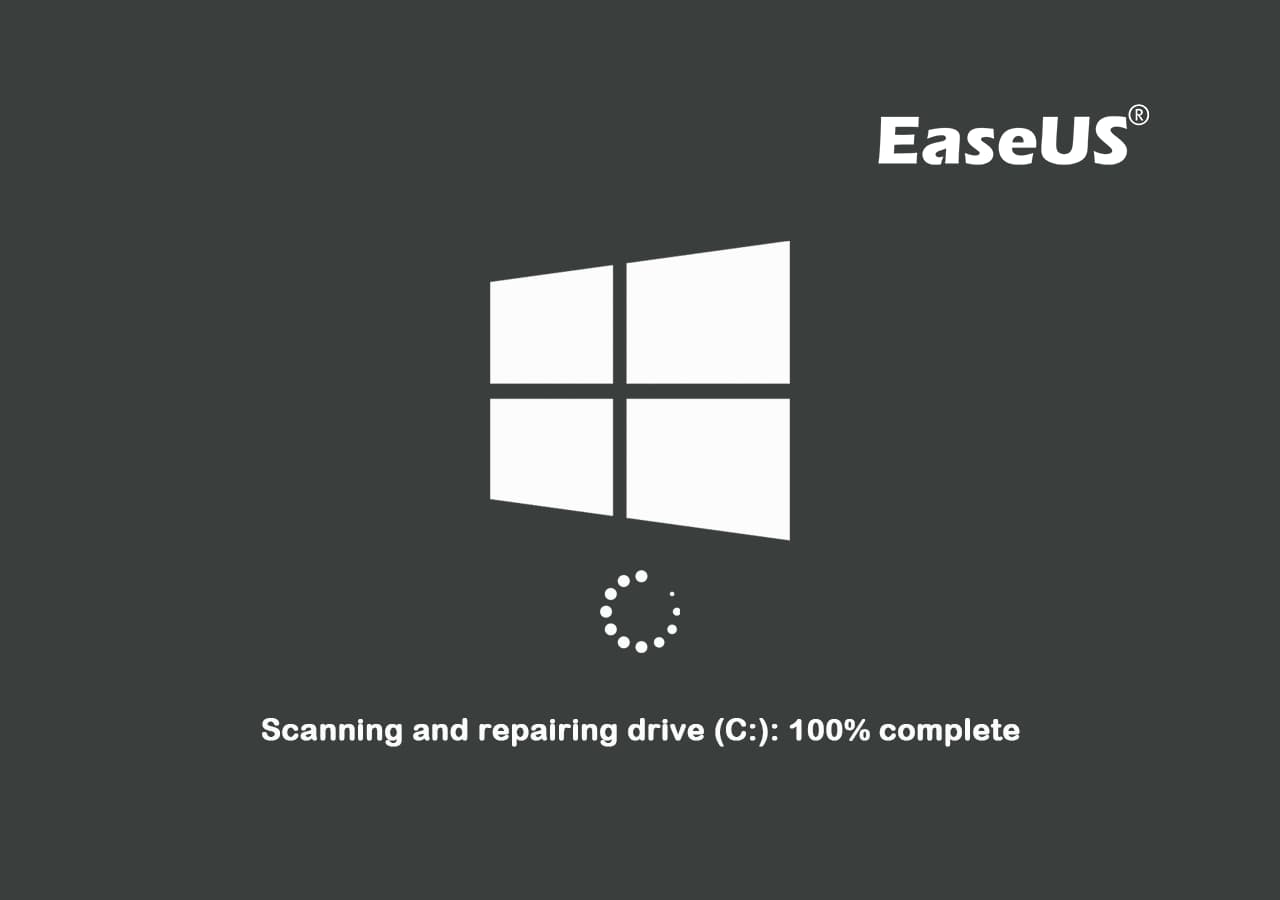
If you have a Windows 10 PC, you might occasionally see the notorious «scanning and repairing drive» message. This error can happen to the C drive, hard drive, and any other external drive.
This scanning and repairing can take several hours, or even cost you a whole workday (as I can attest myself). It is usually caused by incorrect shutdown – forced shutdown, power outage, sudden battery removal, badly configured drivers, malware, or other virus attacks.
In this guide, I will show you 3 ways you can fix a drive that’s stuck scanning and repairing on Windows 10. The first solution works in normal mode – if you’re able to start your computer – while the second and third require booting your computer into safe mode.
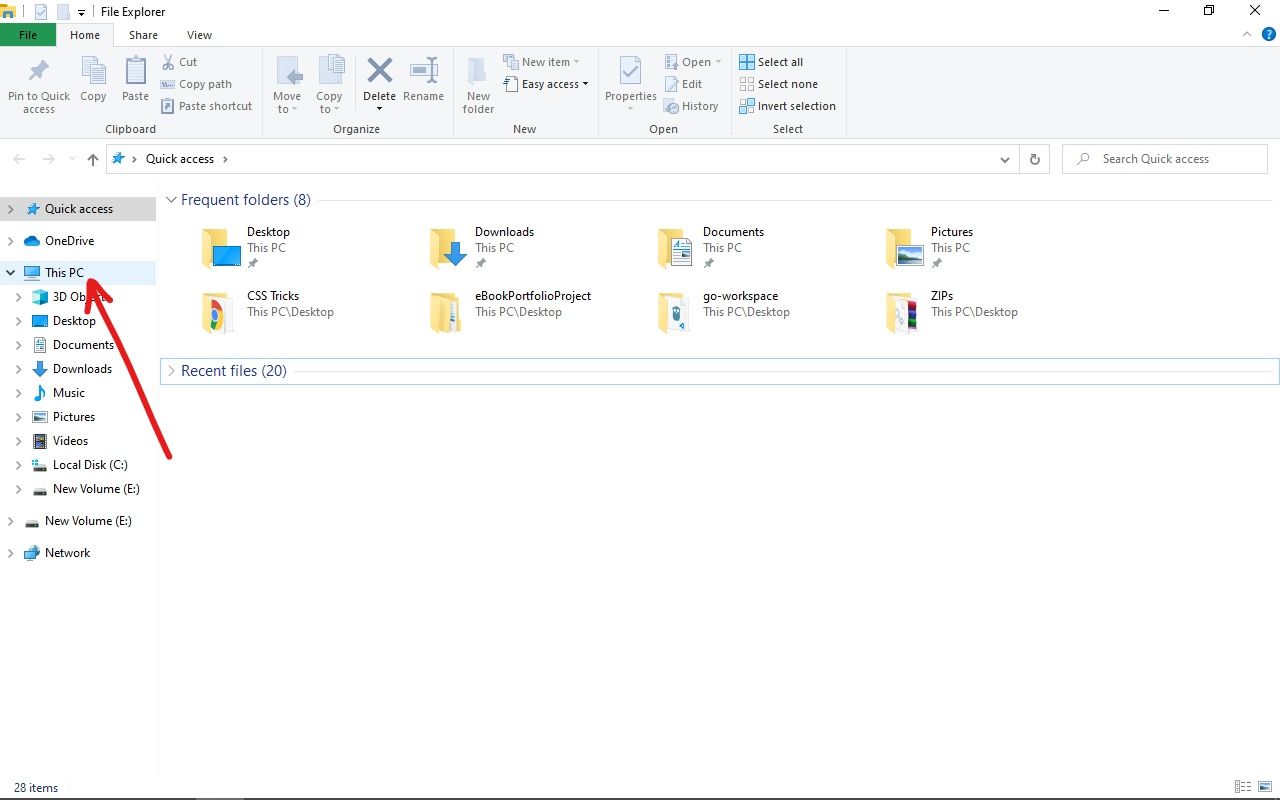
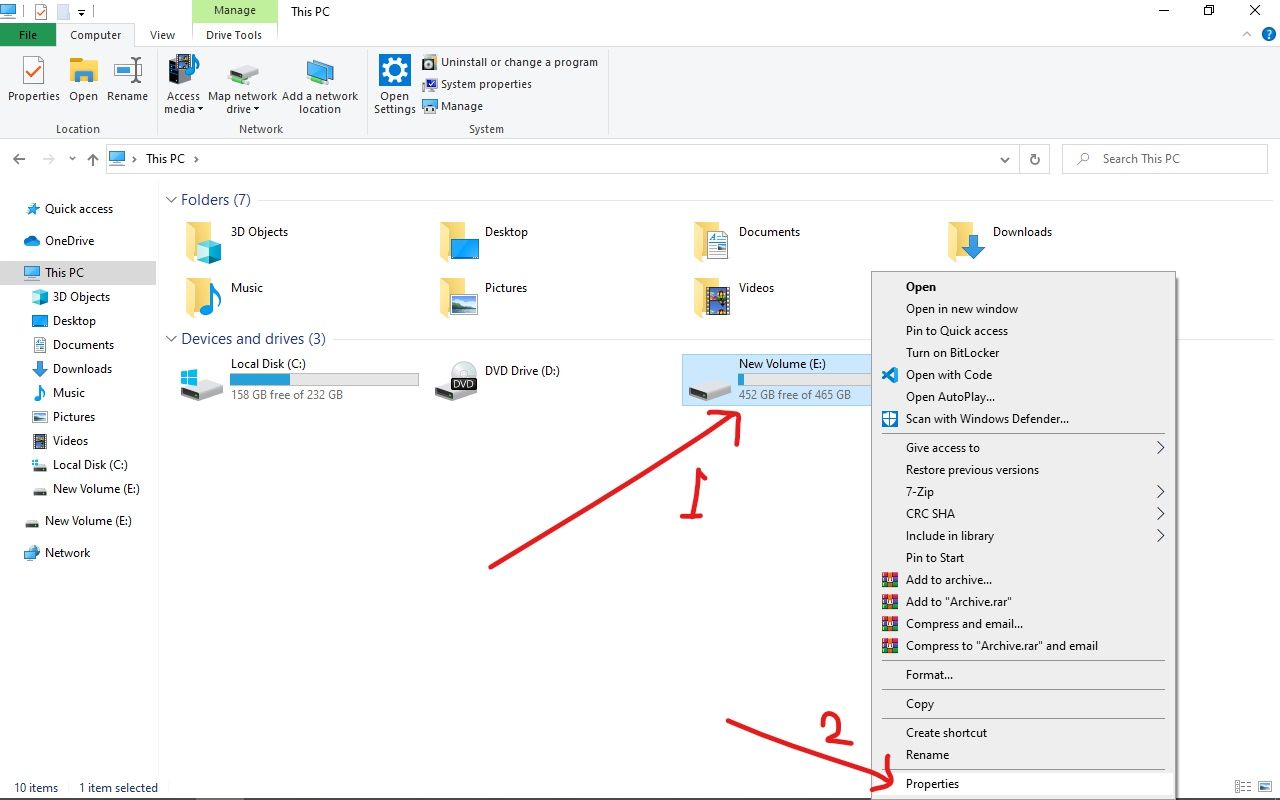
Step 1: Launch your Windows 10 File Explorer and Click on «This PC».
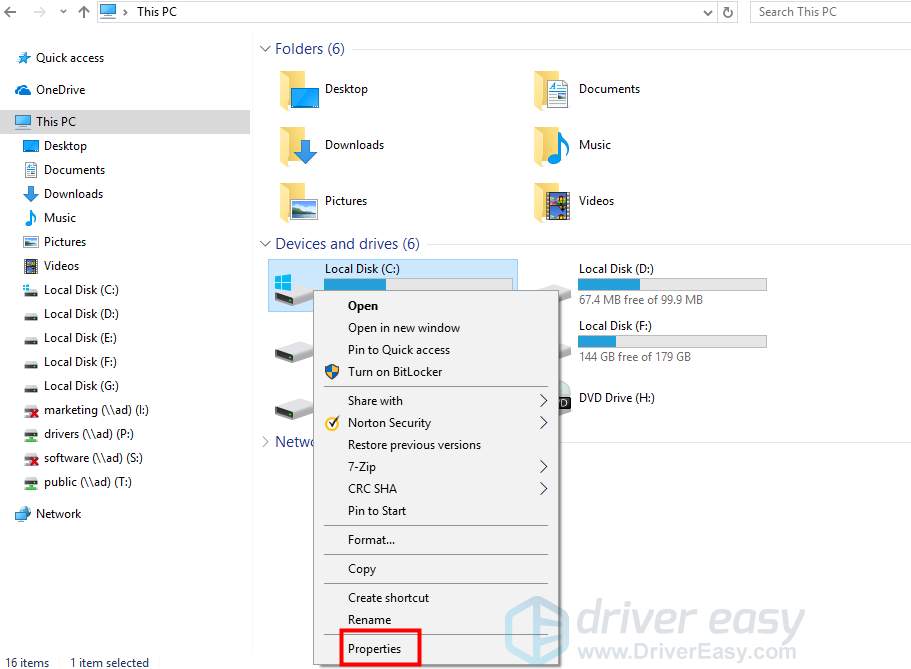
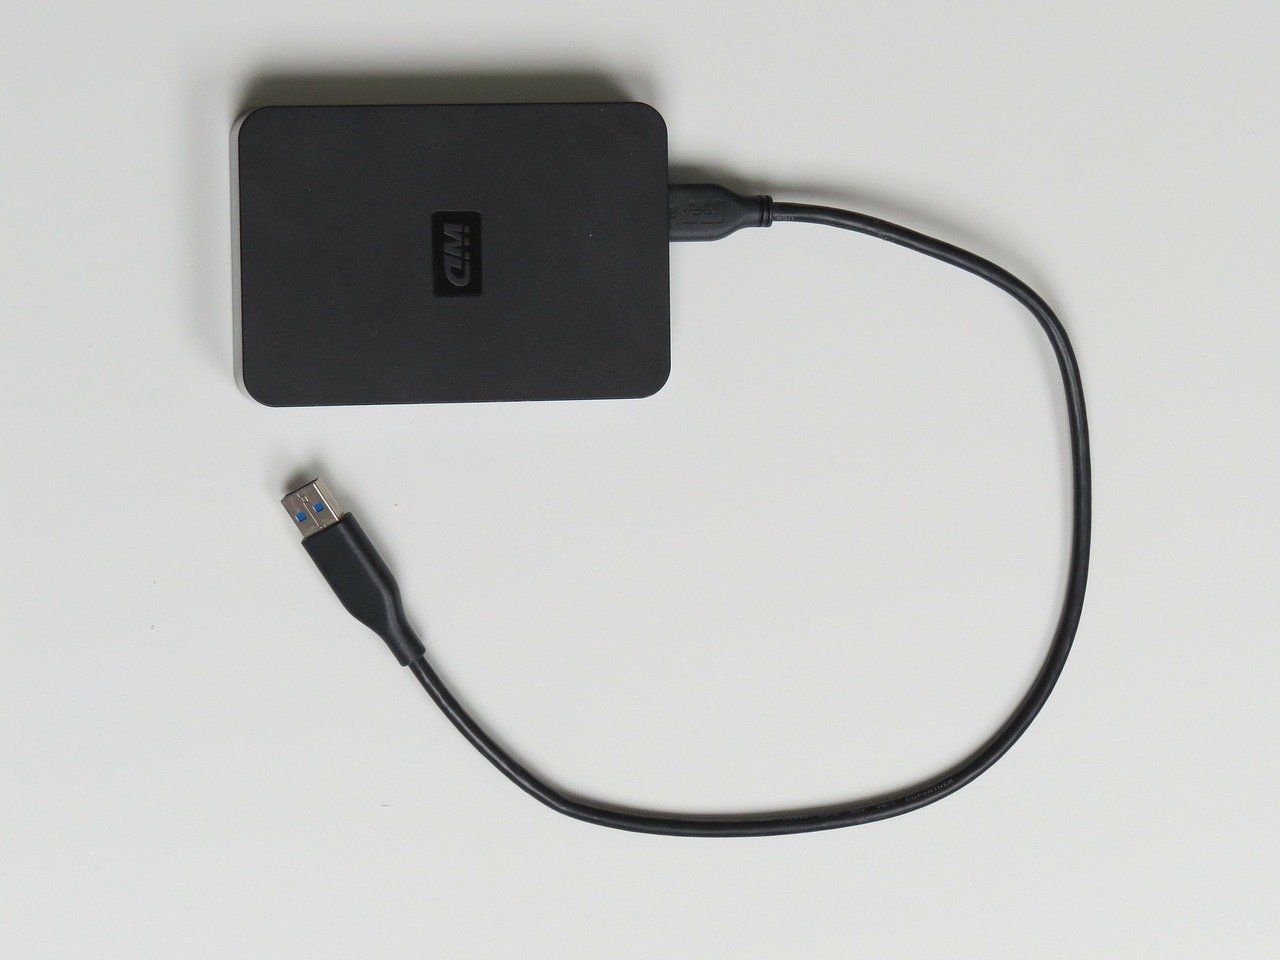
Step 2: Right-click on the hard drive that Windows is scanning and repairing and select Properties. The hard drive might be available as F, E, or any drive letter you have set.
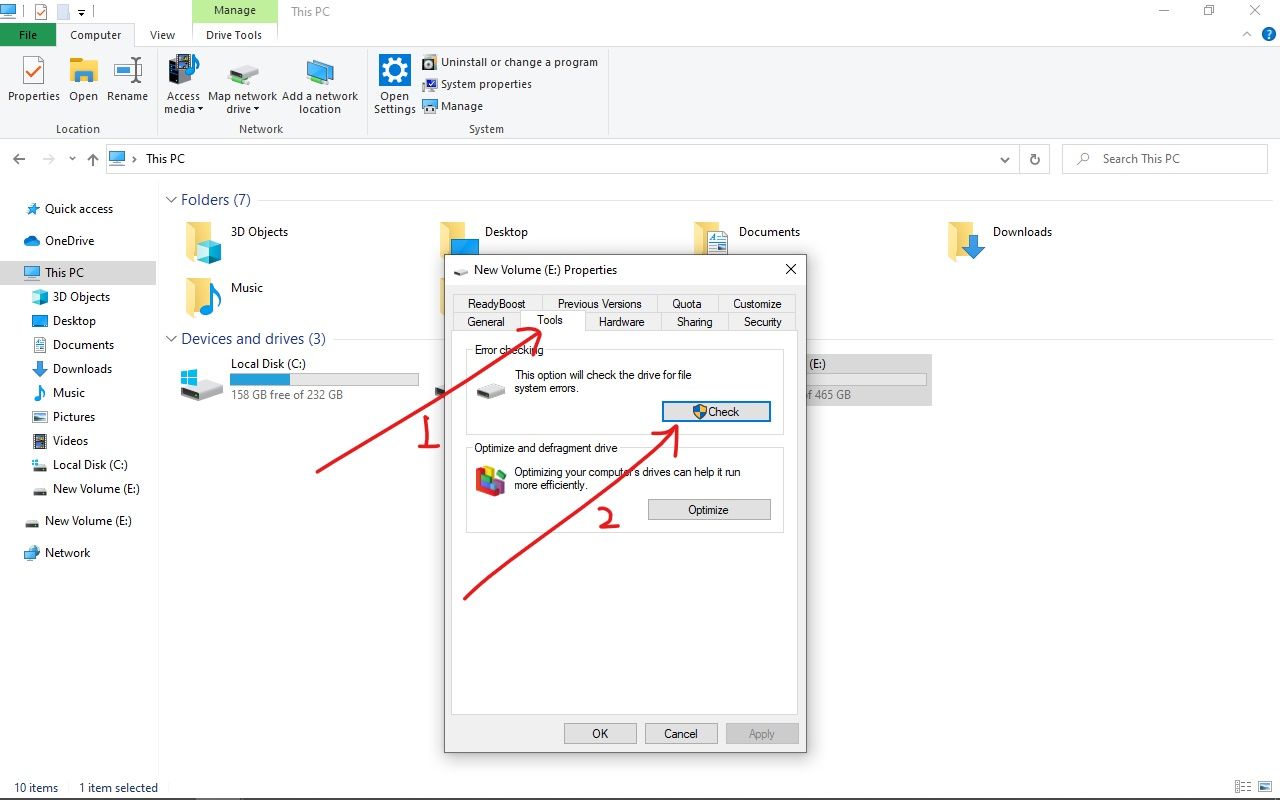
Step 3: Click on the Tools tab and select «Check» under «Error Checking».
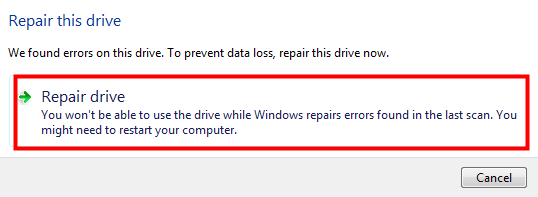
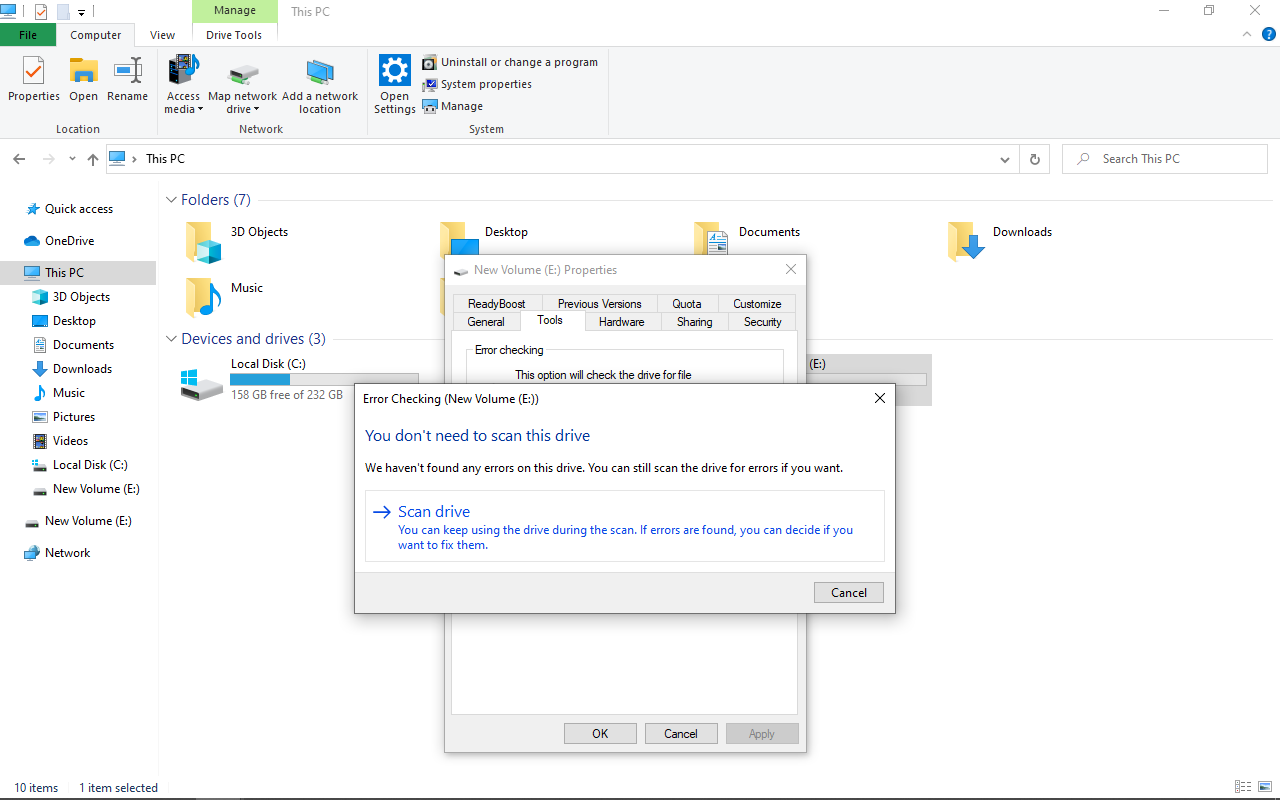
Step 4: If there’s an error on the hard drive, you will be prompted to repair the drive.
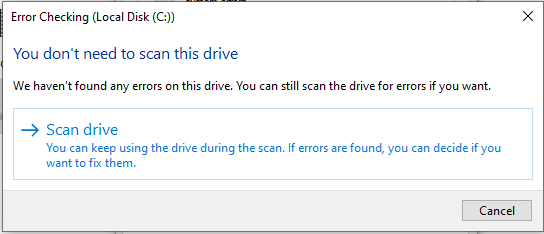
If there is no error on the hard drive, you can decide not to scan it.
To use this solution, you need to start your Windows 10 Computer in safe mode.
Follow the steps below to start your computer in safe mode:
Step 1: On your computer’s login screen, press and hold SHIFT, select Power, and then Restart.
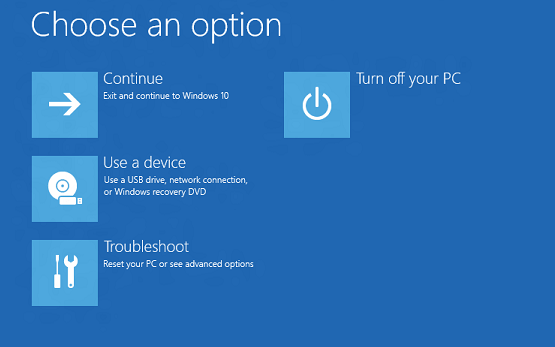
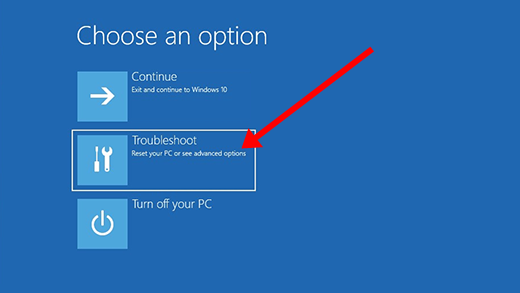
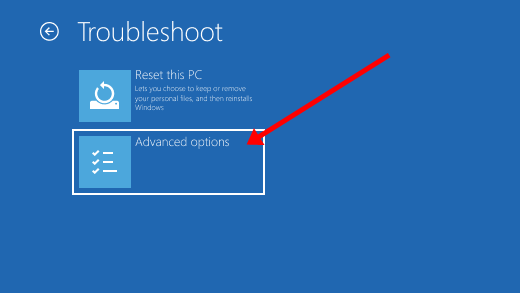
Step 2: Select «Troubleshoot» in the «Choose an option» screen.
Step 3: Select «Advanced options».
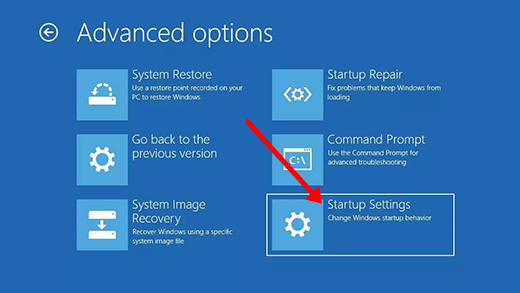
Step 4: Select «Startup Settings».
Step 5: Click on «Restart».
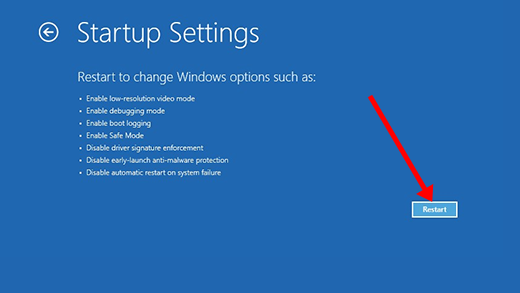
Step 6: When your computer restarts, press 4 or F4 to finally boot your computer into safe mode.
To fix a drive that’s stuck scanning and repairing with PowerShell, follow the steps below:
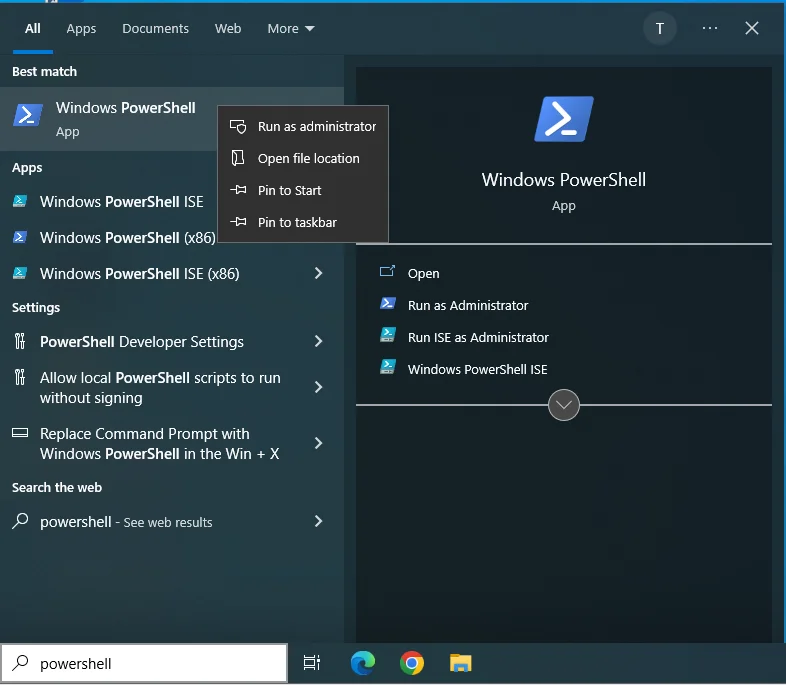
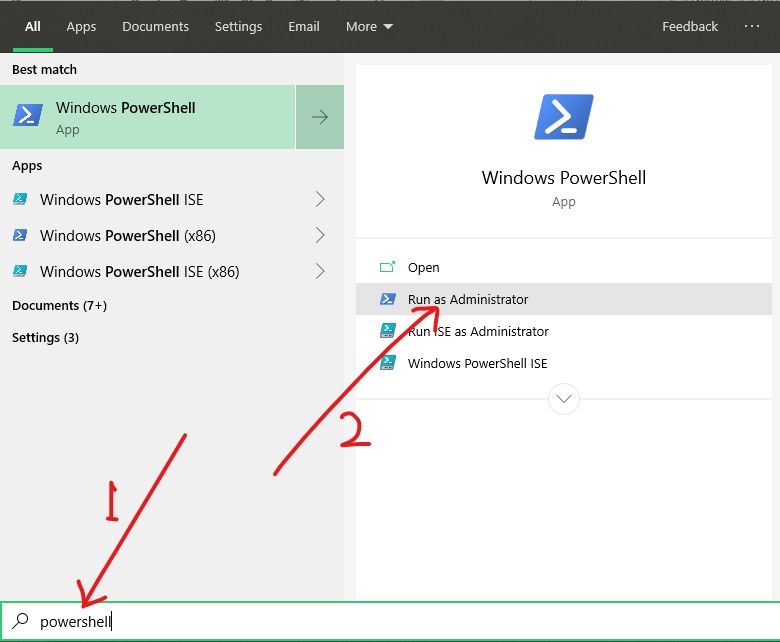
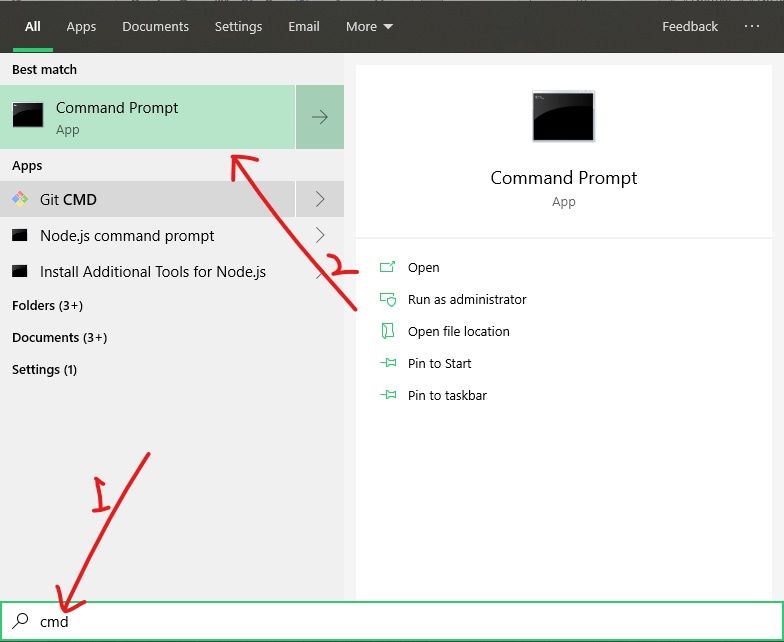
Step 1: Click on Start and search for «powershell».
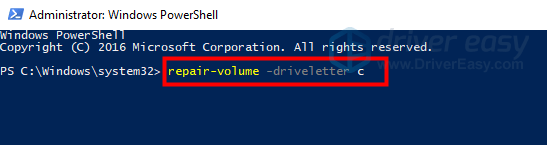
Step 2: You need to run Powershell as an administrator, so select «Run as Administrator» on the right.
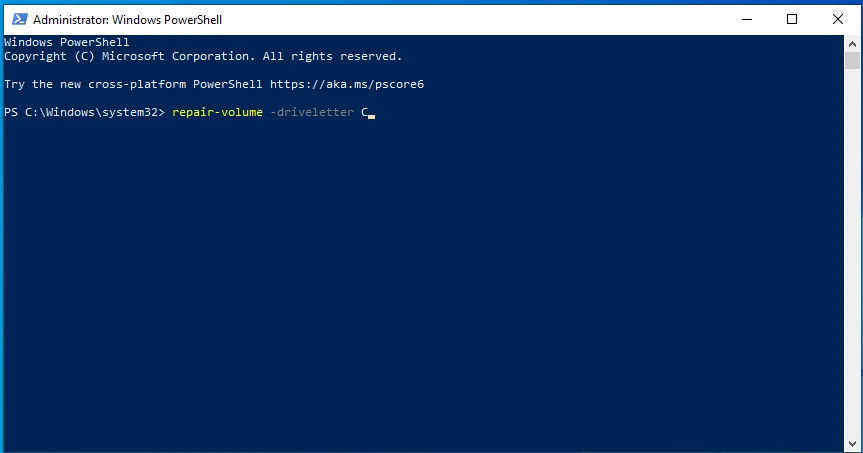
Step 3: Type in the command repair-volume -driveletter x and hit ENTER on your keyboard. Make sure you replace «x» with your hard drive letter.

Step 4: Restart your PC.
How to Fix a Stuck Scanning and Repairing Drive With the Command Prompt
Step 1: Start your computer in safe mode. Refer to the last fix above for how to do this.
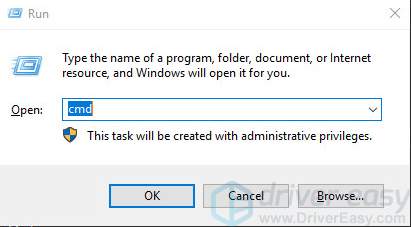
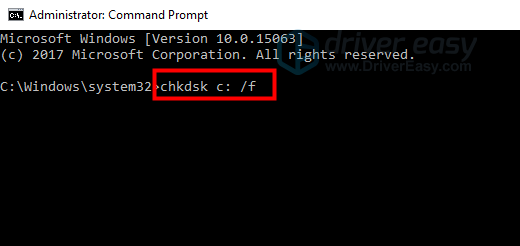
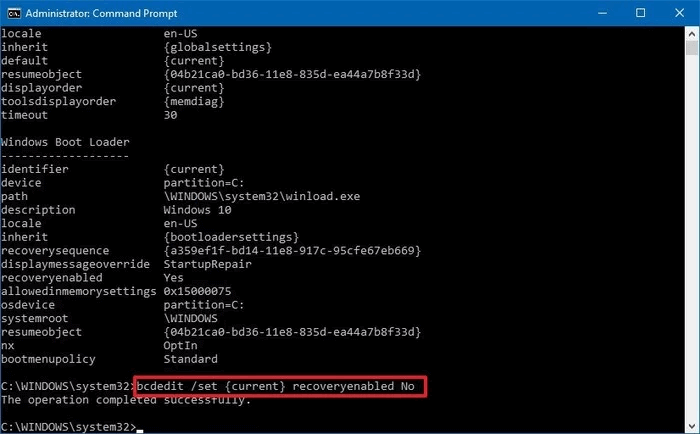
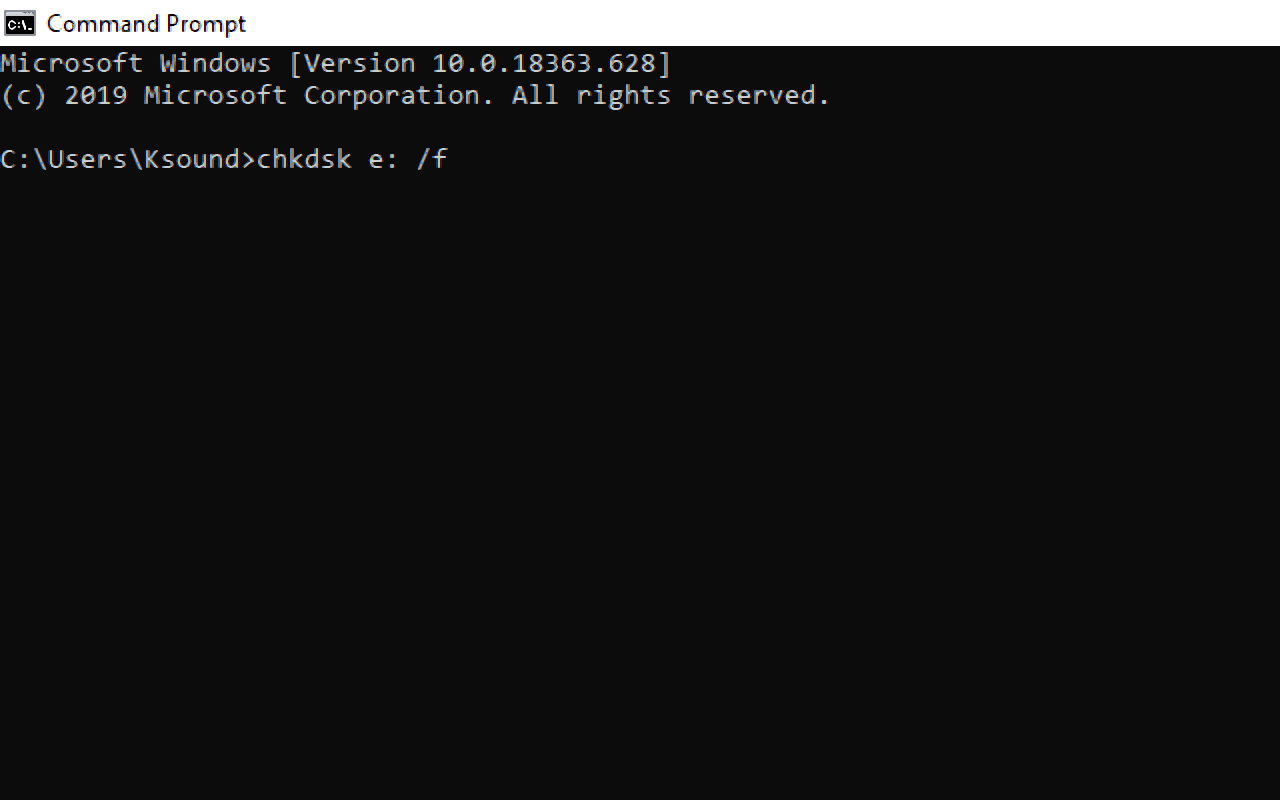
Step 2: Click on Start and search for “cmd”, then hit ENTER.
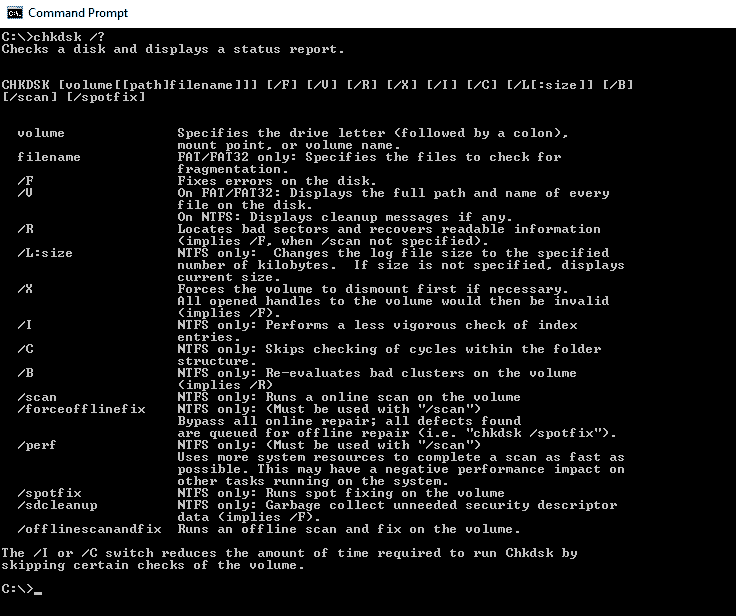
Step 3: Type in the command chkdsk x: /f and hit ENTER. Replace x with your hard drive letter.
Step 4: Restart your PC.
Final Words
In this detailed guide, you learned how to fix a hard drive that’s stuck scanning and repairing.
The fixes discussed in this article also apply to any other drive – including C.
As a last resort to fix this issue, you can back up your data and restore your computer.
Thank you for reading.
Learn to code for free. freeCodeCamp’s open source curriculum has helped more than 40,000 people get jobs as developers. Get started
Table of contents
- Why is Windows Scanning And Repairing Drive on Booting?
- How to Stop Windows From Scanning And Repairing the Drive?
- Method 1: Using the Windows error checking tool
- Method 2: Checking drive status
- Method 3: Running a CHKDSK scan in safe mode
- Method 4: Running the Repair-Volume-DriveLetter command in safe mode
- How to Avoid “Scanning and Repairing Drive” Issue in the Future
- Conclusion
- FAQ
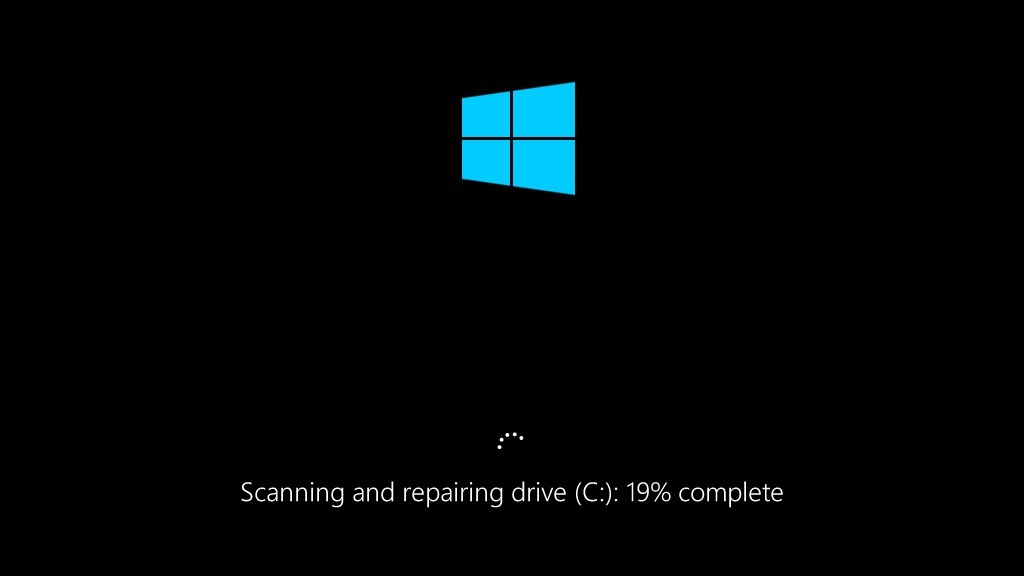
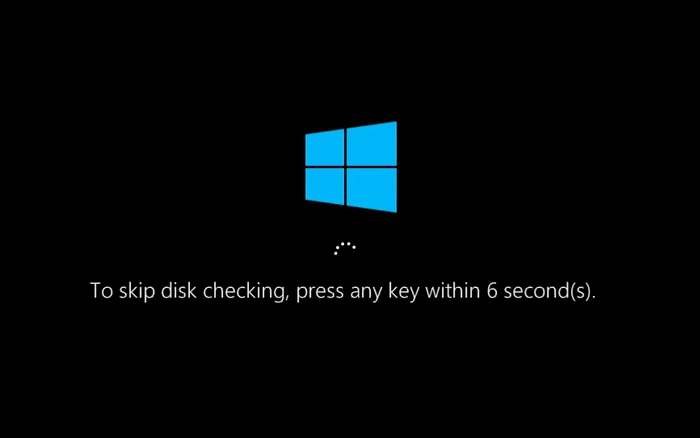
Among the most frequently reported Windows 10 errors is the error message that appears on startup and says, “Scanning and repairing drive.”
Sometimes, the error message gets stuck on the screen, preventing your PC from booting properly.
Some users have even reported getting this error message every time they turn on their PC. Naturally, this can get quite annoying — but the problem is easily fixed.
From this article, find out why Windows is scanning and repairing your drive on booting and how to stop Windows from scanning and repairing the drive.
Why is Windows Scanning And Repairing Drive on Booting?
You will typically get the “Scanning and repairing drive” message when your computer hasn’t been properly switched off: due to a forced shutdown, a power failure, etc.
Why does it happen? When you work on your PC, your hard disk and RAM write and read data.
If your computer shuts down unexpectedly, you may lose some of the data stored in RAM — in the worst-case scenario, this can even lead to hard disk damage.
Thus, when you turn on your computer after an “improper” shutdown, Windows automatically scans your driver, trying to fix the issues that occurred during the shutdown.
Finally, we remind you that if you have a habit of performing forced shutdowns, it’s better to stop this practice to avoid potential startup errors—like the one described here.
Also Read: Where and How to See the Shutdown and Startup Log in Windows 11 and 10?
How to Stop Windows From Scanning And Repairing the Drive?
If you see the Windows scanning and repairing process is stuck, or if you simply don’t have the time to wait for it to complete, you can bypass the automatic scanning and, instead, repair the drive manually, if needed.
If you are working in Windows Normal Mode, you can try using the Windows Error checking tool or checking the status of your drive.
On the other hand, if you can’t boot Windows, you can try running a CHKDSK scan in Safe Mode or using the Repair-Volume -DriveLetter command in Safe Mode.
Let’s go over the four error-fixing methods in more detail.
Method 1: Using the Windows error checking tool
One of the first things you can try is using the Windows Error Checking tool to scan for and repair any potential issues. Here’s how to do that:
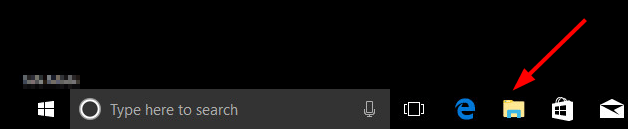
- In the Taskbar, select File Explorer.
- Go to This PC and expand Devices and drives.
- Right-click on the drive you saw in the Windows scan and repair message and select Properties.
- Go to Tools and, under Error checking, select Check.
- If errors are revealed during the scanning process, a new window will pop up suggesting you repair the drive. Click Repair.
- If no errors have been found, you will still have the option to scan and repair the drive — in the new window, choose Scan drive.
- Finally, restart your PC and check if the problem has been resolved.
If this method hasn’t worked, you can try checking the status of your drive.
PRO TIP
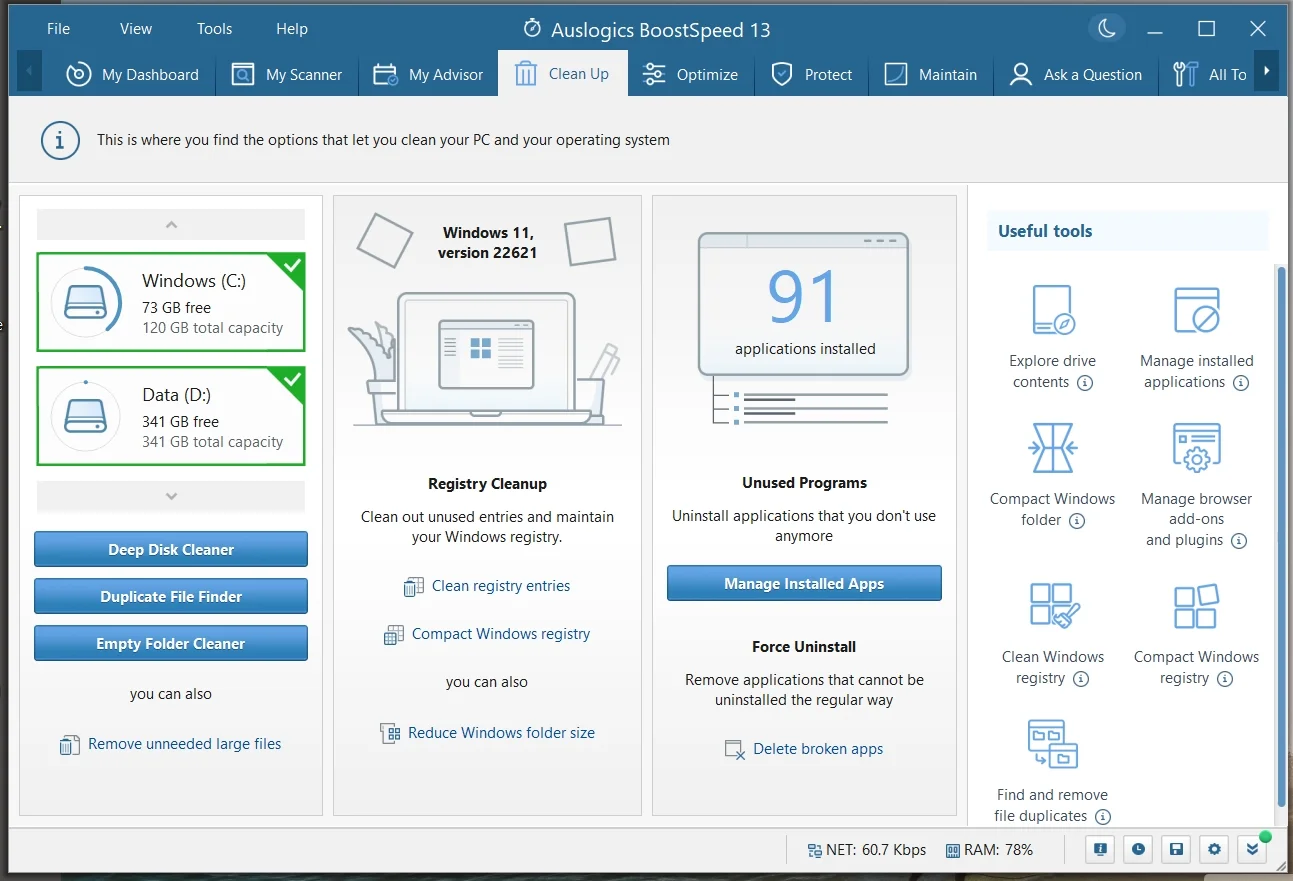
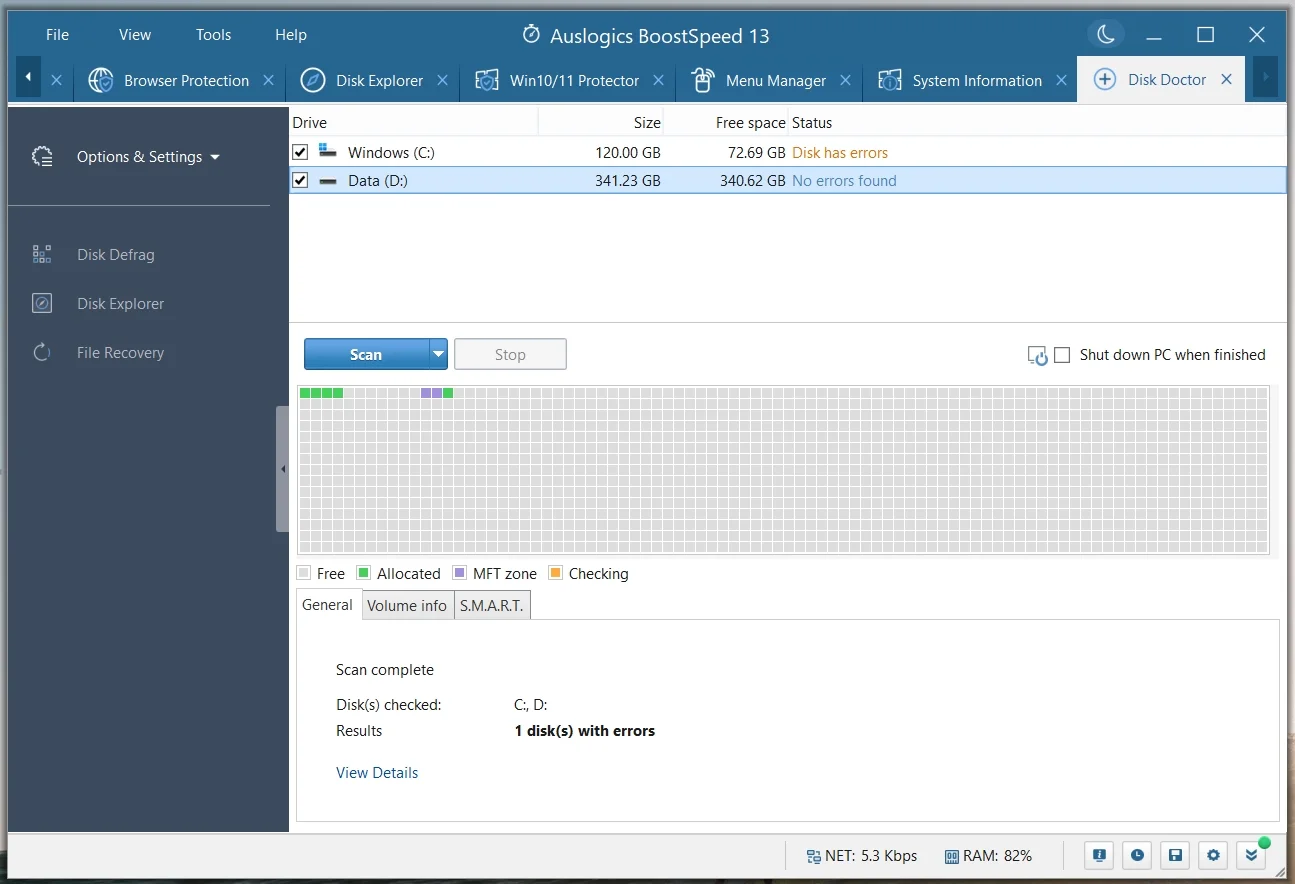
For a more comprehensive system cleanup and optimization, try Auslogics BoostSpeed. It can help resolve disk errors and enhance your PC’s performance. Ensure your system runs smoothly and efficiently with Auslogics BoostSpeed!
Method 2: Checking drive status
You can see if there are any problems with the drive and if it needs repairing by checking its status. Here’s what to do:
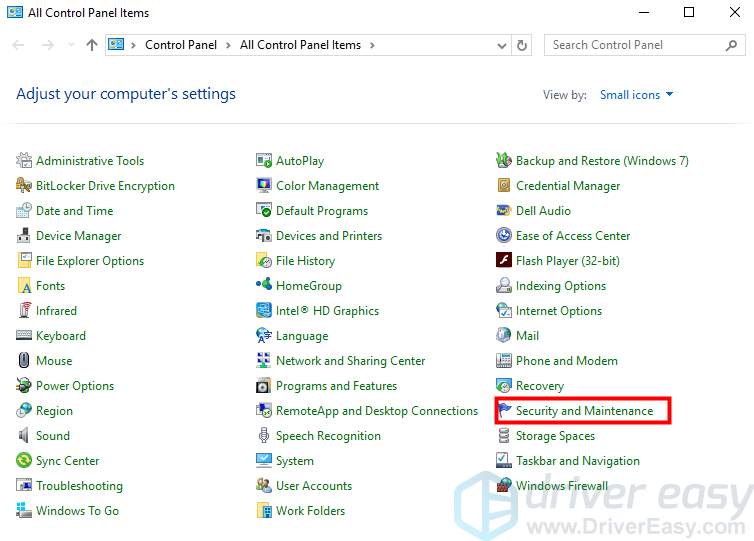
- First, open Control Panel by going to the Start menu and typing
Control Panelin the search bar, then select Control Panel. - Select View by Small icons and click Security and Maintenance.
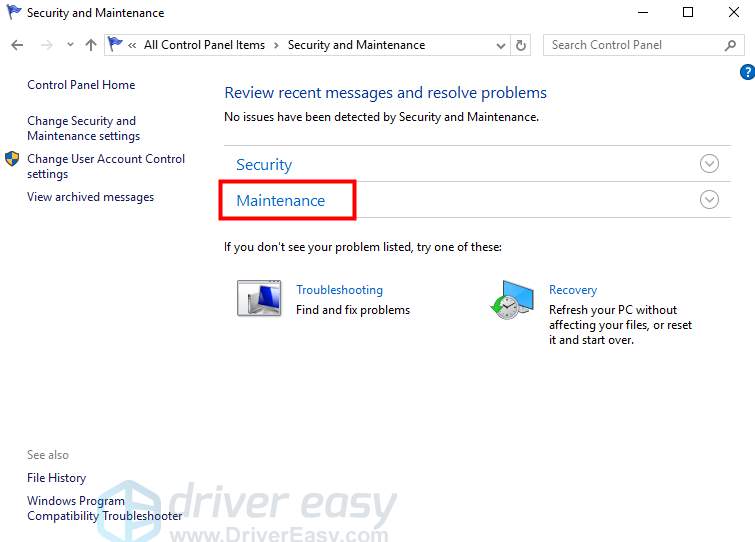
- Select Maintenance.
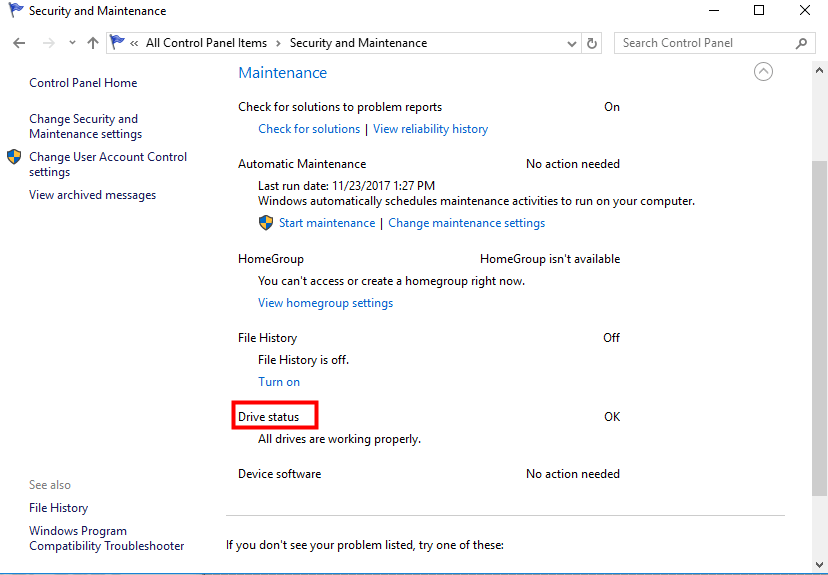
- In Drive status, you will find a link that will let you repair the drive. Click this link. Windows will tell you not to bother if the drive is okay.