
Выключение прокси на Windows 10
Способ 1: «Параметры»
В обновлённой панели настроек очень просто выключить проксирование трафика.
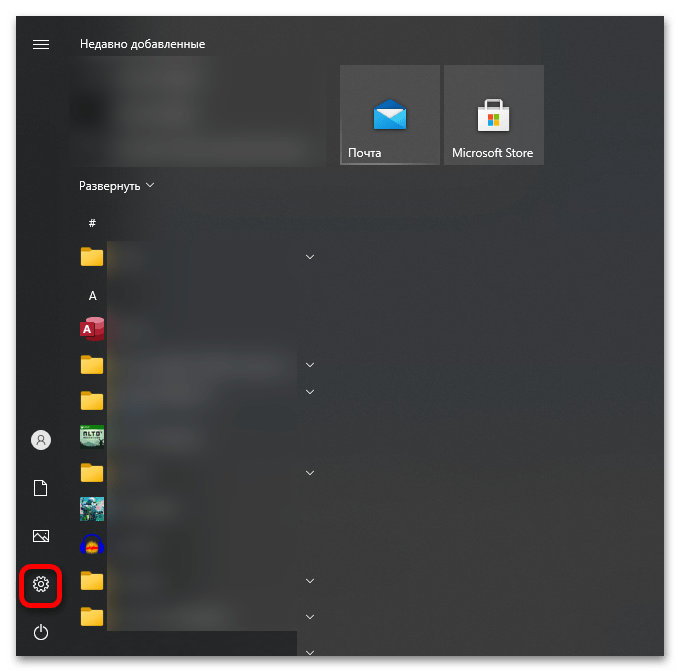
- Вызовите меню «Пуск». Кликните на иконку шестерёнки, чтобы запустить меню настроек ПК.
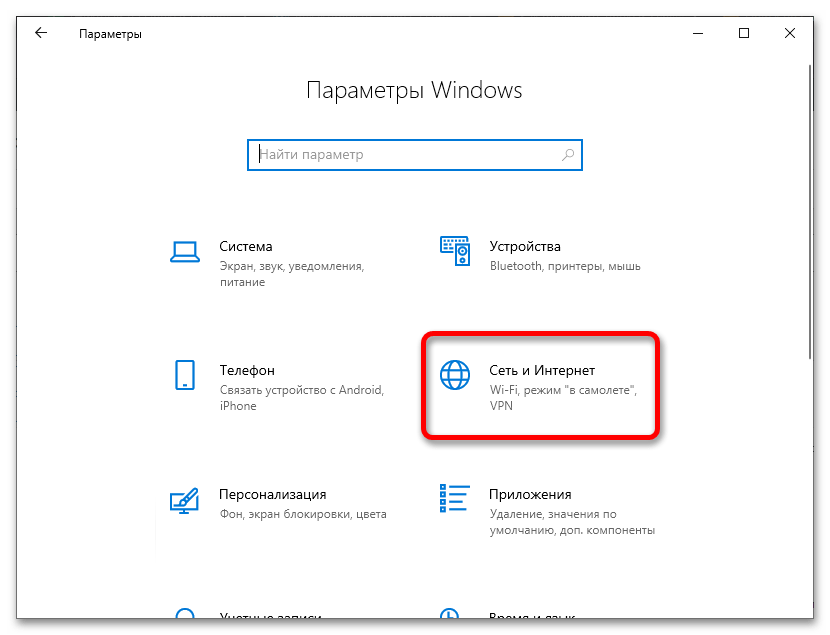
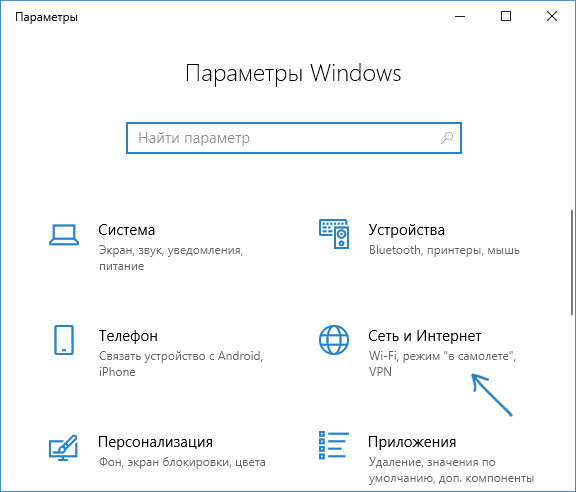
- Перейдите к разделу «Сеть и Интернет».
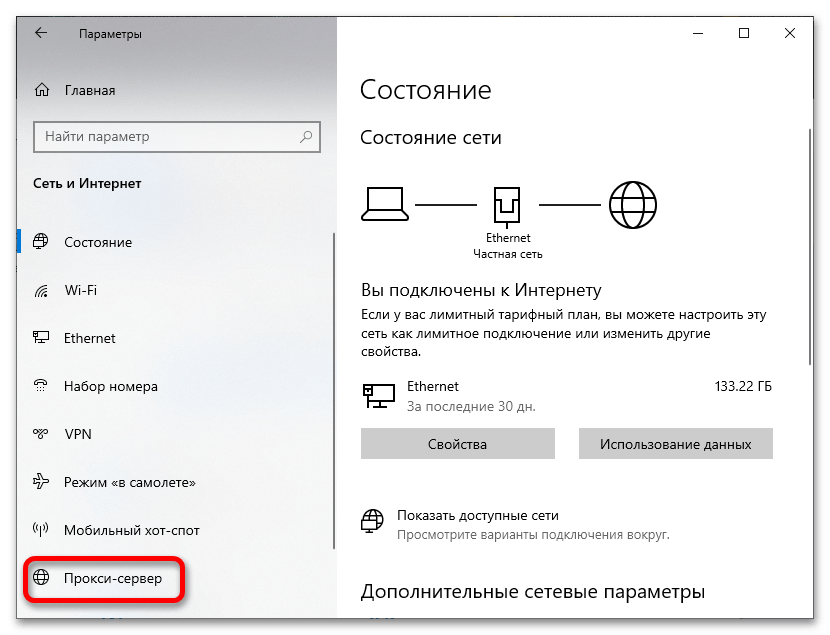
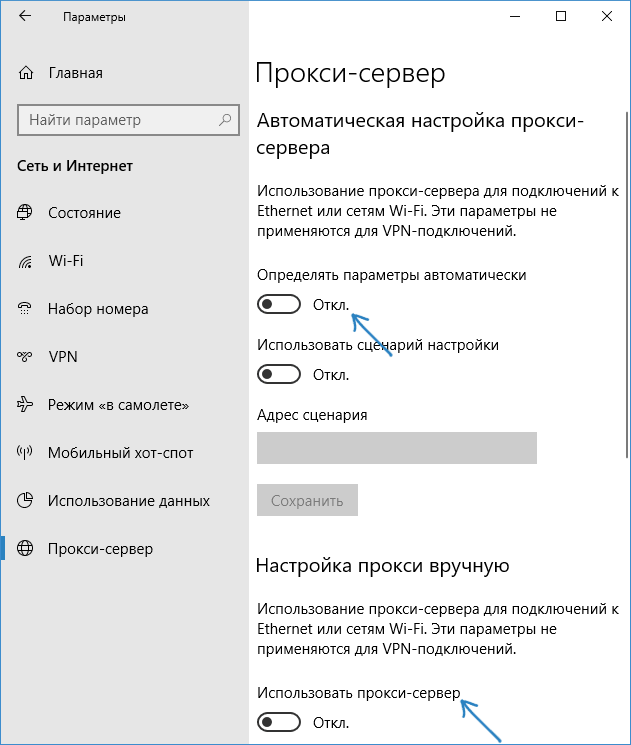
- Откройте вкладку «Прокси-сервер», размещённую на боковой панели.

Читайте также: Настройка прокси-сервера на компьютере с Windows 10
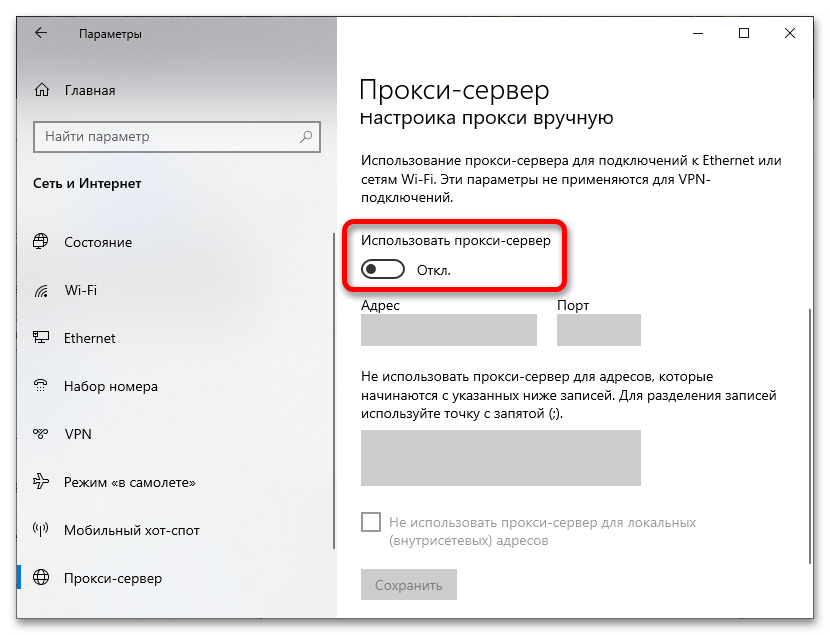
- Выключите функцию «Использовать прокси-сервер», переведя данный тумблер влево.
Способ 2: «Панель управления»
Инструкция из этого подраздела статьи актуальна не только для Windows 10, но ещё и для Windows 8, Windows 7.
- Используйте комбинацию клавиш Win+R. В окне, которое появится после этого, введите команду
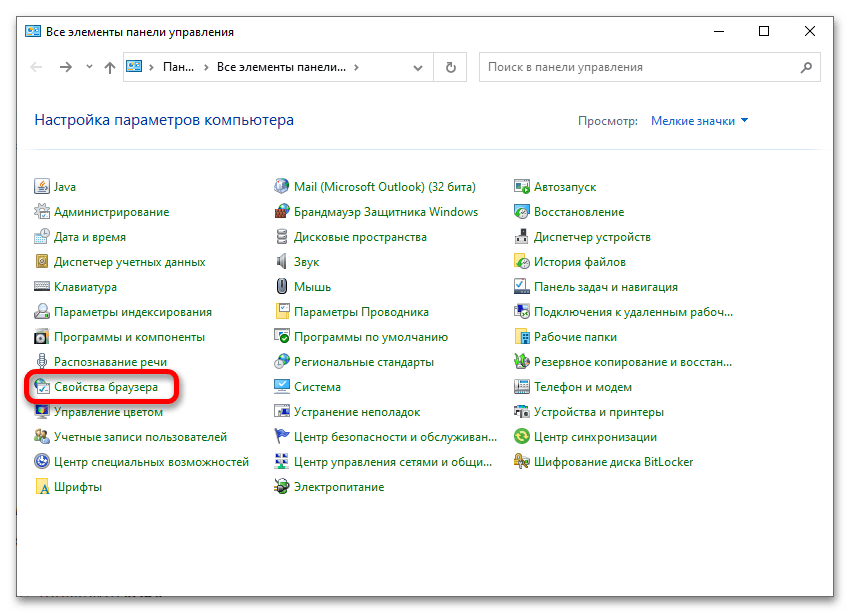
controlи щёлкните «ОК». - Находясь в режиме просмотра под названием «Мелкие значки», откройте меню «Свойства браузера».
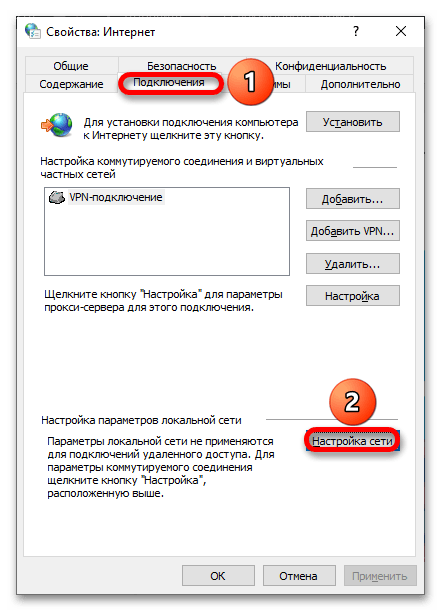
- Зайдите во вкладку «Подключения», а после откройте категорию «Настройка сети», которая сочетает в себе параметры подключения к интернету.
- Уберите отметку из чекбокса «Использовать прокси-сервер для локальных подключений», примените внесённые в конфигурацию изменения, кликнув на «ОК».


Наша группа в TelegramПолезные советы и помощь
Если вам потребовалось отключить прокси сервер в браузере, Windows 10, 8 или Windows 7 — делается это одними и теми же способами (правда, для 10-ки на данный момент есть два способа отключения прокси-сервера). В этой инструкции о двух способах отключить прокси сервер и о том, для чего это может потребоваться.
Почти все популярные браузеры — Google Chrome, Яндекс Браузер, Opera и Mozilla Firefox (при настройках по умолчанию) используют системные параметры прокси-сервера: отключая прокси в Windows, вы отключаете его и в браузере (однако, в Mozilla Firefox можно задать и свои собственные параметры, но по умолчанию используются системные). Также может быть полезным: Как отключить прокси-сервер в Windows 11.
Отключение прокси может пригодиться при появлении проблем с открытием сайтов, наличии вредоносных программ на компьютере (которые могут прописывать свои прокси серверы) или неправильном автоматическом определении параметров (в этом случае вы можете получить ошибку «Не удалось автоматически обнаружить параметры прокси этой сети».
Отключение прокси сервера для браузеров в Windows 10, 8 и Windows 7
Первый способ — универсальный и позволит отключить прокси во всех последних версиях Windows. Необходимые шаги будут следующими
- Откройте панель управления (в Windows 10 для этого можно использовать поиск на панели задач).
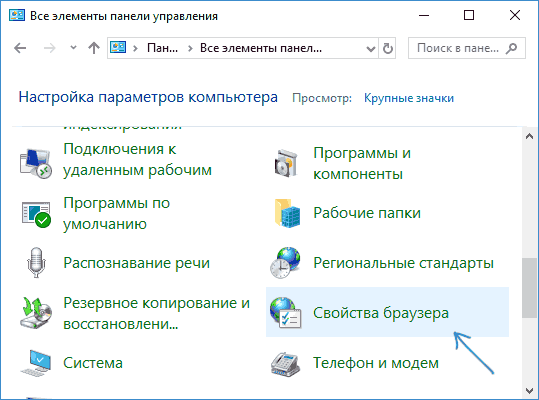
- Если в панели управления в поле «Просмотр» установлено «Категория», откройте «Сеть и Интернет» — «Свойства браузера», если установлено «Значки», сразу откройте «Свойства браузера».

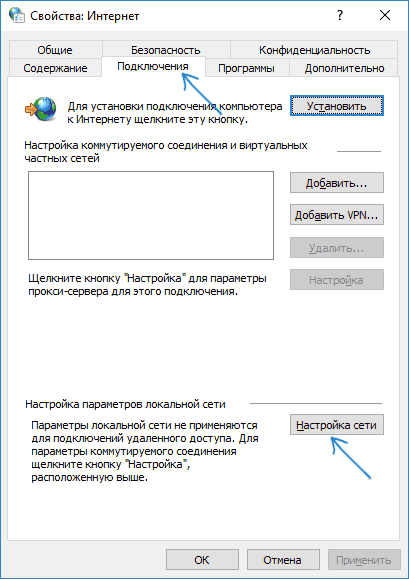
- Откройте вкладку «Подключения» и нажмите кнопку «Настройка сети».

- Уберите отметку в разделе «Прокси-сервер», чтобы он не использовался. Кроме этого, если в разделе «Автоматическая настройка» установлено «Автоматическое определение параметров» — рекомендую снять и эту отметку, так как она может приводить к тому, что прокси-сервер будет использоваться даже когда его параметры не заданы вручную.
- Примените сделанные настройки.
- Готово, теперь прокси-сервер отключен в Windows и, одновременно, не будет работать в браузере.
В Windows 10 появился еще один способ настройки параметров прокси, который рассмотрен далее.
Как отключить прокси-сервер в параметрах Windows 10
В Windows 10 настройки прокси-сервера (как и многие другие параметры) дублируются в новом интерфейсе. Чтобы отключить прокси-сервер в приложении «Параметры», выполните такие действия:
- Откройте Параметры (можно нажать клавиши Win+I) — Сеть и Интернет.

- Слева выберите «Прокси-сервер».
- Отключите все переключатели, если вам нужно отключить прокси-сервер для ваших Интернет-подключений.

Интересно, что в параметрах Windows 10 можно отключить прокси сервер только для локальных или каких-либо выбранных интернет-адресов, оставив его включенным для всех остальных адресов.
Отключение прокси-сервера — видео инструкция
Надеюсь, статья была полезной и помогла в решении проблем. Если же нет — попробуйте описать ситуацию в комментариях, вероятно, я смогу подсказать решение. Если вы не уверены, вызвана ли проблема с открытием сайтов параметрами прокси-сервера, рекомендую к изучению: Сайты не открываются ни в одном браузере.
Proxy settings are like the rules that tell your computer how to connect to the internet through a special server (proxy server). In Windows 11 and Windows 10, these settings can be configured to meet your needs. However, there are cases where these proxy settings can be unknowingly changed by a malicious program or a network-related software. When the proxy settings are incorrect or the server is unreachable, you will have problems connecting to the internet or opening any webpages at all.
In this guide, we will show you how to permanently disable any proxy settings you may have in Windows 11 or 10. We’ll show you various methods so if one doesn’t work or you have no access to it, you can try the other.
Also see: How to Disable VPN in Windows 11
Disable Proxy Settings in Windows 11 or 10 via Settings or IE
In previous versions of Windows, we had to go through Internet Explorer to configure proxy settings. While changing settings through IE still works in Windows 10, there is now a more straightforward way to do this through the Settings app, especially for Windows 11. Follow the steps below to disable the proxy settings.
- Go to the Start Menu or Cortana.
- Search for “Settings” and open it.
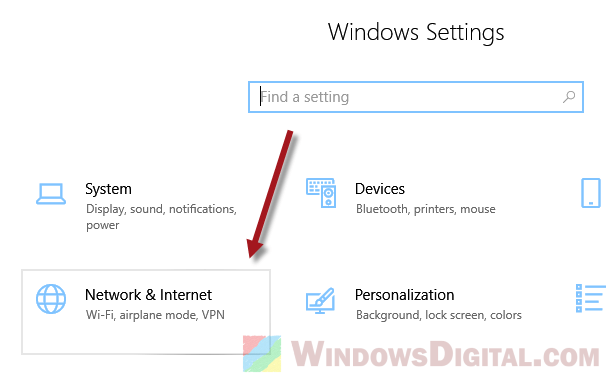
- Select “Network & Internet.”

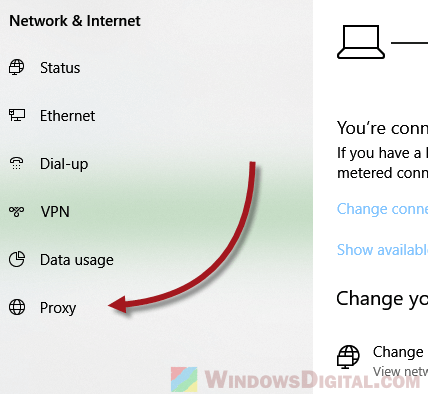
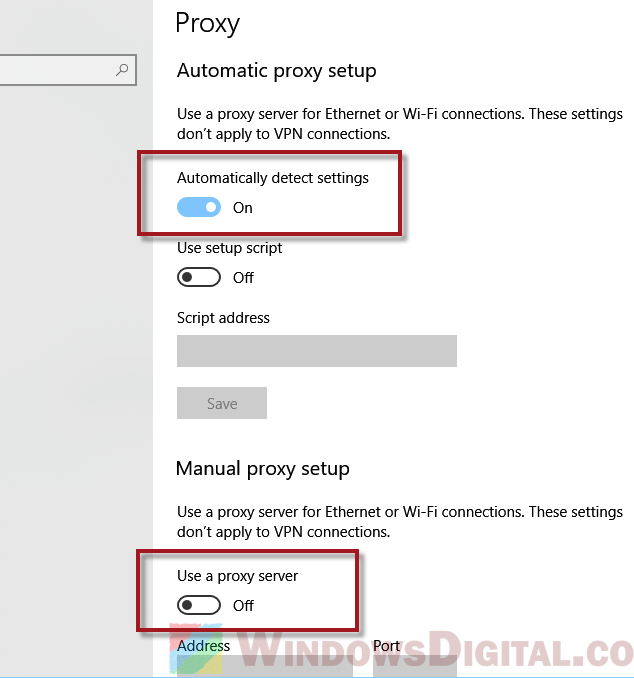
- From the left pane, click on “Proxy.”

- Under “Automatic proxy setup,” switch on the “Automatically detect settings” option.
- Under “Manual proxy setup,” disable the “Use a proxy server” option.

- Close the settings window and restart your PC.
If for any reason you must use the Internet Options via IE to change the proxy settings, follow these steps:
- Open Internet Explorer.
- Click on the “Settings” icon and select Internet Options.
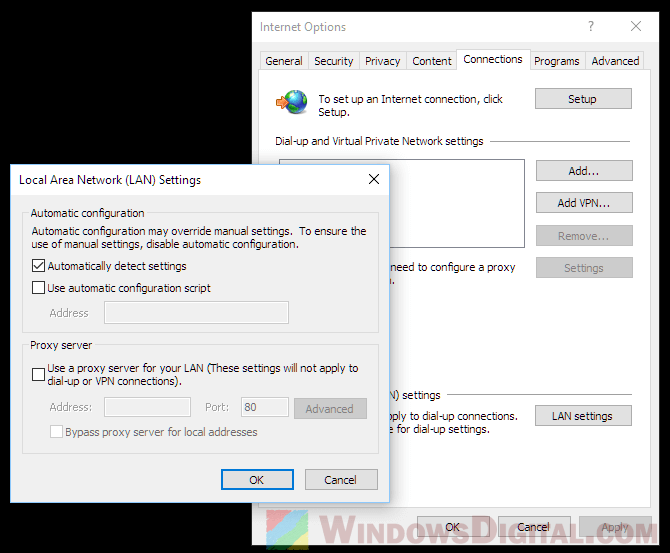
- Go to the Connections tab, then click on “LAN settings.”
- Enable “Automatically detect settings” and disable “Use a proxy server for your LAN.”

- Click “OK” and reboot your computer.
Some have reported that the automatic proxy settings checkbox will sometimes be grayed out when trying to set the proxy settings to automatic via LAN Settings in Internet Explorer, which makes it impossible to apply. If that’s the case, the method using the Settings app above should help to disable the proxy settings and set them to automatic in Windows 11 or 10.
Disable proxy settings via Registry
If the above options don’t work, you might need to try changing the proxy settings in the registry. But be careful, messing up the registry can cause very serious problems. Always back up your registry or create a system restore point first.
- Press the “Win+R” key to open the Run window.
- Type “regedit” and hit Enter to open Registry Editor.
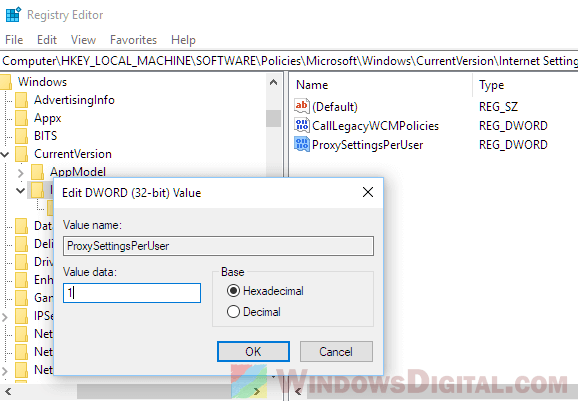
- In Registry Editor, navigate to the following registry path:
HKEY_LOCAL_MACHINE\Software\Policies\Microsoft\Windows\CurrentVersion\Internet Settings
- Double-click on the “ProxySettingsPerUser” registry.
- Change the value to “1“.
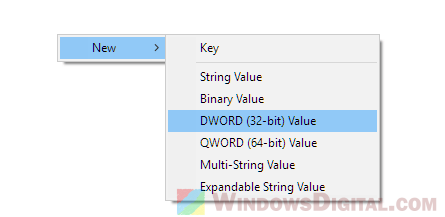
If the “ProxySettingsPerUser” registry key doesn’t exist, create it by right-clicking anywhere on the right pane in the Internet Settings registry path, and click on “New” > “DWord (32-bit) Value“. Name it “ProxySettingsPerUser” and set its value to 1. This should disable any proxy settings and set them to automatically detect settings.
Close Registry Editor and reboot your PC for it to take effect.
If your proxy problem persists
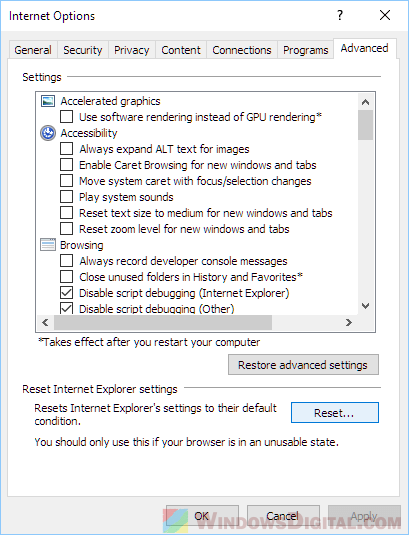
The proxy settings in the Settings app are correlated with the proxy settings in Internet Explorer. So, if the problem persists after trying to disable them, you may want to try resetting Internet Explorer settings. Note that doing so will also reset the security and privacy settings, such as sites you’ve whitelisted and blacklisted, and will wipe the parental control settings as well. Here’s a quick guide on how to reset IE settings:
- Open Internet Explorer in Windows and click on Internet Options.
- Go to the Advanced tab.
- Under “Reset Internet Explorer settings,” click on the “Reset” button.
If you’re still having connection problems after all these steps, you might want to double-check your internet connection or call your internet service provider to make sure there are no issues on their end.
There is an option in Windows 10 to manually configure proxy settings so that your network traffic is routed through it onto the internet. However, it is not always the best approach to use a proxy server.
It is possible that the organization your work in also has one set up, and all of your traffic is routed through it. There can be a perfectly good explanation as to why an organization may want to do so as using proxy servers also has its benefits.
You can remove these settings from your Windows 10 PC so that your traffic is forwarded directly onto the internet, and sometimes it may be the wiser thing to do, as there can be several disadvantages for it too.
Let us show you 3 different ways you can disable the proxy settings on your PC.
Table of Contents
What is a proxy server
Proxy servers are devices that are put between you, an end-user, and the internet. Contrary to a user who is directly connected to his router at home, a proxy server is an additional router that sits between you and the actual router.
Any request you make through your web browser will first go to the proxy server, it will then make a few decisions based upon its settings and policy, and then forward your request onto the actual router. The same is the case for inbound traffic – it comes via the proxy server.
So what is the actual role of a proxy server? It can be used for various different purposes, depending upon the intent of the network administrator who configured it. A proxy server can be used to improve network security, block certain websites, save network bandwidth by caching files, balance internet traffic, hide actual location, etc.
Even though a proxy server can be beneficial for a network, it also has its tradeoffs. For instance, it is an added accessory between a user and the actual router which only delays the traffic. Moreover, since it caches data, it is a critical point of vulnerability with crucial data, and a hacker could potentially gain access to all of it by infiltrating just one machine.
If you believe that you do not require a proxy server and are willing to remove the settings from your Windows 10 PC, continue reading the article.
How to disable proxy settings in Windows 10
There are 3 ways through which you can permanently disable proxy settings on your computer.
Disable network proxy through Control Panel
To disable and remove your proxy settings on a Windows 10 PC through the Control Panel, here’s how:
- Navigate to the following location:
Control Panel -> Network and Internet -> Internet Options - In the Internet Properties window, switch to the Connections tab and then click Lan settings

- In the Local Area Network (LAN) settings window, uncheck the box next to Automatically detect settings and Use a proxy server for your LAN. Then click Ok.
- Close the Internet properties window by clicking Apply and Ok.

You have now successfully removed the proxy settings from your computer. However, note that this will only take effect on your users. If you want to disable proxy settings from other users as well, perform the same on other user accounts as well, or continue reading to disable it system-wide.
If you want to re-enable proxy settings, simply return to the same location and re-check the boxes previously unchecked.
Disable network proxy using Settings app
The Settings application has become the center of configuration for Windows 10. You can also use the Settings app to disable proxy settings. Here’s how:
-
Select Settings by pressing Windows key + X,
-
Select Proxy under Network and Internet.
-
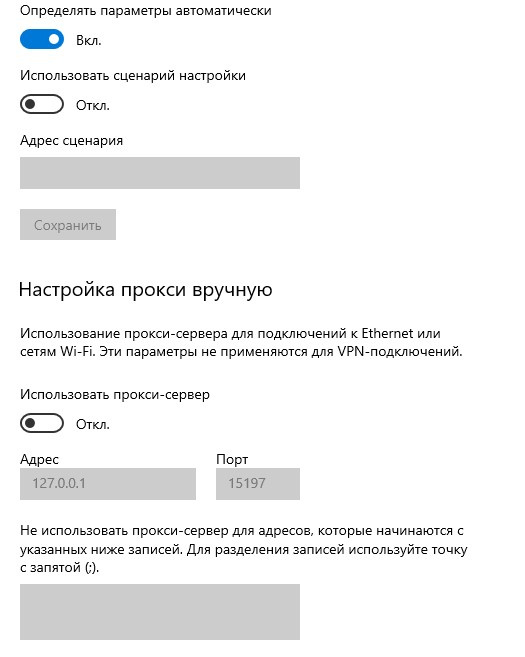
Toggle off the Automatically detect settings option under Automatic proxy setup.

Automatic proxy setup -
Scroll down and toggle off the Use a proxy server slider as well.

Manual proxy setup


You have now successfully disabled the proxy settings on your computer. However, this too is only applicable per user account. Continue down to the next step to disable proxy settings through the entire computer.
If you want to re-enable proxy settings, simply return to the same location and click on the same sliders you had disabled earlier.
Disable system-wide network proxy using Registry Editor
The Registry Editor is a great utility to make system-wide changes, including disabling proxy settings. Since manipulating system registries can turn fatal for your computer, we recommend that you create a system restore point before proceeding further.
- Launch the Registry Editor by typing in regedit in Run.
- Now navigate to the following through the left pane:
HKEY_Local_Machine -> Software -> Policies -> Microsoft -> Windows -> CurrentVersion -> Internet Settings - Now right-click Internet Settings, expand New, and then click DWORD (32-bit) Value.

- Name the new DWORD as ProxySettingsPerUser.
- Double-click the new DWORD you have just created and set its Value Data as 1. Click Ok when done.

- Reboot your computer for the changes to take effect.


You have now successfully disabled proxy settings throughout the system, and your network traffic will now go directly onto the internet bypassing the proxy server.
You can also re-enable proxy system-wide by deleting the DWORD you had created earlier. Of course, a system reboot will be required.
Closing words
Proxy servers can offer benefits and disadvantages as well. It is up to each individual to decide whether they wish to communicate over the internet through proxy or have it sent directly through the internet.
Often, proxy servers work like firewalls and keep your networking environment safe through the application of strict policies and preventing users from accessing web content deemed dangerous.
Добрый день! Подскажите пожалуйста, как мне поступить с проксе-сервером, который находиться в «Параметрах Windows». Каждый день при включении ПК он включается автоматически, решил попробовать через командную строку узнать откуда все это идет, через команду netstat -abno | findstr LISTENING | findstr :8080. По ИД процессу нашел что это за программа, оказалась рабочая, не понятно как это может быть с ней связано, удалять ее смысла нет, таких настроек в ней не заложено.
Подскажите может есть возможно просто очистить строки прокси-сервера, вернуть на стандарт как при только установленной системе?
-
Вопрос задан
-
943 просмотра
Пригласить эксперта
Пальцем в небо, загляни в старые настройки (панель управления — свойства браузера — закладка подключения — настройка сети) там другие настройки, которые как я понимаю, теперь копируются по неизвестной логики в новые (это разные настройки, понимаются разными классами программ).
Ну и рекомендация, чтобы конкретное приложение не затрагивало настроек остальных (те что на скрине), запускать это приложение под специально созданном для него профиле пользователя, а чтобы не вводить пароль каждый раз, завести для этого задачу в Планировщике задач.
Войдите, чтобы написать ответ
-
Показать ещё
Загружается…