
Finding and organizing photos on your Windows 10 PC can sometimes seem like a daunting task, especially if your collection spans years and countless folders. With the vast array of storage options—ranging from the Pictures library to OneDrive and external drives—it’s easy to lose track of where everything is. This article aims to guide you through the various methods of locating all the photos stored on your Windows 10 computer. Whether for housecleaning, backup, or simply revisiting your cherished memories, you’ll learn effective strategies for locating, organizing, and managing your photo files.
Understanding Windows 10’s Storage System
Windows 10 offers several default folders for storing your files, including the Pictures Library, Documents, and Downloads. The Pictures Library is specifically dedicated to images and photos, which makes it a primary location to explore. However, photos may also reside in other directories such as Desktop, external storage, or cloud services like OneDrive.
When looking for photos, it’s important to first understand where they might be saved. Common locations include:
- Pictures Folder: The designated library for images.
- Documents Folder: Sometimes users save images in related documents.
- Desktop: Users may save images directly onto their desktop for easy access.
- Downloads Folder: Many images downloaded from the internet end up here.
- External Drives: USB drives or external hard drives may house photos that were transferred.
- Cloud Services: If you use OneDrive or other cloud storage, your images could be stored online.
Using File Explorer
File Explorer is your primary tool for navigating files and folders on your Windows PC.
- Open File Explorer: Click the folder icon on your taskbar or press
Windows + Eon your keyboard. - Access the Pictures Library: On the left sidebar, you’ll see ‘Pictures’. Click on it to view images saved in the standard Pictures folder.
- Search Function: If you have a large number of files, utilize the search bar located in the upper-right corner of the File Explorer window. Type relevant keywords, such as «.jpg,» «.png,» or even just «photo», to filter through files.
- Customizing Your View: Change how files are displayed by selecting the ‘View’ tab at the top of File Explorer. You can choose between different layouts like List, Details, or Thumbnails to easily identify your images visually.
Categorizing Photos Using Folders
Once you’ve located your photos, organizing them into folders is a wise move. This not only keeps your collection orderly but also makes it easier to find specific images later. Consider the following organizational methods:
- By Date: Create folders for each year or month of your photo-taking activity. This is especially useful for family or holiday photos.
- By Event: Organize images into folders based on events, such as vacations, birthdays, or holidays.
- By People or Subjects: Use folders to categorize images based on the people in them or the subjects—nature, pets, etc.
- Use Descriptive Naming: When creating folders, opt for meaningful names that will help you quickly recognize the contents.
Utilizing Windows Search Function
Beyond File Explorer, Windows 10 integrates a robust search function that can help you locate photos across your entire system:
- Taskbar Search: Click on the search bar next to the Start Menu and type “photos.” This will prompt the built-in Photos application to reopen.
- Searching by File Type: Enter search criteria such as “type: .jpg” to find all JPEG images or “tag: vacation” if you’ve tagged some images. The type: and tag: parameters are helpful for quickly narrowing down search results.
- Filtering Search Results: After running a search, you can filter results by selecting the ‘Photos’ tab or applying other filters like size or date modified.
Exploring the Photos App
Windows 10 comes with a built-in Photos app that functions as both a viewer and an organizer for your images.
- Accessing the Photos App: You can quickly launch the app by typing “Photos” into the search bar and selecting it from the results.
- Viewing Your Collection: The app will automatically aggregate photos from various locations, including the Pictures library and any connected cloud services.
- Automatic Organization: It provides features like Albums, Folders, and even a ‘People’ section where you can see photos of specific individuals if you’ve tagged them.
- Managing Photos: In the app, you can delete or move images, create albums, and even edit photos using built-in tools.
Searching through OneDrive
If you have OneDrive integrated into your Windows 10 system, your photos may be automatically uploaded there, depending on your settings.
- Accessing OneDrive: Ensure you’re logged in to OneDrive by clicking on the cloud icon in the notification area on your taskbar.
- Viewing Photos in OneDrive: You can access your OneDrive folder through File Explorer (listed under ‘Quick Access’) or through the web app at onedrive.live.com.
- Search Functionality: Use the search bar within OneDrive to find images easily, similar to File Explorer.
- Sync Settings: If your OneDrive syncing is enabled, ensure that you’re updating regularly. This helps in accessing the most recent photos across devices.
Using Third-Party Software
In some cases, third-party software can enhance your ability to locate and organize photos effectively.
- Photo Management Applications: Consider applications like Adobe Lightroom, Google Photos, or specialized software like ACDSee. These tools offer advanced organization, tagging, and searching features.
- Indexing Software: Programs like Everything or Copernic Desktop Search allow you to index your photo library, making locating files quicker than Windows’ built-in search functionalities.
- Cloud Options: Services such as Google Photos or Dropbox not only provide backup but also advanced searching features, including image recognition that identifies people and objects in your photos.
Deleting Duplicate Photos
As your photo collection grows, duplicates can take up unnecessary space. Many tools help identify and remove duplicate images, freeing up valuable storage.
- Use Duplicate File Finders: Software options like Duplicate Cleaner or CCleaner can assist you in finding and removing duplicate photos.
- Manual Checks: While software can help, manually checking for duplicates—especially among similar shots taken in series—can ensure memorable images aren’t mistakenly deleted.
Backing Up Your Photos
Finding and organizing is only half the battle; ensuring those memories are preserved is crucial.
- Regular Backups: Utilize external hard drives or cloud services for regular backups of your photo library.
- Create Backups for Important Folders: Focus on directories where your most cherished photos are retained and ensure they are included in your backup routine.
- Use Backup Software: Applications that perform automated backups can streamline this process, ensuring you don’t forget to manually back up important images.
Conclusion
Locating, organizing, and managing photos stored on your Windows 10 PC may initially seem overwhelming, but with the right approaches, it can be a straightforward task. Whether you choose to use File Explorer, the Photos app, OneDrive, or various third-party tools, you have multiple resources at your disposal.
By developing a consistent organizational system, regularly checking for duplicates, and implementing a backup strategy, you can not only find your images with ease but also preserve the memories captured through your camera.
Being attentive to the state of your digital photo collection can facilitate smooth navigation and safeguard against the loss of cherished memories. With these methods, you can transform your photo collection into an organized treasure trove filled with memories, accessible whenever you need to relive those special moments.
Windows 10 comes with a dedicated pictures folder where all your photos should rightly be stored. But unfortunately, it’s notoriously difficult to keep all of your photos in one place. For instance, photos you’ve downloaded from the internet may get stuck in “Downloads”. Other times, they’ll end up nested in a series of folders. So, is there a way to find all photos saved on your Windows 10 device?
You’ll be relieved to learn that there is indeed a way. In this article, we’re going to show you how to find all pictures on your Windows 10 device in just a few simple clicks.
Why Is It Difficult to Keep Photos in One Place in Windows 10?
Windows 10 comes with a number of features that truly distinguish it from older operating systems in the Windows series. But for all its positives, it would appear that developers at Microsoft haven’t quite come up with a way to ensure that all your pictures saved in one location. Windows 10 stores your photos in different locations depending on where they came from.
But it’s not entirely Windows’ fault. Some third-party apps and services are partly responsible for the problem. A few try to keep things neat, but others like Dropbox, OneDrive, and some photo-editing apps may keep photos in their own folders. In the end, you have photos spread out across different compartments in your hard drive, and finding them can be an uphill task.
But it’s not all doom and gloom. You can actually find all of your photos manually or even use the Windows 10 photos app. The only caveat is that the process can take a while, especially if you have hundreds or thousands of photos.
The Windows 10 Photos app may not be perfect, but it’s certainly a top-level photo management app. For instance, Photos features a facial analysis algorithm that enables it to group together photos of a single person. They call it the People feature. The feature comes in handy when you need to find all photos of a specific person. Think of trying to manually locate all wedding photos featuring the groom, for example.
So can Photos really keep all of your pictures in one place? That’s highly unlikely, but it’s certainly the best-suited photo finder on Windows 10. Here’s how you can use it to find photos stored in multiple locations:
- Click on the Windows icon in the lower-left corner of the screen. You can also launch this menu by tapping on the Windows key, usually located on the left side of your keyboard, next to the Alt key.

- Scroll down the Start menu until you get to Photos.

- Click on Photos. In a few moments, you should see a list of photos automatically arranged by date. Photos taken, saved, or downloaded recently should appear first, with older ones featuring further down the list.

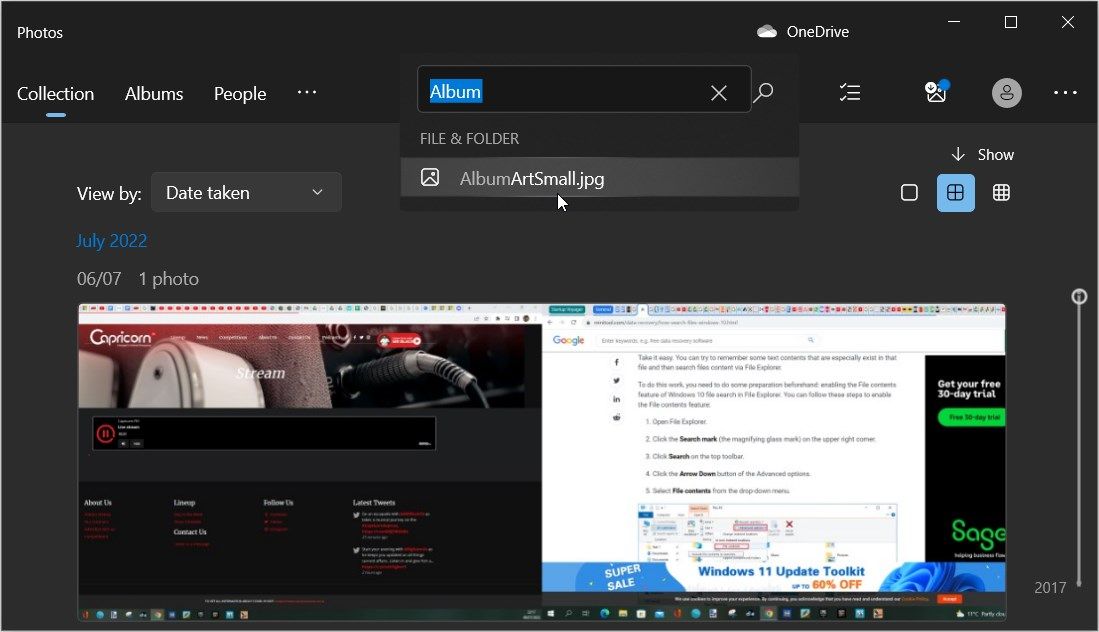
- If you’re fortunate enough to remember the file name, simply enter it in the search bar at the top and hit Enter.
- To narrow down your search to a specific person, you should try using the People feature. To do so, click on People in the menu at the top. Click on Yes to turn on facial grouping when prompted.


To scroll through your photos even faster, you can reduce the size of photo thumbnails by clicking on the most subdivided rectangular icon in the top right corner.
How to Find All Photos Stored on a Windows 10 PC
If the Photos app doesn’t work for you, worry not. There’s another trick you can use to find all photos stored on your device:
- Click on the Windows icon in the lower-left corner to launch the Start menu.

- Scroll down the Start menu and click on File Explorer.

- Within File Explorer click on This PC in the left pane.

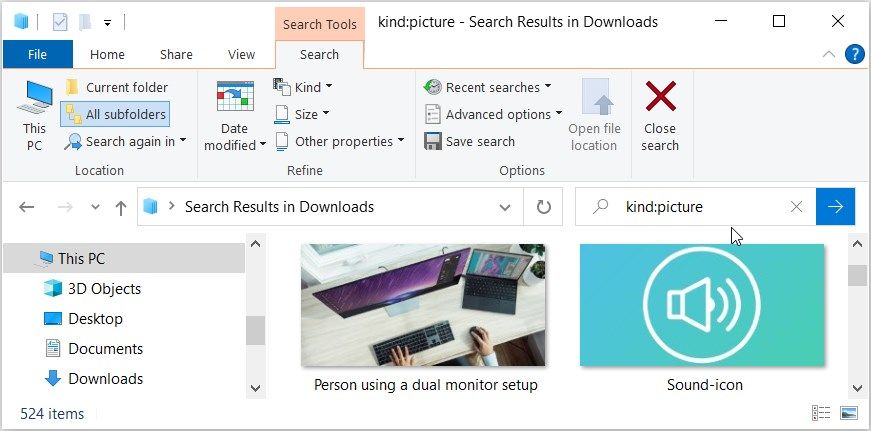
- Now, type kind:=picture into the Search box in the top-right of the window.
- Windows will automatically search all partitions on your hard drive.


Perhaps the best thing about this approach is the fact that it searches for images saved in all formats. That includes JPEG, PNG, PDF, GIF, BMP, and others. In the search results, you can find out the location of a file by simply right-clicking on it and then clicking on Open File Location.
How to Find All Your Photos Manually in Windows 10
Rather than trying to reinvent the wheel in your search, you can do things manually:
- Click on the Windows icon in the lower-left corner to launch the Start menu.

- Scroll down the start menu and click on File Explorer. Alternatively, you can simply type “File Explorer” in the search bar in the bottom left corner, right next to the Windows icon.
- Click on Pictures on the left pane. At this point, you should see all the sub-folders under Pictures. Then, open each sub-folder to see all the photos stored in it.

- Click on Downloads on the left pane. Again, you should see a list of all downloaded photos.
- Repeat the process for all partitions on your computer.


Additional FAQs
How Do I Find Hidden Pictures on My PC?
The Windows 10 Photos app is an incredibly powerful tool when you need to find any hidden pictures on your PC. Its algorithms display pictures from multiple locations on one single collection.
1. Click on the Windows icon in the bottom left corner, and then select Photos from the Start menu.

2. All of the photos on your computer will be available using the app.
How Can I Keep My Photos Organized on Windows 10?
• Always tag imported photos
When importing photos from your camera or some other storage device, Windows will always ask you to tag your files. You should always take up the opportunity and type a few words that will help you to remember what that batch of photos was all about.
• Manually separate files from different photoshoots
Don’t just dump all your photos in one folder. Instead, create a new folder for each photo session and give it a unique name.
• Always rename your photos
Instead of saving your photos in their autogenerated camera names like DG121, DG123, DG124, and so on, try to come up with memorable, meaningful names. If you were vacationing in the Bahamas, for example, you may rename your photos as Bahamas1, Bahamas2, Bahamas, 3, and so on.
A Simple Search
Windows 10 may not offer the perfect solution, but it’s nonetheless equipped with features that, when used together, can help you to retrieve every picture you’ve ever saved on your Windows 10 device. Using the Photos app works for most people, but even if it doesn’t work for you, you’re now aware of several alternative tools – all thanks to this article. And nothing stops you from jumping right in to execute a search.
Which method do you use to find hidden or misplaced pictures on your PC? Share your thoughts in the comments section below.
Have you ever transferred pictures to your PC but forgot where you saved them? Or, do you have lots of pictures but don’t know how to locate some of them?
Fortunately, this article covers everything you need to know.
We’ll show you some quick ways to find all the pictures on your Windows device. From there, we’ll check out how you can locate the pictures that might be hidden somewhere on your device.
1. Use the “People” Tab on the Windows Photos App
The Windows Photos app makes it easy for you to view all the pictures on your PC. But did you know that you can use this tool to search for your pictures easily?
Interestingly, the Photos app has a search bar and several tabs that help you easily locate your pictures.
Let’s start by focusing on the “People” tab. This feature uses a facial recognition tool to find and organize your photos and videos. It usually comes in handy when you want to find all the pictures of a specific person.
Here’s how you can use the «People» tab on the Photos app to find your pictures:
- Type Photos in the Start Menu search bar and select the Best match.
- Click the People tab in the top-left corner of the screen. If the “People” feature isn’t enabled yet, be sure to activate it before you proceed.
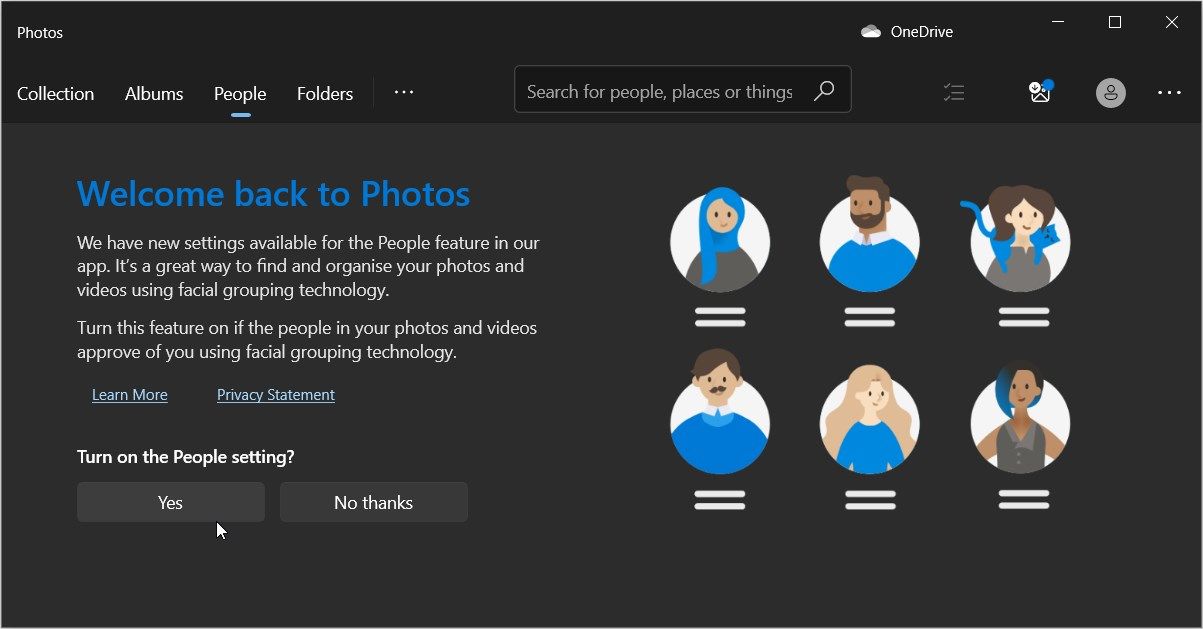
Next, look at all the profiles that appear in the middle pane and then select one of them. This should now display all the images of that specific person—even if the photos are saved in different folders.
So, if you’ve been struggling to locate someone’s pictures on your Windows PC, this method will help you out. But if you want to find other pictures, then you can use the other tabs on the Photos app.
2. Use the Search Bar and Other Tabs on the Windows Photos App
If you’re looking for a high-resolution HD wallpaper but can’t easily find it, try the search bar and the tabs on the Windows Photos app. Here are the steps you need to follow:
- Type Photos in the Start Menu search bar and select the Best match.
- Type the name of the photo you’re looking for in the search bar and then select the relevant option when it appears.
Alternatively, try the various tabs on the Photos app.
Let’s start with the Folders tab:
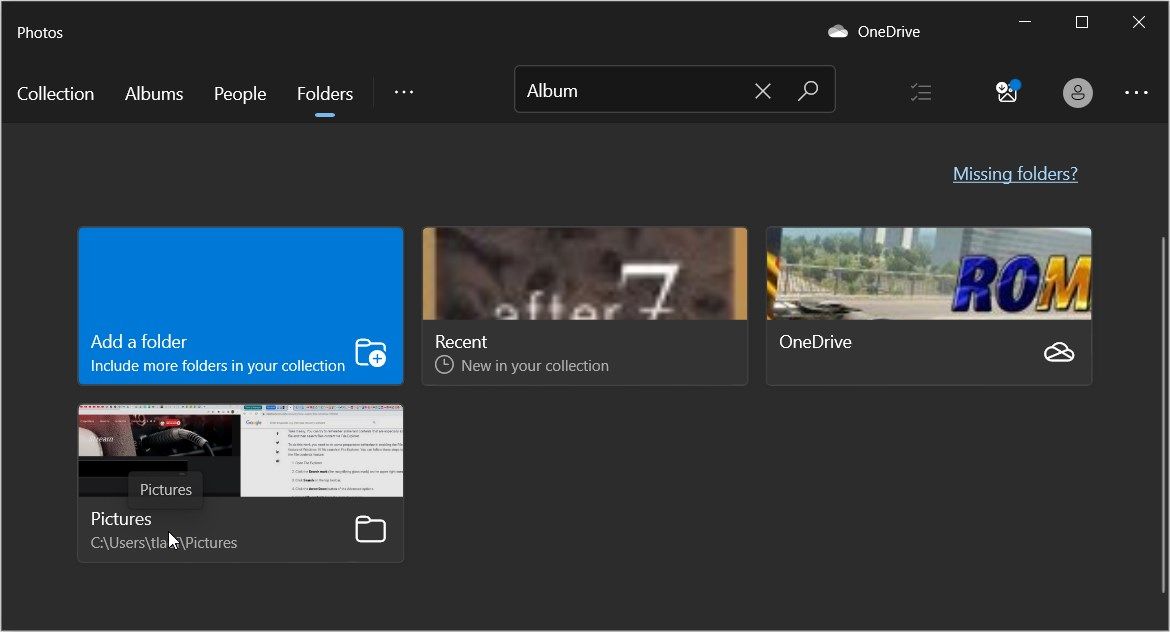
- Click the Folders tab in the top-left corner of the screen. This should display all the folders containing your pictures. If some folders are missing, click the «Missing folders?» option in the top-right corner to troubleshoot this problem.
- Finally, select the folder containing the pictures you’re looking for.
Next, let’s see how the Collection tab can help:
- Click the Collection tab in the top-left corner of the screen.
- Scroll down and click the collection containing the pictures you’re looking for.
Finally, click the Albums tab and see if this option can help you locate your photos.
3. Use File Explorer’s Search Bar to Find All Your Pictures
The Windows File Explorer is one of the best and most reliable file management tools. Now, let’s explore how you can use the tool’s search bar to find all your pictures easily:
- Open File Explorer by clicking its taskbar icon or by pressing Win + E.
- Next, click This PC on the left-hand side pane.
- Type kind:picture in File Explorer’s search bar and press Enter. This should display all your pictures, but you might have to wait for a few minutes for the results to load.
Finally, scroll down to find the picture you’re looking for. If you want to change the thumbnail size, click any of the two options that appear in the bottom-right corner of the screen.
4. Search for Photos Using Specific File Names
Now, let’s say you know the name of the photo you’re looking for. However, the name coincides with the names of various other file types (videos, audio files, and more).
How do you tackle this issue?
File Explorer’s search bar can help with that too! Here are the steps you need to follow:
- Press Win + E to open File Explorer.
- Click This PC on the left-hand side pane.
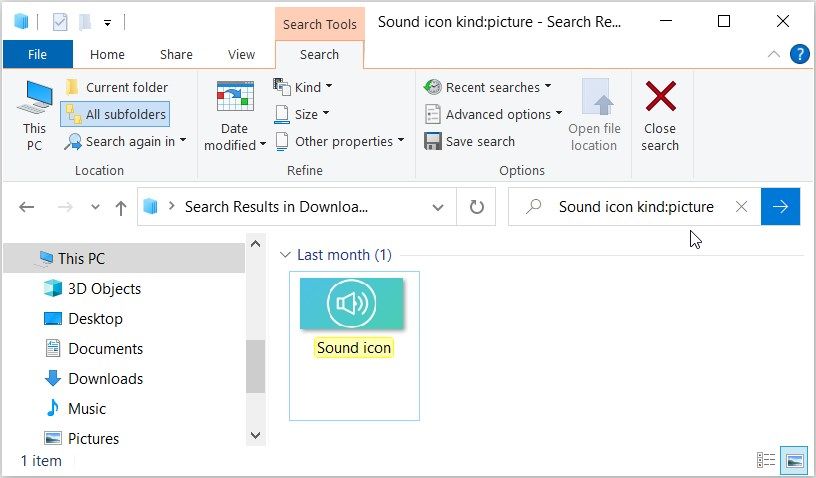
- Type filename kind:picture in File Explorer’s search bar, but replace “filename” with the exact name of your file. For example, if you’re looking for a picture named “Sound icon,” type Sound icon kind:picture and then press Enter.
5. Search for Photos Using a Specific File Format
File Explorer’s search bar can also help you find photos of a specific format (such as JPG, PNG, and more). Here are the steps you need to follow:
- Press Win + E to open File Explorer.
- Type ext:.fileformat in File Explorer’s search bar and replace “fileformat” with the image file format you’re looking for. For example, if you’re looking for JPG files, type ext:.JPG and then press Enter.
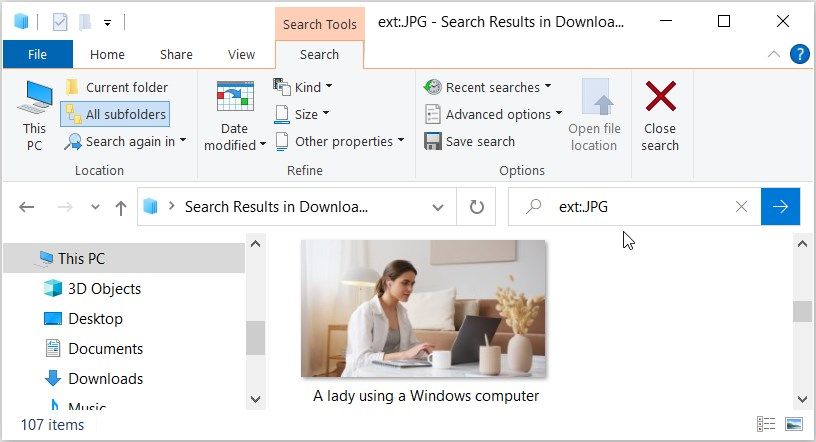
Finally, scroll down and locate the picture you’re looking for.
Now, if you know the name and the file format of the photo you’re looking for, you can still use File Explorer’s search bar to find that file. This method could be helpful if you have lots of similar images with the same name but different file formats.
So, here’s how you can search for a photo using its name and file format on File Explorer:
- Open File Explorer as per the previous steps.
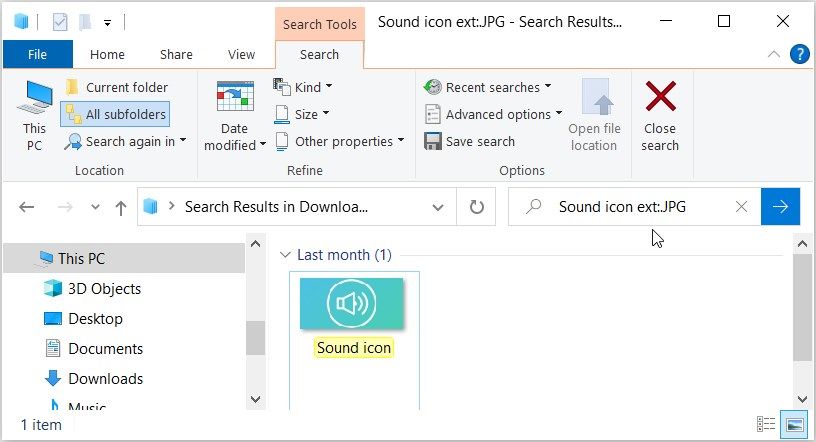
- Type filename ext:.fileformat and replace “filename” with the name of your file and “fileformat” with the correct format. For example, if you’re looking for a JPG file named Sound icon, your search query should be Sound icon ext:.JPG.
If you’ve tried all the methods and still can’t find your photos, then those pictures are likely hidden. So, let’s check out how you can find all the hidden photos (and other files) on your PC:
- Type Win + E to open File Explorer.
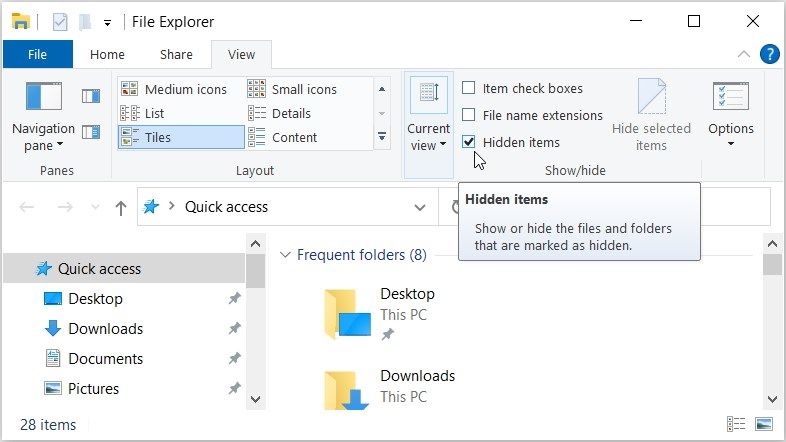
- Click the View tab in the top-left corner.
- Check the Hidden items box to show all the files and folders that are hidden.
Now, try searching for your photos using any of the methods in this article.
What’s Your Favorite Method for Finding Pictures on Windows?
There are times when you might forget where you saved some of your precious pictures. Fortunately, you can easily find all those pictures if you apply any of the methods we’ve covered.
From there, you can start exploring cool tricks such as how to compress the images on your Windows device.
Download Article
How to see all of your photos in Windows 10
Download Article
Viewing photos in Windows 10 is rather different from previous iterations of the OS. Windows Photo Viewer is now a thing of the past, giving way to the new-and-improved Microsoft Photos. The change may present a bit of a learning curve for users accustomed to the old method of viewing photos, but Microsoft Photos remains a simple and easy way to comb through your favorite pictures! Whether you are a lifetime Windows user or a newcomer making the switch, this wikiHow article will guide you in viewing photos in Windows 10.
Viewing Photos in Windows 10
Open “File Explorer” on your task bar, then double-click “Pictures” on the left-hand side of the screen. Double-click any photo to open the Microsoft Photos app, then click “See all photos” in the top left corner to view all of your photos.
-

The Photos app on Windows 10 may look a bit different, but you can find your photos just like you always have. Open your PC’s File Explorer to get started. It is located in the taskbar at the bottom of your screen, represented by a folder icon.
- If you don’t have a specific photo in mind, you can also type «photos» in the taskbar’s search box and select the Photos app directly. [1]
- If you don’t have a specific photo in mind, you can also type «photos» in the taskbar’s search box and select the Photos app directly. [1]
-
This should be where most of your computer’s pictures are stored.
- If you have photos stored in your «Downloads» folder, or anywhere else on your device, feel free to click on those folders instead.
Advertisement
-
The photo will automatically open in the new Microsoft Photos app on Windows 10.
- If you upgraded to Windows 10 from Windows 7 or 8, you may still have access to Windows Photo Viewer. To check, right-click a photo and select «Open With» to look for the Photo Viewer app. [2]
- If you upgraded to Windows 10 from Windows 7 or 8, you may still have access to Windows Photo Viewer. To check, right-click a photo and select «Open With» to look for the Photo Viewer app. [2]
-
If the photo you selected from your File Explorer was all you needed to see, then your work is done! If you’d like to browse the rest of your photo collection, click «See all photos» to find the rest of the images on your PC.
- You can also use the arrow keys to view any other photos located in the same folder as the photo you have open. [3]
- You can also use the arrow keys to view any other photos located in the same folder as the photo you have open. [3]


Advertisement
Ask a Question
200 characters left
Include your email address to get a message when this question is answered.
Submit
Advertisement
Thanks for submitting a tip for review!
References
About This Article
Article SummaryX
1. Open the File Explorer
2. Double-click Pictures.
3. Double-click any photo.
4. Click See all photos in the top-left corner.
Did this summary help you?
Thanks to all authors for creating a page that has been read 49,437 times.
Is this article up to date?
Если вы видите это сообщение, значит, произошла проблема с загрузкой файлов в стилей (CSS) нашего сайта. Попробуйте сбросить кэш браузера (Ctrl+F5).
Если это не поможет, а вы находитесь в регионе, где возможны ограничения интернет-трафика с российских серверов — воспользуйтесь VPN.
|
Если все фото-файлы, имеющиеся в Вашем компьютере, беспорядочно рассыпаны по разным папкам и имеют совершенно произвольные названия, то я предлагаю два пути их поиска: 1. (очень долгий и сложный, но тщательный) Сделать мысленную или графическую схему каталога папок и двигаться по ней. Все фото будут найдены (по расширениям этих файлов или по эскизам содержимого, наполняющего папки). Если Вы хотите переместить их в одно место, то придётся организовать отдельную папку и перемещать туда всё найденное. 2. (более быстрый и удобный) Использовать программу Picasa. Она очень хорошо управляет фотографиями. Загрузить её в Ваш компьютер, настроить так, чтобы она охватывала все папки без исключения и запустить. Все фото отобразятся на экране. автор вопроса выбрал этот ответ лучшим Трибу 10 лет назад На своём компьютере я ищу фото обычно открыв Pictures в правом верхнем углу выбираю Month и фотографии сортируются не по папкам и датам скачивания, а по месяцам съёмки. Когда открываешь месяц, они сортируются по датам. Туда попадают и фото, которые загружаете с интернета, но не по датам съемки, а по датам загрузки на компьютер. Если Вы помните хотя бы в каком году была съёмка или было это летом или зимой, то искать нужное фото очень легко. Некоторые фото я загружаю в мой мир на мейл.ру так вот если выбрать фото, то снизу есть информация, нажав ее можно увидеть время съемки. Исходя из этого времени можно искать на компьютере фотографии. Помощ 8 лет назад Если у вас Windows 7, то найти все фотки, что есть на компьютере будет несложно. Нажимаете на «Пуск», а потом вводите в строке поиска не название картинки, а формат, например PNG или JPG. Далее переходите в другие результаты поиска и нажимаете искать в «Мой компьютер». В итоге, проводник найдет все файлы данного формата и покажет их вам, но на это уйдет некоторое время. Инна1 8 лет назад Для того, чтобы найти все фотографии, которые есть на компьютере нужно установить бесплатную программу Пикаса-3 и выбрать поиск изображений на всем компьютере. Эта программа соберет все фотографии имеющиеся на компьютере. lady v 10 лет назад Лучше Picasa на мой взгляд ничего нет. В ней и делать ничего не надо просто запустил программу на просмотр фотографий и она сама найдет все файлы фото и изображений которые имеются на вашем компьютере. Даже те, которые кто-то попытался специально спрятать где-то в самых темных закоулках компьютерной памяти. Единственный минус, этих снимков может быть очень много, но они все равно будут разбиты на группы по папкам в которых Picasa из обнаружила и показаны на предварительном просмотре маленькими миниатюрами, так что просмотреть можно быстро. Picasa находит даже фото файлы из компьютерных игр и программных папок. 
morel 8 лет назад Для того чтобы осуществить поиск всех имеющихся на вашем ПК фотографий, вам нужно просто на просто прибегнуть к поиску виндовс. А вот уже в поиске в качестве критерия для поиска надо выбрать формат фото — это jpg или же jpg. Нажимайте искать и вскоре увидите все фото в одном месте. asyav 10 лет назад Можно забить в окно поиска запрос следующего вида: *.jpg В окне поиска отобразятся все файлы в формата jpg. Большинство фотографий, полученных с цифровых камер, имеют именно этот формат. Останется только проследить в каких папках они находятся. Пафну 10 лет назад В левом нижнем углу экрана компьютера — так называемого компьютерного «стола» — нажимаете «мышкой» кнопку ПУСК — далее увидите в перечне слово ПОИСК — нажав обнаружите открывшееся окно с выбором задач — верхнюю строчку «Изображения,музыку или видео» нажать нужно — далее в появившемся новом окне ставим «галочку» у верхней строчки «Изображения и фотографии» — и внизу кнопку НАЙТИ — и вуаля — всё что накопилось перед вами — желательно все собрать в одну — или в следующий раз снова пользуйтесь удобным помощником «поиск»… Smile 8 лет назад Что бы найти все изображения и фотографии на вашем компьютере, вам нужно лучше всего ввести в поиск на компьютере форматы, в которых они сохранены, например в основном они в таких форматах как PNG, JPG, но могут быть и в других форматах. Когда вы введете эти форматы вы найдете все ваши фотографии и изображения которые ранее сохраняли, если вам необходимо найти определенную фотографию, то вам следует поставить сортировку по дате, тогда будет проще ее искать. Maste 8 лет назад Для того что-бы найти все фотографии разбросанные по компьютеру можно воспользоватся поиском системы виндоус, то есть открыть ярлык «виндоус поиск» и ввести в него «jpg» перед вами сразу появятся те папки где хоронятся фото на сегодняшний день, и вы сможете зайдя в них все систематизировать. Tolia 7 лет назад Чтобы найти изображения на Вашем компьютере нажмите на ярлык мой компьютер и введите в строке поиска *.jpg . После чего можете поискать еще изображения с другими расширениями: *.png *.bmp. Если Вам нужны все изображения Виндоус, то кликните на папку windows и повторите поиск. 
Знаете ответ? |