
- About
- Blog
- Projects
- Help
-
Donate
Donate icon
An illustration of a heart shape - Contact
- Jobs
- Volunteer
- People
Item Preview
There Is No Preview Available For This Item
This item does not appear to have any files that can be experienced on Archive.org.
Please download files in this item to interact with them on your computer.
Show all files
software
Java 8 (JRE  Windows Disk Images
 Windows Disk Images
- by
- Oracle
Disk images to install Java 8 on any Windows system with minimal Windows Vista SP2 installed.
- Addeddate
- 2022-08-26 12:23:14
- Identifier
- java-8-jre-8-windows-disk-images
- Requirements
- Windows 11 (64 bit only) 8u311 and above, Windows 10 (8u51 and above), Windows 8 (Modern UI is not supported), Windows 7 SP1* (No longer supported by MS), Windows Vista SP2* (No longer supported by MS), Windows Server 2022, Windows Server 2019, Windows Server 2016, Windows Server 2012 R2, Windows Server 2012, Windows Server 2008 R2 SP, RAM: 128 MB, Disk space: 124 MB for JRE; 2 MB for Java Update, Processor: Minimum Pentium 2 266 MHz processor, Browsers: Internet Explorer 9 and above, Microsoft Edge, Firefox, Chrome. *Oracle does not certify on Operating System versions that are no longer supported by the Operating System provider. Older versions remain listed only for archival purposes.
- Scanner
- Internet Archive HTML5 Uploader 1.7.0
comment
Reviews
There are no reviews yet. Be the first one to
write a review.
305
Views
4
Favorites
DOWNLOAD OPTIONS
Uploaded by
Minionguyjpro
on
SIMILAR ITEMS (based on metadata)
Java is a technology used to create interactive or animated web content, such as games or advanced financial applications. Java programs are downloaded automatically to your computer when you use them and don’t usually require special installation. To run Java programs in Internet Explorer, however, you must install special Java software. When you install Java, it is enabled by default and configured with safety settings at their highest.
To install Java, follow these steps:
1.Open Internet Explorer by clicking the Start button Picture of the Start button. In the search box, type Internet Explorer, and then, in the list of results, click Internet Explorer.
2. Go to the Java.com website.
3. Click the Free Java Download button. This should take you to the Java installation screen. Administrator permission required If you’re prompted for an administrator password or confirmation, type the password or provide confirmation.
4.If a yellow Information bar appears (warning you that the website requires an ActiveX control or add-on from Sun Microsystems), click the yellow bar and then click Install ActiveX Control or Install Add-on. When a Security Warning dialog box appears, click Install.
5.In the Welcome dialog box, click the View License Agreement button to read about the agreement, and then click Accept if you want to install Java. (Note that you can also change where Java is installed from the default location of C:\Program Files\Java by selecting the Change destination folder check box and by following the instructions.)
6.When you see the successful completion dialog box, click Finish. Java does not require any additional settings or restarts.
To uninstall older versions of Java, follow these steps:
1.Open Programs and Features by clicking the Start button Picture of the Start button, clicking Control Panel, clicking Programs, and then clicking Programs and Features.
2.Select Java, and then click Uninstall. Administrator permission required If you’re prompted for an administrator password or confirmation, type the password or provide confirmation.
Incoming search terms:
- java windows 8 (121)
- java for windows 8 (21)
- java ie8 (13)
- Install Java Windows 8 (13)
- windows 8 java (6)
- Java on Windows 8 (5)
- install java WINDOWS 7 (5)
- install java for windows 7 xp (5)
- java для internet explorer 8 (3)
- install windows internet explorer 8 (3)
ready:
windows server2008
JDK8
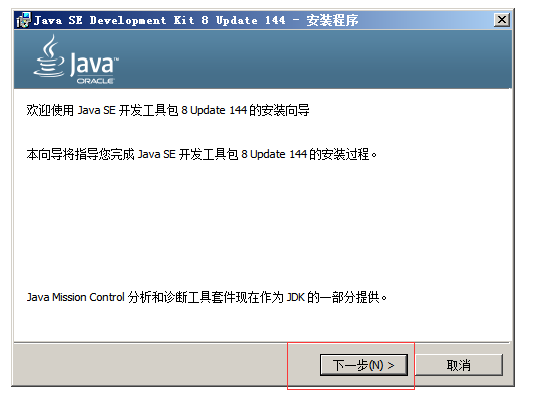
1. Double-click to open to install
The path can be modified, but after modification, you need to make corresponding modifications when configuring environment variables (JAVA_HOME)
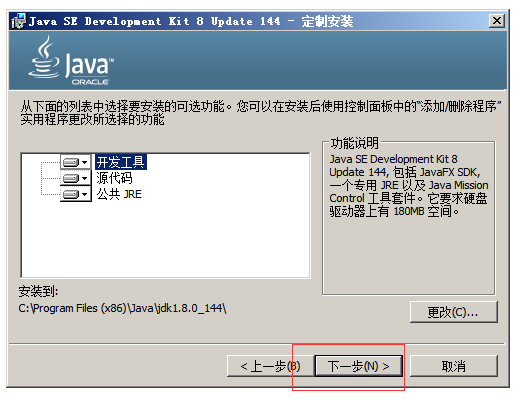
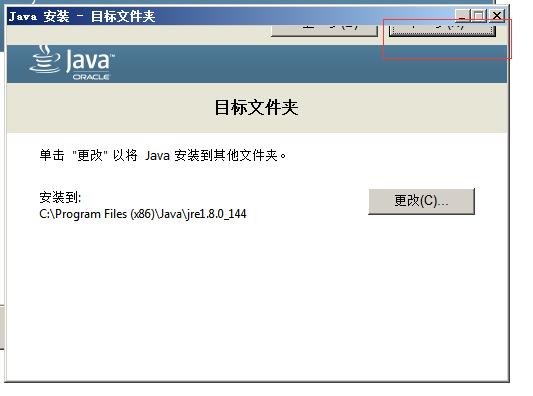
Here I am installing a 32-bit JDK on server2008 R2x64. There may be incompatibility issues. The next step is stuck at the top of the screen, but it does not affect the installation.
2. Configure environment variables
JAVA_HOME
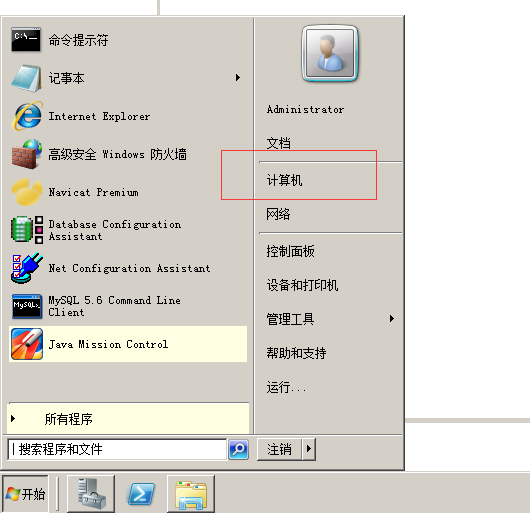
Start -> Computer -> Right-click Properties
Advanced system settings -> environment variables
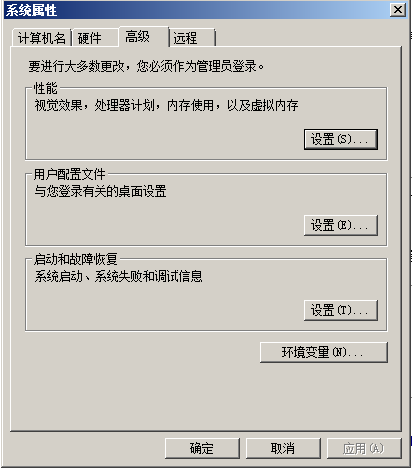
Add environment variables
JAVA_HOME
C:\Program Files(x86)\Java\jdk1.8.0_144
CLASSPATH
%JAVA_HOME%\lib\tools.jar;%JAVA_HOME%\lib\dt.jar;%JAVA_HOME%\jre\lib\rt.jar
add in path
;%JAVA_HOME%\bin
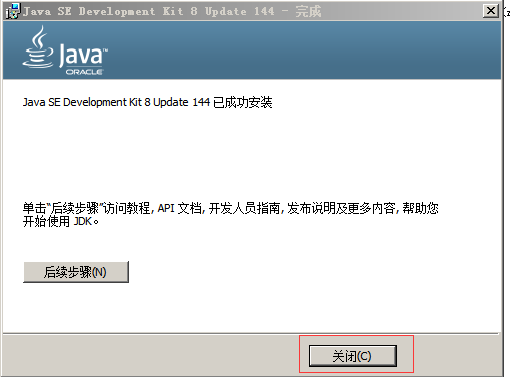
This concludes the JDK installation.
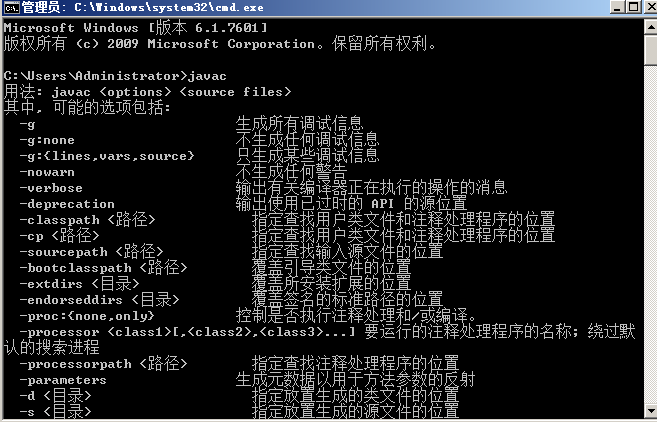
3. Test whether the installation is successful
New cmd window
Enter javac, if you can see the help information of the javac command, the installation is successful.
Looking to install the latest Java version to get started with Java development in your machine?
This article will give you a step-by-step process.
1. Go to the Java homepage (www.java.com)
Go to the www.java.com. Once you’ve reach the homepage click on their download button.

Or you can go straight to the download page, “Download Java Page“.
2. Agree to Java license and download
Once you’ve reached the download page on the Java site, you’ll want to agree to their terms and service and click “Agree and Start Free Download” button.
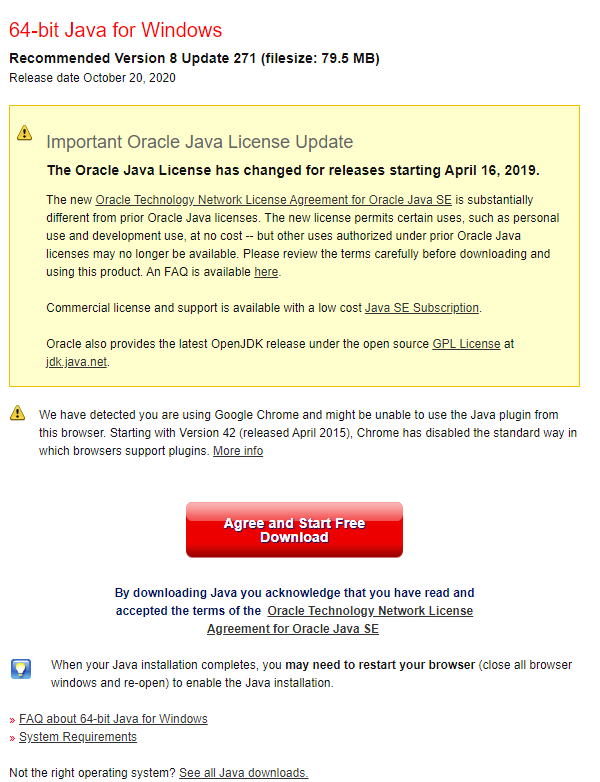
System requirements
You can always select the system requirements link to see if your machine meets their requirement.
Here’s the brief overview of their requirements:
- 79.5MB of free storage
- 64-bit Windows 10
- 64-bit Windows 8.x Desktop
- 64-bit Windows 7
- 64-bit Windows Vista SP2
- 64-bit Windows Server 2008 SP1
- 64-bit Windows Server 2012 and 2012 R2
Once you’ve clicked the button, you’ll see the download executable file appear on the bottom left of the browser.
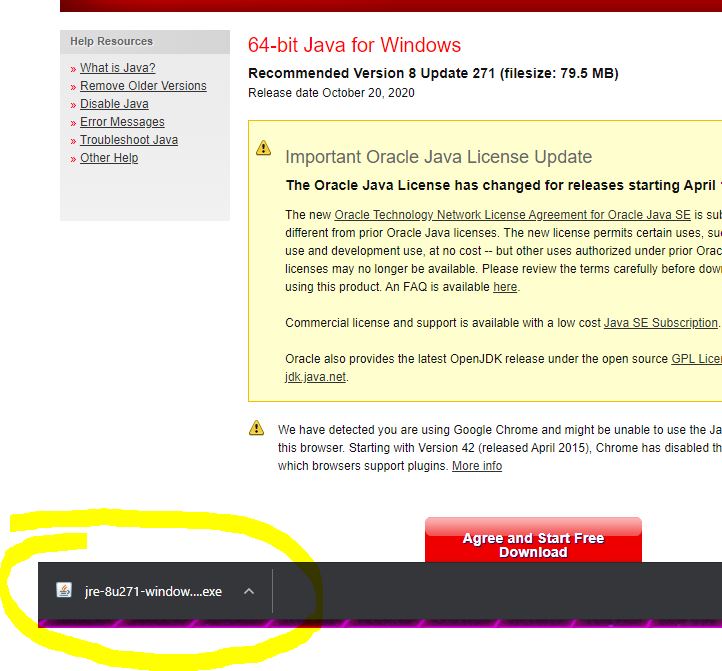
Go ahead and click that when it’s done downloading. You may get a prompt message asking for permission to run. Go ahead and give it permission.
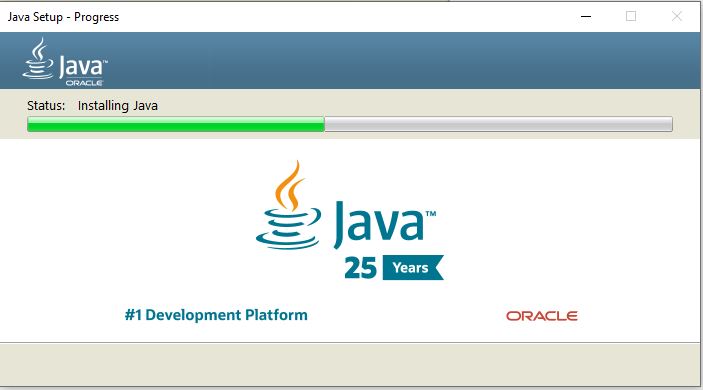
3. Run the Java Setup wizard
Once you’ve given permission the Java Setup window will appear.

Go ahead and click Install. If you want to change the destination of your Java install select the checkbox on the bottom left.
You will see the installation progress, then the complete message if everything went correctly.
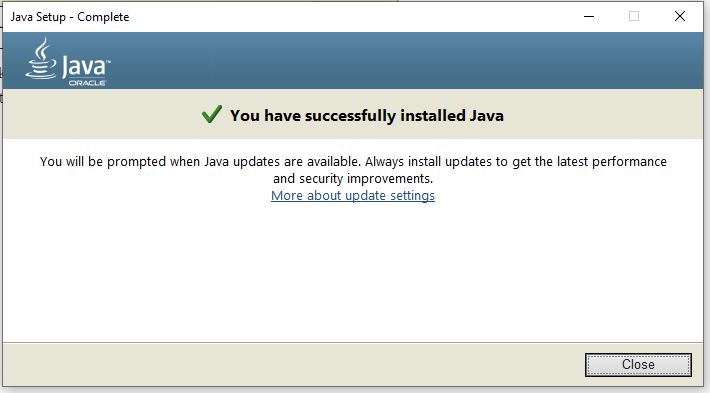
Go ahead and click Close.
4. Check Java version
Open up your command prompt and type the following command
java -version
You should see a similar output like this:
java version "1.8.0_271"
Java(TM) SE Runtime Environment (build 1.8.0_271-b09)
Java HotSpot(TM) 64-Bit Server VM (build 25.271-b09, mixed mode)
Windows WSL with Homebrew
If you’re using WSL, you may have homebrew installed. This method also works for Mac OS users.
Here are the following command with homebrew:
brew update
brew install java
java - v
Uninstall Java
To uninstall Java from your Windows machine follow step 1 – 3. When you’ve hit step 3, do NOT click “Install“. Instead click the “Remove” button.
I like to tweet about Blog and post helpful code snippets. Follow me there if you would like some too!